
Pork Adobo
intro
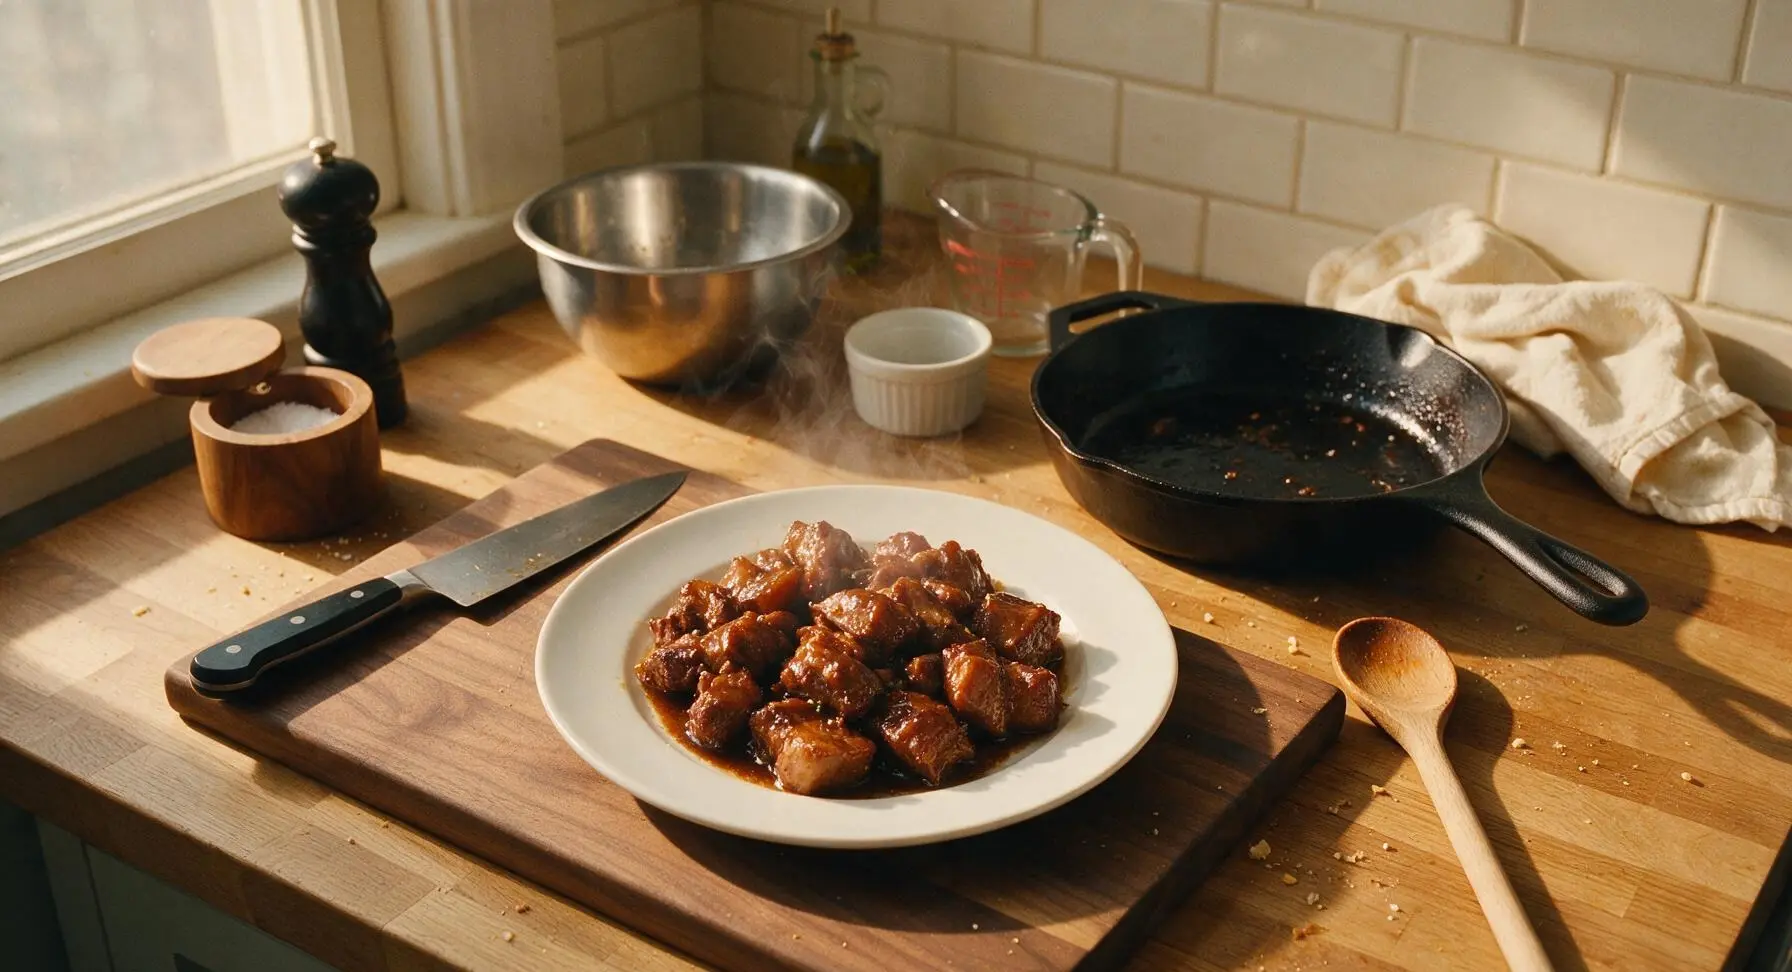
Tangy, savory, deeply aromatic Filipino braised pork, slow-simmered in soy, vinegar, garlic, and pepper for fall-off-the-bone tender meat coated in a glossy, rich sauce.
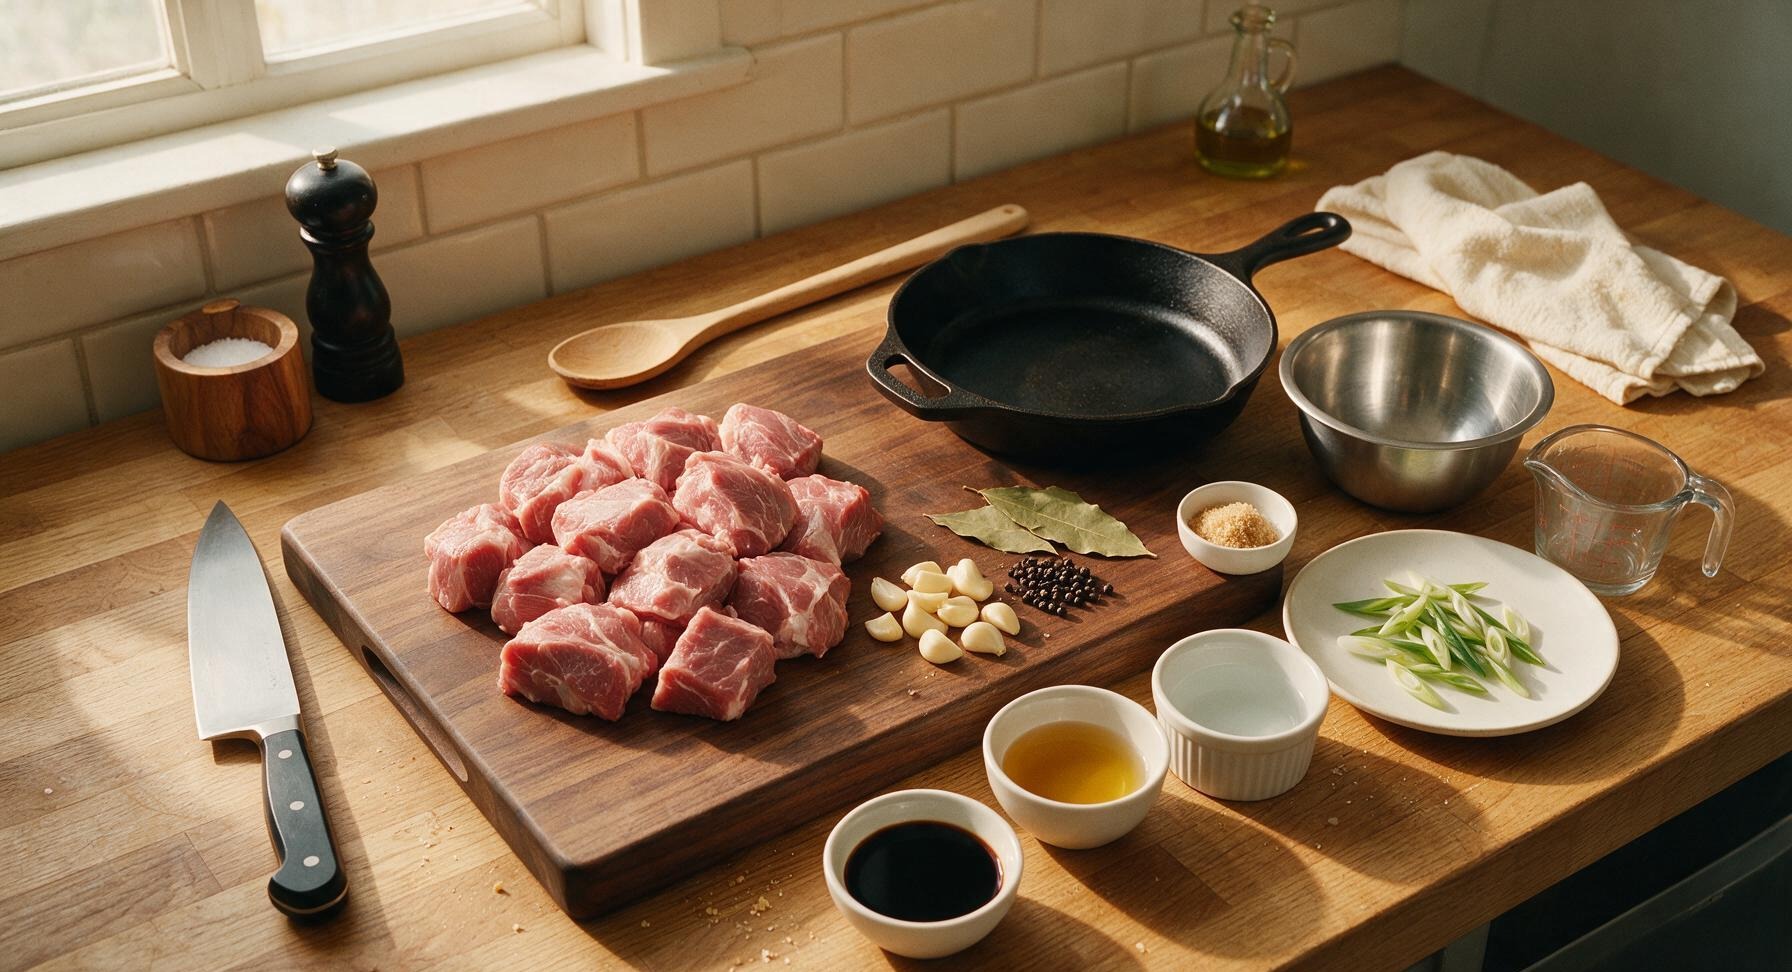
Ingredients
Steps
Cut and Prep Pork
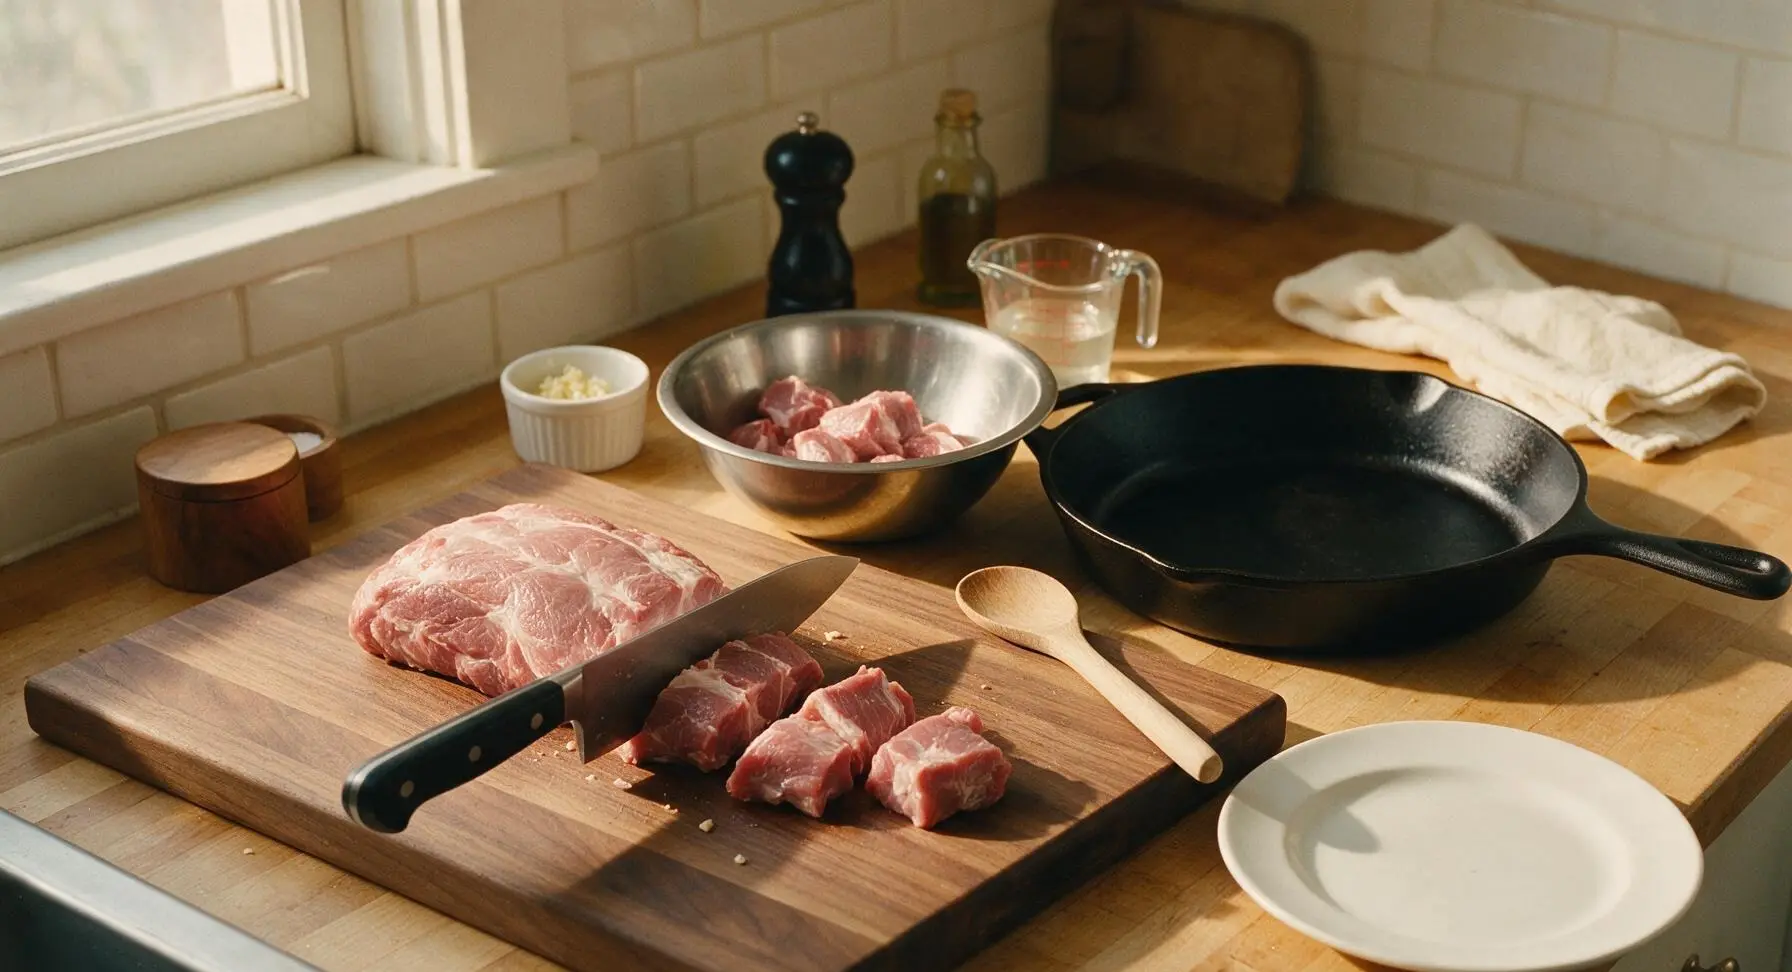
Place the whole boneless pork shoulder on the acacia wood cutting board. Using the chef knife, trim away any large, hard pieces of excess fat or tough silver skin, then cut the pork into uniform 5cm (2 inch) chunks. Transfer cut pieces to the medium stainless steel mixing bowl as you work, and pat the surface of the pork chunks dry with a corner of the linen towel to remove excess moisture, which ensures even browning during searing.
Marinate Pork Briefly
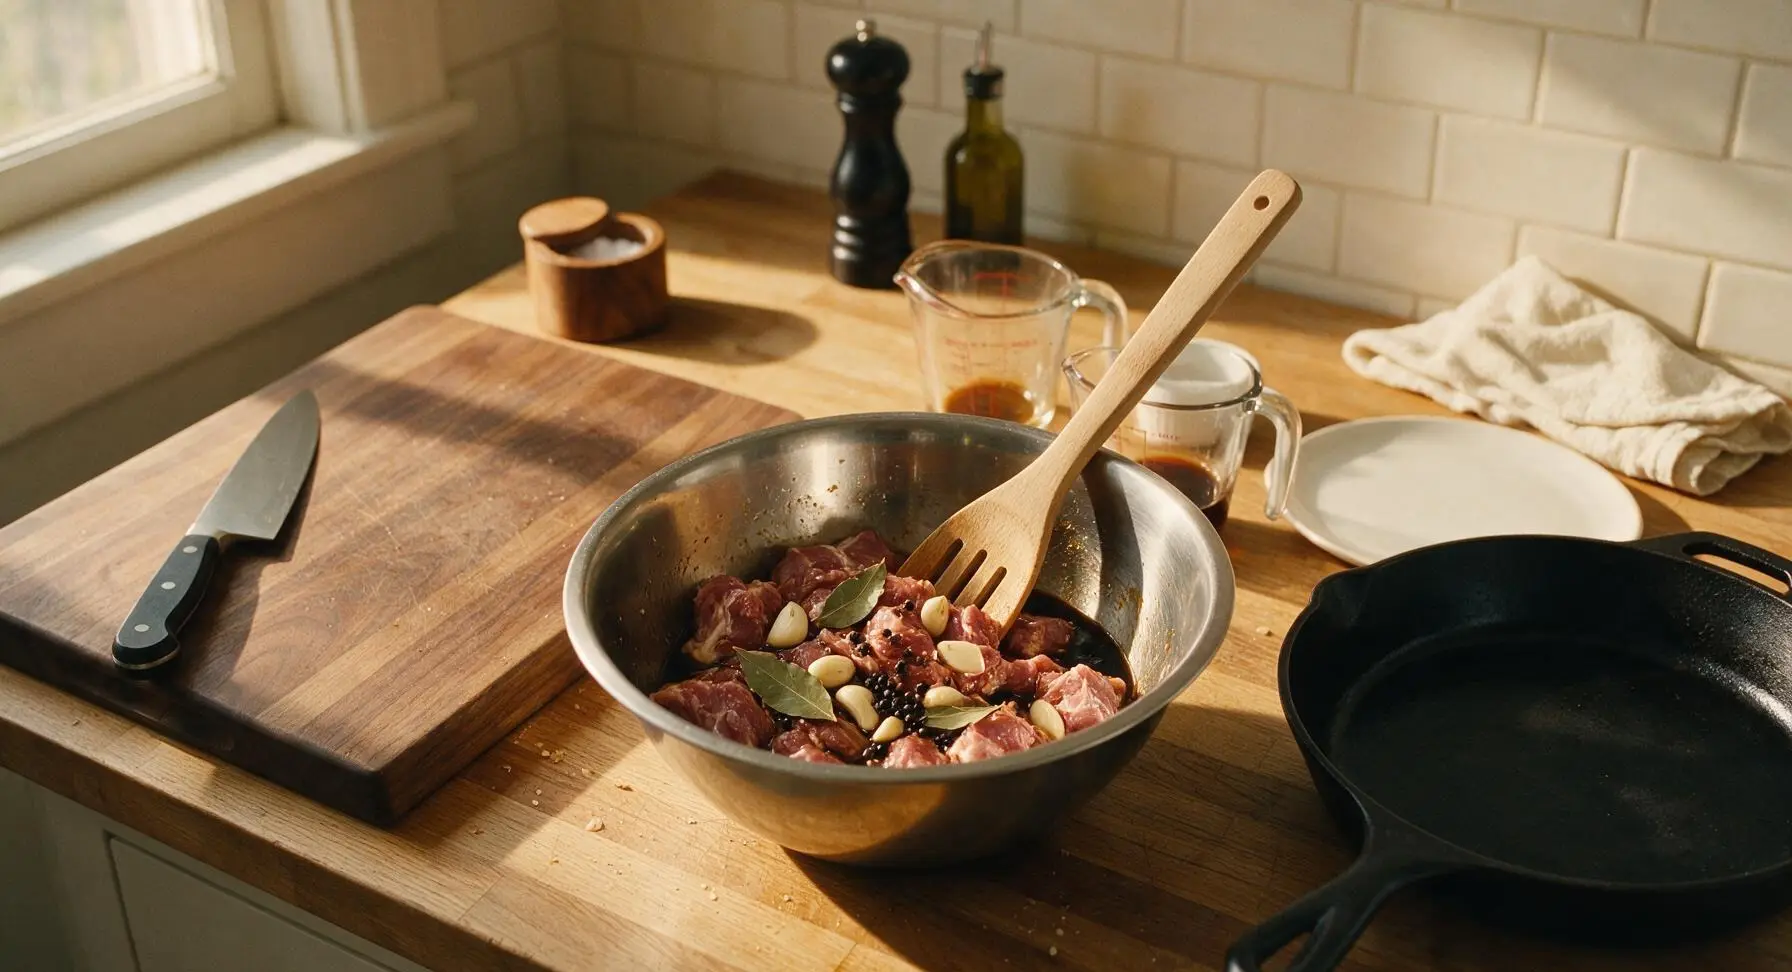
Pour the measured soy sauce, 6 of the crushed garlic cloves, 1/2 tsp of the whole black peppercorns, and all 3 dried bay leaves into the mixing bowl with the dried, cut pork. Toss the pieces thoroughly with the slotted beech wood spoon to coat every surface evenly in the soy mixture, then set aside to marinate for 15 minutes at room temperature to let the flavors penetrate the outer layers of the meat.
Sear Marinated Pork
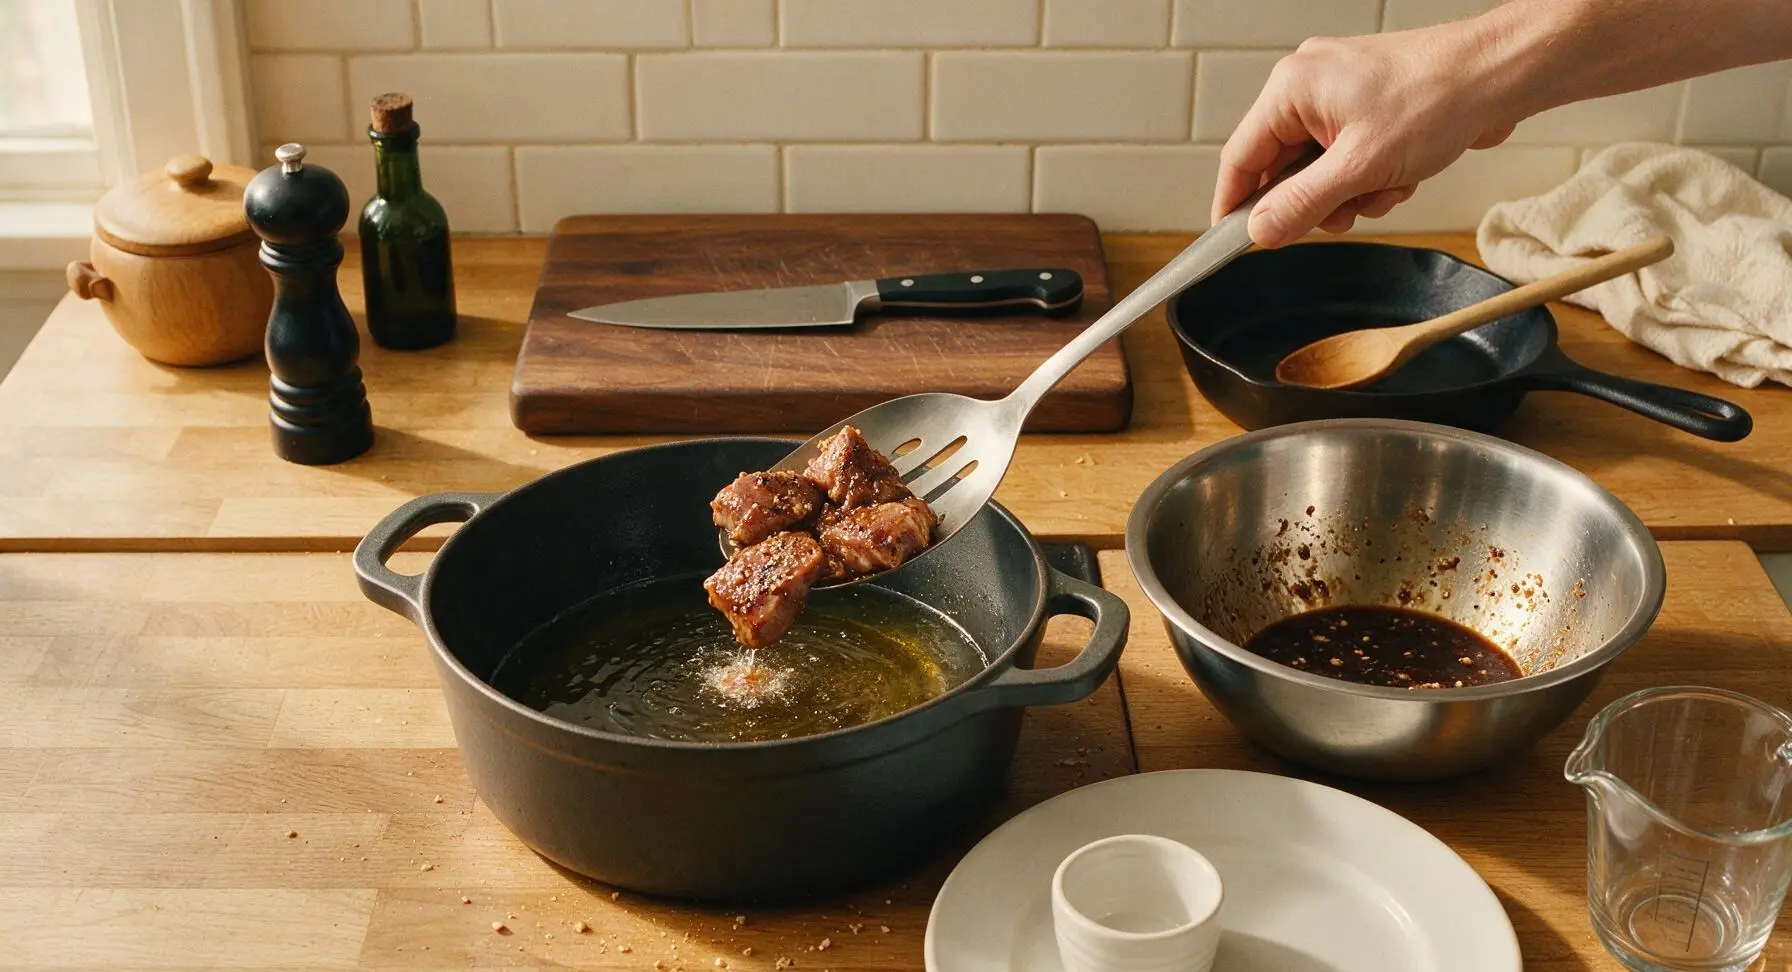
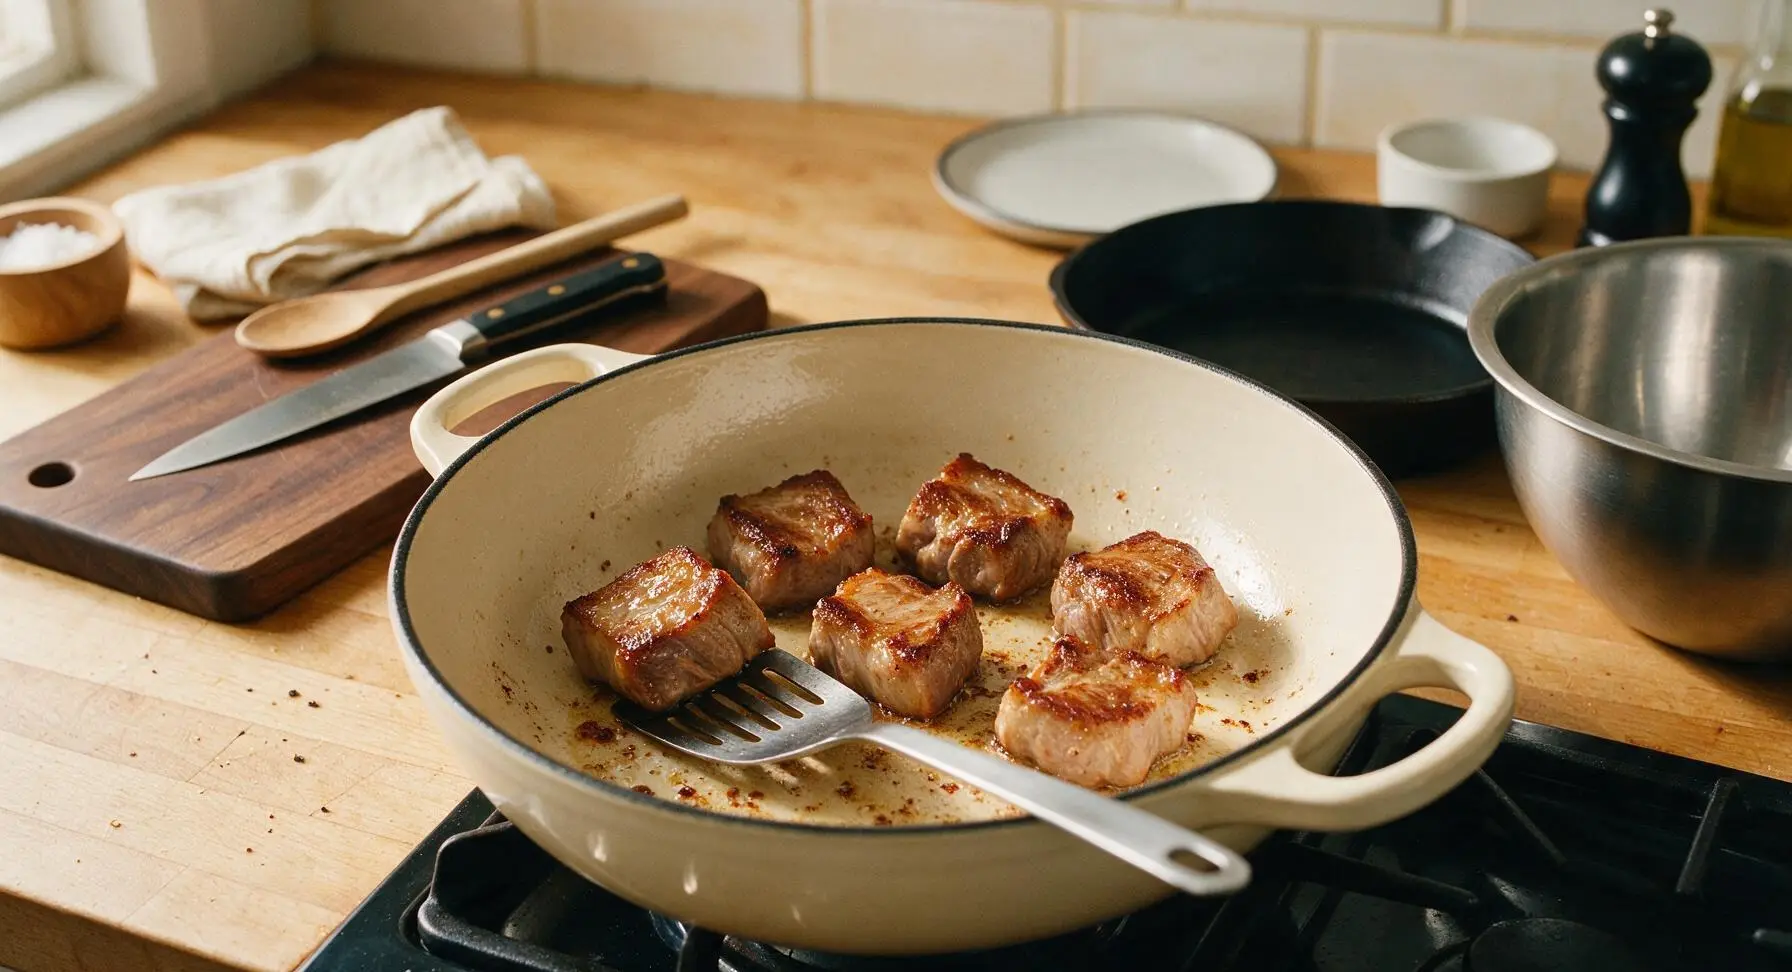
Place the enameled Dutch oven on the stovetop over medium-high heat, add the 2 tablespoons of canola oil, and heat until the oil shimmers (about 2 minutes). Remove pork pieces from the marinade, reserving all leftover marinade liquid in the mixing bowl, and add the pork to the hot oil in a single layer, working in 2 batches if needed to avoid crowding the pan. Sear for 3-4 minutes per side, until the pork develops a deep golden-brown crust on all edges, using the slotted spoon to turn pieces as they brown.
Add Braising Liquids
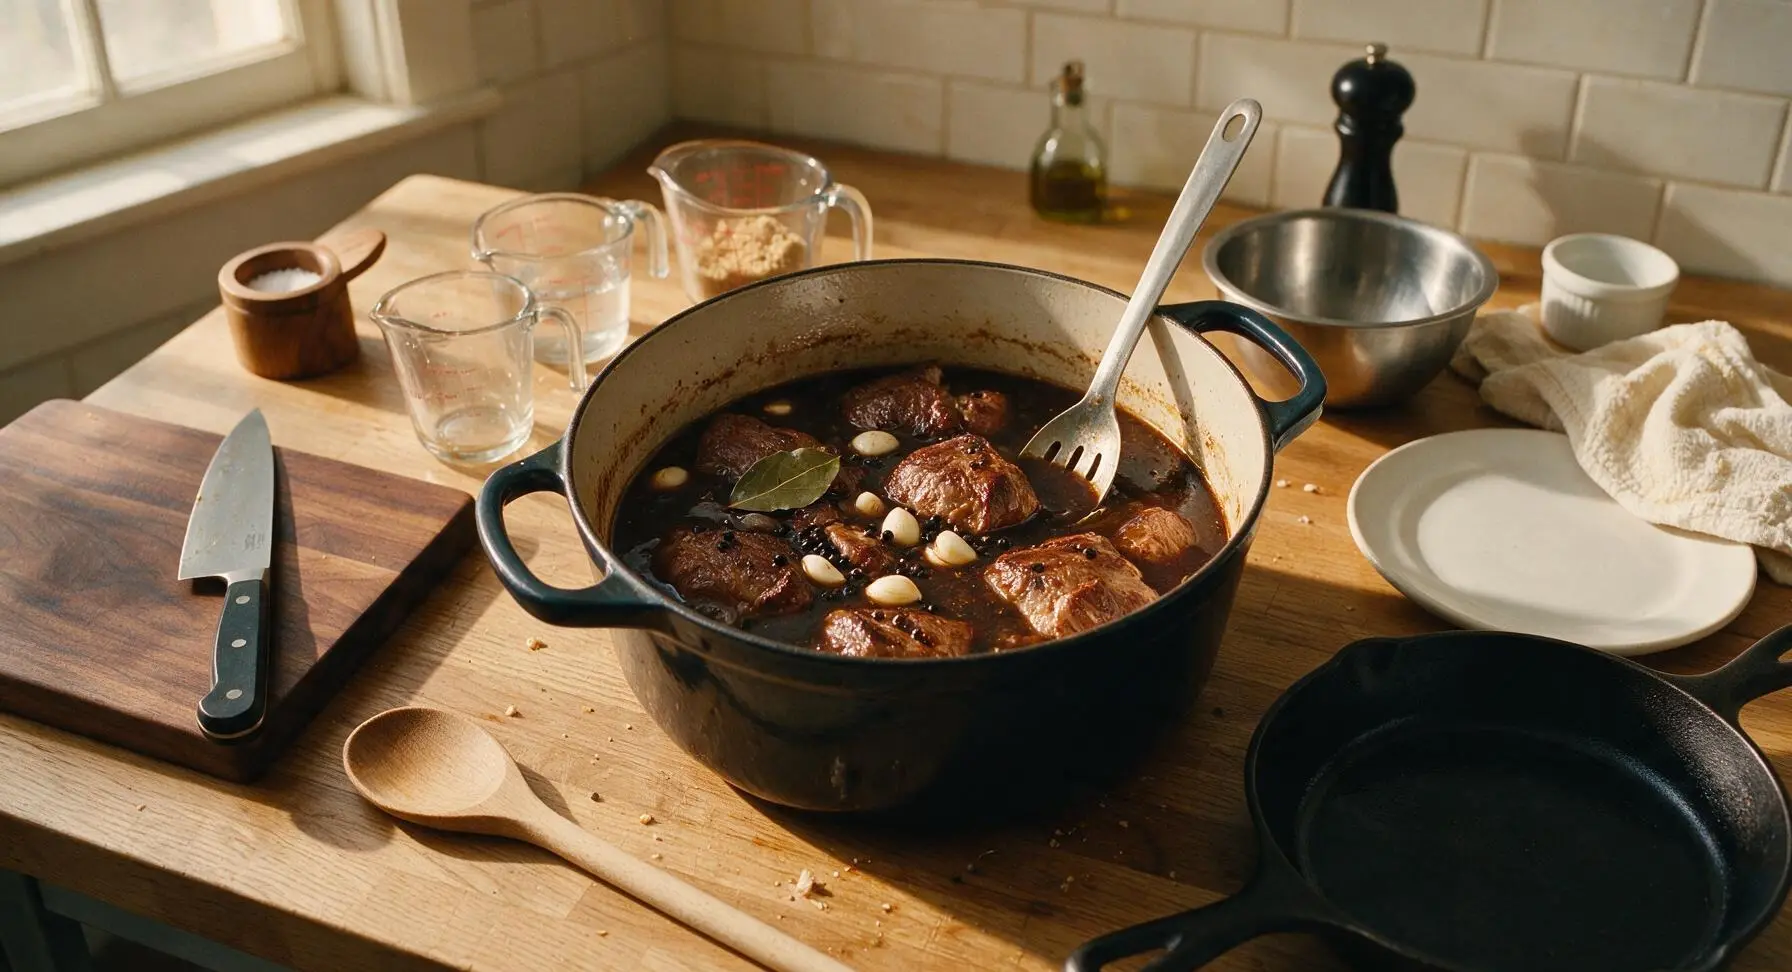
Once all pork is seared and returned to the Dutch oven, pour in the reserved marinade, measured cane vinegar, remaining 6 crushed garlic cloves, remaining 1/2 tsp whole black peppercorns, light brown sugar, and 1 cup of water. Stir gently with the slotted spoon to combine, scraping the bottom of the pot to lift all the browned fond bits and incorporate them into the liquid. Do not stir the mixture again once it reaches a simmer, to prevent the vinegar from tasting harsh.
Simmer Until Tender
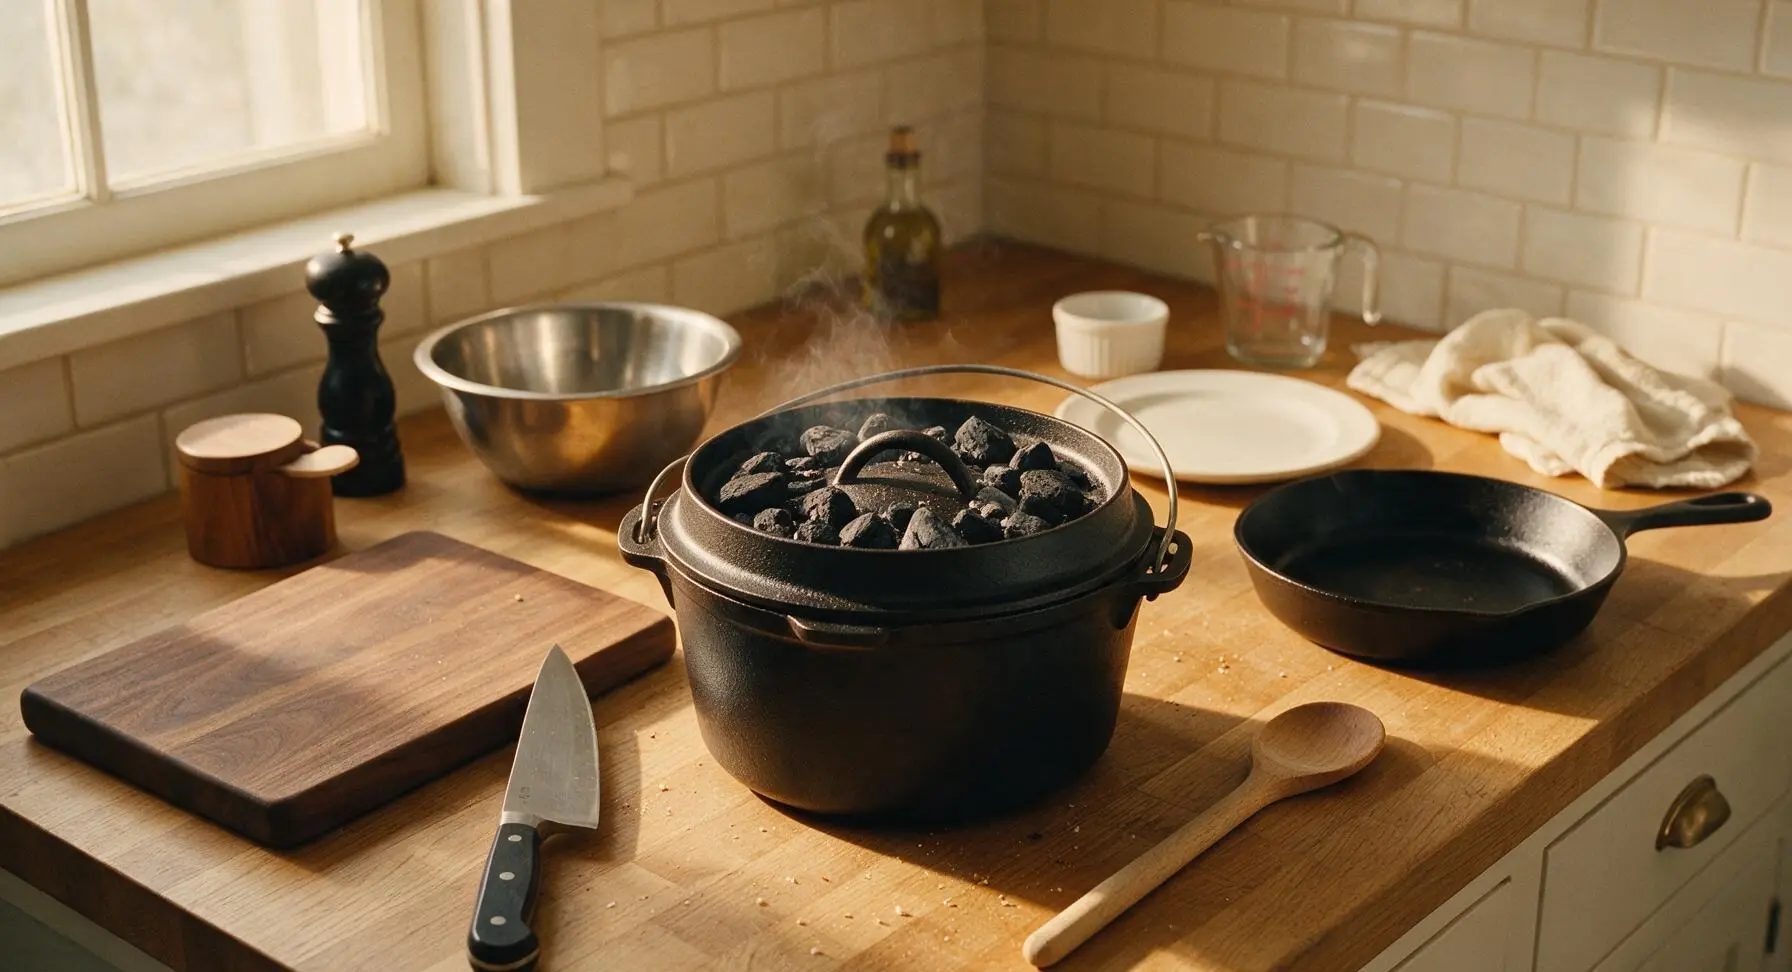
Bring the braising liquid to a gentle rolling boil, then turn the heat down to low, cover the Dutch oven with its tight-fitting lid, and let the adobo simmer for 40 minutes. Resist the urge to lift the lid frequently; check once at the 25 minute mark to ensure the liquid stays at a slow, gentle bubble (adjust heat lower if it is boiling rapidly). The pork is done simmering when it is easily pierced with a knife tip but not yet falling apart.
Reduce Adobo Sauce
After 40 minutes of covered simmering, remove the lid from the Dutch oven, turn the heat up to medium, and let the sauce simmer uncovered for 10-12 minutes, stirring occasionally with the slotted spoon. The sauce will reduce by roughly half, turning thick and glossy, and will cling heavily to the pork pieces. Skim any excess rendered pork fat from the surface of the sauce with a spoon if desired, for a lighter finish.
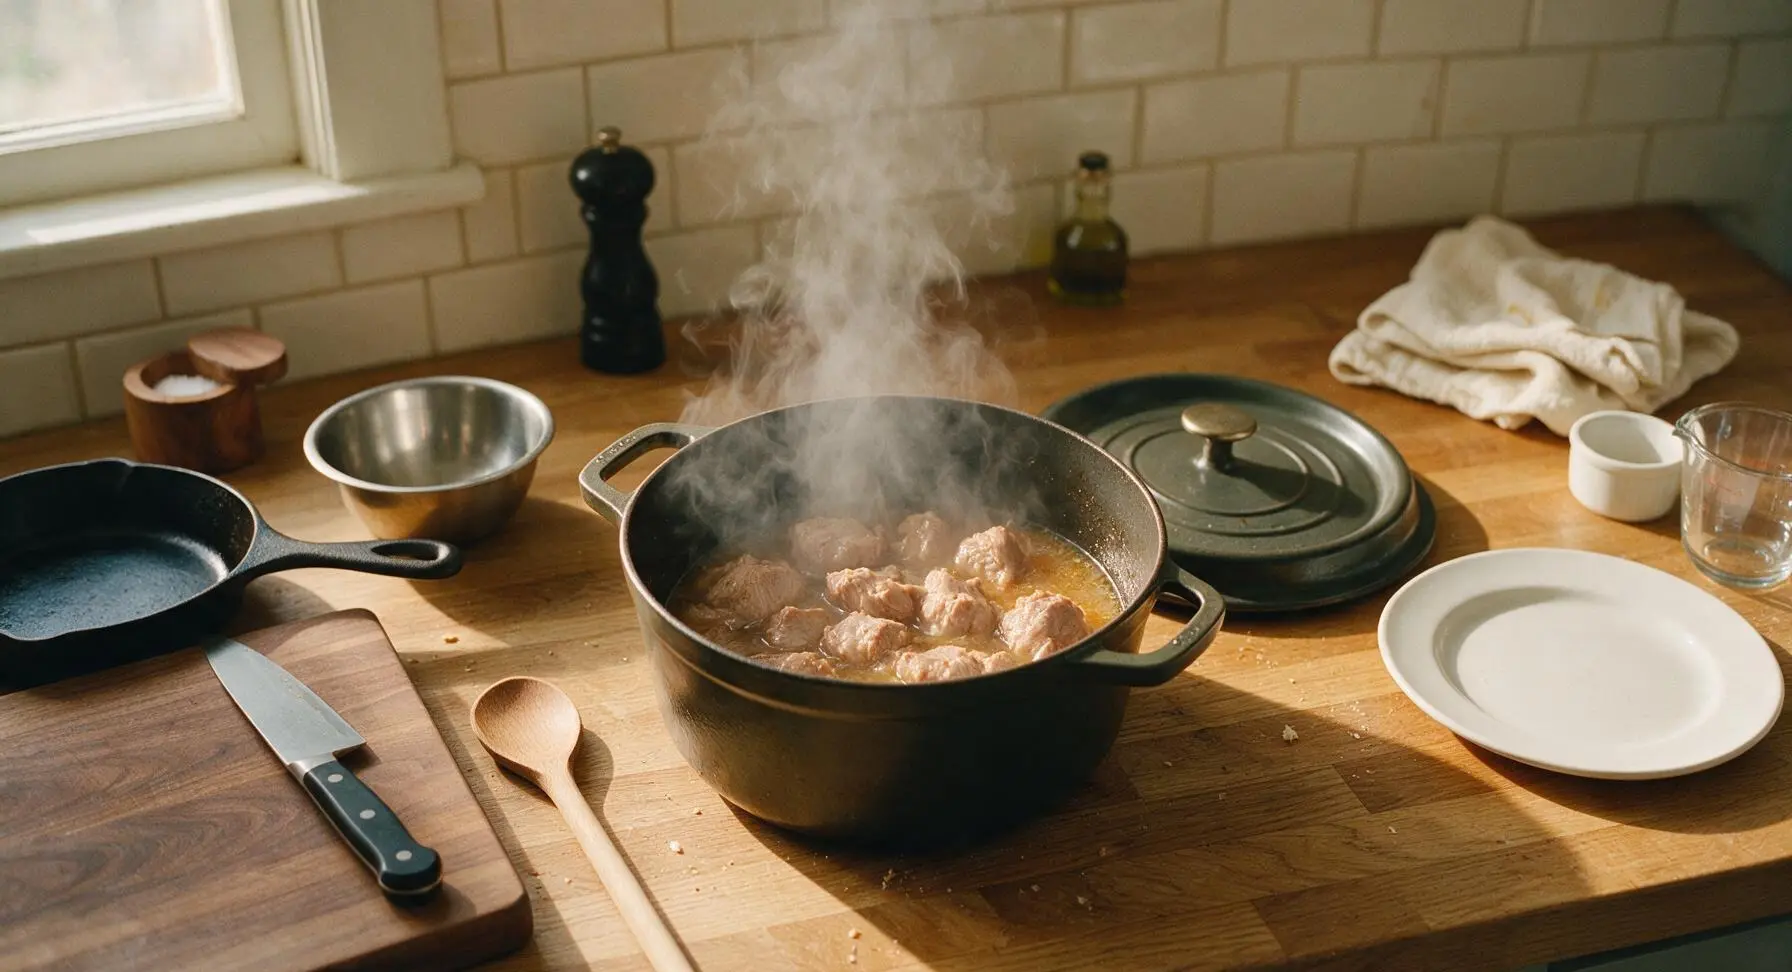
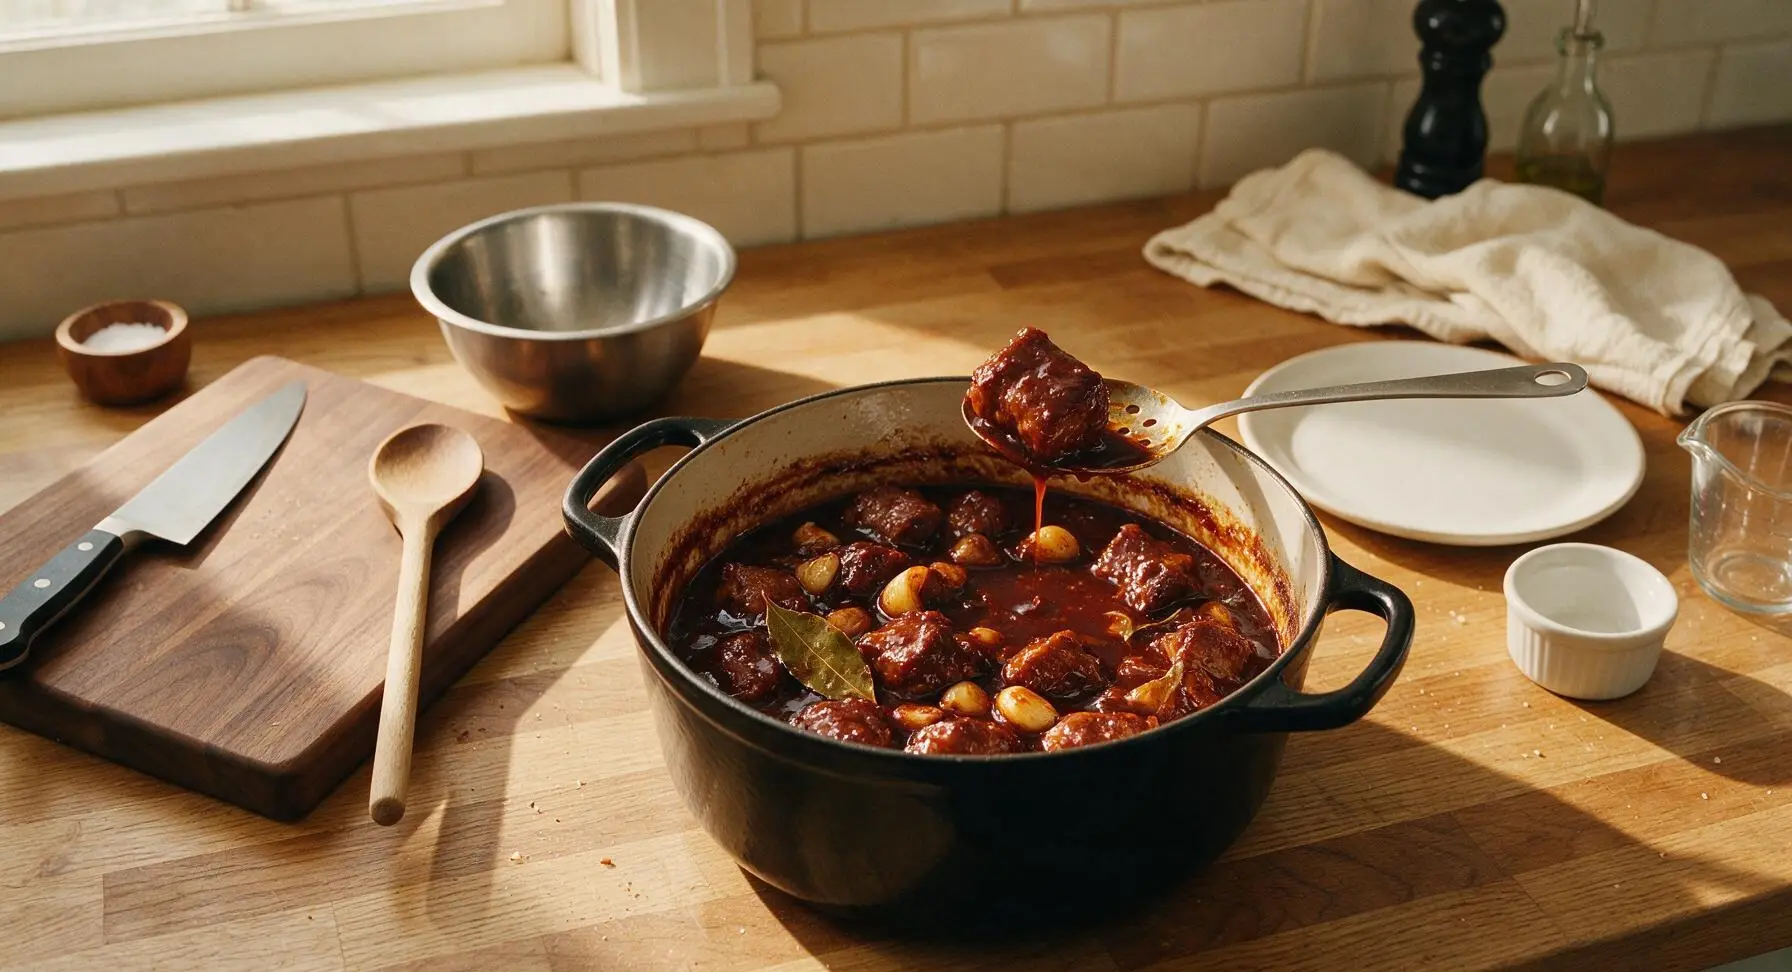
Plate and Garnish
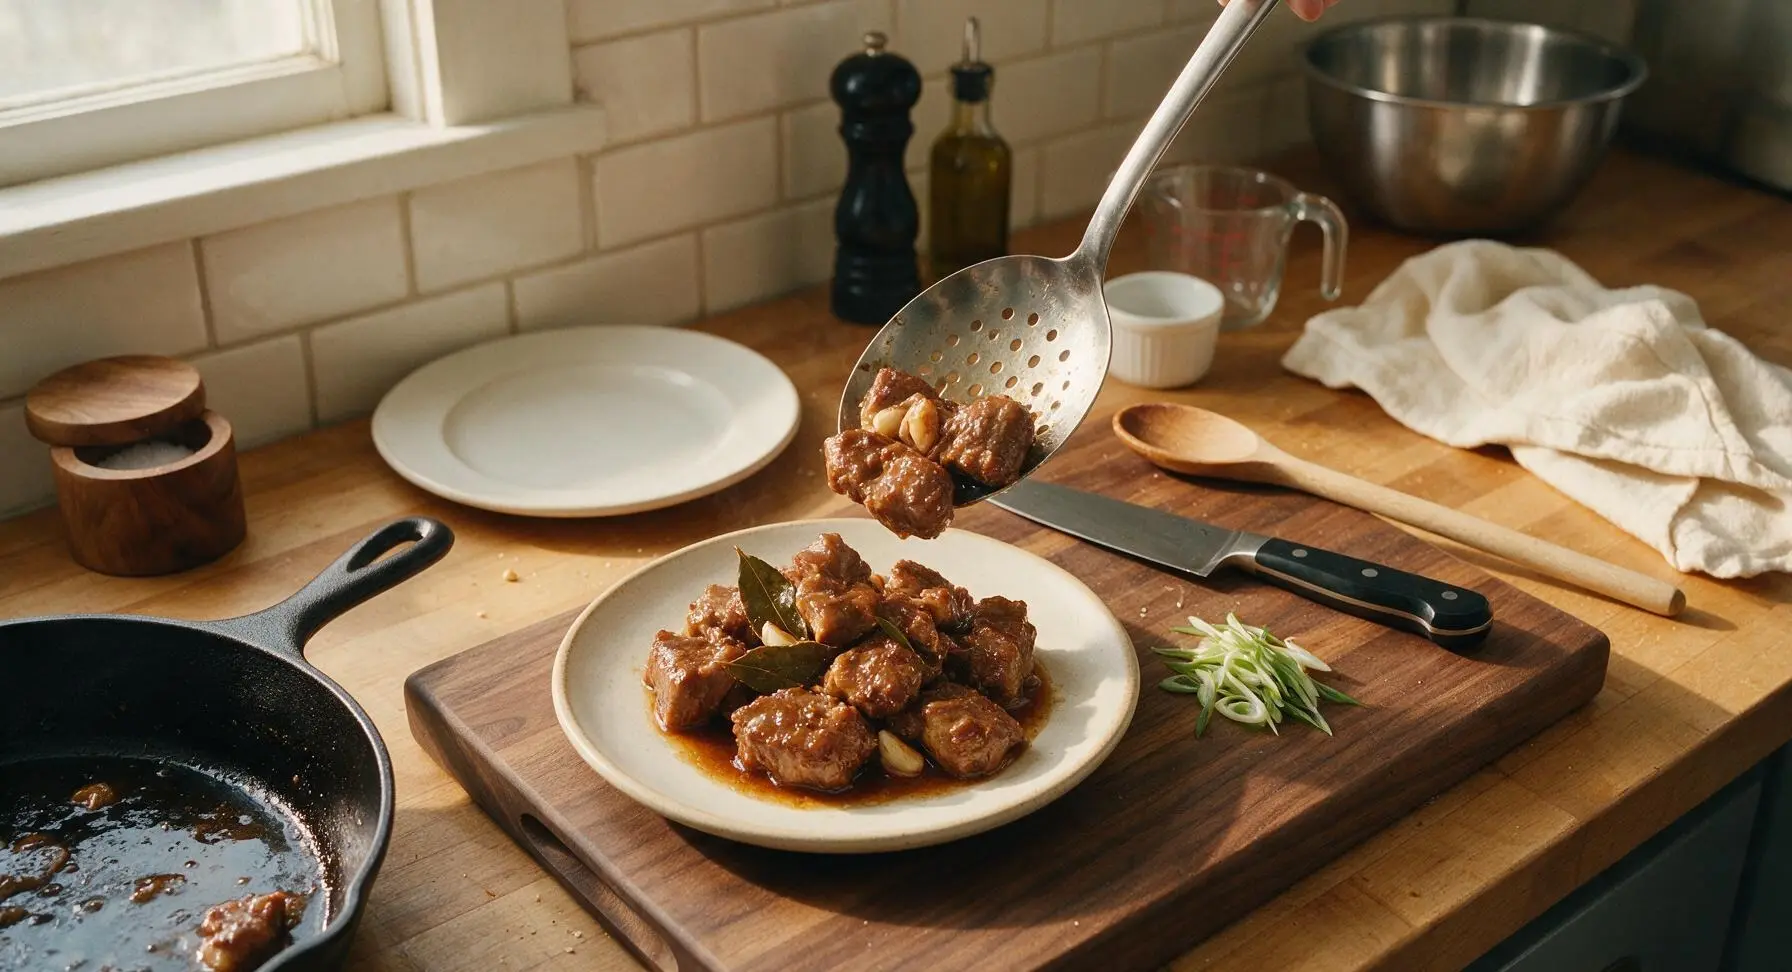
Turn off the heat, leaving the bay leaves in for presentation if desired. Spoon the pork pieces and a generous amount of the glossy sauce onto the off-white stoneware dinner plate, tucking a few of the soft cooked garlic cloves among the pork pieces. Sprinkle the thinly sliced scallion greens over the top of the dish to add a bright, fresh contrast to the rich, tangy sauce. Serve hot, paired with steamed white rice.
Tips
2.Always pat pork completely dry before searing: excess moisture on the meat surface will cause it to steam instead of developing a deep, caramelized brown crust, which adds critical savory depth to the braising sauce via the browned fond bits in the pot.
3.For extra depth you can marinate the pork for up to 2 hours in the refrigerator, but avoid marinating longer than 4 hours: the high salt content of soy sauce will cure the outer layer of the pork, making it tough and overly salty if left to marinate too long.






OMG this pork adobo is SO good! I made it for our Sunday family dinner last night and every single person went back for seconds. Even my super picky 7 year old asked for extra adobo sauce on his rice! Total game changer for our weekly rotation. Super easy to throw together too, which is a win on busy school nights.
Meal prepped this for the week and it held up so much better than I expected! The flavors got even better after sitting in the fridge for a couple days, honestly. Paired it with steamed broccoli and jasmine rice for my lunches, zero regrets. Way easier than a lot of the adobo recipes I’ve tried before that called for a million random ingredients.
Wait, I didn’t have cane vinegar at home so I used apple cider vinegar like I do for my pulled pork, would that change the flavor too much? It turned out tasty but I’m wondering if I should grab cane vinegar for next time!
First time making adobo ever and I didn’t mess it up! That’s how easy this recipe is, y’all. I used pork shoulder like the recipe said, seared it real good first, let it simmer, and my roommates are already asking when I’m making it again. 10/10 would make for a game day spread no cap.
Brought this to our neighborhood block party last weekend and the crockpot was completely empty within 20 minutes. I lost count of how many neighbors asked for the link to the recipe! I added a handful of whole peppercorns and a couple extra bay leaves like my lola used to make, and it tasted just like home.
My kids loved it! I cut the soy sauce a tiny bit because I don’t love super salty food, and threw in some baby potatoes the last 20 minutes of cooking so it was a whole one pot meal. Less dishes = my favorite kind of recipe.
Easy, flavorful, minimal cleanup. What more could you ask for? I’ve tried a bunch of adobo recipes from different sites and this one is by far the most approachable for weeknights. The cook time is spot on too, my pork was fall apart tender right at the hour mark.
Wait, can I use chicken thighs instead of pork for this? My husband isn’t the biggest pork fan but he loves adobo, so I was curious if the cook time changes at all?
Game changer alert! I served this over garlic fried rice with a side of pickled veggies and my date said it was better than the adobo we get at our favorite Filipino spot downtown. Win for date night, for real.
I was skeptical an easy adobo recipe would have enough depth of flavor, but color me impressed. The balance of soy, vinegar, garlic, and bay leaf is spot on. I added a pinch of brown sugar to round out the tang just like I learned back in my restaurant days, and it was perfect. Great base recipe for new cooks!
I used pork belly instead of shoulder because that’s what I had in the freezer from my last bulk meat run, and OH MY GOD it was so good. The crispy rendered fat mixed with the tangy sauce? Insane. Will absolutely be doing that again.
This tastes exactly like how my mom makes it! I’ve been too intimidated to try making adobo on my own for years because I thought it would never measure up, but this recipe was so straightforward and the flavor was spot on. I cried a little when I took the first bite ngl.
SO good! I got home late from work last night, threw this together in under an hour and a half total (including prep, which was just chopping garlic!) and my husband thought I spent all afternoon cooking. Win for lazy weeknight wins.
I added a couple sliced Thai chilis to the sauce while it simmered because I love a little heat, and it was chef’s kiss. The slow burn pairs so well with the tangy soy sauce, I can’t believe I didn’t think to add spice to adobo before!
Great meal prep recipe! I portioned this out into 5 containers with rice and roasted green beans on Sunday, and every bite at lunch this week was delicious. No soggy pork, no weird off flavors after reheating, which is always a risk with saucy meat dishes. 10/10 will be a regular in my prep rotation.