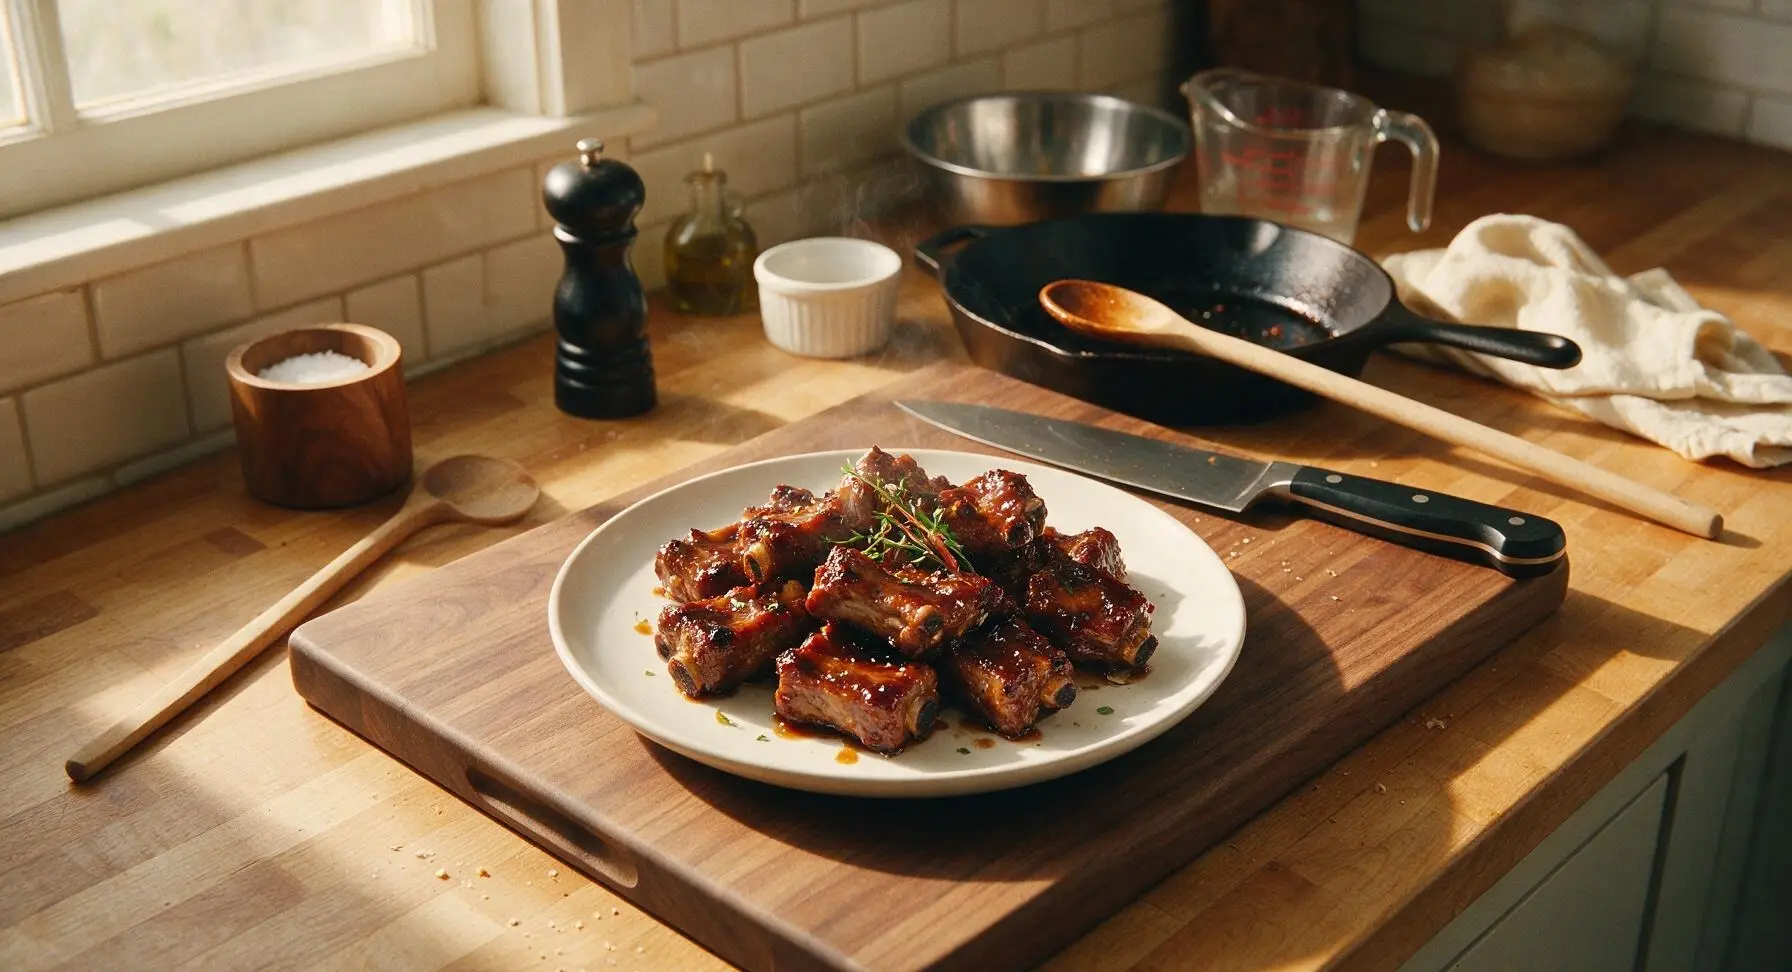
Pork Riblets

Pork Riblets
⏱️ cook time 1 hour 10 minutes
🍽️ servings 4
⚡ Difficulty medium

intro

Tender, fall-off-the-bone pork riblets coated in a glossy sticky-sweet soy-BBQ glaze, perfect for grabbing and eating off the bone at casual summer gatherings.

Ingredients
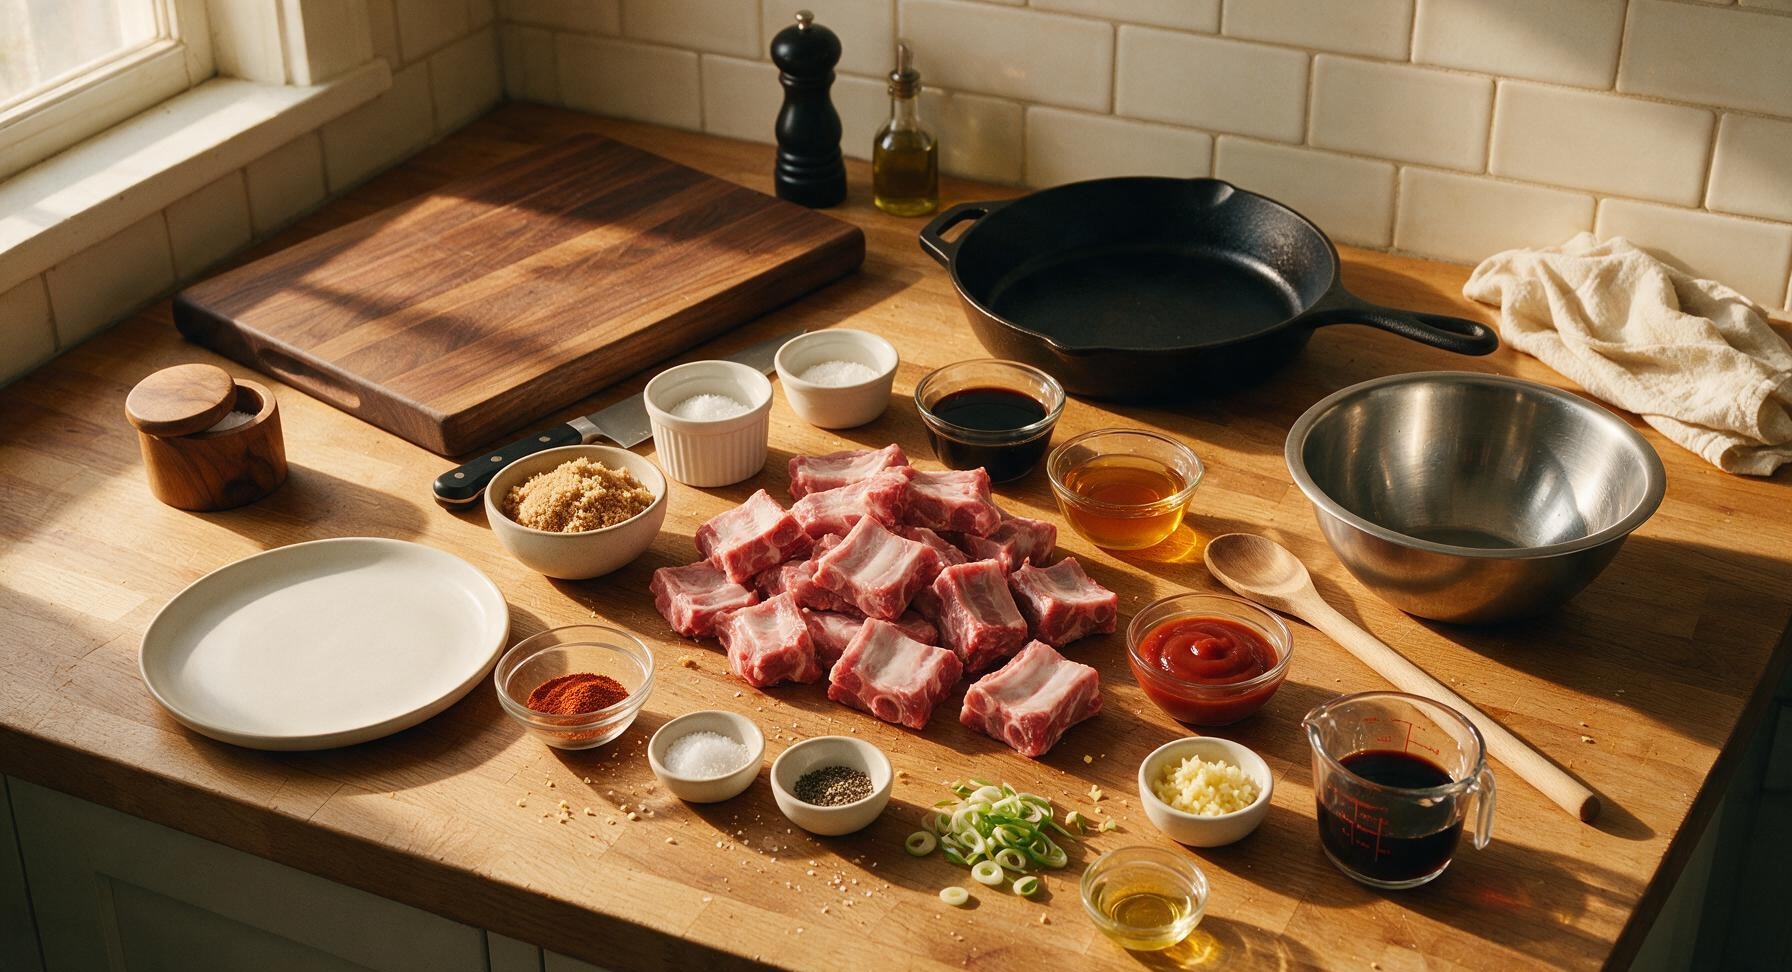
Pork riblets (cut into 2-inch individual bone-in pieces) 1.2kg
Light brown sugar 5 tbsp (2 for rub, 3 for glaze)
Kosher salt 1 tbsp
Smoked paprika 1 tsp
Garlic powder 1 tsp
Freshly ground black pepper 1 tsp
Low-sodium soy sauce 60ml
Honey 3 tbsp
Apple cider vinegar 2 tbsp
Tomato ketchup 2 tbsp
Fresh garlic (minced) 3 cloves
Fresh ginger (grated) 1 tbsp
Scallions (thinly sliced, for garnish) 2 stalks
Neutral cooking oil 1 tsp

Steps

1

Prep and Dry Riblets

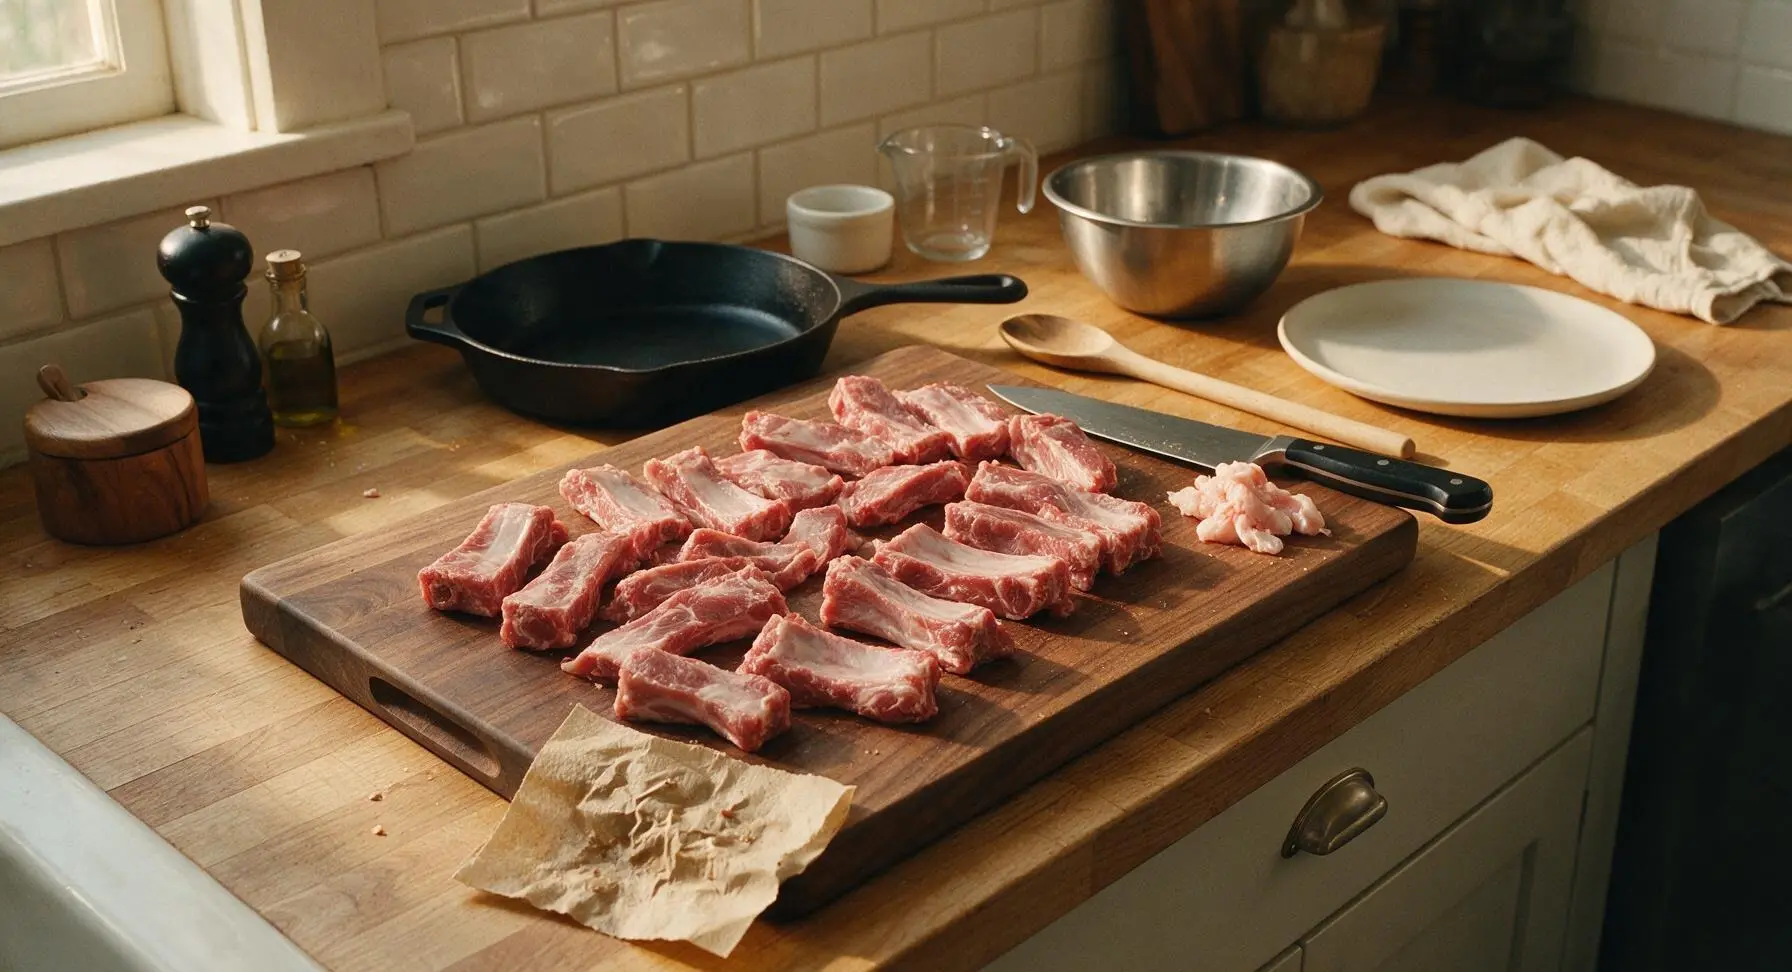
Place the raw pork riblets on the honey maple cutting board. Use the 8-inch chef knife to trim any excess loose fat or thin silver skin from the riblet pieces. Tear sheets from the unbleached brown paper towel roll to pat every riblet completely dry on all sides. A fully dry, matte surface on the meat ensures rub will adhere properly and a crisp caramelized crust will form during cooking.
Step 1
step1:Prep and Dry Riblets
2

Mix Dry Rub Coating

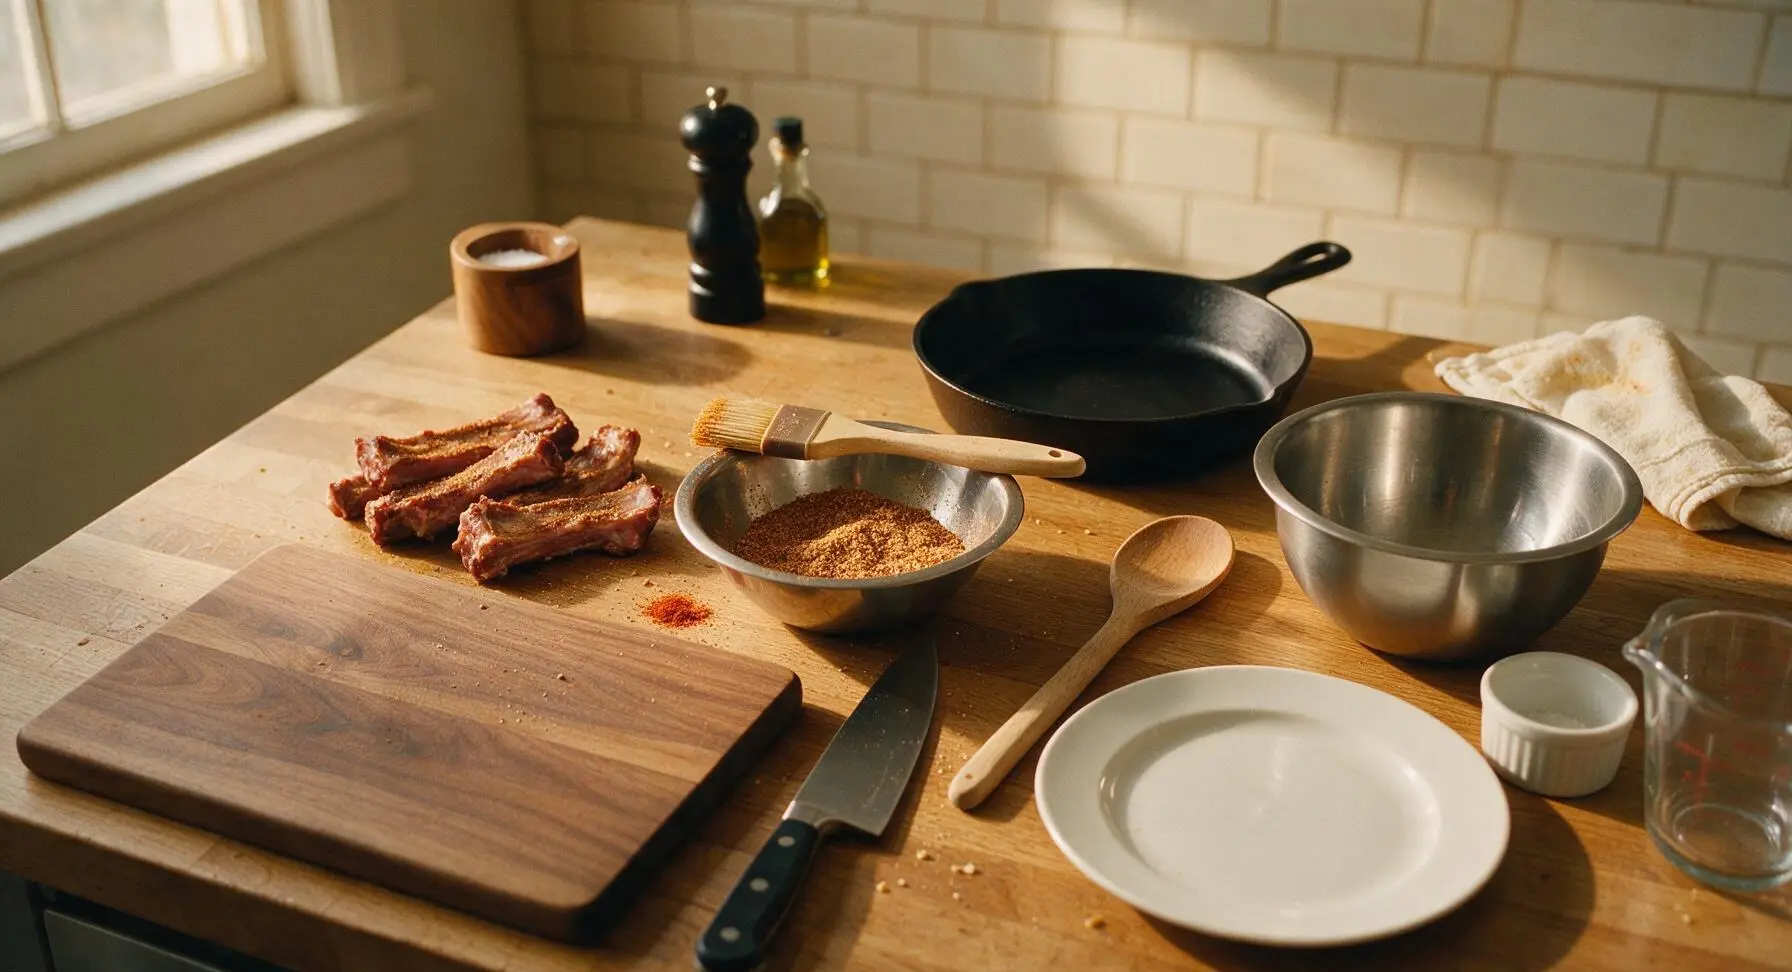
In the small stainless steel mixing bowl, combine 2 tablespoons light brown sugar, 1 tablespoon kosher salt, 1 teaspoon smoked paprika, 1 teaspoon garlic powder, and 1 teaspoon freshly ground black pepper. Stir the mixture with the handle end of the basting brush until fully uniform, with no clumps of brown sugar remaining.
Step 2
step2:Mix Dry Rub Coating
3

Coat Riblets in Rub

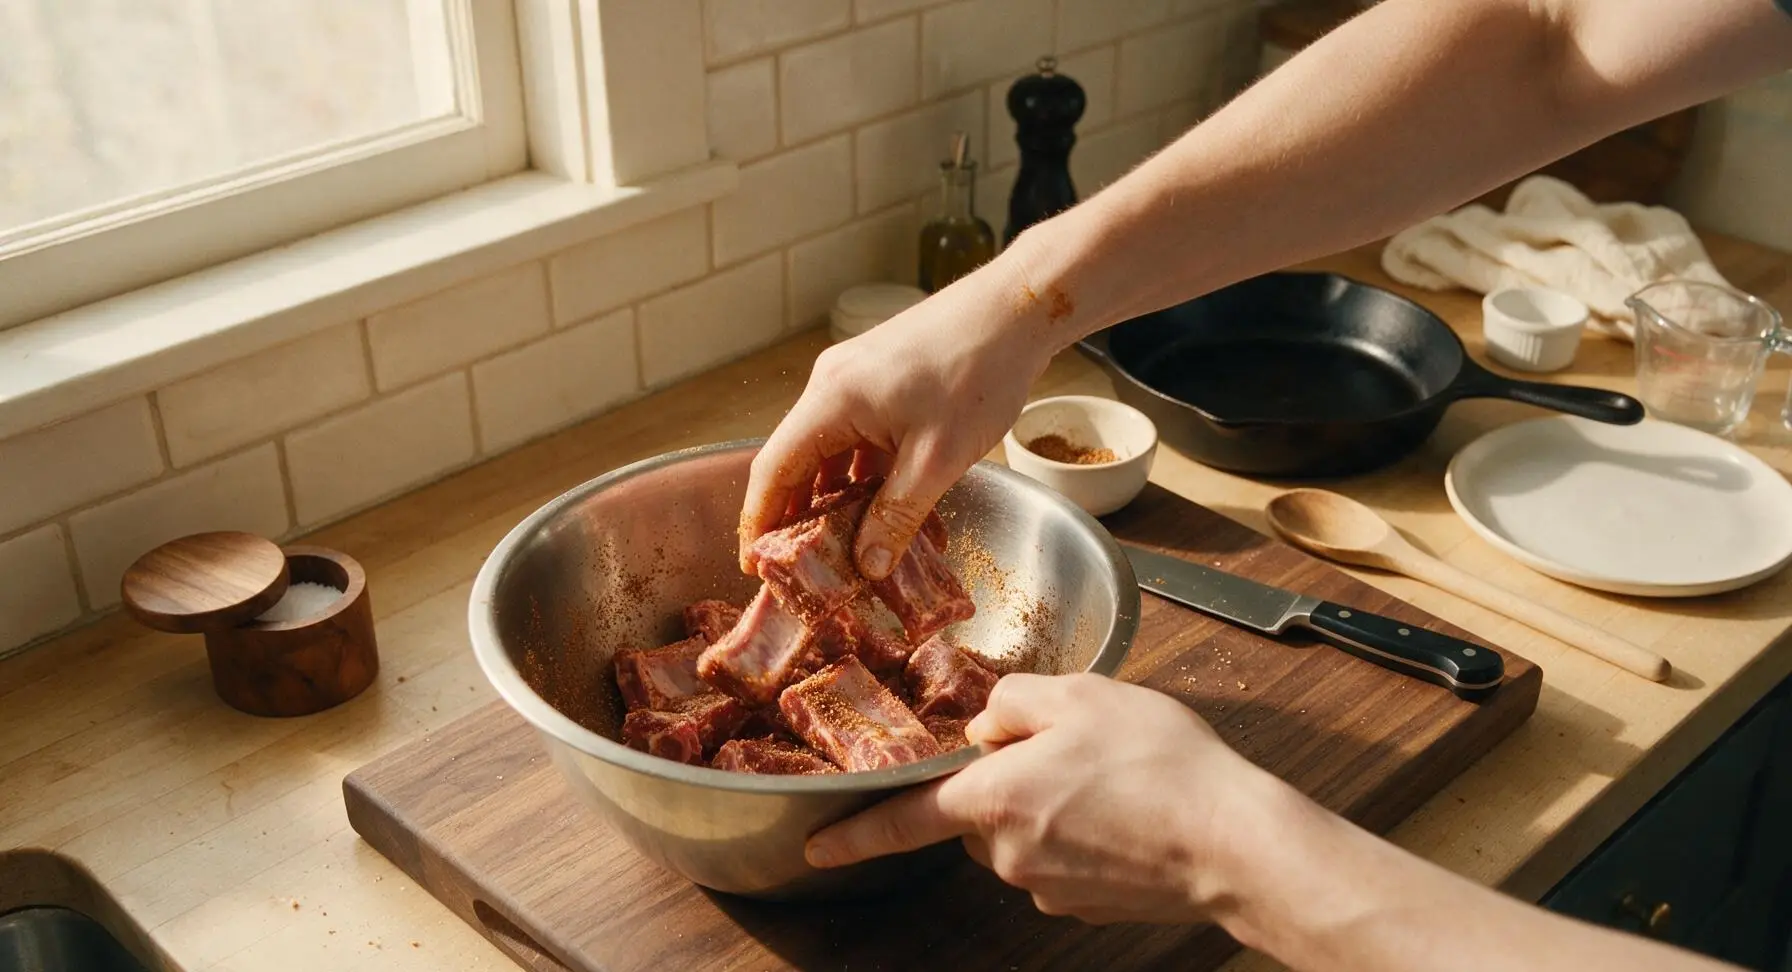
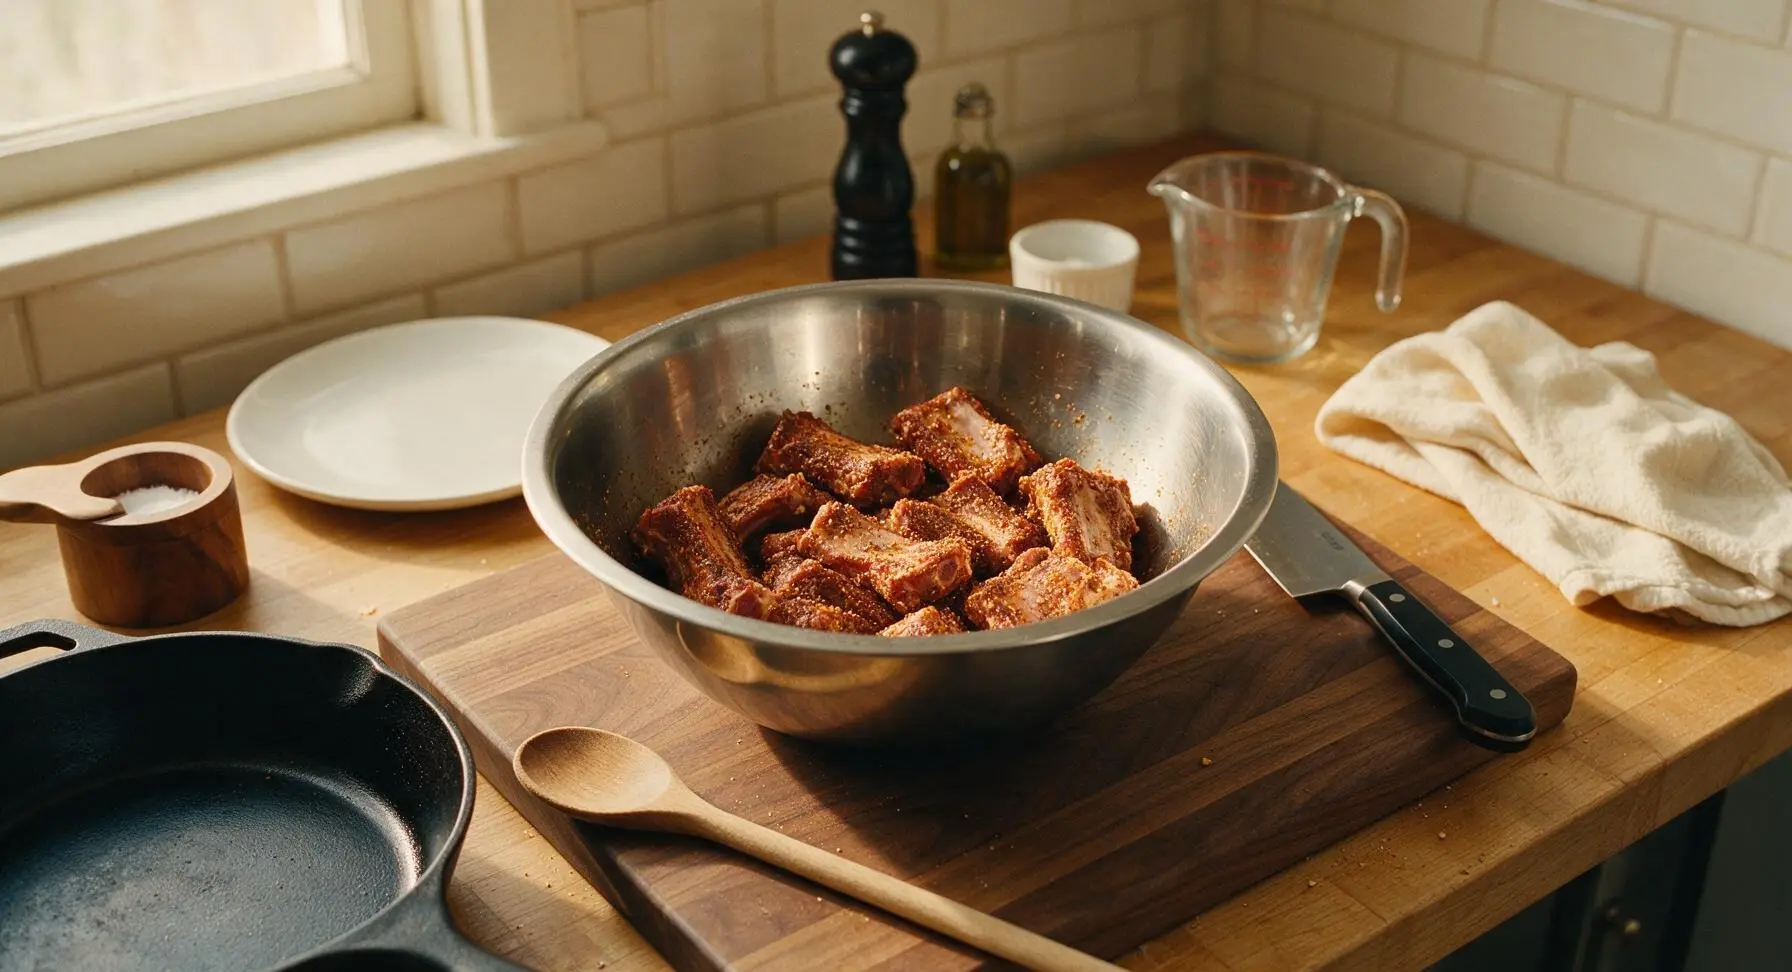
Transfer the dried riblets to the medium stainless steel mixing bowl. Sprinkle the entire dry rub mixture over the riblets, then toss with clean hands until every piece is evenly coated on all sides with a thin layer of rub. Let the coated riblets rest at room temperature for 15 minutes to allow salt to penetrate the meat and draw out surface moisture.
Step 3
step3:Coat Riblets in Rub
Step 3
step3:Coat Riblets in Rub
4

Whisk the Sticky Glaze

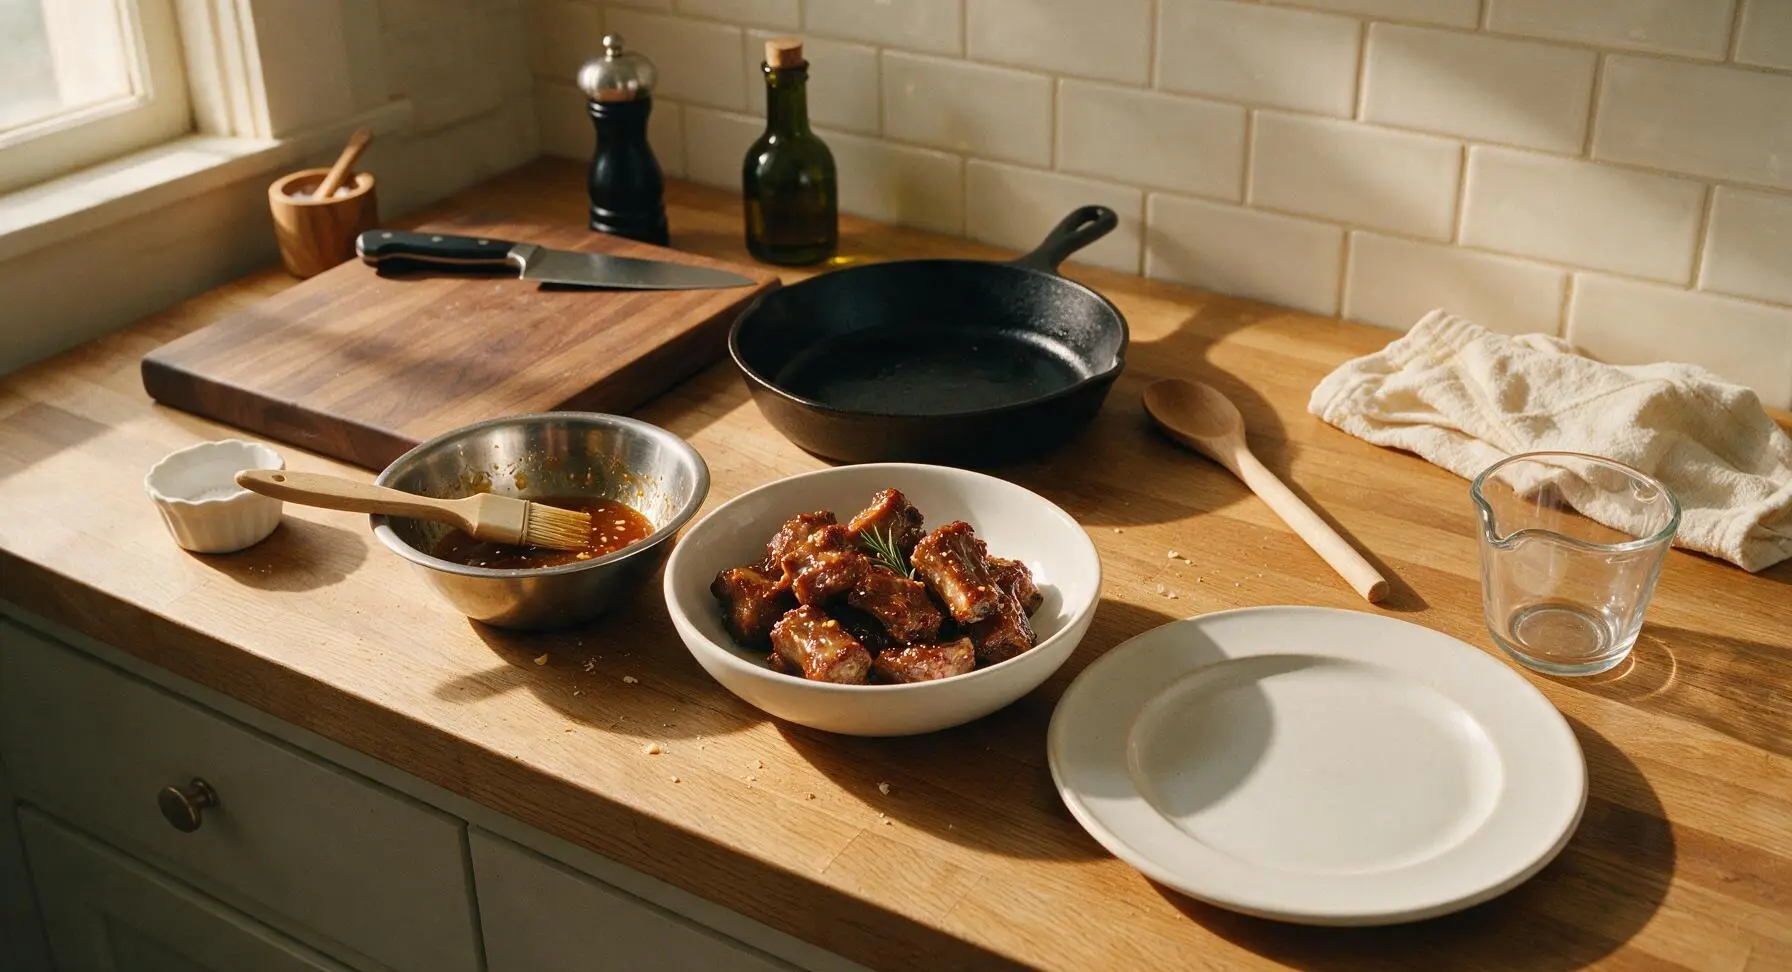
While the riblets rest, repurpose the empty small stainless steel mixing bowl to make the glaze. Whisk together 3 tablespoons light brown sugar, 60ml low-sodium soy sauce, 3 tablespoons honey, 2 tablespoons apple cider vinegar, 2 tablespoons tomato ketchup, 3 cloves minced garlic, 1 tablespoon grated ginger, and 1 teaspoon neutral cooking oil until completely smooth. Set the glaze aside until ready to baste.
Step 4
step4:Whisk the Sticky Glaze
5

Preheat Grill for Cooking

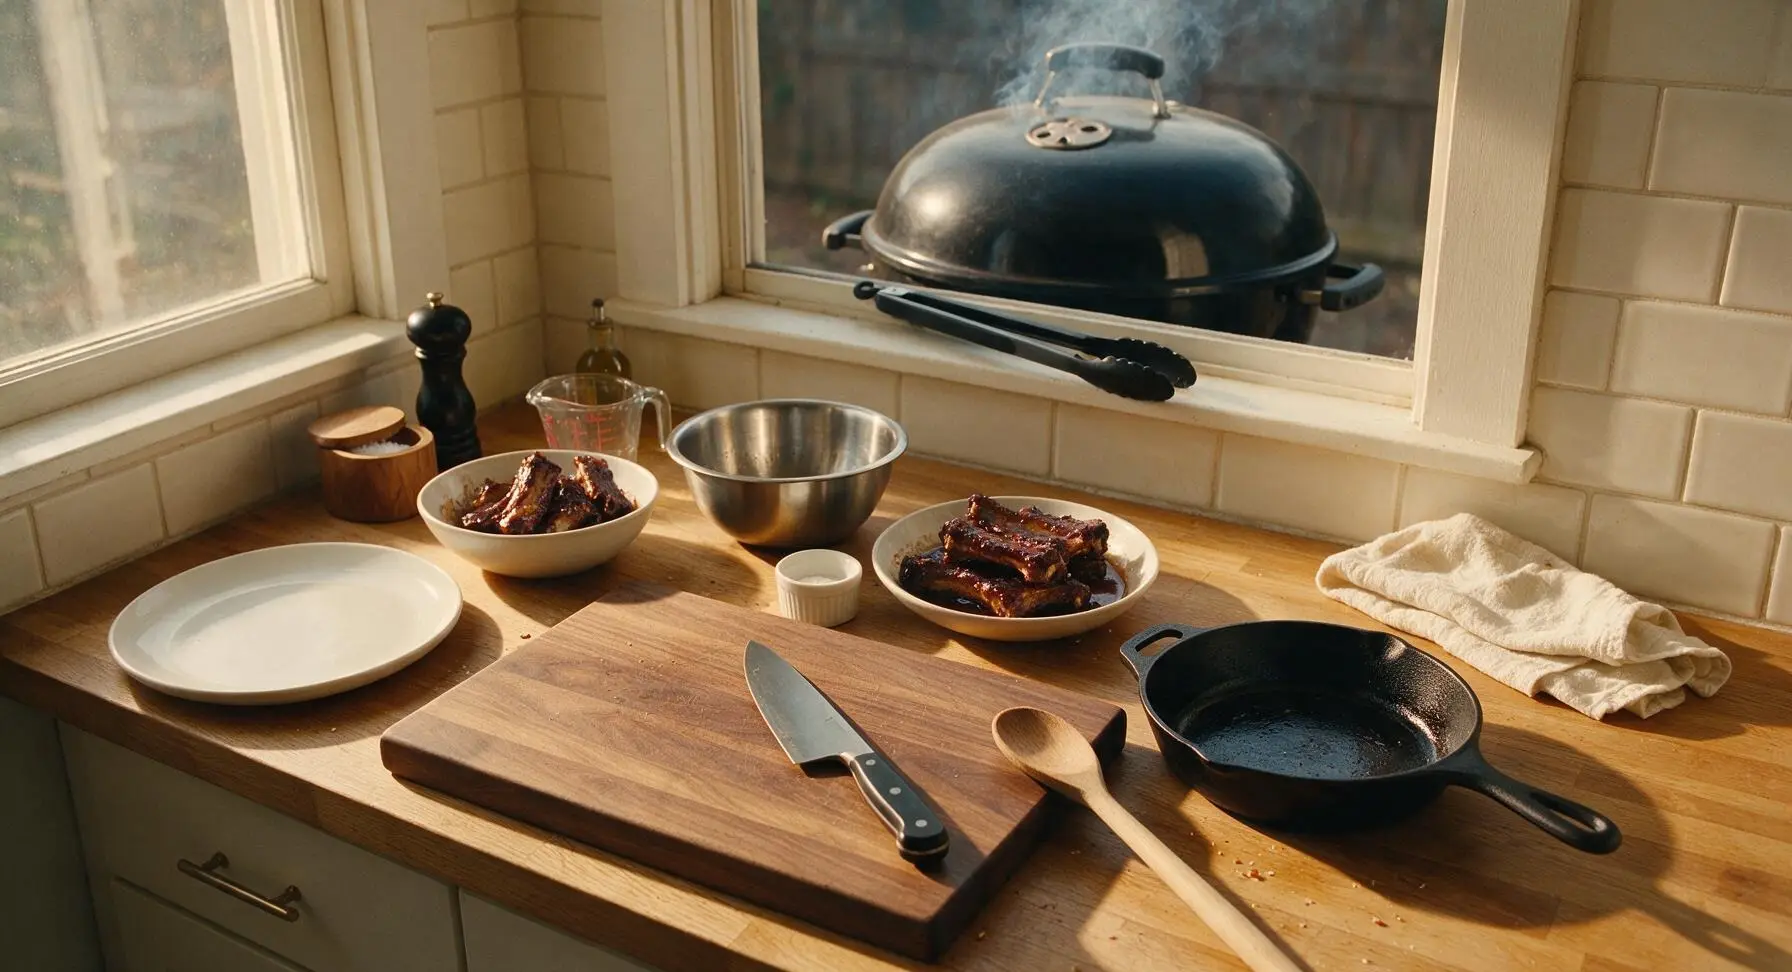
Preheat a charcoal or gas grill to 175C (350F), configured for indirect heat: push charcoal to one side of the kettle, or light only the outer burners on a gas grill, to create a cool zone for slow cooking. Lightly oil the grill grates to prevent riblets from sticking during cooking.
Step 5
step5:Preheat Grill for Cooking
6

Slow Cook Riblets Low

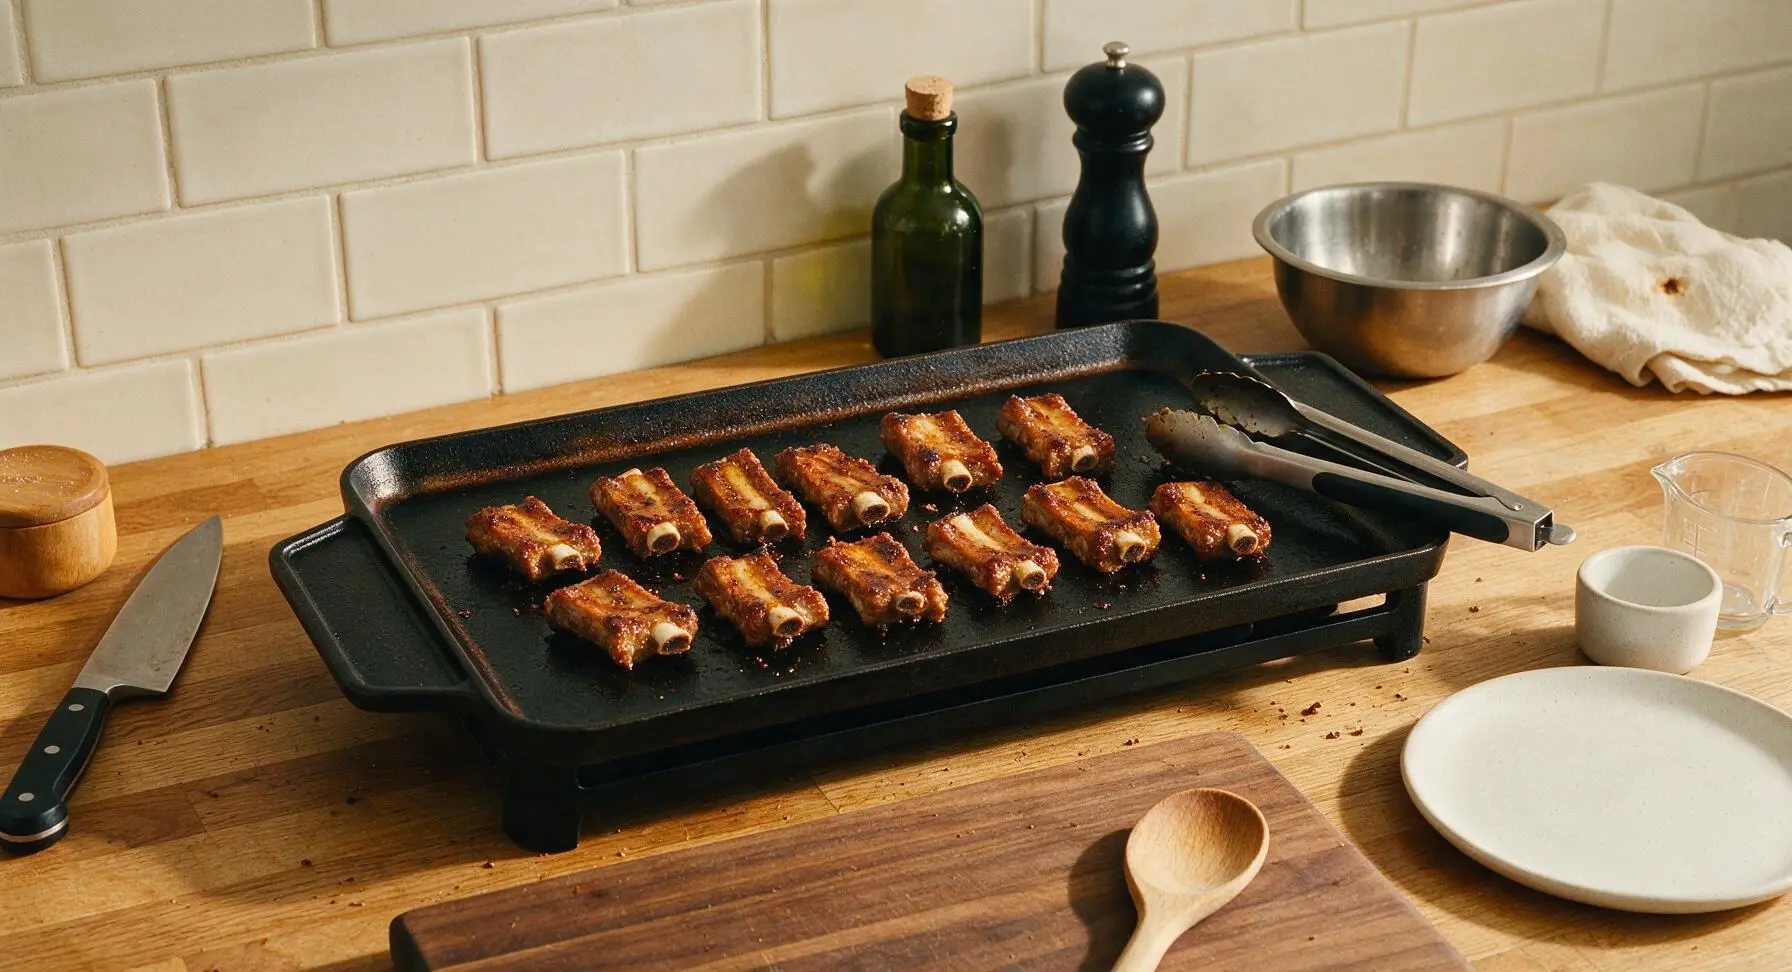
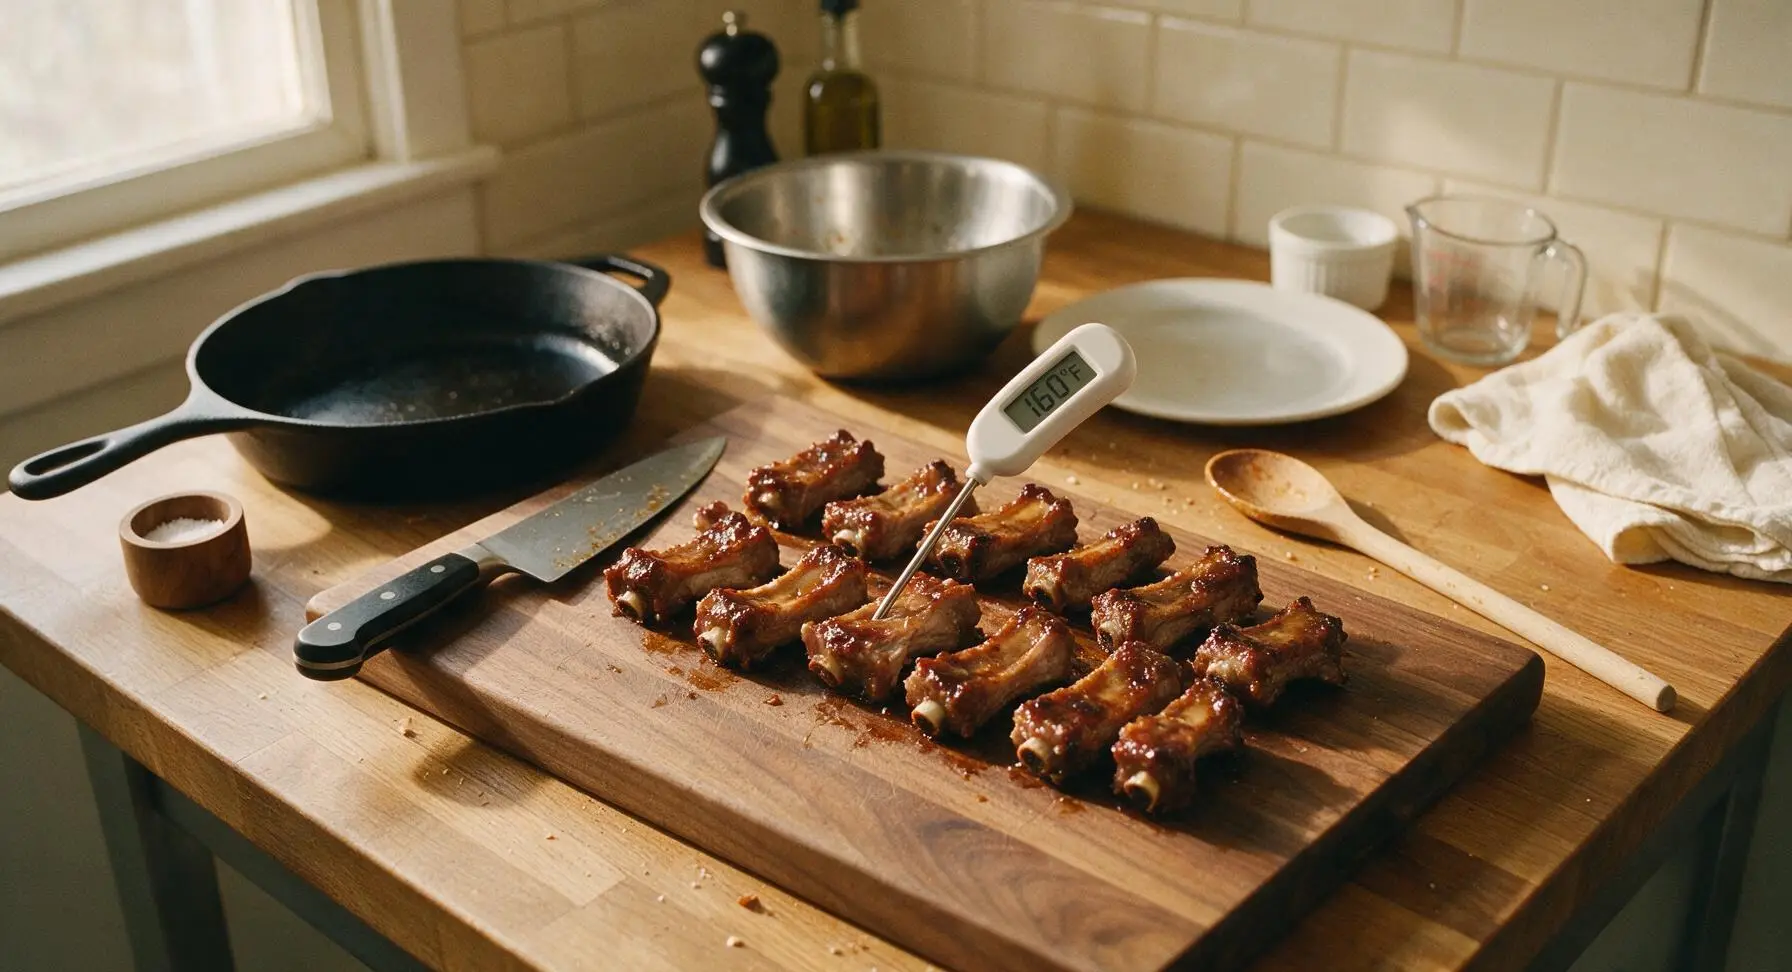
Arrange the coated riblets in a single layer on the indirect cool zone of the grill, close the lid, and cook for 45 minutes. Use the grill tongs to flip the riblets every 15 minutes to ensure even cooking. The riblets will deepen to a rich golden brown as the rub caramelizes; verify doneness with the instant-read thermometer, which should read 71C (160F) when inserted into the thickest part of a riblet before moving to the next step.
Step 6
step6:Slow Cook Riblets Low
Step 6
step6:Slow Cook Riblets Low
7

Baste with Sticky Glaze

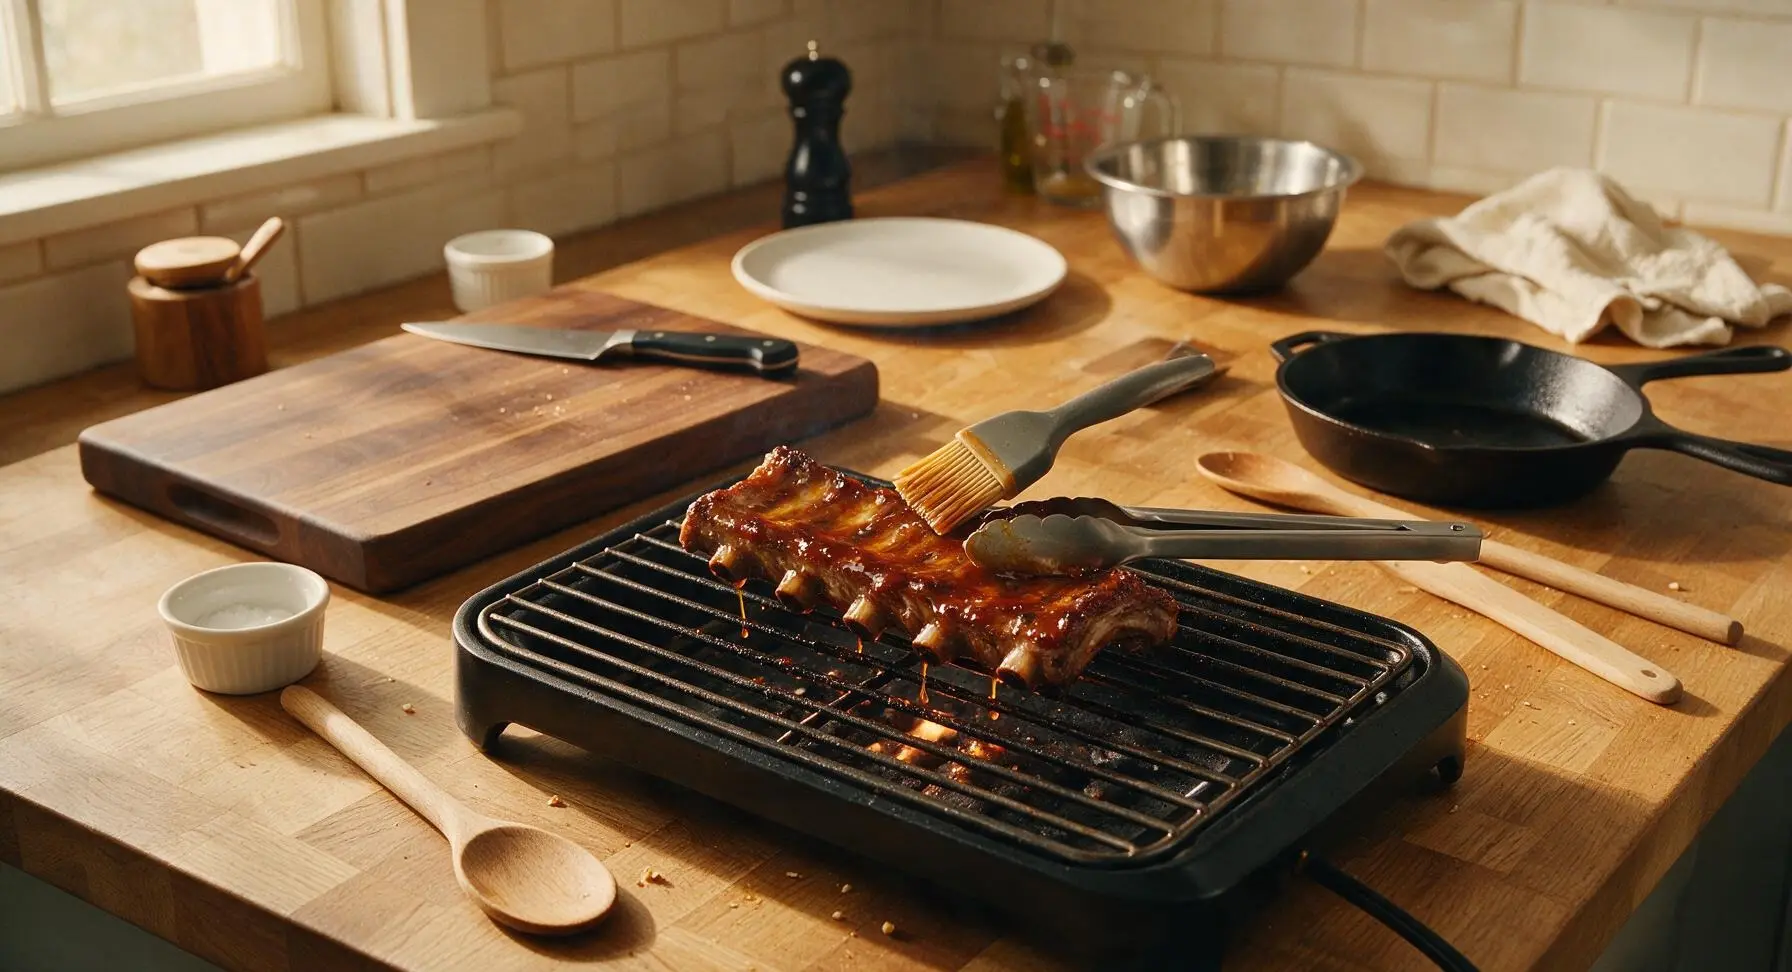
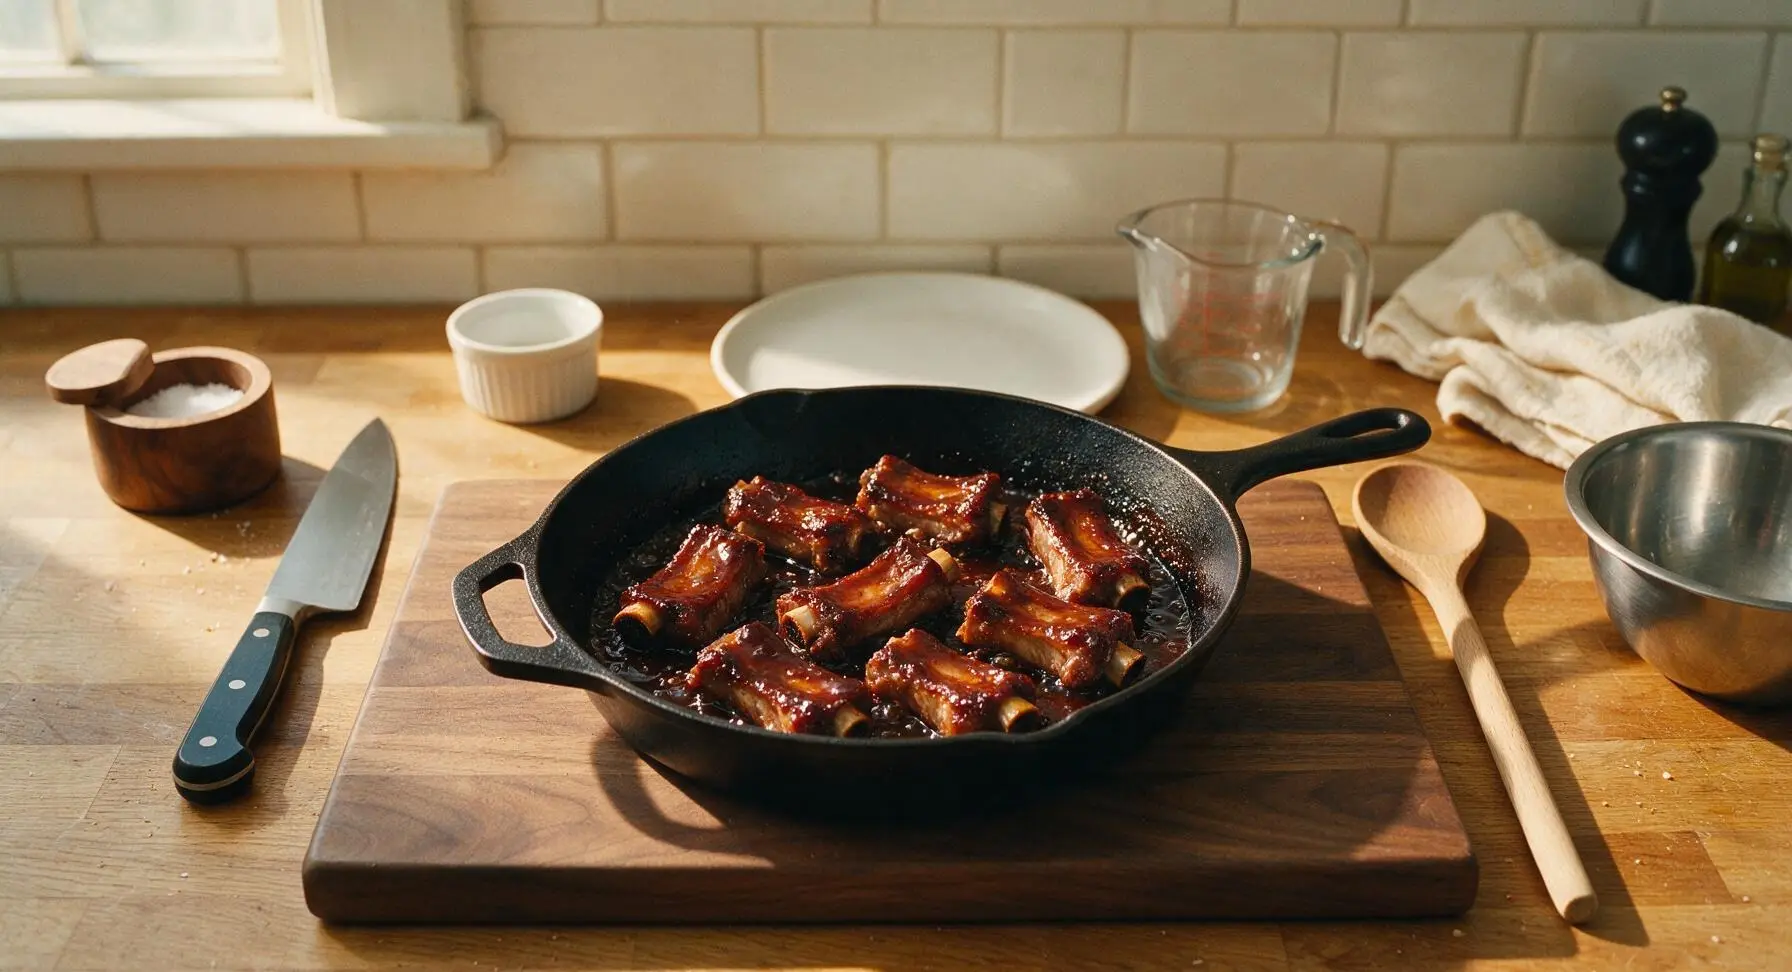
Once riblets reach 71C (160F) internal temperature, use tongs to move them to the direct hot side of the grill. Use the silicone basting brush to coat every side of the riblets generously with the sticky glaze, turning frequently with tongs for 10-12 minutes. Cook until the glaze is caramelized, glossy, and tacky to the touch, and internal temperature reaches 79C (175F). Watch closely to avoid burning the sugar in the glaze, which chars in as little as 30 seconds over high heat.
Step 7
step7:Baste with Sticky Glaze
Step 7
step7:Baste with Sticky Glaze
8

Rest and Garnish Ribs

Use grill tongs to transfer finished glazed riblets to the oval matte cream ceramic serving platter. Let riblets rest for 5 minutes to allow juices to redistribute, then sprinkle evenly with thinly sliced scallions for a bright, fresh garnish. Serve hot, with extra glaze in the small cream ramekin for dipping.
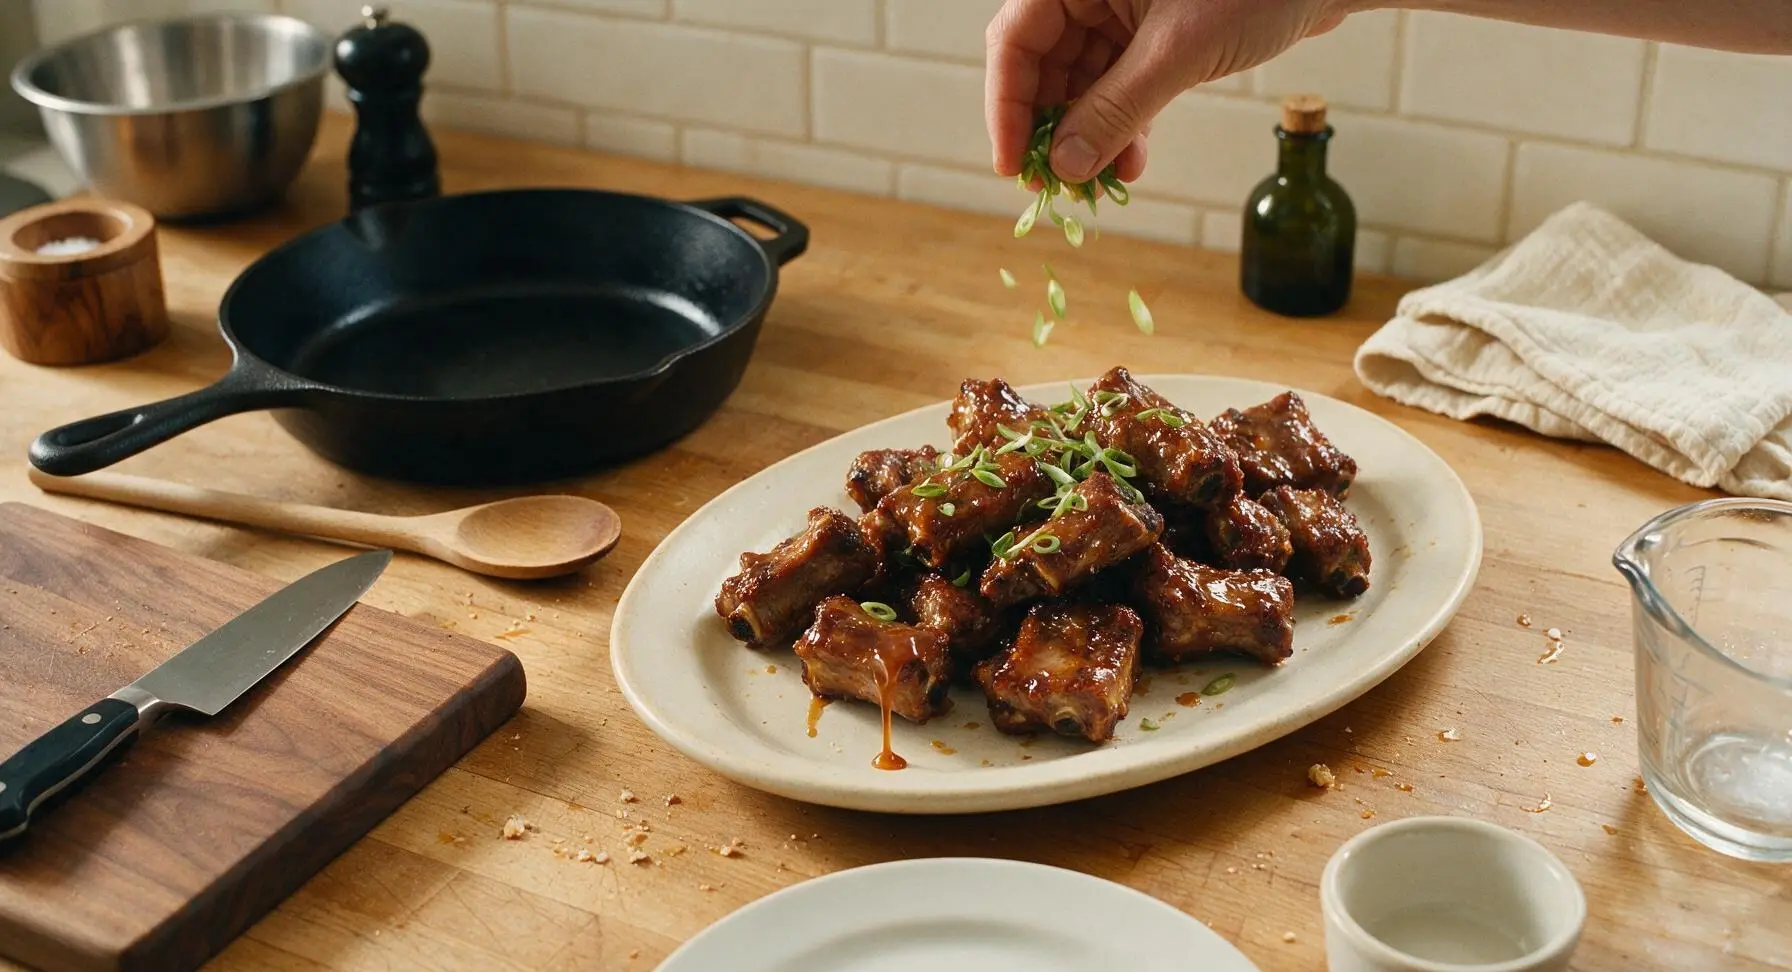
Step 8
step8:Rest and Garnish Ribs

Tips

1.Pat riblets completely dry with paper towels before applying rub: excess surface moisture will steam the meat instead of forming a crisp, caramelized crust, and will cause the rub to slide off rather than adhere evenly.
2.Cook riblets over indirect heat first before glazing: the high sugar content in the rub and glaze burns quickly over direct high heat, leading to bitter, charred spots before the meat has time to turn tender. Only move ribs to direct heat for the final 10-12 minutes of cooking to set the glaze.
3.Let riblets rest for 5 minutes after coming off the grill: this short rest allows muscle fibers to relax and reabsorb juicy, flavorful liquid, so bites stay moist instead of having all the delicious juice run out onto the platter when you pick up a riblet.
✨ You May Also Like

BBQ & Grilling
🍜 United States

Tender, melt-in-your-mouth beef brisket with a crisp, spiced bark, slow-smoked to deep smoky perfection, the iconic centerpiece of Texas backyard barbecue.

⏱️ 12 hours BBQ & Grilling ★ 4.4
BBQ & Grilling
🍜 Korea

Tender, sweet-savory marinated beef short ribs, a beloved Korean BBQ staple with caramelized, slightly charred edges and deep umami flavor, perfect for outdoor summer gatherings.

⏱️ 4 hours 2BBQ & Grilling ★ 4.8
BBQ & Grilling
🍜 United States

Juicy grilled beef patties topped with smoky homemade chili, melted cheddar, and tangy pickles on toasted brioche buns for a hearty, flavor-packed handheld meal.

⏱️ 40 minuteBBQ & Grilling ★ 4.7
BBQ & Grilling
🍜 United States

A sweet, smoky, tangy BBQ sauce brightened with peak-season dark cherries, ideal for glazing grilled ribs, chicken, pork, or summer roasted veggies.

⏱️ 35 minuteBBQ & Grilling ★ 4.7
BBQ & Grilling
🍜 United States

Rich, smoky, slightly sweet homemade bourbon BBQ sauce with deep caramel notes, ideal for glazing grilled ribs, chicken, and burgers at cookouts.

⏱️ 25 minuteBBQ & Grilling ★ 4.7
BBQ & Grilling
🍜 United States

Iconic Alabama-style BBQ featuring tender hickory-smoked chicken slathered in tangy creamy white sauce, a beloved regional Southern cookout staple.

⏱️ 3 hoursBBQ & Grilling ★ 5

Pork Riblets:Frequently Asked Questions

1.What are pork riblets, and can I use regular spare ribs as a substitute? ▾
Pork riblets are small, meaty bone-in trimmings cut from the edge of spare ribs, typically sold pre-portioned into 2-inch pieces. If you can’t track them down, cut full spare ribs across the bone into matching 2-inch individual pieces, trimming any thick, hard excess fat first to help the glaze stick and prevent greasy bites.
2.Do I need to remove the membrane from the back of the riblets before cooking? ▾
Absolutely— that thin, papery silver membrane on the bone side gets tough and chewy when cooked, and blocks seasoning and glaze from penetrating the meat. Slide a butter knife under the edge at one end, grip it with a paper towel for traction, and pull it off in one smooth sheet before seasoning.
3.Can I make these riblets in an oven instead of on a grill? ▾
Definitely! Preheat your oven to 325°F, arrange seasoned riblets on a wire rack set over a foil-lined baking sheet to let air circulate, and bake for 1.5 to 2 hours until tender, then brush on glaze and broil 1-2 minutes per side to get that glossy, sticky char you’d get from the grill.
4.How do I get that fall-off-the-bone tender texture without the meat falling apart completely? ▾
Cook them low and slow, between 300–325°F, whether on a grill or in the oven, and stop cooking when you can twist a bone gently with light resistance and the meat pulls back 1/4 inch from the bone end. Too-high heat burns the exterior before meat tenderizes, while overcooking leads to mushy meat that won’t hold glaze.
5.The recipe uses light brown sugar for the glaze—can I use dark brown sugar instead? ▾
You can, just know dark brown sugar has a higher molasses content, so it will add a deeper, slightly more bitter-sweet, toffee-like flavor and a darker glaze color. If you prefer a brighter, milder sweet note that lets the soy and BBQ flavors shine, stick to light brown sugar, but the swap works perfectly if that’s what you have.
6.How much kosher salt should I use to season the riblets, and when is the best time to apply it? ▾
Use 1 teaspoon of kosher salt per pound of riblets, applied 45 minutes to an hour before cooking if you have time. This lets the salt draw out moisture that reabsorbs into the meat, seasoning it all the way through. If you’re short on time, apply the salt right along with the other dry seasonings right before cooking.
7.What does smoked paprika add to the recipe, and can I use regular paprika if I don’t have it? ▾
Smoked paprika adds a deep, woody, campfire-like smokiness that mimics slow grill cooking even if you make these in the oven. Regular sweet paprika works as a swap, but you’ll miss that smoky note—add 1/4 teaspoon of liquid smoke to the glaze to make up for it so you don’t lose that classic BBQ depth.
8.I don’t have garlic powder—can I use fresh garlic instead? ▾
Fresh garlic works, but you have to be careful not to burn it during the high-heat glaze finish, since burnt garlic turns bitter fast. Use 2 teaspoons of finely minced fresh garlic per 1 teaspoon of garlic powder, mix it directly into the glaze instead of the dry rub, and brush it on only during the last 5 minutes of cooking.
9.How do I keep the sweet glaze from burning and turning bitter? ▾
Apply the sticky sugar-based glaze only during the last 10 to 15 minutes of cooking, once the riblets are already almost tender. Sugar caramelizes and burns quickly at high heat, so save the glaze for the final stretch, turning riblets frequently as you brush it on to build that glossy coat without charring it.
10.Can I prep these riblets ahead of time for a summer cookout? ▾
Absolutely! You can season raw riblets with the dry rub, cover them, and store them in the fridge for up to 24 hours before cooking. You can also cook riblets low and slow up to 2 days ahead, chill them, then brush on glaze and finish them on a hot grill or under the broiler for 5 minutes right before serving.
11.What’s the best way to serve these riblets at a casual party? ▾
Pile them on a large platter lined with parchment paper, and skip the forks—these are designed to be finger food! Set out small ramekins of extra glaze for dipping, a big stack of napkins (you’ll need lots), and pair them with classic summer sides like coleslaw, potato salad, corn on the cob, or dill pickles.
12.How long do leftover riblets stay good in the fridge, and what’s the best way to reheat them? ▾
Leftovers will stay fresh stored in an airtight container in the fridge for 3 to 4 days. To reheat without drying them out or making the glaze gummy, wrap them in foil and bake at 300°F for 10 to 12 minutes until warmed through, then unwrap and broil for 1 minute to crisp the glaze back up.
13.Can I freeze these glazed riblets to enjoy later? ▾
Yes! Let cooked, cooled riblets freeze solid on a baking sheet first, then transfer them to a labeled freezer bag for up to 3 months. Thaw them in the fridge overnight, then reheat the same way you would refrigerated leftovers: low oven heat in foil, finished with a quick broil to bring back that glossy, sticky crust.
14.My glaze is too runny and won’t stick to the riblets—what did I do wrong? ▾
If your glaze is too thin, it’s likely because you didn’t simmer it long enough before applying, or you put it on too early when the riblets were releasing excess moisture. Simmer the glaze on the stovetop for 5 to 7 minutes until it coats the back of a spoon, and only brush it on once riblets are tender and surface is dry.
15.Can I make these sticky riblets in an air fryer? ▾
You sure can! Arrange seasoned riblets in a single layer in the air fryer basket, cook at 325°F for 35 to 40 minutes, flipping halfway through, until tender. Brush on the glaze during the last 5 minutes of cooking, bump the temperature to 400°F, and cook 2 to 3 minutes per side until caramelized, working in batches to avoid crowding.
16.How spicy are these riblets? Can I add heat if I want a little kick? ▾
The base recipe is mild, sweet, and smoky with no added heat, so they’re crowd-friendly for kids and guests who don’t like spicy food. If you want a kick, add 1/2 to 1 teaspoon of cayenne to the dry rub, or stir a tablespoon of hot sauce or pinch of red pepper flakes into the glaze to balance the sweetness.
17.Do I need to use store-bought BBQ sauce for the glaze, or can I make my own? ▾
A good quality store-bought original BBQ sauce works great for a quick, easy meal, but you can absolutely make your own if you prefer. Mix ketchup, a splash of soy sauce and apple cider vinegar, a pinch of the same smoked paprika and garlic powder from the rub, and extra brown sugar, then simmer until thickened to match the recipe’s flavor profile.
18.Why are my riblets tough and chewy even after cooking for a long time? ▾
Tough riblets almost always come from cooking at too high a temperature, which makes muscle fibers seize up before the connective tissue has time to break down into that tender, juicy texture. Make sure your grill or oven stays between 300–325°F, and give them 1.5 to 2 hours for that tough connective tissue to fully melt.
19.Should I boil riblets first to make them tender faster? ▾
I don’t recommend boiling riblets, even if it cuts down on cook time. Boiling leaches out most of the meaty, smoky flavor and leaves the texture watery and mushy, so the glaze won’t stick properly. Low and slow dry heat, whether in the oven, on the grill, or in the air fryer, gives far better flavor and texture without diluting the riblets’ savoriness.

Comments (3)

3 days ago

OMG these sticky glazed pork riblets were an absolute game changer for our Sunday family dinner! My two boys devoured every single piece and kept asking for seconds before they even finished their first helping. The glaze is perfectly sweet and savory, not too sticky that it makes a huge mess but just enough that you want to lick your fingers. I did add a tiny extra splash of soy sauce because we love umami, and it turned out chef’s kiss. Cook time was spot on too, the meat was fall-off-the-bone tender at exactly 1 hour 10 minutes, no extra time needed. 10/10 will be making these for our next neighborhood potluck!

2 days ago

Wait adding extra soy sauce is such a smart call! I made these last week and thought the glaze was missing a little salty depth, I’ll definitely do that next time I whip a batch up. Quick question — did you use low sodium or regular soy sauce?

1 day ago

So glad these were a hit with your family! Adding a splash of extra soy is such a great customization — if you’re using regular soy, just hold back a tiny bit on the added salt in the dry rub to keep the flavors balanced. Can’t wait to hear how they go over at your neighborhood potluck!

2 hours ago

These were really tasty, but I ran into a little trouble with the glaze burning when I followed the oven temp exactly? I’m a pretty casual home cook so maybe I messed something up, but the last 10 minutes of cook time the glaze got super dark and smoky on the pan. Flavor was still amazing though, even with the slightly charred edges, my partner said it tasted like restaurant quality ribs. Wondering if I should lower my oven rack next time?

30 minutes ago

So sorry to hear the glaze burned a little for you! Oven temps can vary pretty widely between models, so if your oven runs hot, turning the temp down 25 degrees is a great first step. Quick tip: you’ll actually want to move the rack one position up to the middle of the oven instead of lowering it — lowering it puts the ribs closer to the lower heating element, which can make the glaze burn faster. That should help prevent those too-dark, smoky edges next time. So glad you still enjoyed the flavor even with the little mishap!

1 week ago

Made these for my game day watch party this past weekend and they were gone in 15 minutes flat! I prepped the glaze the night before to save time day of, which made the whole process so much easier. The only tweak I made was adding a pinch of red pepper flakes for a little heat, and people kept begging me for the recipe. SO good, will absolutely be adding this to my regular rotation for get-togethers. The medium difficulty rating is totally fair, you don’t need any fancy equipment to pull these off, just a little patience for the glaze to set right.