
pork tenderloin sauce

title 1
pork tenderloin sauce
⏱️ cook time 25 minutes
🍽️ servings 4
⚡ Difficulty easy

intro

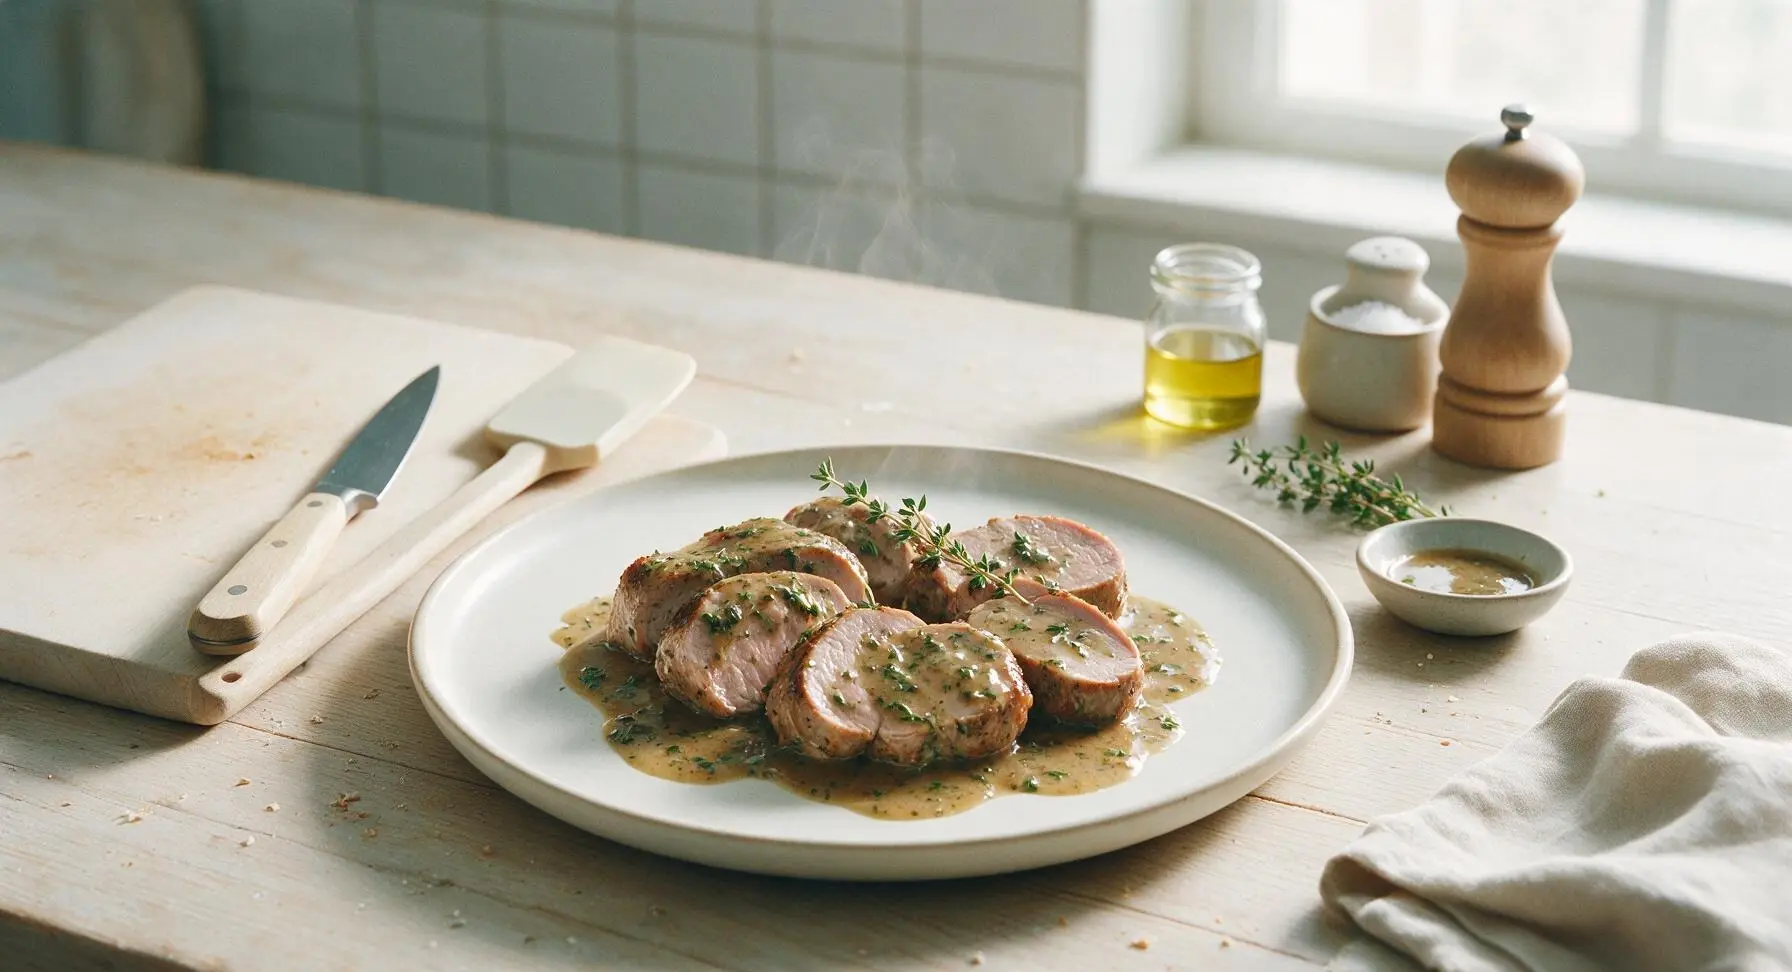
Silky, herb-forward pan sauce for seared pork tenderloin, built from rich pan drippings with a subtle tang and glossy finish, perfect for cozy family meals.

Ingredients
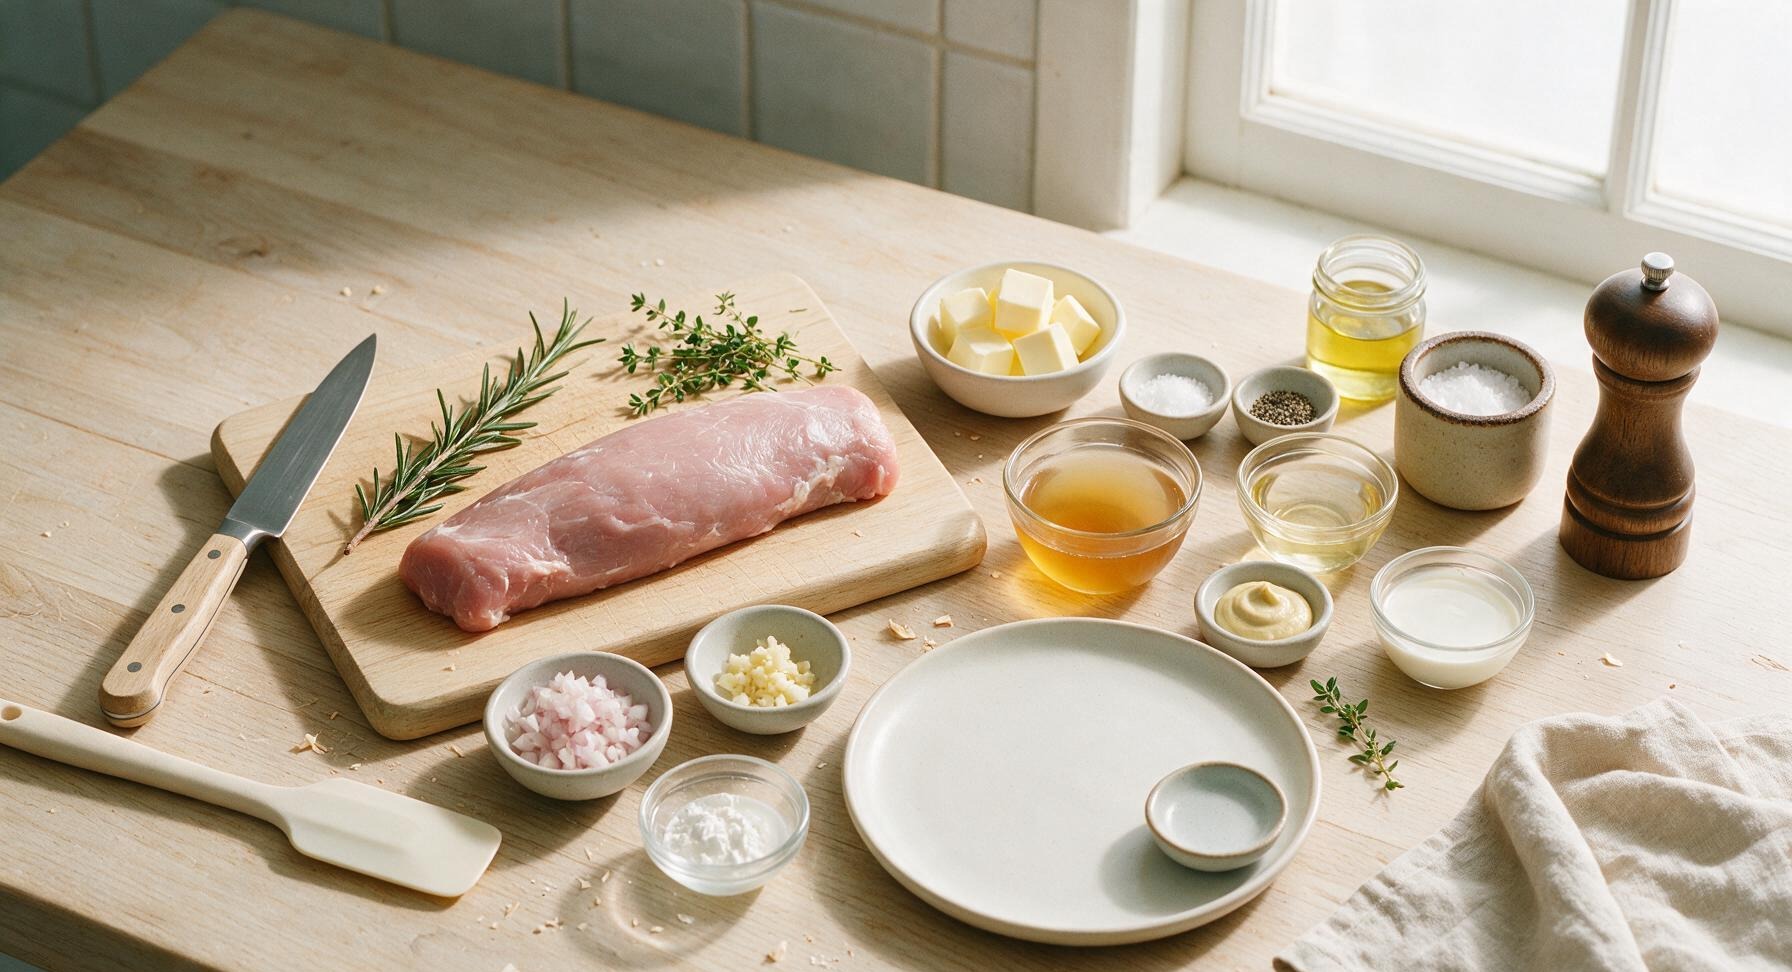
Pork tenderloin, trimmed of silver skin 450g (1lb)
Unsalted butter, divided 2 tbsp (28g)
Large shallot, finely diced 1 piece (50g)
Garlic cloves, minced 2 pieces (6g total)
Fresh thyme (3 for cooking, 1 for garnish) 4 sprigs
Fresh rosemary 1 small sprig (2g)
Low-sodium chicken broth 1 cup (240ml)
Dry white wine (such as Sauvignon Blanc) 1/3 cup (80ml)
Dijon mustard 1 tsp (5g)
Heavy cream 2 tbsp (30ml)
Kosher salt, divided 1 tsp (5g)
Freshly ground black pepper, divided 1/2 tsp (2g)
Cornstarch (optional, for thicker sauce, mixed with 1 tbsp cold water) 1 tsp

Steps

1

Sear the Pork Tenderloin

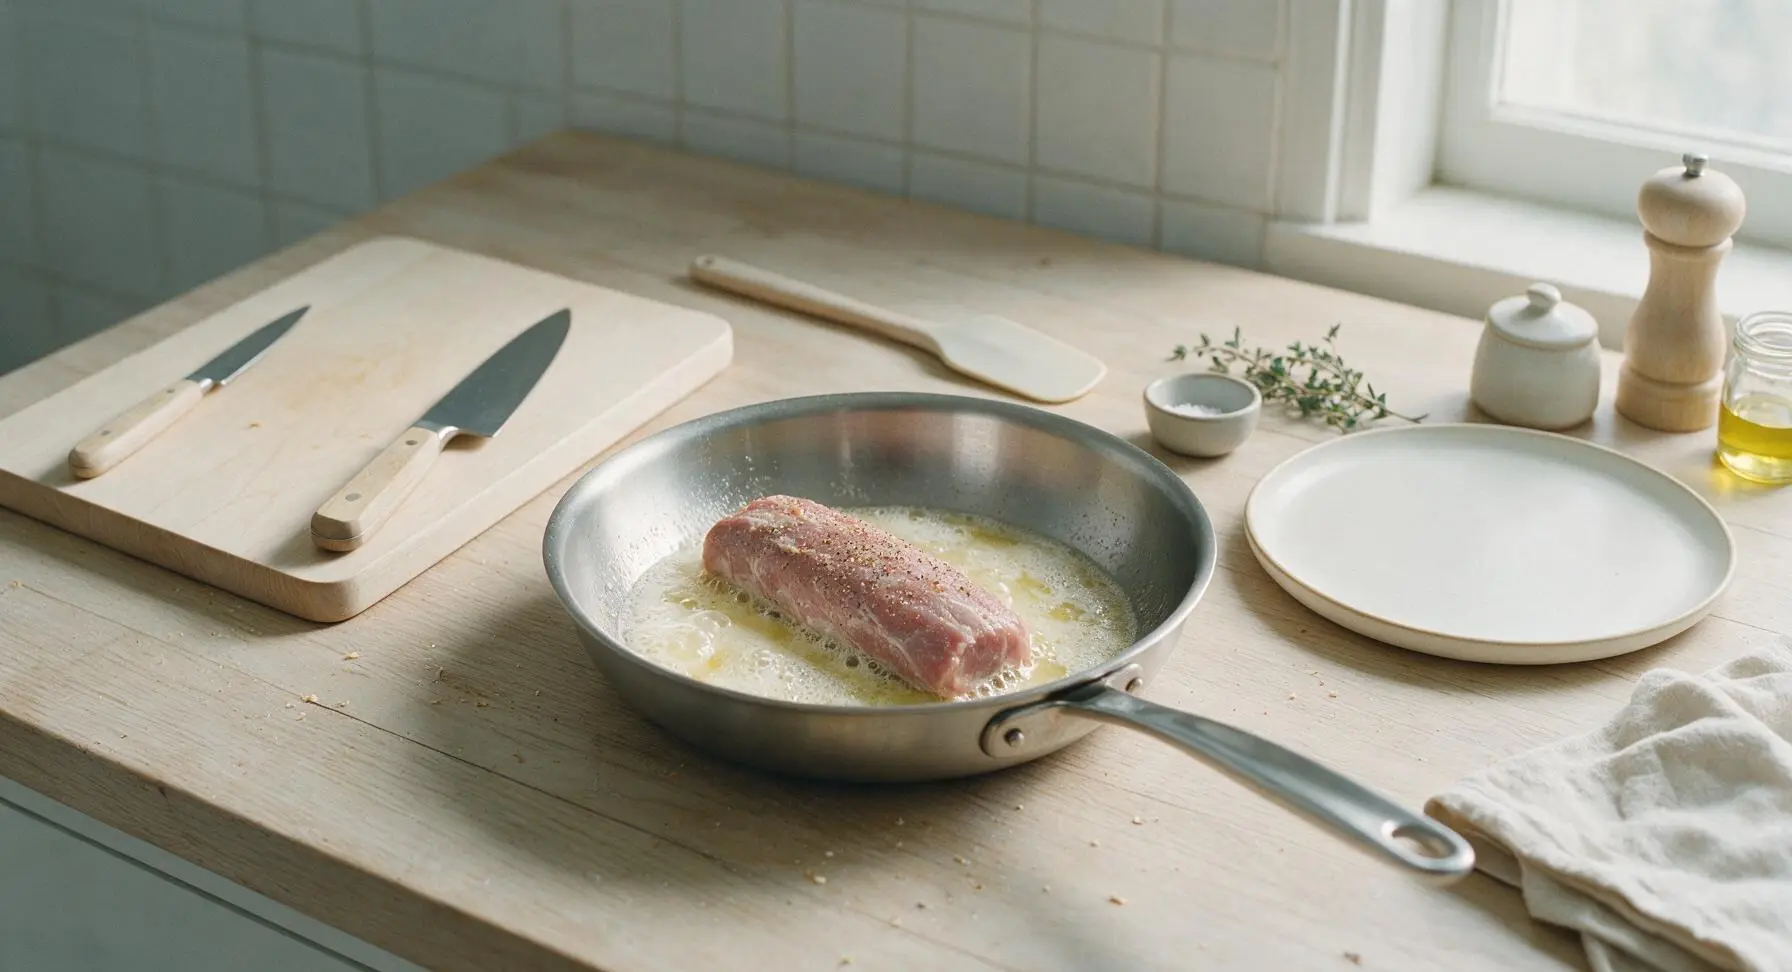
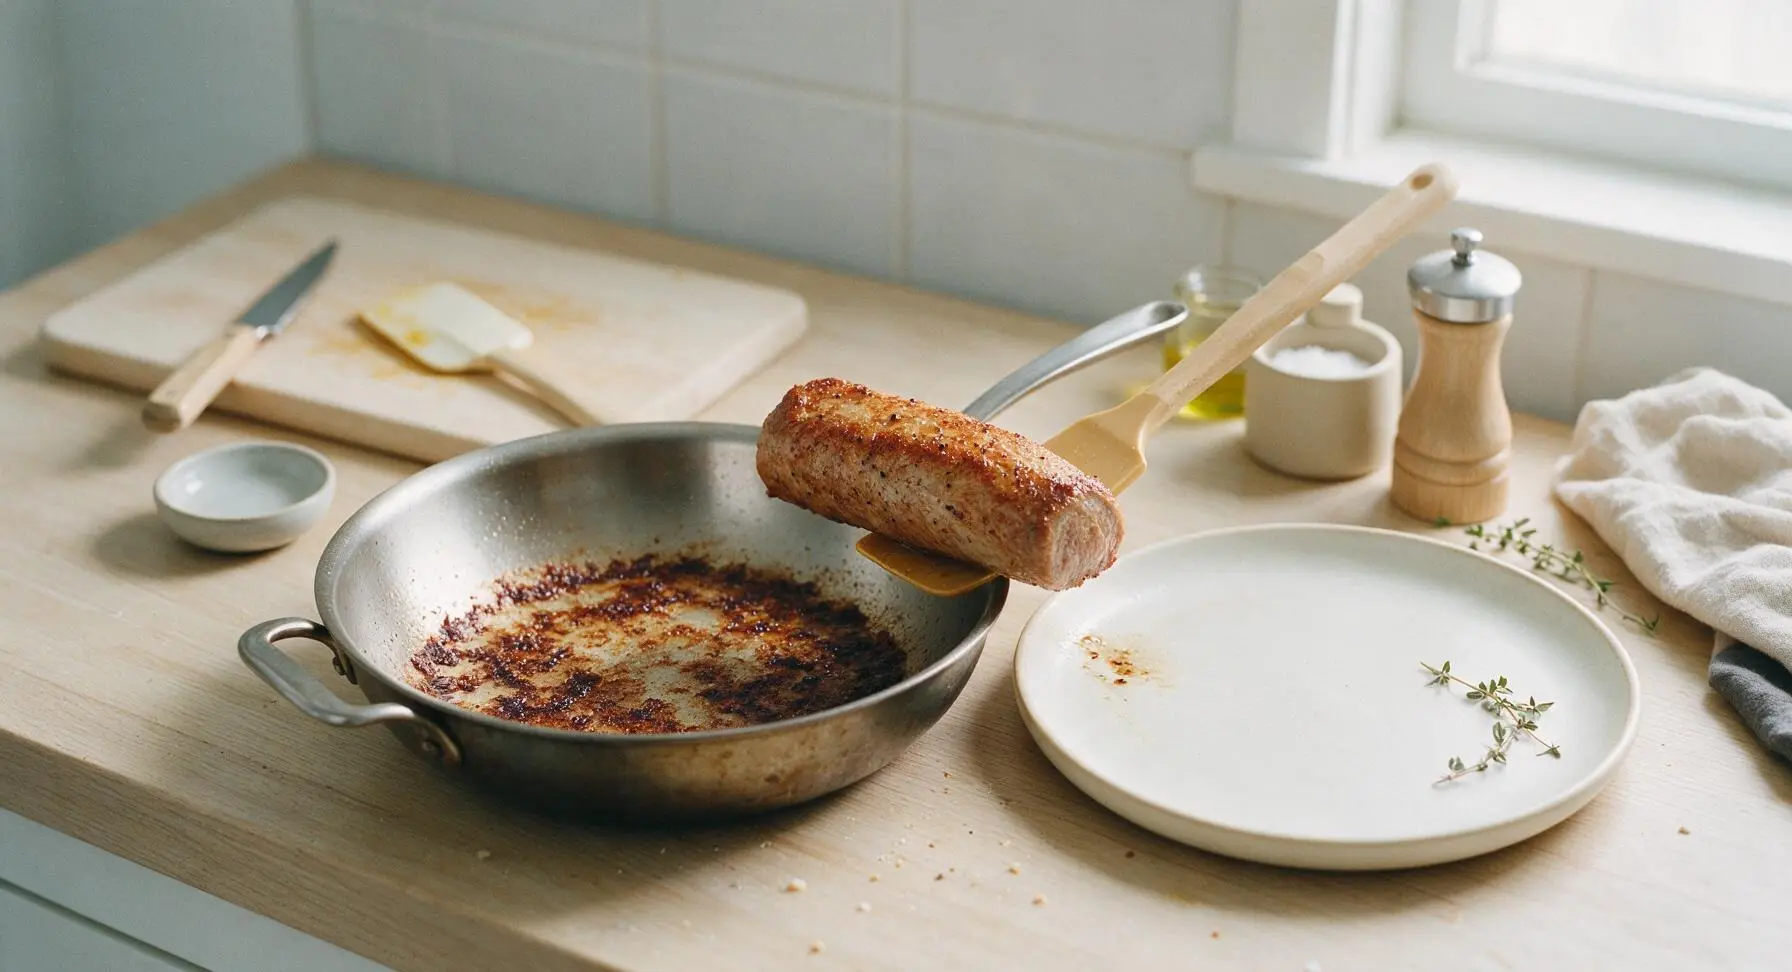
Pat the 450g silver skin-trimmed pork tenderloin completely dry with paper towels, then season all sides evenly with 3/4 tsp kosher salt and 1/4 tsp freshly ground black pepper. Heat 1 tbsp unsalted butter in the 12-inch stainless steel skillet over medium-high heat (375°F/190°C) until foaming subsides and the butter smells faintly nutty. Add the tenderloin and sear for 3–4 minutes per side (turning 4 times total) until deep golden brown on all surfaces, reaching an internal temperature of 140°F/60°C for medium doneness. Transfer the seared tenderloin to a small plate, tent loosely with foil, and leave all browned pan drippings (called fond) in the skillet—this is the flavor base for the sauce.
Step 1
step1:Sear the Pork Tenderloin
Step 1
step1:Sear the Pork Tenderloin
2

Sauté Aromatic Shallots

Reduce the skillet heat to medium (325°F/160°C). Add 1 tbsp remaining unsalted butter to the skillet with the fond, then add the finely diced shallot. Sauté for 2 minutes, stirring frequently with the maple spatula, until the shallot is soft and translucent, scraping up loose fond bits from the pan bottom as you stir. Add the minced garlic and cook for exactly 30 seconds, stirring constantly, until fragrant—do not let the garlic turn brown or bitter.
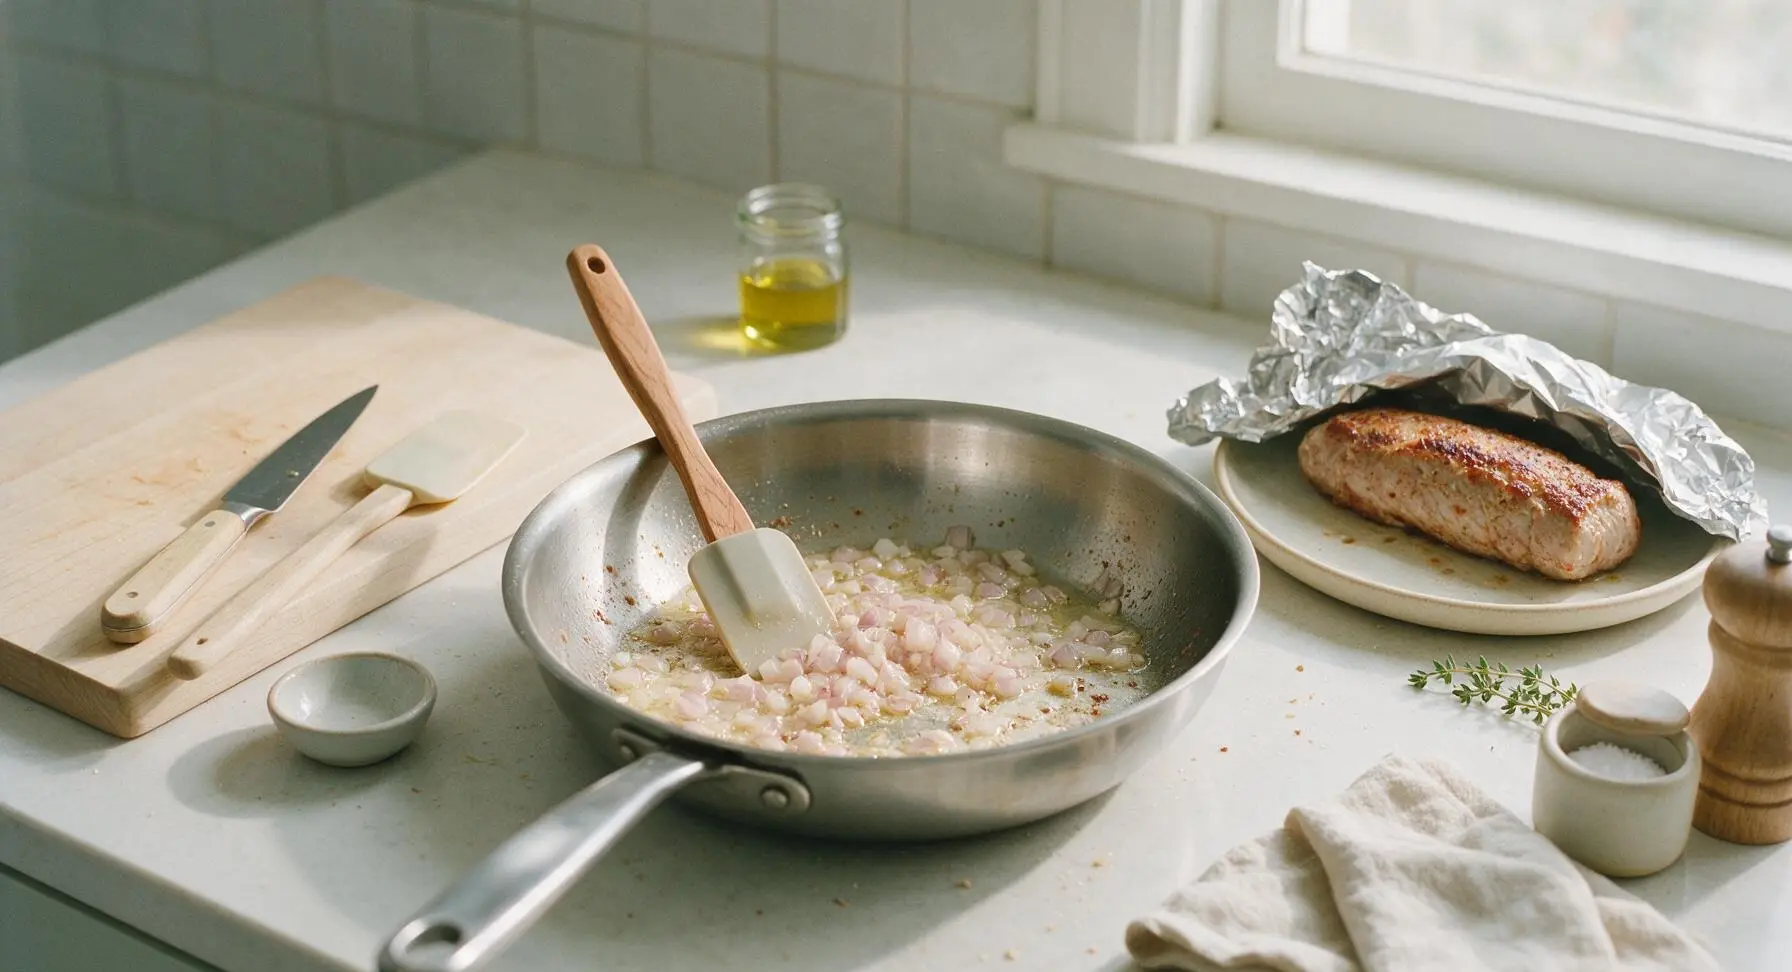
Step 2
step2:Sauté Aromatic Shallots
3

Deglaze with White Wine

Pour the 1/3 cup dry white wine into the hot skillet, scraping the entire pan bottom vigorously with the maple spatula to lift all remaining stuck fond bits into the liquid. Simmer for 2–3 minutes, until the wine is reduced by half, forming a thick, syrupy liquid that leaves a clear trail when you drag the spatula across the pan bottom.
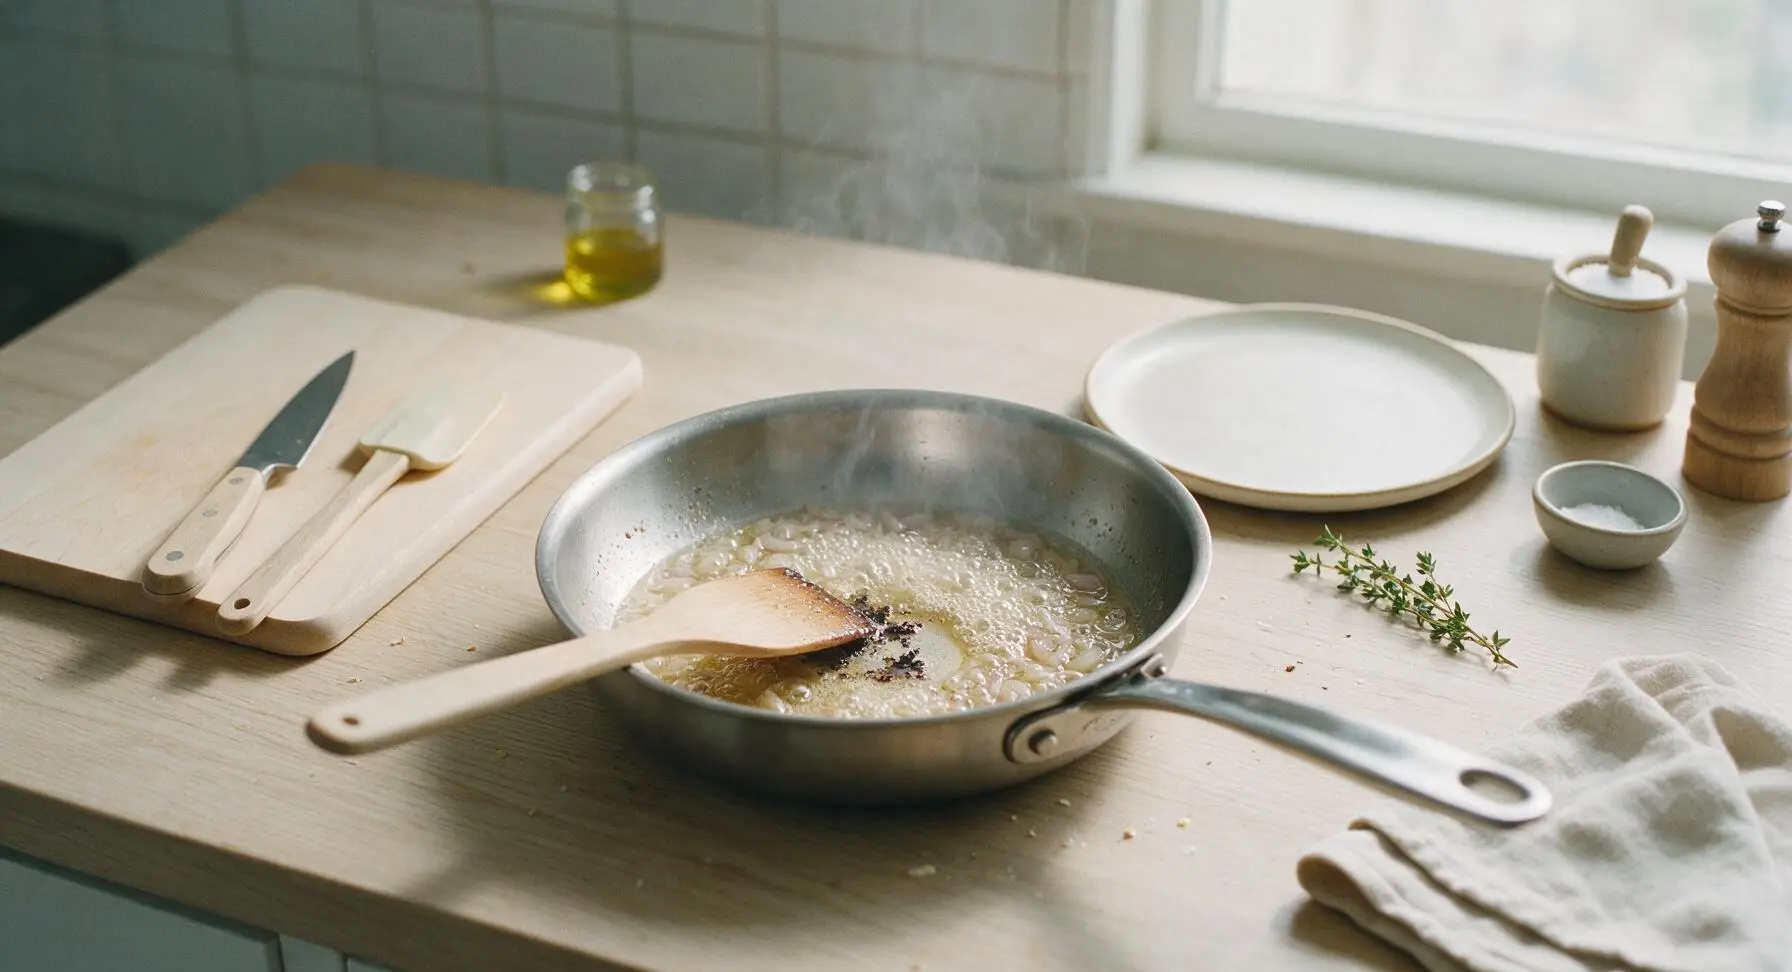
Step 3
step3:Deglaze with White Wine
4

Simmer Broth and Herbs

Add the 1 cup low-sodium chicken broth, 3 fresh thyme sprigs, and 1 small fresh rosemary sprig to the skillet. Bring the liquid to a low, gentle simmer (do not boil rapidly) then cook for 5–6 minutes, until the total liquid volume is reduced by half, creating a concentrated, aromatic base.
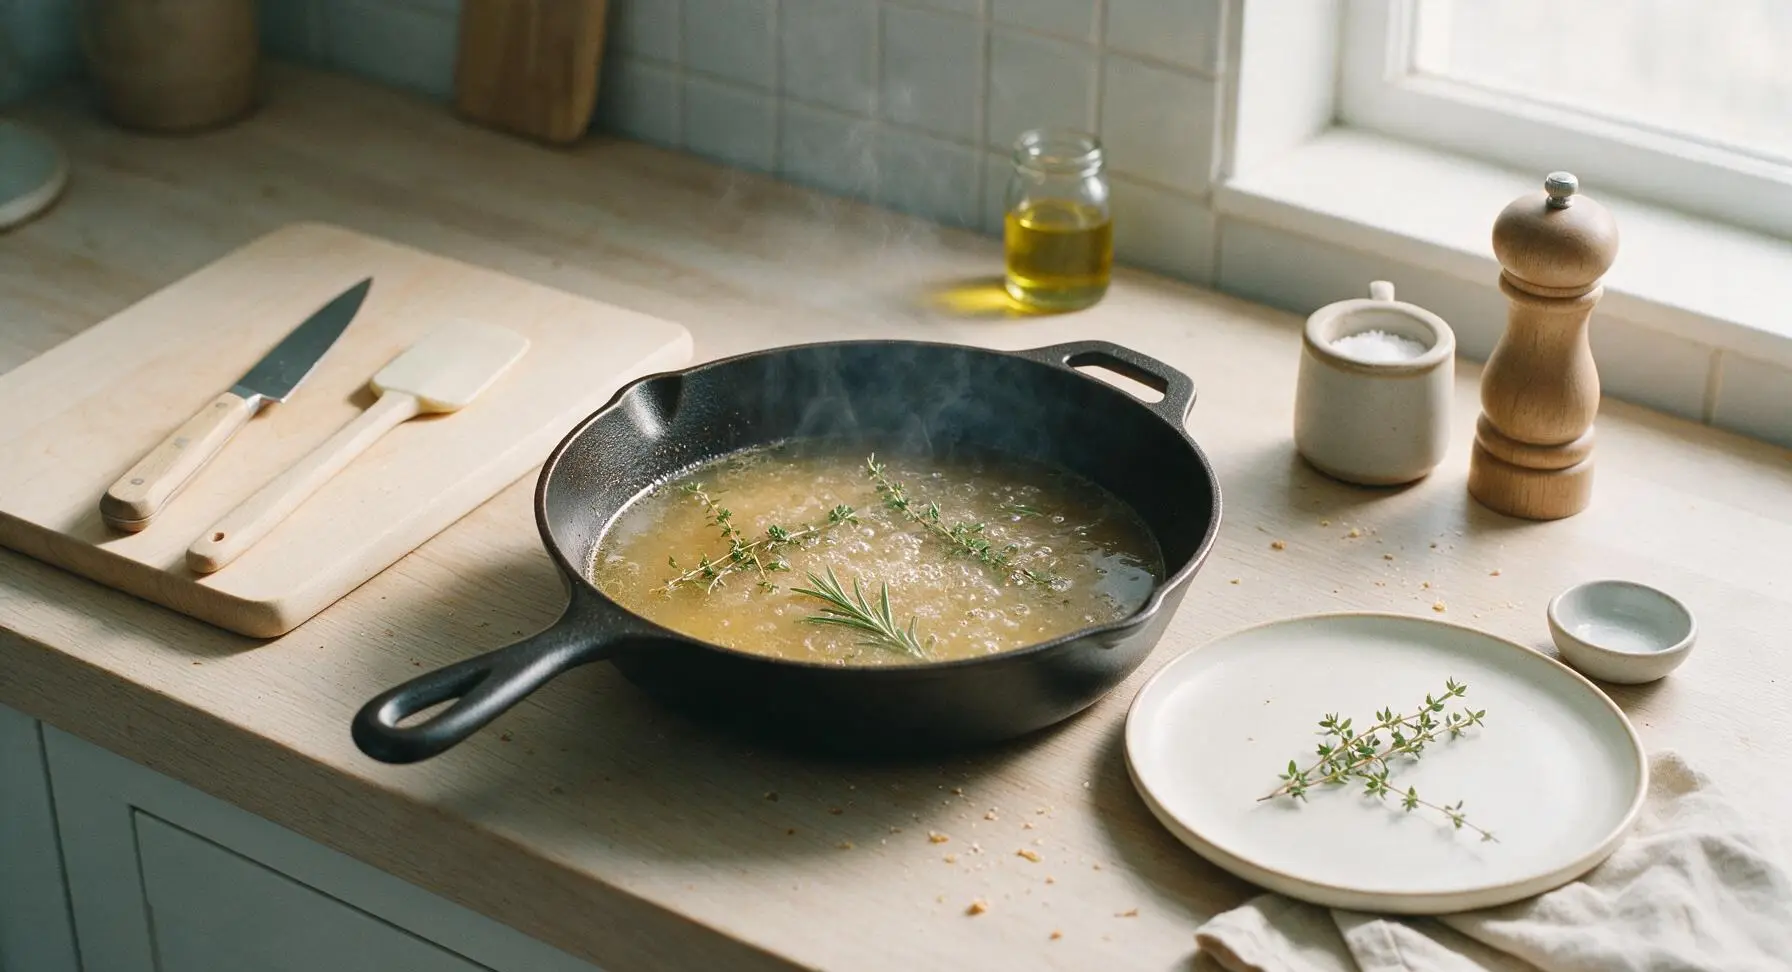
Step 4
step4:Simmer Broth and Herbs
5

Enrich Sauce Base

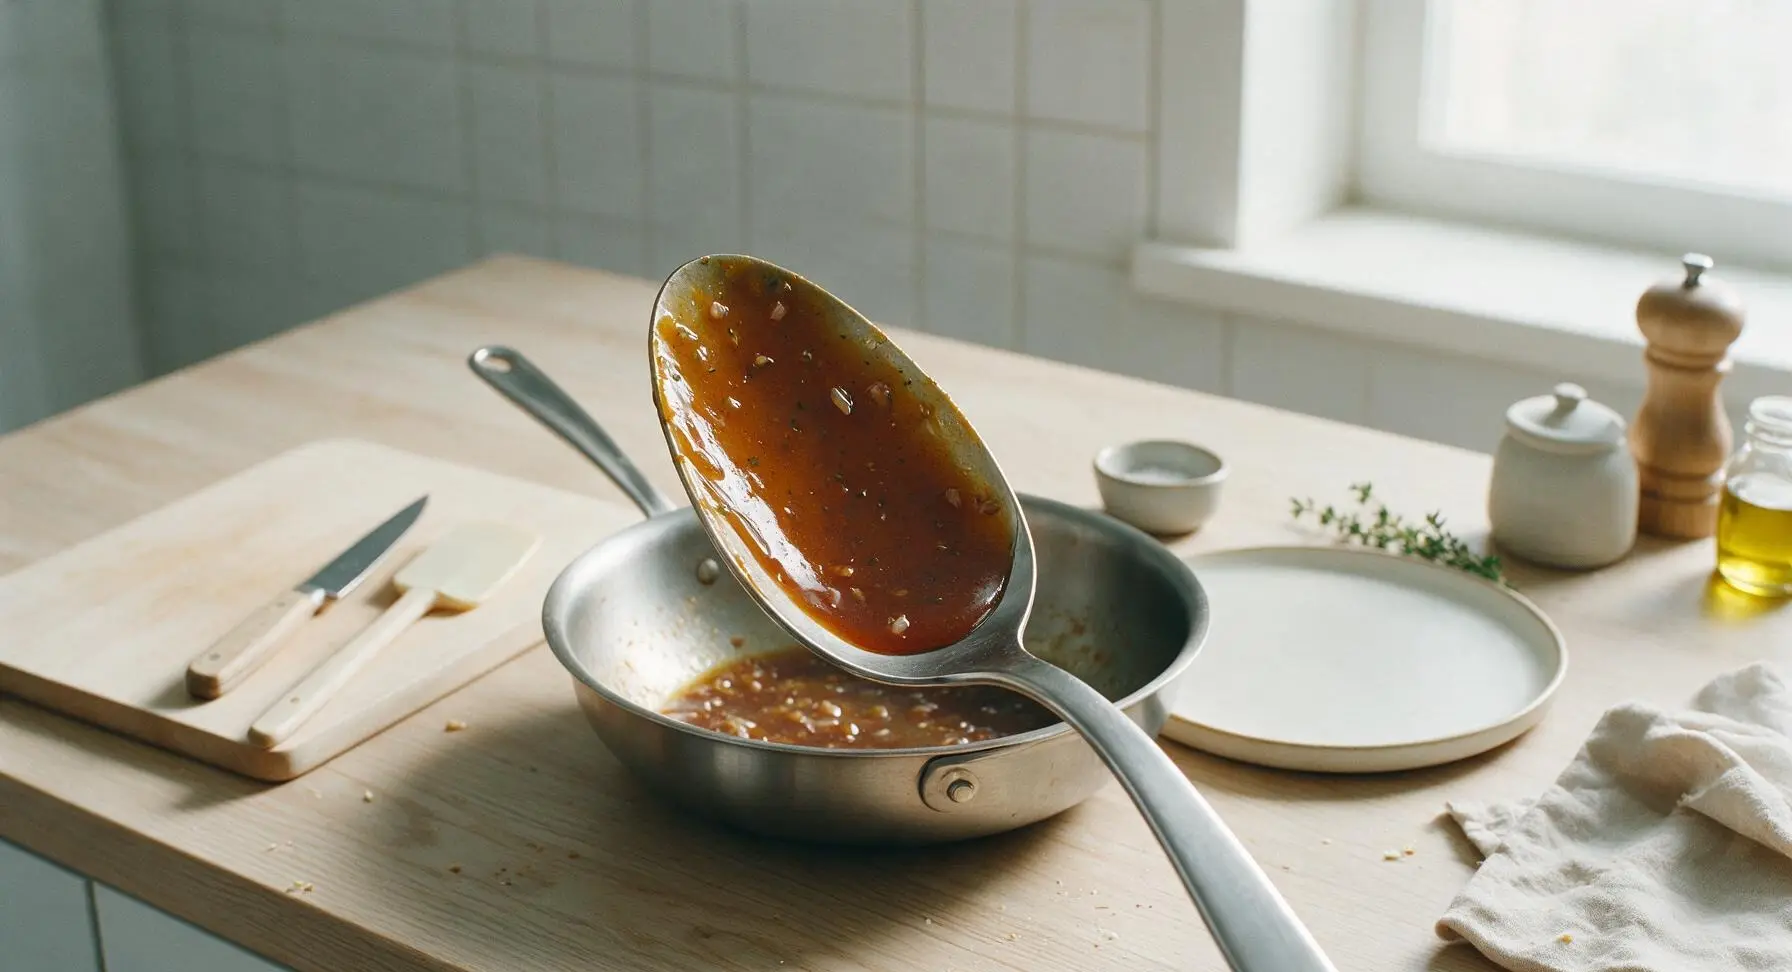
Stir the 1 tsp Dijon mustard and 2 tbsp heavy cream into the simmering liquid, whisking continuously with the stainless steel whisk until the sauce is completely smooth with no streaks of cream or mustard. For a thicker, gravy-like consistency, stir in the optional cornstarch slurry (1 tsp cornstarch mixed with 1 tbsp cold water) and simmer for 1 full minute until thickened. Use tongs to remove and discard the woody herb stems from the sauce.
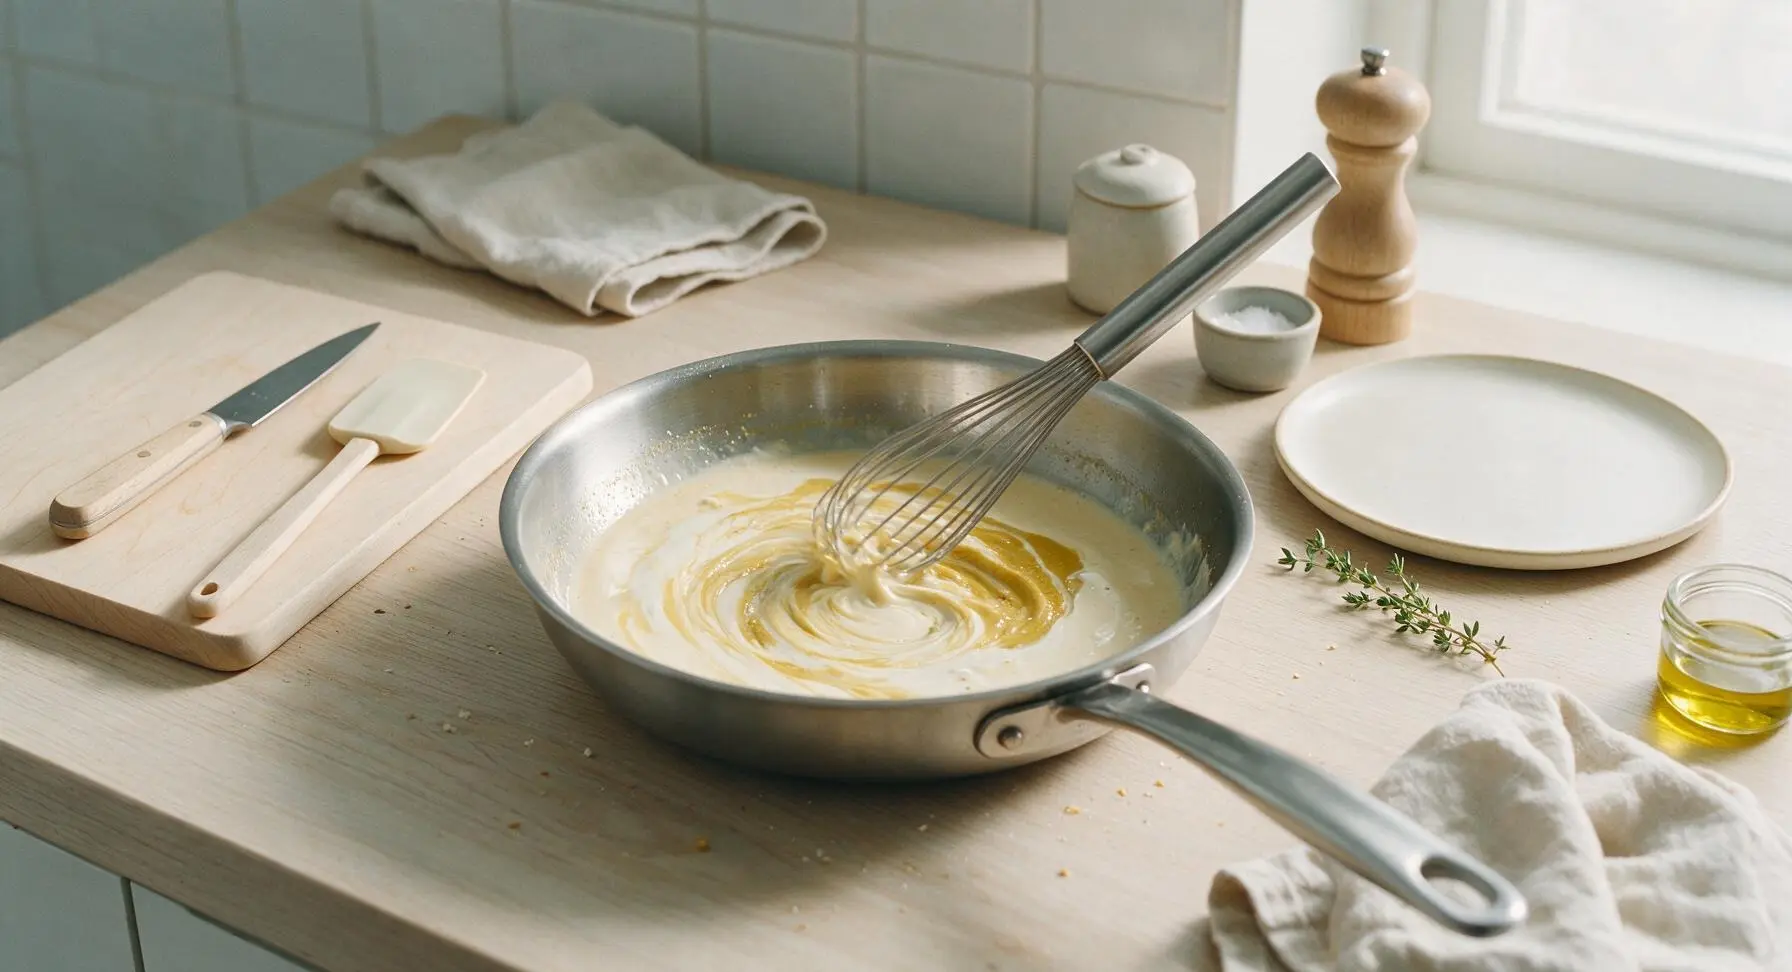
Step 5
step5:Enrich Sauce Base
Step 5
step5:Enrich Sauce Base
6

Adjust Sauce Seasoning

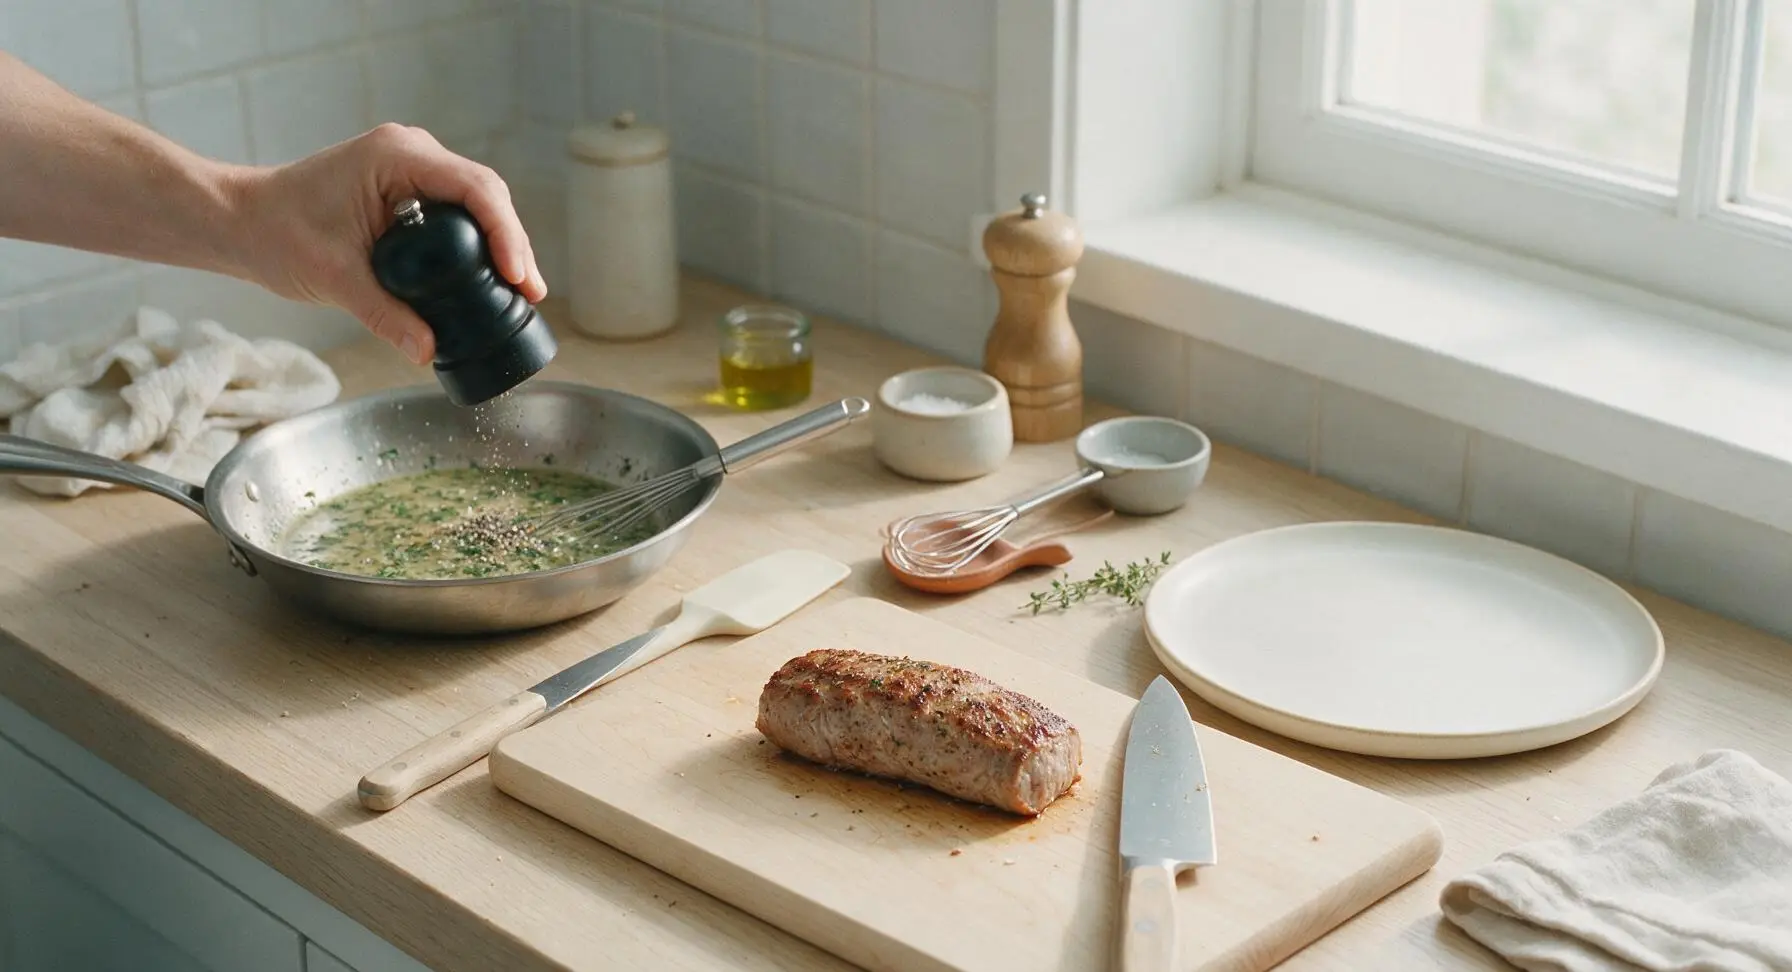
Taste the sauce carefully, then add the remaining 1/4 tsp kosher salt and 1/4 tsp freshly ground black pepper, adjusting to taste. Turn the heat to the lowest setting to keep the sauce warm while you transfer the rested pork tenderloin back to the maple cutting board and slice it into 1/2-inch thick medallions.
Step 6
step6:Adjust Sauce Seasoning
7

Plate and Sauce Pork

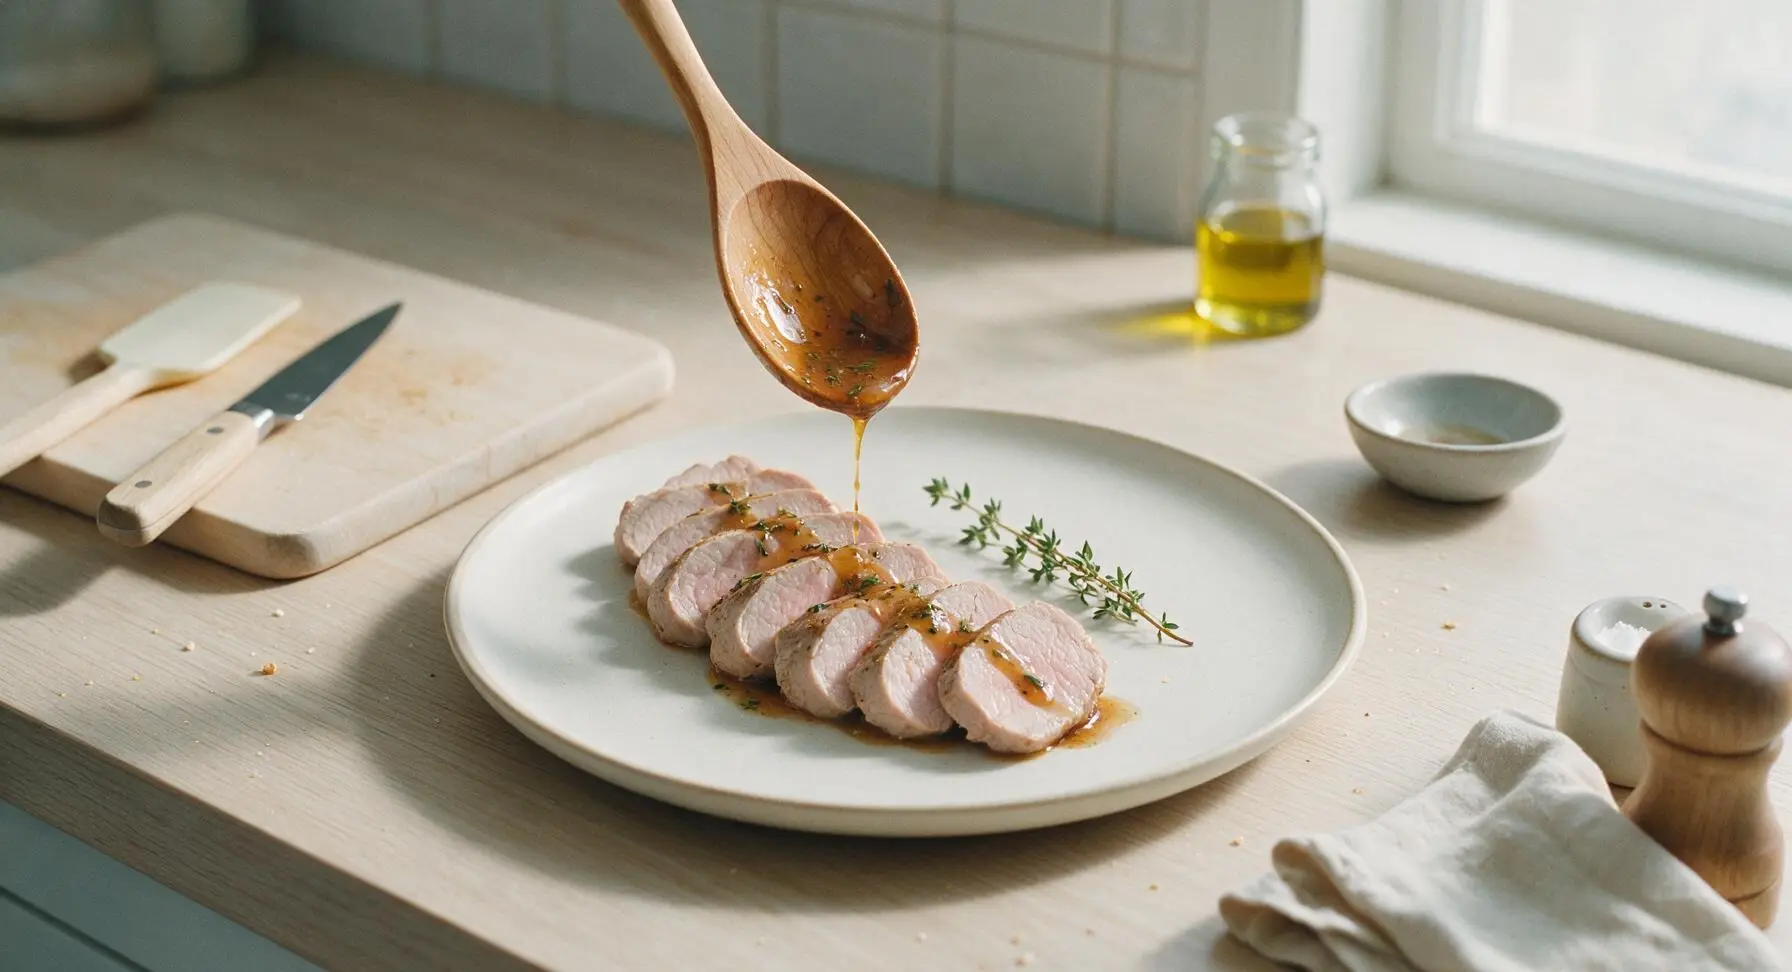
Fan the sliced pork tenderloin medallions in a gentle arc across the matte cream stoneware dinner plate. Spoon the warm sauce generously over the top of the pork, allowing a small amount to pool at the base of the slices. Garnish with a single fresh thyme sprig before serving immediately.
Step 7
step7:Plate and Sauce Pork

Tips

1.Pat pork completely dry before searing: Surface moisture will prevent deep golden browning, which creates the flavorful fond (browned pan bits) that forms the base of the sauce. Without well-developed fond, the sauce will taste flat and one-note.
2.Do not overcook the garlic: Garlic turns bitter and acrid in as little as 10 seconds if allowed to brown over medium heat. Cook it for only 30 seconds after adding to the shallots, until it just smells fragrant, to keep the sauce flavor bright.
3.Save the pork resting juices: After searing, let the pork rest for 5 minutes before slicing to let juices redistribute. Pour any collected juices from the resting plate into the finished sauce for an extra boost of rich, meaty flavor, no extra seasoning needed.


✨ You May Also Like

Main Course
🍜 United Kingdom

A showstopping classic of tender seared beef, savory mushroom duxelles, and crisp prosciutto wrapped in flaky golden puff pastry, baked to juicy perfection.

⏱️ 2 hours 1Main Course ★ 4.7
Main Course
🍜 India

Tender charred marinated chicken simmered in a rich, spiced creamy tomato sauce, this iconic Anglo-Indian curry pairs perfectly with basmati rice or warm naan.

⏱️ 50 minuteMain Course ★ 4.6
Main Course
🍜 Thailand

Classic tangy, sweet, and savory Thai stir-fried rice noodles with shrimp, tofu, and crunchy garnishes, balancing all five core Thai flavor profiles.

⏱️ 30 minuteMain Course ★ 4.5
Main Course
🍜 United Kingdom

Crispy golden beer-battered cod and fluffy double-fried chips, served with tangy tartar sauce and malt vinegar: the timeless, beloved British pub comfort classic.

⏱️ 45 minuteMain Course ★ 4.7
Main Course
🍜 Mexico

Smoky, chile-marinated pork tacos with caramelized pineapple, fresh cilantro, and lime: a beloved classic Mexican street food perfect for casual summer gatherings.

⏱️ 1 hour 45Main Course ★ 4.8
Main Course
🍜 United States

Crunchy Fritos corn chips layered with savory beef chili and melted cheddar, topped with cool, zesty fixings for a beloved, cozy Tex-Mex comfort food.

⏱️ 35 minuteMain Course ★ 4.8

pork tenderloin sauce:Frequently Asked Questions

1.Do I really need to build this sauce in the same pan I seared the pork tenderloin in, instead of using a clean pot? ▾
Those crusty brown pan drippings (called fond) are the core flavor base of this sauce, packed with deep, savory roasted pork notes you can’t replicate in a clean pan. After searing, set the pork aside to rest and build the sauce right in that hot pan to capture every bit of rich, toasty flavor with zero extra work.
2.What’s the right way to trim silver skin from the pork tenderloin so it doesn’t ruin my sauce? ▾
Slide a thin, sharp boning knife under the pale, silvery connective tissue on the tenderloin’s surface, angle the blade up toward the skin instead of into the meat, and pull the skin taut as you slice it away in long strips. Leaving silver skin on won’t just make pork chewy—it can leave tough, rubbery bits floating in your finished pan sauce.
3.I don’t have fresh thyme right now—can I use dried thyme as a substitute? ▾
You absolutely can, just adjust the quantity to account for dried herbs’ concentrated flavor. Use 1 teaspoon of dried thyme in place of the 3 fresh sprigs meant for cooking, since dried herbs are roughly 3 times as potent as fresh. Skip dried thyme for garnish, though—opt for a sprinkle of fresh parsley if you have it for a bright, fresh finish.
4.Why does the recipe call for divided unsalted butter, and when do I add each portion? ▾
The first portion of butter (about 1 tablespoon) goes in early to sauté shallot and garlic over lower heat, so they soften into a sweet, aromatic base without burning. The second, cold portion gets swirled in off heat at the very end—this technique, called mounting, creates that signature silky, glossy finish without making the sauce greasy.
5.My sauce turned out thin and watery instead of glossy—what went wrong, and how can I fix it? ▾
Thin sauce usually means you didn’t let your deglazing liquid reduce enough after scraping up the pan drippings, or you skipped the cold butter finish. To fix it, simmer the sauce over medium-low heat for 2 to 3 minutes to concentrate flavors, then swirl in one tiny cold butter cube off heat until it emulsifies. Skip cornstarch slurries—they’ll dull the sauce’s bright herb flavor.
6.Can I make this pan sauce ahead of time for meal prep, or does it have to be made fresh? ▾
This sauce tastes best made fresh right after searing pork, since its bright herb notes and silky emulsion break down quickly with storage. If you absolutely need to prep ahead, make it up to 1 day in advance, store it in an airtight container in the fridge, and reheat very gently over low heat, swirling in a tiny pat of butter to refresh the texture before serving.
7.The recipe mentions a subtle tang—what do I do if I don’t want to use wine to deglaze the pan? ▾
That bright, subtle tang traditionally comes from deglazing with 1/3 cup dry white wine, but you can easily make it alcohol-free. Swap the wine for low-sodium chicken broth mixed with 1 teaspoon of fresh lemon juice or unfiltered apple cider vinegar to replicate that bright edge, scraping all the fond off the pan bottom as you pour.
8.How do I keep my diced shallot and minced garlic from burning when making the sauce? ▾
After you set the seared pork aside to rest, turn the pan heat down to medium-low before adding your first pat of butter, shallot, and garlic. Sauté for just 30 to 45 seconds, stirring constantly, until the shallot is soft and fragrant. If you smell acrid, burnt garlic, wipe the pan out and restart that step—burnt bits will make the whole sauce bitter.
9.What other foods pair well with this sauce, besides pork tenderloin? ▾
While it’s perfectly calibrated to complement juicy pork tenderloin, this bright, herb-forward sauce works beautifully with pan-seared chicken breasts, roasted turkey cutlets, or thick-cut seared pork chops. You can also drizzle a spoonful over roasted baby potatoes or steamed green beans on the side to tie the whole cozy family meal together.

Comments (16)

2 days ago

OMG this pan sauce is a total game changer! I’ve always overcomplicated pork tenderloin sauces with weird fancy ingredients, but this comes together in 25 minutes flat and tastes like it came from a steakhouse. My whole family asked for seconds at Sunday dinner. SO good!

3 days ago

Super easy even for a cooking newbie like me! I burned the first batch of sauce a little when I got distracted taking the pork out, but it was still delish. Would make this for weeknights for sure.

2 days ago

So glad you gave it a try, Jake! Next time, lower the heat a touch when you’re pulling the pork out — that’ll keep the drippings from burning before you add the herbs and stock. Enjoy!

1 week ago

My picky 7 and 9 year old ate every last bite of their pork tonight! I was worried the herb flavor would be too strong for them, but it’s perfectly balanced. I even stirred a tiny bit of the leftover sauce into their roasted veggies and they didn’t complain once. Winning!

5 days ago

Wait, stirring it into veggies is such a good hack! I’m making this for a potluck this weekend and I was trying to think of ways to stretch the sauce a little, this is perfect.

3 days ago

Love that veggie hack! For potlucks, you can even make a double batch of the sauce ahead of time and reheat it gently on the stovetop right before serving — it holds up great!

5 minutes ago

Really solid pan sauce! I added a pinch of smoked paprika to mine to give it a little extra kick that pairs great with grilled pork too. Cook time was spot on, no extra fuss.

1 week ago

I meal prepped this sauce on Sunday to use with pork tenderloin, chicken breast, and even roasted potatoes all week. It held up so much better than the store-bought sauces I usually buy, zero weird preservatives!

5 days ago

How long did it keep in the fridge for? I want to make a batch for my work lunches next week!

yesterday

25 minutes total? Sign me up! I got home late from work last night, threw the tenderloin in the oven, whipped up this sauce while it rested, and had dinner on the table before my kid finished his homework. Absolute weeknight staple now.

2 hours ago

Same! I feel like I never have time for fancy sauces after work, but this was so low effort I almost couldn’t believe how good it tasted.

5 minutes ago

That’s exactly what we love to hear! This sauce is designed to be quick enough for even the craziest weeknights, no fancy skills required.

2 weeks ago

Tasted good, but I wish it was a little thicker. I probably added too much chicken stock when I was deglazing the pan, my bad. Will measure more carefully next time I make it.

2 weeks ago

This tastes just like the herb pan sauce my mom used to make for Sunday pork dinners when I was a kid! So nostalgic, I’ve already passed the recipe along to my granddaughter who just moved into her first apartment.

1 week ago

That makes our day, Pat! There’s nothing better than a simple, classic recipe getting passed down through generations. Hope your granddaughter loves it as much as you do!

3 days ago

Great base recipe! I swapped the dried thyme for fresh rosemary from my windowsill plant and added a tiny splash of balsamic vinegar at the end, chef’s kiss. Will definitely be playing around with variations of this.

2 days ago

The balsamic addition sounds insane! I’ve got a ton of fresh rosemary growing right now too, I’m definitely trying that version this weekend.

yesterday

I did the balsamic trick too! It cuts the richness of the pork perfectly, 10/10 recommend.

2 days ago

Made this for my date night last night and my partner thought I spent hours on the sauce! Little do they know it took like 10 minutes to throw together while the pork rested. Total win.

yesterday

I did this for my anniversary dinner too! Paired it with roasted garlic mashed potatoes and roasted asparagus, it was restaurant level.

30 minutes ago

SO good! I was always scared to make pan sauces because I thought I’d mess up deglazing the pan, but the instructions were so clear even I couldn’t mess it up. The herb flavor is bright and not overpowering at all.

5 days ago

Pretty good! I didn’t have white wine on hand so I used extra chicken stock, and it still turned out tasty. Next time I’ll grab the wine like the recipe says to get that depth of flavor though.

3 days ago

Great substitution trick when you don’t have wine on hand! You can also add a tiny squeeze of lemon juice with the extra stock to mimic that bright, acidic note white wine adds if you want.

1 week ago

Brought sliced pork tenderloin with this sauce to my neighborhood block party last weekend and people were begging me for the recipe! I lost count of how many people came up to ask what was in the sauce. Total crowd pleaser.

3 days ago

Wait I was at that party! That pork was the best thing on the whole table, I can’t believe I found the recipe by random chance right now. Saving this immediately!

2 days ago

That’s the best kind of feedback! Pan sauces are perfect for potlucks because they feel fancy but don’t require a ton of work to make for a crowd.

just now

As someone who mostly cooks on a cast iron, this recipe is made for me! The deglazing step gets all those tasty browned bits off the pan so nothing goes to waste. Zero food waste, maximum flavor, can’t beat it.

2 days ago

Made this in my tiny dorm kitchen with just a cheap skillet and basic grocery store herbs, and it turned out insane! I thought good food required fancy equipment, but this proves that’s totally not true.

yesterday

Same! I made this in my dorm last week too, I just borrowed a measuring spoon from my roommate and it came out perfect. So easy for tiny kitchens.

3 days ago

This sauce is perfect for my low carb lifestyle! No added sugars, no weird thickeners, just real herb and pan drip flavor. I’ve been putting it on everything from pork to chicken to roasted veggies since I found the recipe.

2 days ago

Oh thank god, I was scrolling comments to see if this was keto friendly! I’m making this for my dinner tomorrow now, sounds perfect.

yesterday

So glad it fits your dietary needs! You can thicken it with a tiny bit of xanthan gum instead of a flour slurry if you want to keep it fully low carb, though it’s plenty rich even without any thickener.



