
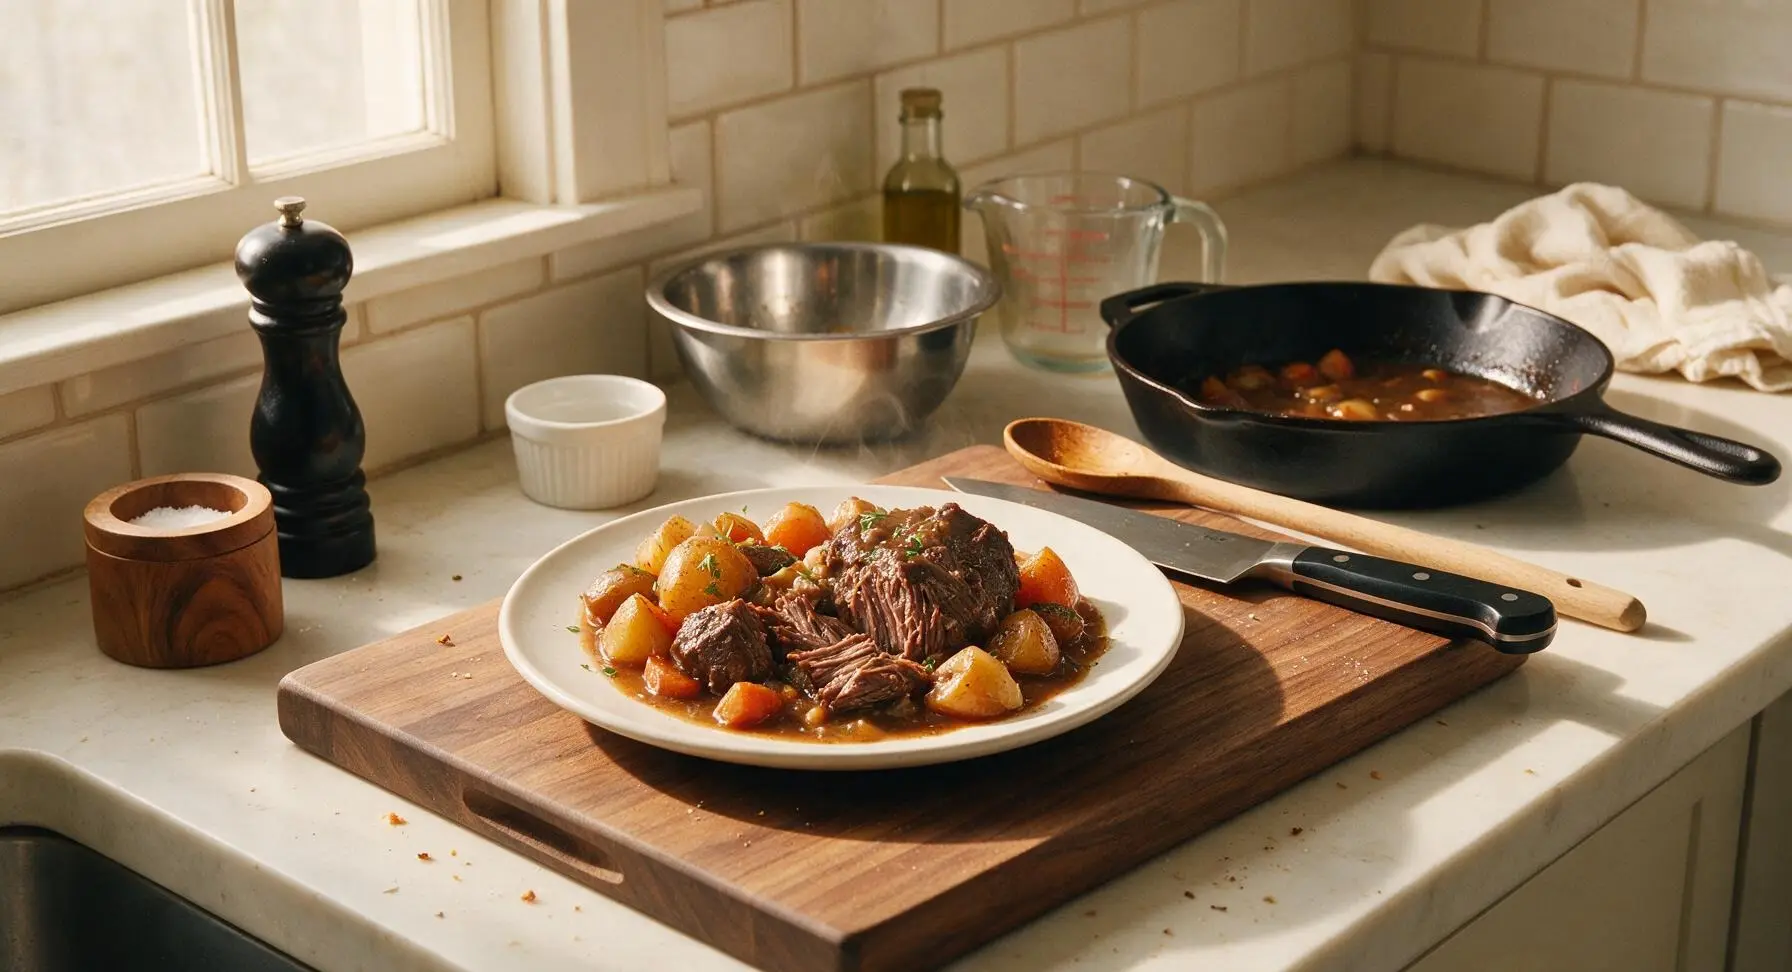
Pot Roast

title 1
Pot Roast
⏱️ cook time 3 hours 15 minutes
🍽️ servings 6
⚡ Difficulty easy

intro

Fall-apart tender beef braised with root vegetables and rich, savory gravy, the ultimate cozy, nostalgic one-pot meal made for lazy family Sundays.

Ingredients
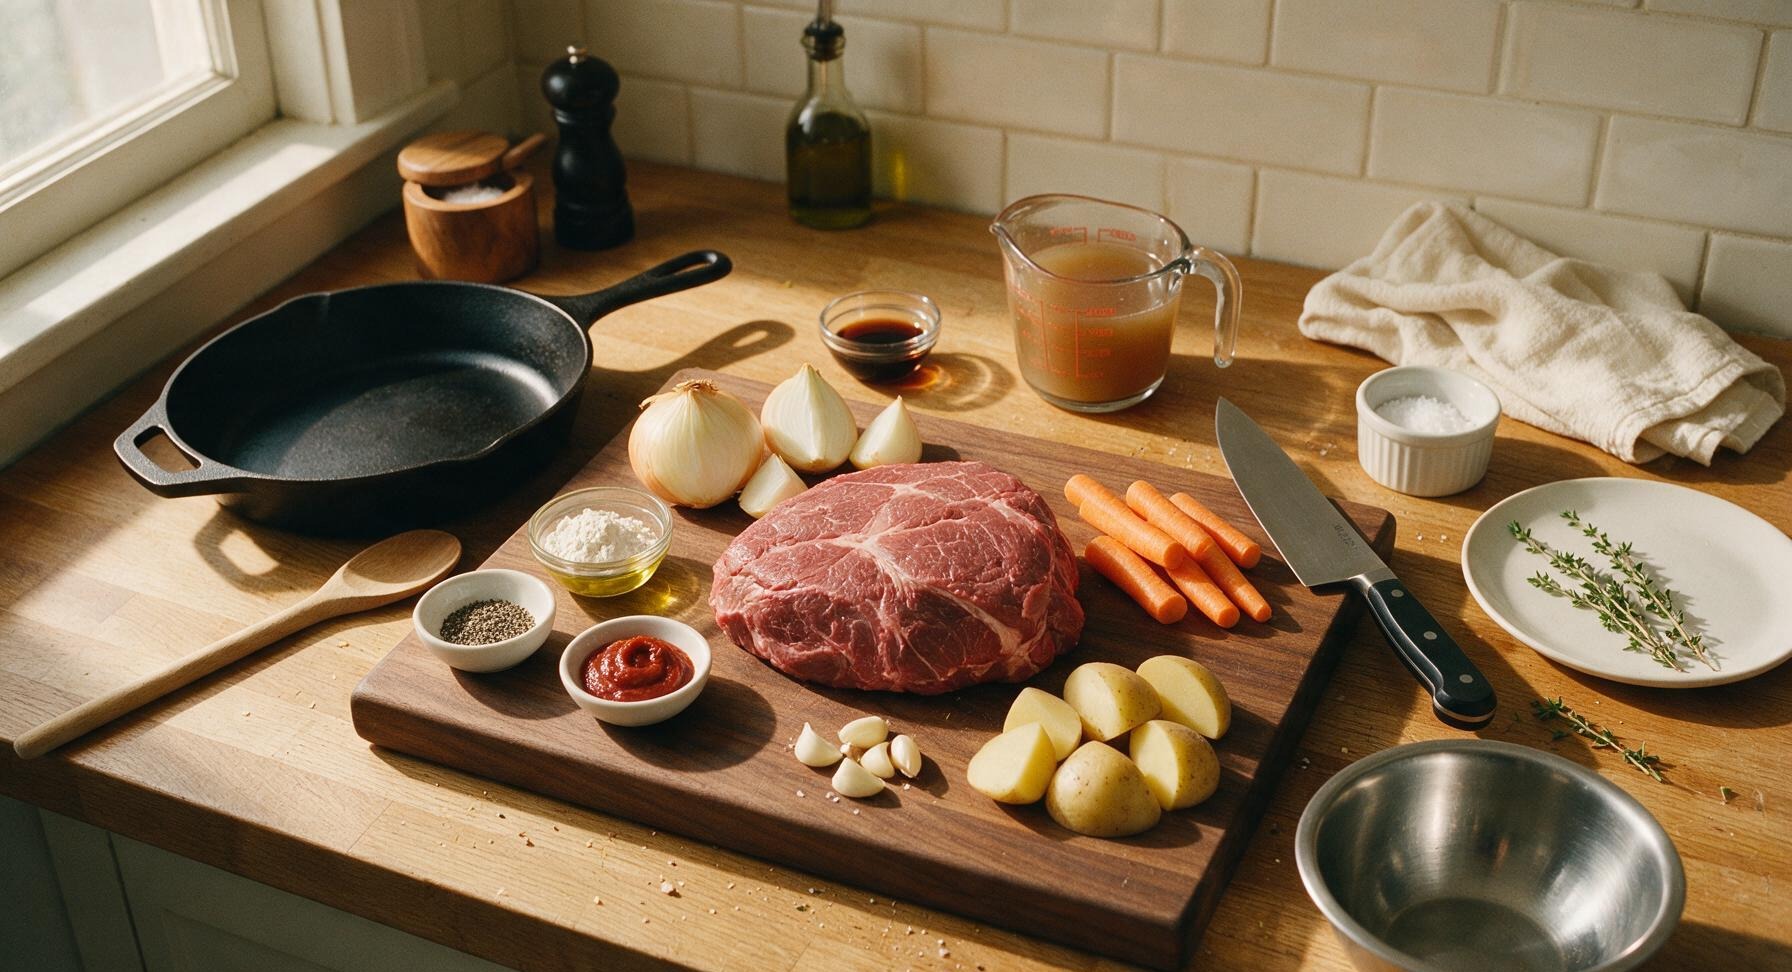
Boneless beef chuck roast 1.5kg (3.3 lbs)
Kosher salt 2 tbsp
Freshly ground black pepper 1 tbsp
All-purpose flour 2 tbsp
Extra-virgin olive oil 2 tbsp
Yellow onion 1 large (250g), cut into 6 wedges
Carrots 4 medium (300g), peeled, cut into 5cm chunks
Yukon Gold potatoes 3 medium (450g), cut into 5cm wedges
Garlic 6 cloves, crushed
Tomato paste 2 tbsp
Low-sodium beef broth 2 cups (500ml)
Worcestershire sauce 1 tbsp
Fresh thyme 4 sprigs, plus extra for garnish

Steps

1

Prep and Pat Beef Dry

Remove the 1.5kg boneless beef chuck roast from packaging, place it on the walnut cutting board. Use the chef knife to trim any large, hard chunks of excess fat from the roast (leave a 1/4-inch layer of fat for flavor and moisture). Pat every surface completely dry with paper towels from the brown paper towel roll, then rub all over with 1 tbsp kosher salt and 1/2 tbsp black pepper. Let the seasoned beef rest at room temperature for 15 minutes to allow the salt to penetrate; a fully dry surface is critical for developing a deep, crisp sear.
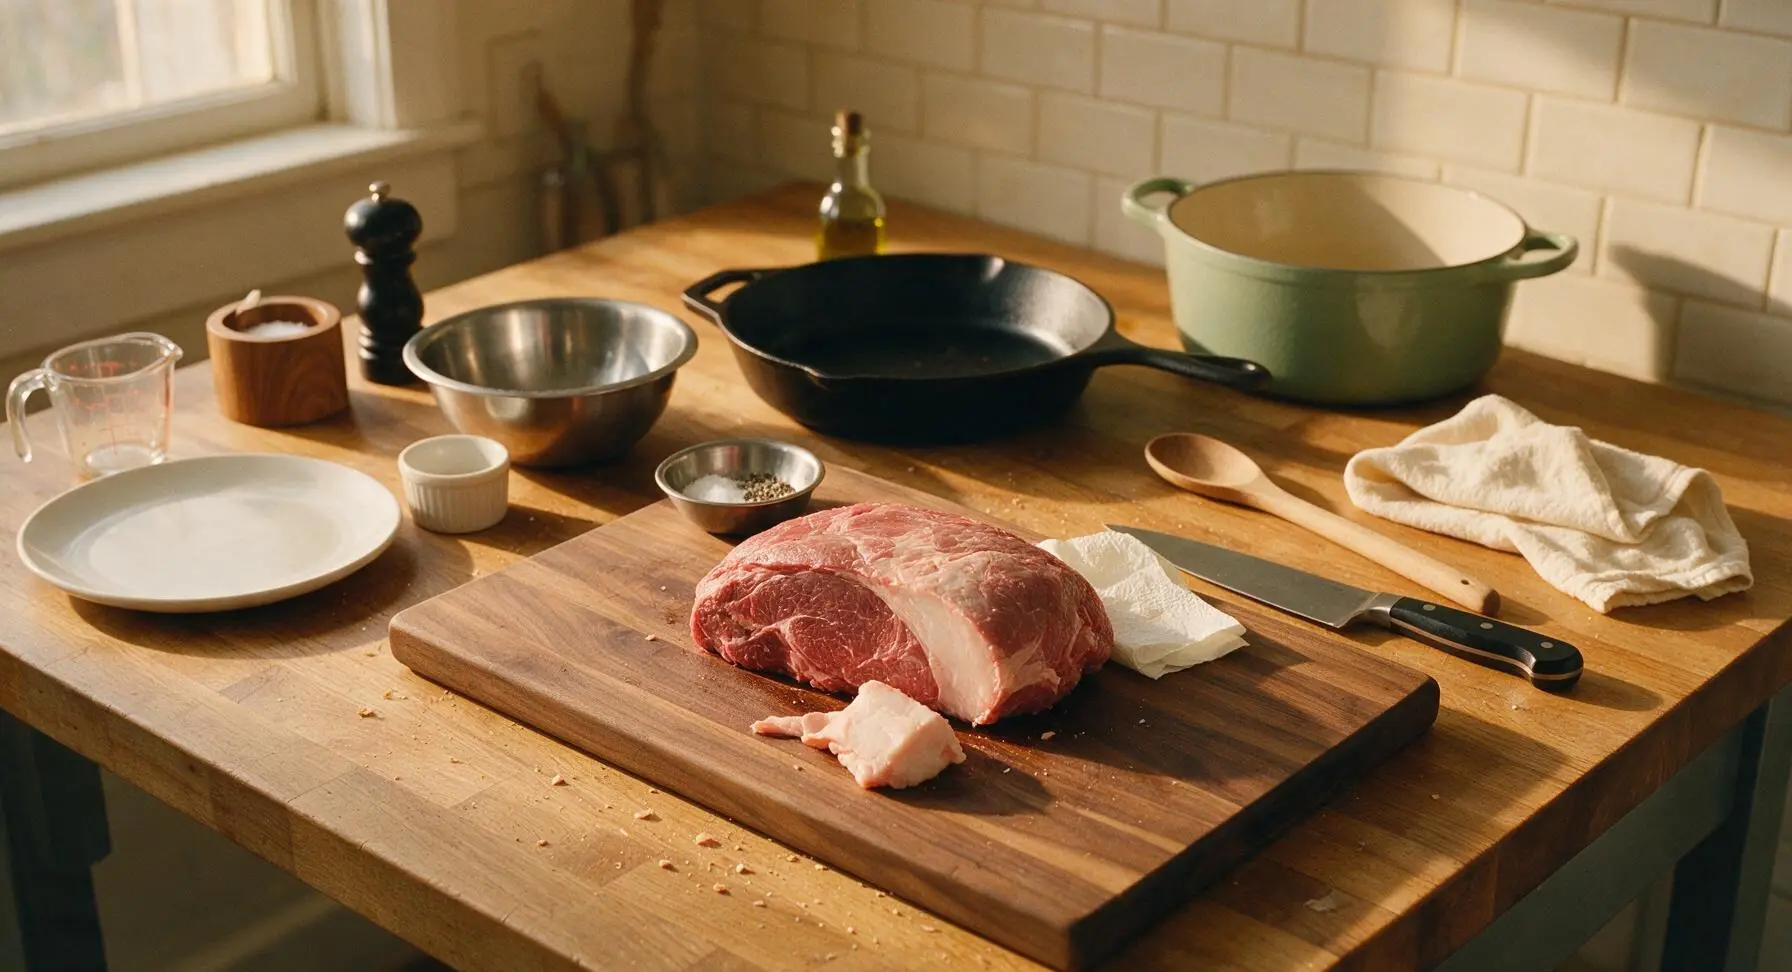
Step 1
step1:Prep and Pat Beef Dry
2

Sear Beef Until Golden

Heat 2 tbsp olive oil in the sage green enameled Dutch oven over medium-high heat until the oil shimmers (about 3 minutes). Use the stainless steel tongs to carefully lower the seasoned roast into the hot oil. Sear for 4-5 minutes per side, including the edges, until every surface develops a deep, crisp mahogany brown crust. Do not move the roast while searing each side to build a proper crust; adjust heat slightly if oil starts to smoke.
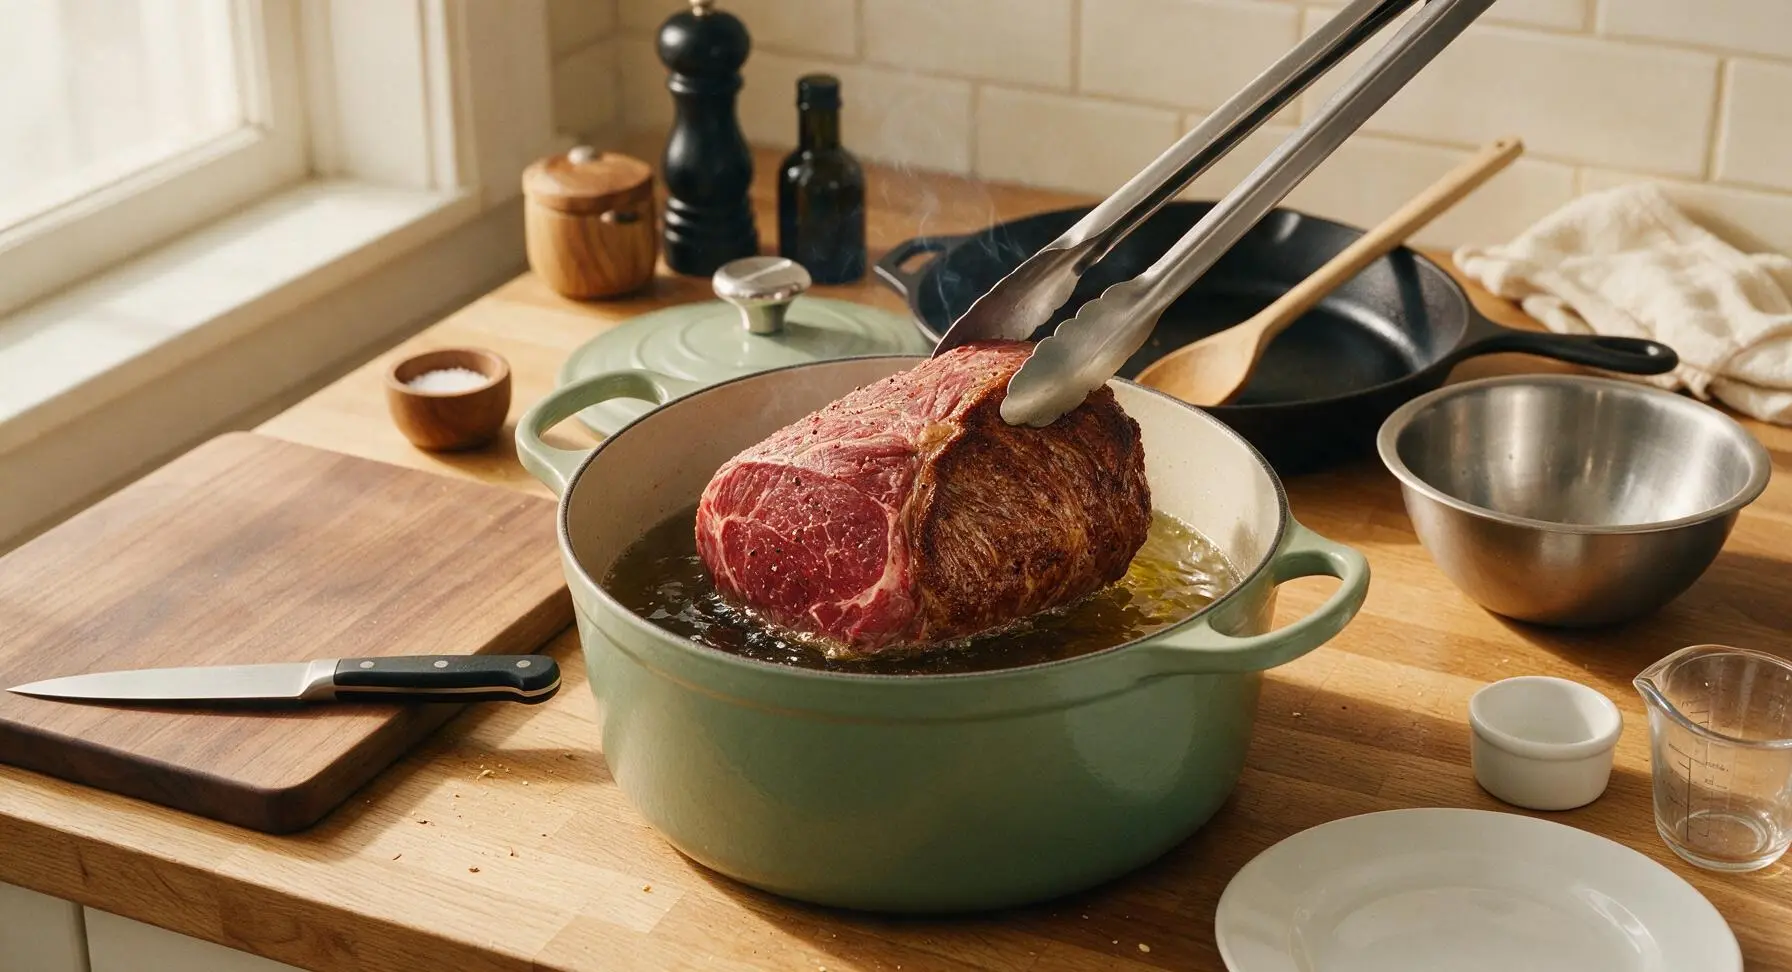
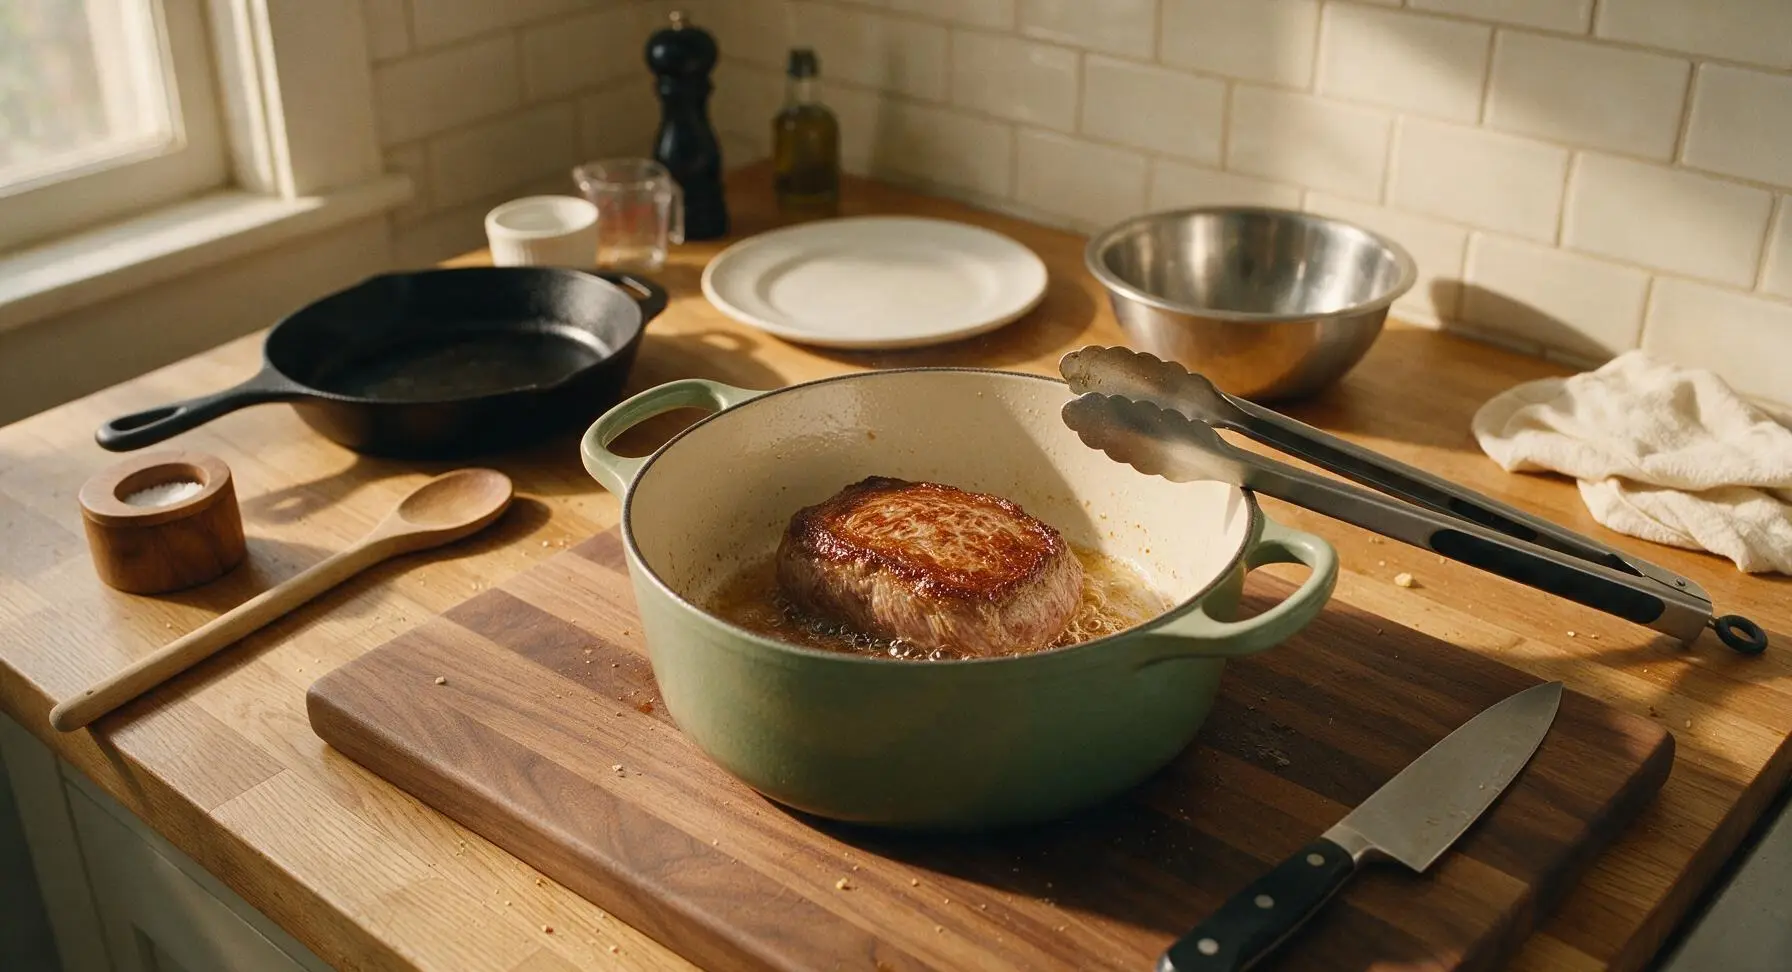
Step 2
step2:Sear Beef Until Golden
Step 2
step2:Sear Beef Until Golden
3

Sauté Aromatic Vegetables

Use the tongs to transfer the seared roast to the wire roasting rack set temporarily on the cutting board. Reduce heat under the Dutch oven to medium, leaving the rendered beef fat and oil in the pan. Add the cut onion wedges and crushed garlic to the pan, sauté for 3 minutes until soft and translucent at the edges. Stir in 2 tbsp tomato paste, cooking for 1 minute until the paste darkens to a deep rust color and smells fragrant, stirring constantly with the beech wood turner to prevent burning.
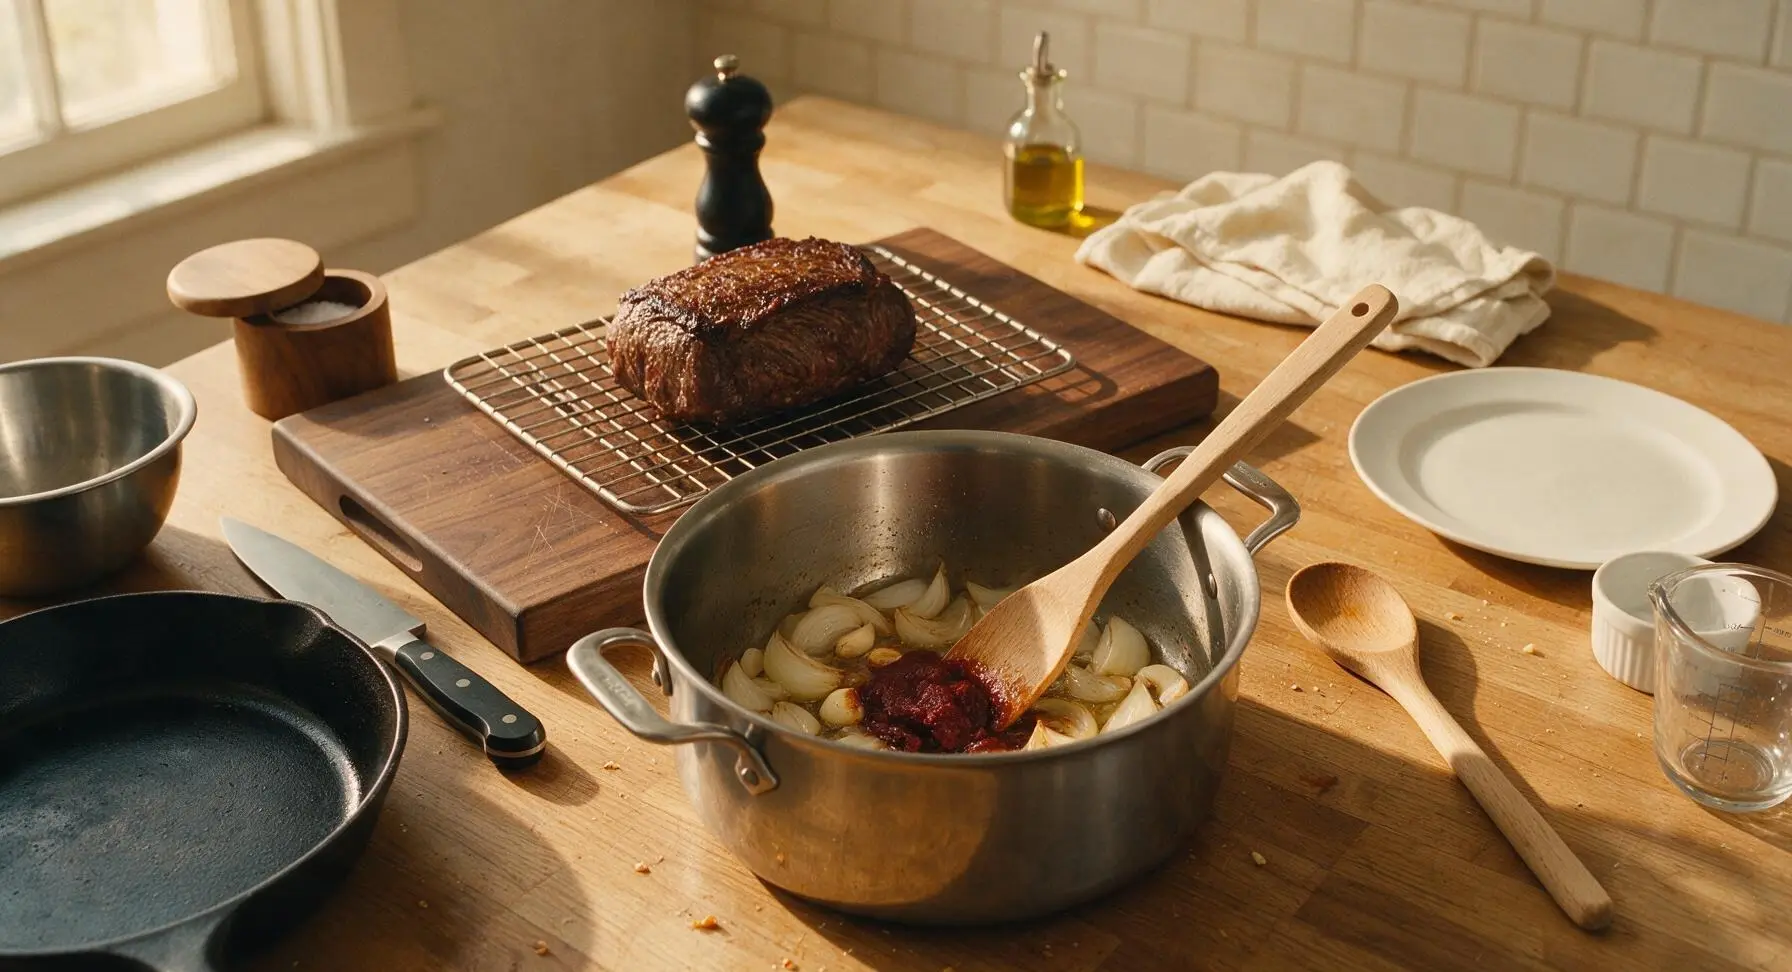
Step 3
step3:Sauté Aromatic Vegetables
4

Slow Braise the Roast

Pour 2 cups low-sodium beef broth and 1 tbsp Worcestershire sauce into the Dutch oven, scraping the bottom of the pan with the wooden turner to lift all browned fond bits (these add deep flavor to the gravy). Return the seared roast to the Dutch oven, add 4 sprigs of fresh thyme, then place the tight-fitting lid on the pot. Transfer to a preheated 160C (325F) oven, and braise for 2 hours, undisturbed. The liquid should bubble gently around the roast, not boil rapidly; adjust oven temperature if needed to maintain a slow simmer.
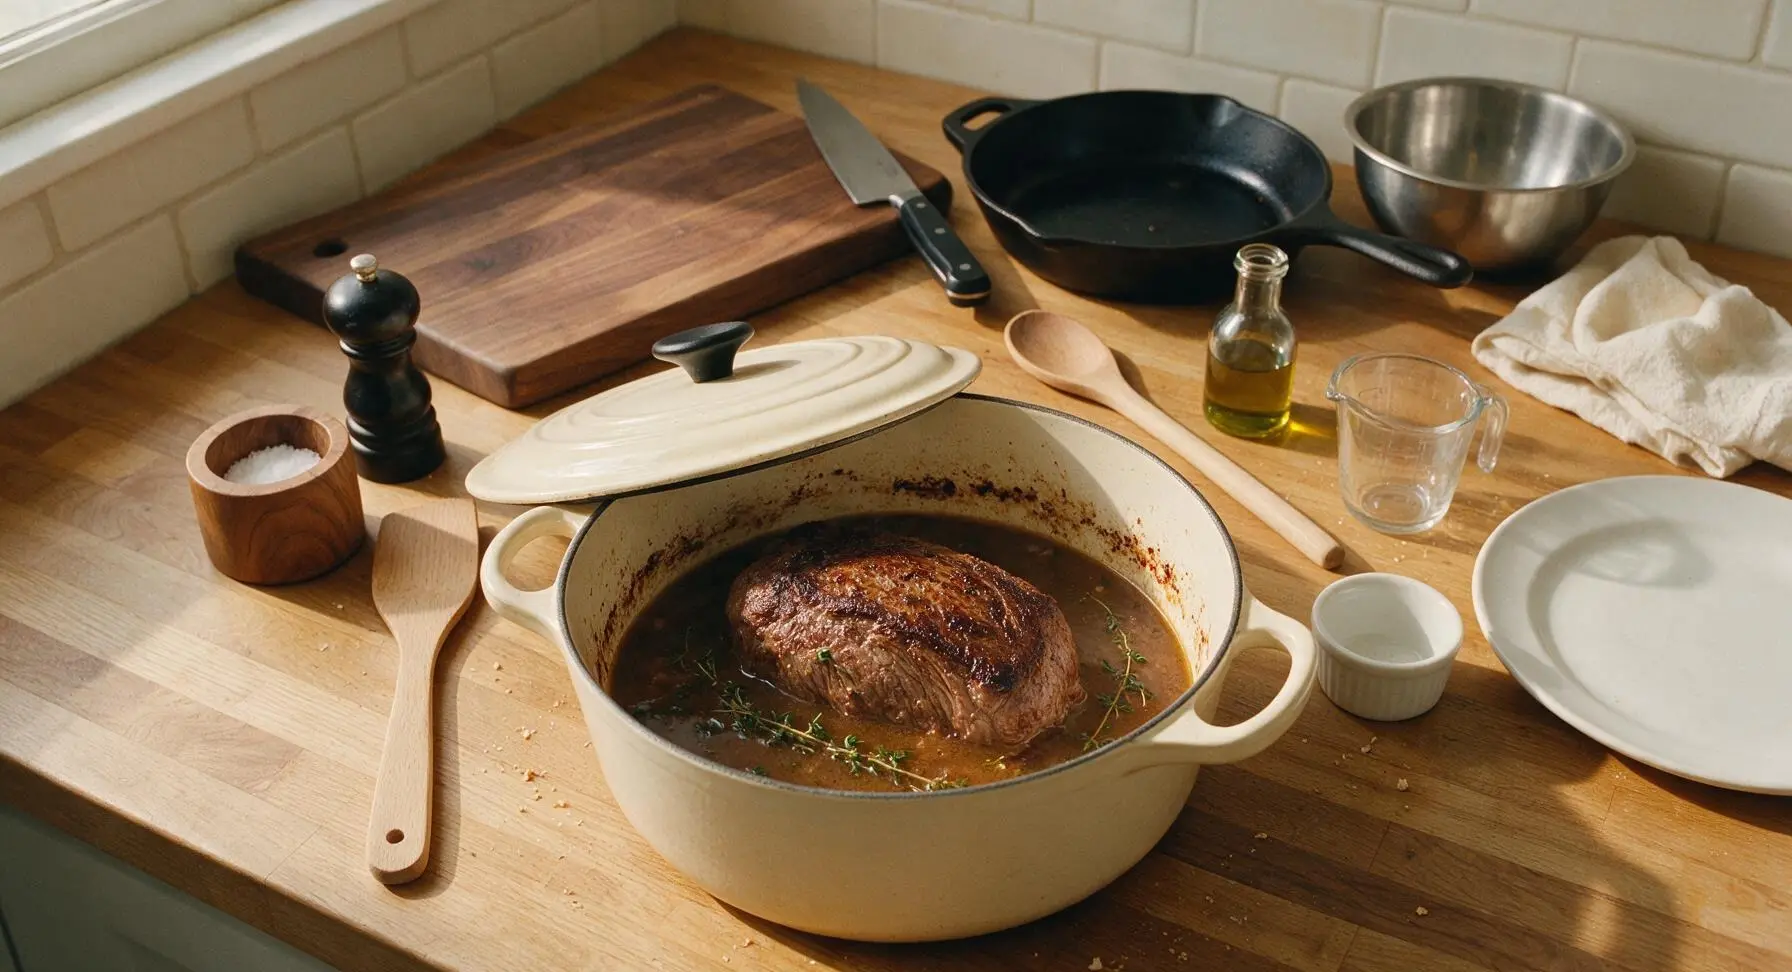
Step 4
step4:Slow Braise the Roast
5

Add Root Vegetables

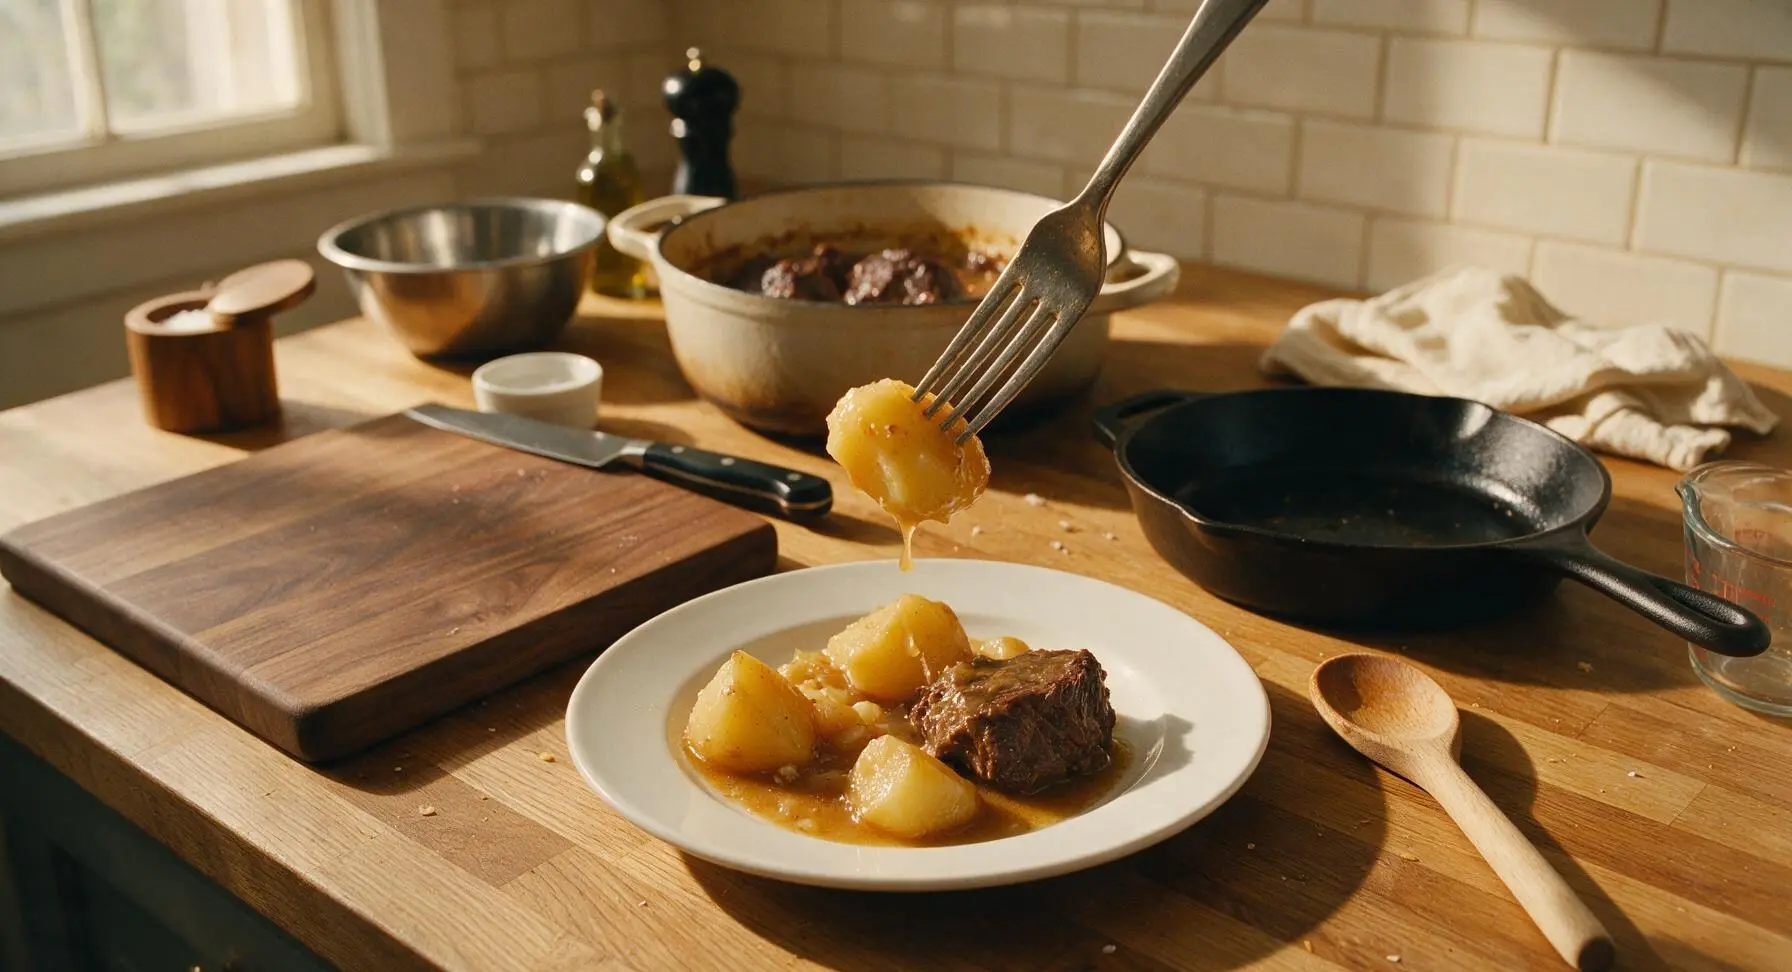
After 2 hours of braising, carefully remove the Dutch oven from the oven (use oven mitts, handles will be hot). Toss the cut carrot chunks and potato wedges with the remaining 1 tbsp kosher salt, 1/2 tbsp black pepper, and 2 tbsp all-purpose flour in the small stainless steel mixing bowl until evenly coated. Nestle the coated vegetables around the roast in the braising liquid, spooning a small amount of liquid over the top of the vegetables. Replace the lid, return the pot to the oven, and braise for an additional 45 minutes until the beef is fork-tender and the vegetables are soft when pierced with a knife.
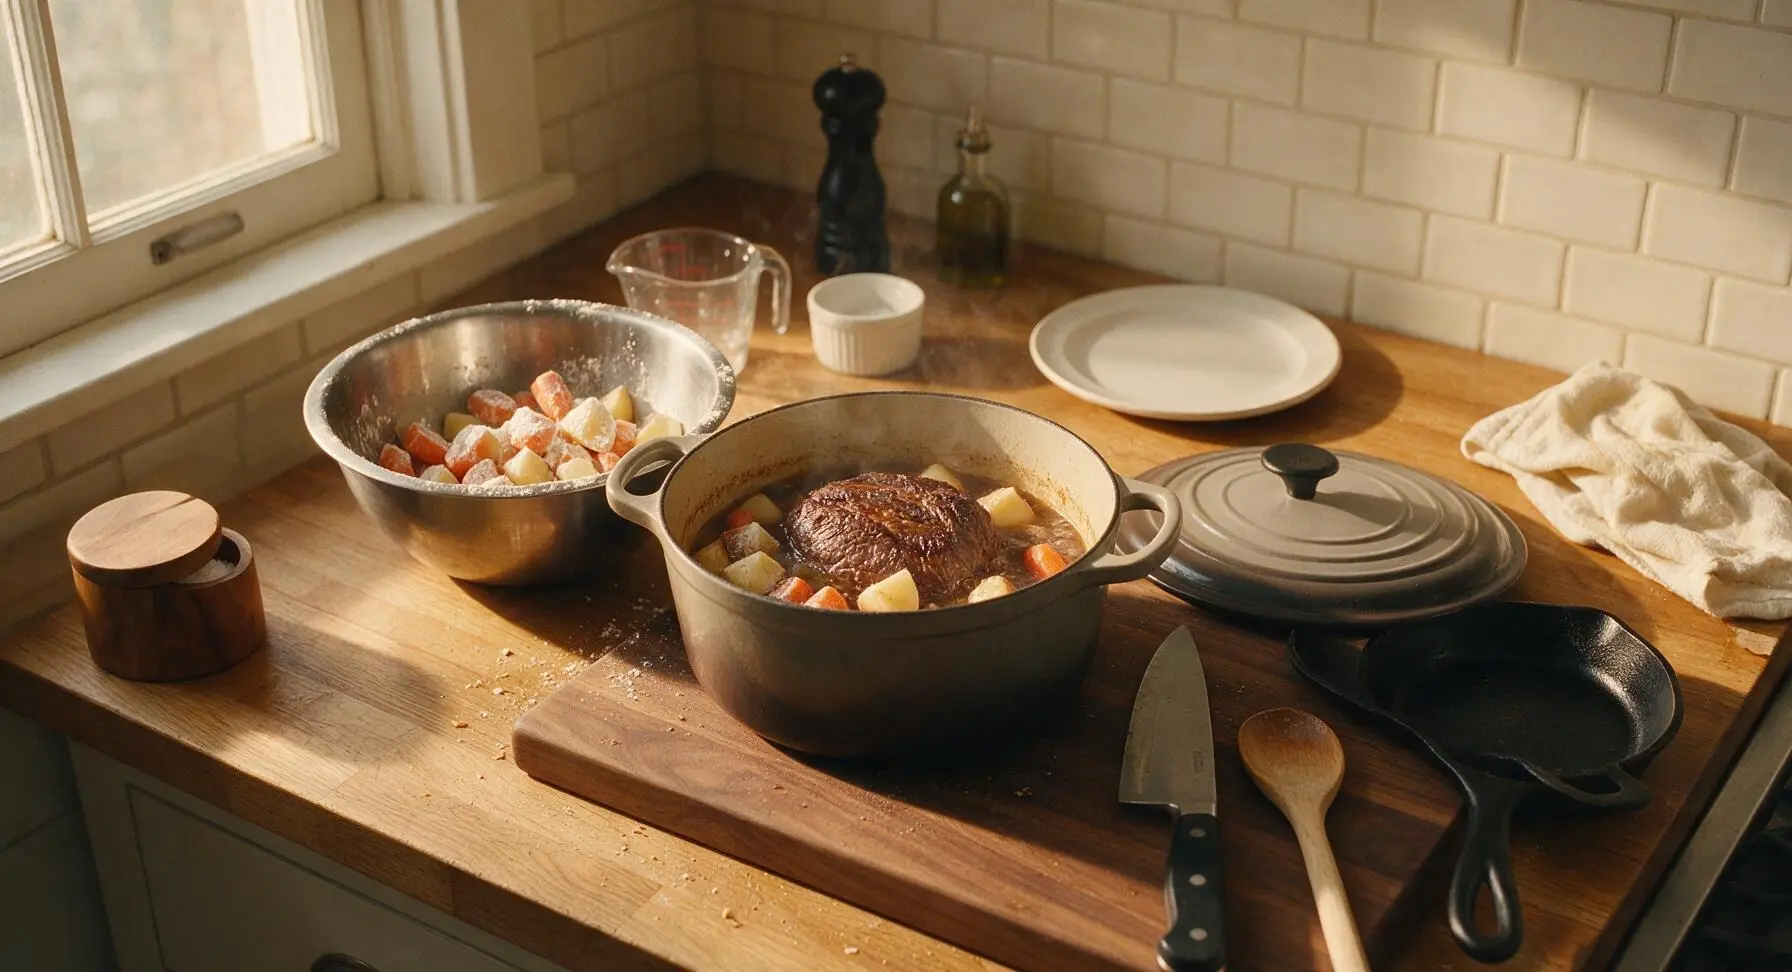
Step 5
step5:Add Root Vegetables
Step 5
step5:Add Root Vegetables
6

Rest Meat and Thicken Gravy

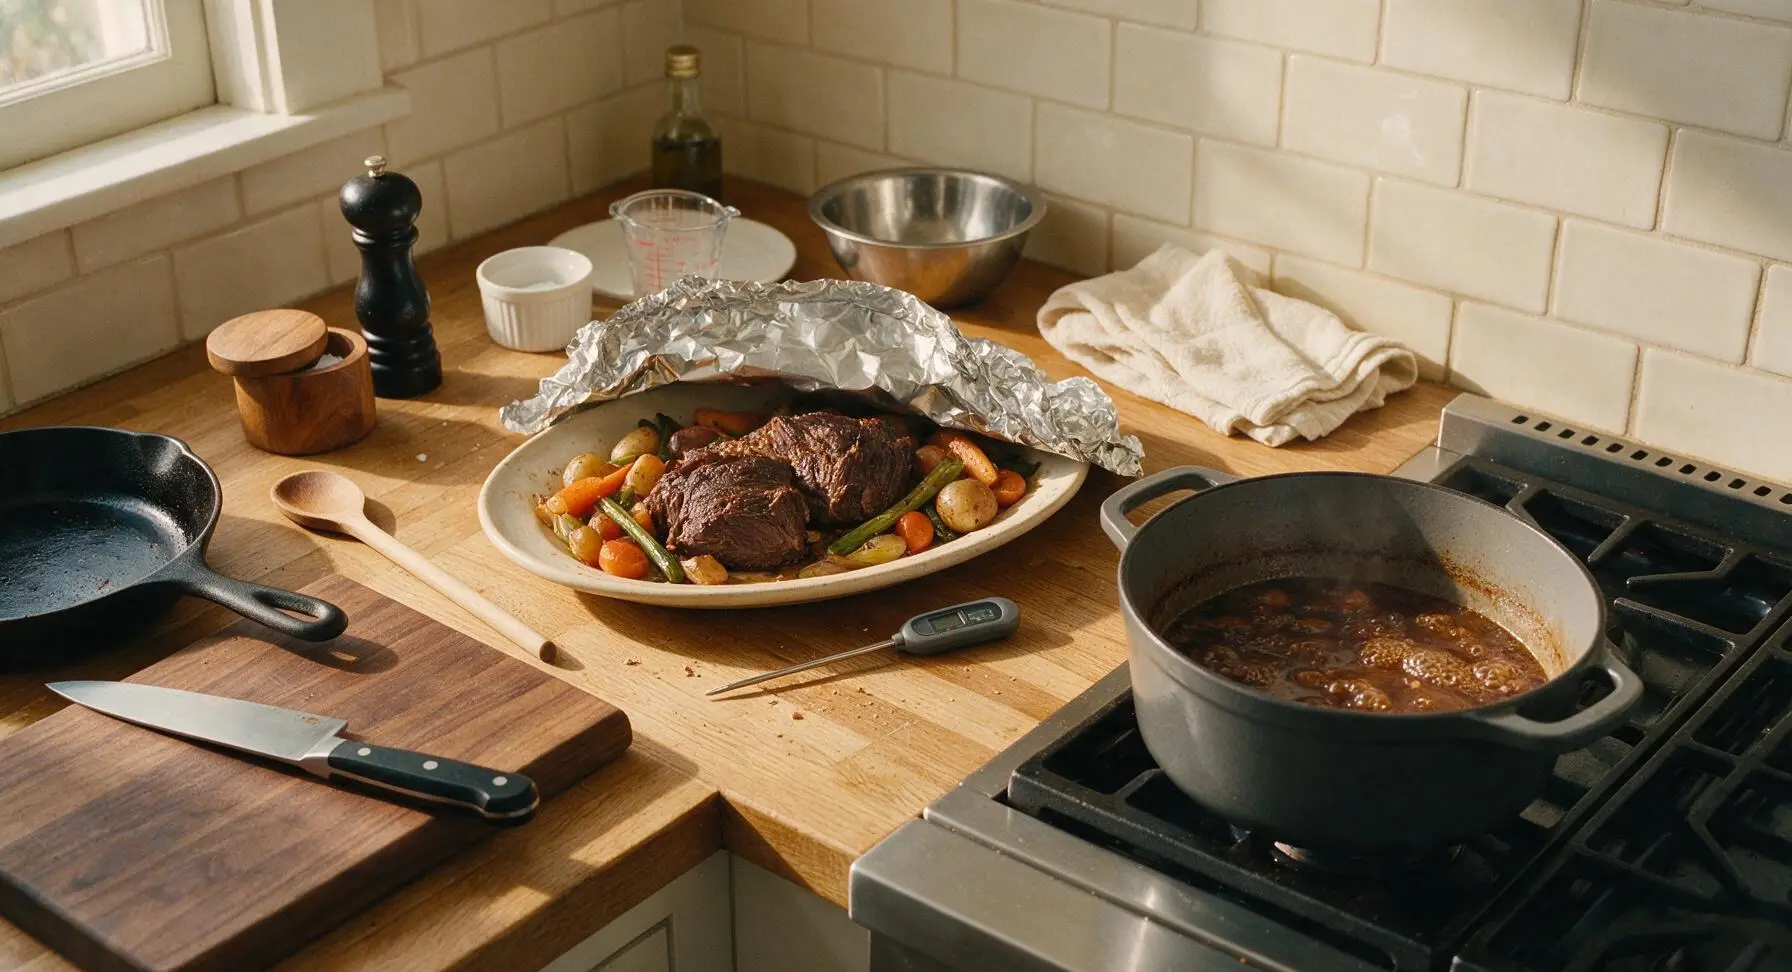
Use the instant-read meat thermometer to confirm the roast reaches an internal temperature of 93C (200F) — this is the temperature where tough connective tissue breaks down into tender, juicy meat. Transfer the roast and vegetables to the large oval off-white serving platter, cover loosely with a sheet of foil, and let rest for 15 minutes. While the meat rests, place the Dutch oven on the stovetop over medium heat, simmer the braising liquid for 5-7 minutes until it reduces to a thick, glossy gravy that coats the back of a spoon, skimming any excess fat from the surface if desired.
Step 6
step6:Rest Meat and Thicken Gravy
7

Slice and Plate Roast

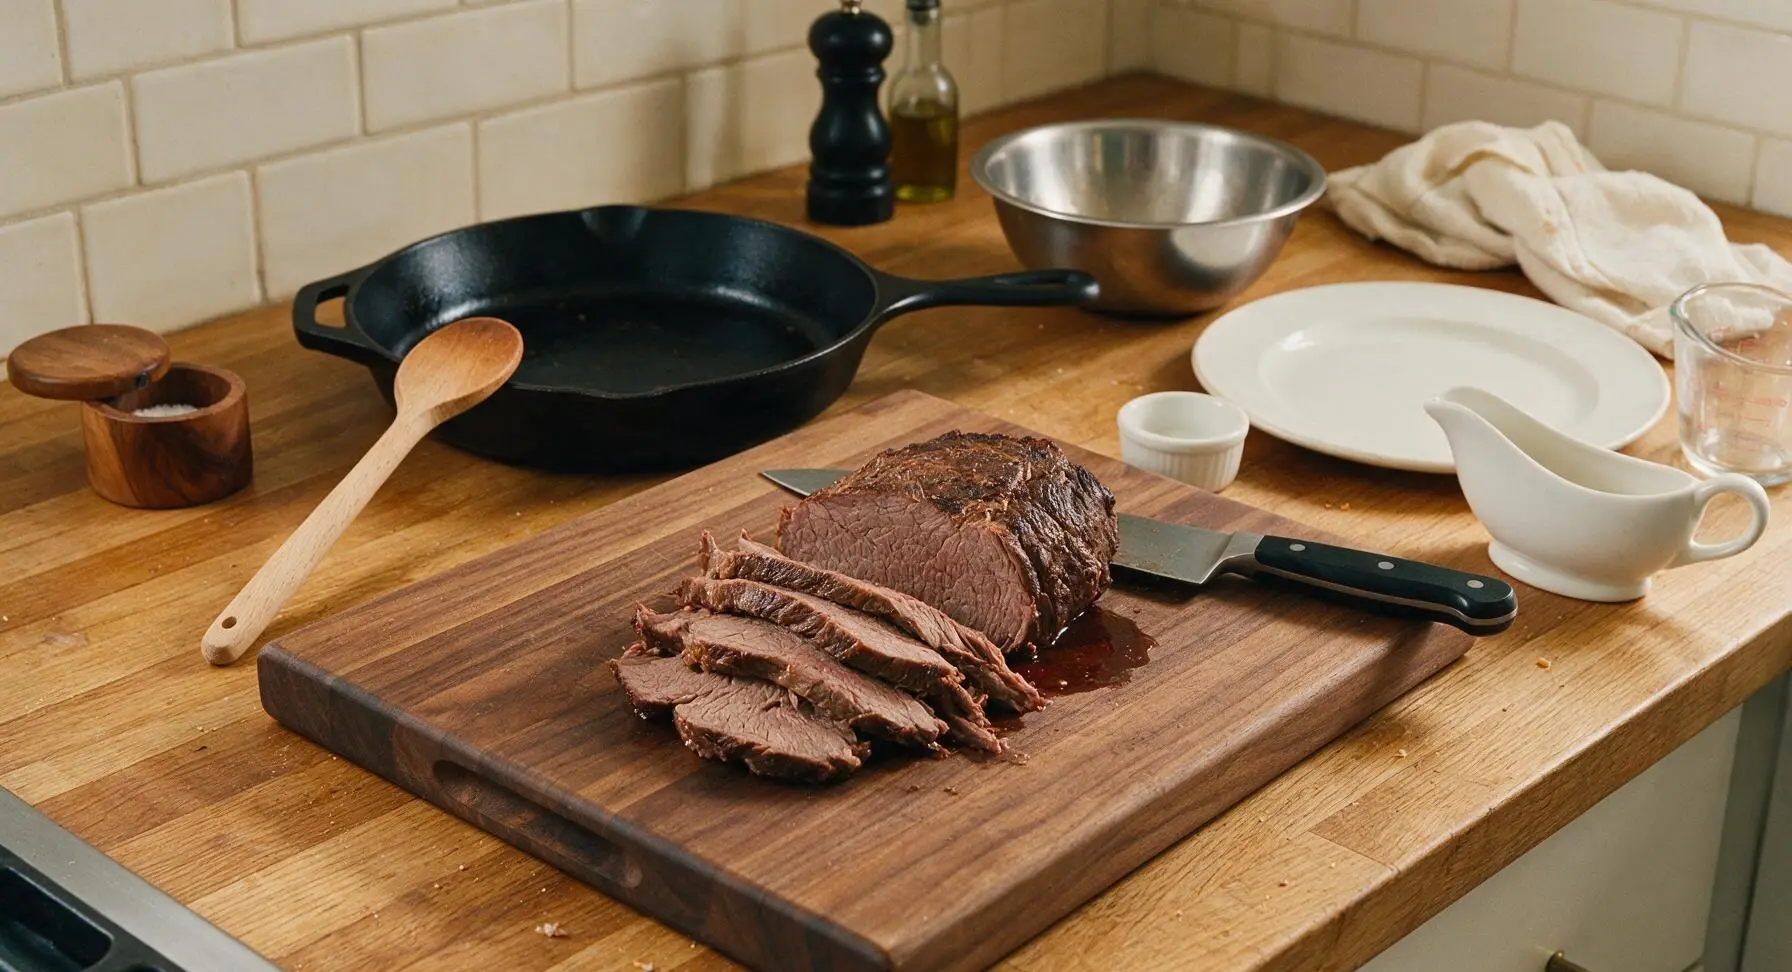
After resting, transfer the roast to the walnut cutting board, use the 8-inch chef knife to cut it into 1.5cm thick slices, cutting against the grain to ensure maximum tenderness. Fan the slices across the serving platter alongside the cooked vegetables, drizzle thickened gravy evenly over the meat and vegetables, and tuck fresh thyme sprigs as garnish. Pour remaining gravy into the matching off-white ceramic gravy boat to serve alongside.
Step 7
step7:Slice and Plate Roast

Tips

1.Choose boneless beef chuck roast over leaner cuts like round or sirloin. Chuck’s abundant marbling and connective tissue breaks down during slow braising to create melt-in-your-mouth tender meat, while lean cuts will turn tough and dry even with extended cooking.
2.Pat the beef completely dry with paper towels before searing. Any residual surface moisture will create steam instead of the deep, mahogany maillard crust that builds the rich, savory base flavor for the dish and its gravy.
3.Resist lifting the Dutch oven lid frequently during braising. Every lid lift drops the internal oven temperature by 10-15C (25-30F), extending cook time and disrupting the steady, gentle simmer needed to properly tenderize the meat.


✨ You May Also Like

Main Course
🍜 United Kingdom

A showstopping classic of tender seared beef, savory mushroom duxelles, and crisp prosciutto wrapped in flaky golden puff pastry, baked to juicy perfection.

⏱️ 2 hours 1Main Course ★ 4.7
Main Course
🍜 India

Tender charred marinated chicken simmered in a rich, spiced creamy tomato sauce, this iconic Anglo-Indian curry pairs perfectly with basmati rice or warm naan.

⏱️ 50 minuteMain Course ★ 4.6
Main Course
🍜 Thailand

Classic tangy, sweet, and savory Thai stir-fried rice noodles with shrimp, tofu, and crunchy garnishes, balancing all five core Thai flavor profiles.

⏱️ 30 minuteMain Course ★ 4.5
Main Course
🍜 United Kingdom

Crispy golden beer-battered cod and fluffy double-fried chips, served with tangy tartar sauce and malt vinegar: the timeless, beloved British pub comfort classic.

⏱️ 45 minuteMain Course ★ 4.7
Main Course
🍜 Mexico

Smoky, chile-marinated pork tacos with caramelized pineapple, fresh cilantro, and lime: a beloved classic Mexican street food perfect for casual summer gatherings.

⏱️ 1 hour 45Main Course ★ 4.8
Main Course
🍜 United States

Crunchy Fritos corn chips layered with savory beef chili and melted cheddar, topped with cool, zesty fixings for a beloved, cozy Tex-Mex comfort food.

⏱️ 35 minuteMain Course ★ 4.8

Pot Roast:Frequently Asked Questions

1.Why do you recommend boneless beef chuck roast for this recipe instead of a leaner cut? ▾
Great question! Lean cuts like sirloin or round have minimal marbling and connective tissue, so they turn dry and chewy after hours of braising. Chuck has rich, even fat marbling and collagen that melts completely during slow cooking, creating that signature fall-apart texture and deep, beefy flavor that makes pot roast feel like a cozy Sunday treat.
2.How much kosher salt should I use to season the roast before searing? ▾
Don’t be shy here! For a standard 3 to 4 pound boneless chuck roast, use about 1 teaspoon of Diamond Crystal kosher salt per pound, evenly coating all sides. If you have 45 minutes to an hour before searing, salting early lets the seasoning penetrate the meat instead of just sitting on the surface, for juicy, evenly flavored beef every time.
3.Do I really need to coat the roast in all-purpose flour before searing? ▾
That thin flour coating does two high-impact jobs for your pot roast! First, it helps build a crisp, deeply browned crust on the beef as you sear it, adding nutty, toasty flavor from the Maillard reaction. Second, it dissolves into the braising liquid as the roast cooks, naturally thickening your savory gravy so you don’t need a separate last-minute thickening step.
4.What kind of pot works best for making this homestyle pot roast? ▾
Reach for a heavy-bottomed, oven-safe Dutch oven with a tight-fitting lid, ideally 5 to 7 quarts in size. Enameled cast iron or seasoned cast iron distributes heat evenly so you don’t get hot spots that burn the pan drippings, and the tight lid locks in steam to keep the roast moist as it braises low and slow for hours.
5.Why does my pot roast always turn out tough instead of fall-apart tender? ▾
Tough pot roast almost always traces back to two common missteps: you used the wrong cut of beef, or you didn’t cook it long enough at a low enough temperature. Chuck roast needs 2.5 to 3.5 hours at 325°F for all that tough collagen to melt into silky texture—if you rush it at high heat, muscle fibers seize up and stay chewy.
6.Can I skip searing the beef in extra-virgin olive oil before braising to save time? ▾
I get wanting to cut corners on busy Sundays, but skipping the sear is a huge flavor miss! Searing the seasoned, floured roast in hot extra-virgin olive oil over medium-high heat creates that deep, browned crust that builds the rich, savory base for your entire dish and gravy. It only takes 8 to 10 minutes total, and it makes the finished roast taste exponentially better.
7.How much freshly ground black pepper is the right amount for this recipe? ▾
For a 3 to 4 pound roast, I recommend 1/2 to 1 teaspoon of freshly cracked black pepper, adjusted to your taste preference. Freshly ground pepper has a brighter, sharper, more complex flavor than stale pre-ground pepper that’s sat in your pantry for months, so add it right before searing for the most balanced, savory flavor.
8.What root vegetables work best paired with this pot roast? ▾
Stick to sturdy, slow-cooking root veggies that hold up to hours of braising! Classic, homestyle picks are Yukon gold or russet potato chunks, thick carrot sticks, celery, yellow onion wedges, and parsnips if you like a subtle sweet, earthy note. Add them to the pot during the last 45 minutes of cooking so they get tender but don’t turn mushy.
9.How do I keep my pot roast gravy from turning out lumpy? ▾
Lumpy gravy usually happens if excess flour clumps when you add liquid, or if you add cold liquid too fast. After searing the flour-coated roast, pour in your braising liquid a little at a time, scraping up all the browned pan bits as you go, and stir gently to dissolve the flour before putting the lid on to braise for perfectly smooth gravy.
10.What oven temperature gives the best results for pot roast? ▾
Set your oven to a steady 325°F for the most consistent, tender results. This low, gentle temperature is hot enough to break down the tough connective tissue in the chuck roast without boiling the meat, which would make it stringy and tough. Cooking at 375°F or higher will dry out the outer edges long before the center is tender.
11.Can I make this pot roast in a slow cooker instead of the oven? ▾
Absolutely! Follow all the same prep steps: season, flour, and sear the roast in extra-virgin olive oil on the stovetop first to build that deep flavor, then transfer it to your slow cooker with aromatics and broth. Cook on the LOW setting for 7 to 8 hours, adding root veggies during the last hour, until the beef pulls apart easily with a fork.
12.How do I know when the pot roast is perfectly done cooking? ▾
Don’t rely solely on cook time—use texture as your most reliable guide! The roast is done when you can insert a fork into the thickest part of the beef and twist it easily, with the meat pulling apart without any resistance. If the fork meets tough, springy resistance, pop the lid back on and cook another 20 to 30 minutes before checking again.
13.Do I need to cover the roast completely with liquid while it braises? ▾
No, you don’t need to submerge the whole roast! You only need about 1.5 to 2 cups of liquid (beef broth, a splash of Worcestershire, optional red wine) in the bottom of the pot. The tight-fitting lid traps steam that circulates around the roast to cook it evenly; fully submerging it would boil the beef, leading to watery, less flavorful meat.
14.How long can I store leftover pot roast and gravy? ▾
Let your leftover roast, veggies, and gravy cool completely within 2 hours of cooking, then store them in an airtight container in the fridge for up to 4 days. The flavors actually meld and get even better the next day! To reheat, warm portions gently over low heat with a splash of extra broth if the gravy thickens up too much in the fridge.
15.My gravy is too thin after the roast finishes cooking—how do I fix it fast? ▾
No stress! First, move the cooked roast and veggies to a platter to rest, then set your Dutch oven on the stovetop over medium heat. Let the gravy simmer for 5 to 10 minutes, stirring occasionally, to reduce and thicken. If it’s still too thin, stir in a quick slurry of 1 tablespoon flour mixed with 2 tablespoons cold water, and simmer 2 more minutes.

Comments (6)

2 weeks ago

OMG this pot roast was a total game changer for our Sunday family dinner! The meat was so fall-apart tender, even my picky 7 year old asked for seconds. I tossed in extra carrots and potatoes like my mom used to make, and the whole house smelled amazing for hours. SO good, will be adding this to our regular rotation for sure!

1 week ago

Made this for my weekly potluck with the guys last weekend and everyone was raving! I was worried the 3+ hour cook time would be a hassle but it was so easy, most of it is just hands-off simmering so I was able to get yard work done while it cooked. Only thing I added was an extra splash of Worcestershire because I love that umami kick. 10/10

5 days ago

So glad it was a hit at your potluck, Jake! That extra Worcestershire is such a smart call — it adds such great depth to the broth. Thanks for sharing the tip!

3 days ago

I made this last night and it was delicious! Quick question for anyone who’s made this ahead: does this freeze well? I like to prep big batches of hearty meals on Sundays to take for work lunches during the week, and this pot roast sounds perfect to make in bulk. How long do you think it would keep in the fridge too?

2 days ago

Great question, Liz! This roast freezes beautifully for up to 3 months — just make sure to store it in an airtight container with plenty of the cooking liquid to keep it moist. It’ll keep in the fridge for 4-5 days, which is perfect for weekly meal prep!

yesterday

I froze half of the batch I made last month and it tasted just as good when I thawed and reheated it! I portioned it out with mashed potatoes in single-serve containers and it made work lunches so easy that week.

yesterday

I’ve been making pot roast for 50 years and I have to say, this recipe is almost as good as my own! The cook time is spot on for that melt-in-your-mouth texture, and the seasoning is just right — not too salty, not too bland. My grandkids came over after school and devoured half the pan before dinner even started!

2 hours ago

That’s such a sweet review! I’m making this for my grandma’s 82nd birthday dinner next week and I was so nervous it wouldn’t measure up to hers, but this makes me feel way more confident!

2 hours ago

Wait, I’m a total beginner in the kitchen — is there a cut of beef that works best for this? I don’t want to pick the wrong thing and mess it up, this looks too good to flop! The easy difficulty rating is what sold me on trying it, I’ve been trying to learn to cook more meals that aren’t just microwave ramen lol

30 minutes ago

Go for a chuck roast! It’s got the perfect amount of marbling to get that tender, juicy result after slow cooking, and it’s usually pretty cheap at the grocery store too. You got this!

5 minutes ago

Rae is absolutely right! Chuck roast is our top pick for this recipe — it breaks down beautifully over the long cook time for that classic pot roast texture. Just make sure to pat it dry before searing for that nice golden crust, you’ve got this!

30 minutes ago

Made this on a rainy day last week when I was craving cozy comfort food and it did NOT disappoint! I didn’t have any red wine on hand so I used a little extra beef broth and a splash of balsamic vinegar, and it turned out chef’s kiss. My roommate walked in and thought I ordered takeout from a fancy steakhouse lmao



