
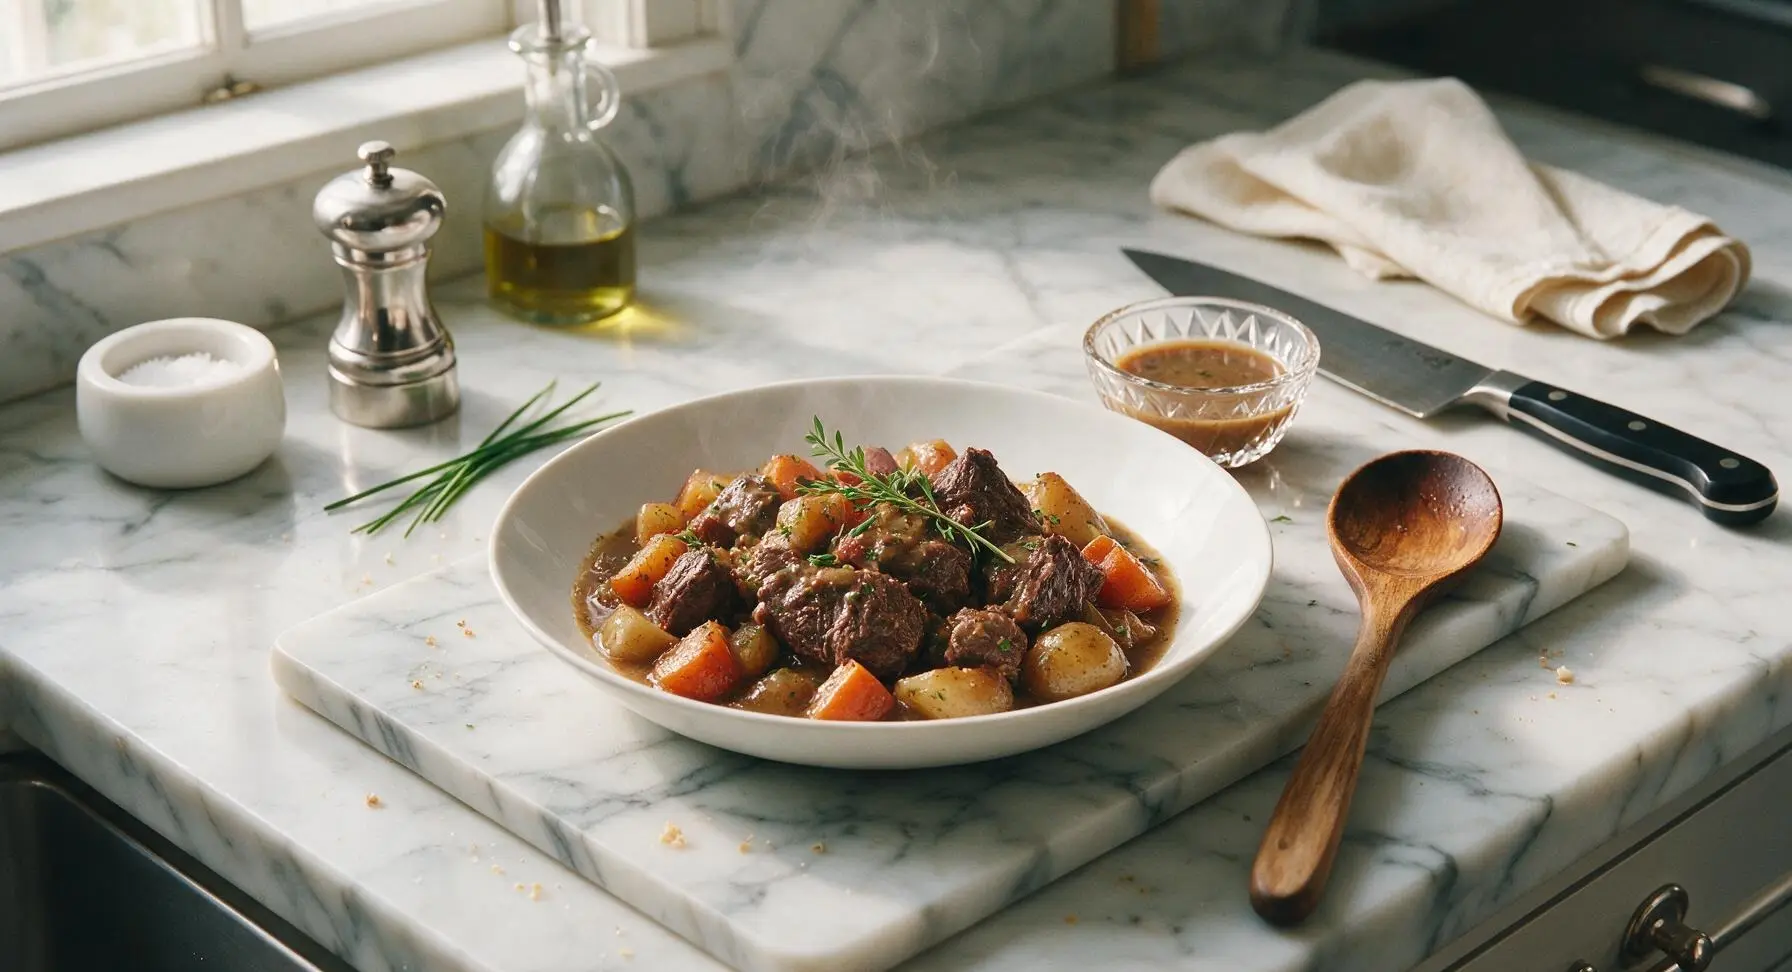
pot roast on stove

title 1
pot roast on stove
⏱️ cook time 2 hours 50 minutes
🍽️ servings 4
⚡ Difficulty medium

intro

Fall-apart tender beef chuck slow-simmered on the stovetop with savory root vegetables and rich herbed pan gravy, the ultimate cozy, no-fuss comfort food for gathered family meals.

Ingredients
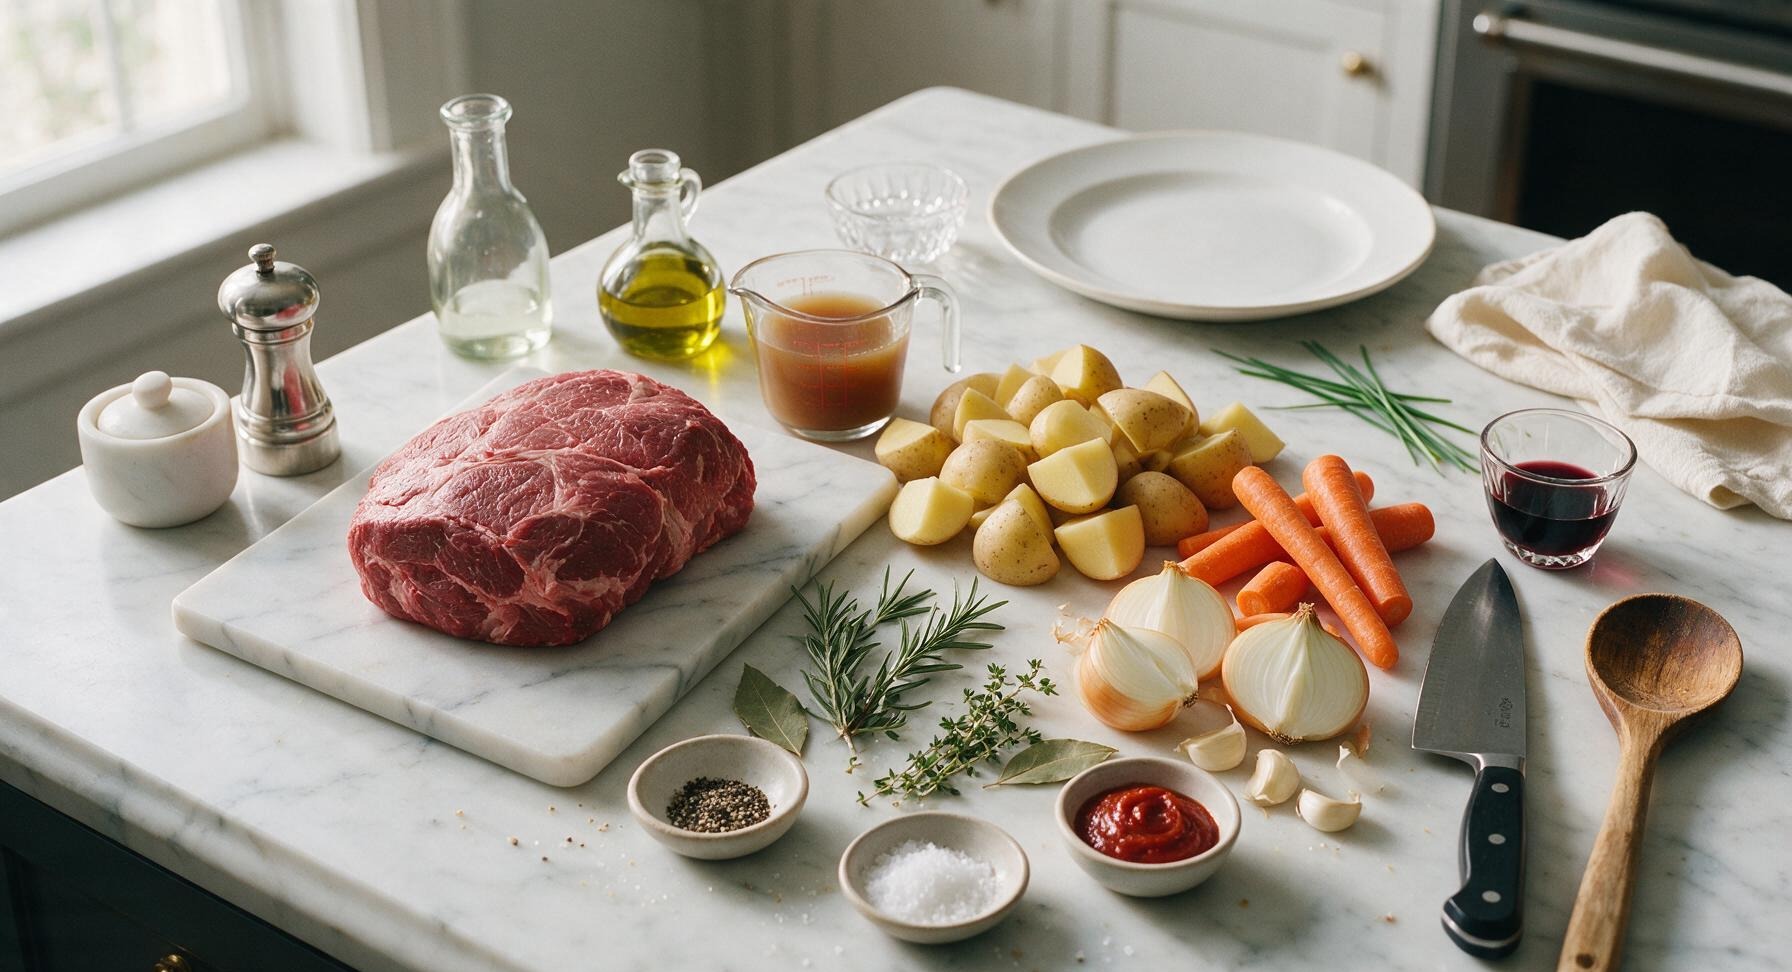
Boneless beef chuck roast 3 lb (1.36 kg)
Yukon Gold potatoes 1.5 lb, cut into 2-inch wedges
Large carrots 3 (approx 1 lb), peeled, cut into 2-inch chunks
Yellow onions 2 medium, cut into 8 wedges each
Garlic cloves 4, crushed
Tomato paste 2 tbsp
Low-sodium beef broth 1 cup
Dry red wine (Cabernet Sauvignon) 1/2 cup
Fresh rosemary 2 sprigs
Fresh thyme 4 sprigs
Bay leaves 2
Kosher salt 1 tbsp, divided
Coarse black pepper 1 tsp, divided
Olive oil 2 tbsp

Steps

1

Season the Chuck Roast

Pat the 3lb boneless beef chuck roast completely dry on all sides with paper towels, then rub all surfaces evenly with 1 teaspoon kosher salt and 1/2 teaspoon coarse black pepper. Let the seasoned roast rest on the light maple cutting board for 15 minutes at room temperature to allow salt to penetrate the meat, which helps build a crisp, deep sear during cooking.
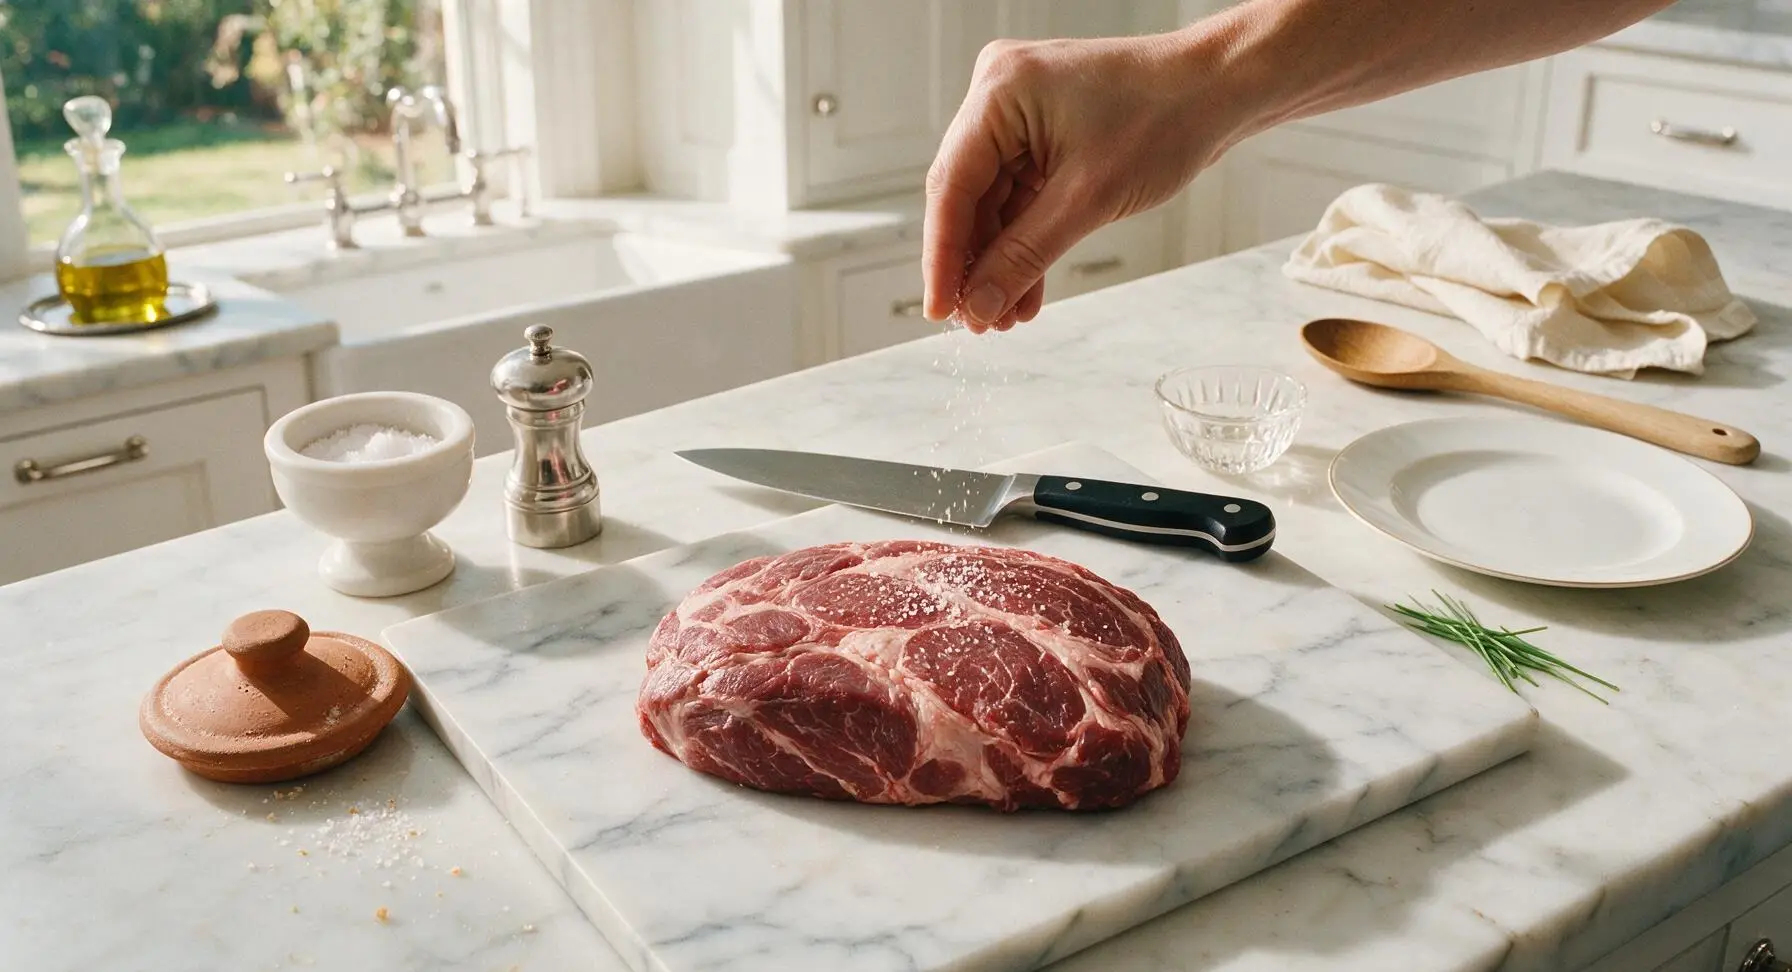
Step 1
step1:Season the Chuck Roast
2

Sear All Roast Sides

Heat 2 tablespoons olive oil in the sage green enameled Dutch oven over medium-high heat until the oil shimmers and just begins to send up faint wispy smoke. Carefully lower the seasoned chuck roast into the hot oil using the silicone-tipped stainless steel tongs. Sear for 4-5 minutes per side, including narrow edges, until every surface develops a deep mahogany brown crust; avoid moving the roast during each searing interval to let the crust form fully. Once seared, transfer the roast temporarily back to the maple cutting board.
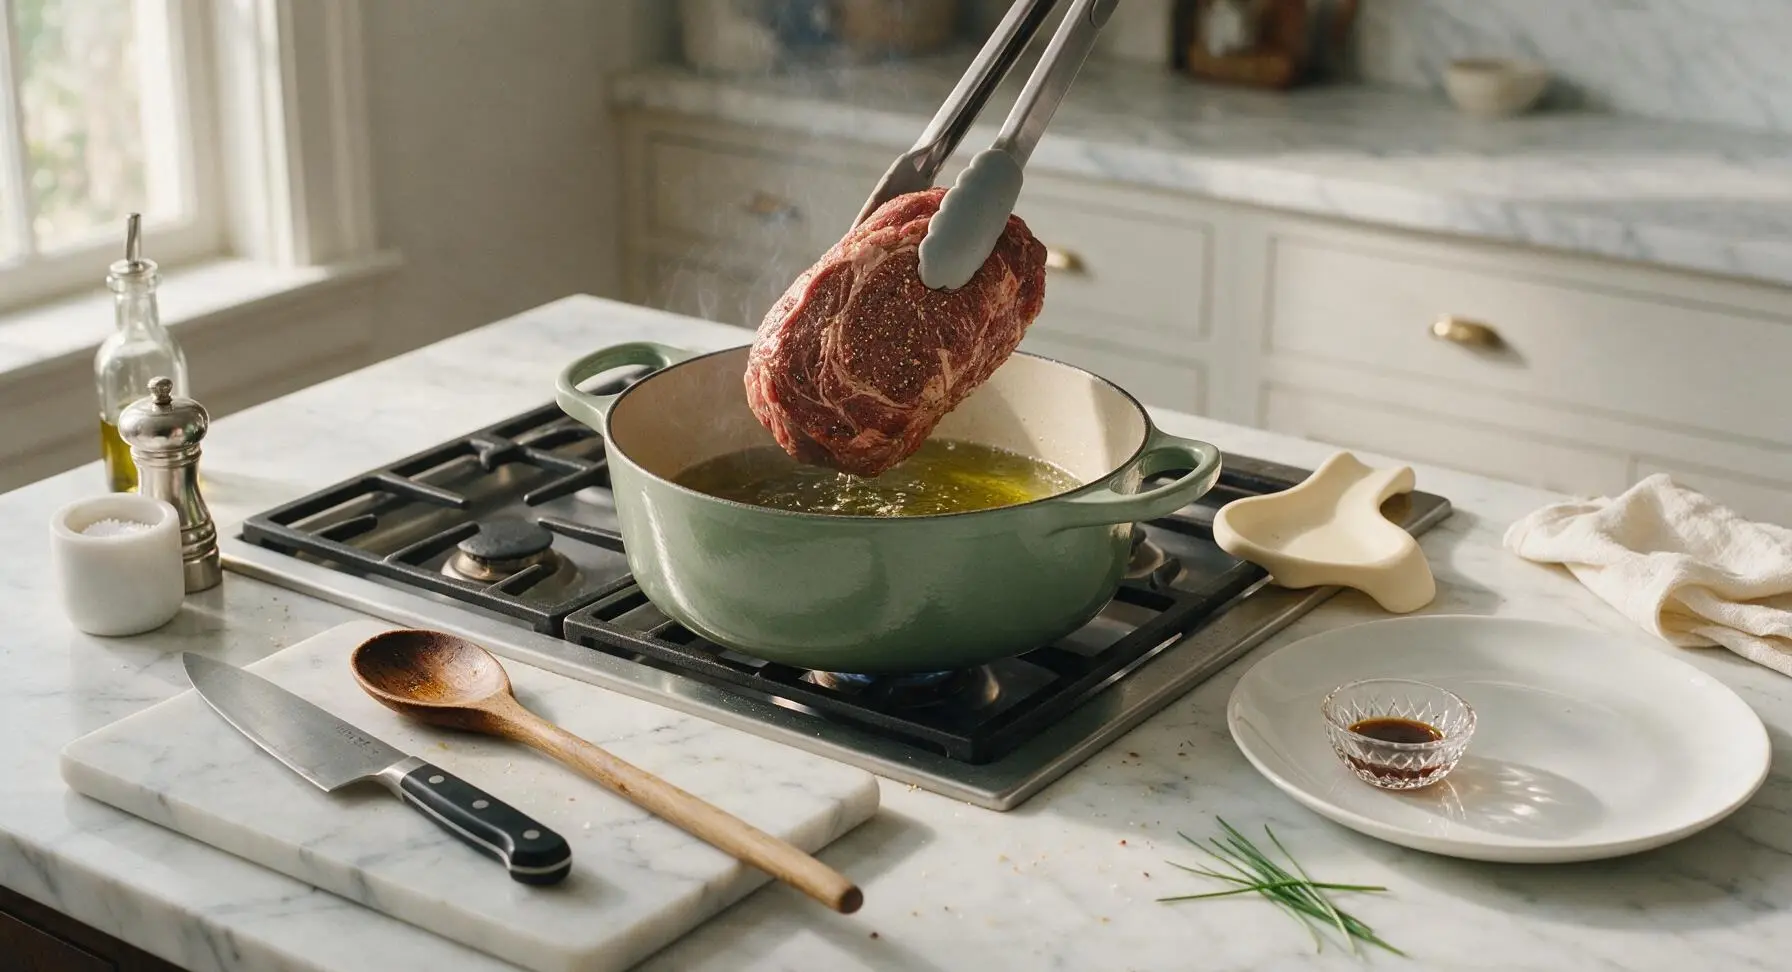
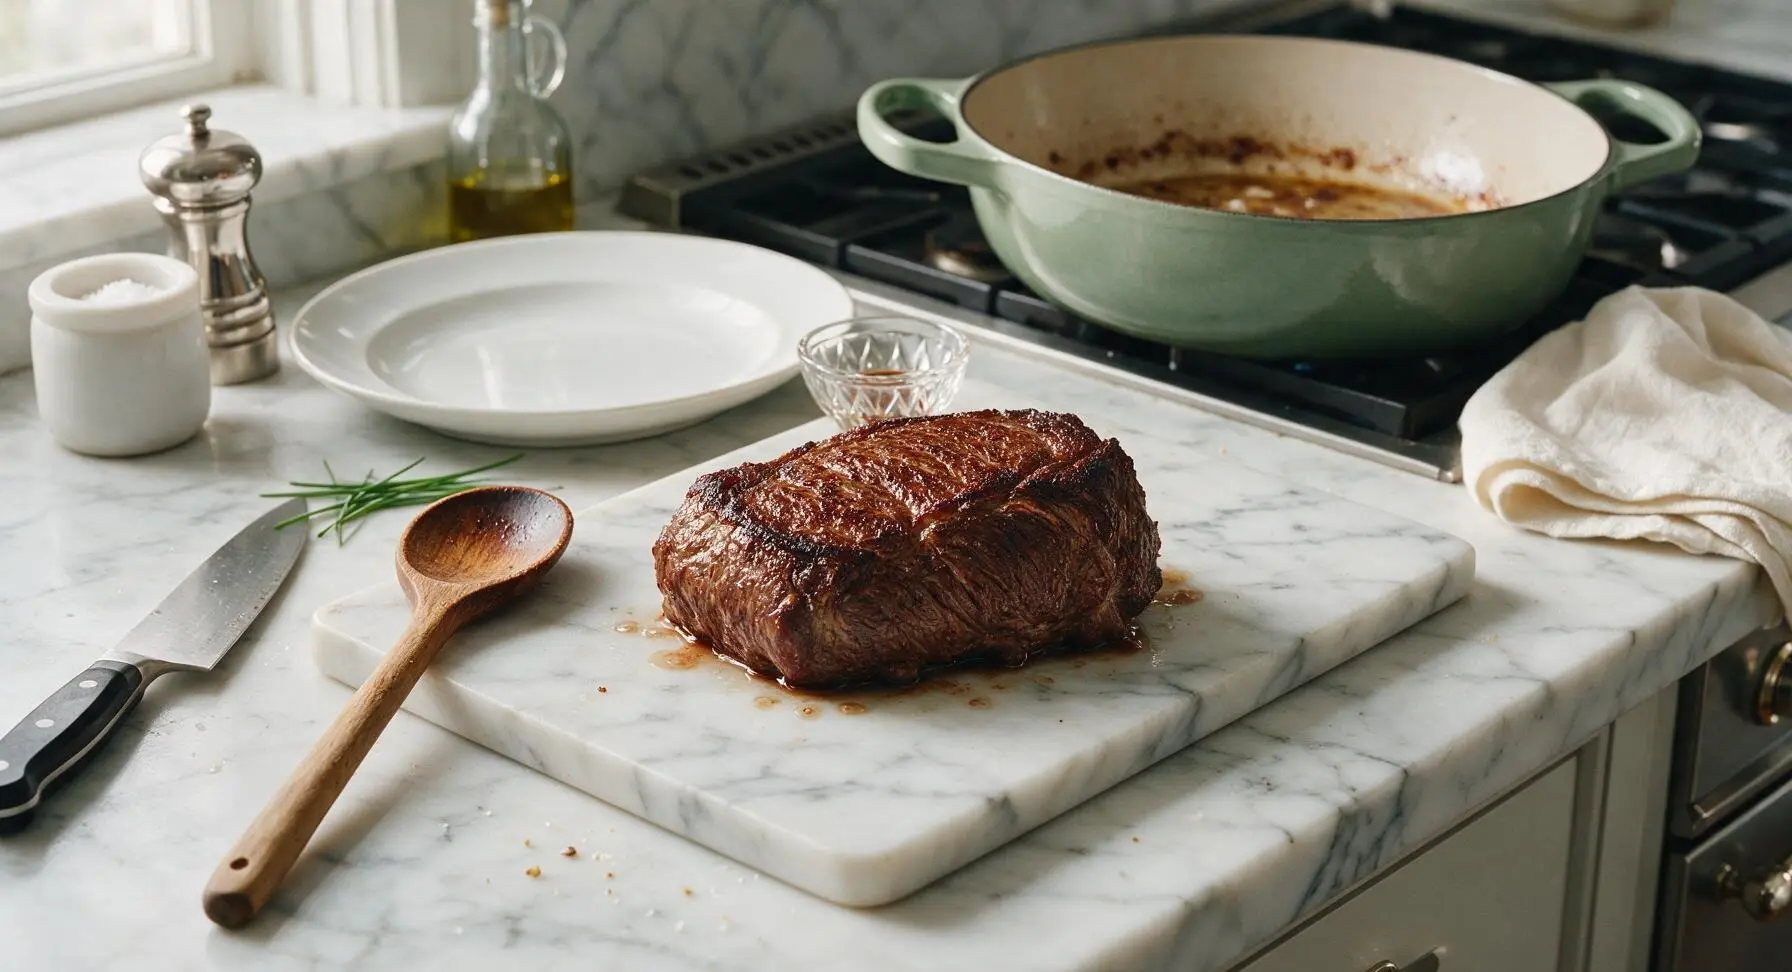
Step 2
step2:Sear All Roast Sides
Step 2
step2:Sear All Roast Sides
3

Sauté Aromatic Base

Reduce burner heat to medium. Add the cut onion wedges to the Dutch oven, using the slotted stainless steel spoon to stir them in the leftover meat drippings. Sauté for 5 minutes until onions soften and turn translucent at the edges, then add 4 crushed garlic cloves and 2 tablespoons tomato paste. Cook, stirring constantly, for 1 minute until tomato paste darkens to a deep rust color and smells fragrant, taking care not to burn the garlic.
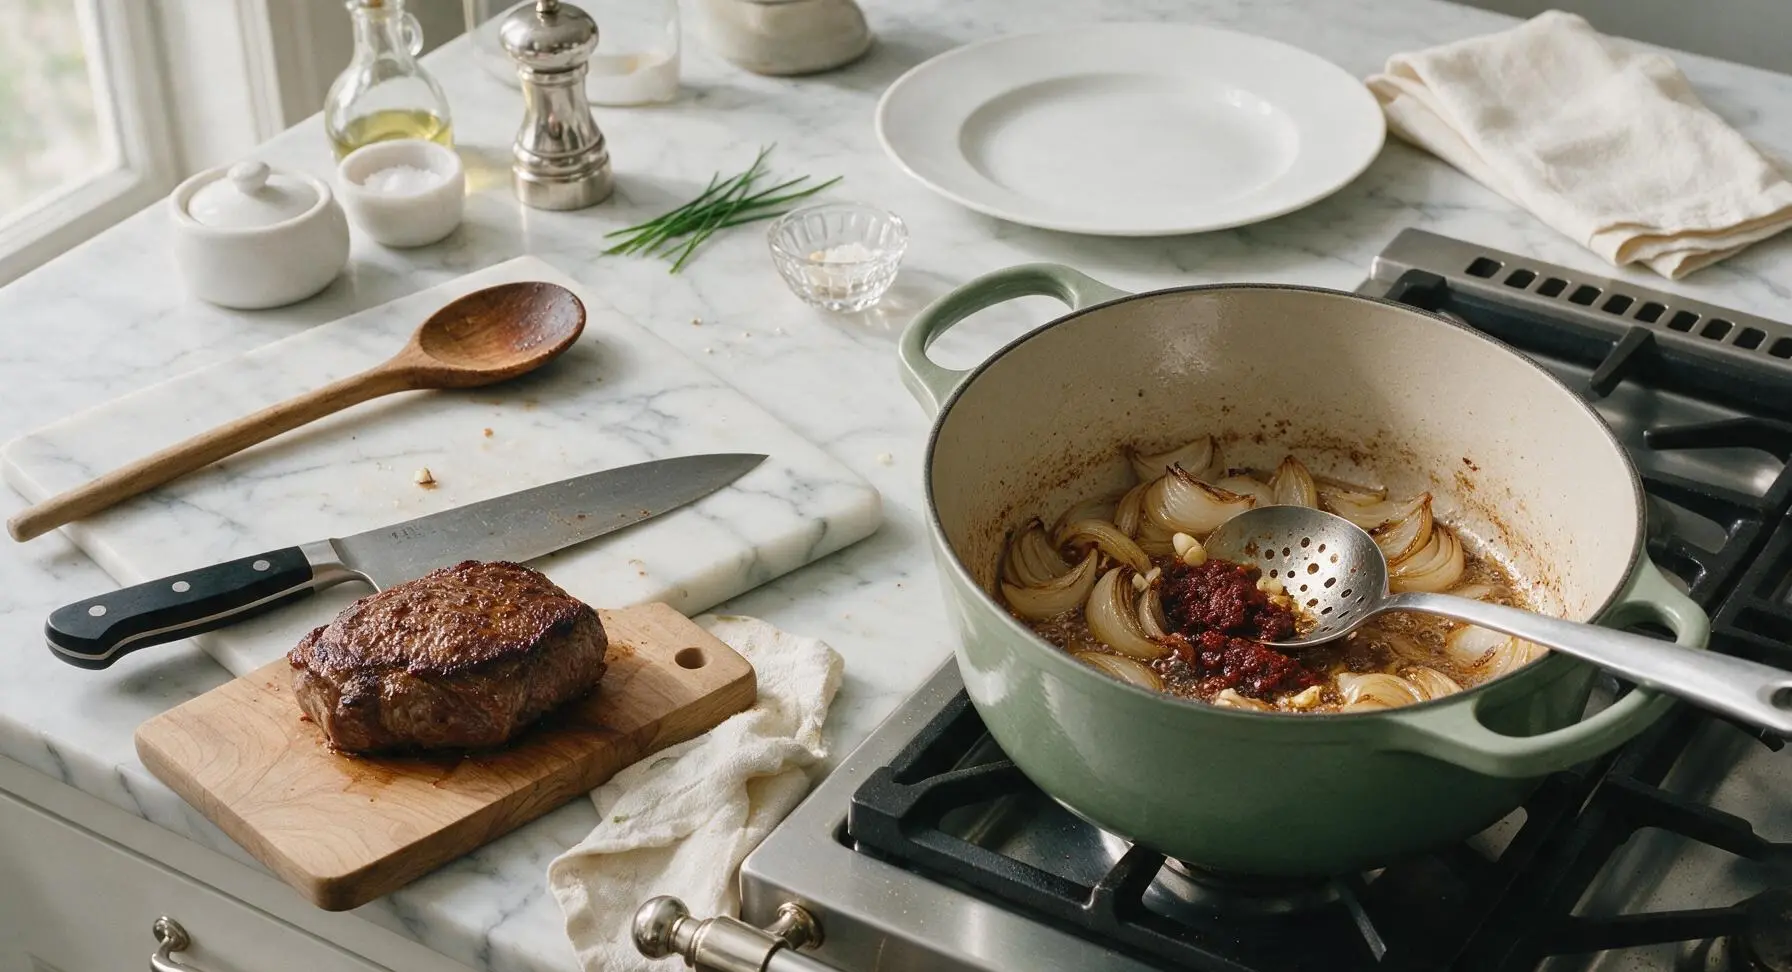
Step 3
step3:Sauté Aromatic Base
4

Deglaze Pan with Wine

Slowly pour 1/2 cup dry red wine into the Dutch oven, scraping the pot’s cream enamel bottom firmly with the slotted spoon to lift all browned fond (crispy cooked meat bits) from the surface. Simmer for 3 minutes until the wine is reduced by half, and the sharp alcohol scent fades to a rich, fruity aroma.
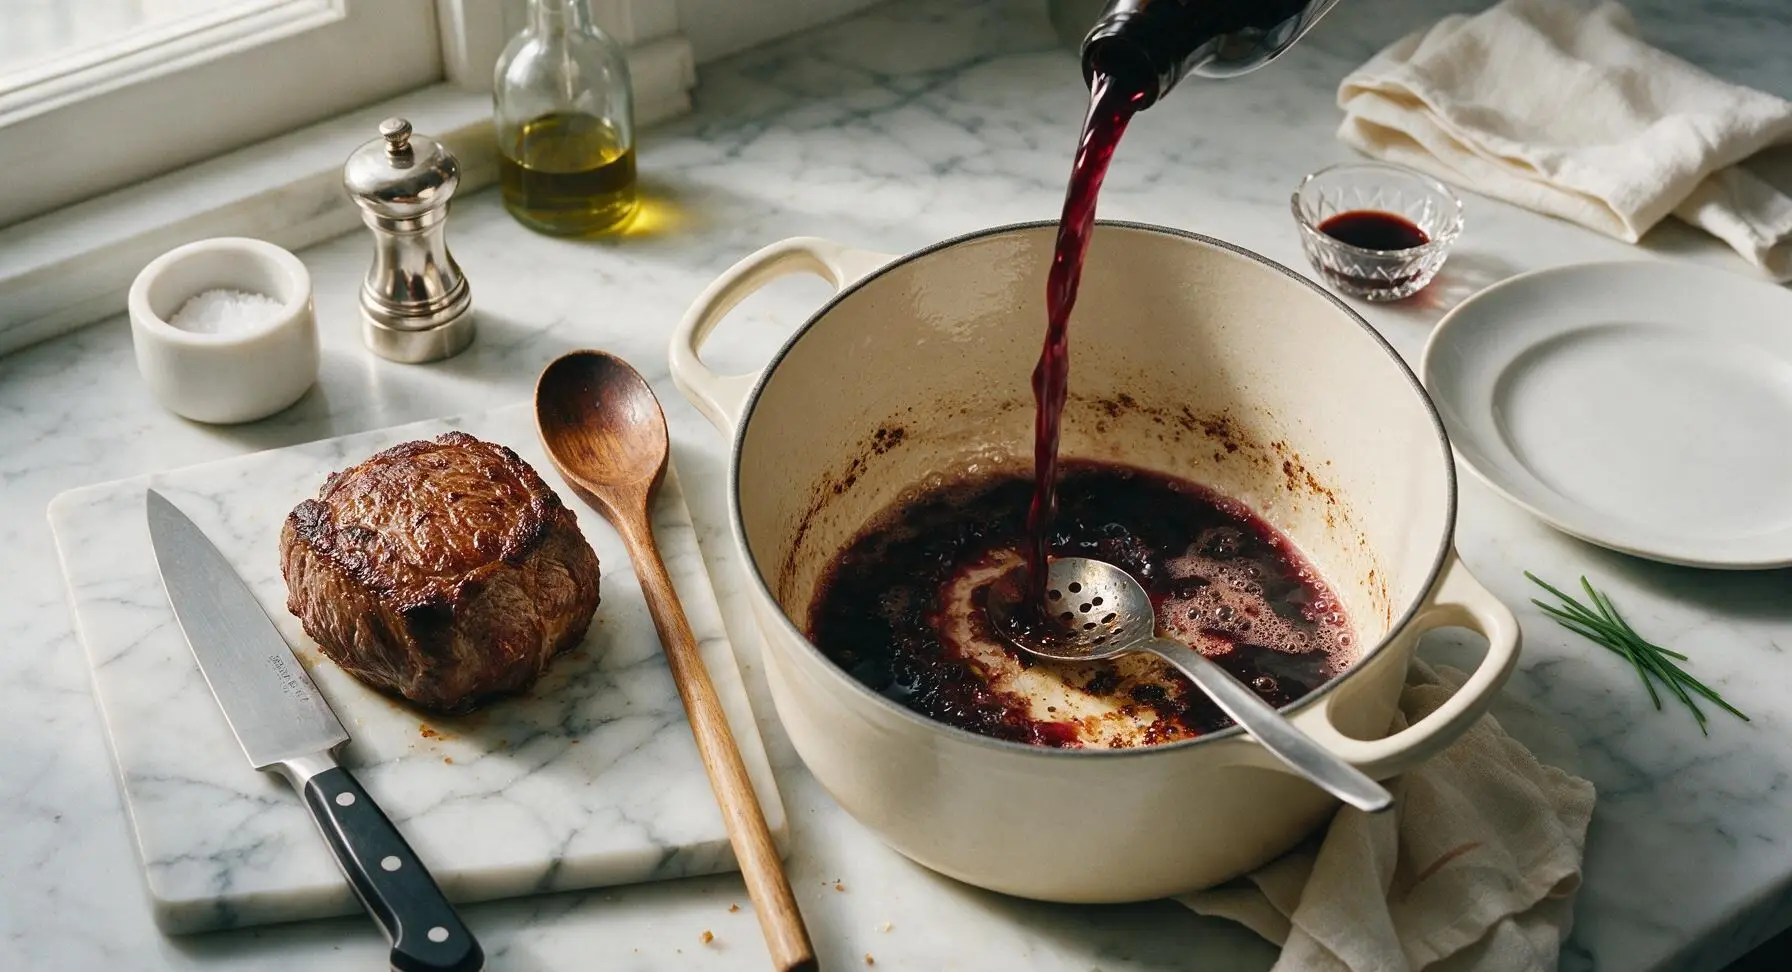
Step 4
step4:Deglaze Pan with Wine
5

Slow Simmer the Beef

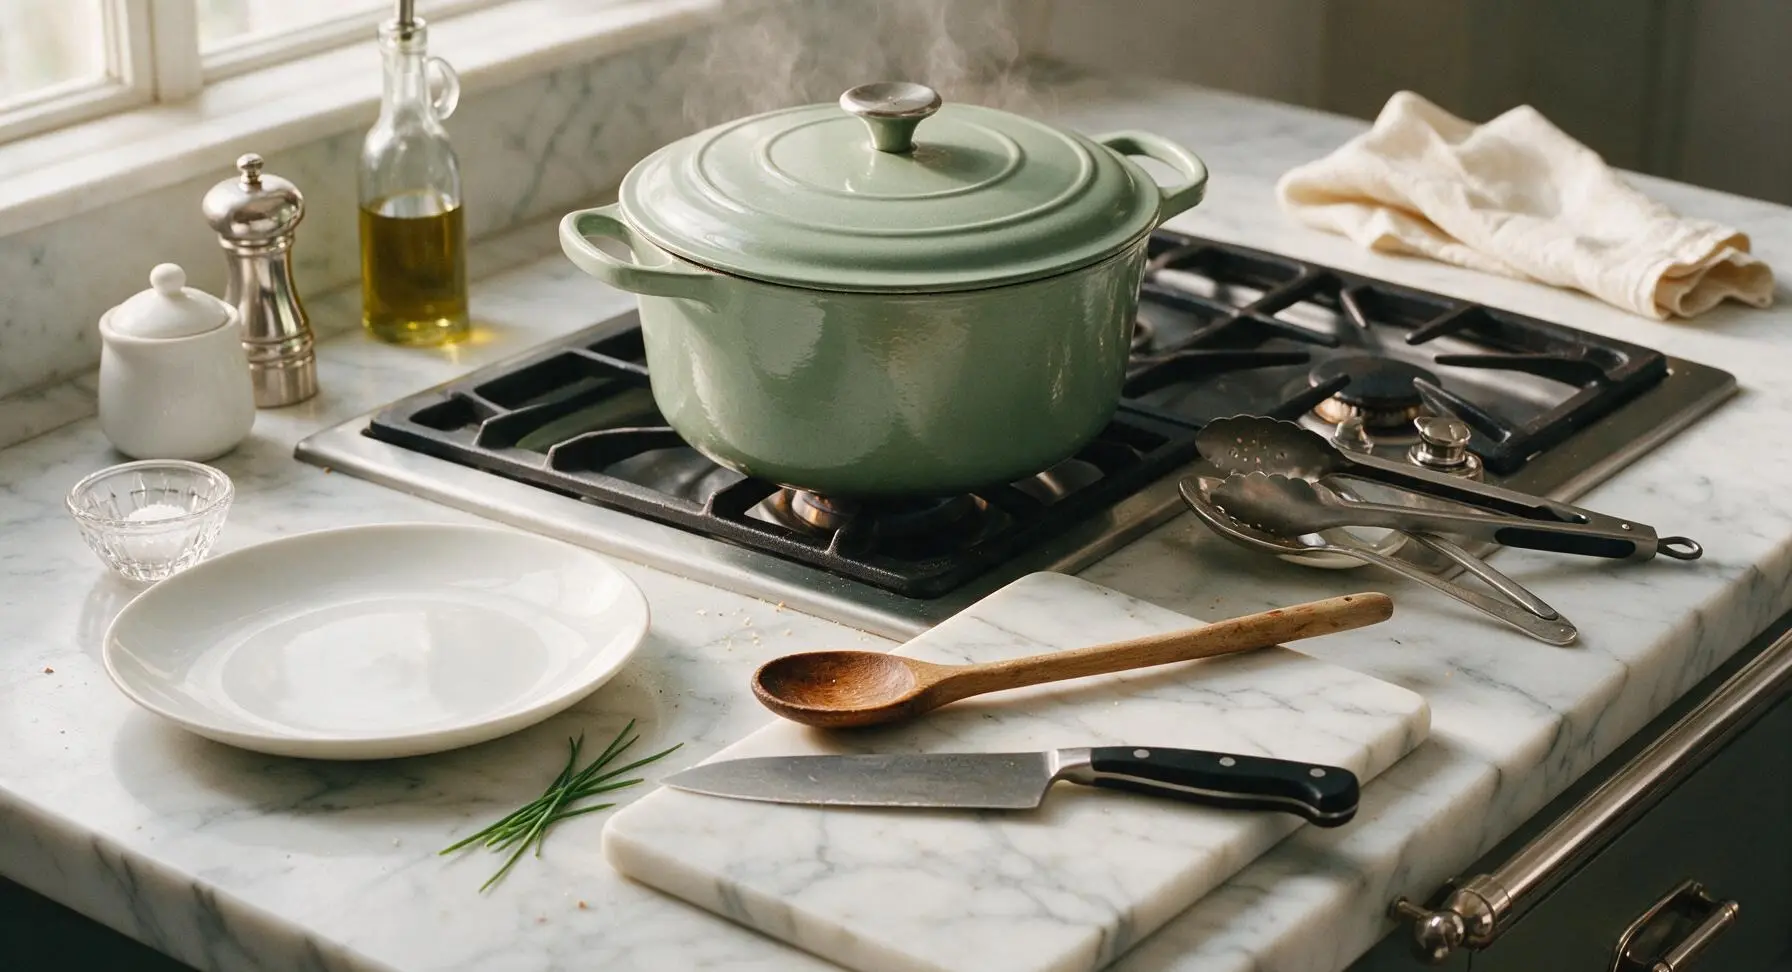
Return the seared chuck roast to the Dutch oven, nestling it into the wine and onion mixture. Pour in 1 cup low-sodium beef broth until liquid reaches halfway up the sides of the roast (do not fully submerge the meat). Add the tied bundle of thyme, rosemary, and 2 bay leaves to the liquid. Bring to a gentle simmer, then turn heat to the lowest setting, cover with the Dutch oven lid, and cook for 1 hour 45 minutes, checking every 30 minutes to maintain a slow, quiet bubble rather than a rolling boil.
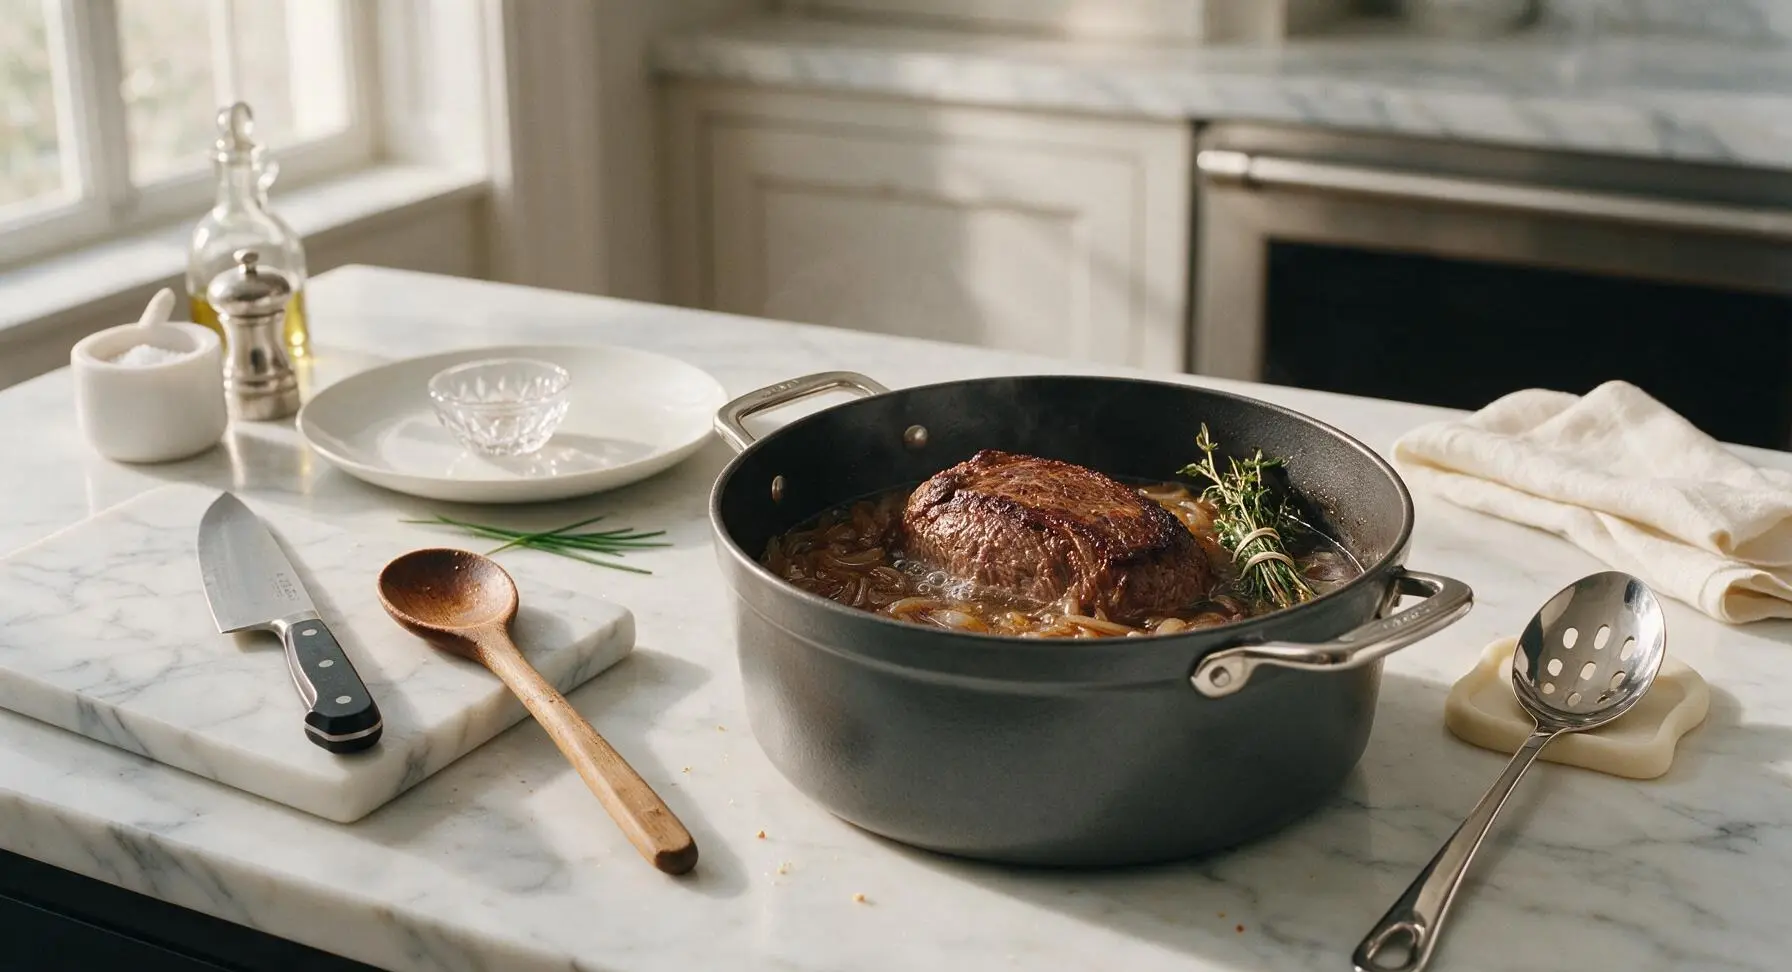
Step 5
step5:Slow Simmer the Beef
Step 5
step5:Slow Simmer the Beef
6

Add Root Vegetables

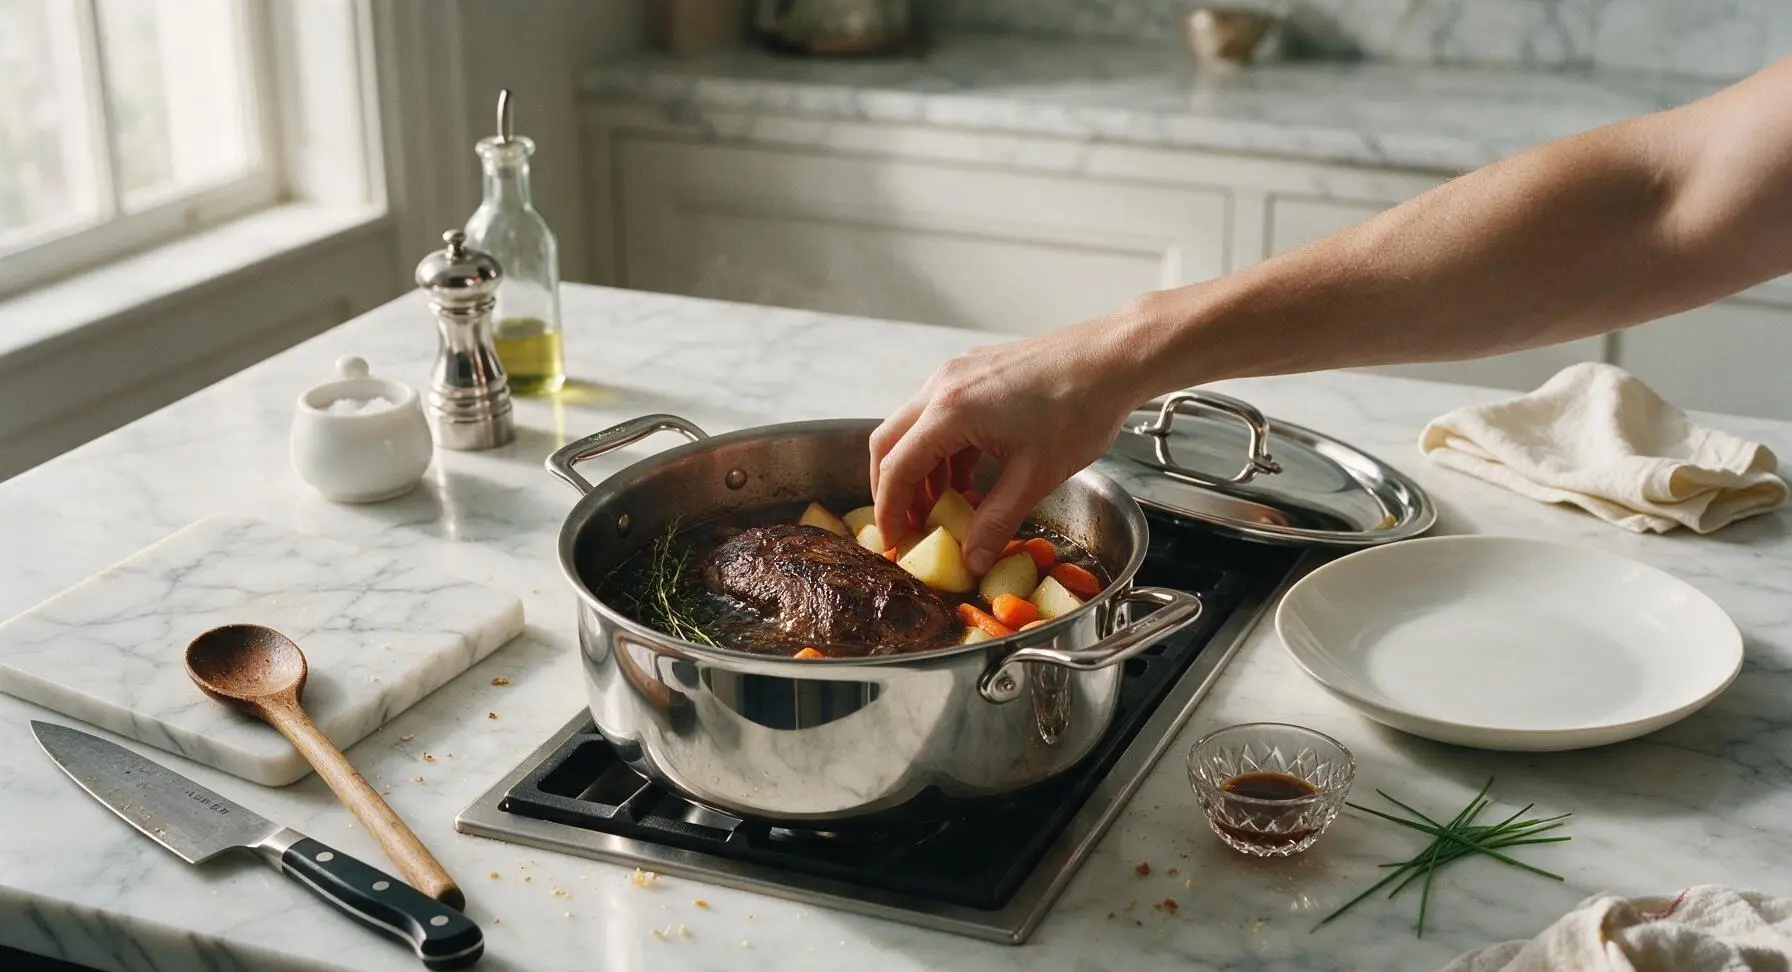
After 1 hour 45 minutes of simmering, carefully lift the Dutch oven lid (tilt it away from your face to avoid hot steam). Use tongs to lift the roast slightly, then tuck 2-inch potato wedges and carrot chunks into the simmering liquid around the roast, seasoning vegetables with the remaining 2 teaspoons kosher salt and 1/2 teaspoon black pepper. Replace the lid, and continue simmering on low for 40 more minutes, until vegetables are fork-tender and the roast pulls apart easily when prodded.
Step 6
step6:Add Root Vegetables
7

Rest the Tender Roast

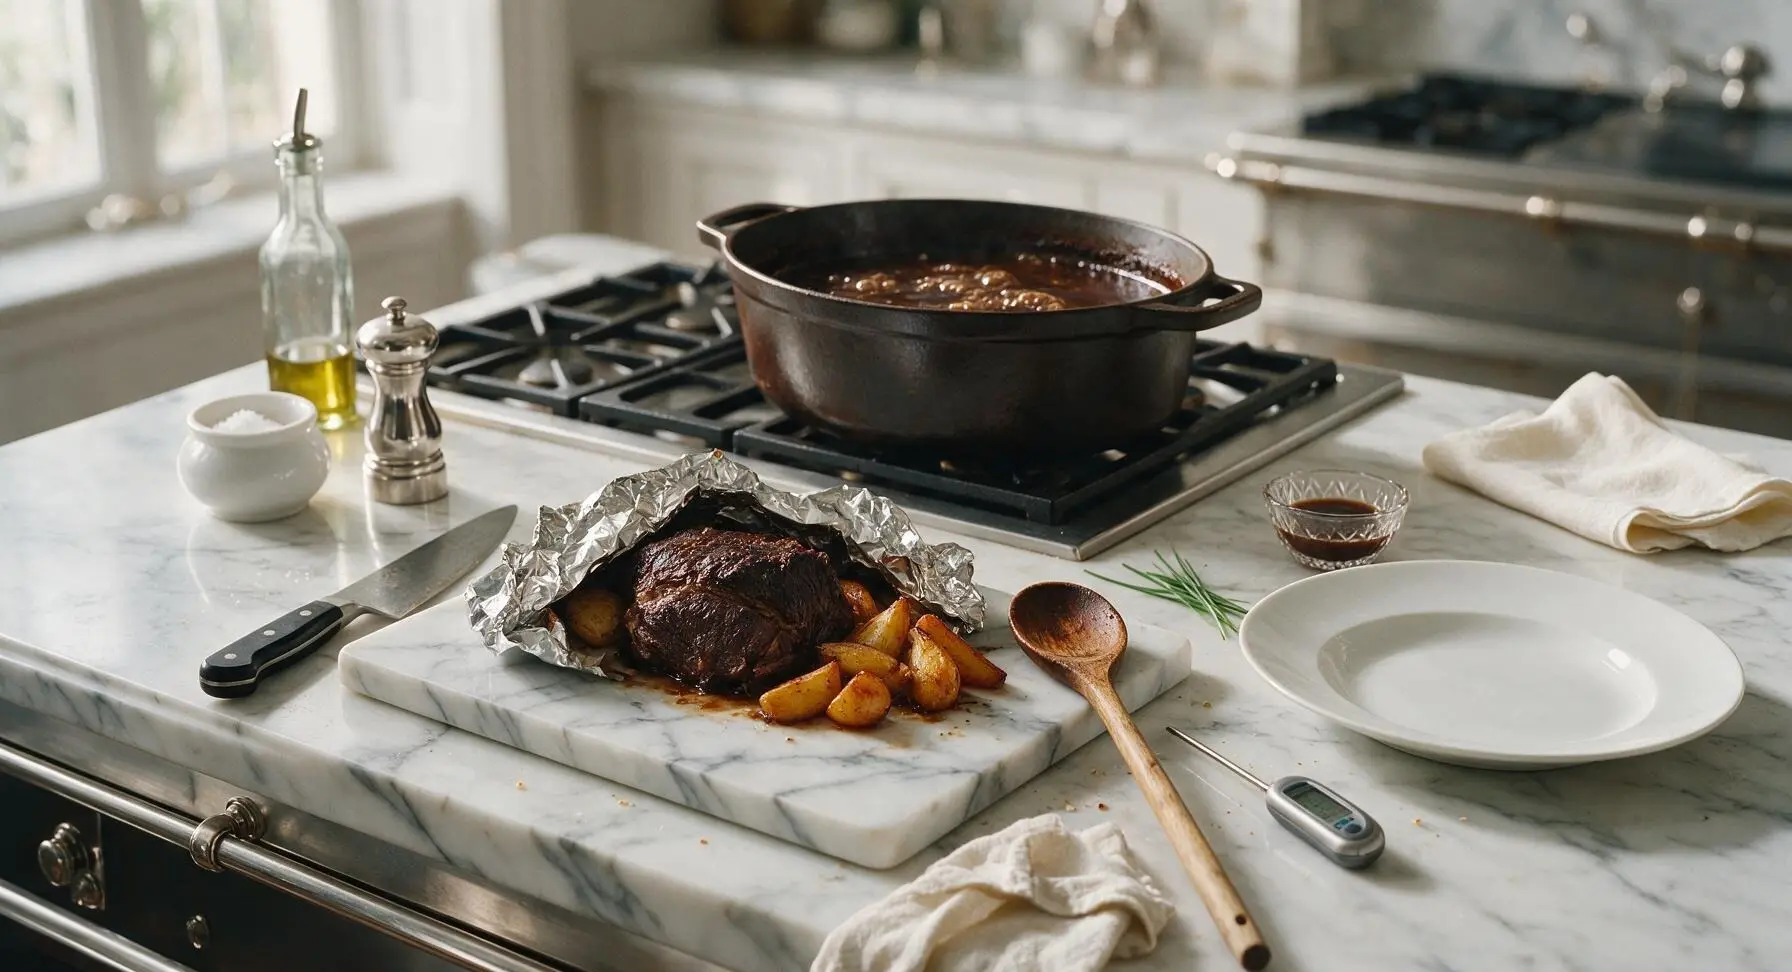
Once the roast is fall-apart tender and vegetables are cooked through, use tongs to carefully transfer the roast and vegetables to the maple cutting board, tent loosely with aluminum foil, and let rest for 15 minutes to allow meat juices to redistribute. Confirm internal temperature reaches 200°F (93°C) in the thickest part with the instant-read meat thermometer for perfect tenderness. While resting, skim excess fat from the remaining gravy in the Dutch oven, then simmer over medium heat for 5 minutes to thicken slightly.
Step 7
step7:Rest the Tender Roast
8

Slice and Plate Dish

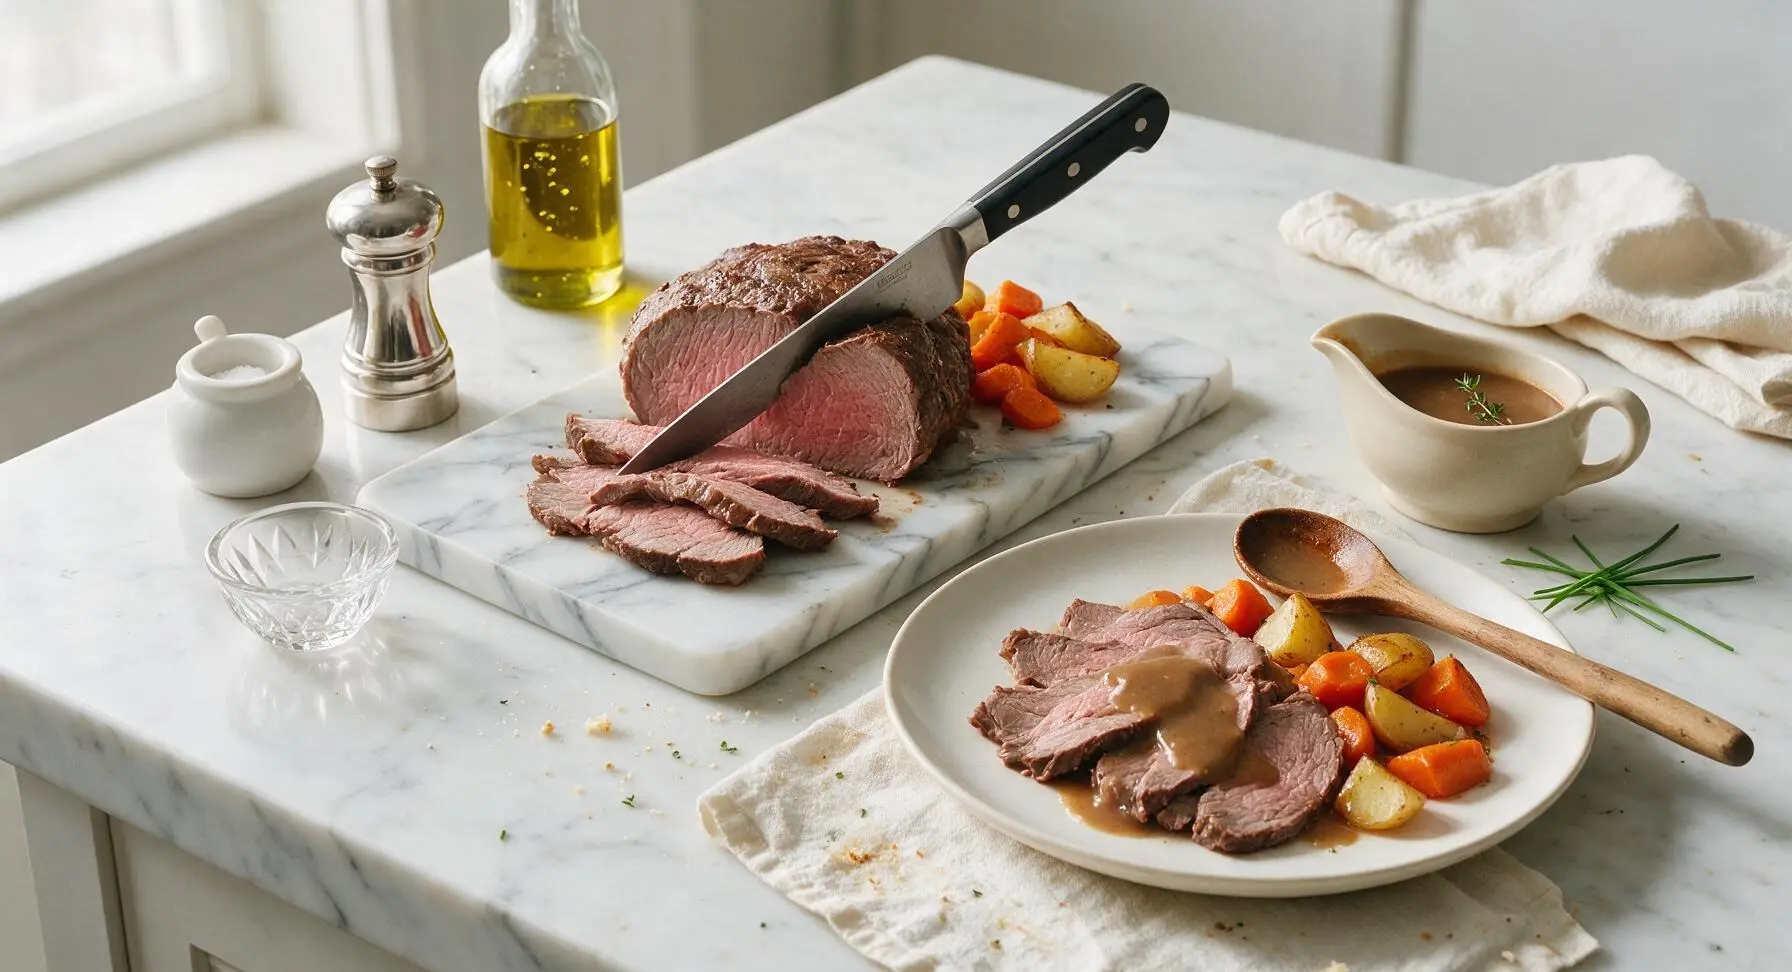
After resting, slice the roast against the grain into 1/2-inch thick slices using the chef knife. Arrange slices fanned across the center of the creamy off-white stoneware dinner plate, spoon tender carrot chunks and potato wedges alongside the beef, then ladle thickened pan gravy over the top of the meat. Serve extra gravy in the matching cream stoneware gravy boat on the side, garnished with a small fresh thyme sprig.
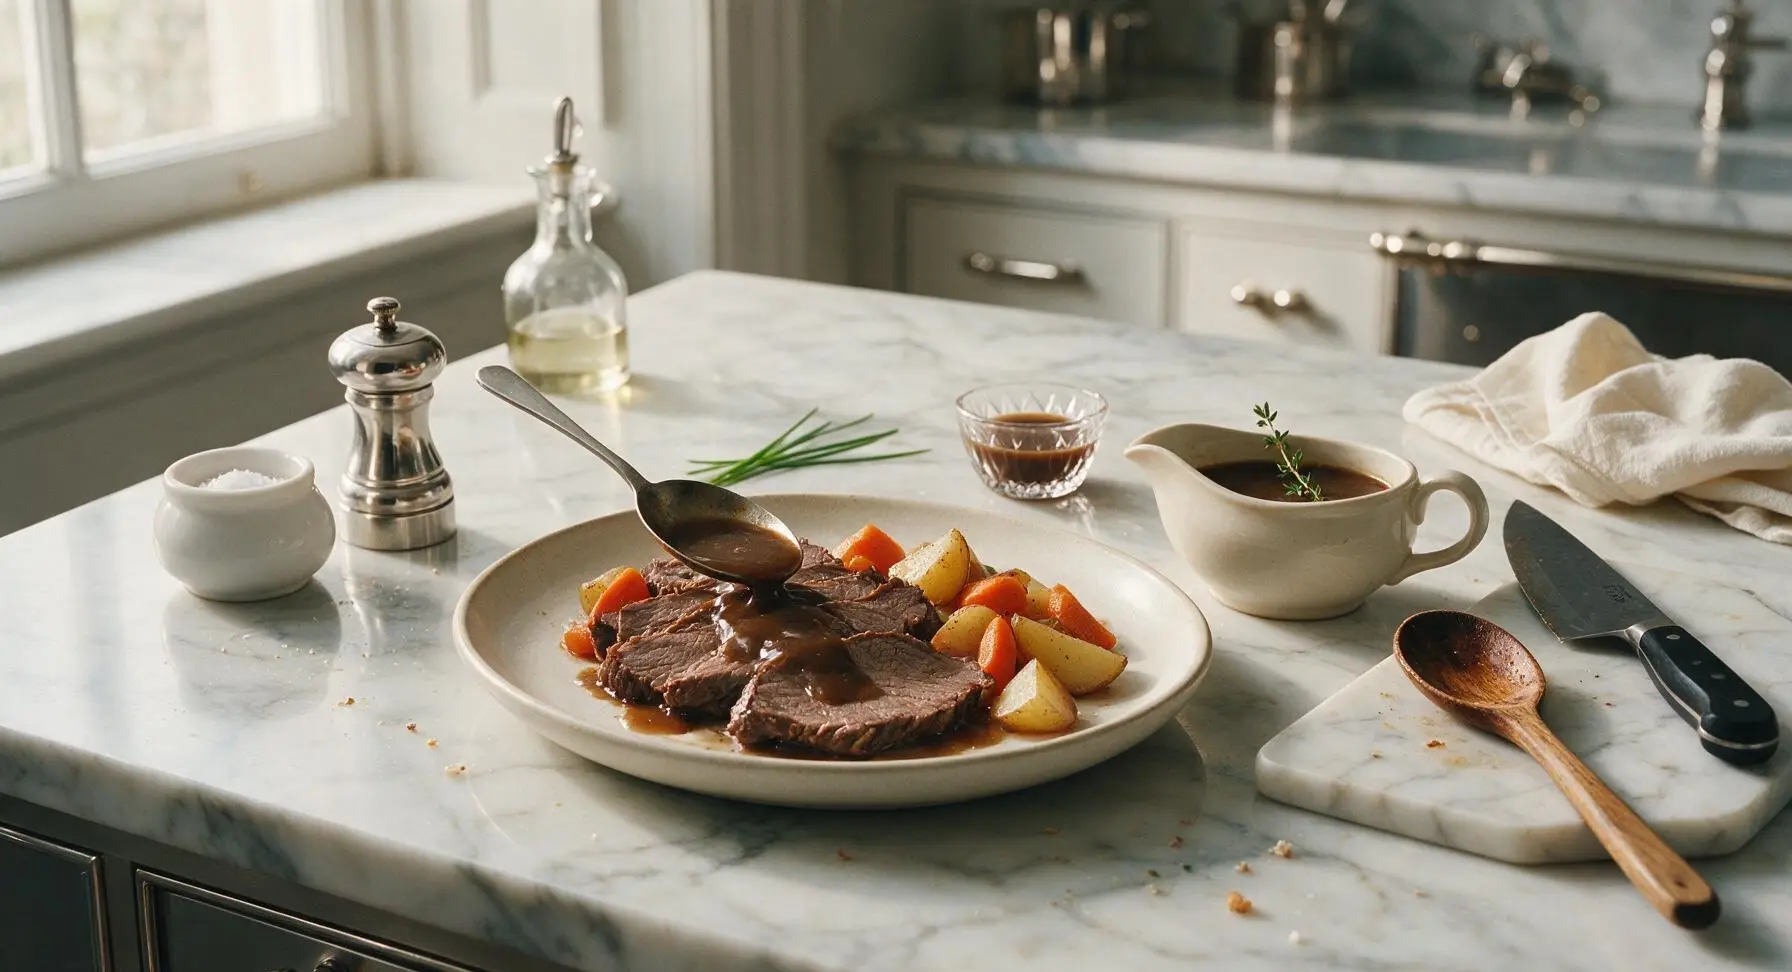
Step 8
step8:Slice and Plate Dish
Step 8
step8:Slice and Plate Dish

Tips

1.Always pat the roast completely dry with paper towels before searing: excess surface moisture will cause the meat to steam instead of forming a deep, flavorful crust that forms the base of rich pan gravy.
2.Never fully submerge the roast in liquid during simmering: partial submergence lets the top of the meat tenderize in trapped steam, while full submersion boils the meat and leads to stringy, waterlogged texture.
3.Slice the rested roast strictly against the grain: cutting perpendicular to the long muscle fibers shortens them, making even well-done slow-cooked beef feel tender instead of chewy when eaten.


✨ You May Also Like

Main Course
🍜 United Kingdom

A showstopping classic of tender seared beef, savory mushroom duxelles, and crisp prosciutto wrapped in flaky golden puff pastry, baked to juicy perfection.

⏱️ 2 hours 1Main Course ★ 4.7
Main Course
🍜 India

Tender charred marinated chicken simmered in a rich, spiced creamy tomato sauce, this iconic Anglo-Indian curry pairs perfectly with basmati rice or warm naan.

⏱️ 50 minuteMain Course ★ 4.6
Main Course
🍜 Thailand

Classic tangy, sweet, and savory Thai stir-fried rice noodles with shrimp, tofu, and crunchy garnishes, balancing all five core Thai flavor profiles.

⏱️ 30 minuteMain Course ★ 4.5
Main Course
🍜 United Kingdom

Crispy golden beer-battered cod and fluffy double-fried chips, served with tangy tartar sauce and malt vinegar: the timeless, beloved British pub comfort classic.

⏱️ 45 minuteMain Course ★ 4.7
Main Course
🍜 Mexico

Smoky, chile-marinated pork tacos with caramelized pineapple, fresh cilantro, and lime: a beloved classic Mexican street food perfect for casual summer gatherings.

⏱️ 1 hour 45Main Course ★ 4.8
Main Course
🍜 United States

Crunchy Fritos corn chips layered with savory beef chili and melted cheddar, topped with cool, zesty fixings for a beloved, cozy Tex-Mex comfort food.

⏱️ 35 minuteMain Course ★ 4.8

pot roast on stove:Frequently Asked Questions

1.Why is beef chuck the best cut for this stovetop pot roast instead of leaner cuts? ▾
Beef chuck is ideal because its heavy marbling and tough connective tissue break down completely during low, slow stovetop simmering, creating that signature fall-apart tenderness and deep, beefy flavor. Leaner cuts like sirloin or eye of round will turn dry, tough, and bland here, since they lack the fat and collagen that make pot roast moist and rich.
2.Do I need to sear the roast before simmering it? ▾
Absolutely—searing the roast over medium-high heat on all sides before adding liquid builds a deep, caramelized crust that adds layers of savory, umami flavor you can’t get from simmering alone. Toss in the garlic cloves right after searing to toast them lightly, then use the browned bits (called fond) on the pot bottom as the base for your herbed pan gravy. Don’t rush this step.
3.What size should I cut the root vegetables so they don’t turn mushy? ▾
Cut your Yukon Gold potatoes, carrots, and onions into uniform 2-inch chunks to keep them from turning mushy during the long simmer. Smaller cuts will break down completely before the roast is tender, while oversized chunks will be undercooked. Wait to add the veggies until the last 45 minutes of cook time for the perfect, firm-tender texture.
4.How much liquid do I need to add for stovetop cooking so the roast doesn’t dry out or burn? ▾
You only need enough liquid to come ⅓ to ½ of the way up the roast, not fully submerge it—usually 2 to 2.5 cups of beef broth, wine, or a mix works for a 3 to 4 pound roast. Keep the lid tightly sealed to trap steam, and check liquid levels every 45 minutes, topping off with broth if needed to prevent scorching.
5.What heat setting should I use to get tender roast instead of tough, chewy beef? ▾
After bringing the liquid to a gentle initial boil, turn heat to the lowest setting to maintain a soft, steady simmer—you should only see tiny bubbles breaking the surface, not a rolling boil. Boiling at high heat makes beef fibers seize up and turn chewy, even with long cook times, so low, steady heat is non-negotiable for tender results.
6.How long does it actually take for the roast to get fall-apart tender on the stovetop? ▾
For a standard 3 to 4 pound boneless chuck roast, plan on 2.5 to 3 hours of total low-heat simmer time. You’ll know it’s done when a fork slides into the beef with almost no resistance and twists easily to pull apart tender shreds. If it feels springy or tough, put the lid back on and cook for another 20 to 30 minutes.
7.Can I add other root vegetables if I don’t have carrots or Yukon Golds on hand? ▾
Absolutely! Parsnips, turnips, rutabaga, sweet potatoes, and celery root all work beautifully as swaps or additions here. Just stick to that 2-inch chunk size and add them in the last 45 minutes of cooking to avoid mush. Skip delicate veggies like green beans or peas until the last 10 minutes, since they cook much faster.
8.Why is my pot roast still tough even after cooking it for hours? ▾
Tough pot roast almost always traces back to one of three issues: you used a lean cut with no marbling, you cooked it at too high of a rolling boil that seized the meat fibers, or you simply didn’t cook it long enough. If your roast is chewy, add a half cup of broth, seal the lid, and simmer on low for another 30 minutes to let collagen break down.
9.How do I make smooth herbed pan gravy from the leftover cooking liquid? ▾
Once the roast and veggies are removed to a resting platter, skim 2 tablespoons of excess fat off the top of the remaining pan liquid, then set the pot over medium heat. Make a quick slurry of 2 tablespoons cornstarch and 2 tablespoons cold water, whisk it into the simmering liquid, and cook 3 to 4 minutes until thickened, adding fresh thyme or rosemary to taste.
10.Do I need a fancy enameled Dutch oven to make this stovetop pot roast? ▾
You don’t need high-end cookware, but you do need a heavy-bottomed pot with a tight-fitting lid to distribute heat evenly and trap steam. A thick stainless steel stock pot or regular cast iron pot works just as well, as long as it’s large enough to hold the roast and veggies without crowding and doesn’t let steam escape.
11.Can I prep this pot roast ahead of time for easy weeknight meals? ▾
Absolutely! This roast actually tastes even better made a day ahead, since the flavors deepen and meld as it chills. Cook the full recipe, let it cool completely, then store covered in the fridge for up to 3 days. When ready to serve, reheat gently on low stovetop for 20 to 25 minutes, then make the gravy right before serving.
12.Should I season the roast right before searing, or salt it ahead of time? ▾
For the most flavorful, tender roast, salt it heavily on all sides with kosher salt 1 to 2 hours before cooking, if you have time. This lets salt draw out moisture that dissolves the salt, then reabsorbs into the meat to season it all the way through. If you’re short on time, seasoning right before searing works too—just don’t skimp on salt.
13.Why are my root vegetables still hard when the roast is fully tender? ▾
Undercooked root veggies usually happen because you cut them larger than 2 inches, added them too late in the cook time, or your simmer temperature was too low to maintain steady steam. If they’re still firm when the roast is done, move the beef to a platter to rest, turn heat up slightly, and simmer veggies for another 10 to 15 minutes until fork-tender.
14.Can I use red wine in the cooking liquid, or do I have to use all broth? ▾
Dry red wine is a fantastic addition that adds deep, rich complexity to the gravy and roast—use ½ cup of Cabernet Sauvignon or Merlot, plus 1.5 to 2 cups of beef broth to hit the right liquid level. If you don’t drink wine, swap it for extra broth plus 1 teaspoon of balsamic vinegar to mimic that subtle, bright tang.
15.How should I store leftover pot roast, and how long will it keep? ▾
Store leftover roast, vegetables, and gravy in separate airtight containers in the refrigerator for up to 4 days. The beef shreds easily for quick sandwiches, hash, or soup additions throughout the week. You can also freeze cooled, shredded roast and gravy for up to 3 months; thaw in the fridge overnight before reheating gently on the stovetop.
16.Do I need to tie the chuck roast with kitchen twine before cooking? ▾
Tying your chuck roast at 2-inch intervals is helpful if your roast is an uneven, lumpy shape, since it helps it cook evenly and hold its shape for neater slices. If your roast is a relatively uniform, thick slab, you can skip tying entirely with no negative effect on flavor or tenderness—this step is totally optional for most home cooks.

Comments (17)

2 days ago

OMG made this for Sunday family dinner last night and every single person cleaned their plate! My kids loved it, even my pickiest tween who swears he hates carrots went back for seconds of the root veggies. The roast was fall-apart tender, no knife needed honestly. SO good, will be in our regular rotation for sure!

1 week ago

Was skeptical a stovetop pot roast could be as good as the slow cooker version I’ve made for years, but wow this blew it out of the water. The searing step locks in so much flavor I didn’t even realize I was missing. Brought half of it to my neighbor who’s recovering from surgery and she texted me asking for the recipe 10 minutes later.

3 days ago

Okay full disclosure I added a handful of mushrooms because I can’t not put mushrooms in everything, but otherwise followed the recipe exactly. So cozy for a cold rainy Colorado evening, my apartment smelled amazing for hours. Perfect comfort food, zero complaints.

5 days ago

Meal prepped this on Sunday for my weekday lunches and I’m not even exaggerating, it gets better every day. The portions are huge, I split it into 5 containers and it kept perfectly in the fridge. Way better than the sad microwave meals I used to buy, 10/10 value too since chuck roast was on sale at my grocery store.

2 weeks ago

Made this for our office potluck last week and it was the first dish gone! People were hovering over the warmer asking who made it. The only note is I’d probably cut the veggies a little bigger next time so they don’t get too mushy when holding for a couple hours, but that’s a me thing not a recipe thing.

30 minutes ago

Hi! I’ve never made a pot roast before ever, how crucial is the Dutch oven for this? I only have a regular large stock pot with a thin bottom, will that work or should I borrow one from my mom?

5 minutes ago

Great question! A thin-bottomed stock pot can work, but you’ll want to keep the heat extra low once you get to the simmer step to avoid burning the bottom of the roast. If you can borrow a Dutch oven, it’ll hold heat way more evenly for that long, slow cook, but don’t let not having one stop you from making it!

yesterday

This was solid! I tossed in a teaspoon of red pepper flakes and a splash of hot sauce with the broth to give it a little kick, and it was chef’s kiss. The meat was so tender I almost cried, honestly. 10/10 would make again.

2 hours ago

Oh the red pepper flakes idea is genius! I’m making this tomorrow and was worried it’d be too bland for my husband who puts hot sauce on everything, I’m definitely stealing that hack.

2 days ago

Quick question — does this recipe have any soy or gluten in the base? My son has celiac and a soy allergy so I have to be super careful with all the seasonings and broth I use.

yesterday

The base recipe doesn’t call for any soy or wheat-containing ingredients! Just be sure to use a certified gluten-free beef broth (many store-bought broths have hidden gluten) and you’re good to go. Hope you and your son love it!

1 week ago

Made this last night with potatoes, parsnips, and turnips from my backyard garden. Tasted like the pot roast my mom used to make when I was a kid, total nostalgia hit. The cook time felt long but it was so worth every minute, no rushed steps = maximum flavor.

3 days ago

Using homegrown root veggies sounds like a dream! I have a ton of turnips ready to harvest right now, this just moved to the top of my meal plan for next week.

5 days ago

I was worried this would be too heavy for my high protein meal plan, but I calculated the macros and it’s actually perfect! The roast is packed with protein, the veggies are fiber-filled, and I didn’t even have to add extra oil. Game changer for my winter meal rotation.

2 days ago

So glad it fits your meal plan! I love hearing when people adapt comfort food recipes to work for their specific goals without sacrificing flavor. Nice work calculating those macros!

3 days ago

I think I messed up the heat level when I was simmering? My veggies turned out super mushy and the broth was almost gone by the time the 2.5 hour mark hit. Flavor was still great though, so I know I did something wrong with the temp.

2 days ago

Oh no, sorry that happened! It sounds like your stovetop was running a little hotter than the low simmer we recommend — every stove runs different! Next time, turn the burner to the absolute lowest setting once you add the veggies and put the lid on, and check the liquid level every 45 minutes or so to make sure it’s bubbling gently, not boiling hard. You got it next time!

2 weeks ago

Made this for my partner’s birthday dinner and they said it’s the best thing I’ve ever cooked for them. Lit some candles, served it with crusty bread to soak up the broth, total romantic cozy night win. We had enough leftovers for lunch today too!

1 week ago

This is such a good date night idea! I tried to make a fancy steak last month and overcooked it so bad we ended up ordering pizza, this seems way more forgiving and impressive.

2 hours ago

Wait, hold up, stovetop pot roast? I’ve only ever done mine in the slow cooker for 8 hours, how is this tender in under 3 hours? I feel like my roast always comes out chewy if I don’t cook it all day.

30 minutes ago

I used to be the same way! The key is the initial hard sear on all sides first, then keeping it at a super low simmer with the lid tight so the steam doesn’t escape. It gets just as tender as the all-day slow cooker version, I promise.

5 minutes ago

@PotRoastPro99 is exactly right! The tight-fitting lid creates a little pressurized steam environment on the stovetop that tenderizes the roast way faster than you’d think. Just resist the urge to lift the lid too much while it simmers, you let all that good steam out!

yesterday

My wife made this last night and I’m shocked to say I actually ate all the parsnips and carrots on my plate. I usually pick around any veggies that aren’t potatoes, but these were so flavorful from cooking in the roast broth I couldn’t get enough. Who even am I?

2 hours ago

LMAO same! I’ve always hated cooked carrots but these taste like little savory candy when they soak up all that meat juice. I even added extra carrots this time around because I loved them so much.

30 minutes ago

This is the review I needed to see! My whole family swears they hate cooked carrots and parsnips, I’m making this next week to test if the broth magic works on them too.

3 days ago

I need to make this for 8 people for Thanksgiving pre-game dinner, so I’m grabbing a 5lb chuck roast instead of the 3lb the recipe calls for. How much extra cook time should I add so it’s still tender?

2 days ago

I did a 5lb roast a couple weeks ago! I added about 40 extra minutes of simmer time, and checked it with a fork to make sure it pulled apart easy before adding the veggies. Turned out perfect, no chew at all.

yesterday

Great call checking for doneness by feel rather than just time! For a 5lb roast, plan on 30-45 minutes of extra simmer time before adding the root veggies, just like @BigFamilyVeteran did. Make sure you have enough broth to cover about halfway up the roast too, since it’s bigger!

just now

Y’all I started making this and realized I was out of fresh thyme!!! I panicked and used dried thyme (about a teaspoon, since dried is more potent) and honestly? It still slapped. My whole house smelled incredible, the roast was juicy, zero ragrets.

just now

Dried herbs work so well in long-simmered recipes like this! I almost never use fresh thyme for pot roast because I never remember to buy it, dried is always in my spice cabinet. Glad it turned out!

just now

No regrets at all! Dried thyme is a perfect swap here, your 1 teaspoon measurement is exactly what we’d recommend for substituting dried for fresh in long-cooked dishes. Way to roll with the pantry punches!

1 week ago

Pro tip: shred the leftover roast and toss it with the leftover veggies and a little of the broth to make the best pot roast hash for breakfast the next day. Top it with a runny fried egg and thank me later. Total game changer, no sad leftovers here.

5 days ago

OH MY GOD that hash idea is genius. I always just reheat leftovers plain and get bored halfway through, I’m making that this weekend. The runny yolk mixing with the broth? Chef’s kiss.

3 days ago

This is the kind of leftover hack we live for! I do the exact same thing, sometimes I toss in a little leftover diced onion too if I have it. That runny yolk adds the perfect creamy finish, 10/10 tip.



