
pounded chicken
intro
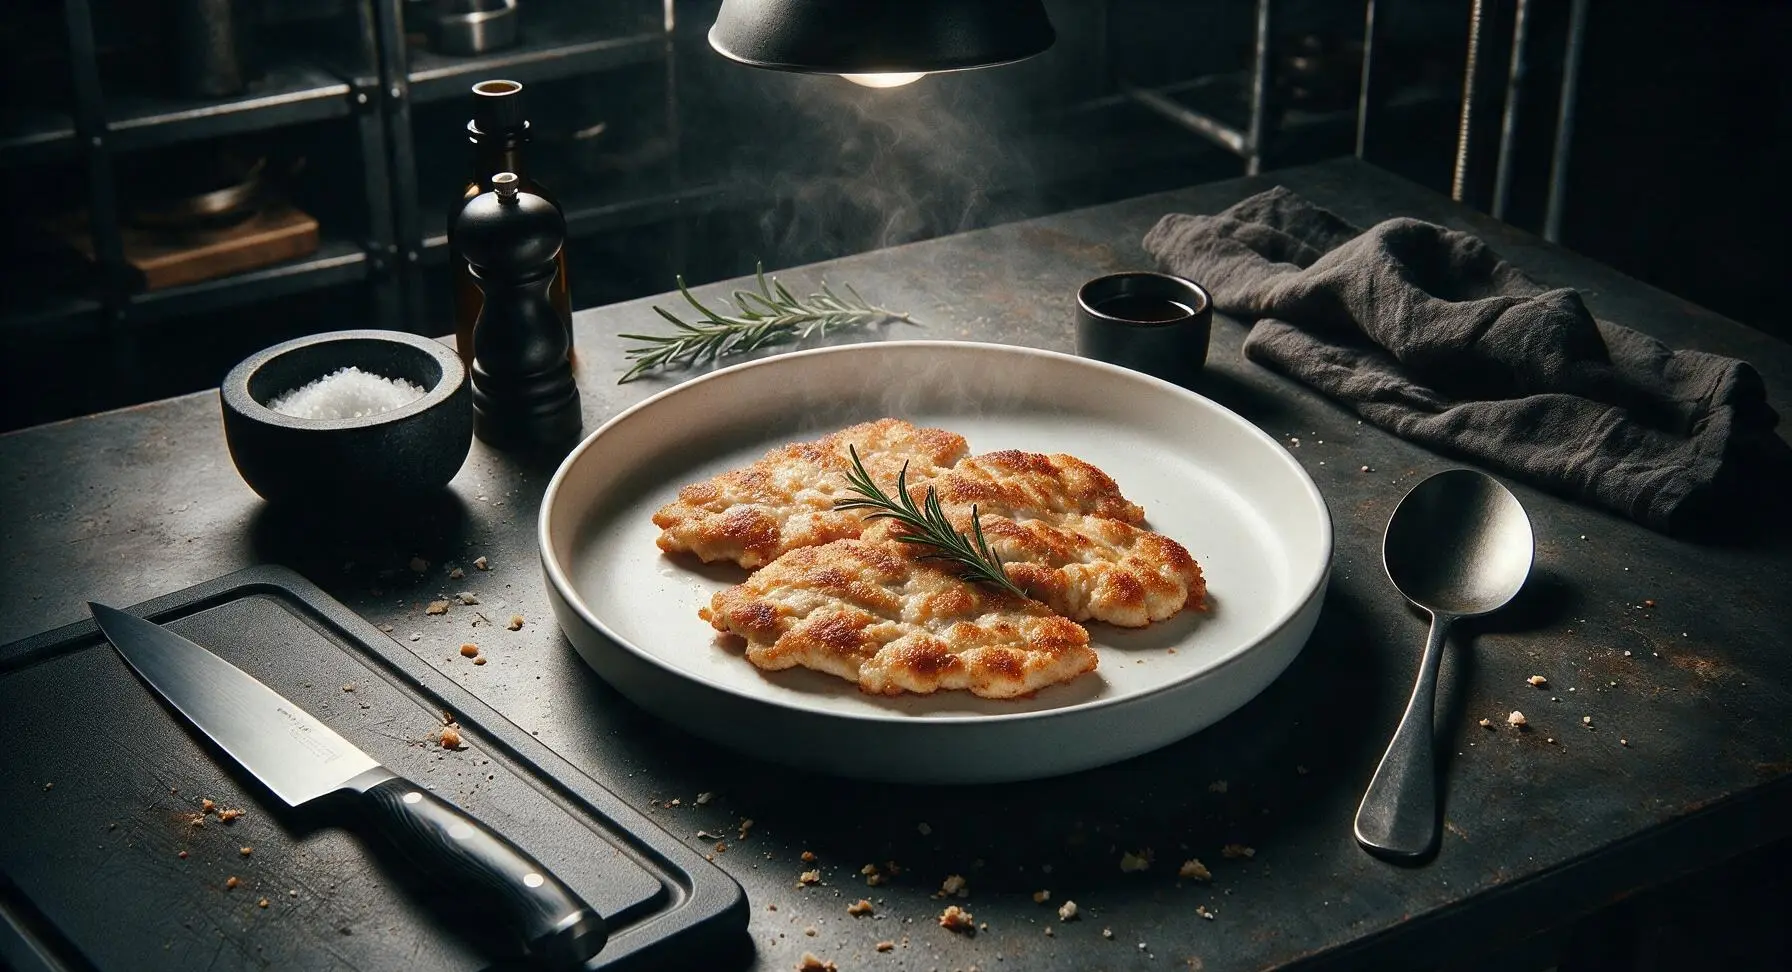
Ultra-tender, evenly thin chicken cutlets with a crisp golden seared crust, juicy in every bite. This versatile staple pairs perfectly with salads, pasta, or spring vegetables for fast, satisfying meals.
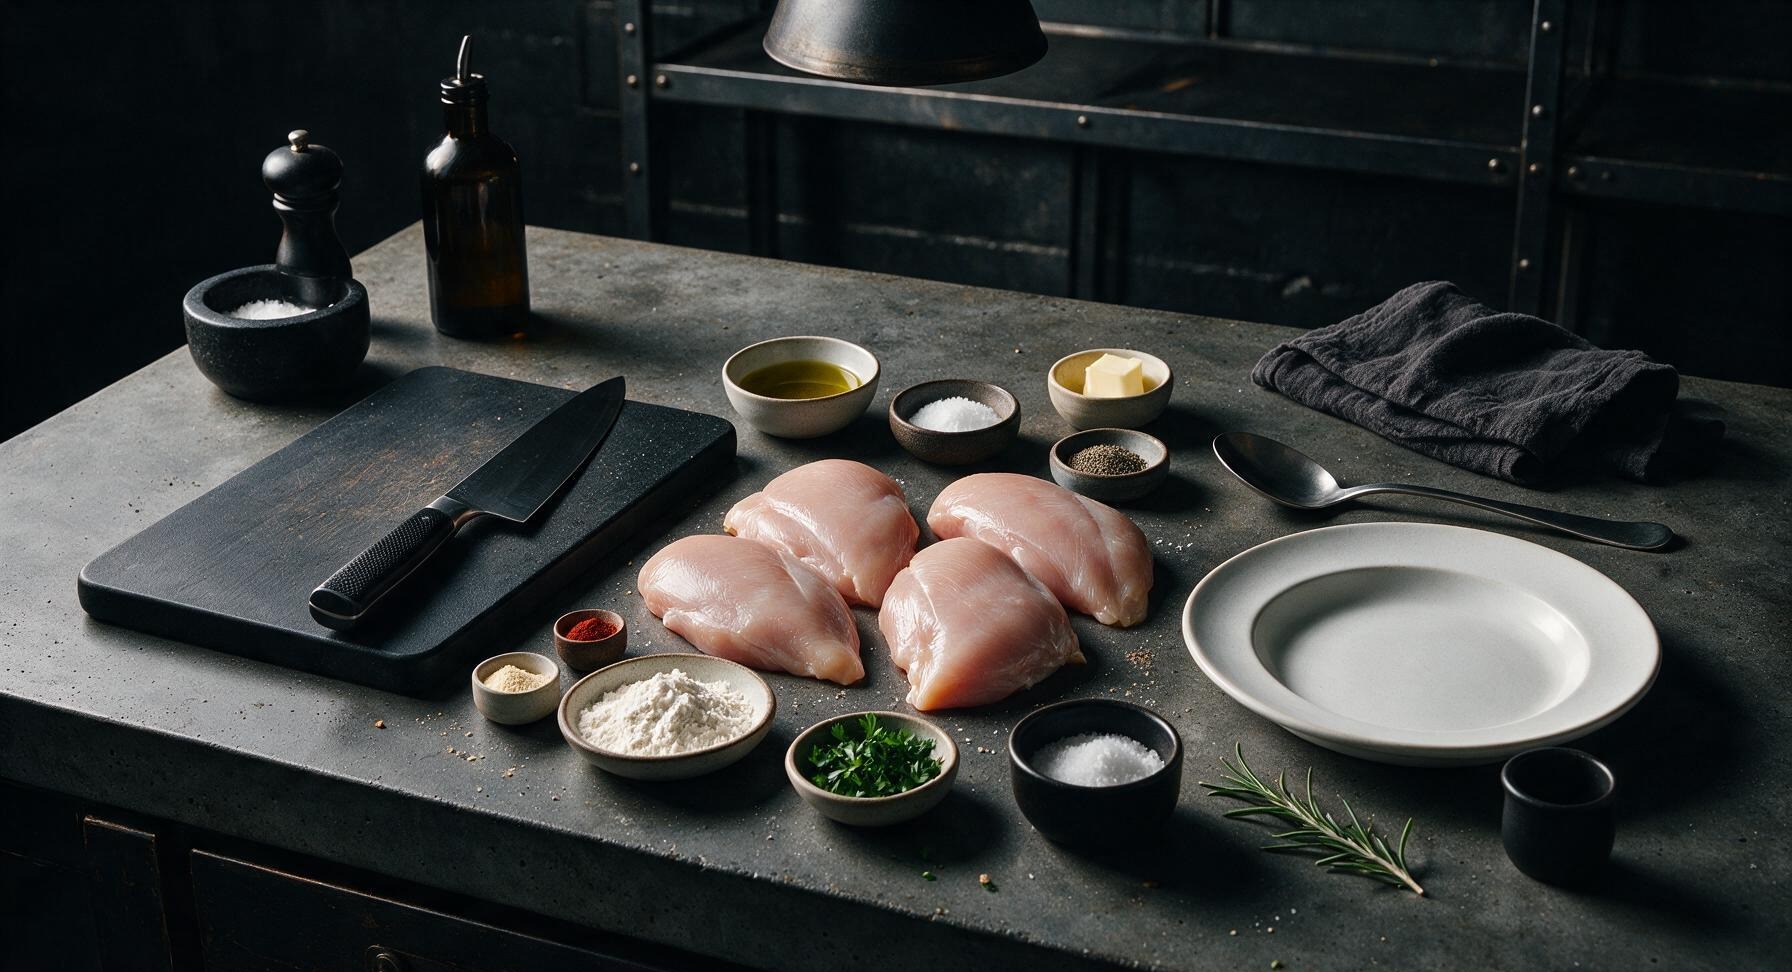
Ingredients
Steps
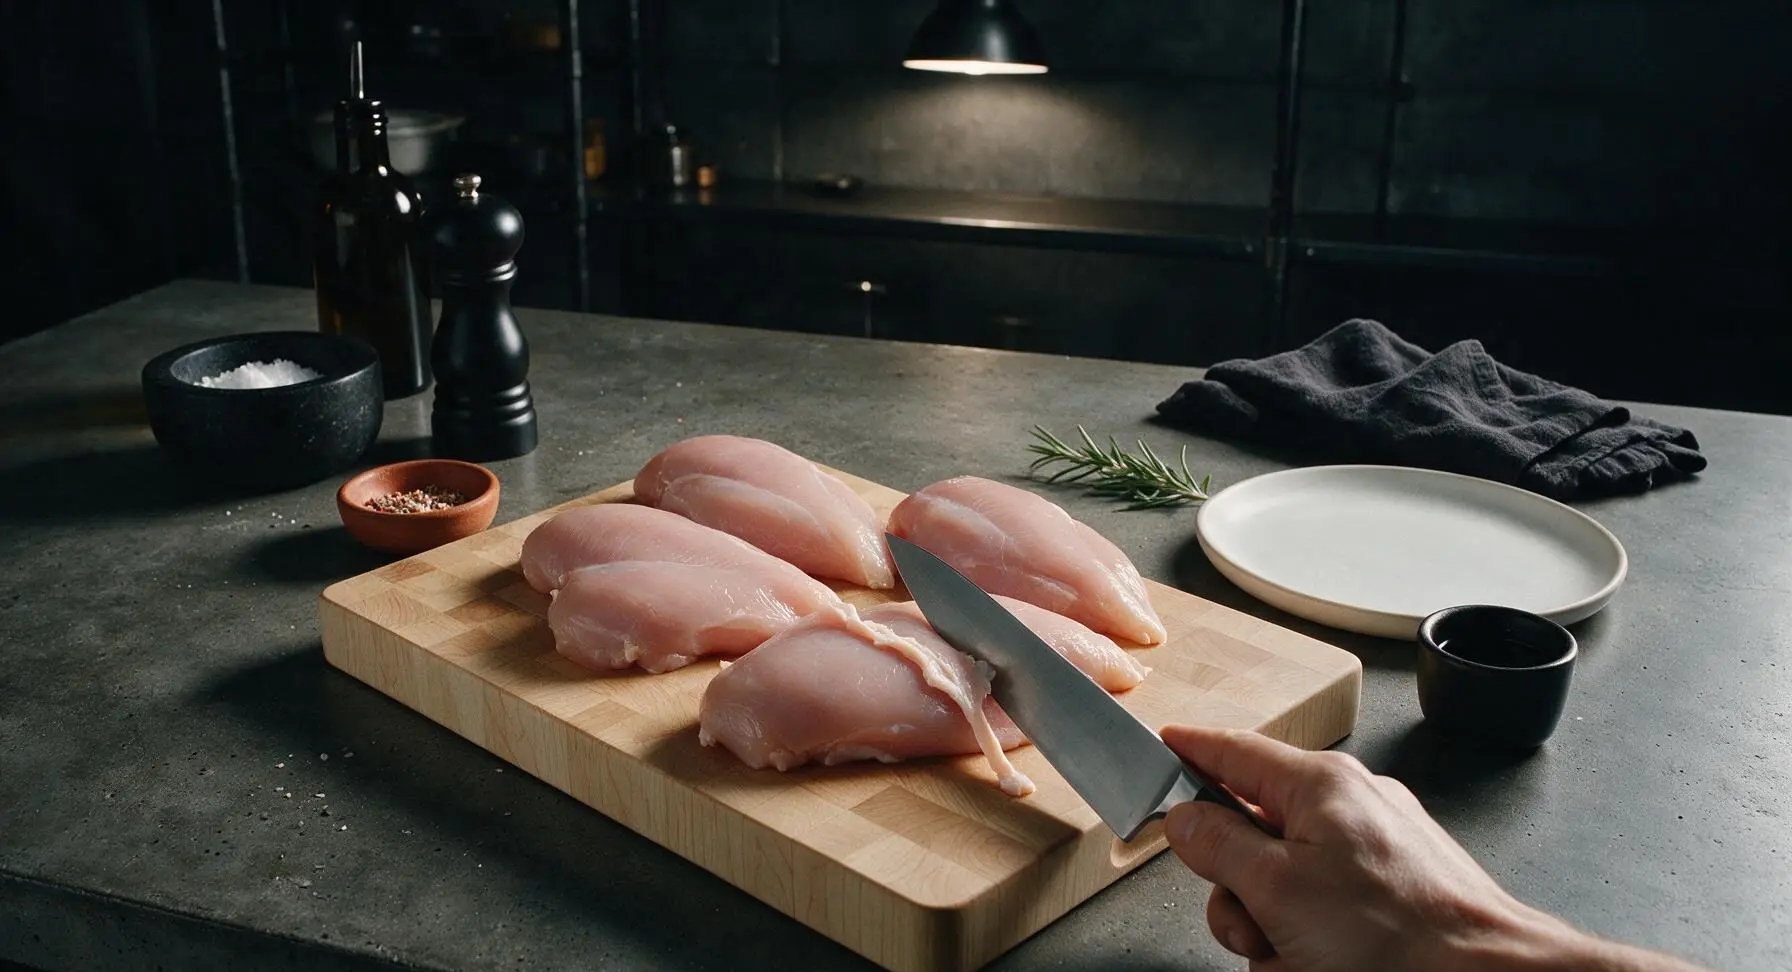
Trim Chicken Breasts
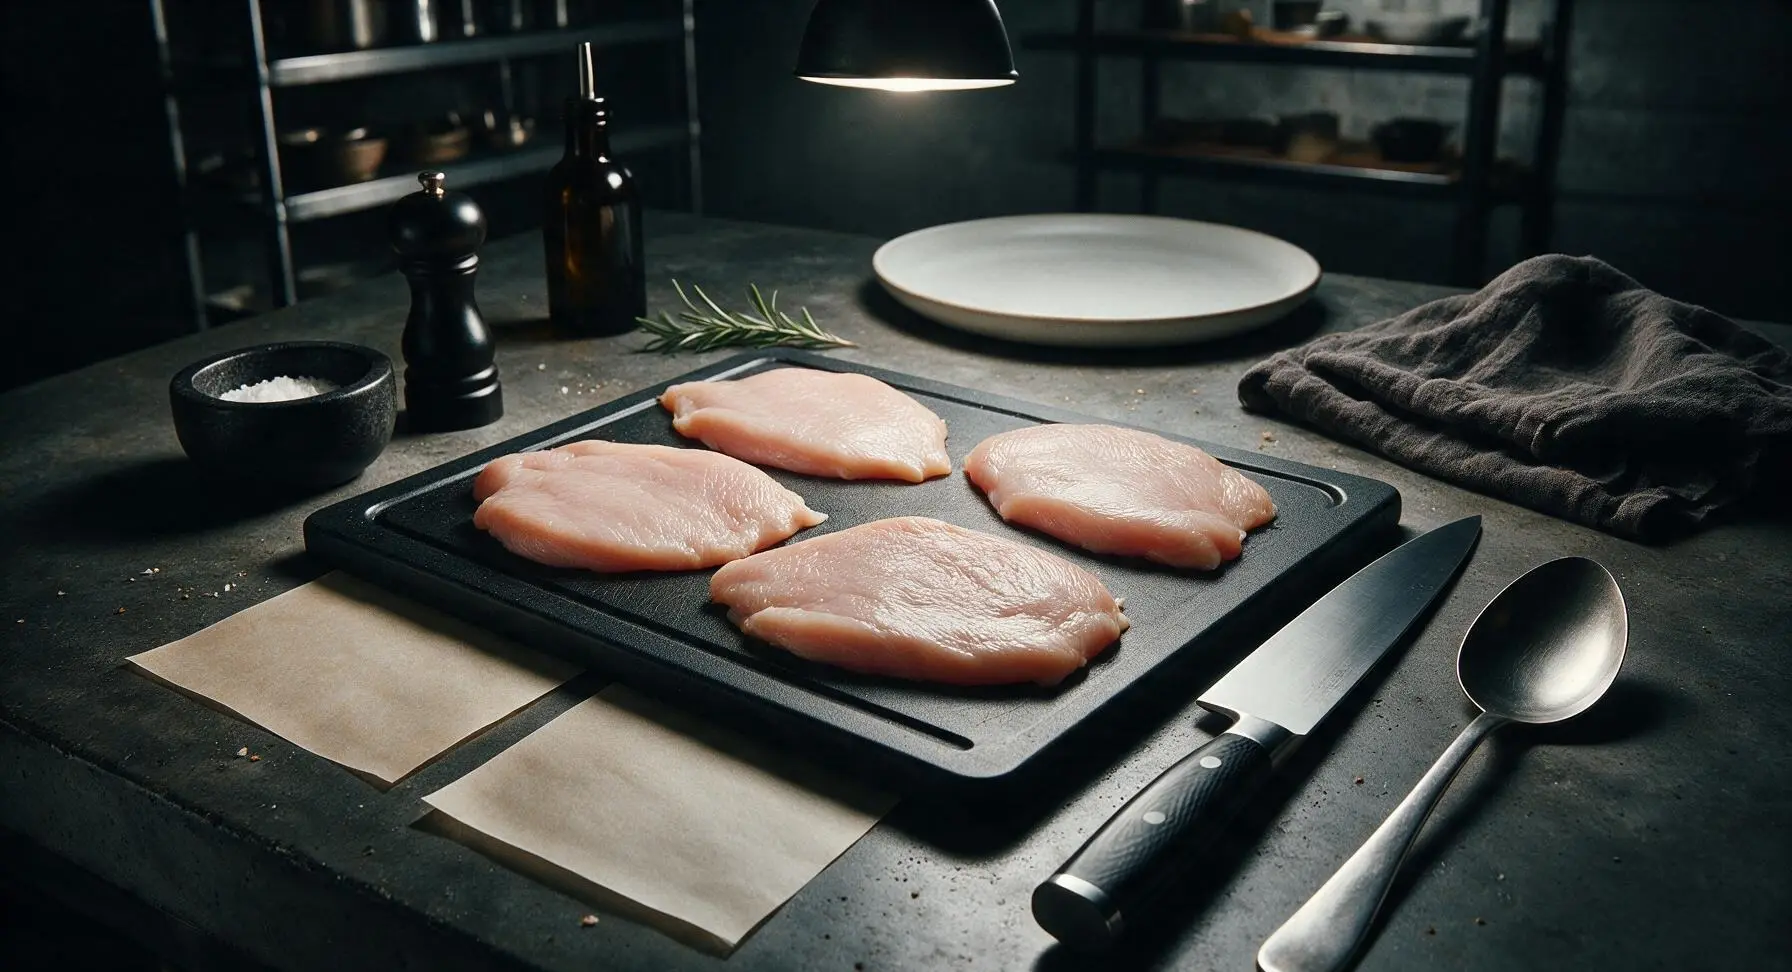
Place the light end-grain maple cutting board at the center of the counter. Set the 4 boneless, skinless chicken breasts on the board. Use the 8-inch stainless steel chef’s knife to trim any excess white fat, loose connective tissue, or dangling tenderloin flaps from each breast, shaping each piece into a relatively even, smooth oblong. Discard trimmed fat and tissue in a nearby scrap bowl (out of frame).
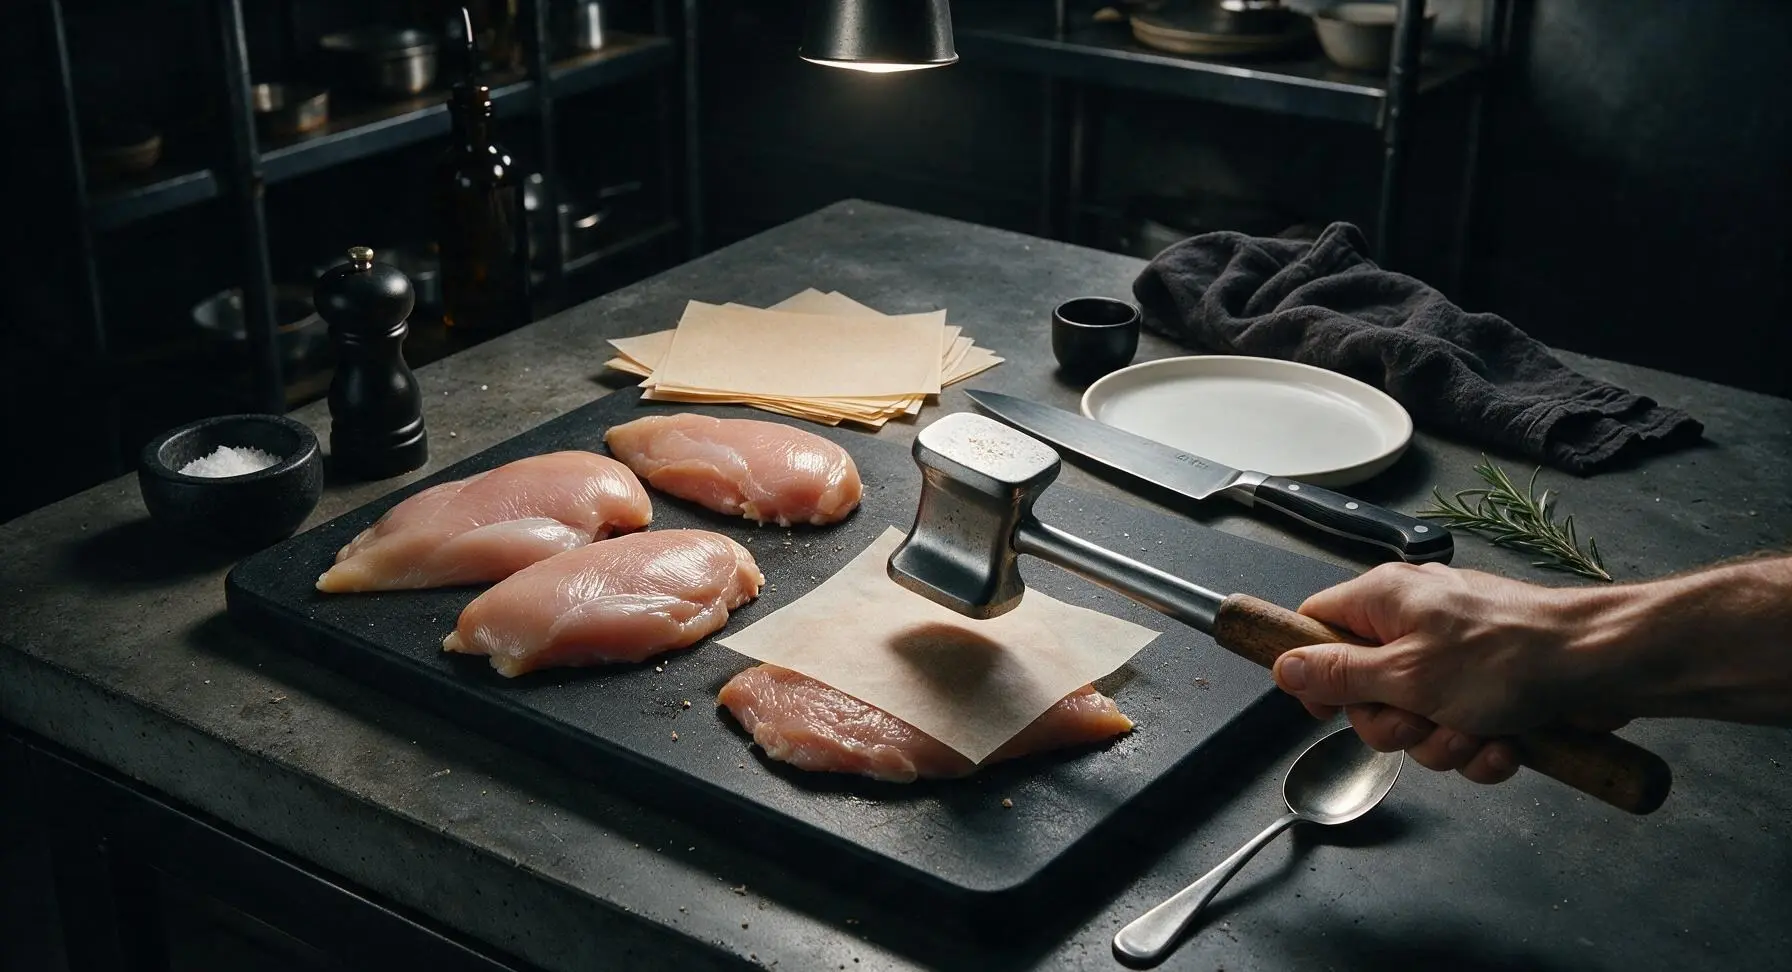
Pound Chicken Evenly
Place one chicken breast between two 15x15cm squares of unbleached parchment paper to prevent meat tearing and splatter. Grip the stainless steel meat pounder by its wooden handle, and strike the thickest part of each breast firmly, working outward from the center, until every piece reaches a uniform 1/2-inch thickness across its entire surface. Repeat for all 4 breasts, taking care not to pound so thin that the meat splits or develops holes.
Season Cutlets Lightly
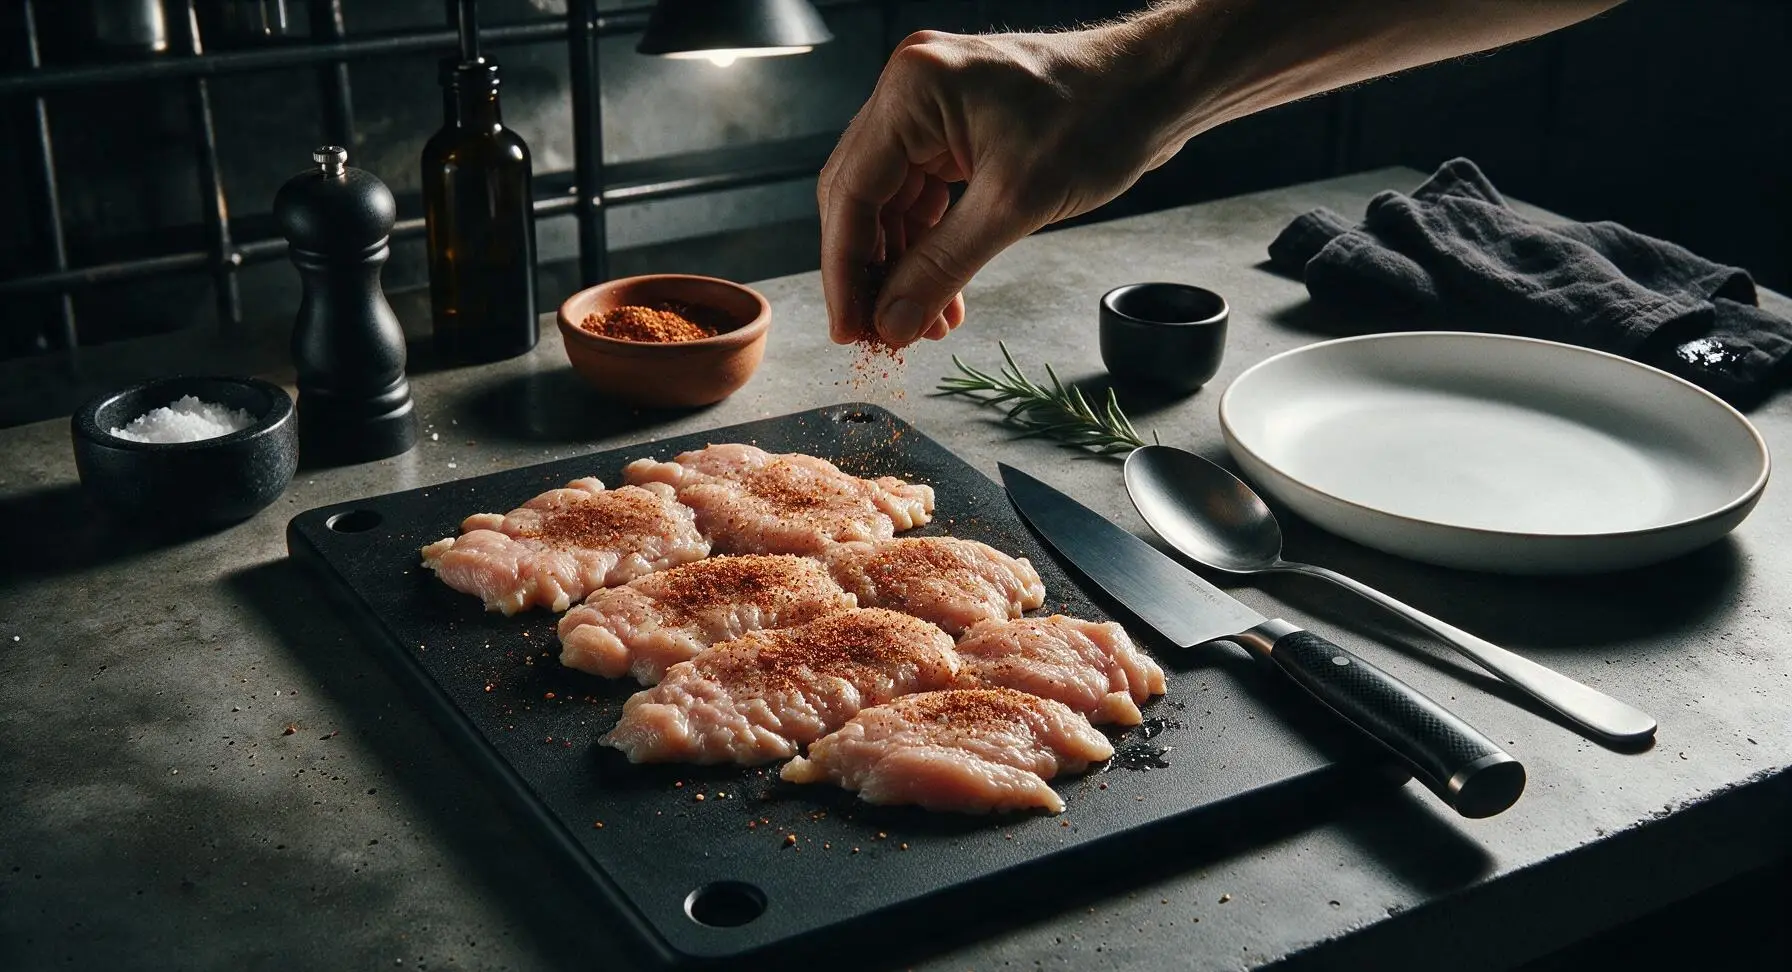
Pat both sides of the pounded chicken cutlets dry with a corner of the fixed cream cotton kitchen towel—this removes surface moisture to help seasoning adhere and create a crisp seared crust. Sprinkle half of the pre-mixed spice blend from the terracotta pinch bowl evenly across the top surface of all cutlets, pressing gently so spices stick to the meat rather than falling onto the board.
Dredge in Light Flour
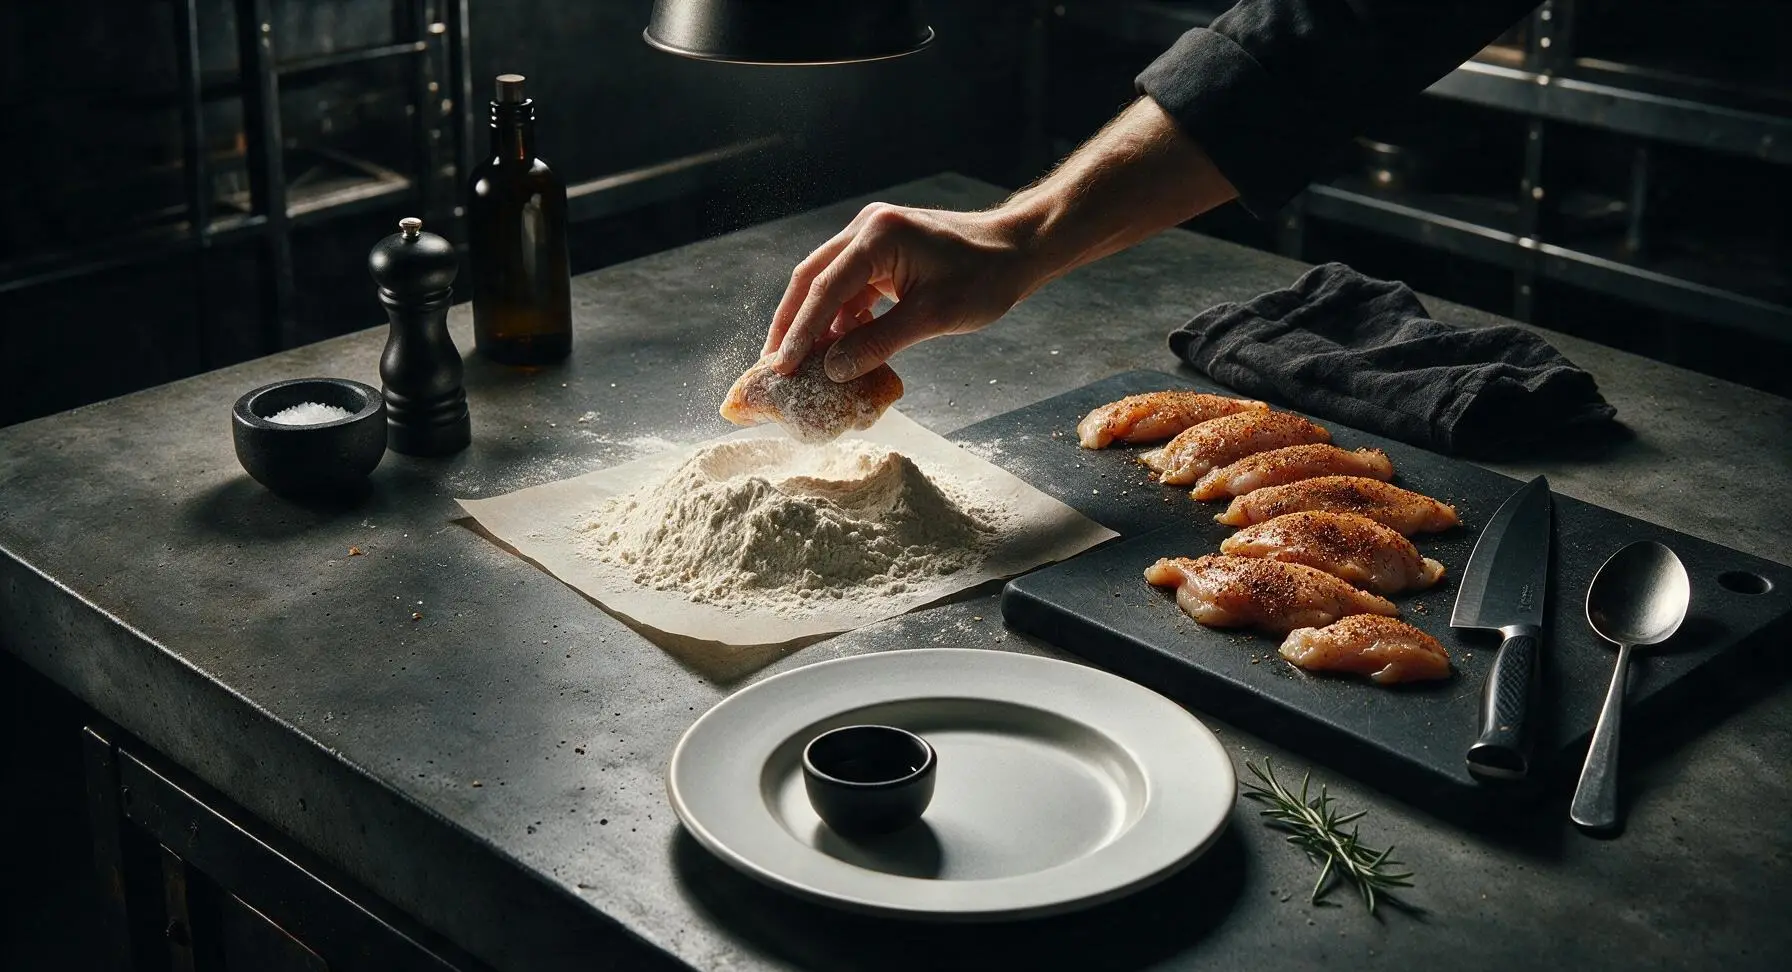
Flip each seasoned cutlet with your fingers, season the second side with the remaining spice blend, then lightly press both sides of each cutlet into the mounded all-purpose flour on the parchment square. Shake each cutlet firmly over the parchment to remove all excess flour, leaving only a thin, almost translucent dusting on the meat surface—thick flour clumps will turn gummy and soggy during searing. Set dredged cutlets back on the cutting board in a single layer.
Preheat Carbon Steel Skillet
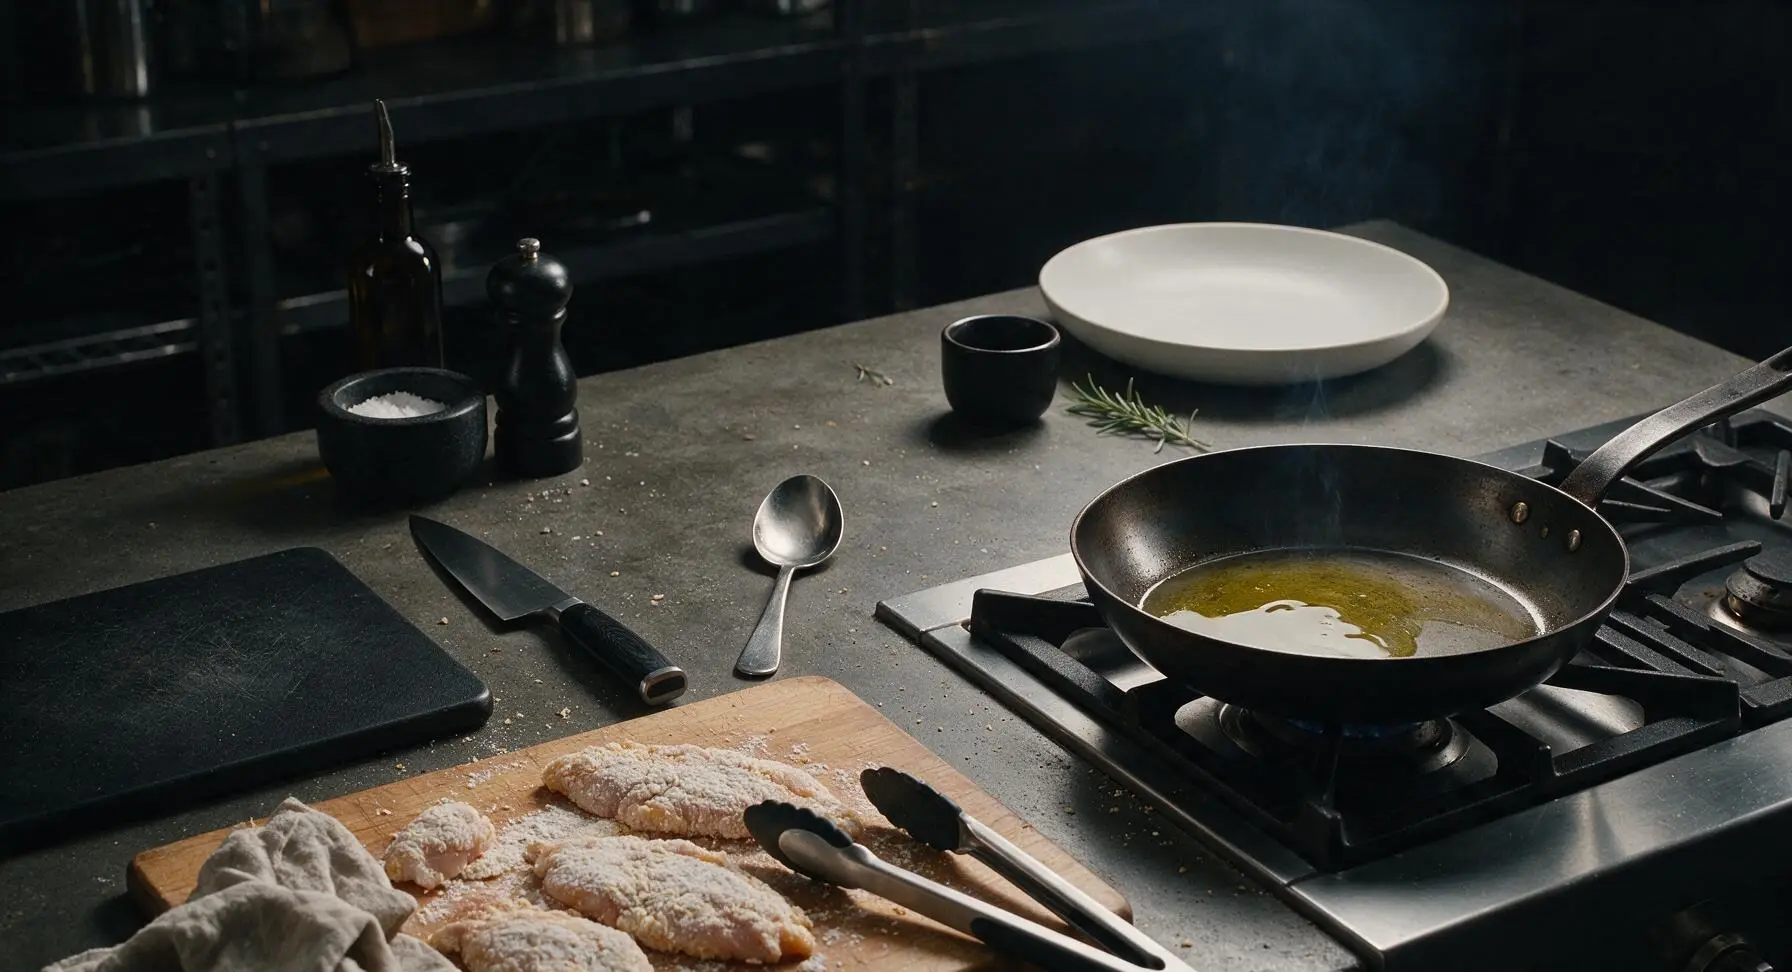
Place the 12-inch seasoned carbon steel skillet on the right-side gas stovetop burner, turn heat to medium-high, and add the 2 tablespoons of olive oil. Heat the oil for 2 minutes, until it shimmers across the pan surface and sends up a thin wisp of pale smoke—this high initial temperature prevents chicken from sticking to the pan.
Sear First Side Golden
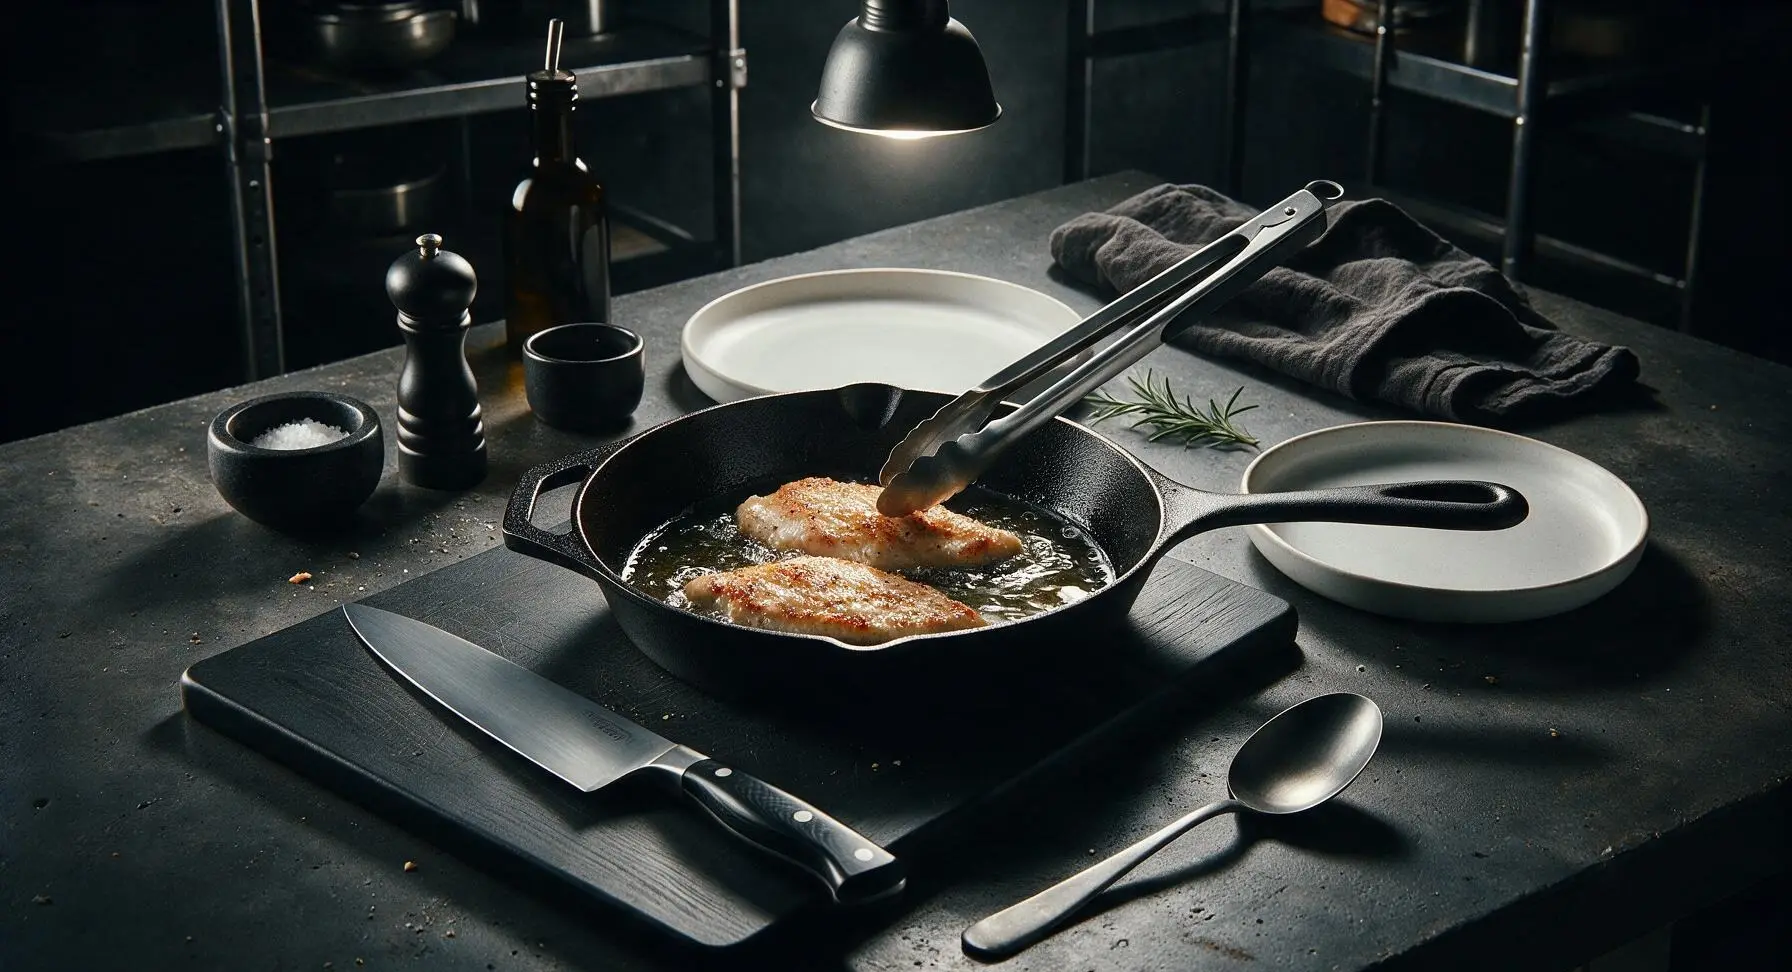
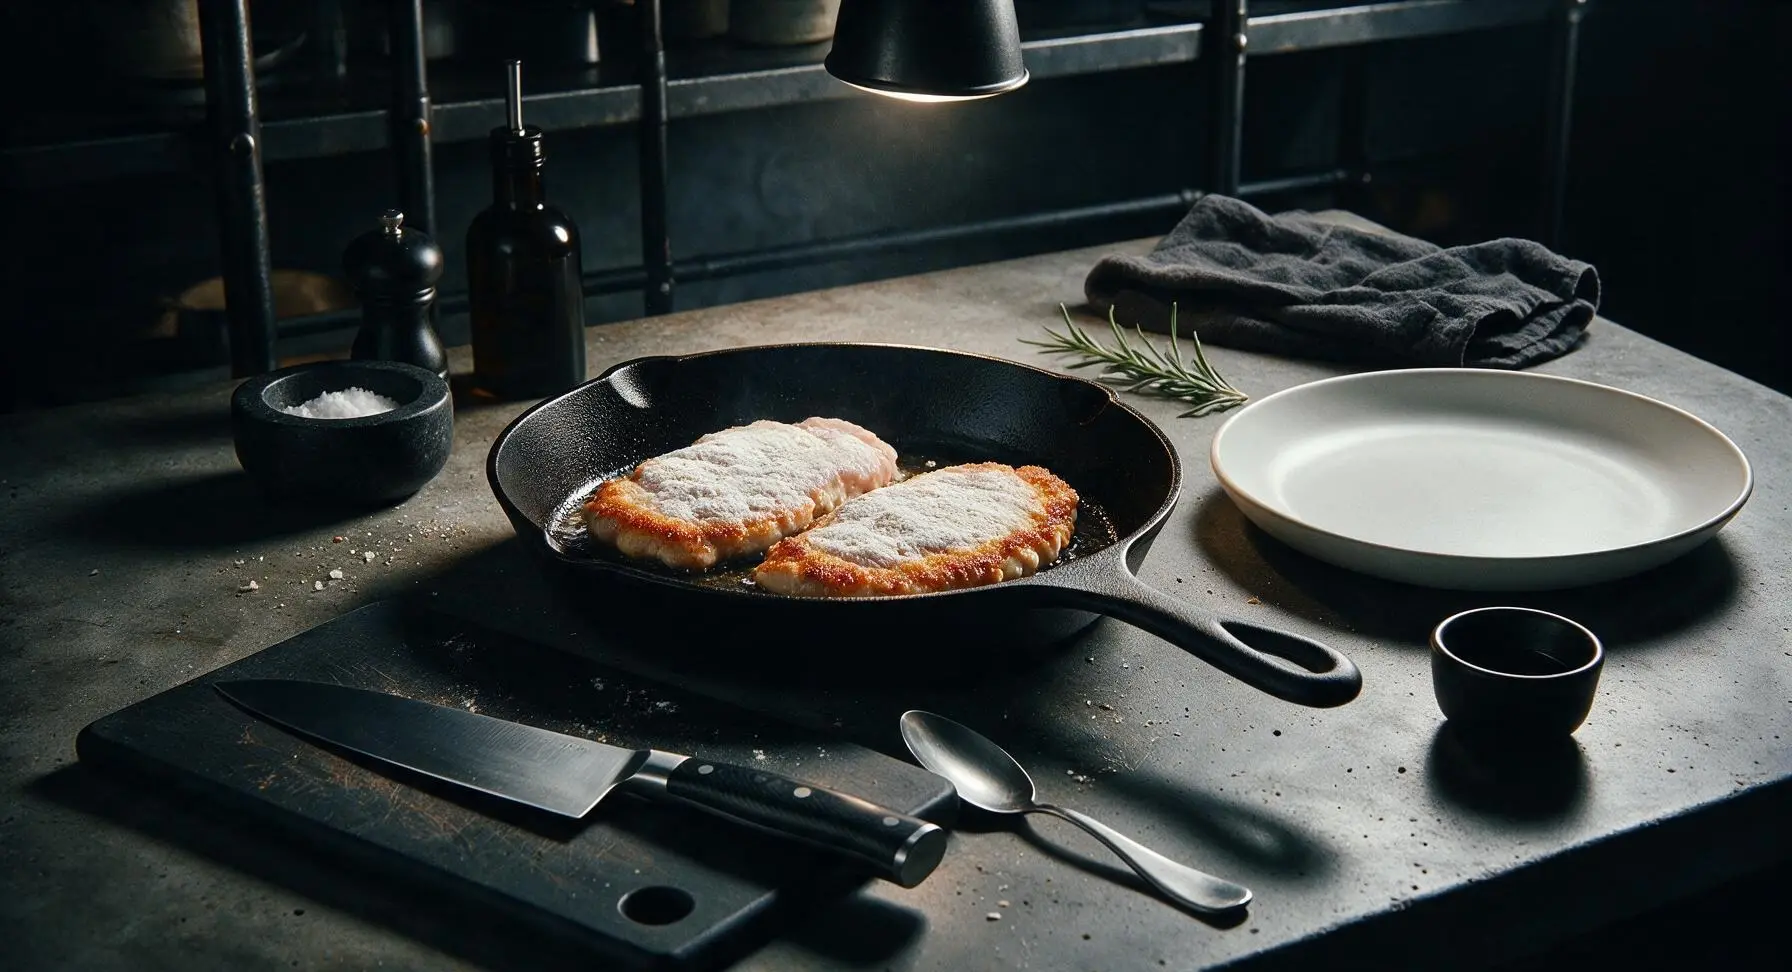
Use the tongs to carefully lay 2 cutlets in the hot skillet (do not overcrowd the pan; cook in two batches if needed to leave space between cutlets). Sear undisturbed for 3 full minutes, resisting the urge to move or lift the cutlets early, until the bottom surface develops a deep, even golden-brown crisp crust.
Flip and Cook Through
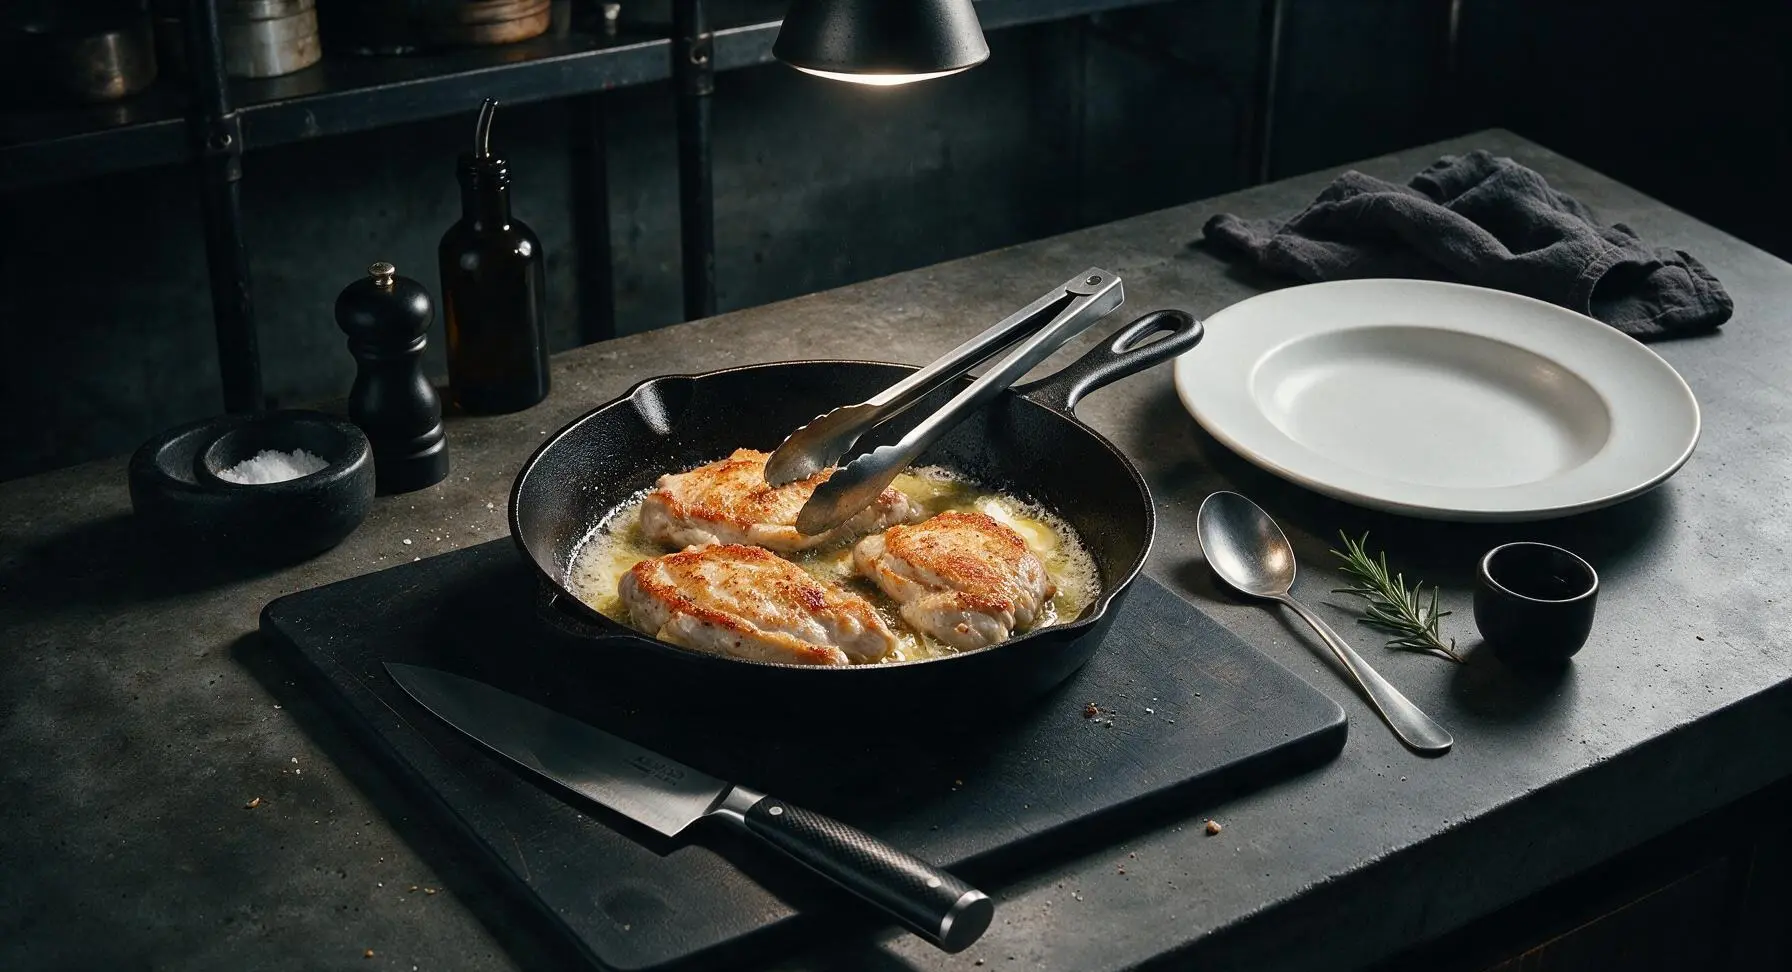
Use tongs to flip each cutlet to the second side, then add the 1 tablespoon pat of unsalted butter to the pan. As the butter melts and bubbles, tilt the pan slightly to spoon the golden melted butter over the tops of the cutlets as they cook. Sear the second side for 2 to 3 minutes, until golden brown, and the internal temperature reaches 165°F (74°C); cutlets will feel firm to the touch, with no translucent pink remaining in the thickest part.
Rest and Plate Chicken
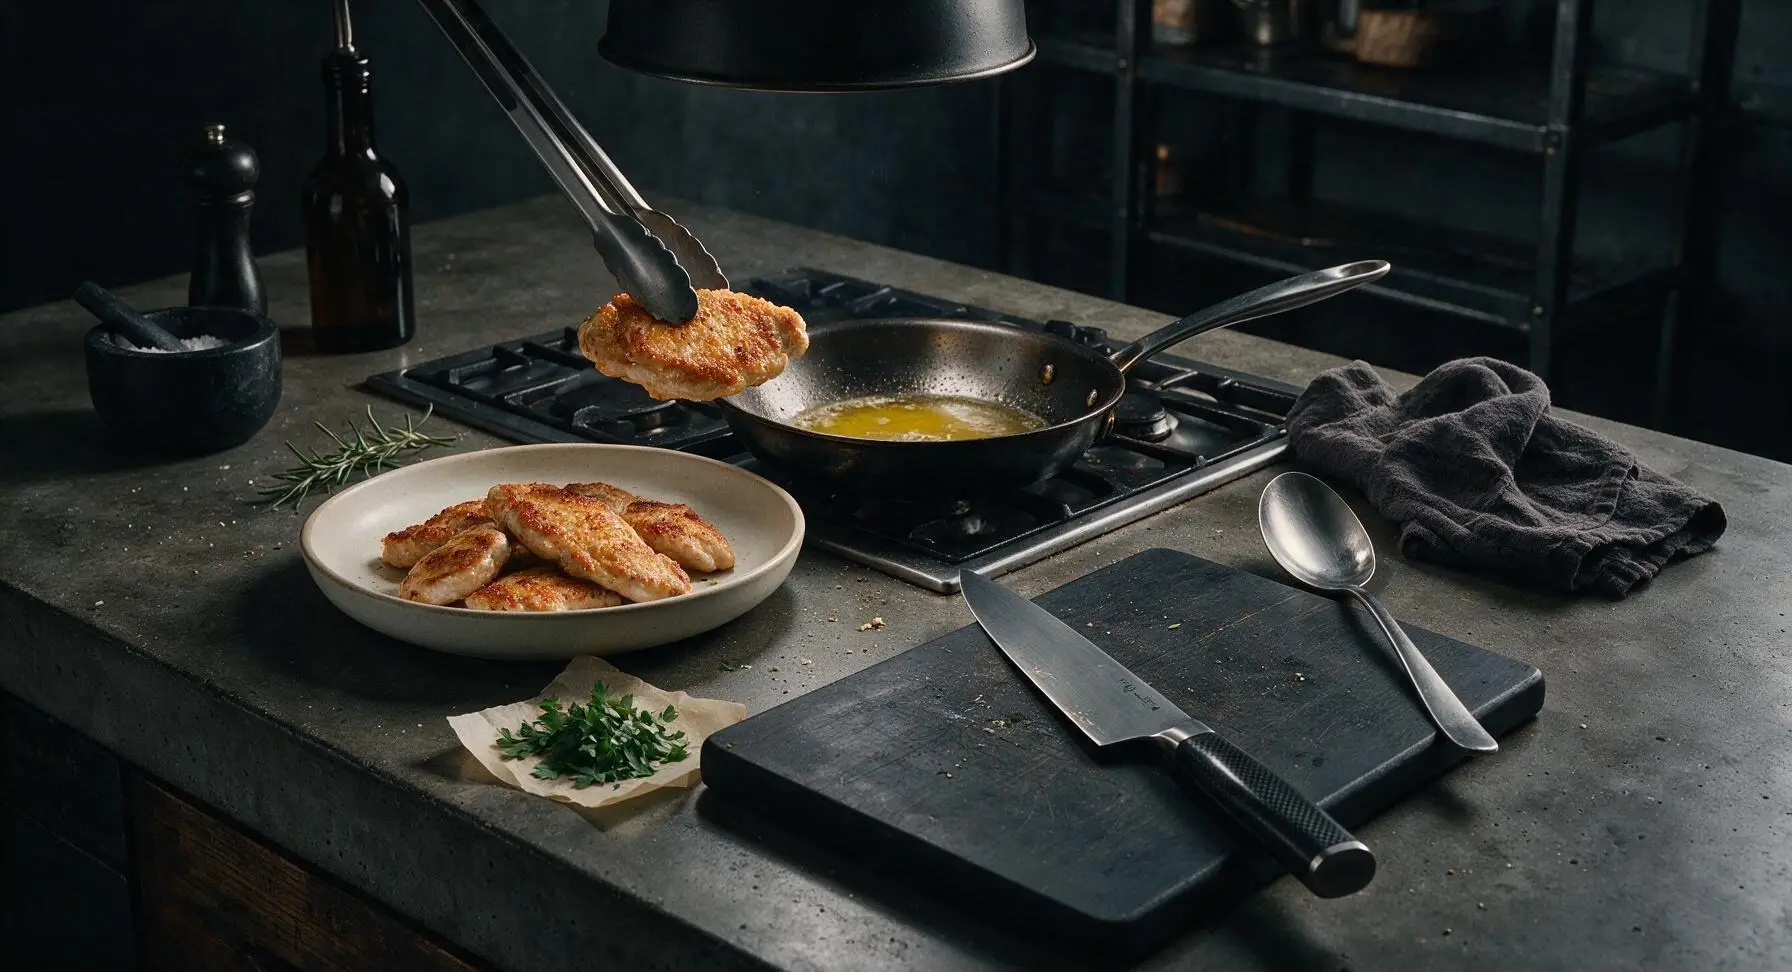
Use tongs to transfer all cooked cutlets to the matte off-white ceramic dinner plate. Let cutlets rest for 2 full minutes to allow internal juices to redistribute, which prevents juice from running out when the chicken is cut. Garnish with a light sprinkle of chopped fresh flat-leaf parsley, and drizzle any remaining melted pan butter over the top before serving.
Tips
2.Never overcrowd the skillet when searing: too many cutlets in the pan drops the oil temperature rapidly, causing chicken to steam instead of sear, which results in a pale, soggy crust rather than a crisp, golden exterior. Cook cutlets in two-batch increments if your skillet is smaller than 12 inches.
3.Don’t skip the 2-minute rest after cooking: high searing heat pushes meat juices toward the cutlet surface, and resting allows those juices to reabsorb evenly into the meat, ensuring every bite stays juicy instead of having all the liquid run out onto the plate when you cut into the chicken.






OMG these were SO good! I made them for weeknight dinner last night and my three boys devoured them, even my picky 7 year old who turns his nose up at 90% of the food I make. Pounding them thin made them cook so fast, perfect for busy school nights. I served them with roasted broccoli and mashed potatoes, total hit! 10/10 will be adding to our regular rotation.
Tried this last weekend for a quick lunch before heading out to hike. I was worried pounding the chicken would make it dry, but nope, it stayed super juicy when I seared it over medium-high heat like the recipe said. Only thing I added was a little sprinkle of paprika to the seasoning, chef’s kiss.
Literally the easiest chicken recipe I’ve ever made. Only took me 12 minutes total like it said, no fancy ingredients, perfect for when I don’t feel like putting a ton of effort into cooking after class. Tossed it in a wrap with some ranch and lettuce, elite.
Made these for my neighborhood potluck last week, sliced them up and put them on little slider buns with pickles and aioli. People were asking me for the recipe all night! Even my neighbor who says she ‘doesn’t like plain chicken’ went back for seconds. Only note: make sure your pan is hot enough before you put the cutlets down, that’s how you get that perfect crispy sear.
Wait, how thin do I pound the chicken? I tried this last night and I think I pounded mine a little too thick, so they took longer than 6 minutes per side and got a little dry around the edges. Flavor was great though, just need to nail the thickness next time!
Game. Changer. I make a big batch of these every Sunday now, they keep great in the fridge for 4 days, I slice them up for grain bowls, wraps, even toss them on top of pasta. No more boring dry meal prep chicken, this recipe is foolproof.
Made these for date night with my girlfriend last night, served them with a lemon butter sauce and pasta. She thought I spent way more time cooking than I actually did! Total win, looked fancy, tasted even better, and cleanup was so easy.
Just made these with a 1:1 gluten free all purpose flour blend and they came out SO crispy, no sogginess at all! Total game changer for me, I haven’t had a good pan-seared chicken cutlet since I went gluten free 3 years ago. 10/10, thank you for this easy recipe!
Bro, this recipe is fire. I’m a total beginner in the kitchen and I didn’t mess this up at all. Seasoned with a little garlic powder, salt, pepper, seared it up, threw it on a sandwich with some mayo and tomato, ate like a king. 12 minutes cook time is no joke, fastest dinner I’ve ever made.
I know the recipe says pan-seared, but I tried these in my air fryer after pounding them thin, spritzed with a little olive oil, 400 degrees for 8 minutes, they came out crispy on both sides! Less oil, less mess, just as juicy. Great base recipe to tweak!
I’ve been making chicken cutlets for 40 years and this recipe is just as good as my old go-to! I love that it’s no-fuss, no weird breading required if you don’t want it (I did a light dusting of flour just like the recipe says, perfect golden crust). Made these for my grandkids when they visited last weekend, they asked for seconds before they even finished their first serving.