
Praline
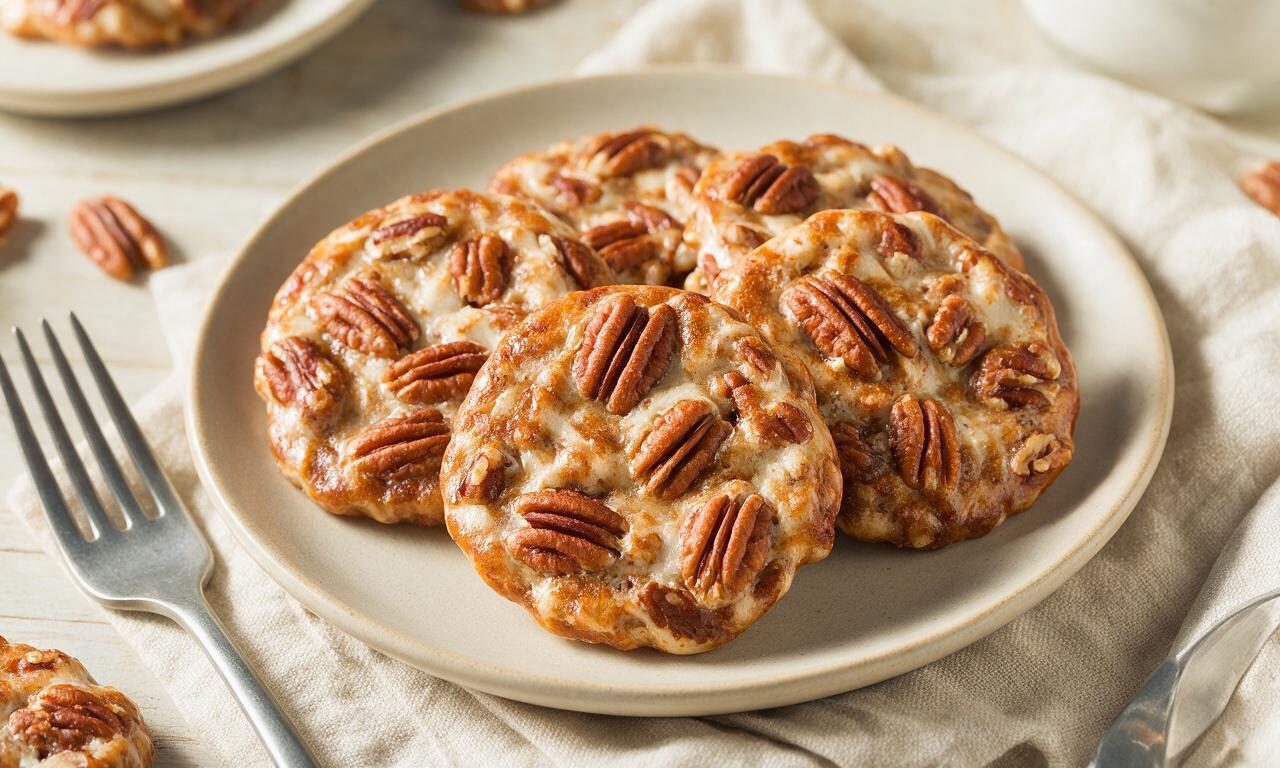
intro
Buttery, caramelized pecan pralines are a creamy, crisp confection with nutty depth, a beloved Southern treat perfect for gifting and casual sweet snacking.
Ingredients
Steps
Prep your workspace
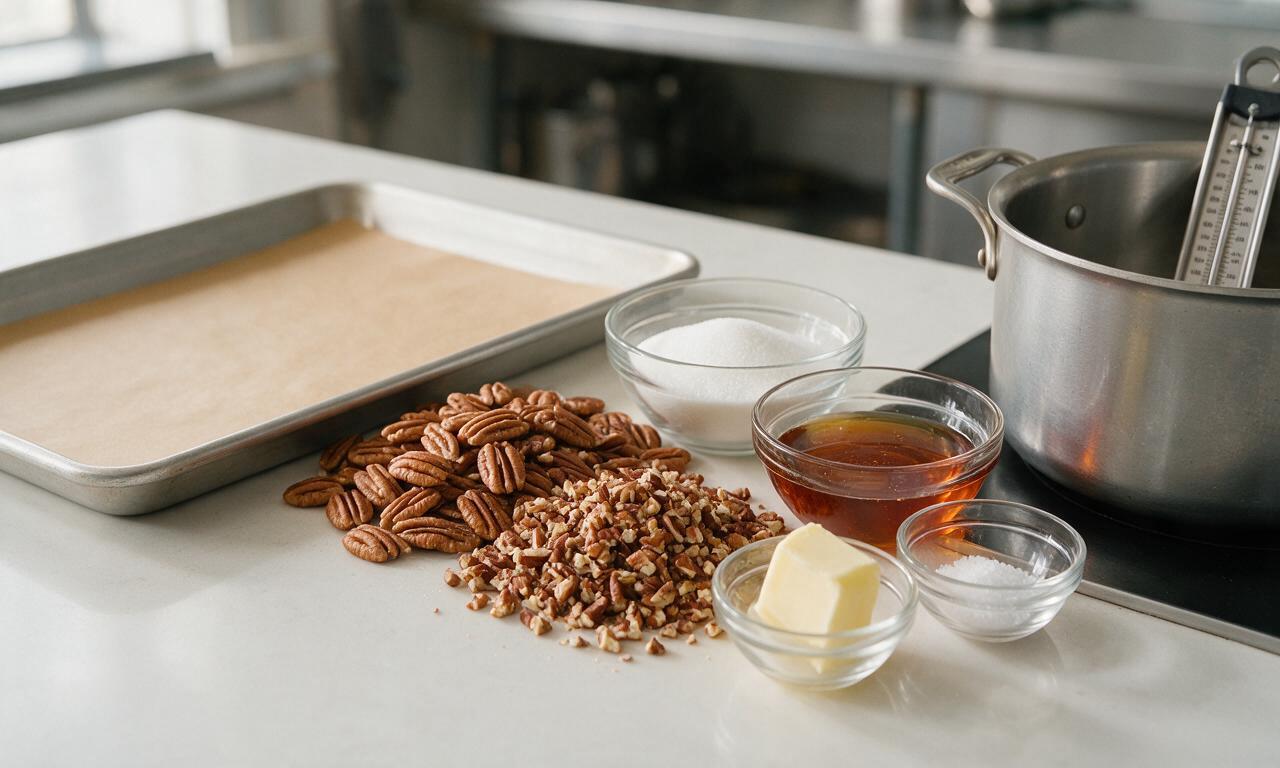
Line a large rimmed baking sheet with parchment paper, and measure all ingredients out ahead of time, as candy making moves quickly. Clip a candy thermometer to the side of a heavy-bottomed 3-quart saucepan, ensuring the tip does not touch the pan bottom. Chop 1/2 cup of the pecan halves into coarse pieces, leaving the remaining 1 cup whole.
Heat the praline base
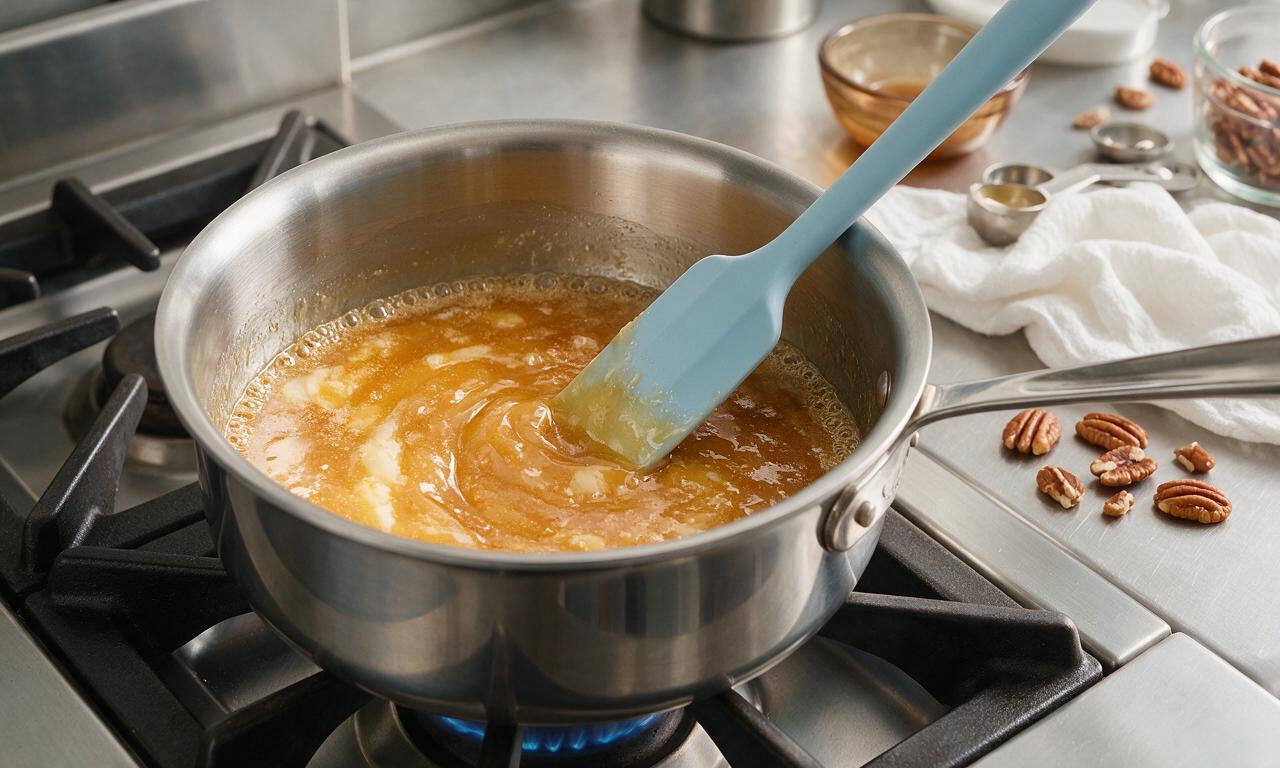
Add both granulated sugar, packed light brown sugar, heavy cream, and unsalted butter to the saucepan. Place over medium heat, stirring constantly with a heat-resistant silicone spatula, until the sugars fully dissolve and the butter melts, about 4-5 minutes. Bring the mixture to a gentle rolling boil, avoiding high heat to prevent burning.
Reach candy temperature
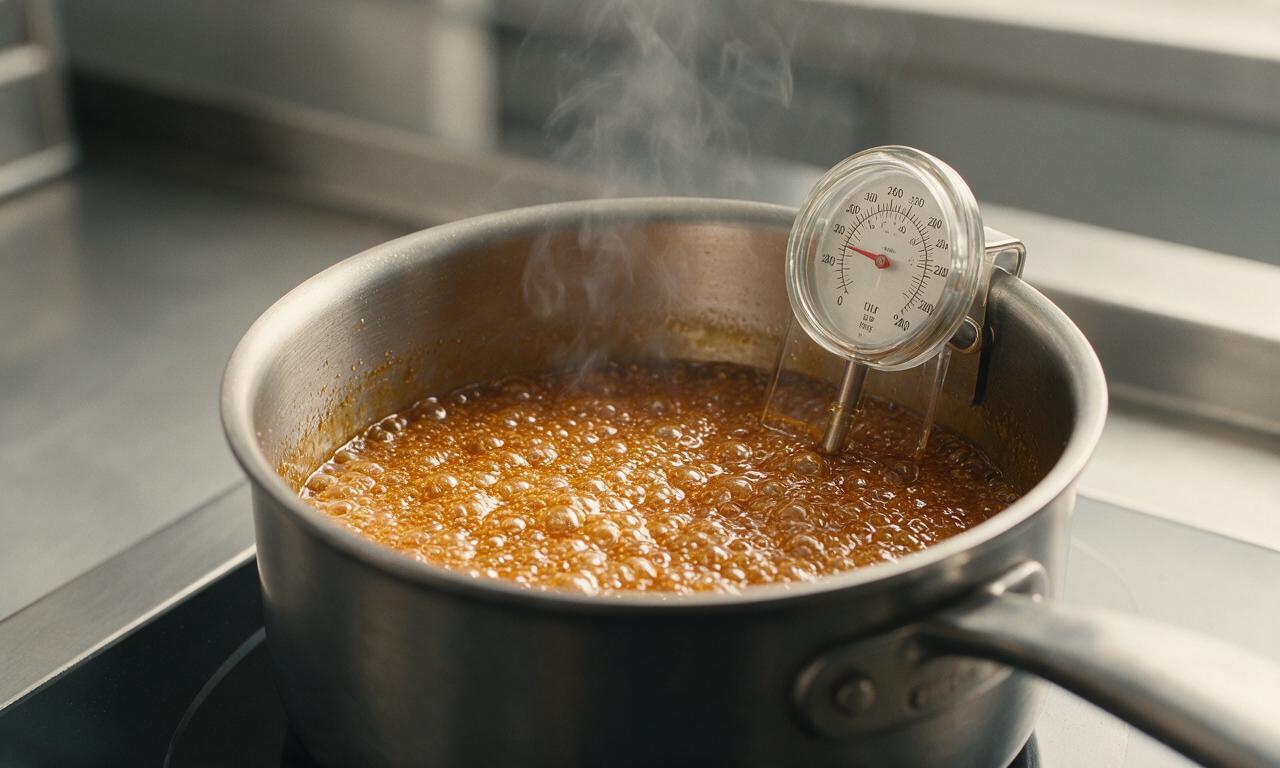
Once boiling, stop stirring and let the mixture cook undisturbed until it reaches 116°C (240°F, the soft-ball stage) on the candy thermometer, approximately 7-9 minutes. Do not scrape the sides of the pan during this step, as this can cause grainy sugar crystals to form in your pralines.
Mix in nuts and flavor
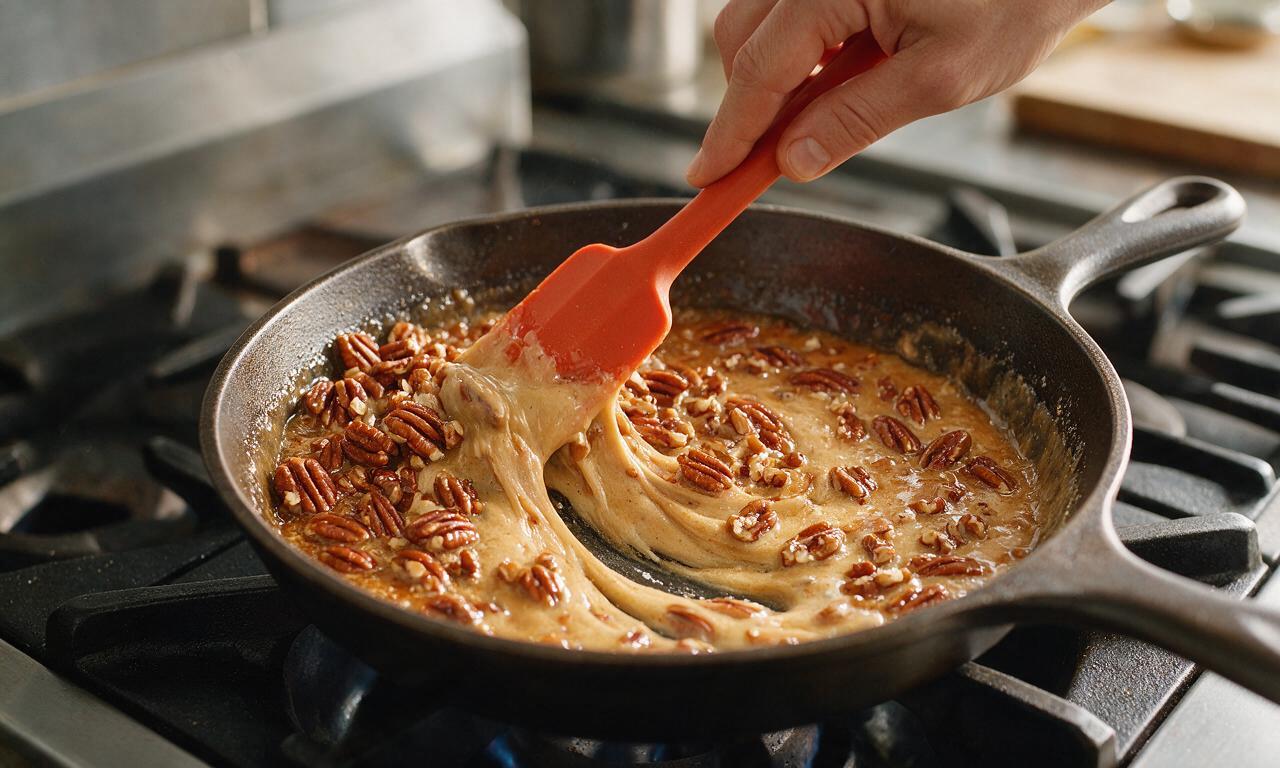
Immediately remove the saucepan from heat once it hits the target temperature. Add the whole and chopped pecans, vanilla extract, and fine sea salt to the hot caramel. Stir vigorously for 1-2 minutes, until the mixture thickens slightly, turns opaque, and shifts to a creamy, lighter golden color rather than a glossy dark caramel.
Scoop and portion pralines
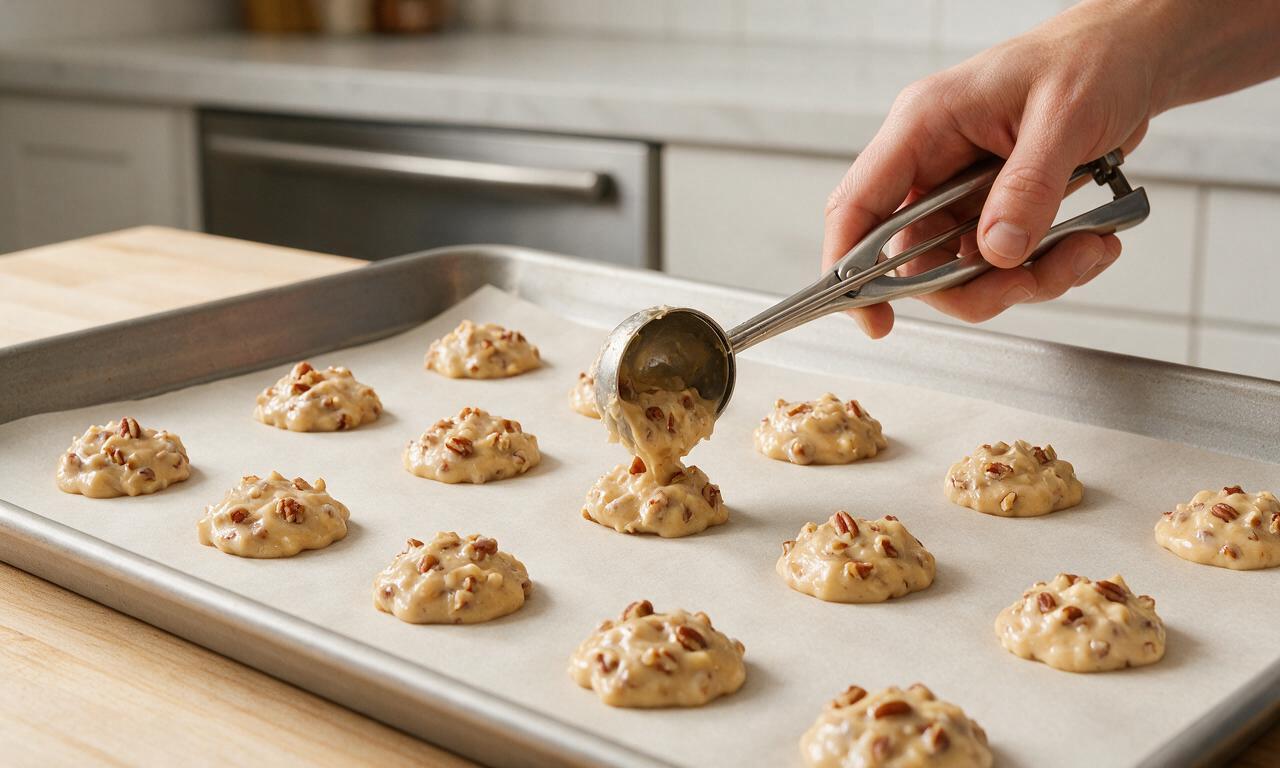
Working quickly before the mixture sets, use a 2-tablespoon cookie scoop to drop rounded mounds of the praline mixture onto the prepared parchment-lined baking sheet, leaving 5cm (2 inches) of space between each mound to allow for slight spreading. This recipe yields approximately 24 individual praline pieces.
Cool and set fully
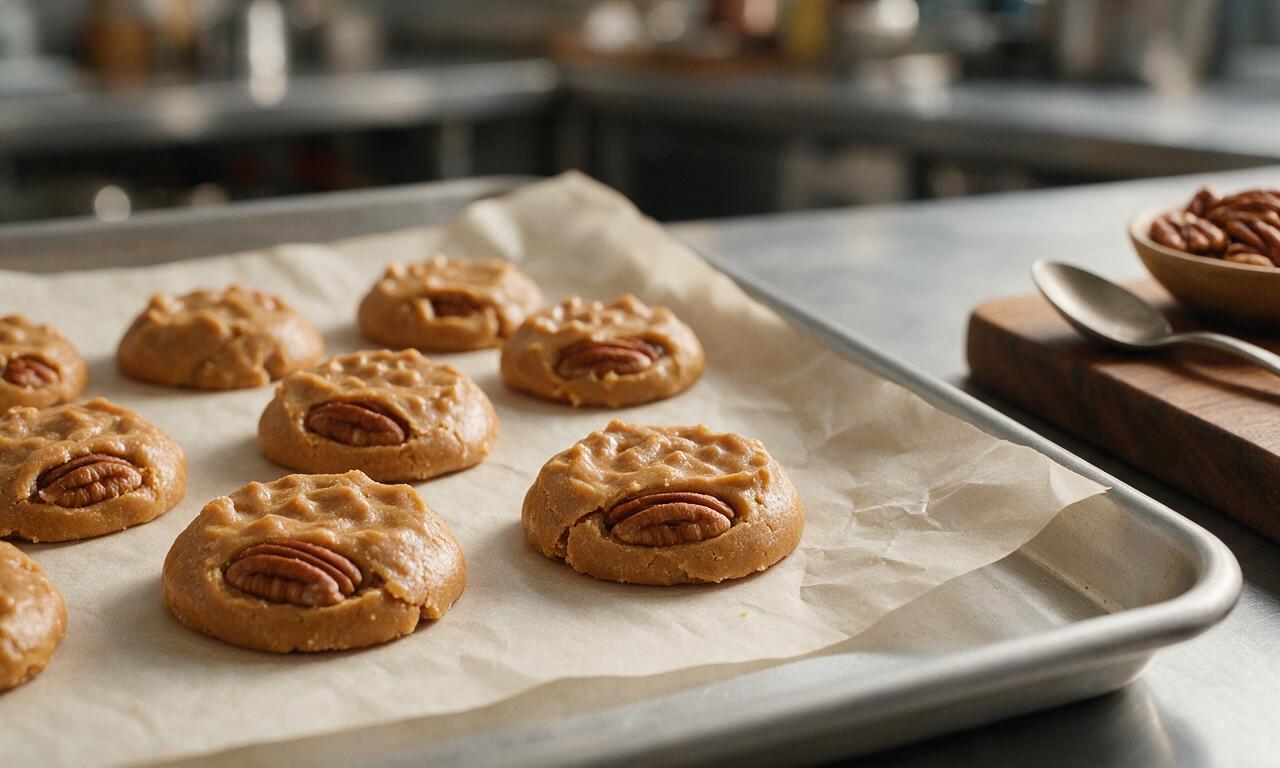
Leave the pralines to cool and harden completely at room temperature for 20-25 minutes, until they are firm to the touch and no longer sticky on the surface. Do not move or touch the pralines during the first 15 minutes of cooling to avoid misshaping them.
Tips
2.Work quickly once you remove the caramel from heat, as the mixture will set rapidly in the pan; if it becomes too thick to scoop smoothly, stir in 1 teaspoon of hot heavy cream to loosen it slightly without ruining the final texture.
3.Store fully cooled pralines in an airtight container between layers of parchment paper at room temperature for up to 1 week; avoid refrigeration, as excess moisture will turn the candy grainy and sticky.






Y’all, I’ve been making pralines for 40+ years and this recipe is the closest I’ve found to my mama’s old stovetop version! I brought a batch to my church potluck last Sunday and folks were begging for the recipe before service even ended. The only tweak I made was adding a tiny pinch of extra flaky sea salt on top — cuts the sweetness just right. SO good!
Okay full transparency, I’ve never made candy of any kind before and I was SO nervous I’d burn the sugar, but the step-by-step temperature instructions were so clear! Mine set perfectly in about 20 minutes, my roommates devoured half the batch before I could even put them in a tin. Only issue: I think I stirred a little too hard at the end so a few were a tiny bit grainy, still tasted amazing though.
Born and raised in NOLA, so I take my pralines *very* seriously. I was skeptical a random internet recipe would hit right, but OMG these taste exactly like the ones I used to get from the little candy shop in the French Quarter when I was a kid. Buttery, nutty, not overly sugary, perfect chewy-crunchy texture. Game changer for anyone who can’t make it down to Louisiana for the good stuff.
Made these for my grandkids when they came to visit over fall break, and they asked if we could make them every year for Christmas now! I used pecans from the old pecan tree in my backyard, which made them extra special. One question — can I freeze these for later if I make a big batch around the holidays?
Brought these to our neighborhood block party last weekend and I swear people were hovering over the platter. I even had a neighbor offer to pay me to make a batch for her daughter’s wedding shower! I love that the cook time is only 30 minutes, so I didn’t have to spend all day in the kitchen prepping for the party. 10/10, will make again and again.
If you have a sweet tooth like me, RUN don’t walk to make these. I’ve been buying expensive pralines from the fancy candy store at the mall for years, and these taste better for a fraction of the cost. My only heads up: make sure you have a candy thermometer! I tried to wing it the first time and messed up the temp, but second try with the thermometer was flawless.
Made these for my annual backyard cookout to go with the smoked brisket and mac and cheese, and they were the perfect sweet finish. The guys at the cookout were raving so much I almost forgot to save one for myself! I added a splash of bourbon to the mix like I do with my pecan pie, and it paired so well with the caramel and pecans.
Made these for my fall brunch spread last weekend, served them alongside mimosas and pumpkin pancakes, and they were such a hit! I love that they’re handheld so people could grab one while mingling, no plates or forks needed. I did notice they got a little sticky when I left them out in the sun on the patio for an hour, so definitely keep them in a cool spot if you’re serving outside!
I’ve tried so many praline recipes over the years that turned out rock hard or way too sugary, and this one is perfectly balanced! The texture is that ideal soft-chew with a little crunch from the pecans, no tooth-breaking hardness at all. I added a tiny bit of cinnamon to the sugar mix and it gave it such a cozy fall vibe, perfect for sweater weather.
Made these for my son’s fall bake sale at school and they sold out in 10 minutes flat! Multiple parents came up to ask for the recipe, and even the principal stopped by to say they were the best thing at the sale. My kids loved helping me stir in the pecans, it was such a fun little after-school activity.
Pro tip for all my fellow college students on a budget: all the ingredients for this cost me less than 10 bucks at the corner grocery store, and it makes like 20 pralines. Way cheaper than buying candy from the campus convenience store, and my whole floor loves me now. 10/10, easy enough to make in a tiny dorm kitchen as long as you have a stovetop and a cheap candy thermometer.
I spent 30 years working in Southern restaurants, and pralines are one of those things that so many home cooks overcomplicate. This recipe sticks to the basics, no fancy ingredients or weird tricks, and the result is exactly what a classic praline should be. Don’t overthink it, follow the temperature instructions, and you’ll get perfect results every time. Great recipe, folks.
These are meal prep GOLD. I make a batch every Sunday, portion them out into little snack bags, and grab one on my way out the door for work when I’m craving something sweet. They hold up great all week in an airtight container, no sogginess or weird texture changes. Way better than grabbing a candy bar from the vending machine mid-afternoon!
Took these on my fall backpacking trip last weekend and they were the perfect trail snack! They’re calorie-dense, don’t get smashed easily in a pack, and the pecans give a little protein boost to keep you going up steep trails. I wrapped them individually in wax paper so I could hand them out to my hiking group, and everyone asked for the recipe. Will be making these for every trip from now on.