
pressure cooker bbq chicken

title 1
pressure cooker bbq chicken
⏱️ cook time 25 minutes
🍽️ servings 4
⚡ Difficulty easy

intro

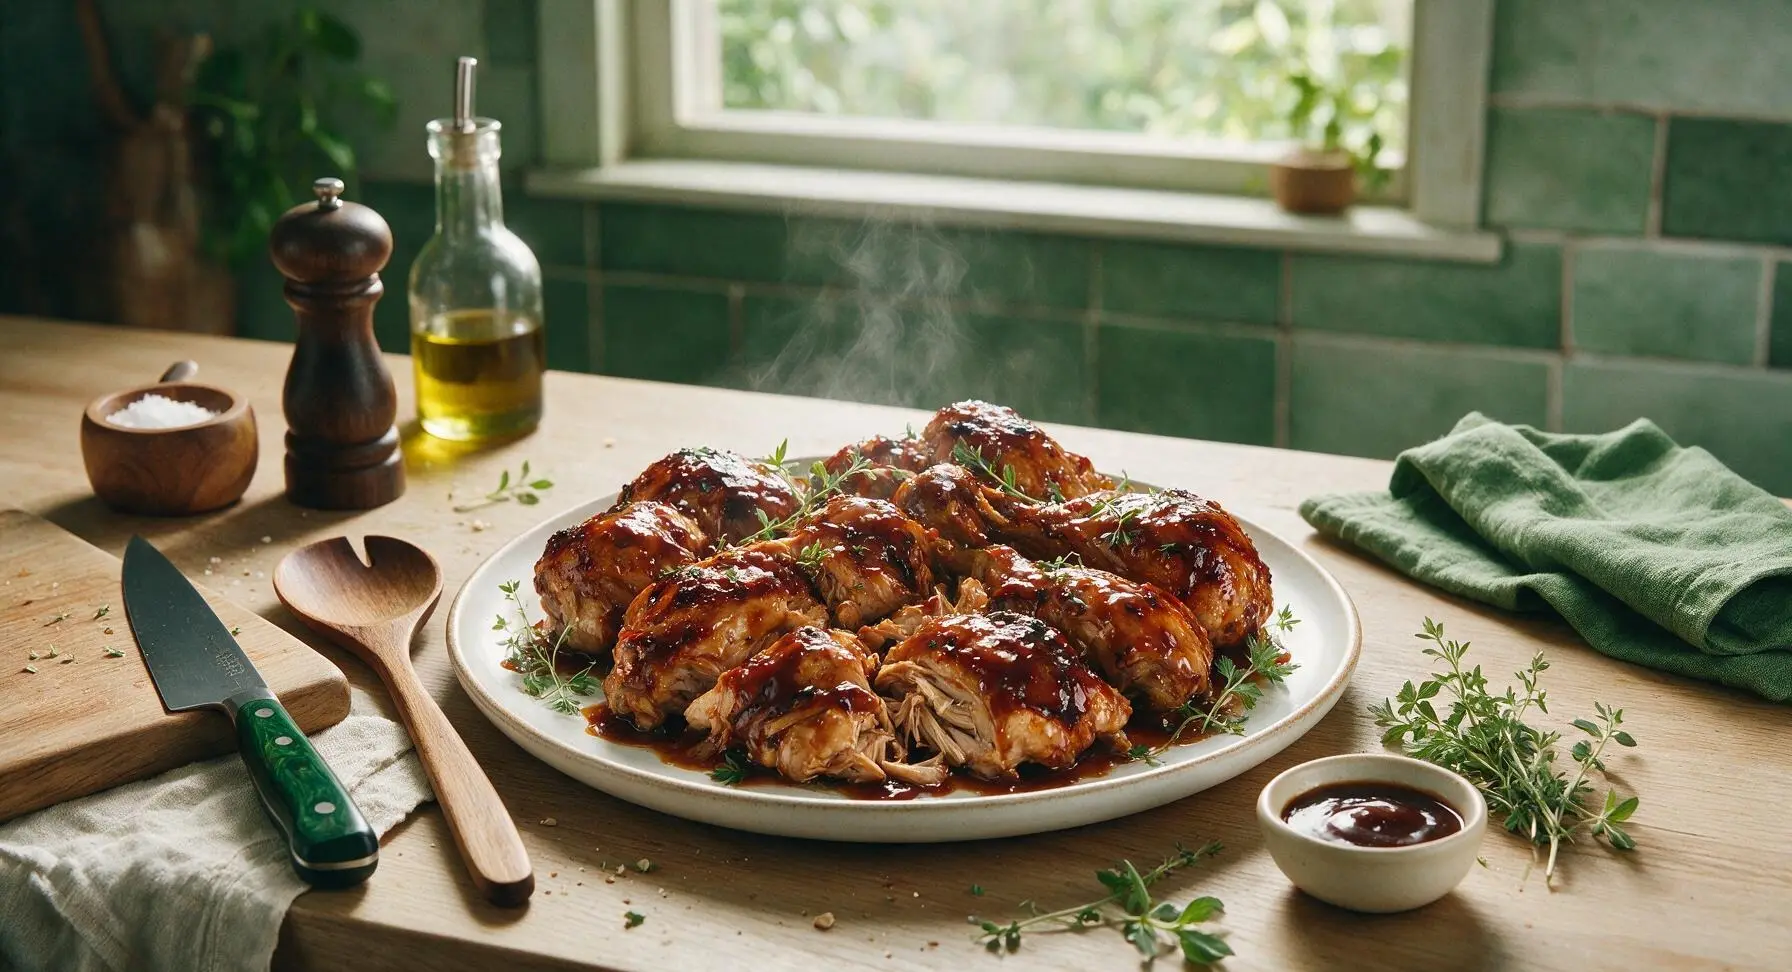
Fall-off-the-bone tender, smoky BBQ chicken made in a pressure cooker in under 40 minutes, with sticky, glossy sauce and all the classic barbecue flavor—no grill required.

Ingredients
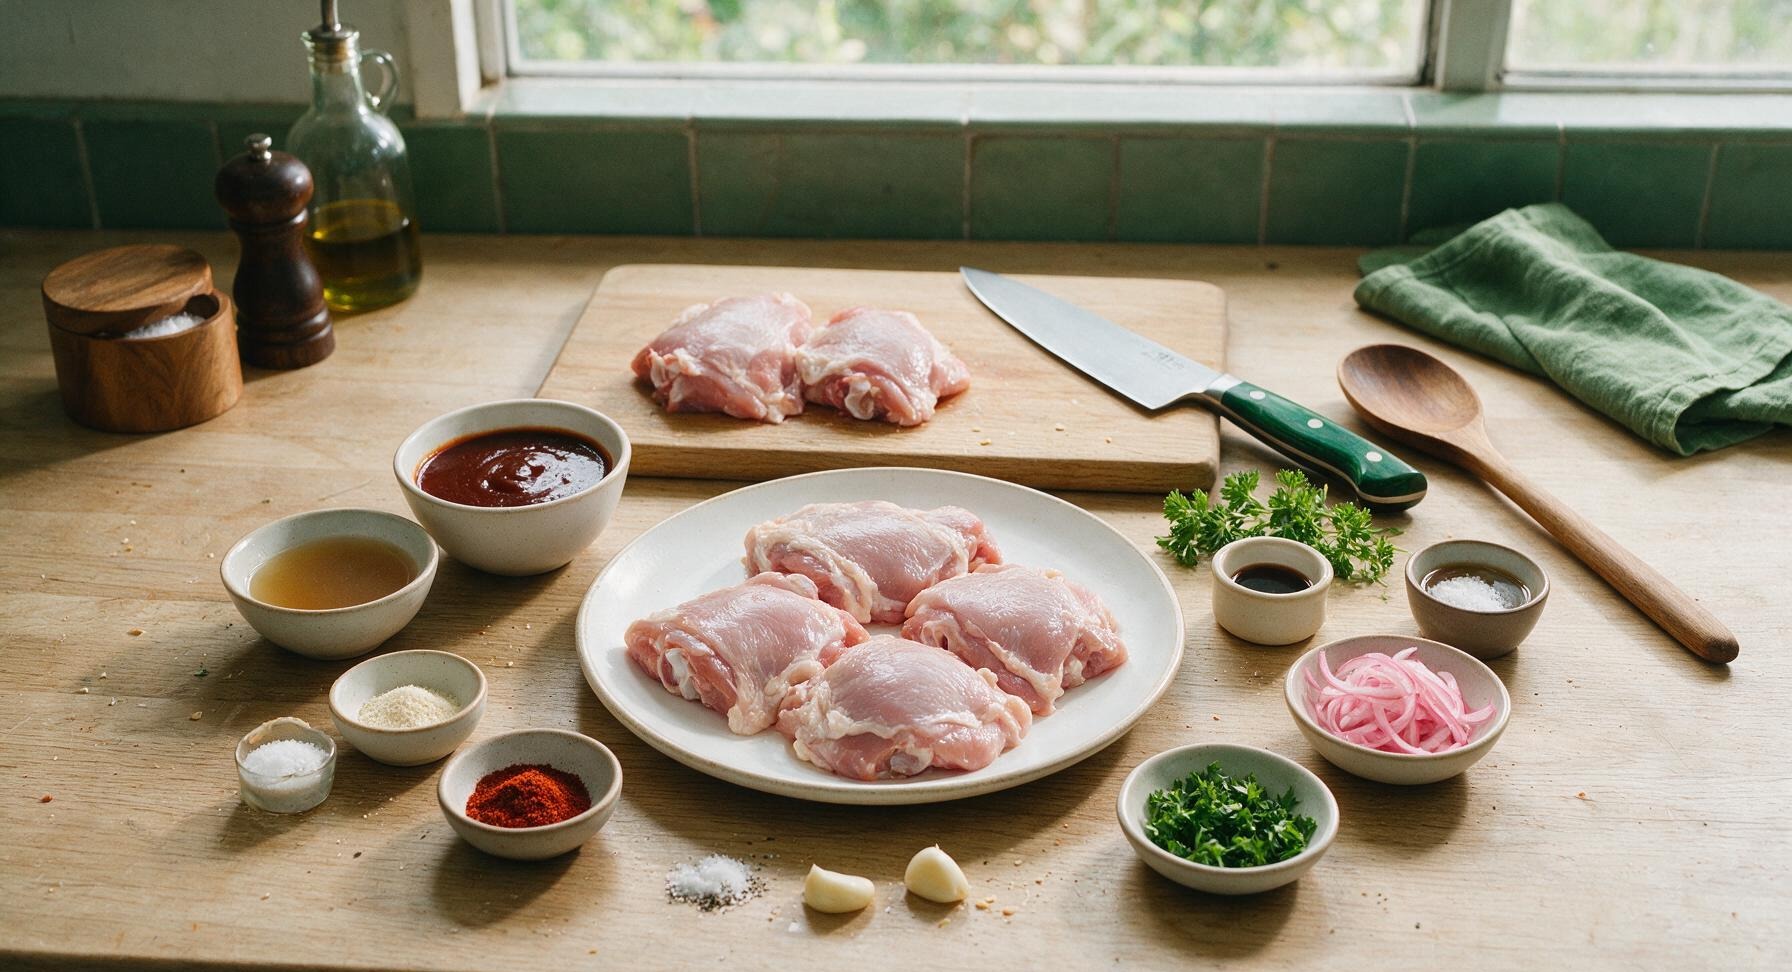
Bone-in, skin-on chicken thighs 1.5 lbs (4 pieces)
Smoky BBQ sauce 1.5 cups, divided
Low-sodium chicken broth 1/2 cup
Smoked paprika 1 tbsp
Garlic powder 1 tsp
Onion powder 1 tsp
Kosher salt 1 tsp
Black pepper 1/2 tsp
Fresh garlic cloves, crushed 2 cloves
Thinly sliced pickled red onions 1/4 cup
Fresh curly parsley 2 tbsp chopped

Steps

1

Season the Chicken Thighs

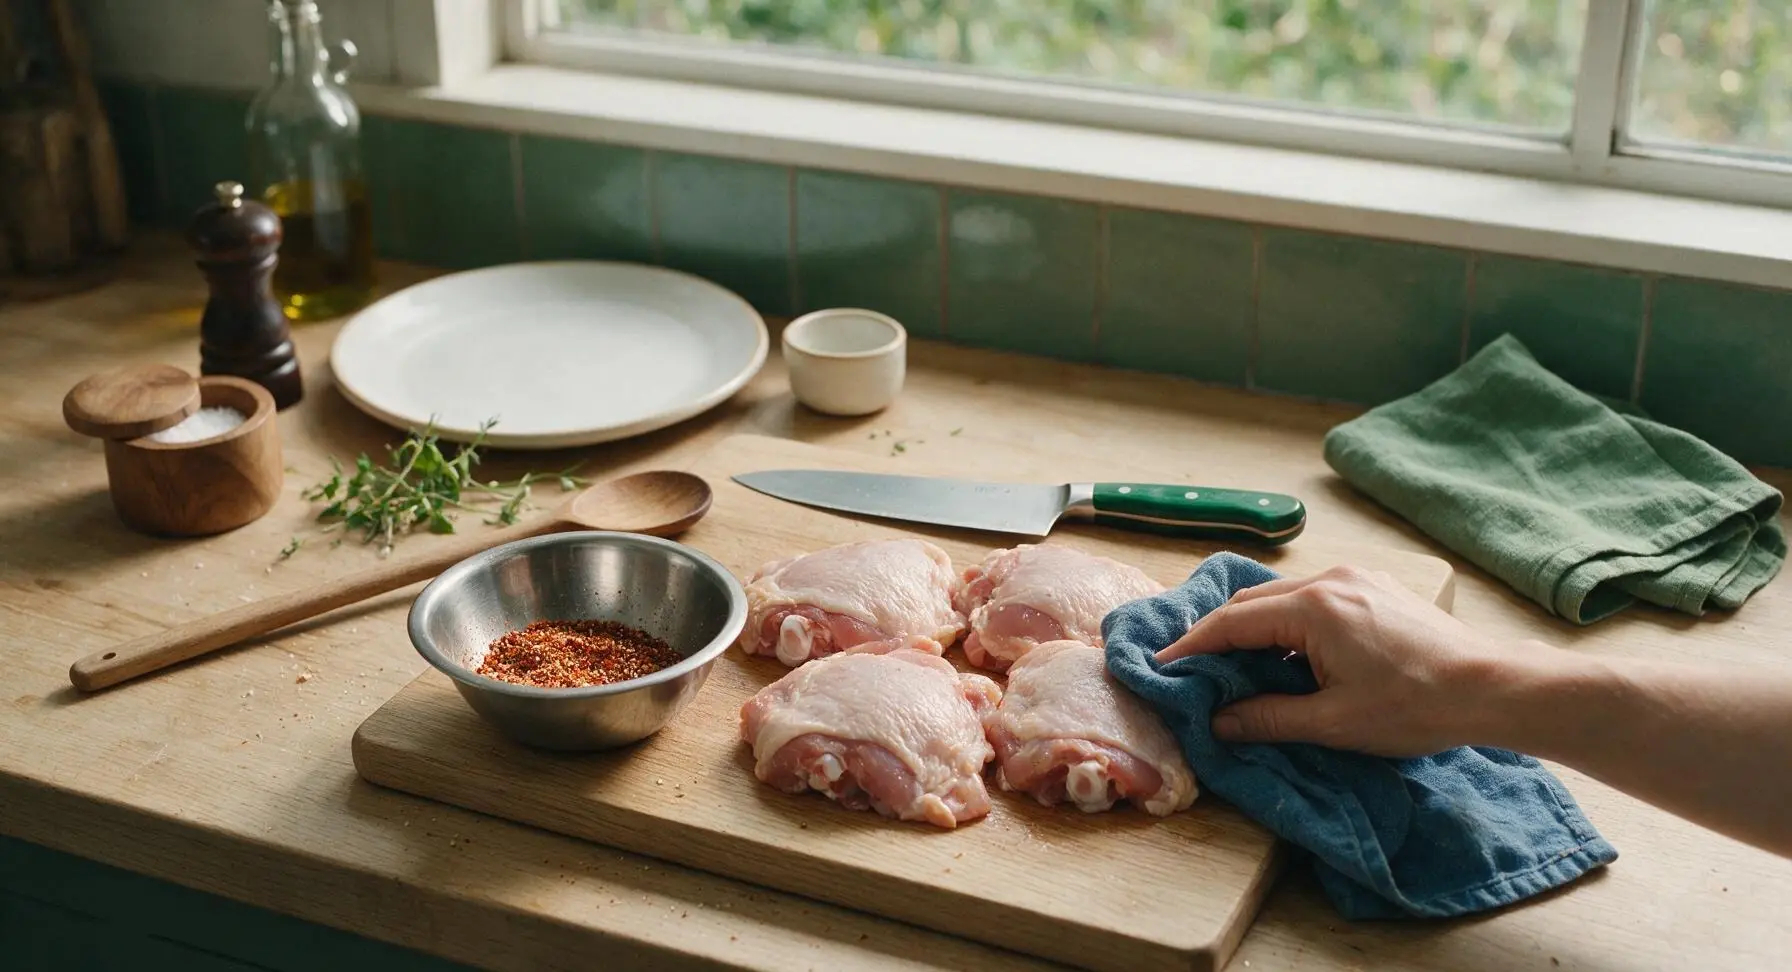
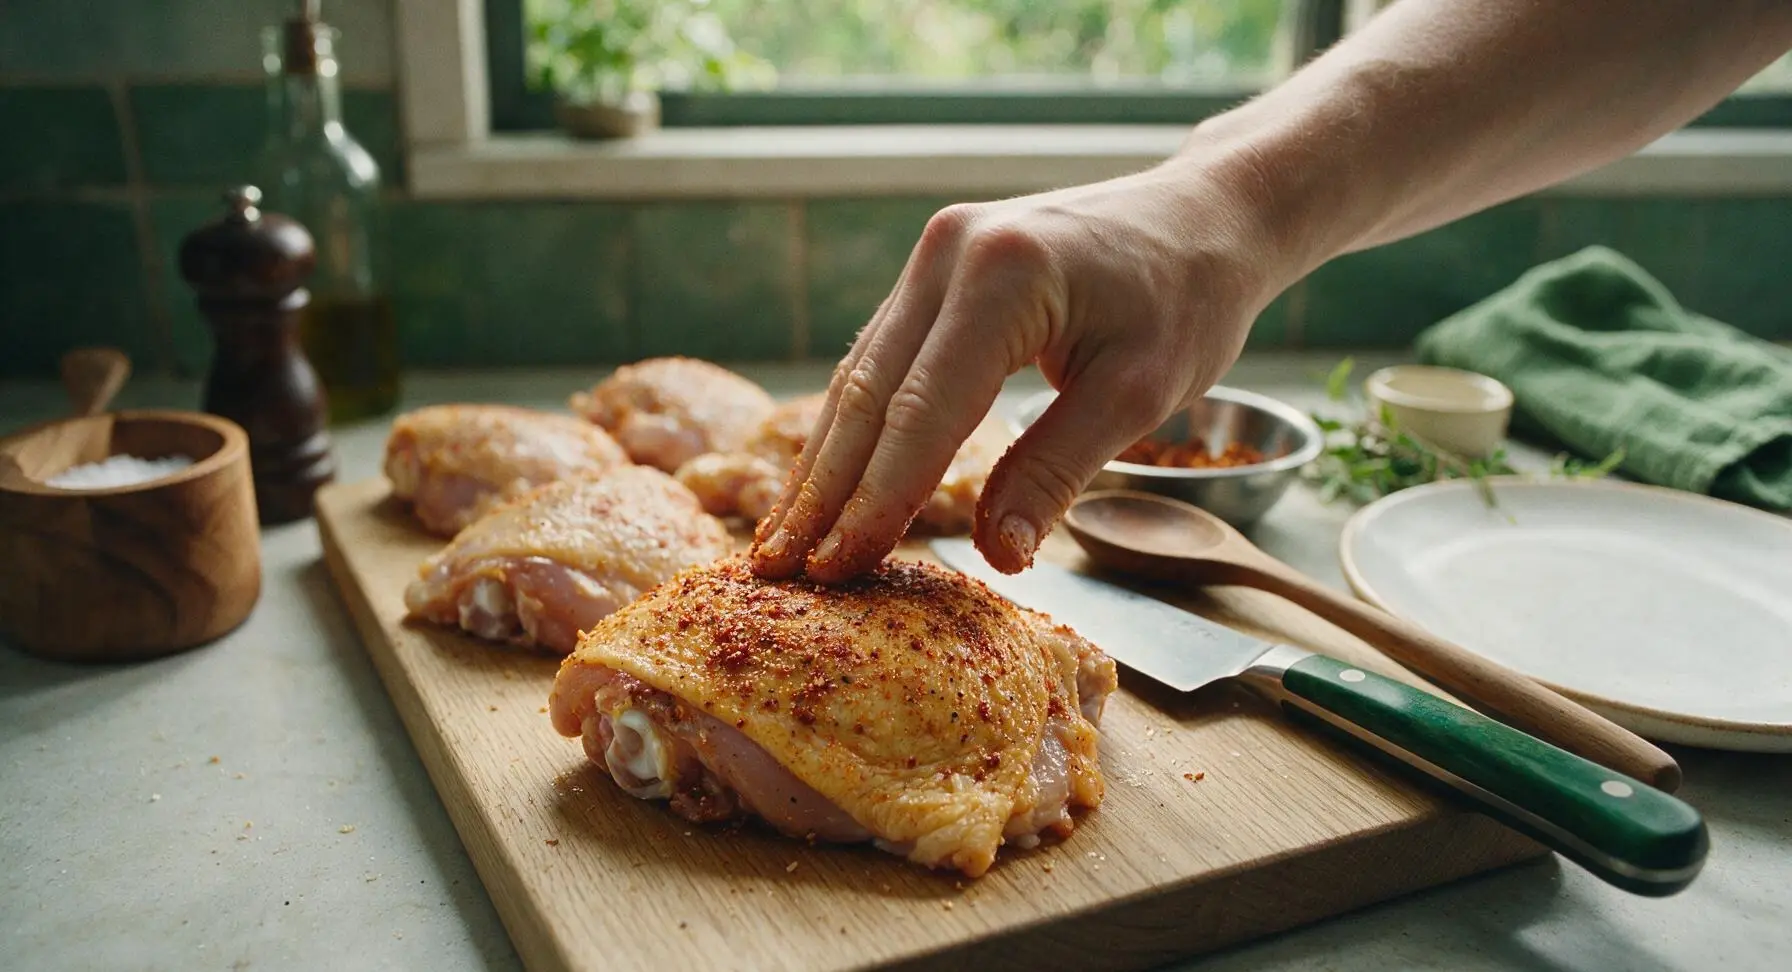
Pat the 4 bone-in, skin-on chicken thighs completely dry with the faded indigo cotton kitchen towel. In the small stainless steel mixing bowl, combine 1 tablespoon smoked paprika, 1 teaspoon garlic powder, 1 teaspoon onion powder, 1 teaspoon kosher salt, and 1/2 teaspoon black pepper, stirring to mix evenly. Rub the spice mixture thoroughly over all sides of each chicken thigh, pressing gently to help the seasoning adhere firmly to the skin and exposed meat. Set seasoned chicken aside for 5 minutes while you prep the pressure cooker.
Step 1
step1:Season the Chicken Thighs
Step 1
step1:Season the Chicken Thighs
2

Prep the Cooker Base

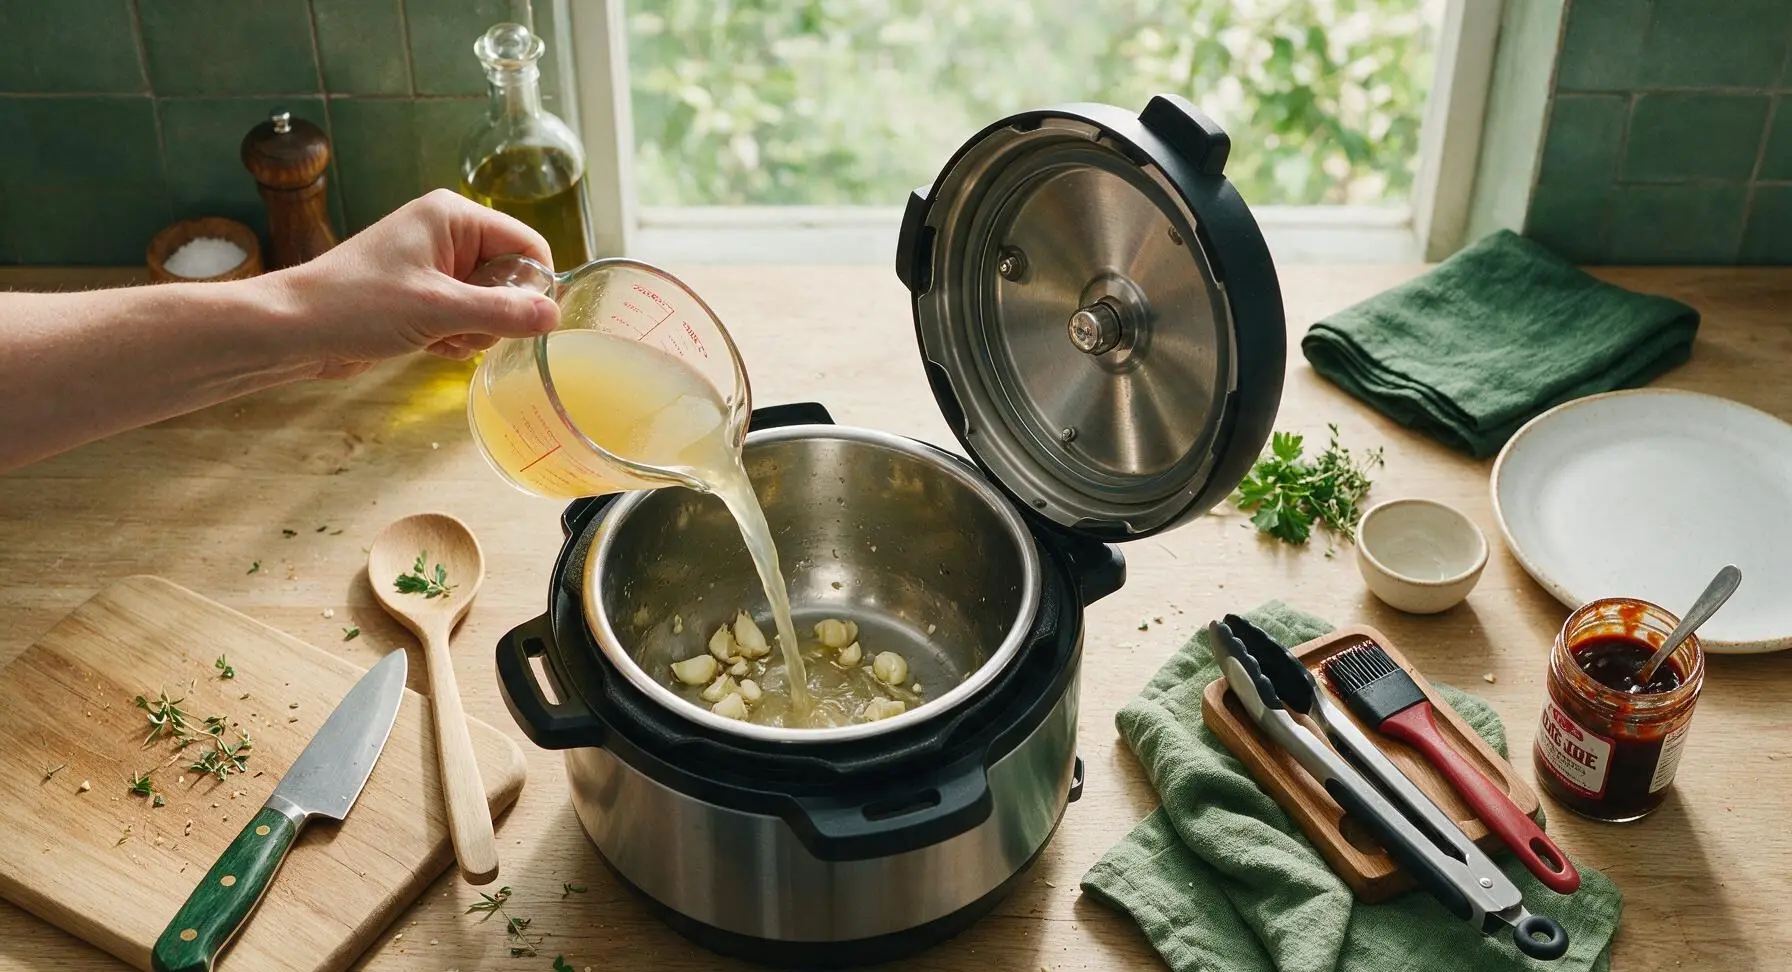
Pour 1/2 cup low-sodium chicken broth and the 2 crushed garlic cloves into the inner pot of the stainless steel electric pressure cooker. Stir briefly to distribute the garlic, then pour in 1 cup of the BBQ sauce, stirring to combine with the broth into a smooth, thin cooking liquid. Wipe any drips from the outer edge of the inner pot before placing it back into the pressure cooker base.
Step 2
step2:Prep the Cooker Base
3

Add Chicken to Pot

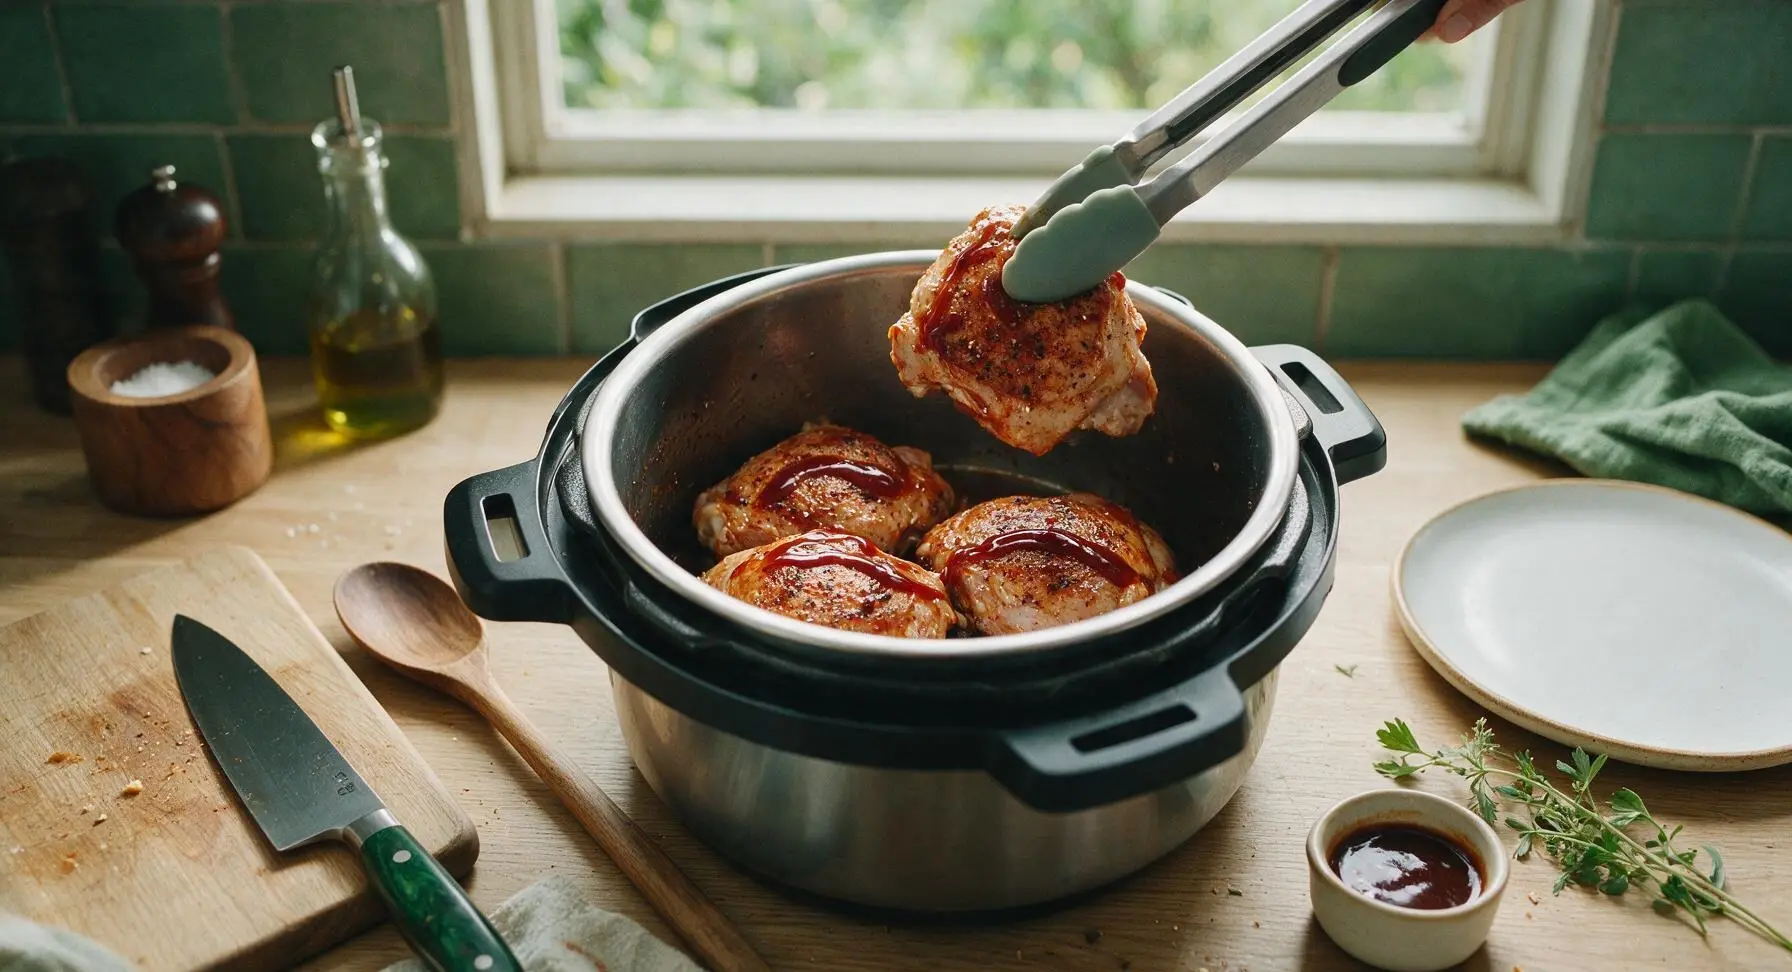
Use the silicone-tipped kitchen tongs to place the seasoned chicken thighs in a single layer in the pressure cooker inner pot, skin-side up, resting directly on top of the BBQ-broth liquid. Do not stack the chicken, as overlapping pieces will cook unevenly. Drizzle 1/4 cup of the remaining BBQ sauce over the top of the arranged chicken, reserving the final 1/4 cup for finishing after cooking.
Step 3
step3:Add Chicken to Pot
4

Cook Under High Pressure

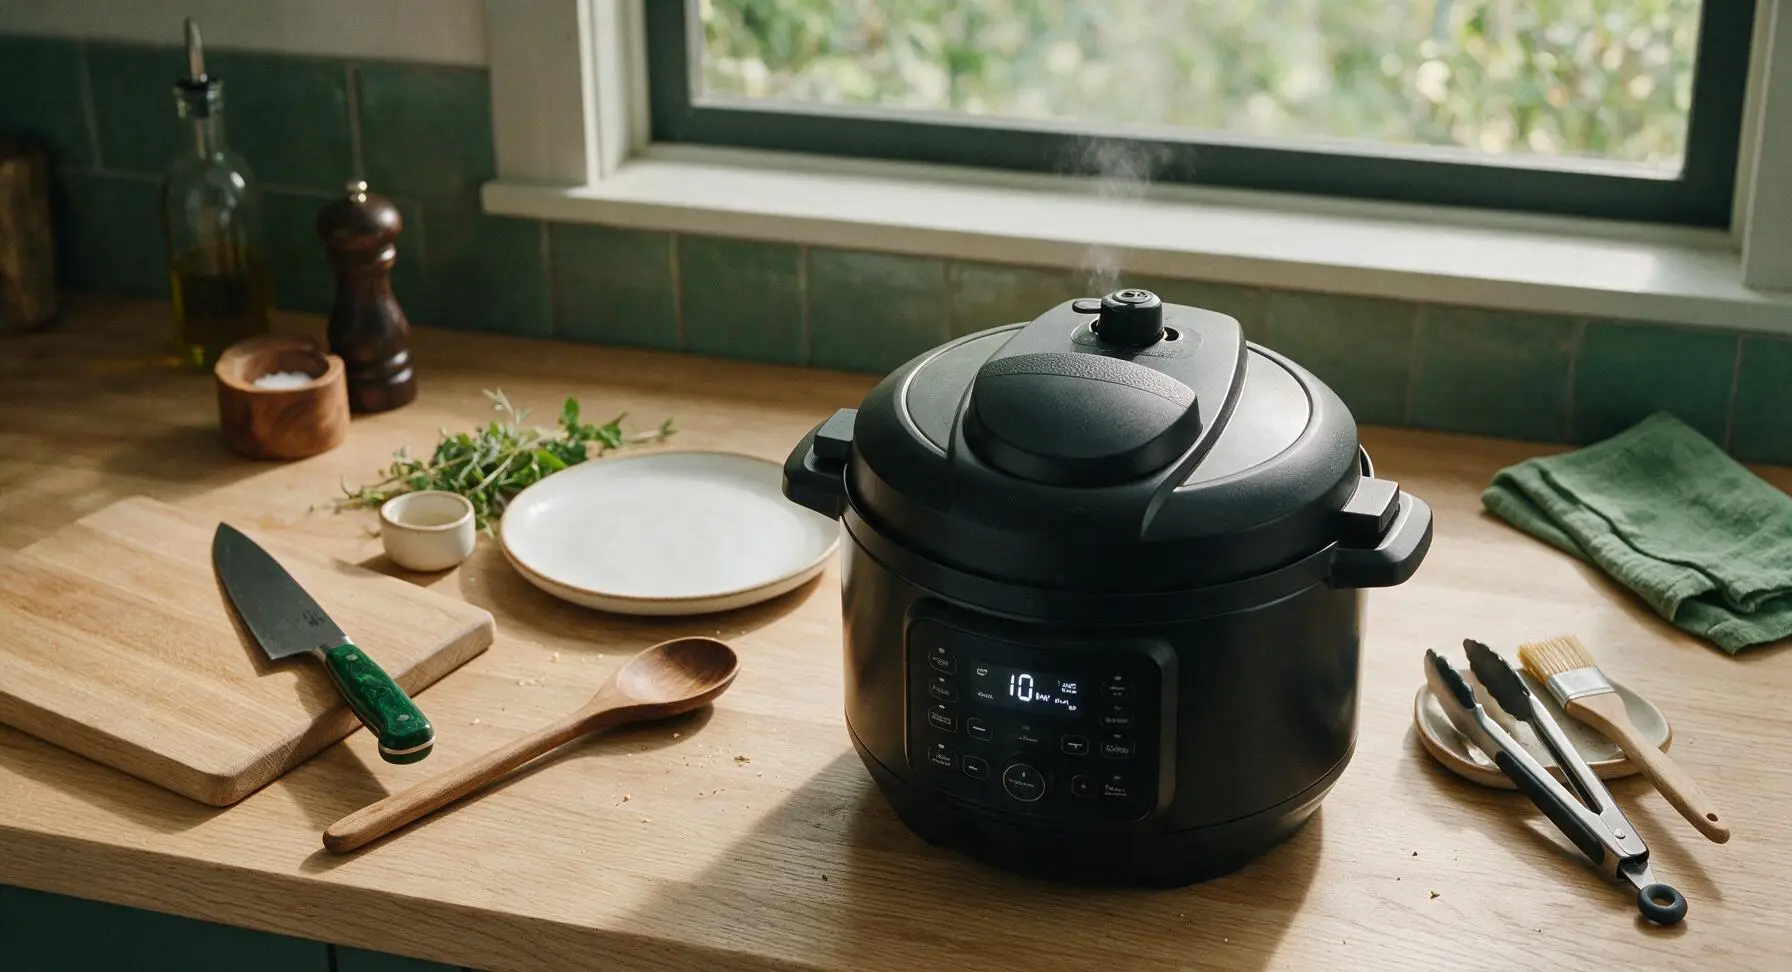
Lock the pressure cooker lid securely into place, turn the pressure release valve to the 'Seal' position, and set the cooker to High Pressure for 10 minutes. The unit will take approximately 8 minutes to build full pressure before the cook timer starts counting down. Do not attempt to force the lid open at any point while the cooker is pressurized.
Step 4
step4:Cook Under High Pressure
5

Release Pressure Safely

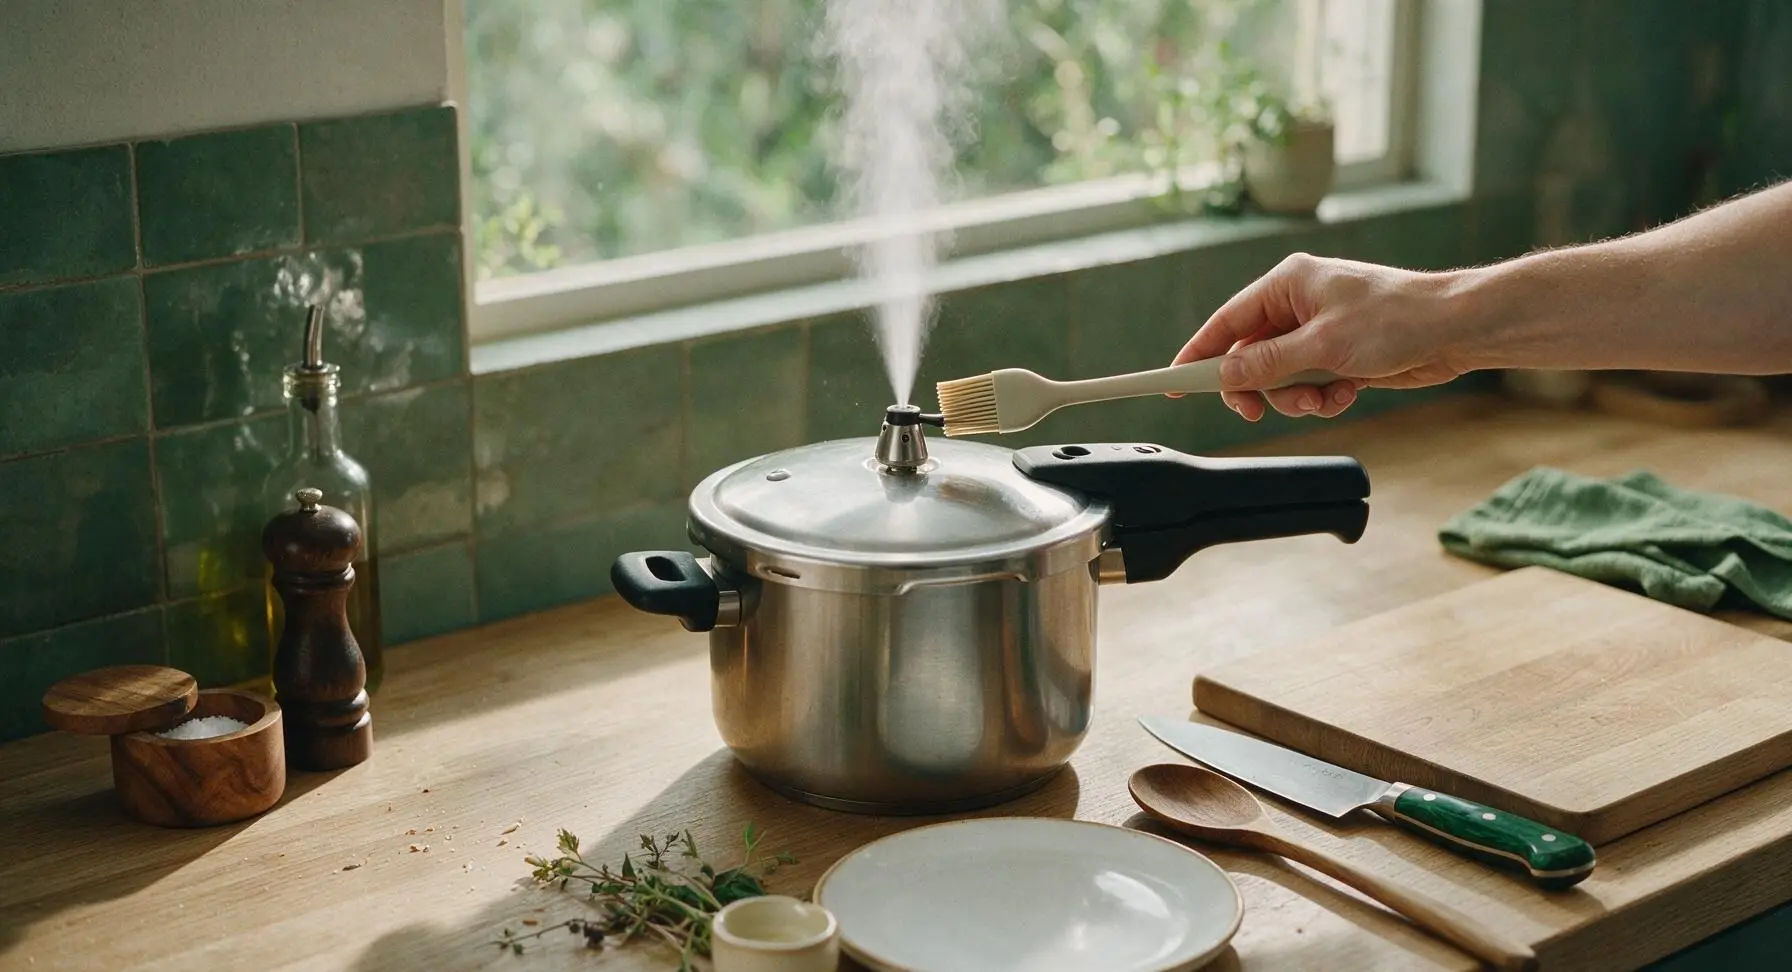
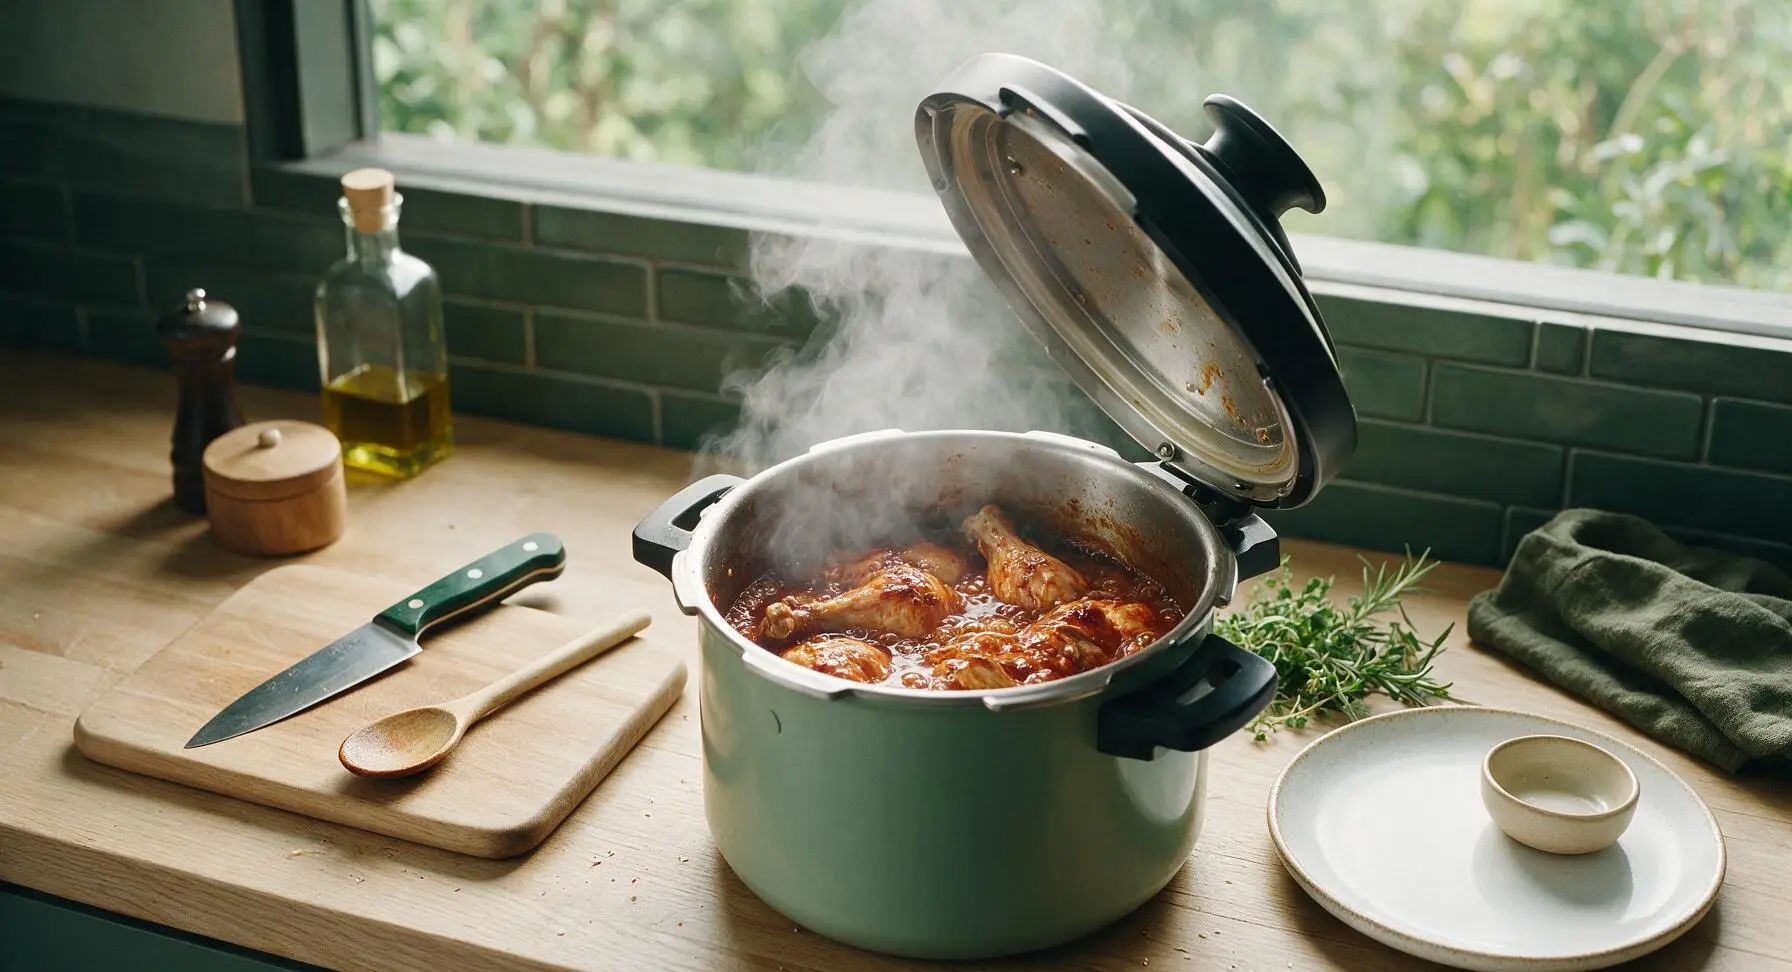
Once the 10-minute cook timer finishes, perform a quick pressure release by carefully nudging the pressure valve to the 'Vent' position using the long handle of the silicone basting brush to keep your hands well away from the jet of hot, high-pressure steam. Wait until the float valve drops completely, signaling all internal pressure has been released, then unlock and remove the lid, tilting it away from your face to let escaping steam flow away from your skin.
Step 5
step5:Release Pressure Safely
Step 5
step5:Release Pressure Safely
6

Baste with Finishing Sauce

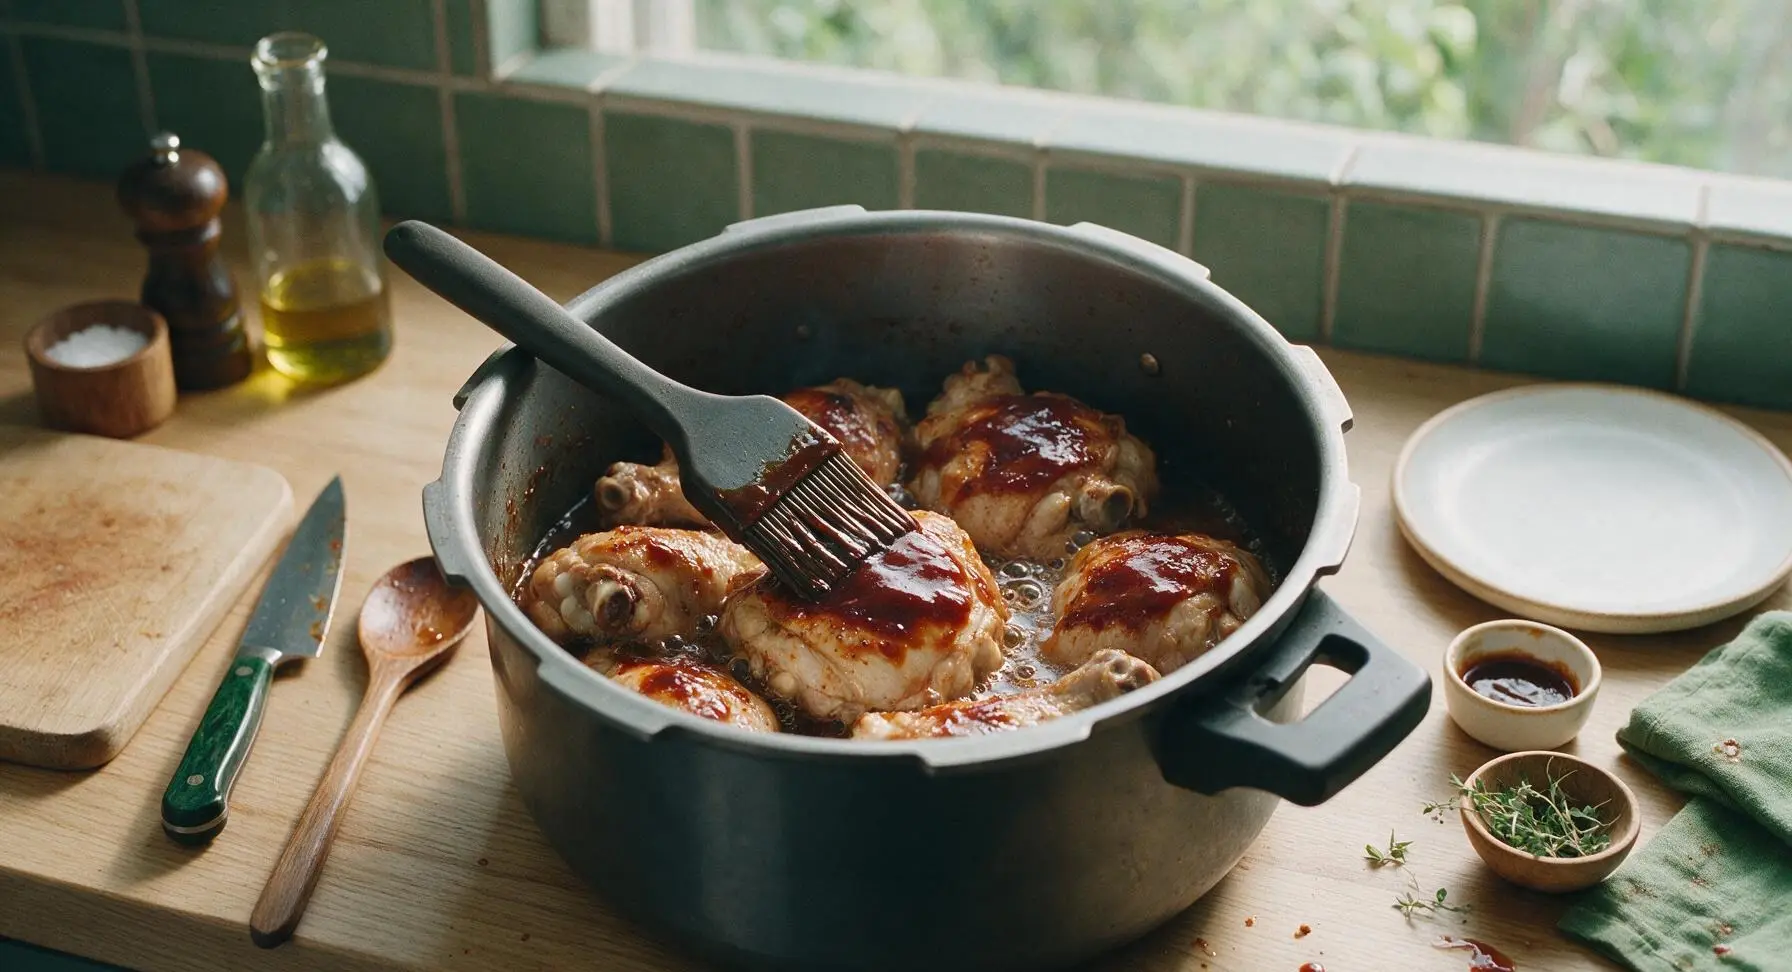
Use the silicone basting brush to coat the top of each cooked chicken thigh with the reserved 1/4 cup of thick BBQ sauce. Switch the pressure cooker to the 'Sauté' function on High, and let the sauce bubble and thicken for 2-3 minutes, watching closely to prevent burning. The chicken is fully cooked when it reaches an internal temperature of 165°F and the meat pulls easily away from the bone.
Step 6
step6:Baste with Finishing Sauce
7

Plate and Garnish

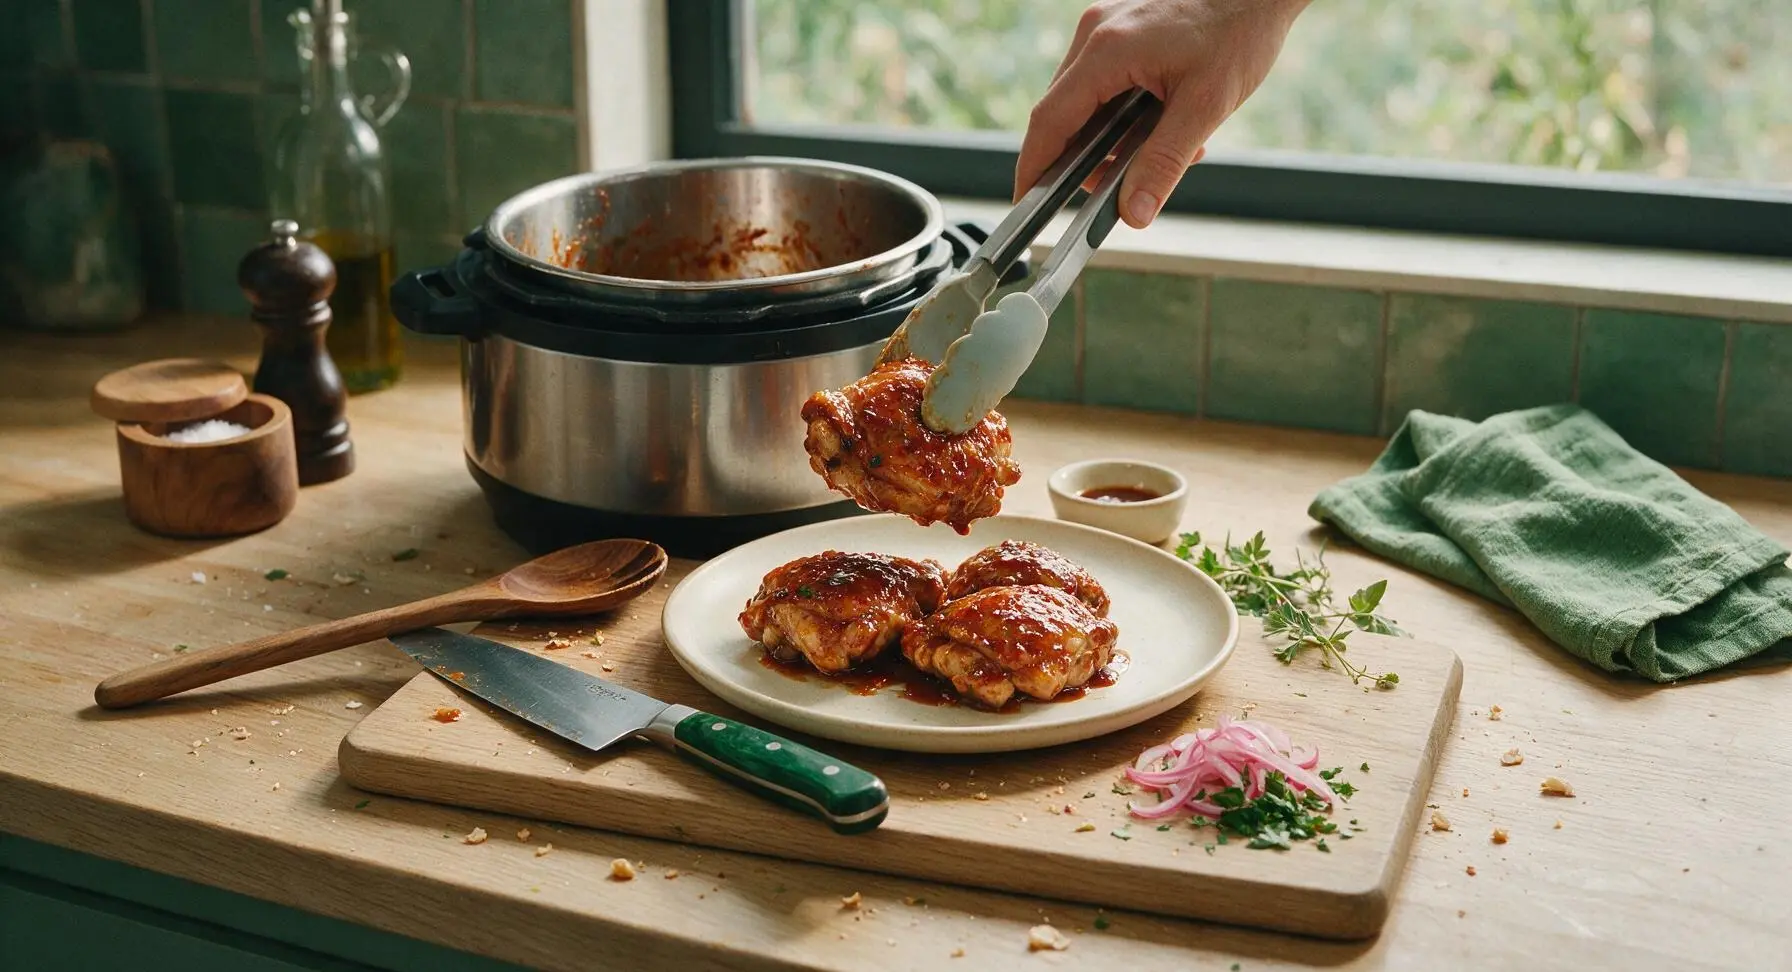
Use the kitchen tongs to transfer each sauced chicken thigh to the matte cream ceramic dinner plate, arranging the pieces in a gentle overlapping fan. Drizzle 1 tablespoon of the thickened pot sauce over the chicken, then garnish with thinly sliced pickled red onions and a light sprinkle of chopped fresh curly parsley. Serve immediately, with extra BBQ sauce in the small matte black ramekin on the side.
Step 7
step7:Plate and Garnish

Tips

1.Choose bone-in, skin-on chicken thighs over breast meat: Thighs have higher fat and connective tissue content that stays juicy and tender under high pressure, while lean chicken breast easily becomes dry and stringy even with short pressure cook times.
2.Never skip the 1/2 cup of cooking liquid: Pressure cookers rely on steam generated from liquid to build and maintain pressure; cooking with too little liquid will trigger a burn error, prevent pressurization, or leave you with unevenly cooked chicken.
3.Reserve a portion of BBQ sauce for finishing: The sauce mixed with broth in the cooking pot thins out as it combines with chicken juices and steam under pressure, so adding thick, undiluted sauce at the end creates that sticky, glossy, restaurant-worthy coating instead of a watery, diluted sauce.


✨ You May Also Like

Main Course
🍜 United Kingdom

A showstopping classic of tender seared beef, savory mushroom duxelles, and crisp prosciutto wrapped in flaky golden puff pastry, baked to juicy perfection.

⏱️ 2 hours 1Main Course ★ 4.7
Main Course
🍜 India

Tender charred marinated chicken simmered in a rich, spiced creamy tomato sauce, this iconic Anglo-Indian curry pairs perfectly with basmati rice or warm naan.

⏱️ 50 minuteMain Course ★ 4.6
Main Course
🍜 Thailand

Classic tangy, sweet, and savory Thai stir-fried rice noodles with shrimp, tofu, and crunchy garnishes, balancing all five core Thai flavor profiles.

⏱️ 30 minuteMain Course ★ 4.5
Main Course
🍜 United Kingdom

Crispy golden beer-battered cod and fluffy double-fried chips, served with tangy tartar sauce and malt vinegar: the timeless, beloved British pub comfort classic.

⏱️ 45 minuteMain Course ★ 4.7
Main Course
🍜 Mexico

Smoky, chile-marinated pork tacos with caramelized pineapple, fresh cilantro, and lime: a beloved classic Mexican street food perfect for casual summer gatherings.

⏱️ 1 hour 45Main Course ★ 4.8
Main Course
🍜 United States

Crunchy Fritos corn chips layered with savory beef chili and melted cheddar, topped with cool, zesty fixings for a beloved, cozy Tex-Mex comfort food.

⏱️ 35 minuteMain Course ★ 4.8

pressure cooker bbq chicken:Frequently Asked Questions

1.Can I use boneless, skinless chicken instead of the bone-in, skin-on thighs called for? ▾
Yes, but adjust your cook time to avoid dry, tough results. Boneless, skinless thighs only need 6 minutes at high pressure (vs. 10 for bone-in) since there’s no bone to slow heat transfer. Toss them with an extra ½ teaspoon of smoked paprika to boost savoriness, as they won’t have the rich flavor skin and bone contribute.
2.Do I need to sear the chicken before pressure cooking? ▾
Searing is optional but highly recommended for deeper, more complex, grill-like flavor. Heat 1 teaspoon of oil in the pressure cooker on sauté mode, then cook chicken skin-side down for 3–4 minutes until golden before adding other ingredients. This Maillard browning keeps the final sauce from tasting flat or one-note.
3.How long does this recipe take from start to finish? ▾
Total time clocks in right around 35–40 minutes, no grill required. That includes 5 minutes of prep, 5 minutes of optional searing, 10 minutes for the cooker to reach high pressure, 10 minutes of active cook time, and 5–10 minutes of natural pressure release before you finish the sauce.
4.Can I use homemade BBQ sauce instead of store-bought smoky BBQ sauce? ▾
Absolutely! Homemade BBQ sauce works beautifully here—just make sure it has a touch of smokiness (from a dash of liquid smoke or extra smoked paprika) to match that classic grilled profile. Skip super thin, vinegar-heavy sauces if you want a sticky, glossy finish; thicker, tomato-based sauces cling best to chicken.
5.Why do you call for low-sodium chicken broth instead of regular? ▾
Low-sodium broth lets you fully control the dish’s final salt level, since most store-bought BBQ sauces already have a pretty high sodium content. If you only have regular broth on hand, skip any extra added salt, and taste the sauce right before serving to make sure it doesn’t come out overly salty for your preference.
6.Do I have to do a natural pressure release, or can I use quick release? ▾
I recommend a 10-minute natural pressure release first, then quick release any remaining pressure. Doing a full quick release right after cook time can make chicken muscle fibers seize up and leak moisture, leading to dry meat, and can also cause hot sauce to splatter out of the valve, which is a safety risk.
7.Can I make this with chicken breasts instead of thighs? ▾
You can, but bone-in, skin-on breasts work far better than lean boneless, skinless cuts. Cook bone-in breasts for 8 minutes at high pressure followed by 10 minutes of natural release, since breast meat dries out much faster than thigh meat. Brush extra sauce on before serving to lock in moisture, and never overcook.
8.How do I get that sticky, glossy sauce instead of a watery final sauce? ▾
After releasing all pressure and moving chicken to a plate, switch the cooker to sauté mode. Let the sauce simmer for 5–7 minutes, stirring occasionally, until it reduces by about a third and coats the back of a spoon. Stir in a 1:1 cornstarch and water slurry if you want an even thicker, glossier coat in half the time.
9.Can I add extra seasonings besides garlic powder and smoked paprika? ▾
Of course! This recipe is super flexible. Add a pinch of cayenne for heat, a teaspoon of brown sugar for extra caramel sweetness, a dash of onion powder for savoriness, or half a teaspoon of dry mustard for subtle tang. Skip large amounts of bitter, woody herbs like rosemary or sage, which can turn harsh under high pressure.
10.Is it safe to cook frozen chicken for this recipe? ▾
You can cook fully frozen bone-in thighs, but add 3–4 minutes to the high-pressure cook time, and skip searing since frozen chicken won’t brown well. Confirm the chicken hits 165°F on an instant-read thermometer before serving for food safety, and separate any stuck-together frozen thighs before cooking, rather than cooking a solid block.
11.How should I store leftover pressure cooker BBQ chicken? ▾
Let chicken cool completely within 2 hours of cooking, then store it in an airtight container in the fridge for up to 4 days, or in the freezer for up to 3 months. Keep chicken coated in extra sauce to prevent it from drying out in storage, and reheat gently with a splash of broth to loosen the sauce as needed.
12.Why didn’t my chicken turn out fall-off-the-bone tender like the recipe says? ▾
This almost always comes down to two common issues: either you didn’t cook it long enough, or you released pressure too quickly. Make sure you cook at full high pressure for the full 10 minutes, then do the full 10-minute natural release. If you’re above 3,000 feet elevation, add 2 minutes of cook time to account for lower boiling points.
13.Can I make this in an Instant Pot, or do I need a stovetop pressure cooker? ▾
This works perfectly in any brand of electric pressure cooker (including Instant Pot) as well as stovetop pressure cookers. Note that stovetop models often reach full pressure 2–3 minutes faster than electric ones, so your total time may be slightly shorter, but cook time at full high pressure stays identical across all cooker types.
14.What are the best sides to serve with this BBQ chicken? ▾
Classic cookout sides pair perfectly, no grill required! Serve it with creamy coleslaw, buttery cornbread, baked beans, tangy potato salad, or roasted corn on the cob for a full summer spread. For a quicker option, serve it over crisp greens, or pile shredded chicken on toasted buns for easy BBQ sliders.
15.Can I double this recipe to serve a crowd? ▾
You can absolutely double it, as long as you don’t fill your pressure cooker past its marked maximum fill line—this is extra important for thick, bubbly sauces that can sputter up during cooking. You won’t need extra cook time when doubling, since pressure cookers cook based on temperature, not food volume, once full pressure is reached.
16.My sauce turned out too smoky, too sweet, or too tangy—how do I fix it? ▾
It’s easy to adjust sauce flavor at the end, right after reducing! If it’s too smoky, stir in a tablespoon of brown sugar and a splash of broth to mellow it out. If it’s too sweet, add a teaspoon of apple cider vinegar for bright tang. If it’s too tangy, balance it with a pinch of salt and tiny bit of honey, tasting as you go.

Comments (16)

2 days ago

OMG this was such a game changer for our weeknight family dinner! I was so sick of dry chicken from the oven, and this came out fall-off-the-bone tender in literally 25 minutes? My kids devoured two servings each and asked when I’m making it again. 10/10, no notes.

yesterday

Same! I made this for my son’s soccer team potluck last weekend and every last piece was gone. People kept asking for the recipe!

yesterday

So happy to hear it was a hit with the kids and the team! Pro tip: toss in a splash of apple cider vinegar next time for an extra little zing if you’re feeling fancy.

1 week ago

SO good, perfect for Sunday meal prep! I shredded all the chicken after it cooked, portioned it out with rice and roasted broccoli, and I’ve got lunches for the whole work week. Way easier than standing over the grill for an hour, and the flavor is just as smoky and delicious.

5 days ago

That’s such a smart meal prep move! Shredded BBQ chicken freezes great too if you want to stash extra for busy weeks.

5 minutes ago

As a college student with a tiny apartment and a hand-me-down pressure cooker, this recipe was perfect! Super easy, no fancy ingredients needed, I didn’t burn anything (win for me) and my roommates thought I ordered takeout. Will be making this on repeat.

3 days ago

Wait, has anyone tried this with a sugar-free BBQ sauce? I’m trying to cut back on added sugars but was craving that classic BBQ flavor, and this cook time sounds too good to pass up.

2 days ago

I made it last week with G Hughes sugar free hickory BBQ and it was chef’s kiss! No weird aftertaste at all, the pressure cooking really lets the sauce sink into the chicken.

2 days ago

Great question! Sugar-free BBQ sauce works perfectly here, just give it a quick stir after releasing pressure to make sure it’s evenly coated. So glad you asked!

yesterday

Total beginner here – I’ve literally never used my pressure cooker for anything besides hard boiled eggs before. This recipe was so straightforward, no confusing steps, and the chicken came out perfect on the first try. I felt like a real chef making this!

2 hours ago

Yay welcome to the pressure cooker club! Once you nail this recipe you’re gonna be hooked, there’s no going back to slow cooked BBQ that takes 6 hours lol

3 days ago

Brought this to our neighborhood block party last weekend and I added a little extra paprika and a pinch of brown sugar to the sauce, but otherwise followed the recipe exactly. 10/10, already got three neighbors asking for the link.

5 days ago

Wait, did anyone else’s chicken come out a little watery? I followed the cook time exactly but there was a ton of liquid at the bottom of the pot when I released the pressure. Flavor was great but the sauce was thinner than I expected.

3 days ago

I had that happen the first time too! I just turned the saute function on for 3-4 minutes after taking the lid off to let the sauce thicken up, worked like a charm.

3 days ago

Sorry to hear the sauce was thinner than you liked! Chicken releases a lot of natural juice as it pressure cooks, so using the saute function to simmer for a few minutes post-cook is the perfect fix, just like SaucySarah mentioned. You can also mix a tiny cornstarch slurry in if you want it extra thick!

2 weeks ago

I was a total skeptic about BBQ chicken in a pressure cooker, I always thought you needed a grill and smoke to get that real flavor. Color me wrong! This was so juicy and flavorful, I might even make this instead of grilled chicken for our next cookout when it rains.

1 week ago

We love converting grill purists! A little dash of liquid smoke in the sauce takes it that extra mile if you really want that campfire grilled vibe, even in the pressure cooker.

30 minutes ago

25 minute cook time? Sign me UP. I get home from work at 6, have zero energy to cook, and this was on the table by 6:30 even with making a quick side salad. My husband said it’s better than the BBQ chicken we get at our favorite local spot. Win!

5 minutes ago

Right?! I keep frozen chicken breasts on hand specifically for this recipe now, I don’t even have to thaw them first – just add 3 extra minutes to the cook time and it’s perfect.

2 hours ago

Added a diced jalapeno and a pinch of cayenne to the sauce for a little kick, and wow, that hit the spot. The recipe is the perfect base to tweak however you like, super forgiving if you add extra seasonings. Already made it twice this week.

1 week ago

I’m 72, just got my first pressure cooker last month after my grandkid kept bugging me to get one. This recipe was easy to follow, no weird jargon, and the chicken was tender enough that I didn’t even have to cut it with a knife. My grandkid was right, these things are magic.

5 days ago

This makes our day! So glad you’re enjoying your pressure cooker – this recipe is such a great starting point, and we’ve got tons more easy pressure cooker recipes on the site if you want to test out more.

2 days ago

Quick question – can I use chicken thighs instead of breasts for this? I prefer dark meat, always think it’s juicier, but wasn’t sure if the cook time changes.

yesterday

I use boneless skinless thighs every single time I make this! Same exact cook time, comes out even juicier than breasts in my opinion, no adjustments needed at all.

yesterday

Great question! Boneless thighs work perfectly with the same cook time, like Tia said. If you’re using bone-in thighs, just add 2 extra minutes of high pressure and you’re good to go!

1 week ago

The leftovers from this are insane! I made it Sunday, had it for dinner, then used the leftover shredded chicken for sliders on Monday, BBQ chicken pizza on Tuesday, and loaded nachos on Wednesday. One recipe, four meals? Absolute steal for the price of a few chicken breasts and a bottle of sauce.

just now

I made this last night and even my super picky golden retriever was sitting by the table begging for bites (don’t worry, I gave him a tiny plain piece, no sauce!). The whole house smelled like BBQ for hours, it was heavenly. Super easy, zero mess thanks to the pressure cooker liner.

just now

Oh my gosh same! My lab did the exact same thing when I made this last week, he could smell it from the other room the second I turned the pressure cooker on. Had to give him a little bite too, he deserved it for being such a good boy while I cooked.

2 weeks ago

Total budget friendly win! Chicken breasts were on sale at my grocery store for $1.99/lb, I already had BBQ sauce in the fridge, so the whole meal cost like $5 to make for four people. Way cheaper than getting BBQ takeout that costs $15 a plate, and tastes just as good.

yesterday

Made this for our fantasy football watch party yesterday, served it on brioche buns with coleslaw and pickles, and my buddies said it’s the best watch party food I’ve ever made. They had no idea it only took 25 minutes to cook, they thought I spent all afternoon slow cooking it. Absolute flex.

2 hours ago

Brioche buns with coleslaw is such a good call! I did sliders for our last watch party and they were gone before halftime, no joke.

30 minutes ago

Now that sounds like the perfect game day spread! So glad your crew loved it – nothing better than easy, delicious food that makes you look like a kitchen pro without all the work.



