
pressure cooker corned beef

title 1
pressure cooker corned beef
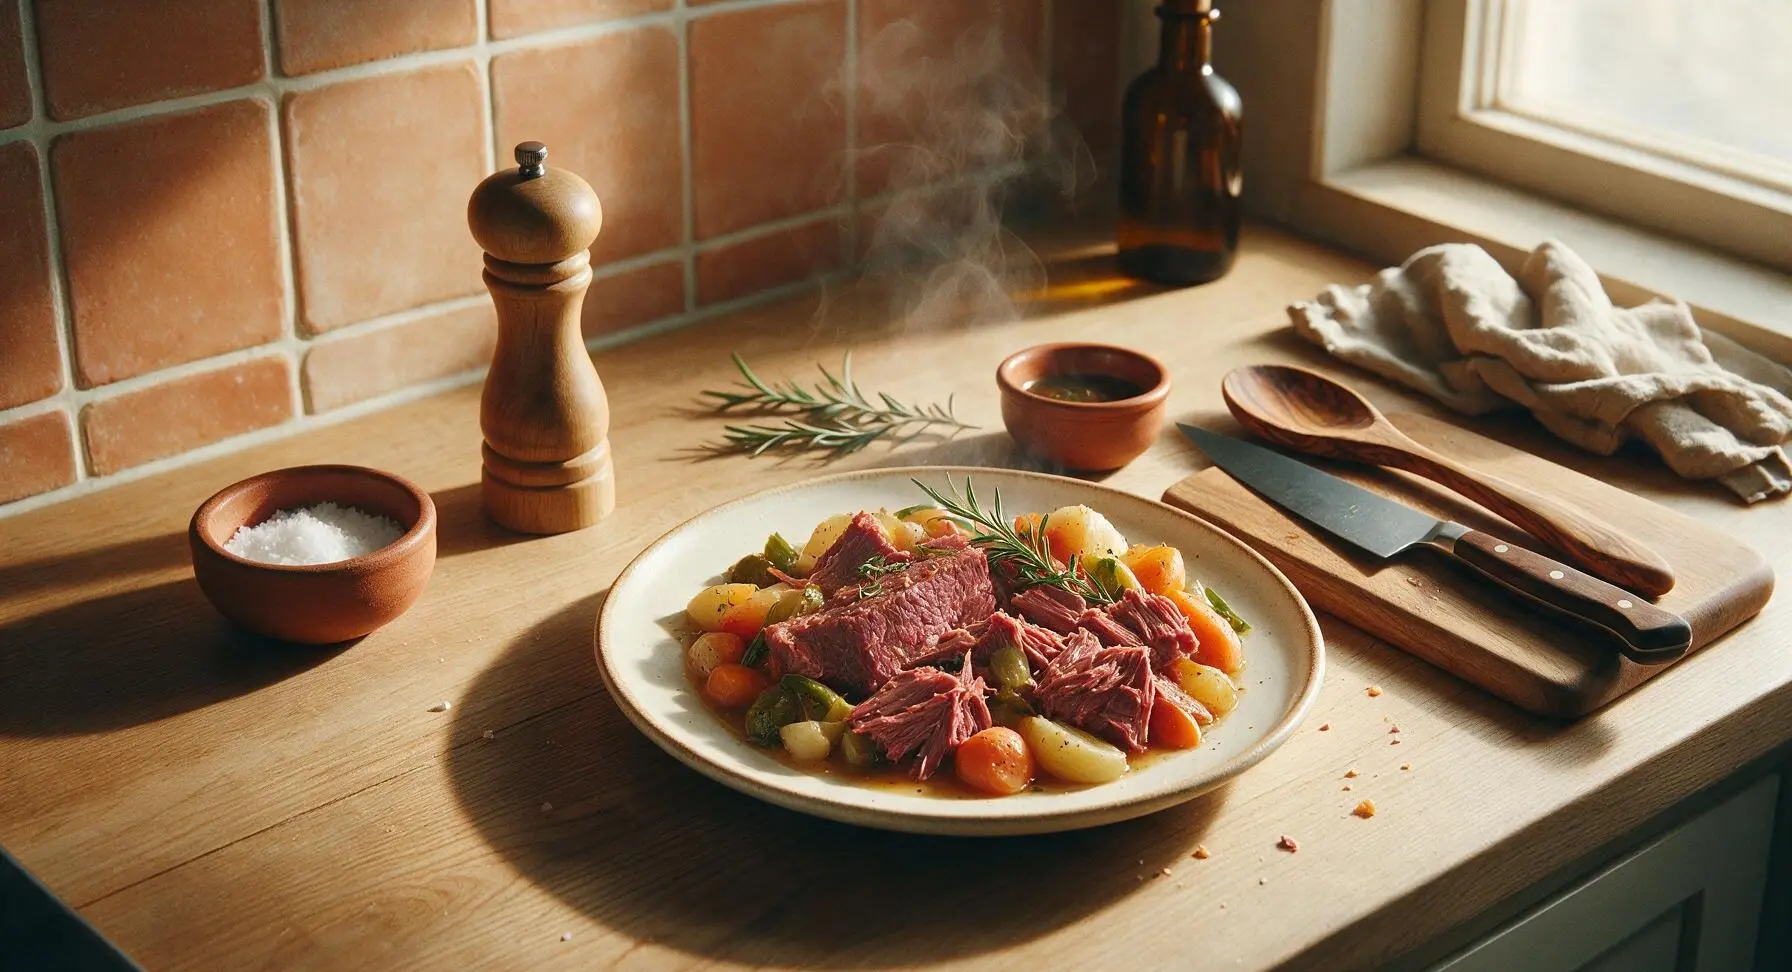
⏱️ cook time 1 hour 50 minutes (including pressure build and release time)
🍽️ servings 6
⚡ Difficulty easy

intro

Tender, fall-apart brined brisket cooked in a fraction of stovetop time with aromatic veggies, a cozy, hearty classic for low-fuss family meals.

Ingredients
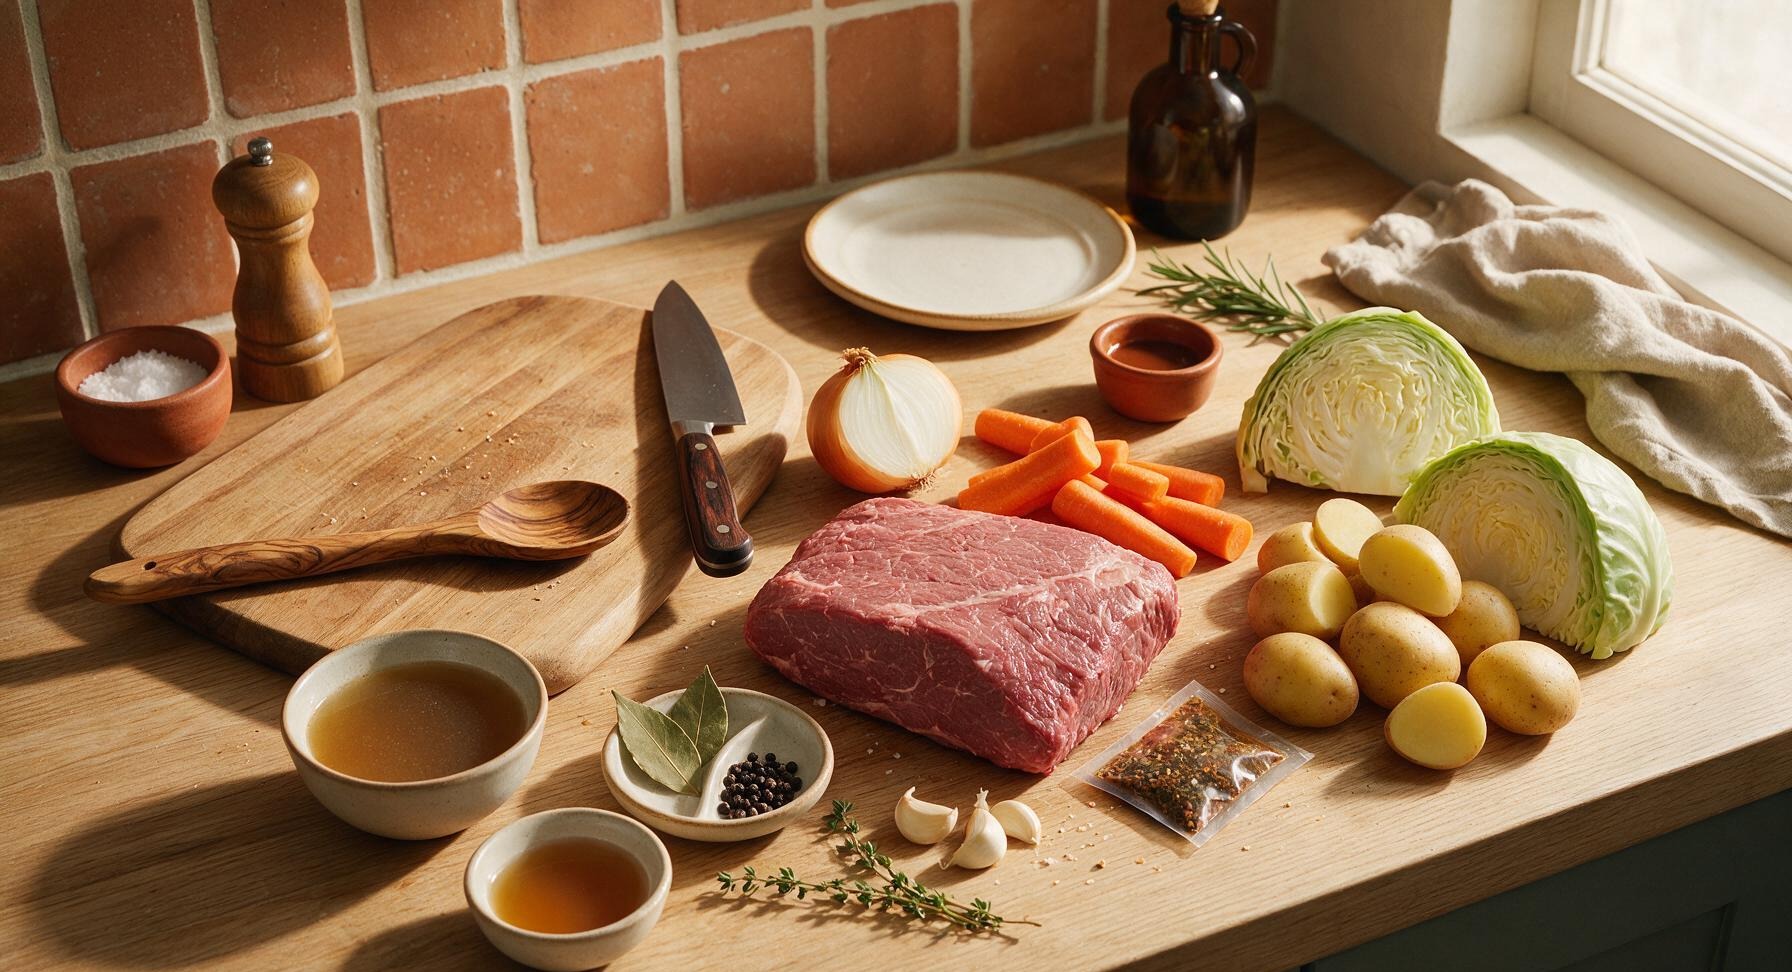
Corned beef brisket (with included brine spice packet) 3.5 lb (1.6kg)
Yellow onion 1 large, quartered
Carrots 4 medium, cut into 2-inch chunks
Yukon Gold potatoes 1.5 lb, halved
Green cabbage 1 small head, cut into 4 wedges
Garlic cloves 4, lightly crushed
Low-sodium beef broth 2 cups
Apple cider vinegar 1 tablespoon
Bay leaves 2 whole
Whole black peppercorns 1 teaspoon
Fresh thyme 2 sprigs

Steps

1

Rinse and Pat Beef Dry

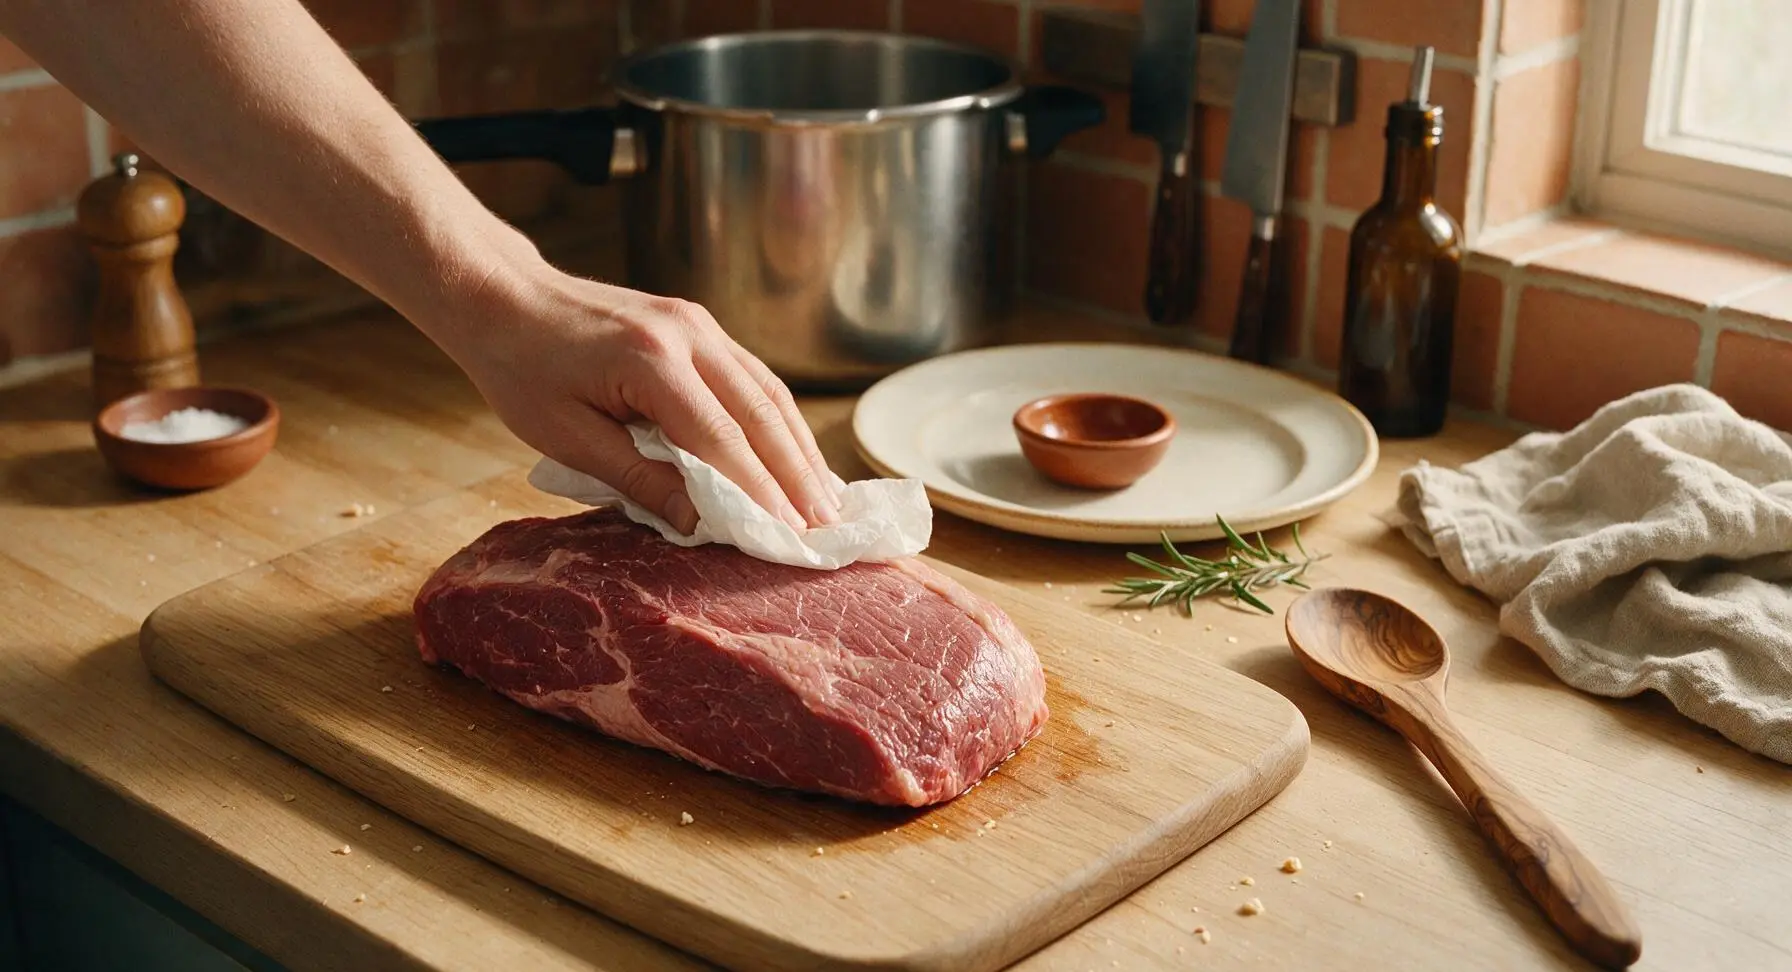
Remove the 3.5lb corned beef brisket from its vacuum packaging, discarding any excess brine from the package. Rinse the brisket thoroughly under cool running water to wash away surface salt, which prevents the final dish from being overly salty. Pat completely dry on all sides with paper towels, and set the included brine spice packet aside for later use. The meat should feel damp but not wet to the touch, with no slimy brine residue left on its surface.
Step 1
step1:Rinse and Pat Beef Dry
2

Layer Base Ingredients

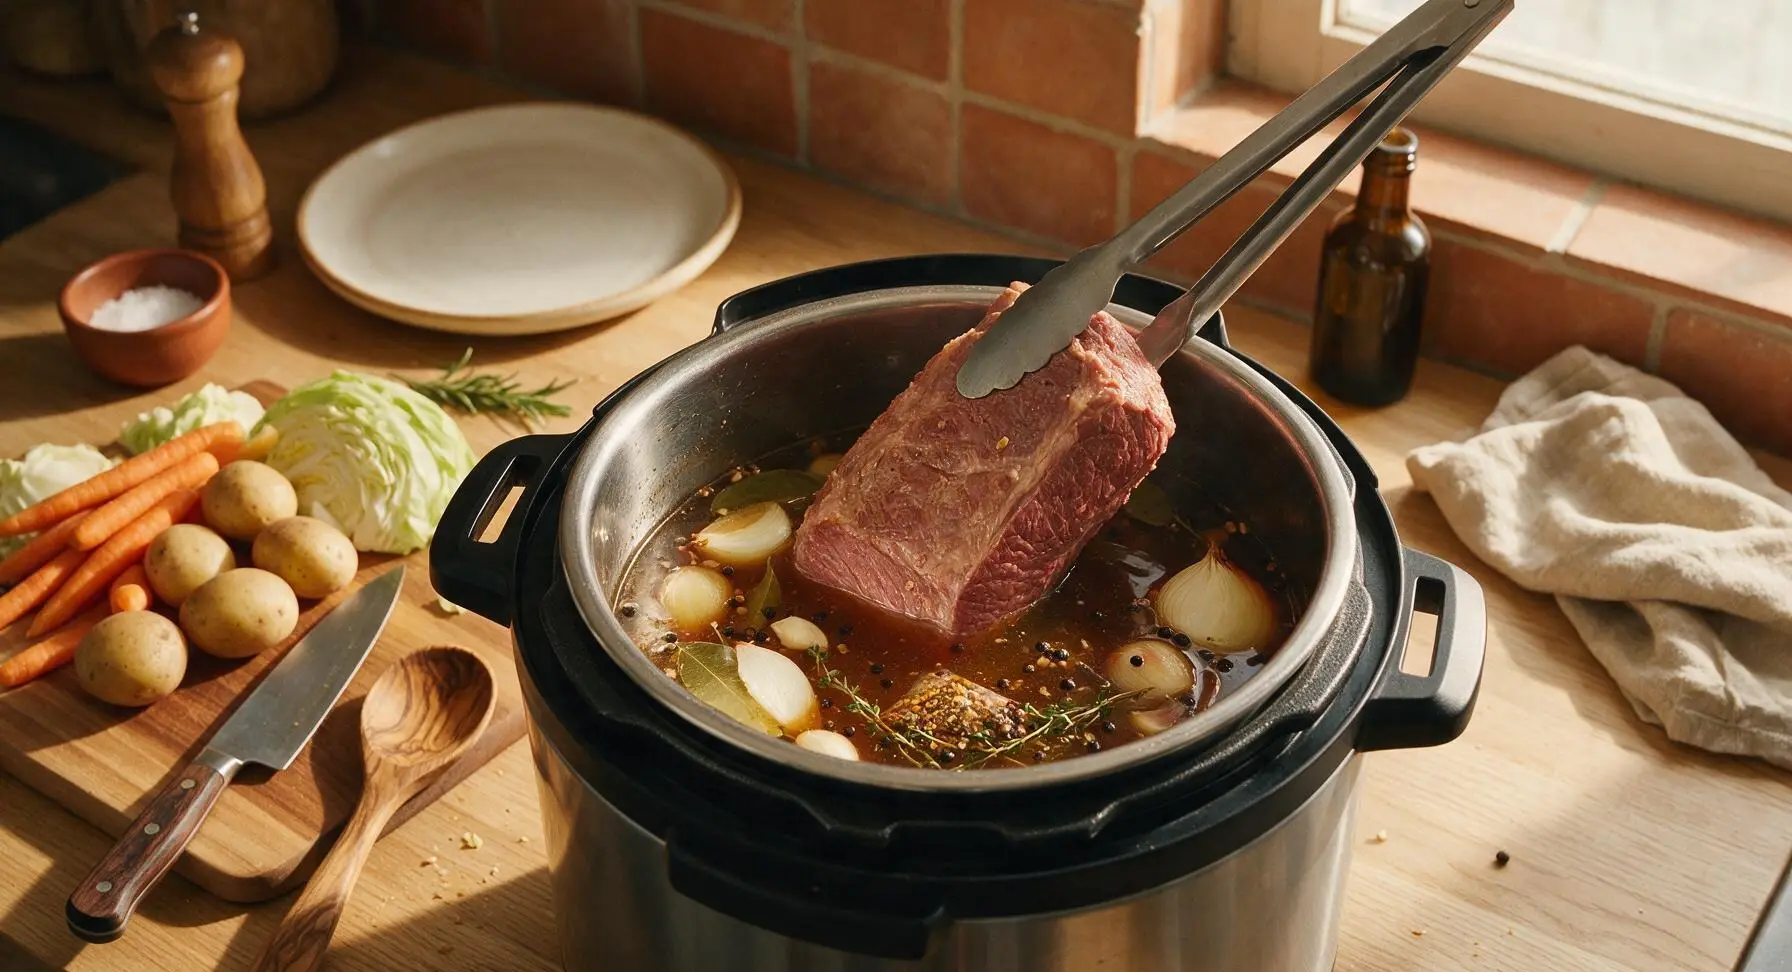
Pour the 2 cups of low-sodium beef broth and 1 tablespoon apple cider vinegar into the inner pot of the 6-quart stainless steel pressure cooker. Add the quartered yellow onion, crushed garlic, 2 bay leaves, 1 teaspoon whole black peppercorns, 2 fresh thyme sprigs, and the full contents of the corned beef spice packet, stirring once to combine. Place the rinsed, dried corned beef brisket fat-side up on top of the aromatic liquid base; do not fully submerge the meat, as circulating steam during pressure cooking will cook it evenly.
Step 2
step2:Layer Base Ingredients
3

Cook Under High Pressure

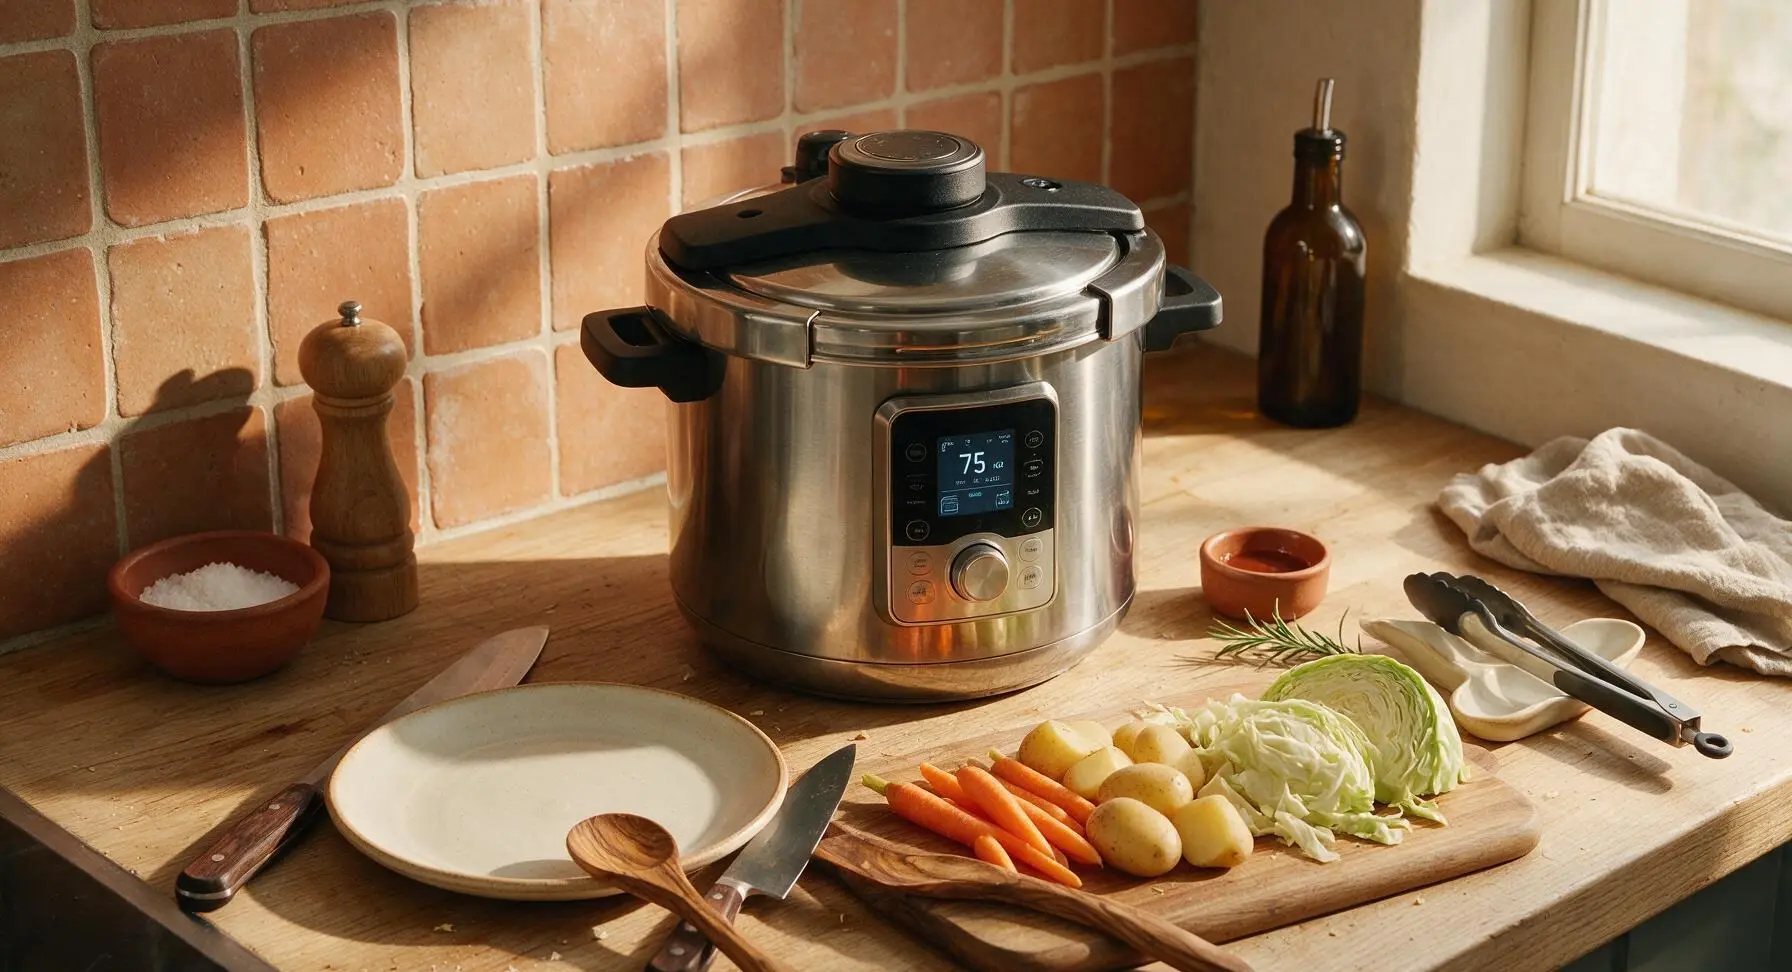
Lock the pressure cooker lid into place, ensuring the pressure release valve is turned to the 'seal' position. Select the high pressure setting, and set the cook time to 75 minutes. The cooker will take 10-12 minutes to build to full pressure before the timer begins counting down; do not attempt to force the lid open during this process.
Step 3
step3:Cook Under High Pressure
4

Natural Release Pressure

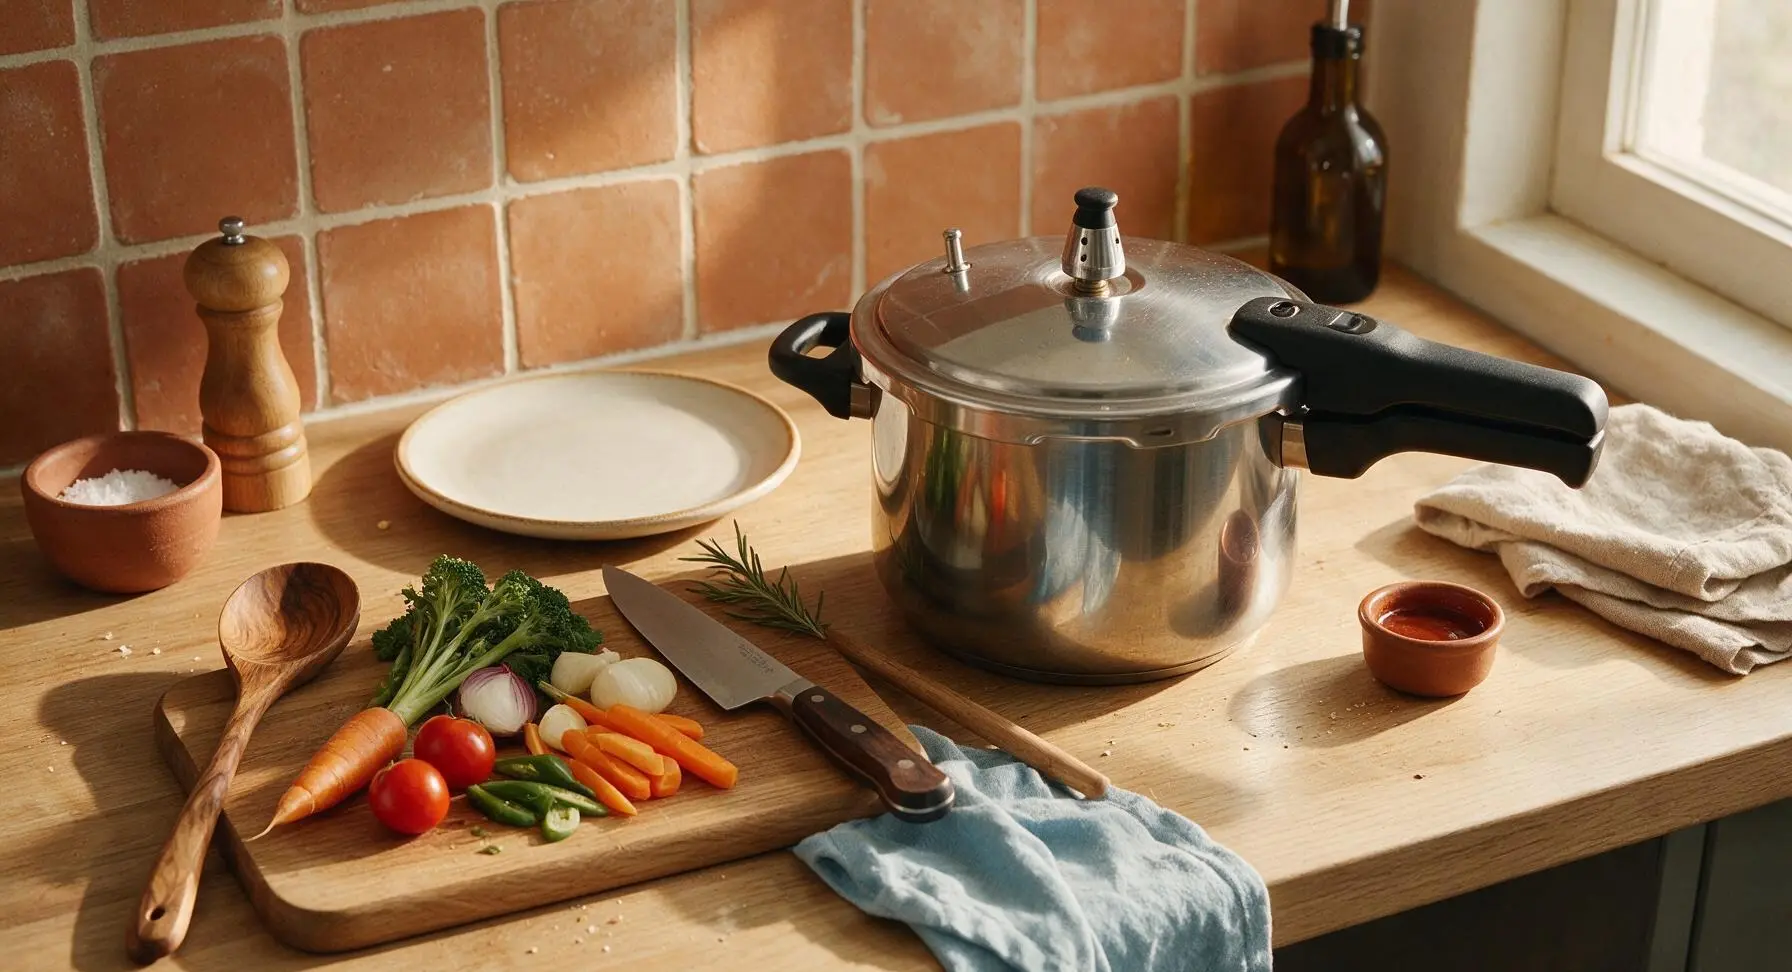
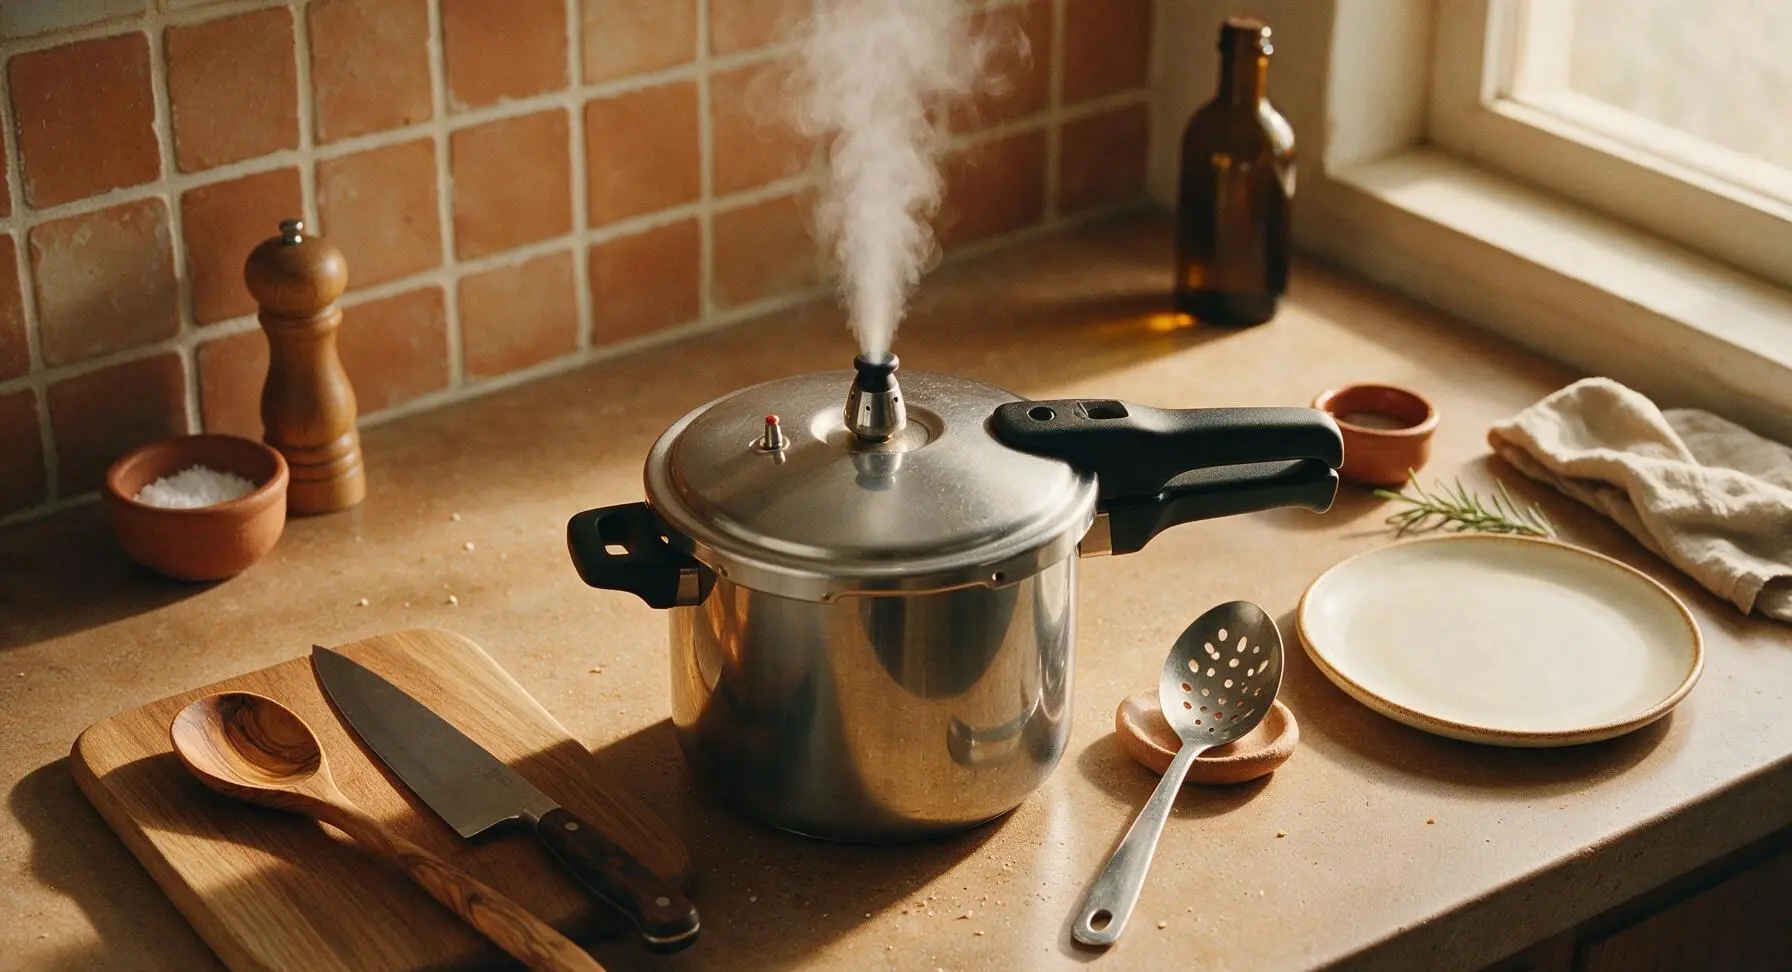
When the 75-minute cook time ends, do not manually release the pressure. Allow the pressure to release naturally for 15 minutes, which lets meat fibers relax and retain juice instead of seizing up from rapid pressure change. After 15 minutes, carefully turn the pressure release valve to the 'vent' position to release any remaining trapped steam, keeping hands and face well away from the rising steam to avoid burns.
Step 4
step4:Natural Release Pressure
Step 4
step4:Natural Release Pressure
5

Add Vegetables to Pot

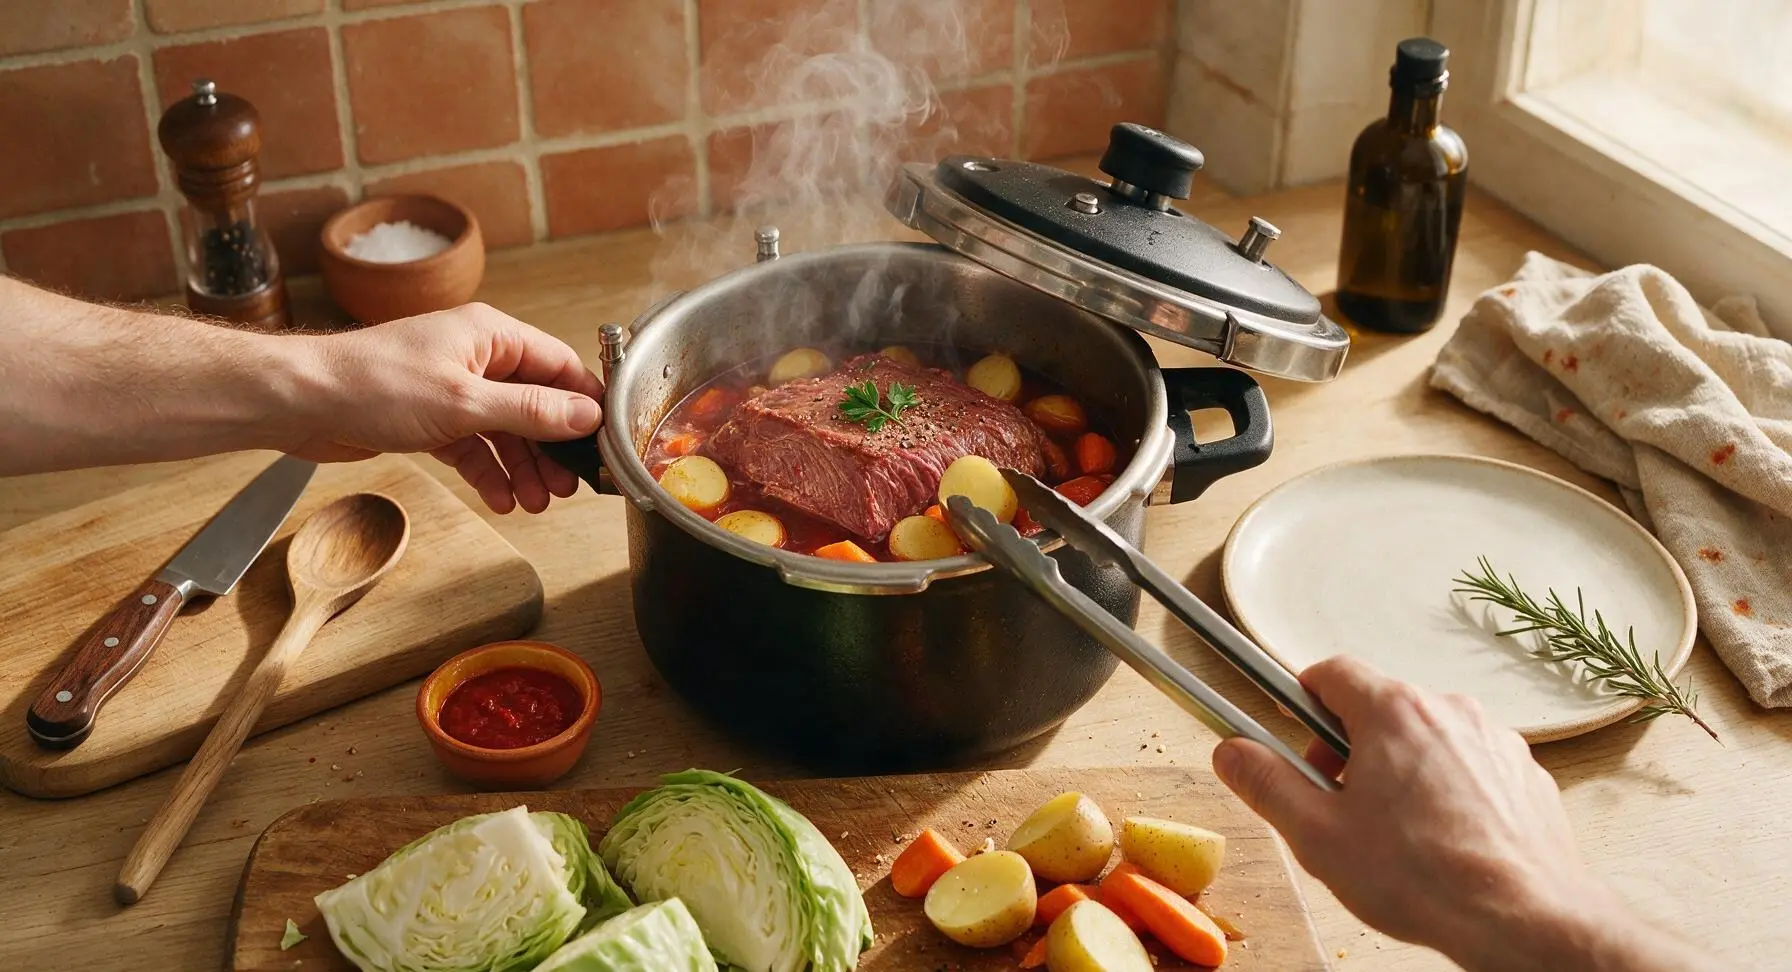
Once all pressure is released and the indicator pin drops fully, carefully open the lid, tilting it away from your face to channel escaping steam away from your skin. Use the stainless steel tongs to arrange carrot chunks and halved potatoes around the corned beef in the hot broth, then set cabbage wedges on top of the meat and root vegetables. Lock the lid back into place, seal the pressure valve, and cook on high pressure for an additional 8 minutes.
Step 5
step5:Add Vegetables to Pot
6

Quick Release and Check

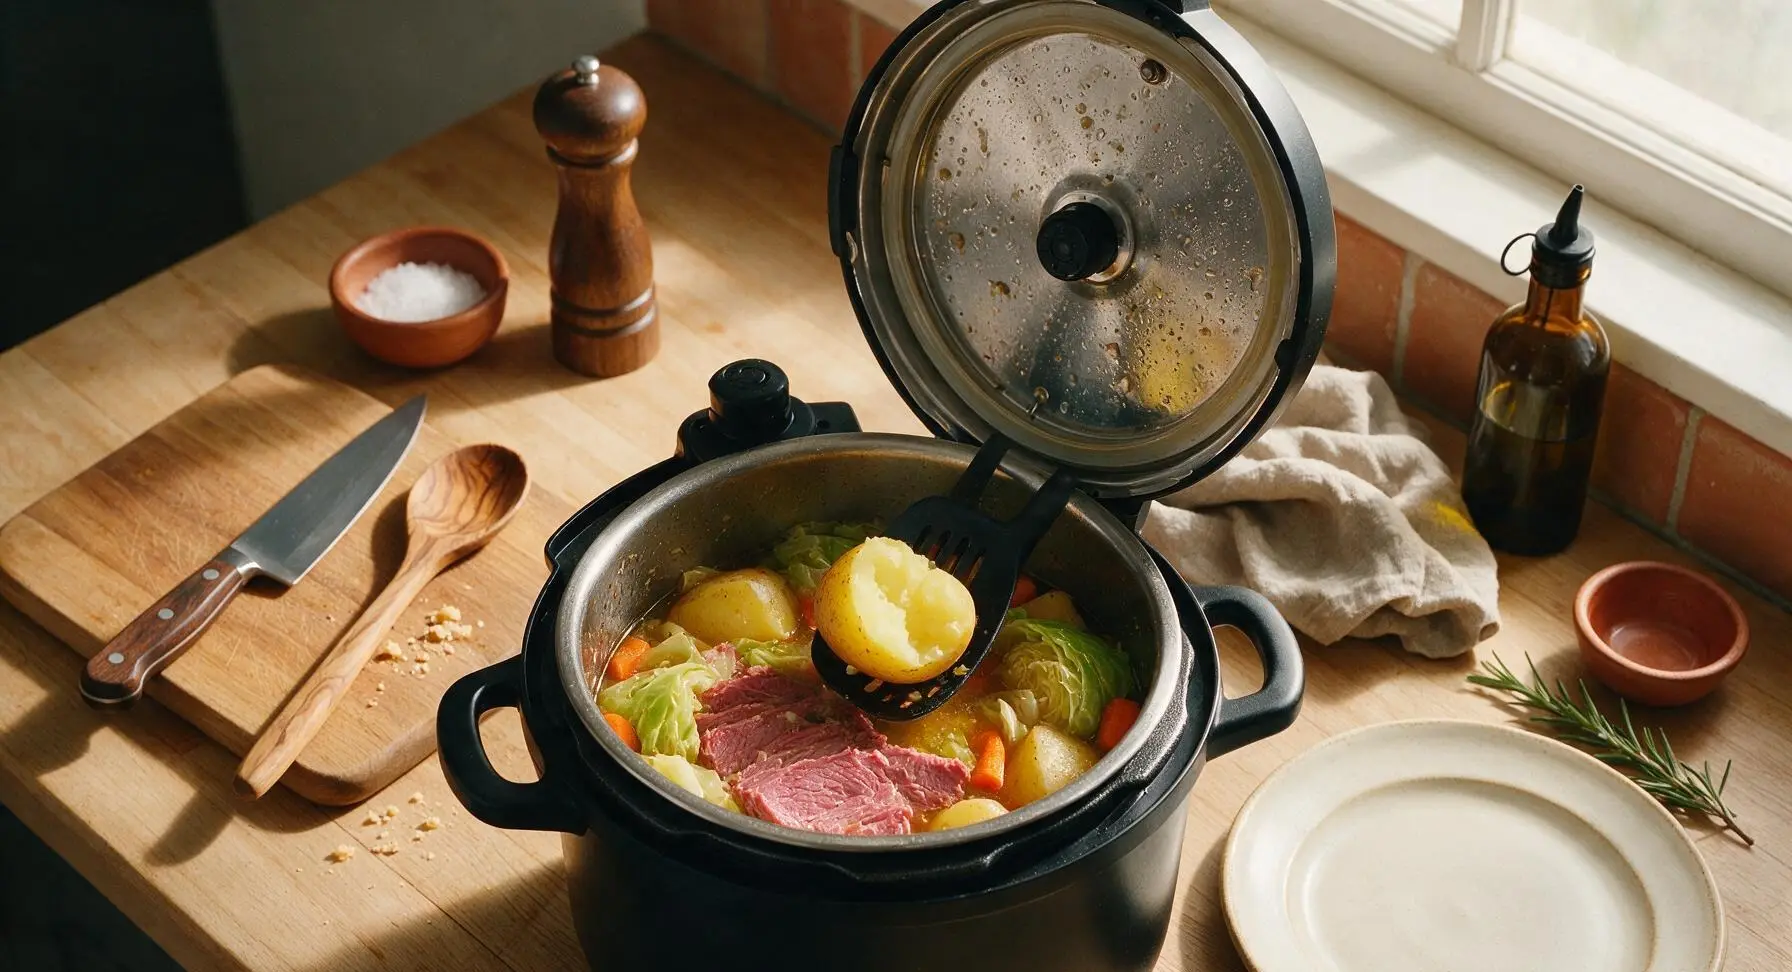
When the 8-minute vegetable cook time ends, perform an immediate quick pressure release by turning the valve to vent, taking care to avoid contact with hot steam. Once all pressure is released and the indicator pin drops, open the lid away from your face. Check vegetable doneness by pressing a potato with the edge of the slotted spoon; it should give easily with no hard, unyielding center, and cabbage should be soft but not mushy. If veggies are too firm, re-seal and cook for 1 additional minute at high pressure.
Step 6
step6:Quick Release and Check
7

Rest and Slice Beef

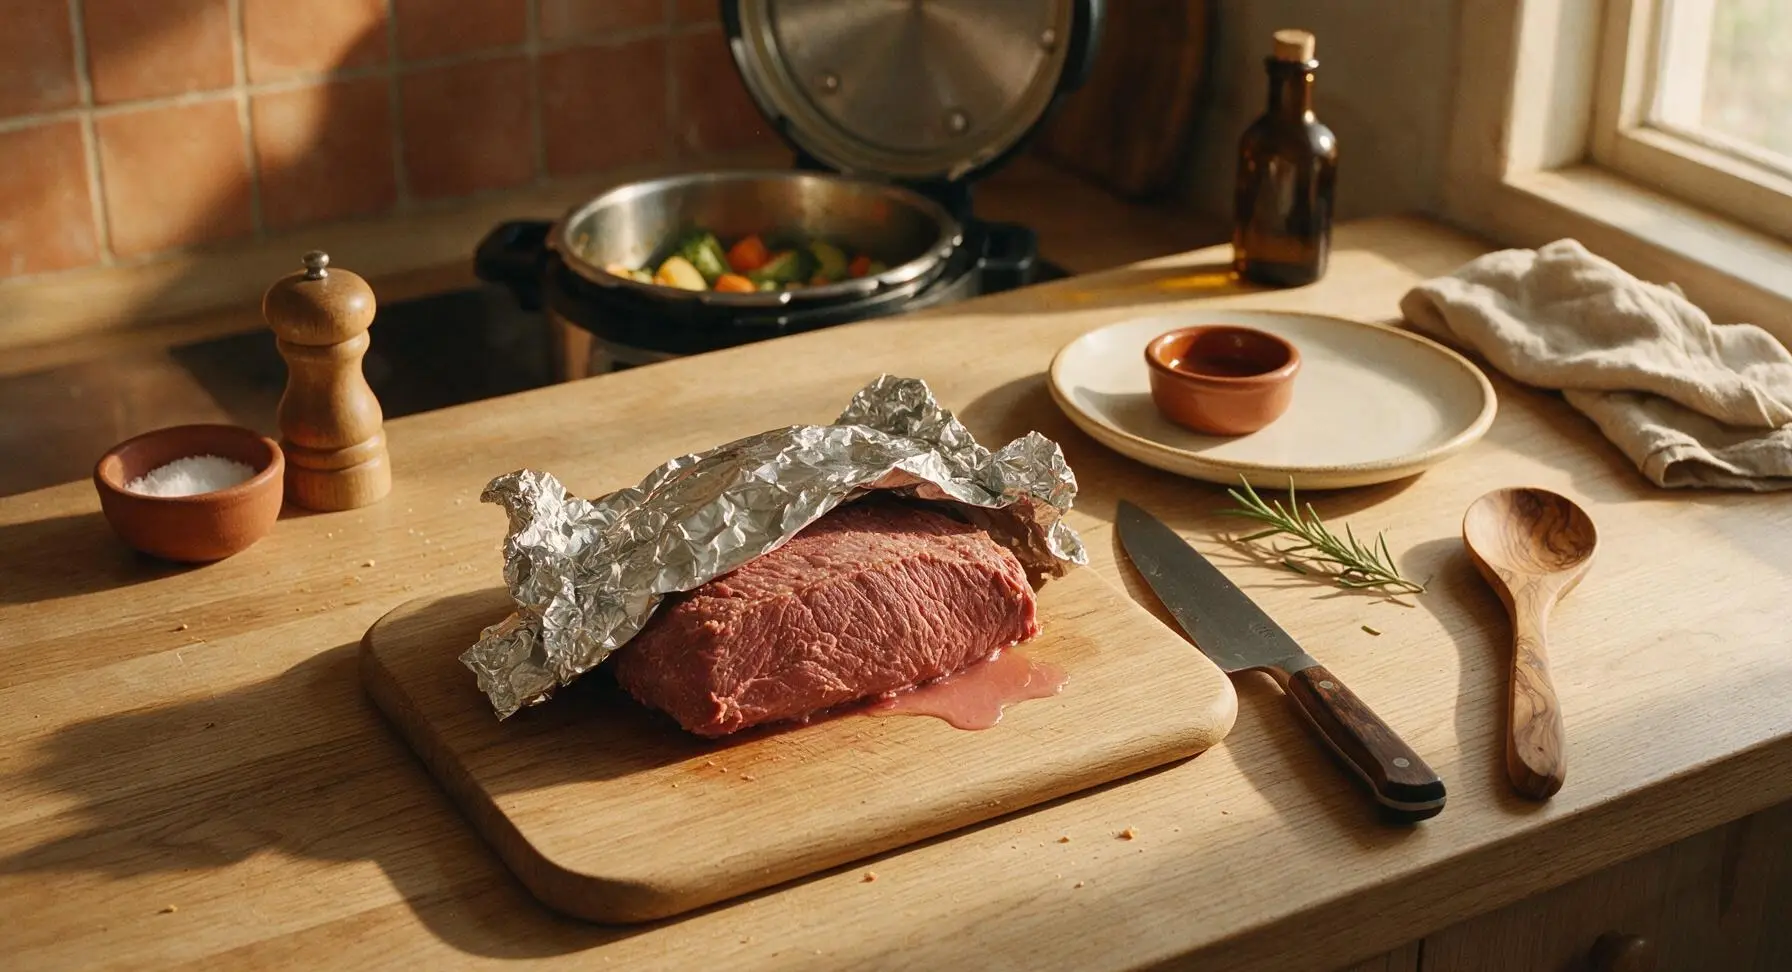
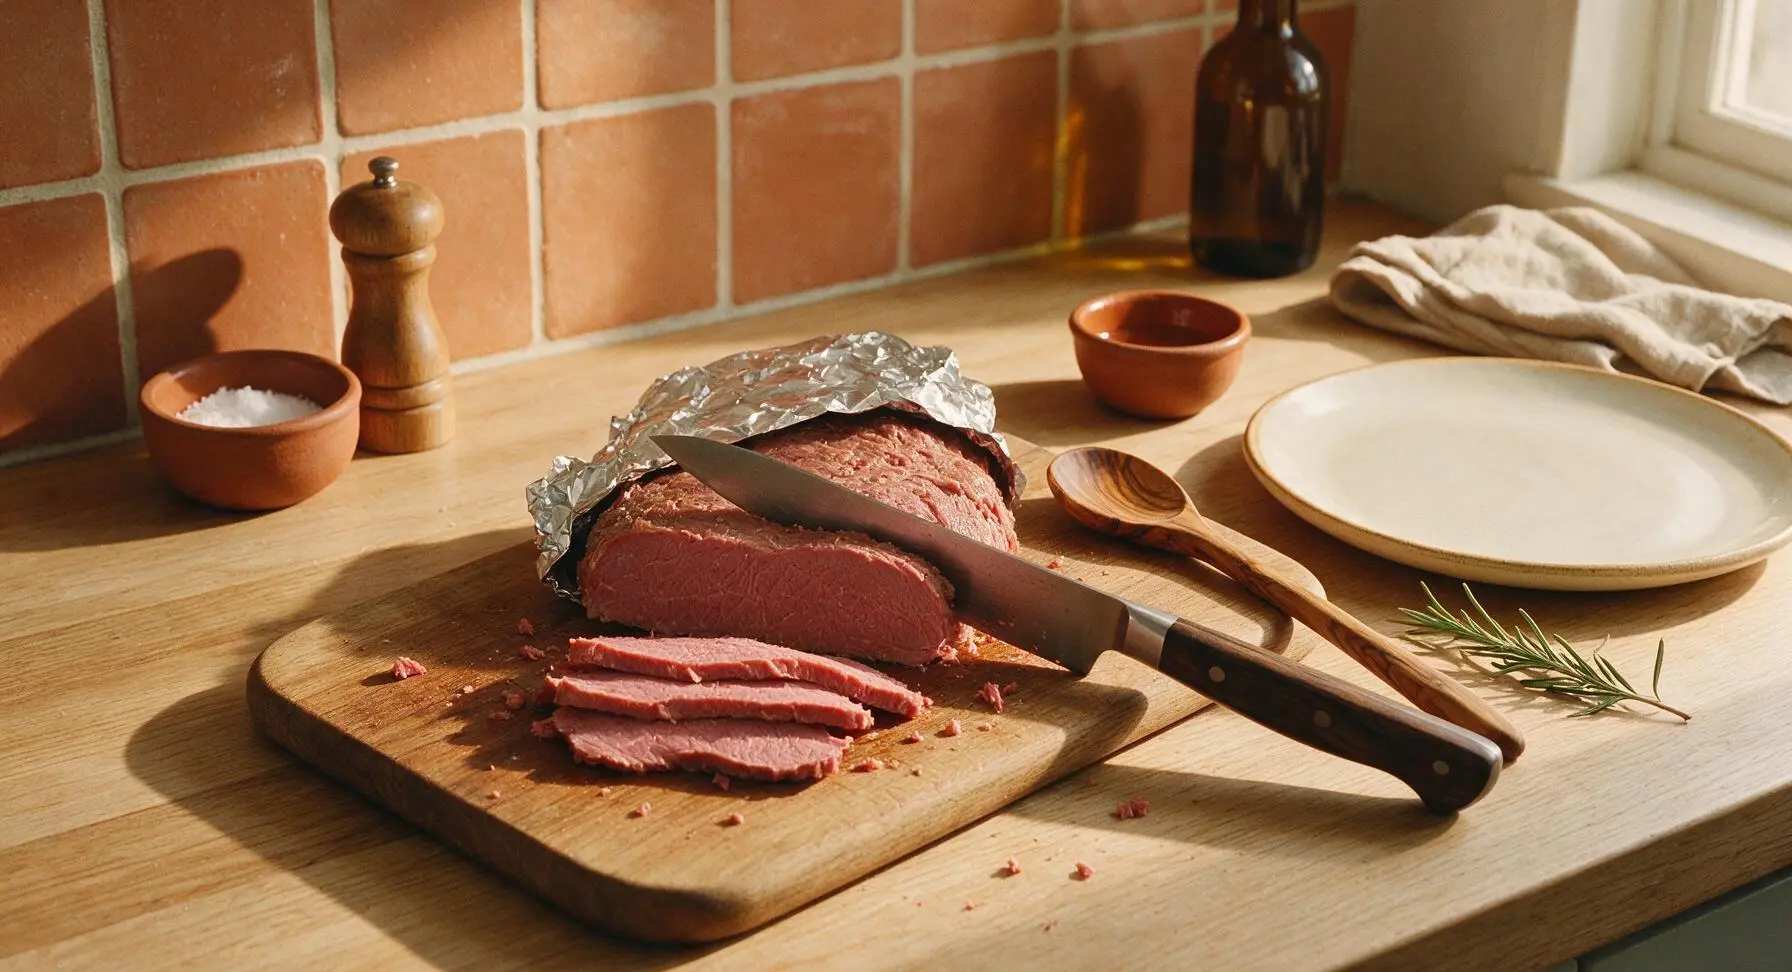
Use the tongs to carefully lift the corned beef from the hot cooking broth and transfer it to the light maple cutting board. Tent loosely with a small sheet of aluminum foil, and let it rest for 10 minutes to allow juices to redistribute through the meat. Slice the brisket against the grain into uniform 1/4-inch thick slices using the 8-inch chef’s knife; slicing against the grain ensures every bite is tender, not stringy.
Step 7
step7:Rest and Slice Beef
Step 7
step7:Rest and Slice Beef
8

Plate and Serve

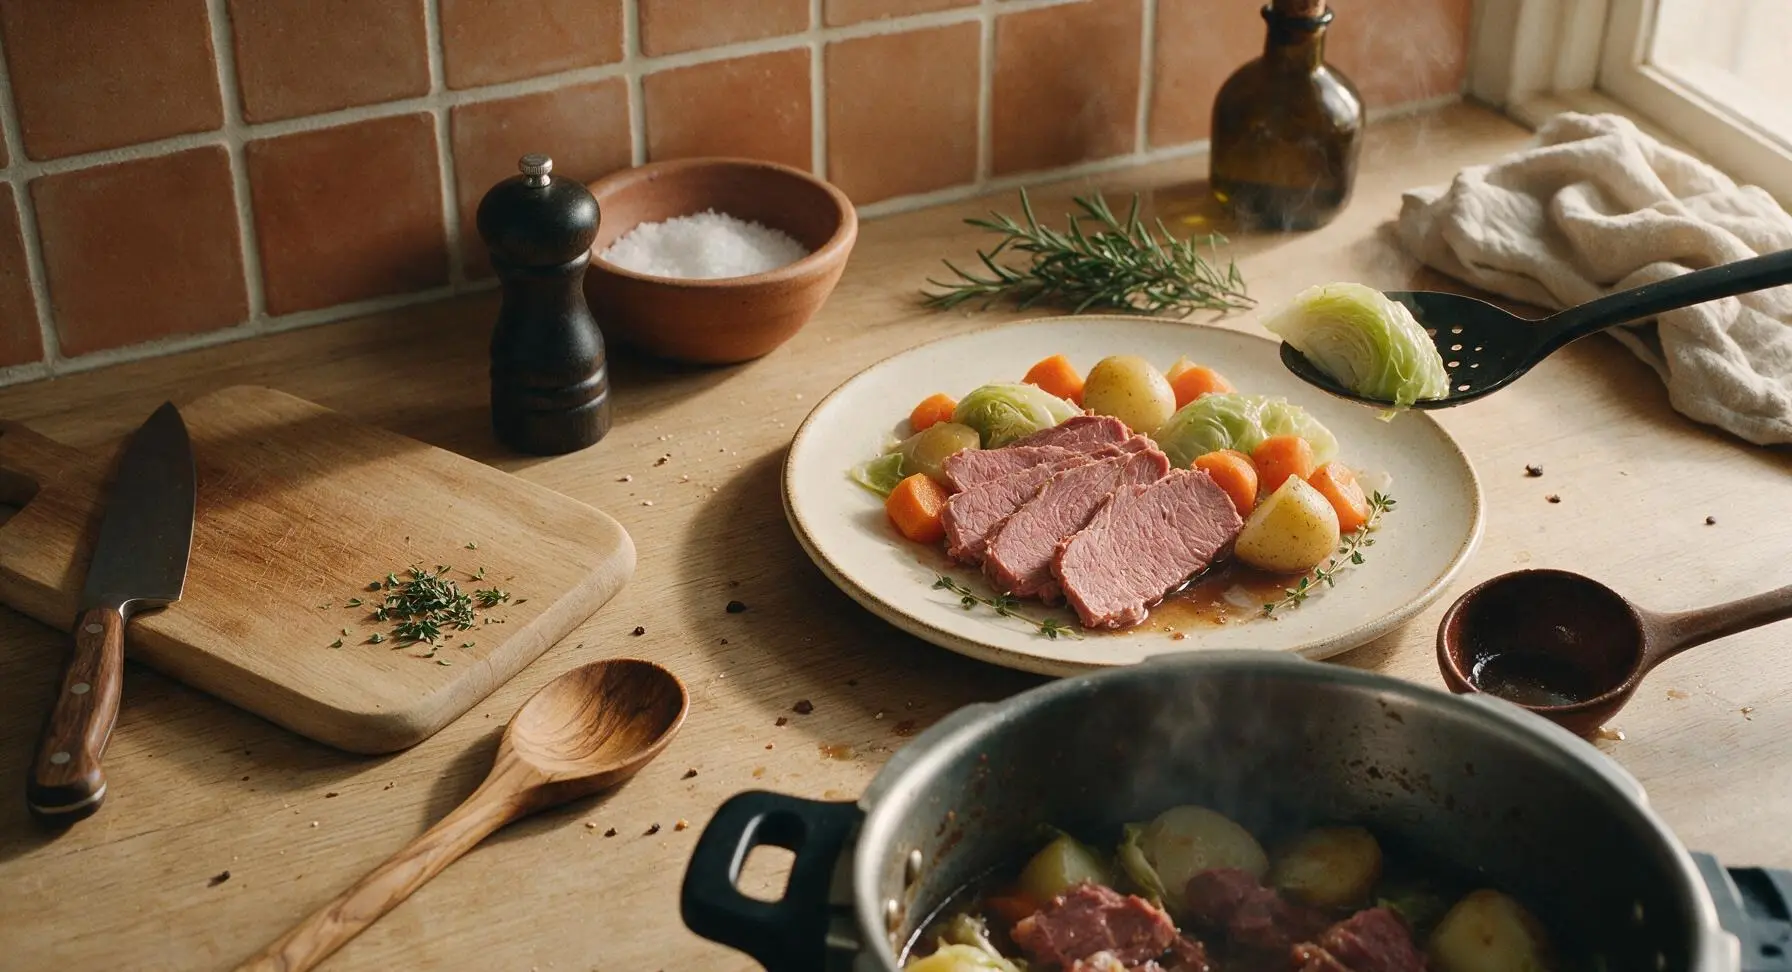
Transfer the sliced corned beef to the center of the matte off-white ceramic serving platter, fanning the slices slightly for attractive presentation. Use the slotted spoon to lift cooked potatoes, carrots, and cabbage from the broth, arranging them in a ring around the sliced beef. Ladle 2-3 tablespoons of the hot cooking broth over the meat and vegetables, then garnish with a light sprinkle of fresh thyme leaves picked from the countertop potted plant.
Step 8
step8:Plate and Serve

Tips

1.Always rinse packaged corned beef under cool water before cooking: the storage brine is extremely high in salt, and skipping this step will result in an overly salty dish, even when using low-sodium broth.
2.Do not skip the 15-minute natural pressure release after cooking the beef: rapid pressure shifts cause meat fibers to seize and expel moisture, leading to tough, dry brisket instead of juicy, tender slices.
3.Slice corned beef strictly against the grain into 1/4-inch slices: brisket has long, tough muscle fibers, and cutting across them shortens the fibers to create tender, non-stringy bites.


✨ You May Also Like

Main Course
🍜 United Kingdom

A showstopping classic of tender seared beef, savory mushroom duxelles, and crisp prosciutto wrapped in flaky golden puff pastry, baked to juicy perfection.

⏱️ 2 hours 1Main Course ★ 4.7
Main Course
🍜 India

Tender charred marinated chicken simmered in a rich, spiced creamy tomato sauce, this iconic Anglo-Indian curry pairs perfectly with basmati rice or warm naan.

⏱️ 50 minuteMain Course ★ 4.6
Main Course
🍜 Thailand

Classic tangy, sweet, and savory Thai stir-fried rice noodles with shrimp, tofu, and crunchy garnishes, balancing all five core Thai flavor profiles.

⏱️ 30 minuteMain Course ★ 4.5
Main Course
🍜 United Kingdom

Crispy golden beer-battered cod and fluffy double-fried chips, served with tangy tartar sauce and malt vinegar: the timeless, beloved British pub comfort classic.

⏱️ 45 minuteMain Course ★ 4.7
Main Course
🍜 Mexico

Smoky, chile-marinated pork tacos with caramelized pineapple, fresh cilantro, and lime: a beloved classic Mexican street food perfect for casual summer gatherings.

⏱️ 1 hour 45Main Course ★ 4.8
Main Course
🍜 United States

Crunchy Fritos corn chips layered with savory beef chili and melted cheddar, topped with cool, zesty fixings for a beloved, cozy Tex-Mex comfort food.

⏱️ 35 minuteMain Course ★ 4.8

pressure cooker corned beef:Frequently Asked Questions

1.How much faster is pressure cooker corned beef than traditional stovetop cooking? ▾
Traditional stovetop corned beef requires 3 to 4 hours of low, monitored simmering to reach that ideal fall-apart tender texture, while a pressure cooker cuts that cook time down to just 70 to 90 minutes at high pressure, plus natural release. You get the same cozy, hearty classic without the long, hands-on stovetop time, perfect for low-fuss family meals.
2.Do I need to rinse the corned beef brisket before pressure cooking it? ▾
Absolutely. Corned beef is cured in a heavily salted brine, so a quick rinse under cold running water before cooking removes excess surface salt that would otherwise make the meat, veggies, and cooking liquid overly salty. Pat it lightly dry with paper towels after rinsing, and hold onto the included brine spice packet for seasoning.
3.What should I do with the spice packet included with my corned beef brisket? ▾
That small spice packet is filled with classic pickling spices—mustard seed, coriander, peppercorns, bay leaf, and allspice—that create that signature corned beef flavor. You can sprinkle it directly over the brisket before cooking, or tie it in a small cheesecloth sachet for easy removal later to avoid gritty spice bits on your veggies.
4.Do I cook the onion, carrots, potatoes, and cabbage at the same time as the brisket? ▾
For the best, non-mushy texture, don’t add all the veggies at the start of cooking. Cook the brisket first for its full recommended time, do a quick pressure release, then add your quartered yellow onion, chunked carrots, halved Yukon Gold potatoes, and cabbage wedges, and cook on high for 5 more minutes before releasing pressure.
5.How much liquid do I need to add to the pressure cooker for this recipe? ▾
Pressure cookers require a minimum amount of liquid to build steam properly, so aim for 1.5 to 2 cups of water, low-sodium beef broth, or even a splash of stout beer. The liquid should cover the pot bottom and come about ¼ inch up the brisket; too much dilutes flavor, while too little prevents the pot from reaching pressure correctly.
6.Should I use natural release or quick release when the brisket finishes cooking? ▾
Opt for a 15-minute natural pressure release once the brisket cook time ends, then use quick release for any remaining steam. Doing a full quick release right away can make the meat seize up and turn tough, and may cause fatty, starchy cooking liquid to sputter out of the release valve, creating a messy, potentially unsafe situation.
7.Why is my pressure cooker corned beef still tough after cooking? ▾
Tough corned beef almost always stems from one of two issues: insufficient cook time, or slicing with the grain instead of against it. Brisket is a heavily worked, tough cut that needs sustained heat to break down connective tissue. If it’s chewy, reseal the pot and cook 10 to 15 more minutes at high pressure, then rest before slicing.
8.Can I use red potatoes instead of Yukon Gold potatoes for this recipe? ▾
You can absolutely swap in red potatoes if you don’t have Yukon Golds, though Yukon Golds have a naturally buttery, creamy texture that holds up beautifully to pressure cooking without turning mealy. If using red potatoes, cut them into uniform 2-inch chunks so they cook at the exact same rate as the carrots and cabbage.
9.Do I need to sear the corned beef brisket before pressure cooking it? ▾
Searing is totally optional, but it adds a deep, caramelized crust to the outside of the brisket that boosts overall savoriness. If you want to sear, use your electric pressure cooker’s sauté function to brown all sides of the rinsed brisket in a tiny bit of oil before adding liquid and spices—it only adds 5 minutes of prep time for a big flavor payoff.
10.How do I keep the cabbage from turning mushy in the pressure cooker? ▾
Cabbage breaks down extremely quickly under high pressure, so always add it in the final 5 minutes of cook time alongside the other veggies, rather than putting it in with the brisket at the start. Cut it into thick 2-inch wedges instead of shredding it, and stop cooking as soon as it reaches tender-crisp to avoid slimy, waterlogged texture.
11.Can I cook a frozen corned beef brisket in the pressure cooker without thawing it first? ▾
You can absolutely cook a frozen corned beef brisket without thawing, but you’ll need to add 20 to 25 minutes to the total high-pressure cook time for the brisket. Skip searing if cooking from frozen, and make sure there is enough cooking liquid in the pot to fully build steam for even heat distribution as the pot comes up to pressure.
12.How should I store leftover pressure cooker corned beef and veggies? ▾
Store sliced leftover corned beef and cooked veggies in an airtight container in the fridge for up to 4 days, topped with a small amount of the cooking liquid to keep the meat from drying out. You can also freeze tightly wrapped sliced brisket for up to 3 months; thaw it in the fridge overnight before reheating gently on the stovetop or microwave.
13.How do I slice corned beef so it doesn’t turn out chewy? ▾
Always slice corned beef against the grain, meaning you cut perpendicular to the long, visible muscle fibers running through the brisket, into ¼-inch thick slices. Slicing against the grain shortens those tough muscle fibers, so every bite is tender instead of stringy. Let the meat rest 10 minutes before slicing to lock in juicy flavor, too.
14.Can I add extra seasonings beyond the included brine spice packet? ▾
Absolutely! The included spice packet gives a great classic flavor base, but you can add extras like a couple crushed garlic cloves, a pinch of brown sugar to cut brininess, a splash of apple cider vinegar for brightness, or a few whole cloves for warm depth. Hold off on extra salt until you taste the finished dish, since the brined brisket is already quite salty.

Comments (5)

1 week ago

First time ever making corned beef, I was stressed because my in-laws were coming over for Sunday dinner and I didn’t want to mess it up. This recipe was so easy! Total cook time was exactly what the recipe said, no guessing, no fiddling with the stove for hours. The meat was so juicy, even my father-in-law (who swears his mom’s corned beef is the only good one) asked for the recipe. 10/10, no notes.

3 days ago

So glad this helped you impress the in-laws, Jake! Next time you make it, try tossing a couple of extra bay leaves and a splash of apple cider vinegar in the cooking liquid for an extra little depth of flavor if you’re feeling fancy.

2 weeks ago

I make this every other week for meal prep now! It’s so easy to throw together on Sunday afternoons, I slice it up, portion it with roasted cabbage and potatoes, and I’ve got lunch for the whole work week. It stays tender even after reheating in the microwave, which I was worried about because pressure cooked meat can get weird sometimes. Only thing I changed was adding a little extra mustard seed because I love that tang. Perfect easy recipe!

1 week ago

Wait, does it really reheat well? I’ve been scared to meal prep corned beef because I thought it would get all tough and rubbery after a couple days in the fridge!

5 days ago

Great question! If you store the sliced corned beef in a little bit of the cooking liquid in an airtight container, it stays super moist when reheated—just 30-45 seconds in the microwave, no rubbery texture at all!

2 days ago

Made this for our neighborhood block party last weekend and people were hovering over the serving platter the whole time. I followed the recipe exactly except I added a can of Guinness to the cooking liquid because we’re Irish and that’s non-negotiable lol. It came out perfectly tender, had that deep malty flavor everyone loves, and didn’t get all waterlogged like my old slow cooker version used to. So much faster than boiling it for 3+ hours too, I’ll never go back to my old method. SO good.

5 days ago

Super easy recipe even for a guy who burns toast half the time lmao. I got a cheap pressure cooker off Facebook Marketplace last month and was looking for easy things to make in it, this was perfect. I didn’t even have the pickling spice packet that came with the corned beef so I just threw in some black pepper, garlic, and a little allspice and it still turned out great. Only reason it’s not a 5 is I wish the recipe mentioned you don’t need to add extra salt if the corned beef is already brined, mine came out a touch salty my first go around but that was totally my bad. Ate half of it straight out of the pot with some mustard, no regrets.

3 days ago

Dude I did the exact same thing when I lost my spice packet! Garlic, pepper, allspice and a little brown sugar hits every single time, so glad it worked out for you too. Pro tip: rinse the corned beef really quick before cooking if it’s extra briny, cuts down on the salt level without killing the flavor!

yesterday

I’ve been making corned beef the old-fashioned boiled way for over 40 years, and my grandkid talked me into trying this pressure cooker method because they said it was faster. I was skeptical at first—why mess with a good thing?—but holy cow, this was even better than my usual recipe! The meat didn’t get all waterlogged like it does when you boil it forever, and the flavor was locked right in. My grandkids said it’s the best corned beef I’ve ever made, which is the highest praise I can get. Will be making this every St. Paddy’s from now on!

yesterday

That’s so sweet! My mom was the exact same way, swore boiling was the only method until I made her try this recipe last year. Now she won’t make it any other way!

2 hours ago

We love hearing from long-time home cooks giving this method a shot! So glad it got the grandkid seal of approval—there’s no better compliment than that, honestly.



