
quick fried chicken
intro
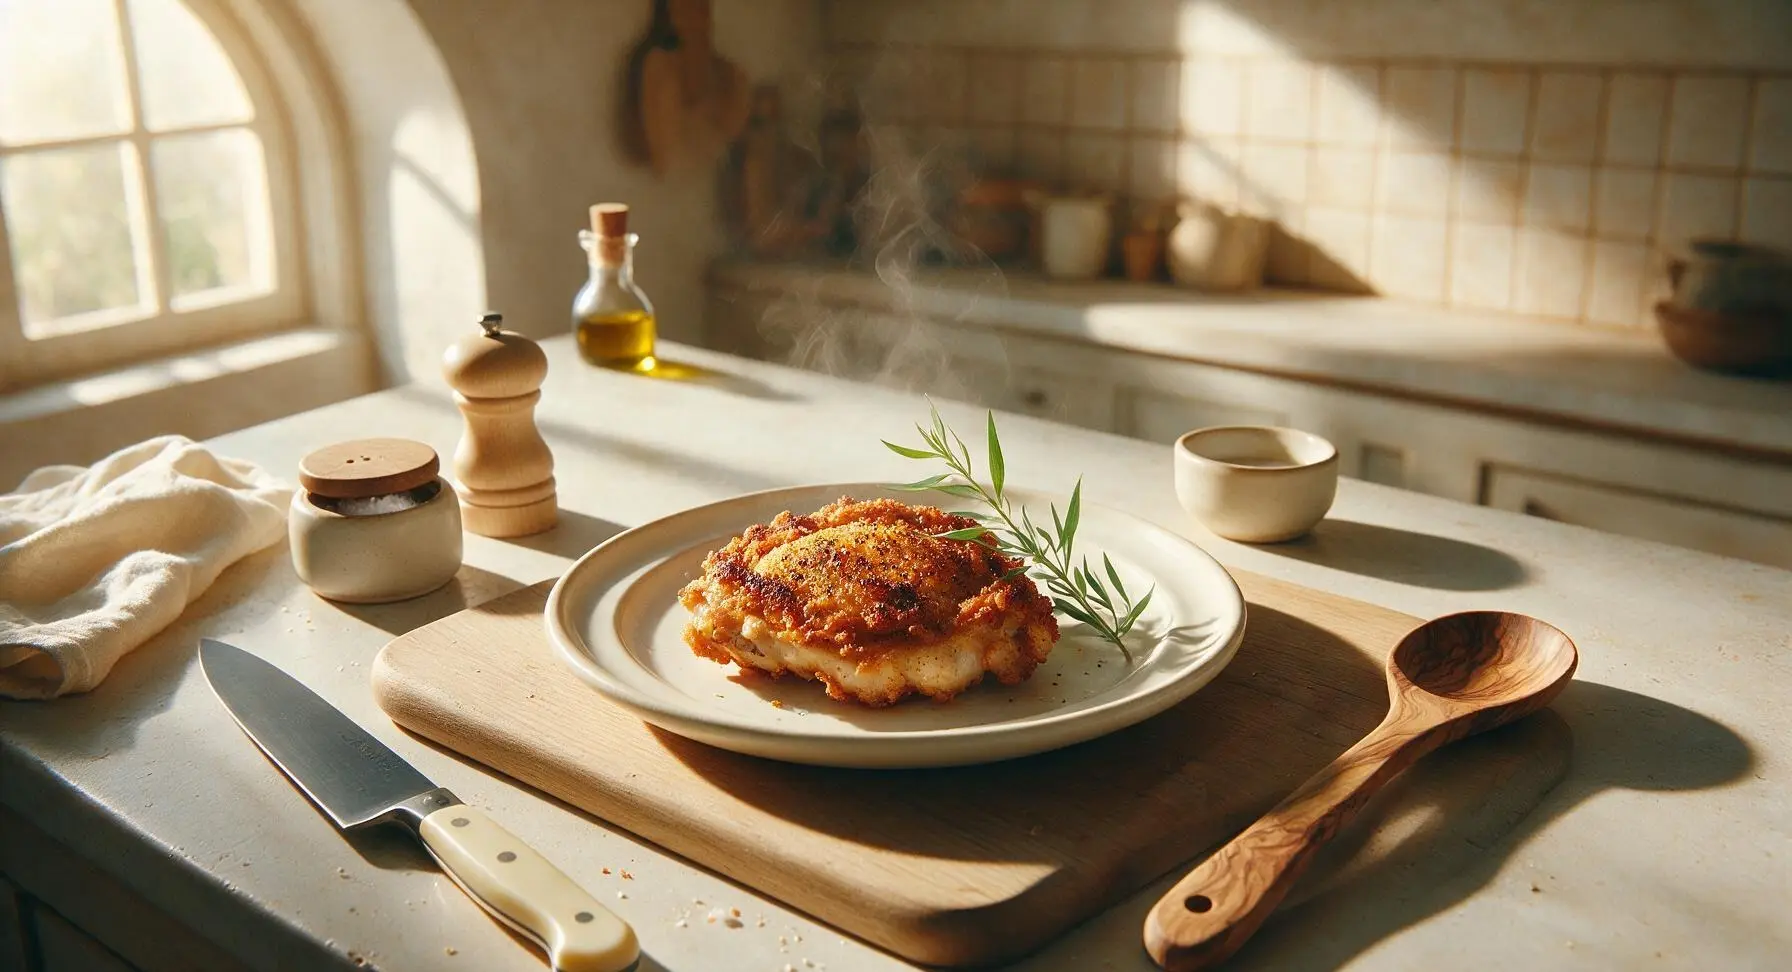
Shatteringly crisp, juicy pan-fried chicken with a smoky seasoned crust, ready in just 25 minutes with no long brine required—perfect for fast, satisfying weeknight meals.
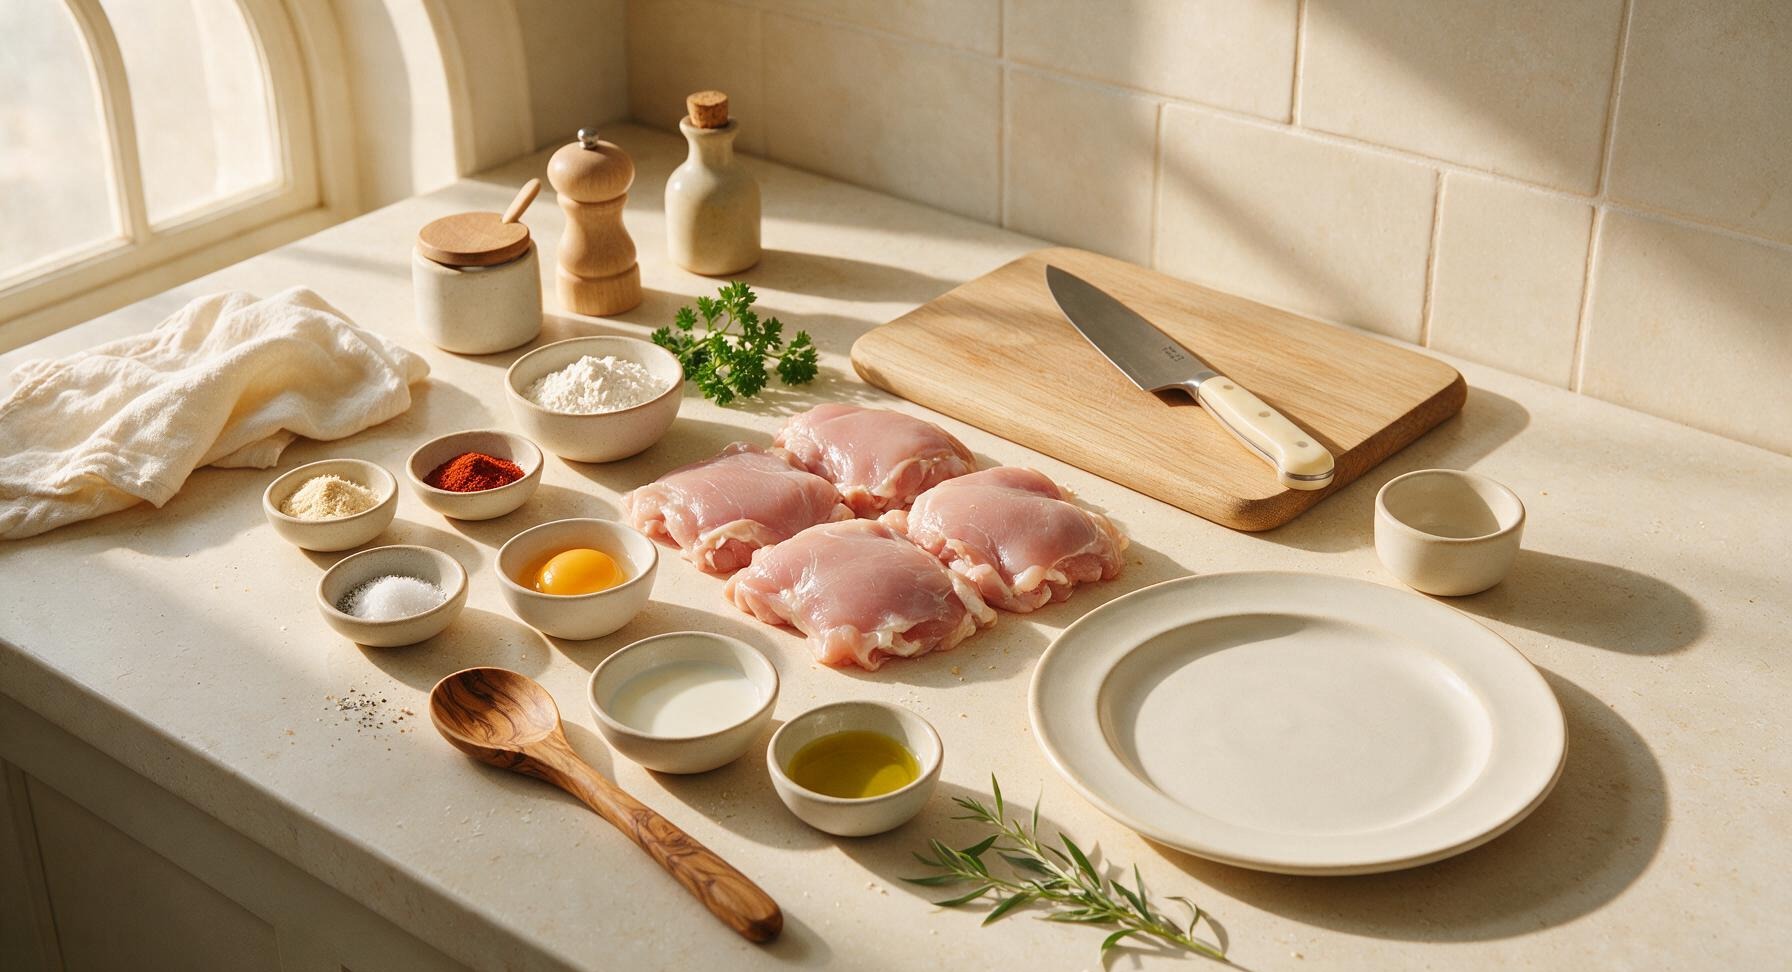
Ingredients
Steps
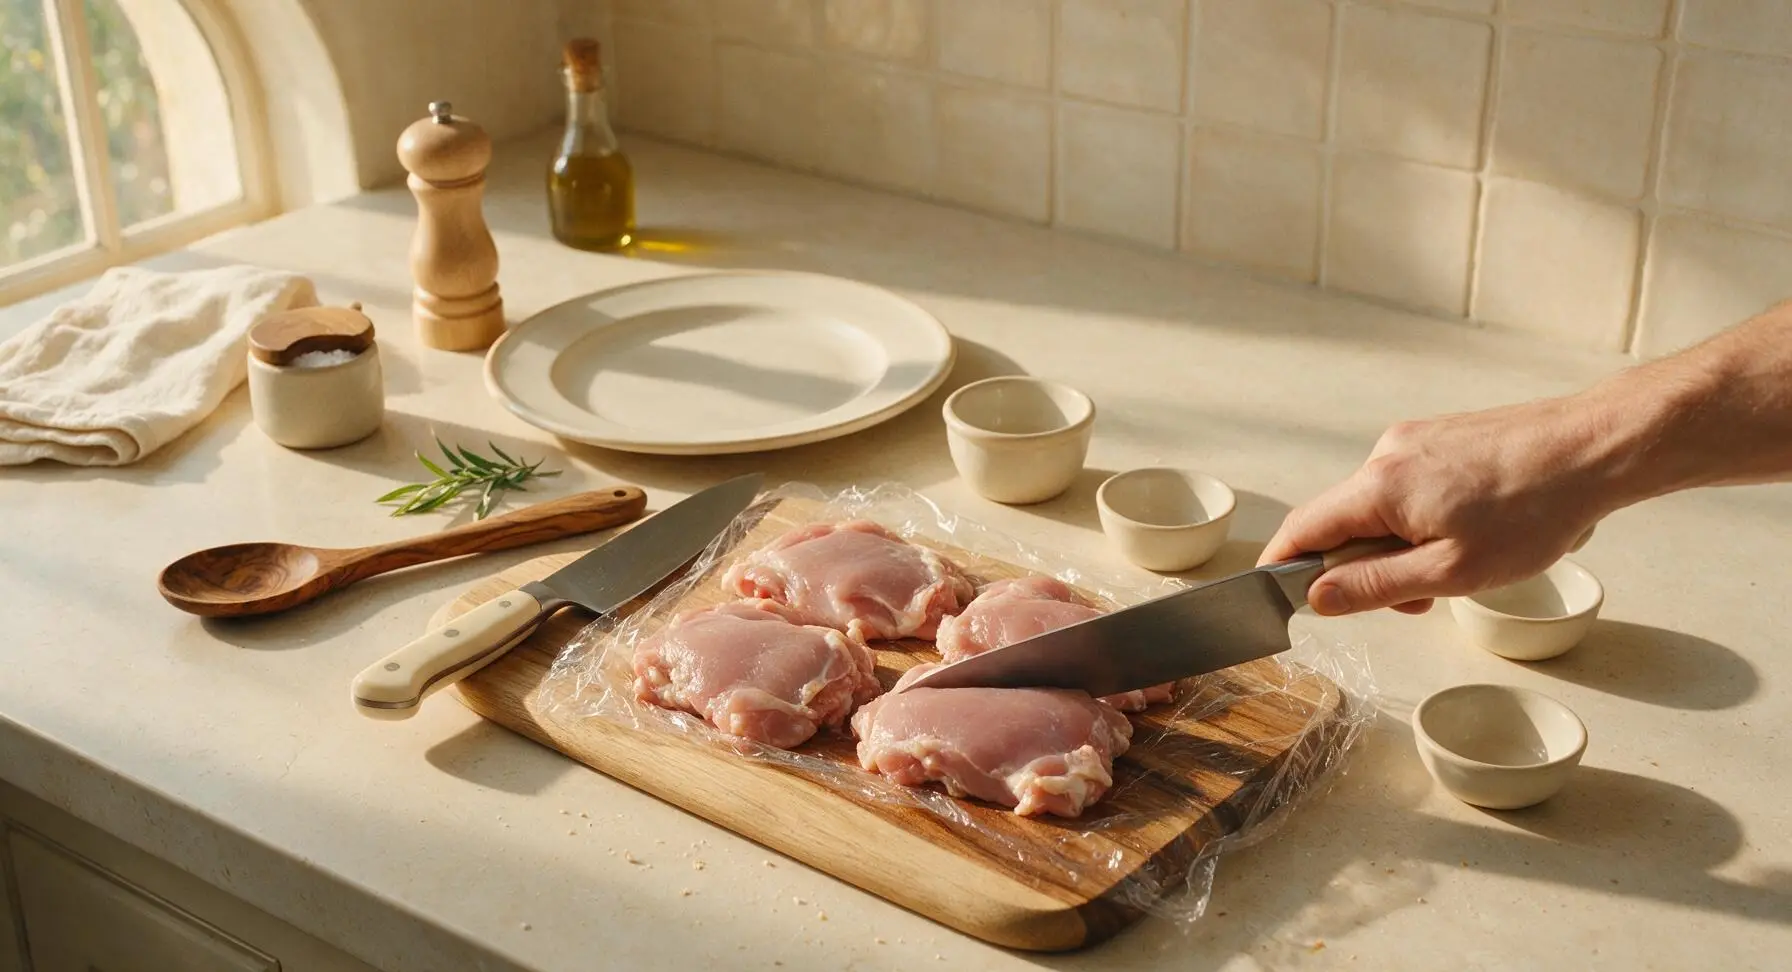
Pound chicken evenly
Place the 4 boneless, skinless chicken thighs on the honey-toned acacia wood cutting board. Cover loosely with a sheet of plastic wrap to prevent splatter. Use the flat side of the 8-inch chef’s knife to gently pound the thickest section of each thigh to a uniform 1.5cm thickness. This ensures fast, even cooking with no dry, overcooked thick spots. Discard the plastic wrap once all pieces are even, which takes roughly 2 minutes total.
Mix seasoned flour
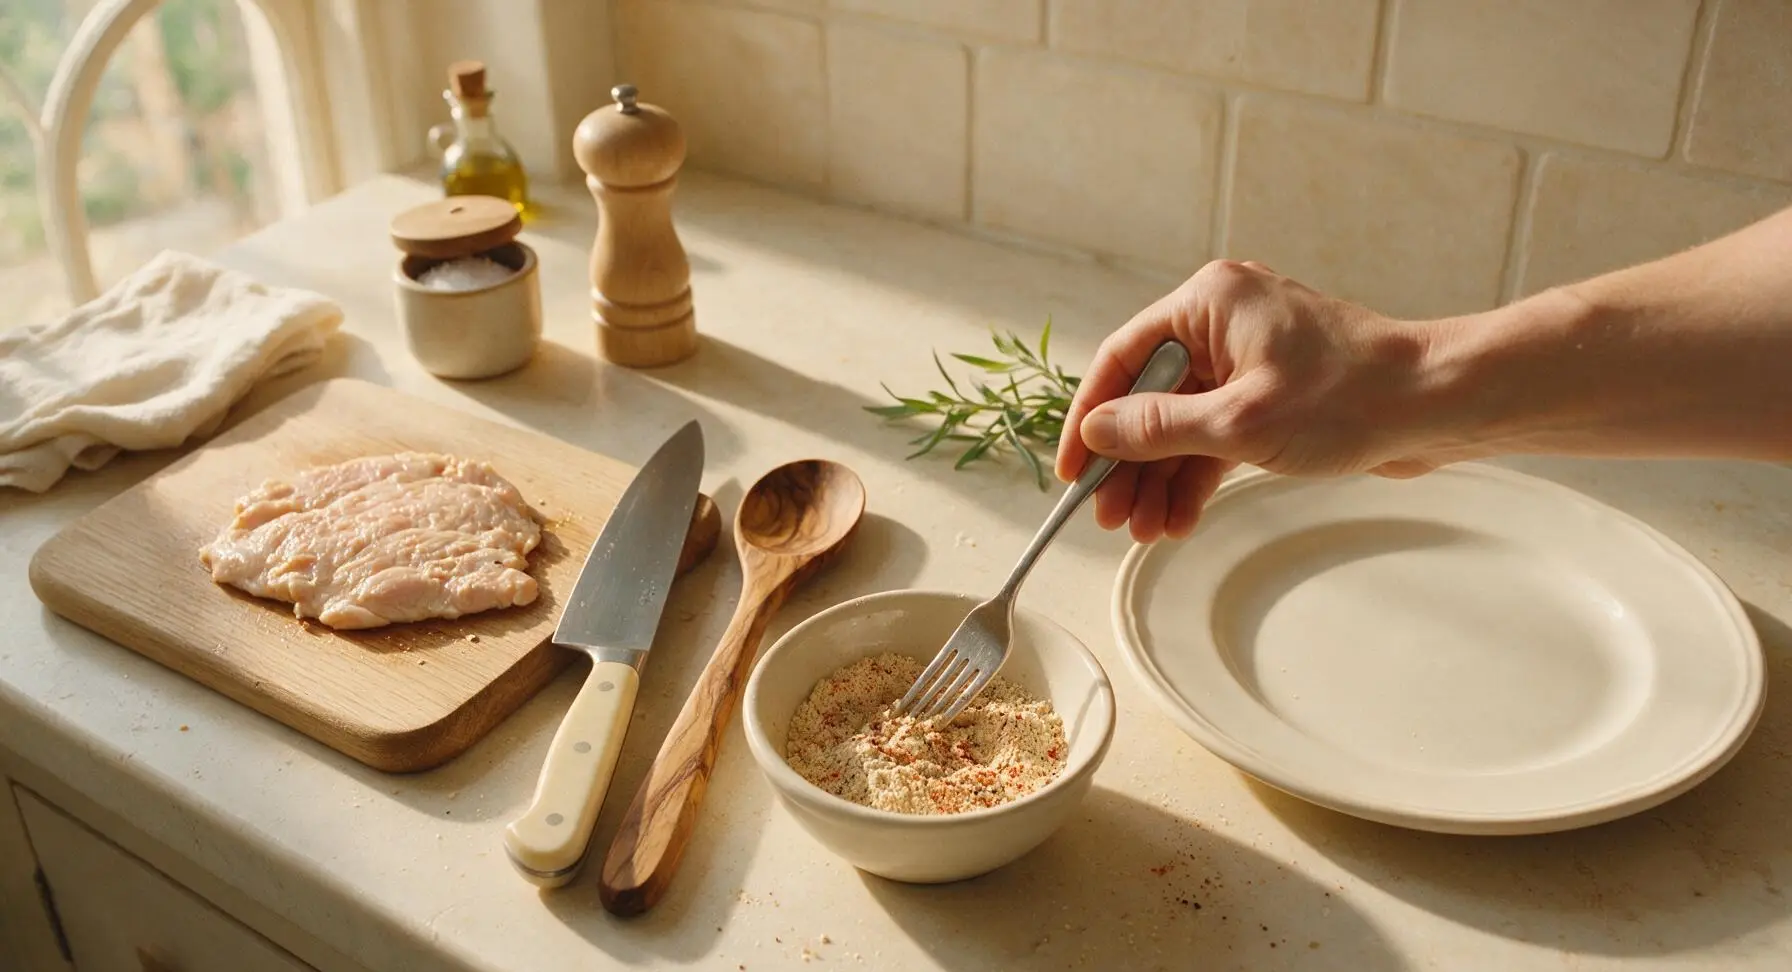
In one of the small cream prep bowls, combine the 120g all-purpose flour, 1 tsp garlic powder, 1 tsp smoked paprika, ½ tsp onion powder, ½ tsp fine sea salt, and ½ tsp freshly ground black pepper. Stir with a fork until all spices are evenly distributed, creating a pale tan flour mixture with no concentrated clumps of spice. Set the bowl back in the prep row next to the cutting board.
Whisk egg wash
In a second small cream prep bowl, crack the 1 large egg and add 2 tbsp whole milk. Whisk vigorously with a fork for 30 seconds until the yolk and milk are fully combined, creating a smooth pale yellow liquid with no streaks of clear egg white. Place the bowl directly beside the seasoned flour bowl to form a linear, easy-to-use breading station.
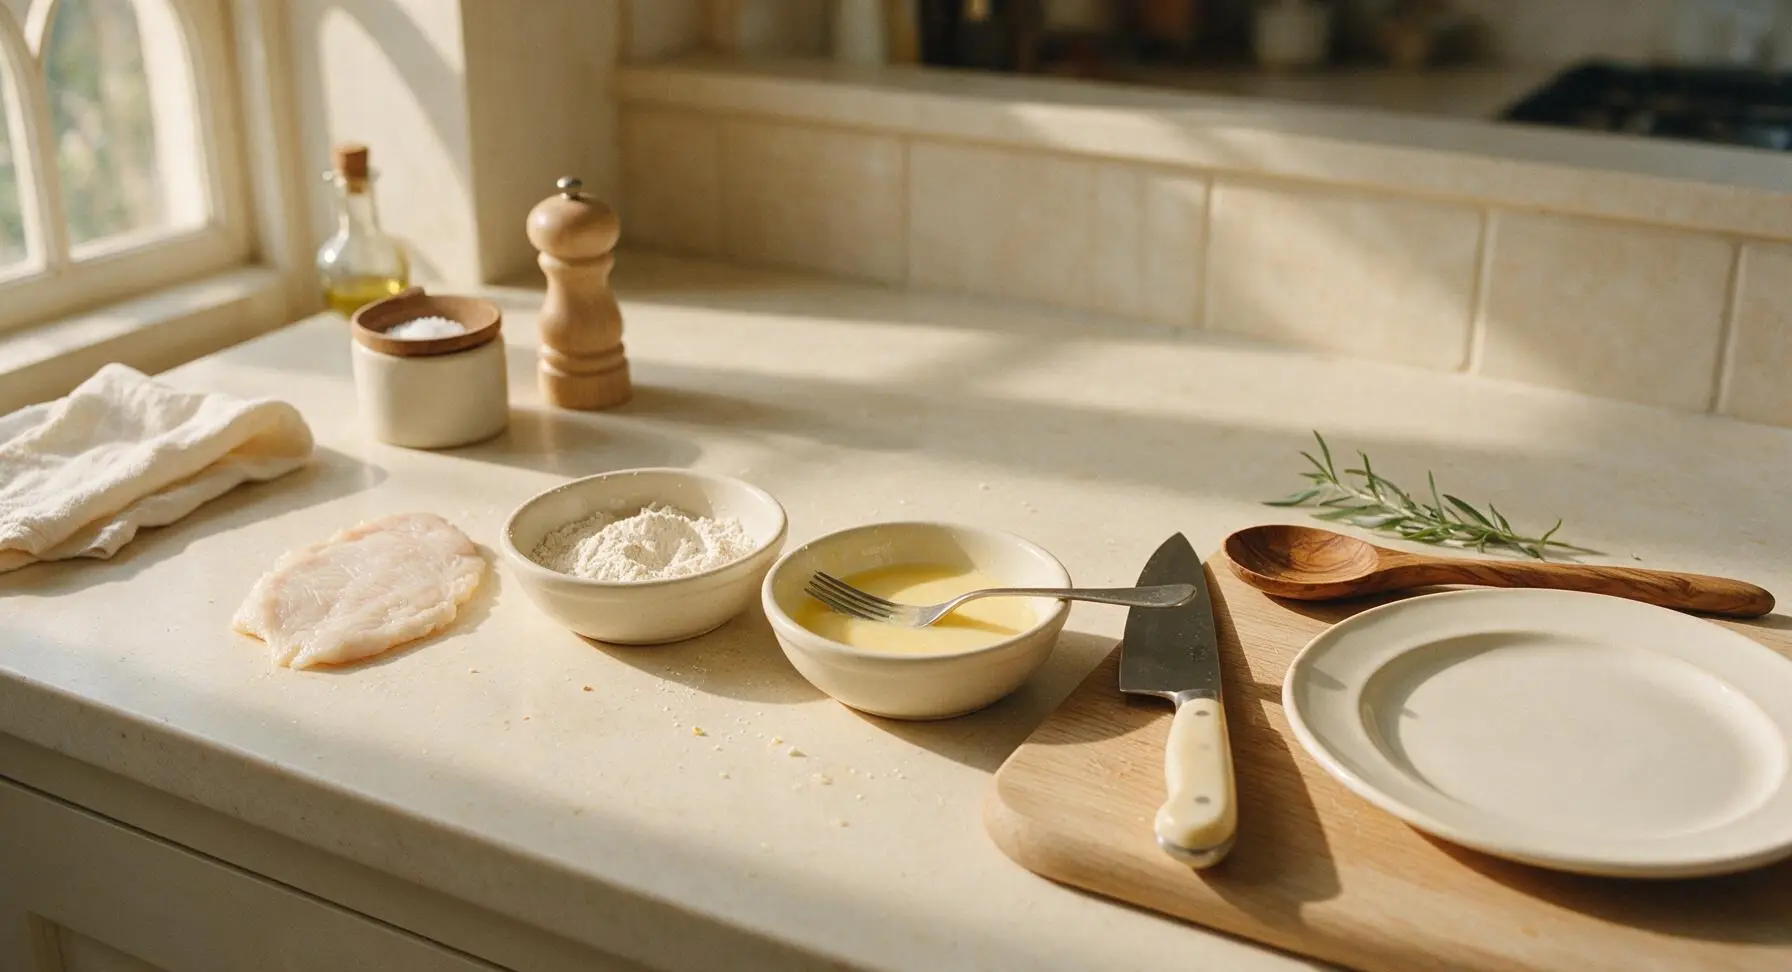
Coat chicken in breading
Working one piece at a time, dip a pounded chicken thigh first into the egg wash, turning to coat both sides fully and letting excess egg drip back into the bowl for 2 seconds. Immediately transfer the chicken to the seasoned flour bowl, pressing firmly to coat every surface with a thick, even layer of flour. Set fully breaded pieces on the clean empty corner of the cutting board, and let rest for 3 minutes to let the coating adhere—this prevents crust separation during frying.

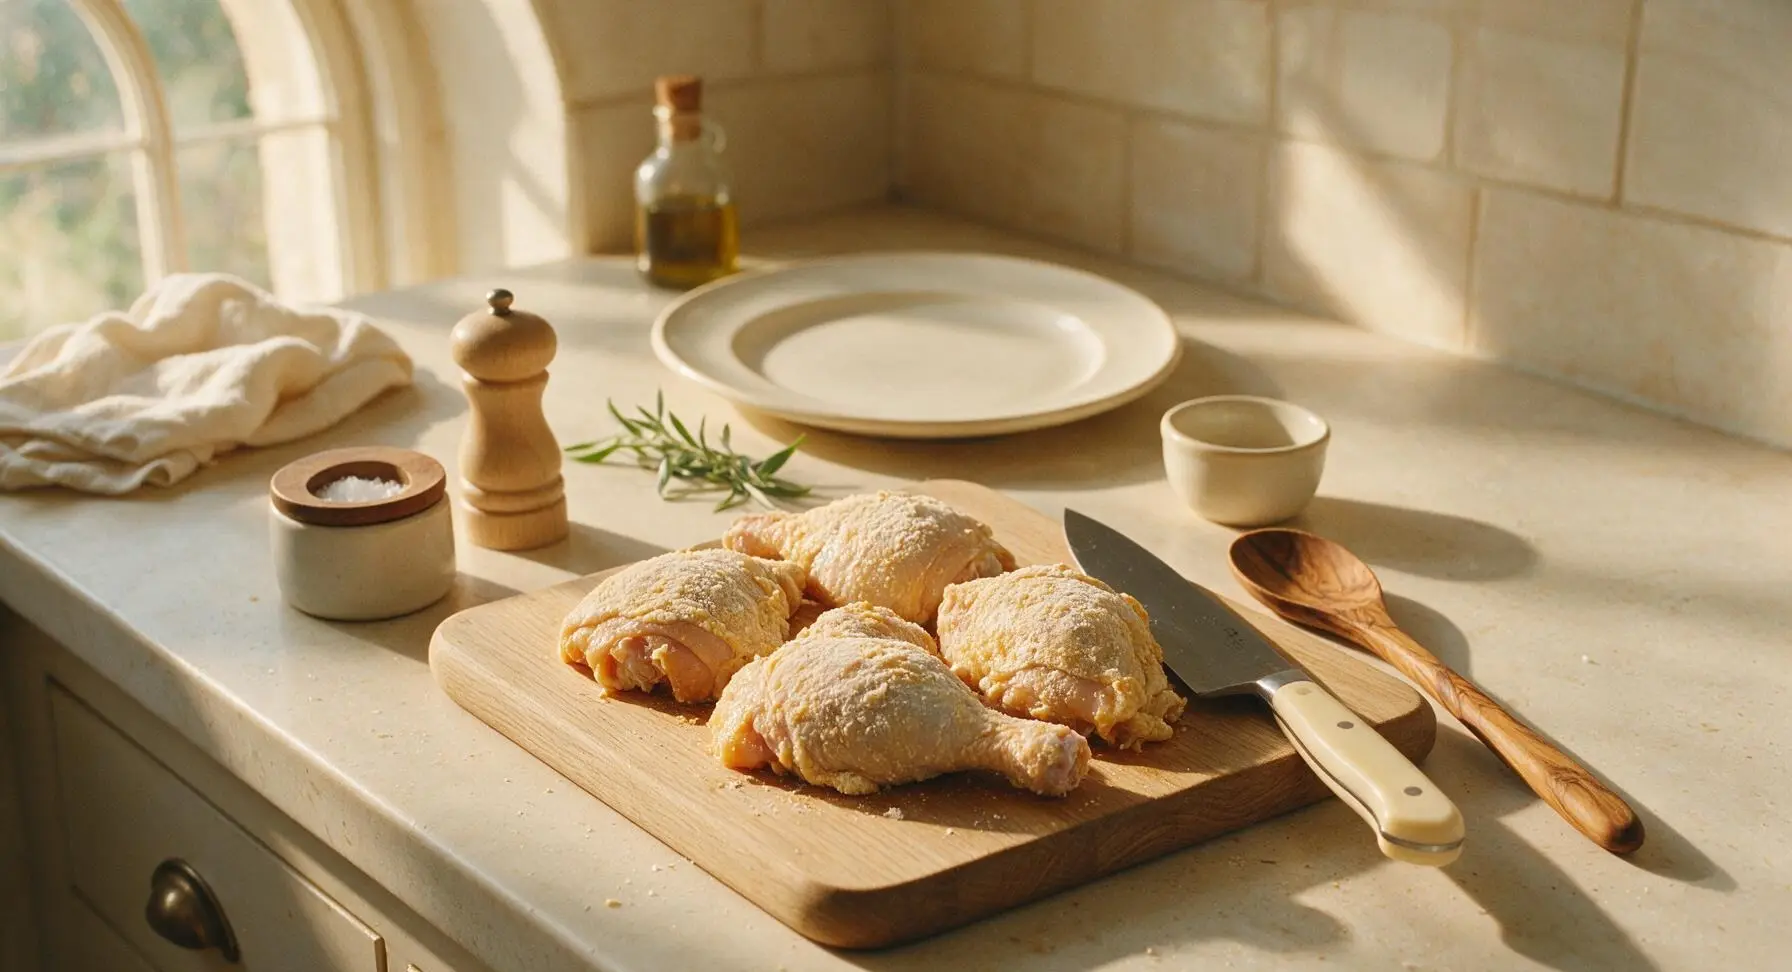
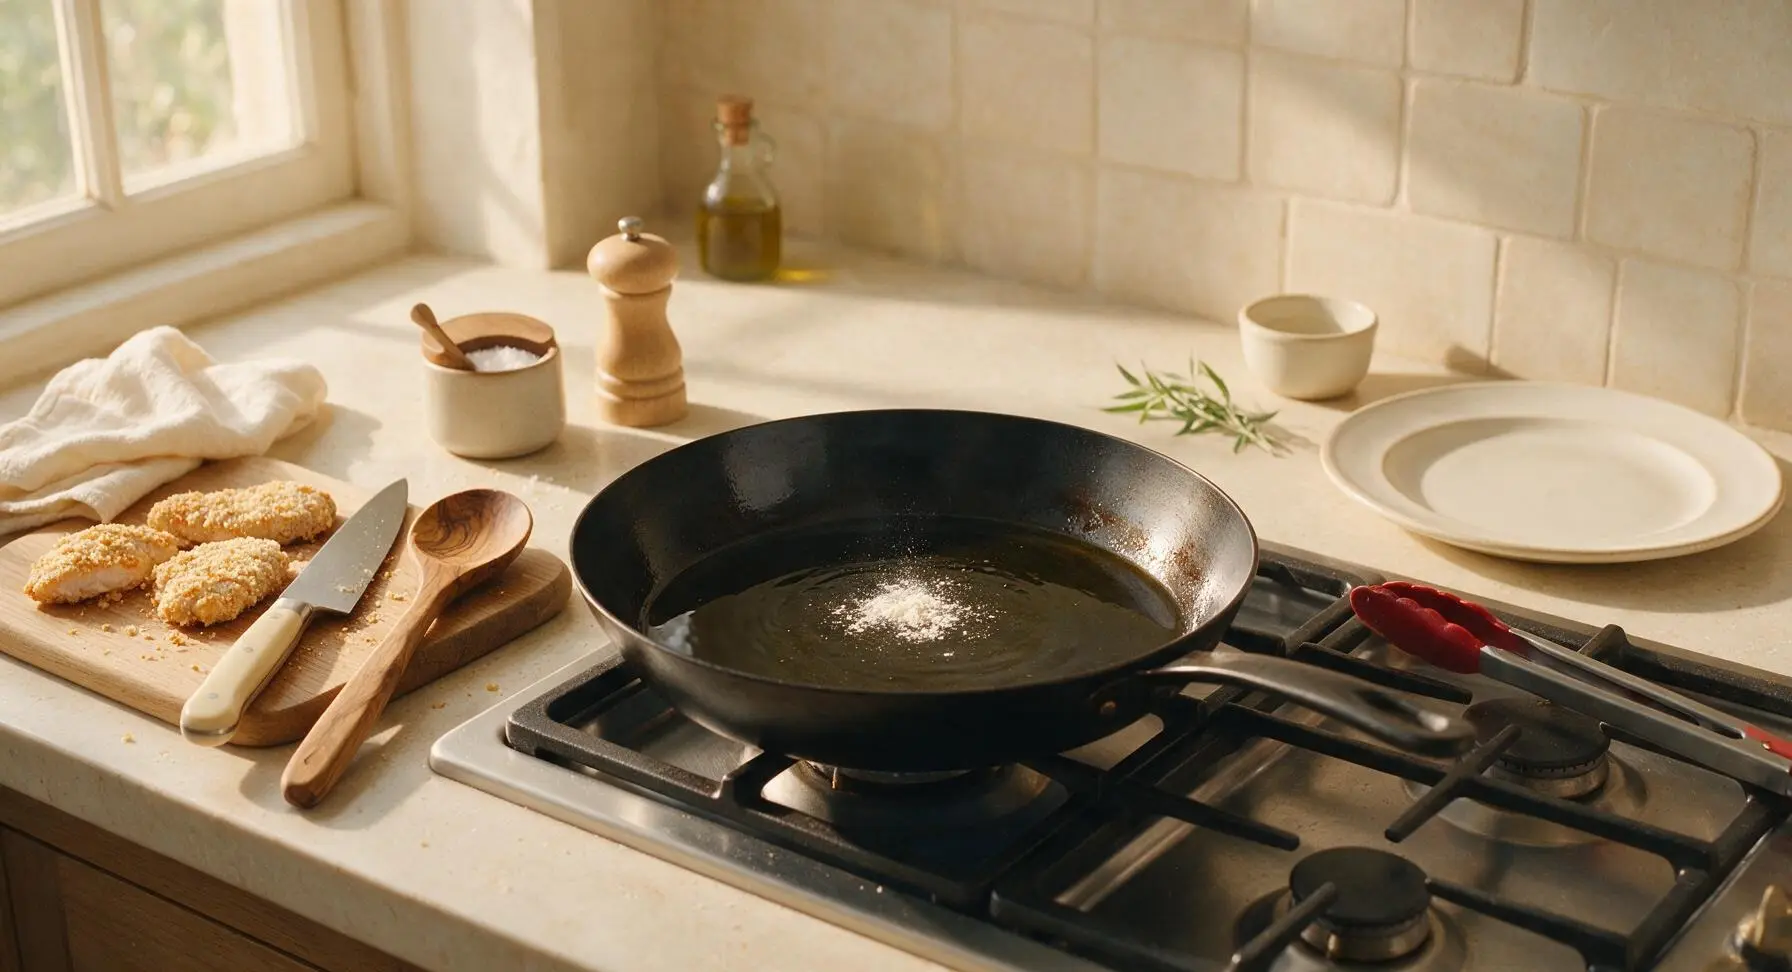
Heat oil in skillet
Place the 12-inch carbon steel skillet on the center stovetop burner over medium heat. Add 3 tbsp neutral cooking oil, and heat for 3 minutes until the oil shimmers across the pan surface and reaches 175C (350F). Test the heat by dropping a tiny pinch of flour into the oil: it should sizzle immediately and turn pale golden in 5 seconds. If the flour burns instantly, reduce heat slightly; if it doesn’t sizzle, heat for 1 more minute.
Fry first chicken side
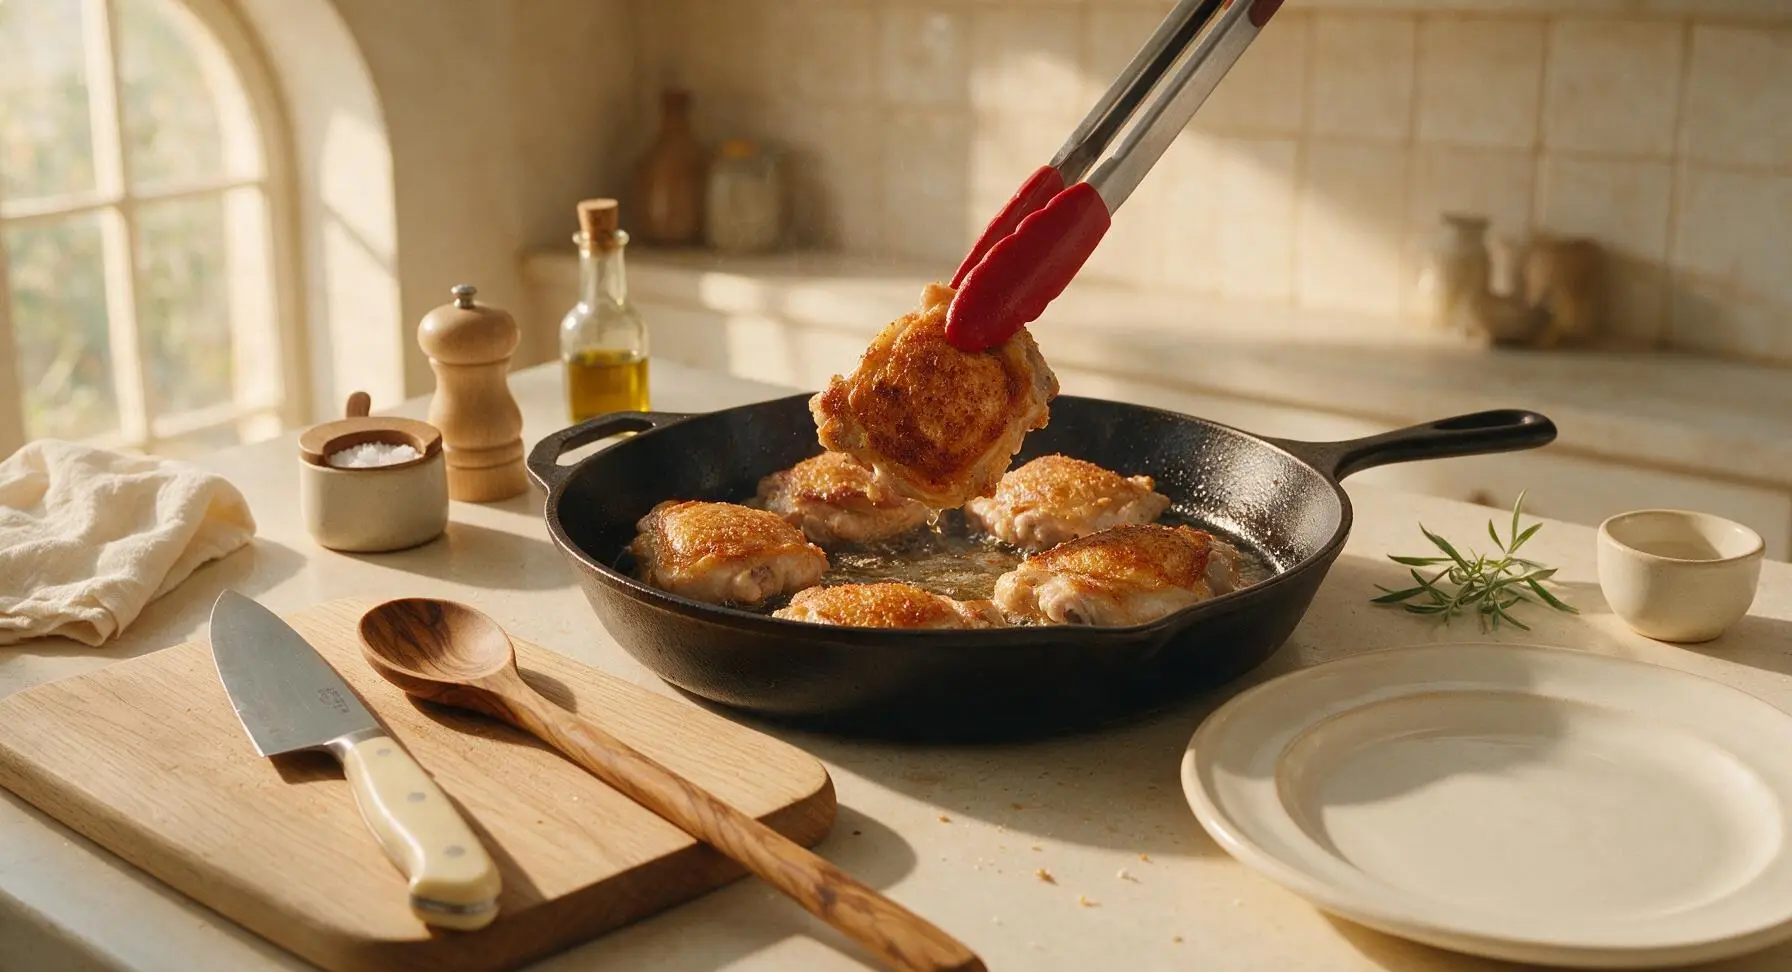
Use the tongs to carefully lay each breaded chicken piece in the hot oil in a single layer, leaving 2cm of space between each piece to avoid crowding. Fry undisturbed for 6 minutes, until the bottom crust is deep golden brown, crispy, and releases easily from the pan when lifted gently with tongs. If cooking in batches, keep the first batch warm on the cooling rack while the second cooks.
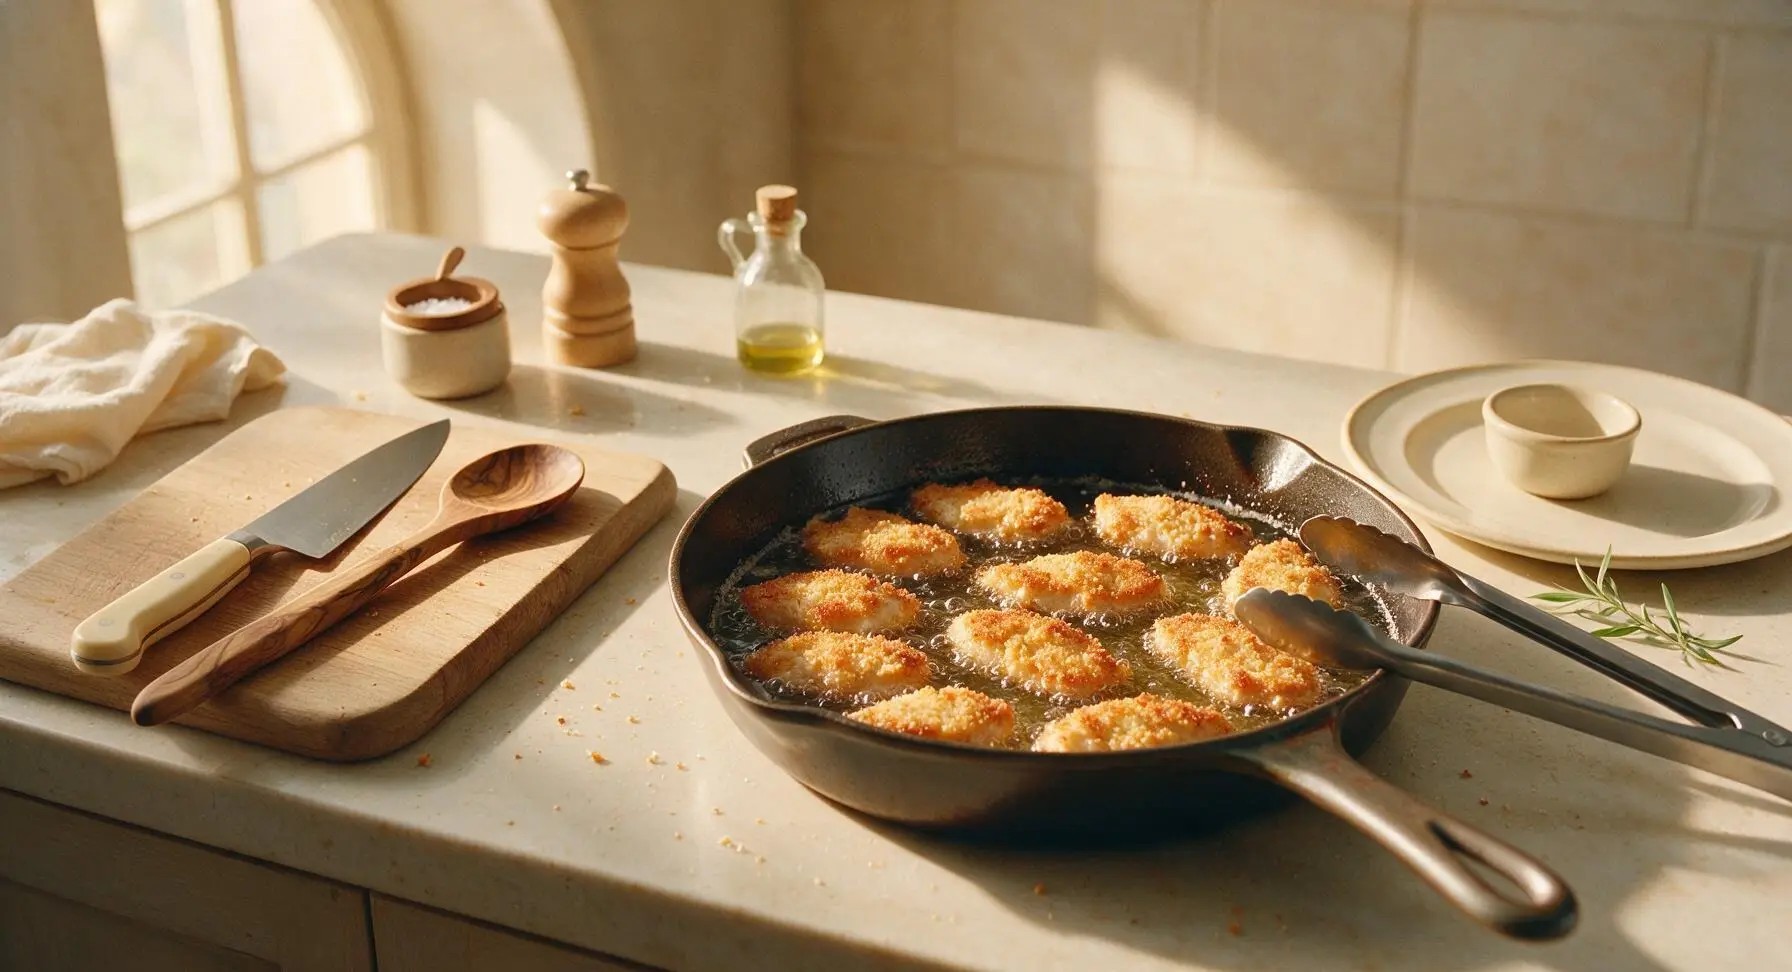
Flip and finish cooking
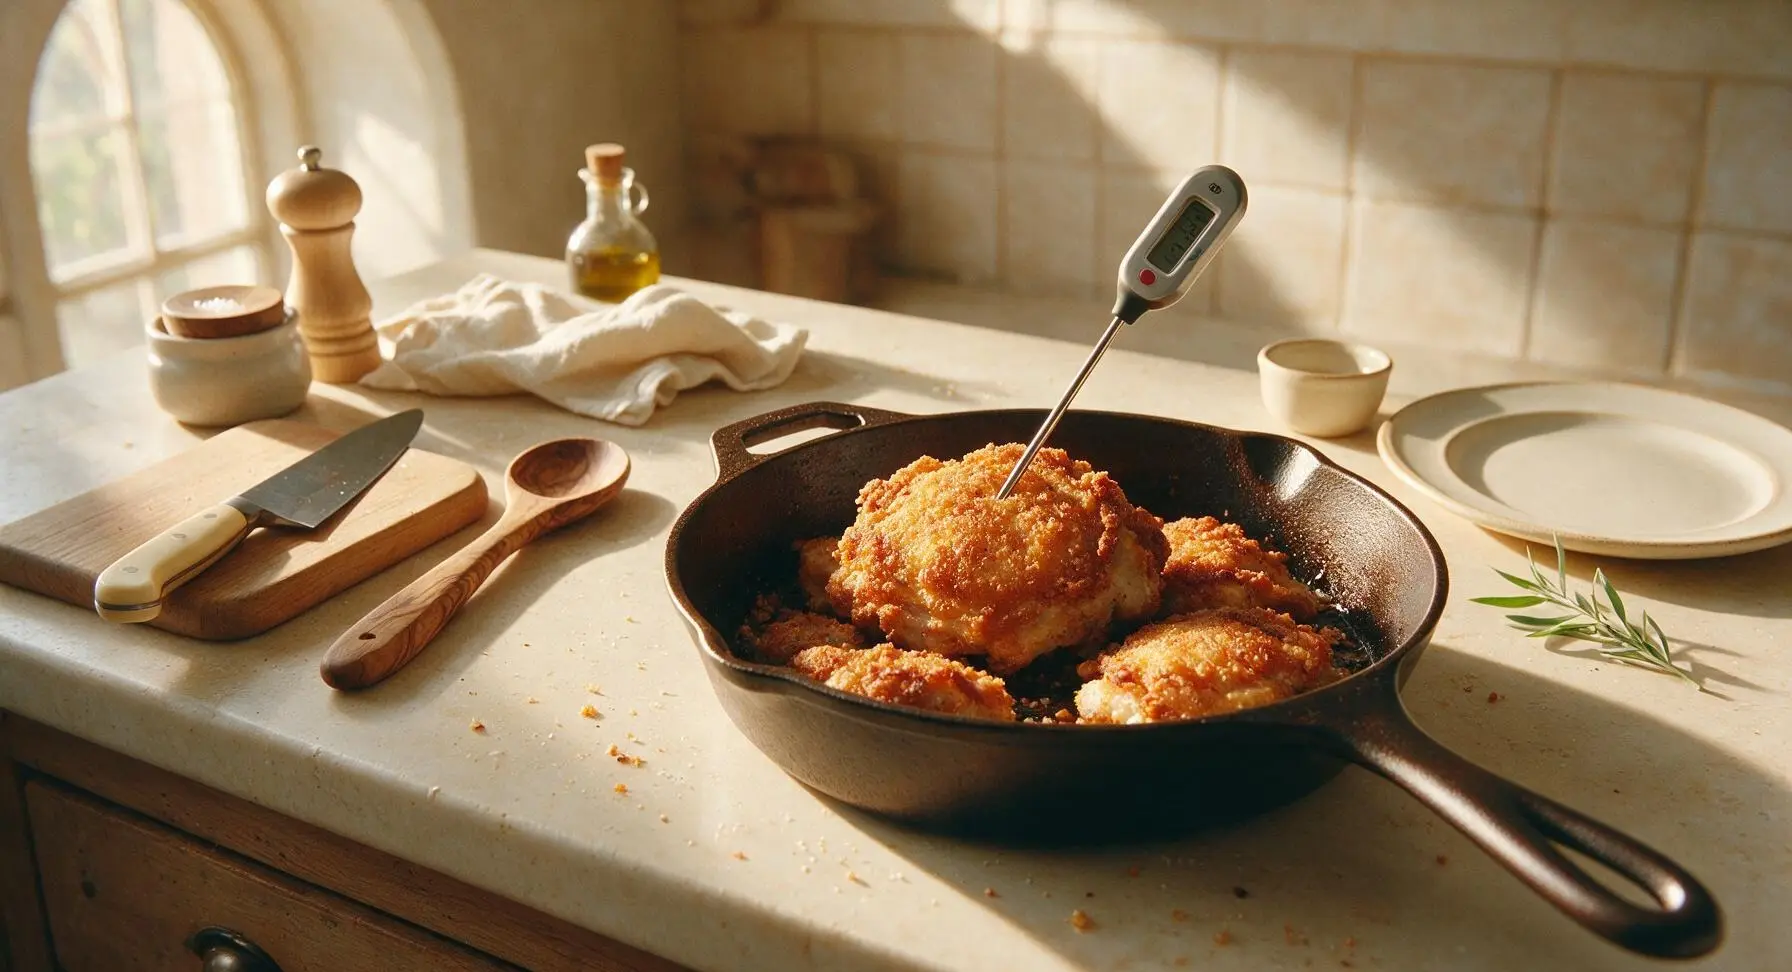
Use the tongs to flip each chicken piece to the second side. Fry for another 5-6 minutes, until the second side is equally deep golden and crispy, and the internal temperature of the thickest part of the chicken reads 75C (165F) on the instant-read thermometer. Do not press down on the chicken while frying, as this squeezes out juice and leads to dry meat.
Drain excess oil
Use the tongs to lift each cooked chicken piece from the skillet, letting excess oil drip back into the pan for 2 seconds. Transfer the chicken to the black wire cooling rack (lined with a single layer of unbleached paper towel) placed to the right of the stovetop. Let rest for 2 minutes to let excess oil drain and juices redistribute inside the meat. Lightly season with a tiny pinch of extra flaky salt if desired.
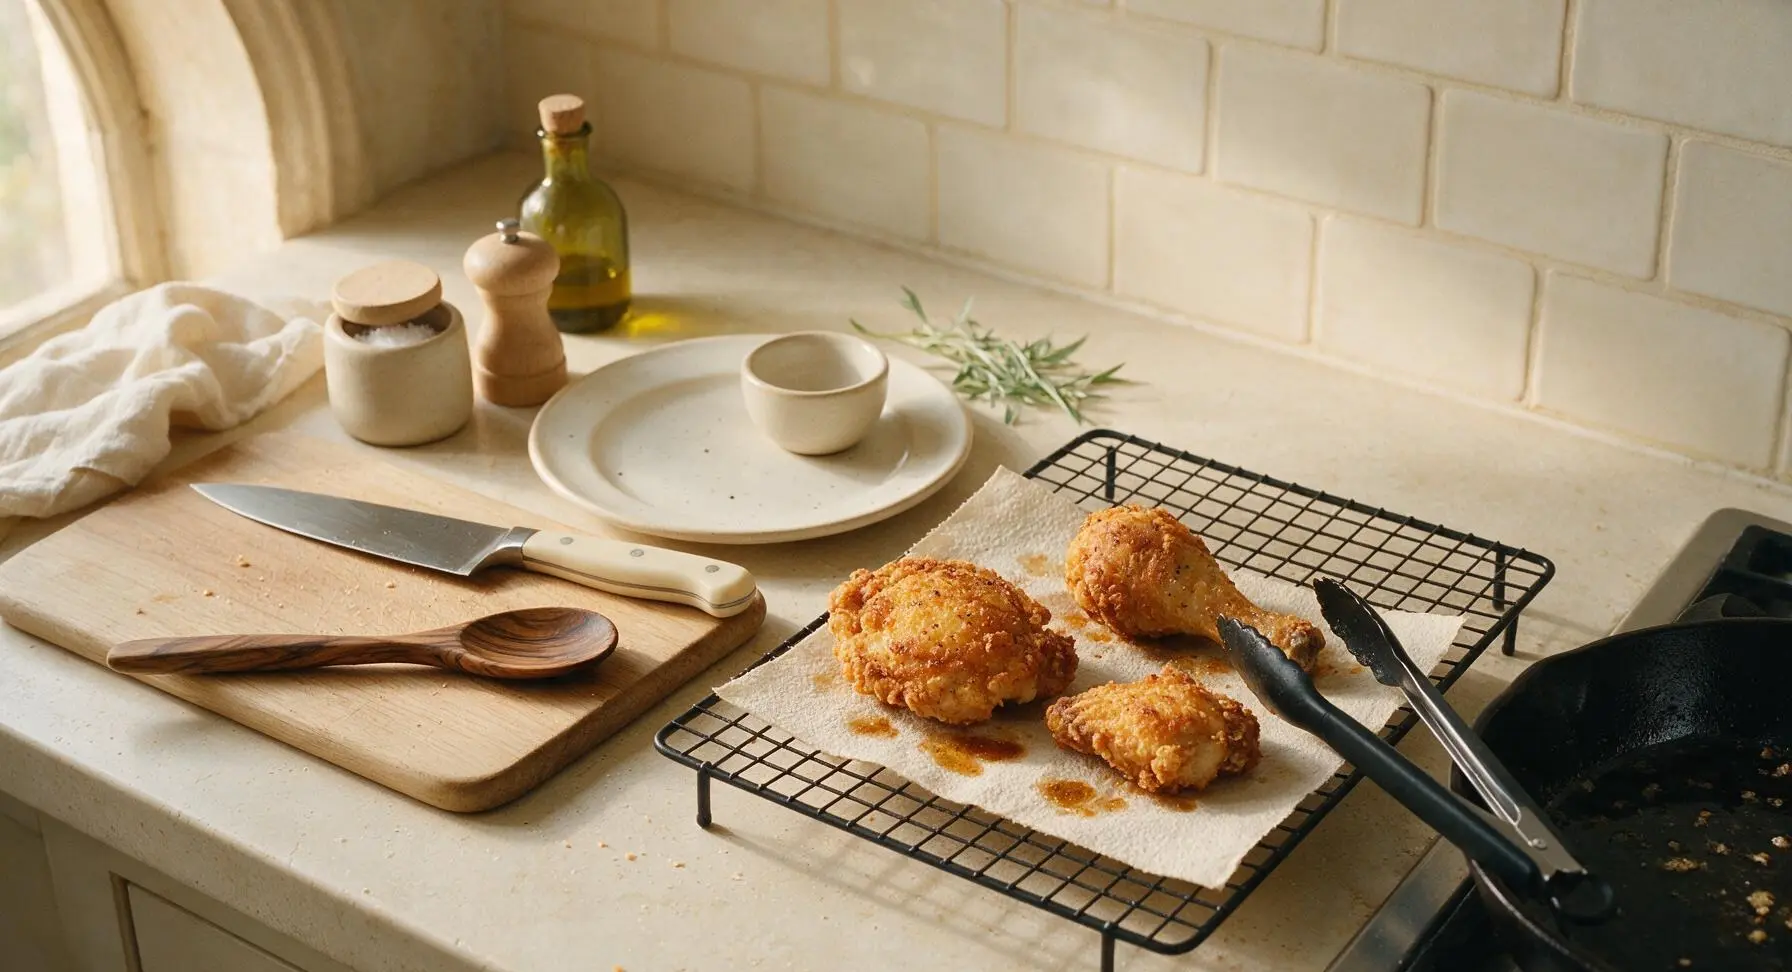
Plate and garnish chicken
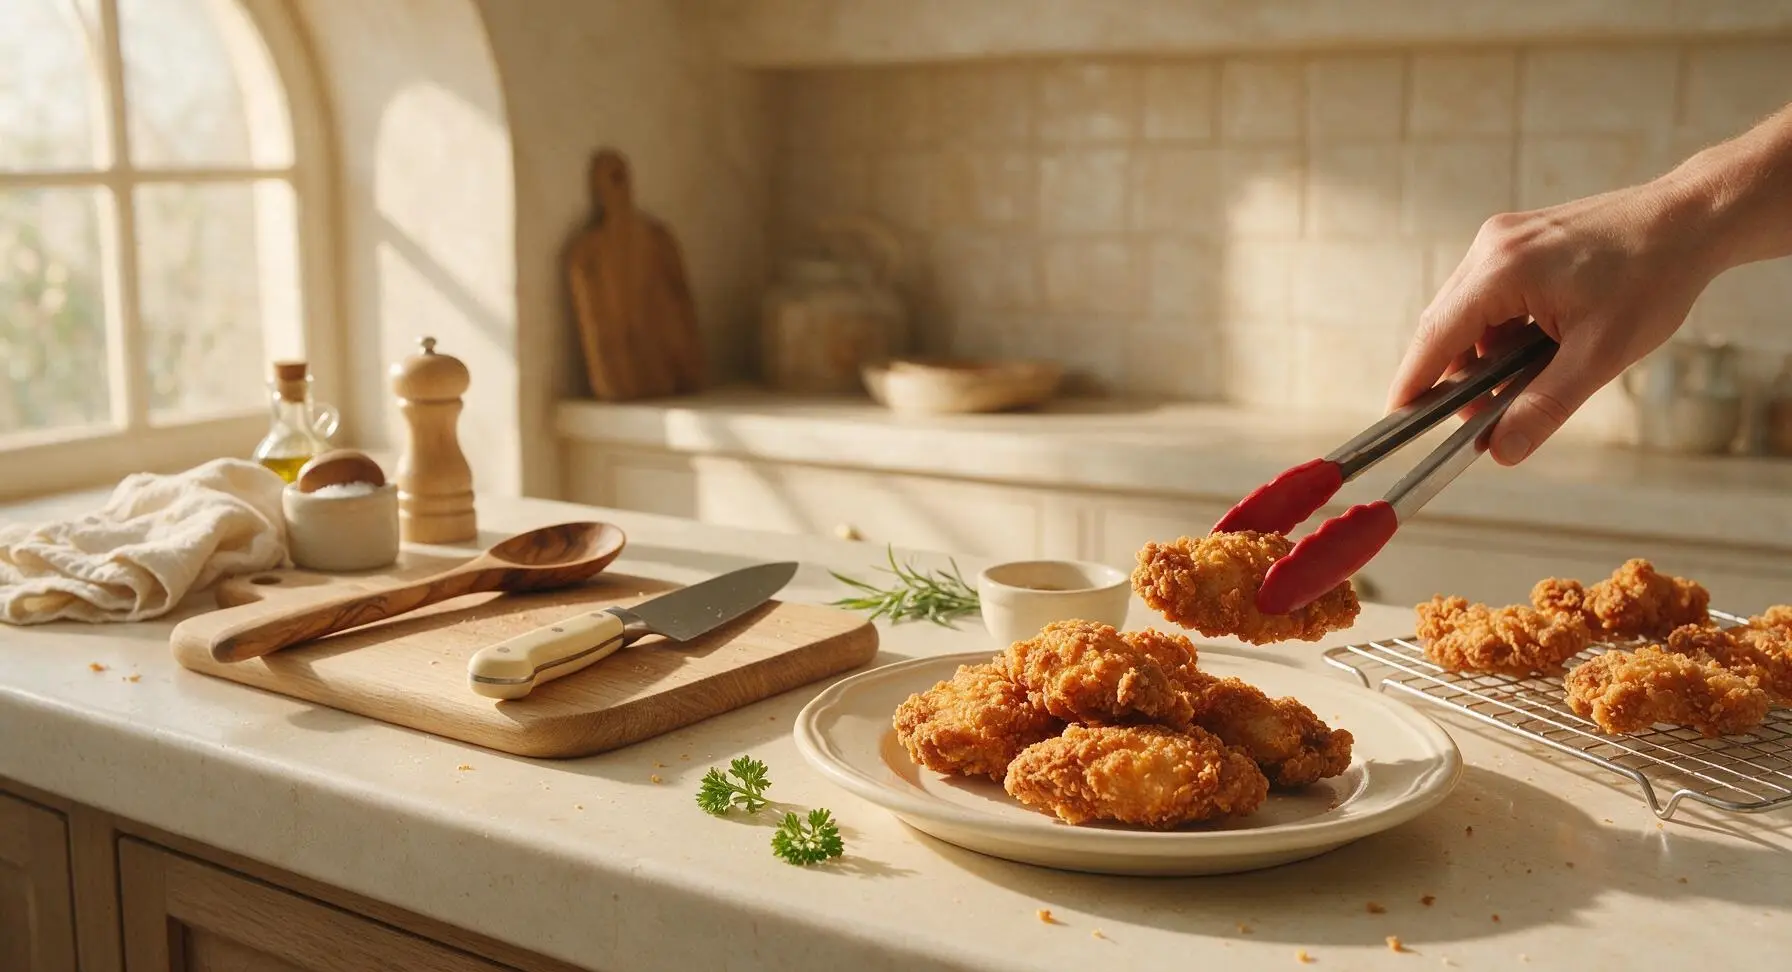
Transfer the drained, rested chicken pieces to the cream white matte stoneware dinner plate, arranging them in a casual slightly overlapping stack. Tuck 2 small sprigs of fresh curly parsley next to the chicken as a bright, fresh garnish. Serve immediately while the crust is shatteringly crisp and the chicken is hot and juicy.
Tips
2.Avoid overcrowding the skillet: If your pan can’t fit all 4 chicken pieces with 2cm of space between them, fry in 2 batches. Crowding drops oil temperature rapidly, leading to soggy, grease-soaked crust instead of light, crisp breading.
3.Never press chicken while frying: Pressing down on the chicken with tongs or a spatula squeezes hot, flavorful juice out of the meat and forces oil into the crust, resulting in dry chicken and a heavy, greasy coating. Let the chicken cook undisturbed for the best texture.






OMG this recipe is a total weeknight game changer! I got home from soccer practice with the kids at 6:30, had this on the table by 6:45, no joke. The chicken came out juicy every single time, no weird breading mess, and my picky 8 year old asked for seconds. Already added it to my regular meal prep rotation for next week!
Made this for my neighborhood potluck last weekend and people were hounding me for the recipe all night! I seasoned it with a little extra paprika and garlic powder like I do for most of my chicken dishes, and it was SO good. Crispy on the outside, tender inside, zero fancy ingredients needed. 10/10, will be making this for every cookout this summer.
Bro I’m a total novice in the kitchen, like I burn toast half the time, and this actually turned out pretty perfect? 15 minutes cook time is no cap, I didn’t even have to run to the grocery store because I already had all the seasonings in my cabinet. Way better than the frozen chicken nuggets I usually eat for dinner lmao. Knocked a star off only because I didn’t have any fresh lemon to squeeze on top like the recipe suggested, I bet that makes it even better.
This is my go-to for Sunday meal prep now! I make a big batch on Sundays, slice it up, and toss it on salads, wraps, and grain bowls all week. It holds up so well in the fridge, doesn’t get that weird rubbery texture most reheated chicken gets. I did use a little avocado oil instead of canola because that’s what I had on hand, worked like a charm.
Love that this is high protein, no heavy breading, and cooks so fast! I’ve been making this after my evening gym sessions when I’m too tired to spend an hour cooking. Pairs perfectly with roasted broccoli and quinoa for a super satisfying, macro-friendly meal. Only note is I’d recommend using a meat thermometer to hit 165F so you don’t overcook it!