
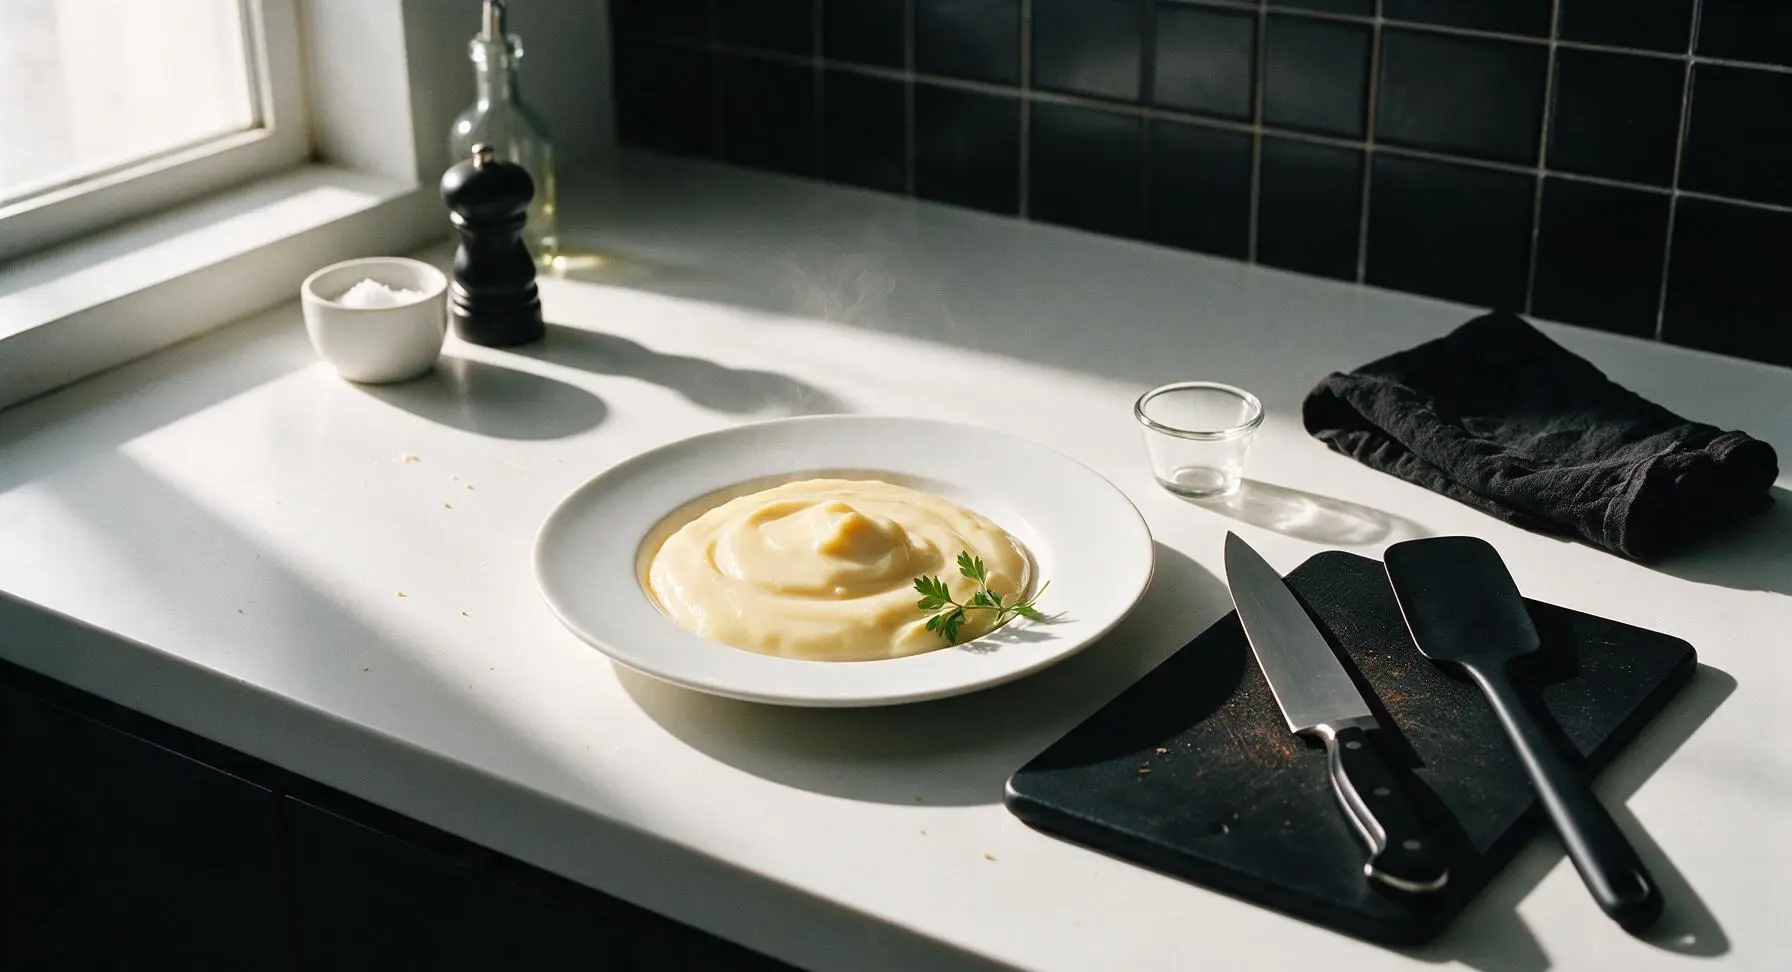
quick pudding

title 1
quick pudding
⏱️ cook time 10 minutes
🍽️ servings 4
⚡ Difficulty easy

intro

Silky, rich vanilla stovetop pudding ready in 15 minutes, no fancy equipment required. Soft, perfectly sweet, with a melt-in-your-mouth texture ideal for last-minute weeknight treats.

Ingredients
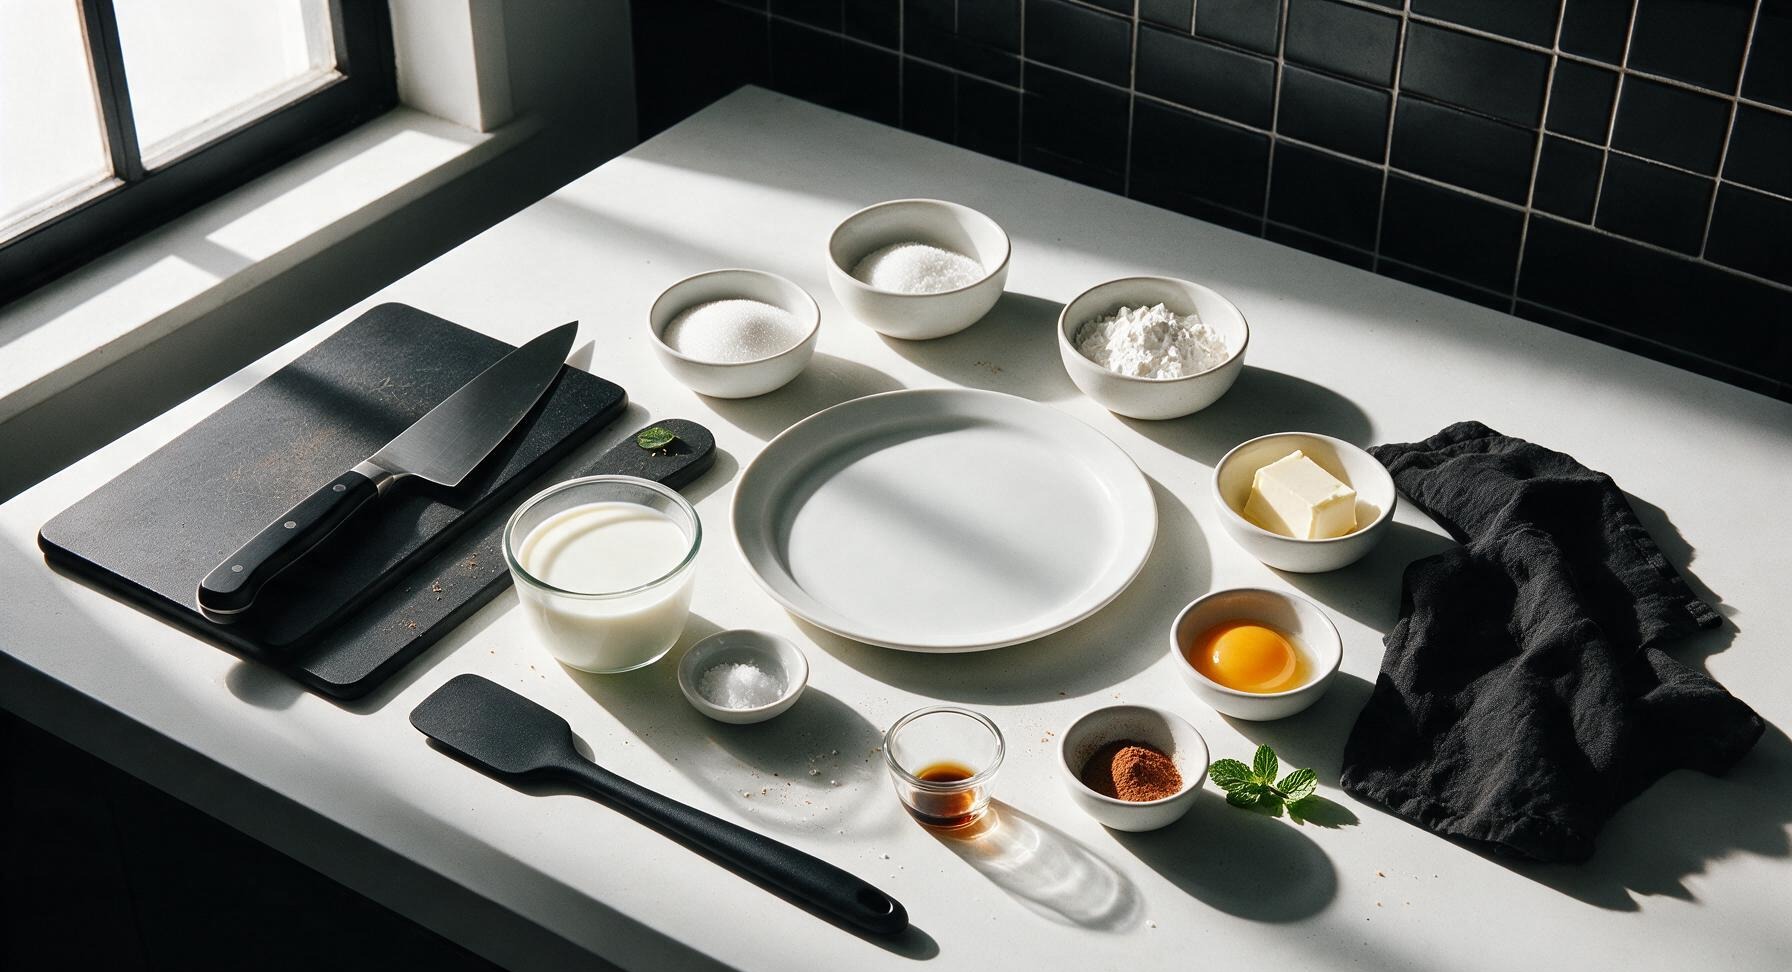
Whole milk 500ml (2 cups)
Granulated white sugar 50g (1/4 cup)
Cornstarch 30g (3 tbsp)
Large egg yolk 1 (18g)
Fine sea salt 1/8 tsp
Unsalted butter 15g (1 tbsp)
Pure vanilla extract 5ml (1 tsp)
Ground cinnamon (garnish) 1/4 tsp
Fresh mint leaves (garnish) 4 small leaves

Steps

1

Whisk Dry Base Ingredients

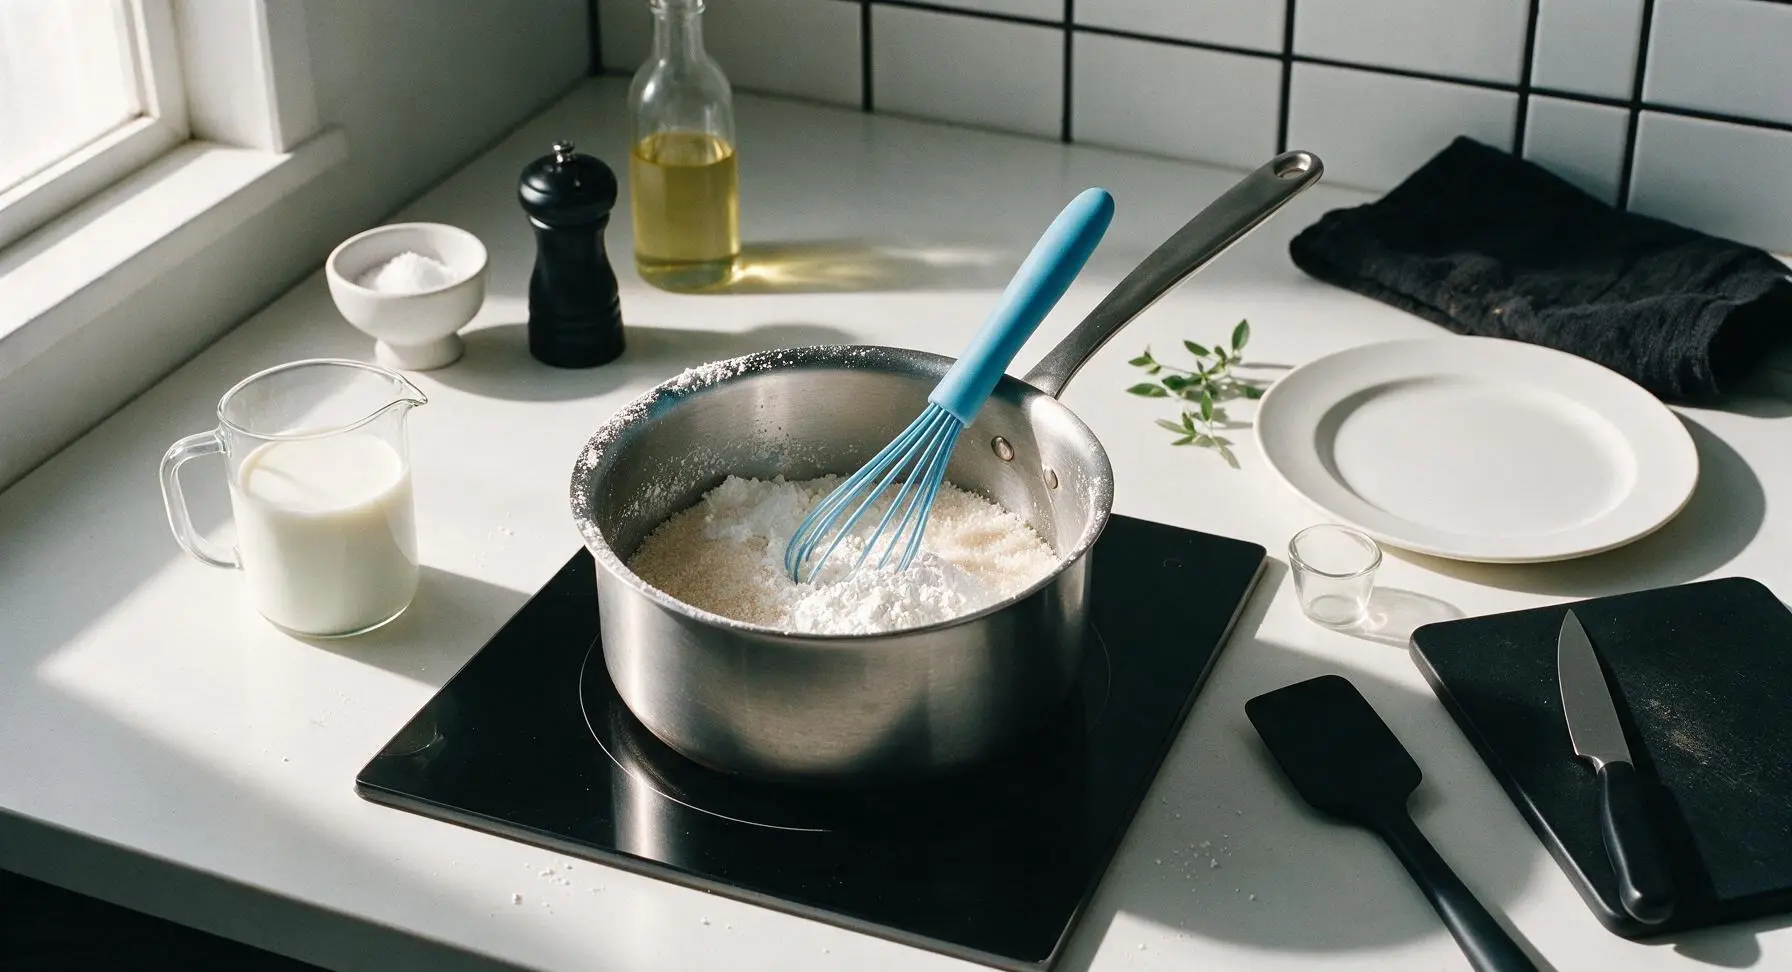
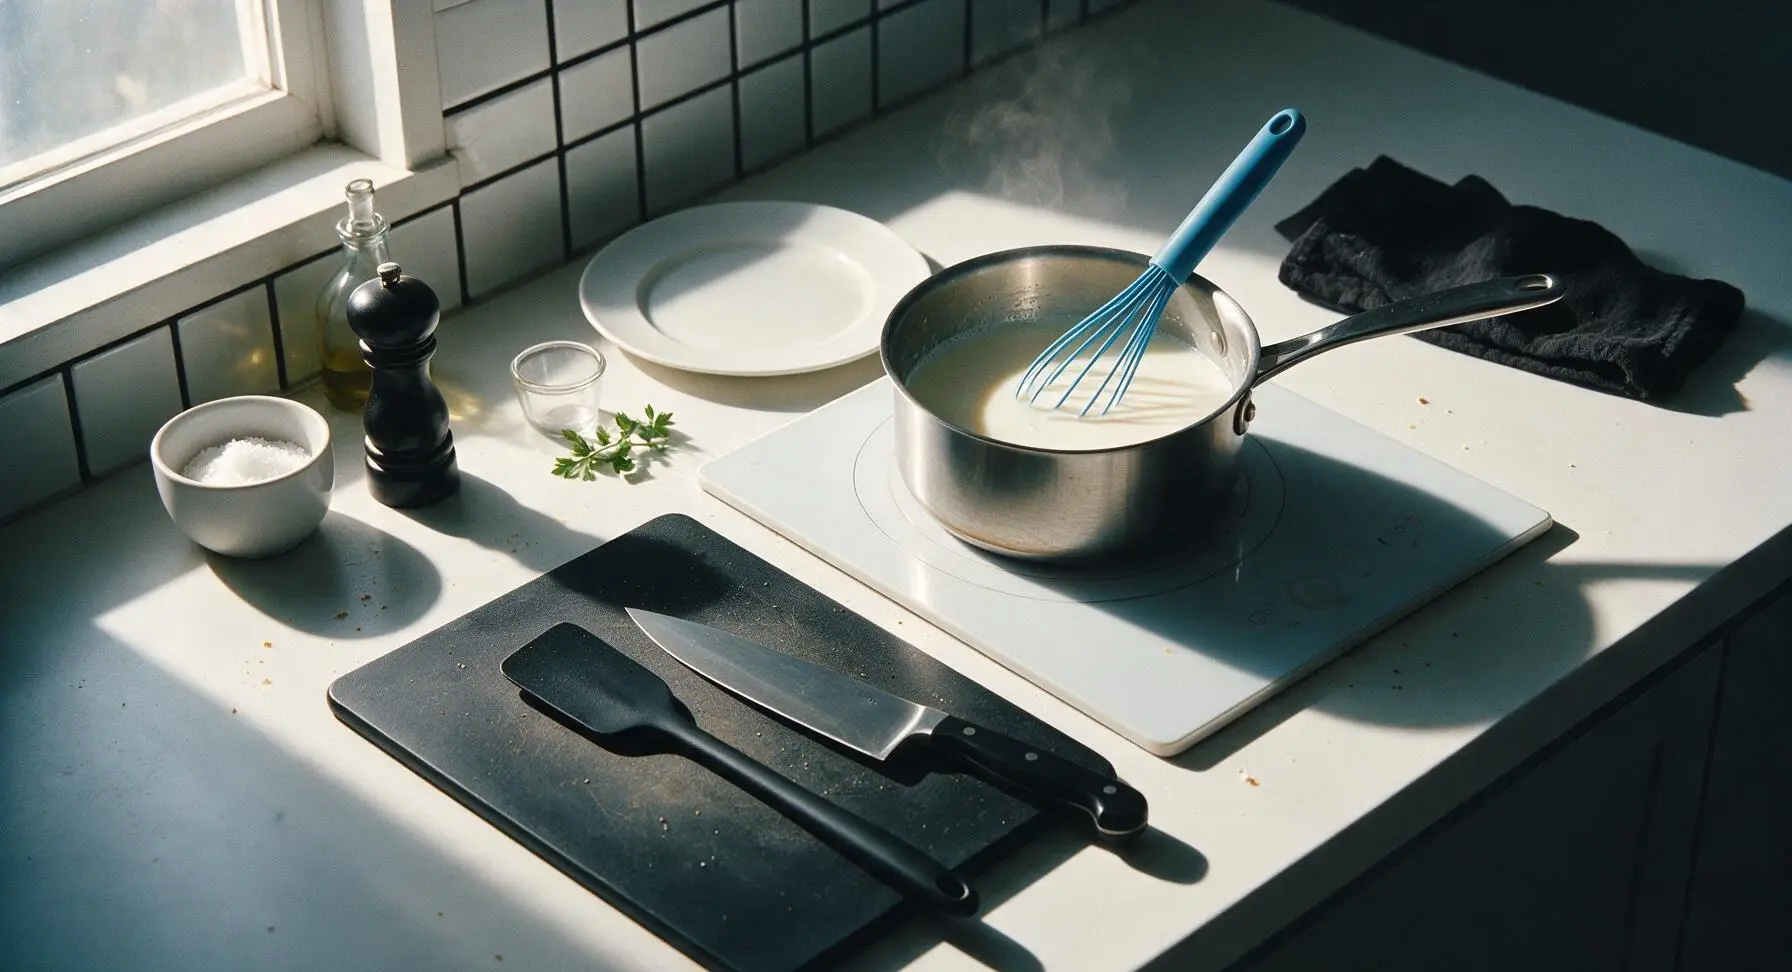
Place the 50g granulated sugar, 30g cornstarch, and 1/8 tsp fine sea salt into the stainless steel saucepan, which sits on the turned-off induction burner. Use the sky blue silicone whisk to stir the dry ingredients together for 30 seconds until fully combined, with no clumps of cornstarch visible. This pre-mixing prevents lumps from forming when cold liquid is added.
Step 1
step1:Whisk Dry Base Ingredients
2

Combine Milk and Yolk

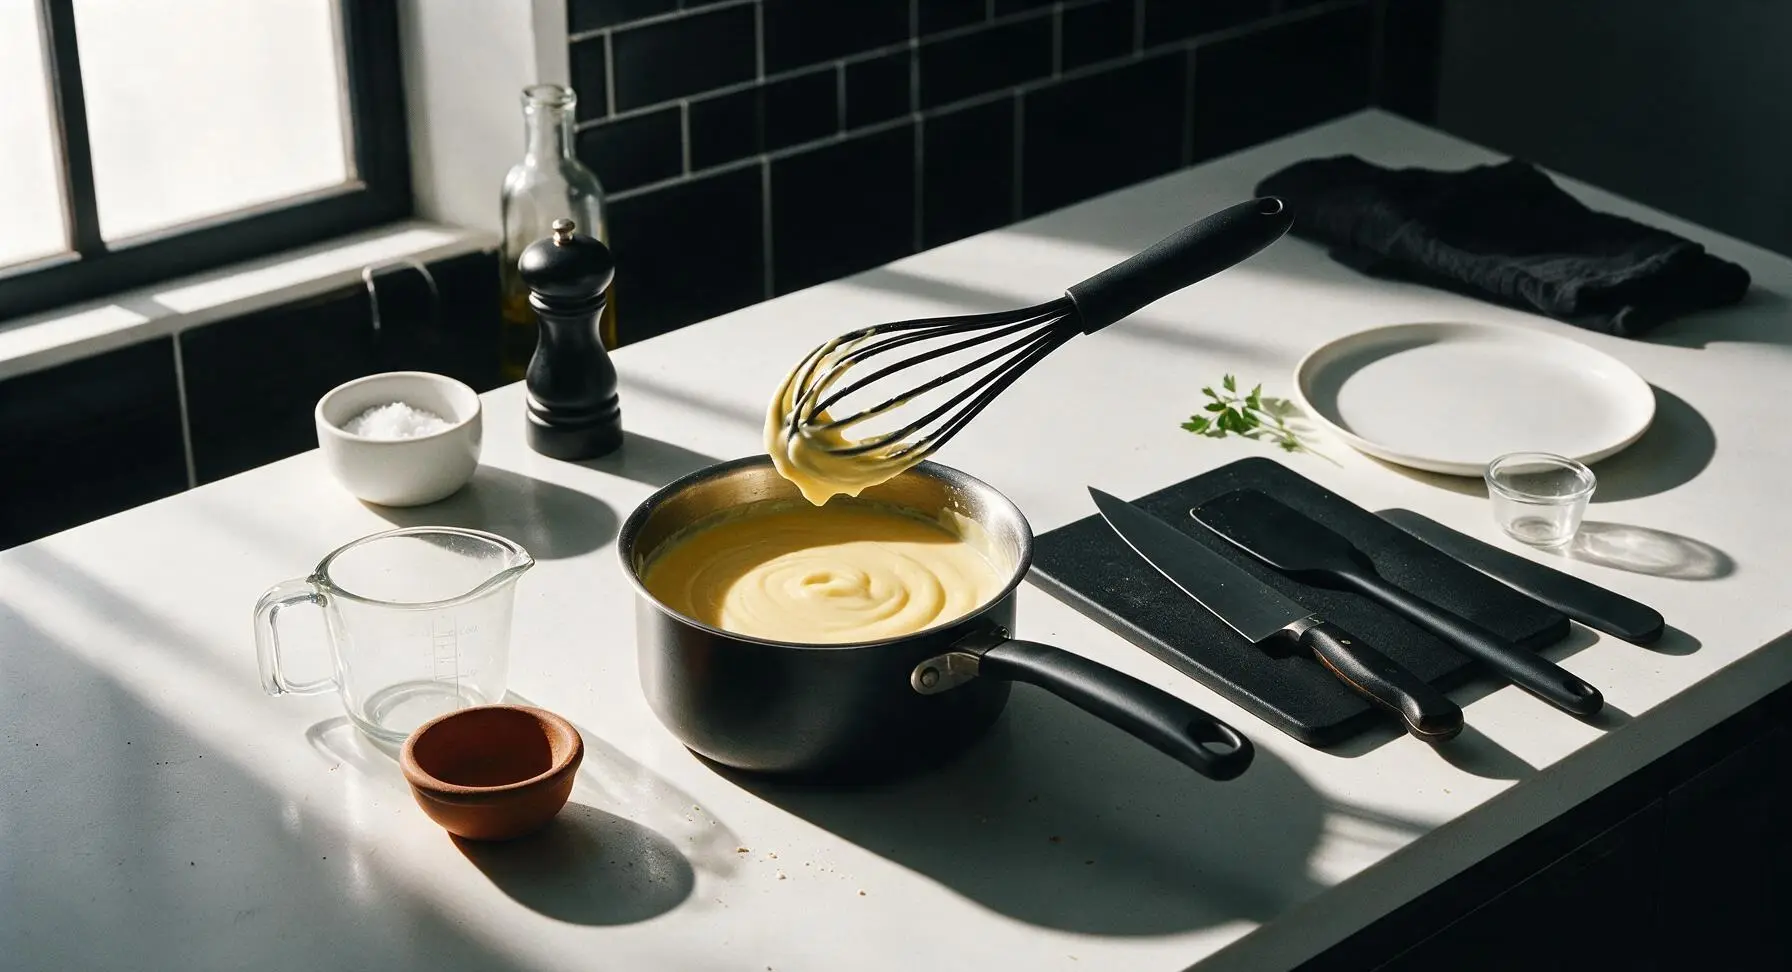
Slowly pour 120ml (1/2 cup) of the cold whole milk into the dry ingredient mixture in the saucepan, whisking constantly to form a smooth, thick slurry. Add the single egg yolk and whisk vigorously for 20 seconds until the slurry is completely uniform, pale yellow, with no streaks of egg yolk visible. Tempering the yolk into a thick slurry prevents it from curdling when heated.
Step 2
step2:Combine Milk and Yolk
3

Heat While Whisking Constantly

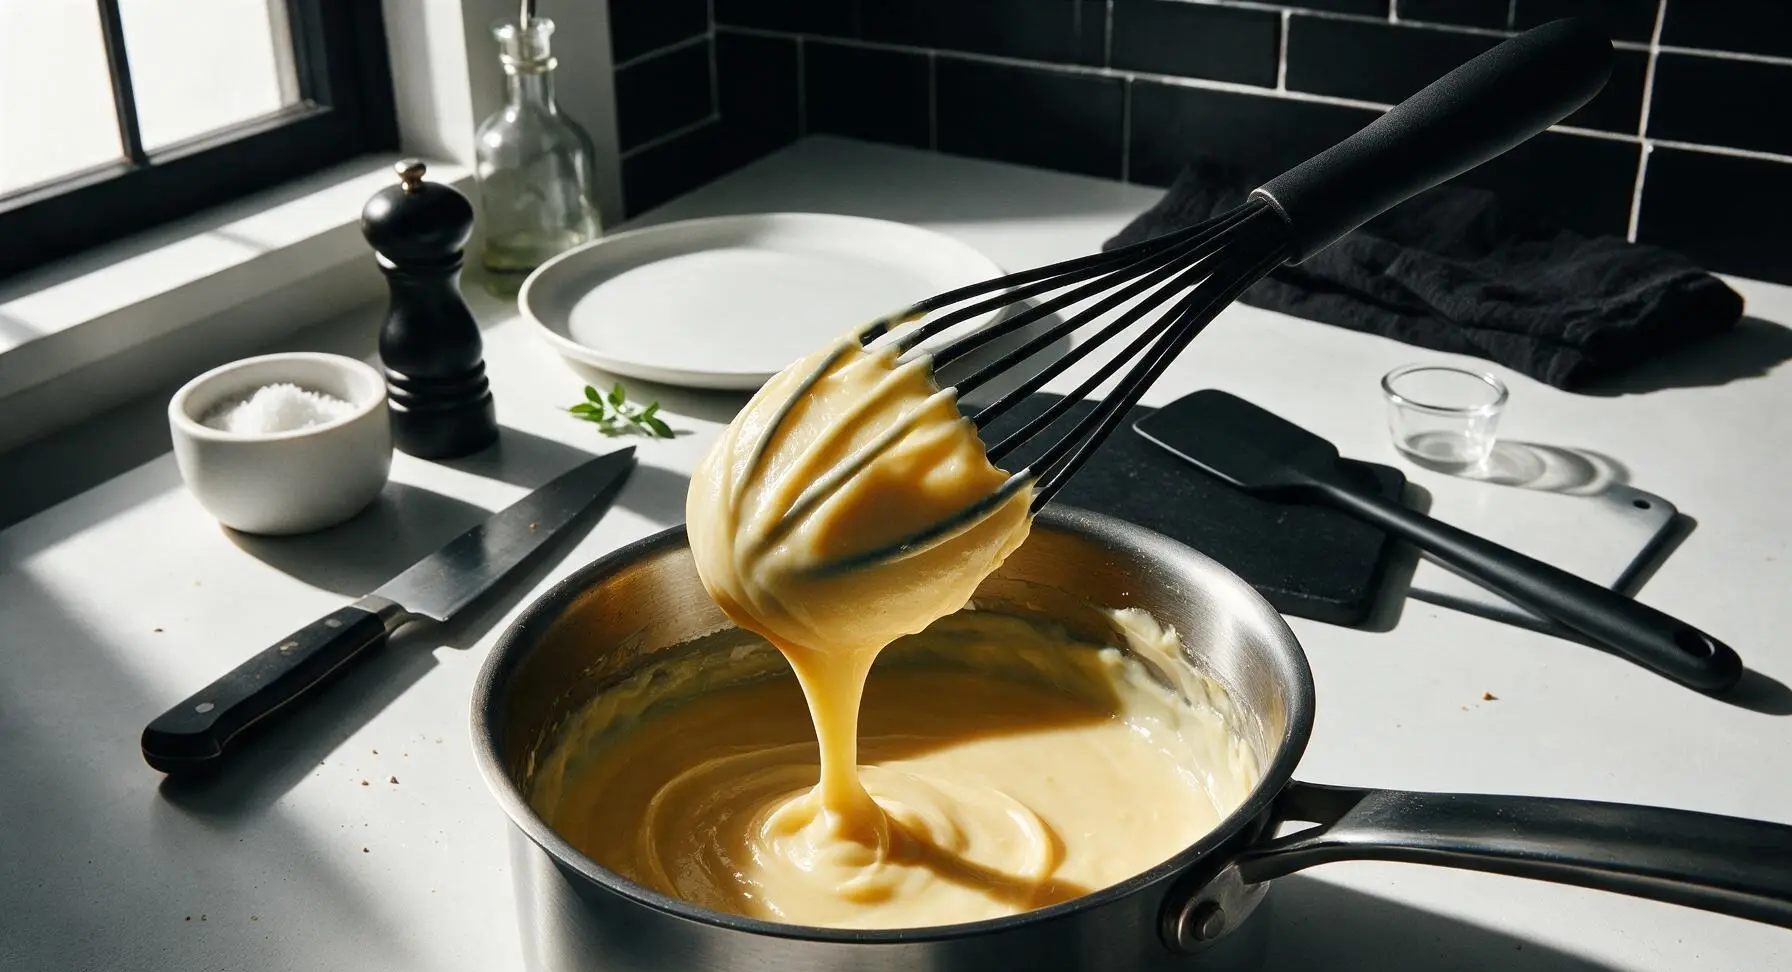
Turn the induction burner to medium-low heat (130C / 265F). Slowly pour the remaining 380ml of cold whole milk into the saucepan, whisking nonstop in slow, circular motions to incorporate. Continue cooking and whisking constantly for 4-5 minutes, until the mixture thickens to a coat-the-whisk consistency: when you lift the whisk, the pudding should leave a thick, slow-dripping trail that holds a shape for 2 seconds before melting back into the pan. Do not let the mixture boil, as high heat will break down the cornstarch and curdle the egg, leading to a grainy, thin texture.
Step 3
step3:Heat While Whisking Constantly
Step 3
step3:Heat While Whisking Constantly
4

Add Butter and Vanilla

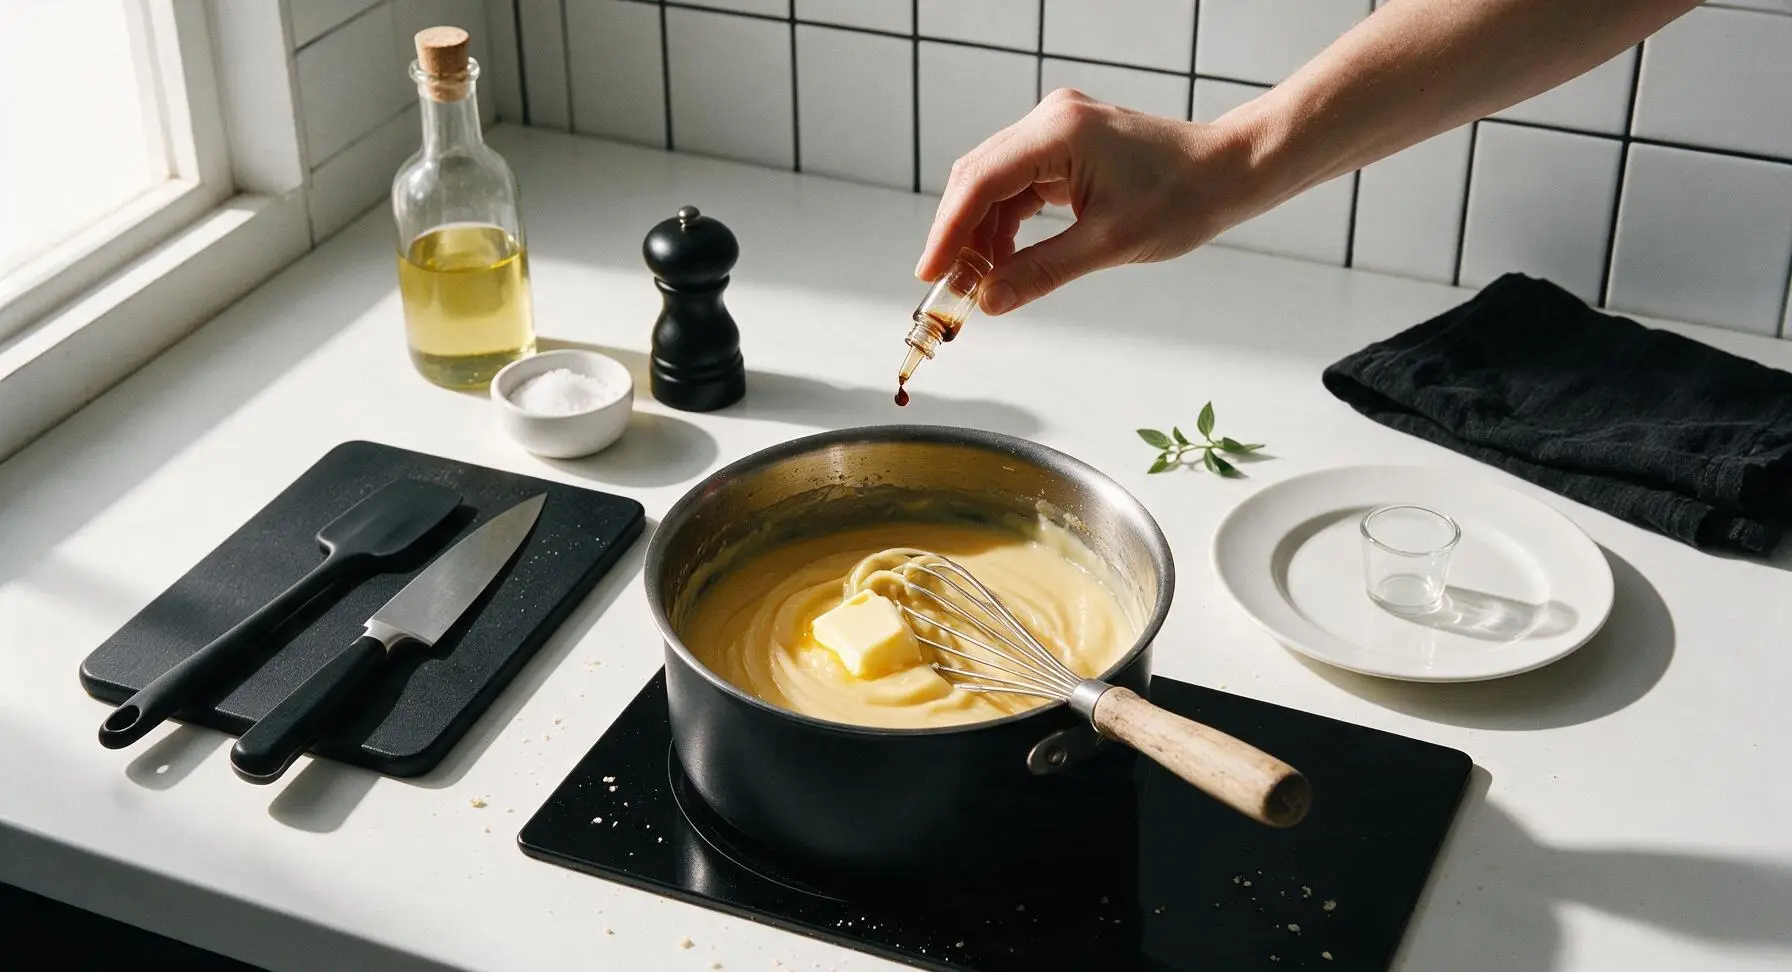
Turn off the induction burner. Add the 15g unsalted butter and 1 tsp pure vanilla extract to the thickened hot pudding, whisking for 30 seconds until the butter is fully melted and the vanilla is evenly incorporated, creating a silky, glossy pale golden pudding. The residual heat from the pudding is enough to fully melt the butter without additional cooking.
Step 4
step4:Add Butter and Vanilla
5

Strain to Remove Lumps

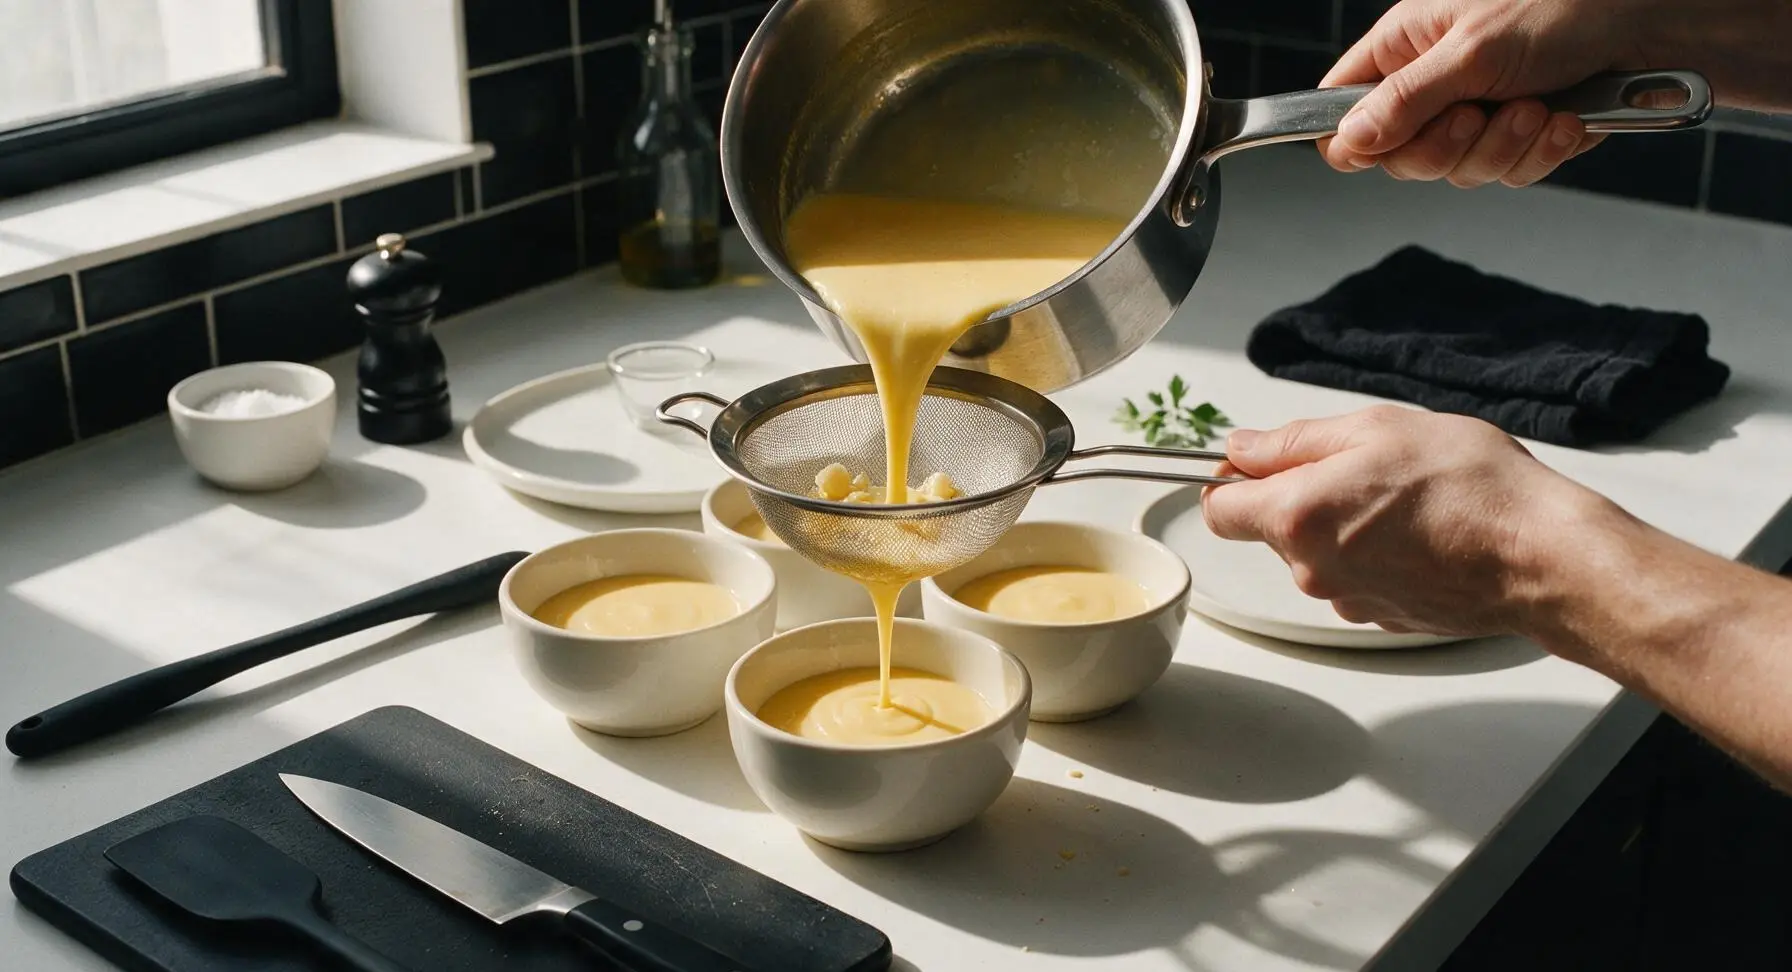
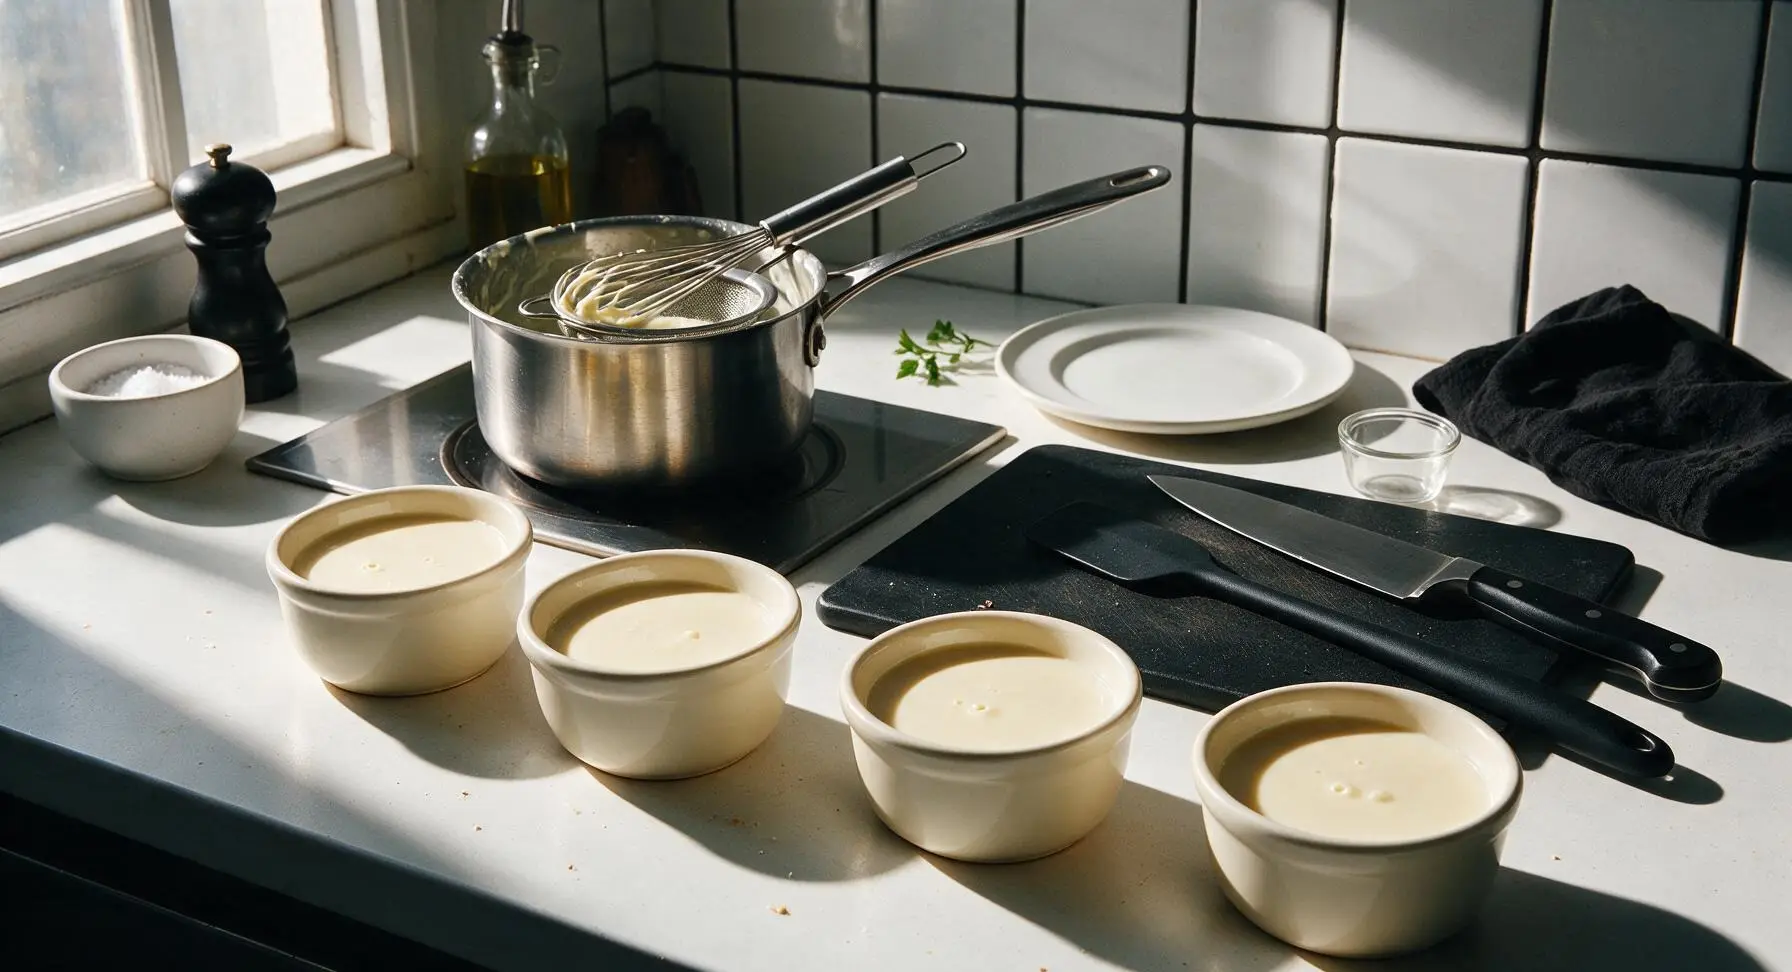
Unstack the 4 matte cream white ceramic dessert bowls and arrange them in a row on the front counter. Position the fine-mesh stainless steel sieve over one bowl at a time, pouring the hot pudding through the sieve to catch any tiny lumps of cooked egg or cornstarch. This quick step guarantees a perfectly silky, lump-free texture without requiring constant, perfect whisking.
Step 5
step5:Strain to Remove Lumps
6

Rest to Set Slightly

For quick weeknight service, let the filled pudding bowls rest at room temperature for 5 minutes to allow the starch to set slightly into a soft, spoonable consistency. If you prefer a firmer set, press a small square of plastic wrap directly against the surface of each pudding (to prevent a thick skin from forming) and chill in the refrigerator for 30 minutes.
Step 6
step6:Rest to Set Slightly
7

Garnish and Serve

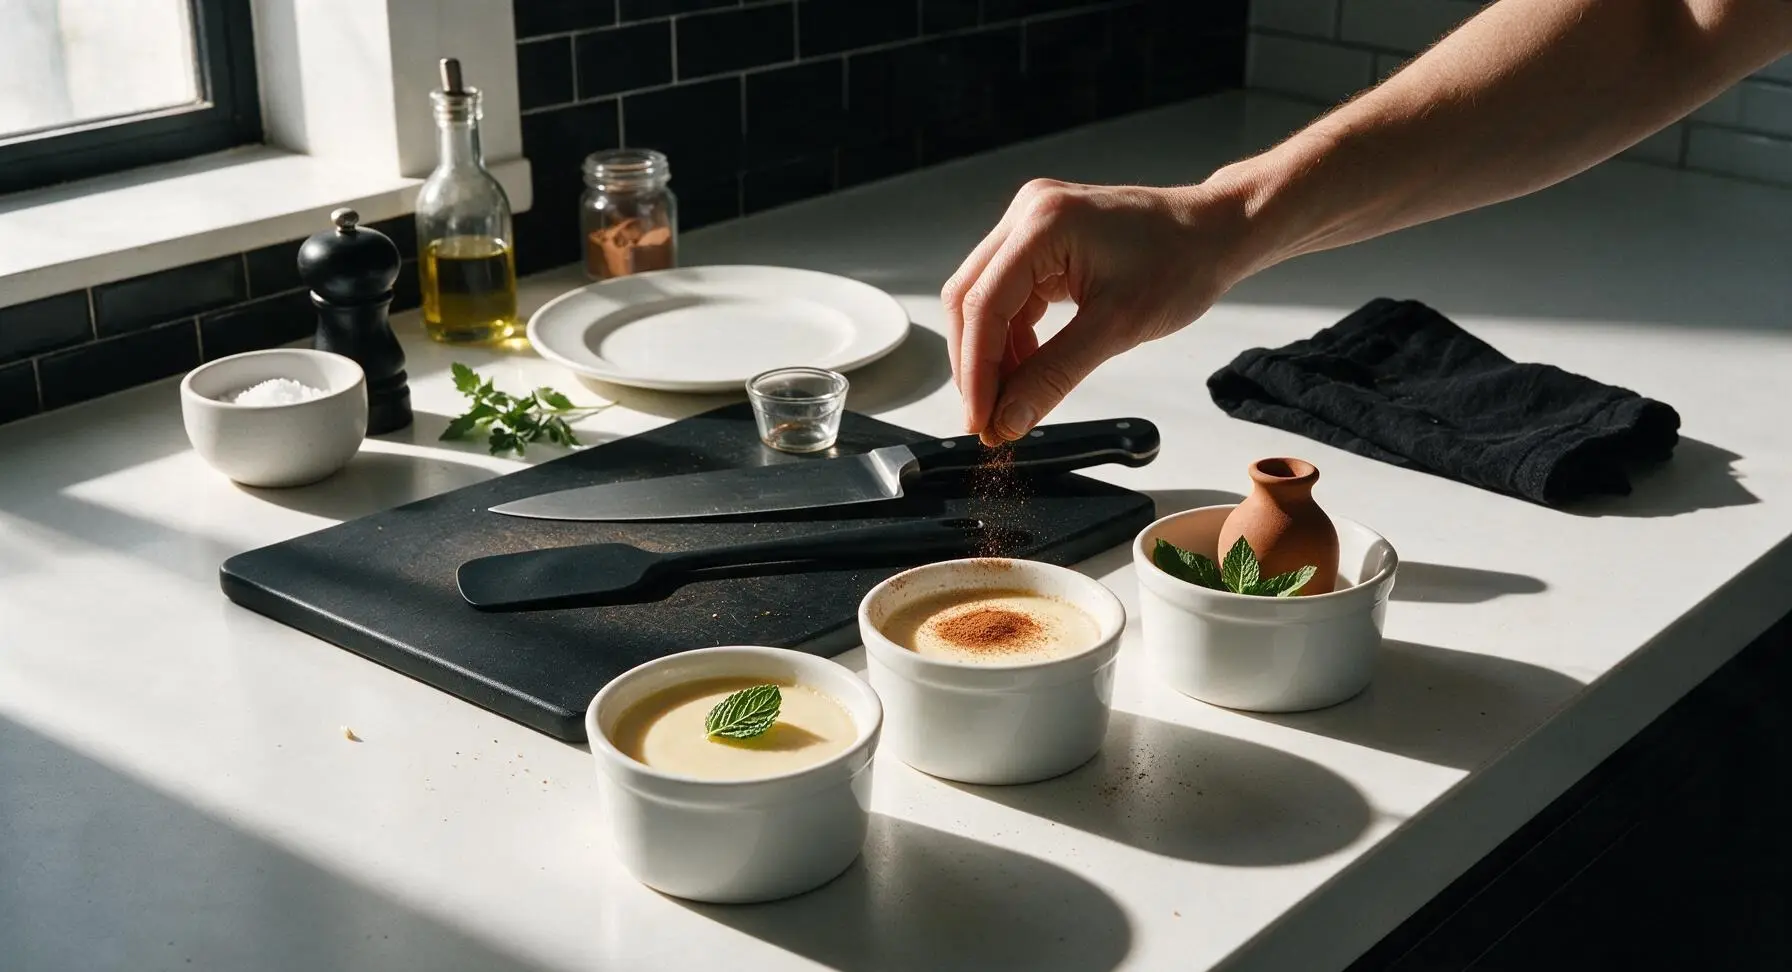
Lightly dust the top of each pudding with a pinch of ground cinnamon taken from the fixed glass cinnamon jar, and top each bowl with one small fresh mint leaf plucked from the terracotta bud vase on the counter. Serve immediately for a soft, warm, melt-in-your-mouth texture.
Step 7
step7:Garnish and Serve

Tips

1.Never let the pudding come to a rolling boil: high heat breaks down cornstarch’s thickening power and can curdle the egg yolk, leading to a thin, grainy texture instead of a silky set. Keep heat at medium-low and pull the pan off the burner as soon as it thickens enough to coat the whisk.
2.Press plastic wrap directly against the pudding surface if chilling: exposure to air causes a thick, chewy skin to form on top of the pudding as it cools, which many people find unappealing. Direct contact between plastic and pudding eliminates air contact entirely for a perfectly smooth top.
3.Don’t skip the 30-second straining step: even with constant, careful whisking, tiny lumps of cooked cornstarch or egg can form, and straining takes almost no extra time while delivering a restaurant-smooth texture that feels far more luxurious than a quick weeknight dessert.


✨ You May Also Like

Desserts & Baking
🍜 Italy

Creamy, coffee-kissed classic Northern Italian no-bake dessert, with layers of rum-spiked mascarpone cream, soft ladyfingers, and a rich cocoa dusting.

⏱️ 4 hours 3Desserts & Baking ★ 4.7
Desserts & Baking
🍜 France

Flaky, shatteringly crisp, buttery French croissants with golden exteriors and soft, airy layered interiors, perfect for pairing with coffee for a special morning treat.

⏱️ 12 hours Desserts & Baking ★ 4.5
Desserts & Baking
🍜 United States

Warm, spiced baked apples topped with a fluffy golden biscuit crust, this cozy dessert pairs perfectly with vanilla ice cream for cool-weather comfort.

⏱️ 55 minuteDesserts & Baking ★ 4.6
Desserts & Baking
🍜 United States

A star-spangled classic American blueberry pie with buttery flaky crust and bright sweet-tart filling, perfect for summer patriotic gatherings.

⏱️ 1 hour 25Desserts & Baking ★ 4.7
Desserts & Baking
🍜 United States

A beloved no-bake regional Maine candy with a chewy coconut-potato center coated in rich dark chocolate, a New England holiday staple since the 1870s.

⏱️ 2 hours 3Desserts & Baking ★ 4.8
Desserts & Baking
🍜 France

Luxuriously creamy, floral frozen custard made with aromatic Tahitian vanilla beans, boasting a smooth, rich texture that melts slowly on the tongue.

⏱️ 3 hours 3Desserts & Baking ★ 4.5

quick pudding:Frequently Asked Questions

1.Can I use lower-fat milk instead of whole milk for this pudding? ▾
Whole milk delivers that signature rich, creamy melt-in-your-mouth texture this recipe is known for, so it’s my top pick. If you only have 2% milk on hand, add 1 extra teaspoon of cornstarch to compensate for lower fat content and prevent thin, watery pudding. Skim milk is not recommended, as it produces a flat, watery result with no luxurious mouthfeel.
2.Why did my pudding turn out lumpy instead of smooth and silky? ▾
Lumps almost always stem from two common missteps: adding cornstarch too quickly without whisking, or using heat that’s too high, which curdles the egg yolk. Prevent lumps by whisking dry ingredients (sugar, cornstarch, salt) into cold milk before turning on the heat, and keep the burner at medium-low, whisking constantly as it thickens. Pour lumpy pudding through a fine sieve for a quick fix.
3.Do I really need to add fine sea salt to a sweet vanilla pudding? ▾
That small pinch of fine sea salt is non-negotiable for balanced, well-rounded flavor! It cuts through cloying sugar sweetness, amplifies warm vanilla notes, and keeps the pudding from tasting flat or one-note. You won’t taste the salt itself at all—you’ll just notice a richer, brighter vanilla flavor that tastes far more intentional than pudding made without salt.
4.How do I prevent that thick, rubbery skin from forming on pudding as it cools? ▾
That rubbery top skin forms when the pudding’s exposed surface loses moisture to air as it cools. Prevent it easily by pressing a piece of plastic wrap directly against the entire surface of the warm pudding (leave no gaps between wrap and pudding) before refrigerating. Skip this step if you enjoy that chewy top layer, but the direct wrap method guarantees silky texture top to bottom.
5.Can I make this pudding without egg yolks for an egg-free version? ▾
The large egg yolk in this recipe adds richness, depth, and a luxuriously smooth texture that cornstarch alone can’t replicate. For an egg-free swap, replace the single egg yolk with 1.5 extra tablespoons of cornstarch, and stir in 1 tablespoon of unsalted butter at the end of cooking to mimic that fatty, rich mouthfeel. The flavor will be simpler, but it will set properly.
6.How long does this stovetop pudding take to fully set? ▾
This pudding thickens on the stovetop in 7 to 9 minutes of cooking, right as it reaches a gentle simmer. You can serve it warm right off the stove for a soft, gooey treat, or chill it for 30 minutes if you prefer a firmer, cold set. Unlike baked custards, it doesn’t need hours of chilling to hold its shape, perfect for last-minute desserts.
7.Can I use a sugar substitute instead of granulated white sugar? ▾
Granulated white sugar gives this pudding its clean, sweet flavor and smooth texture, but you can swap it for a 1:1 granulated baking sugar substitute if needed. Avoid liquid sweeteners like maple syrup or honey, as they throw off the liquid ratio, make pudding too runny even with extra cornstarch, and overpower the delicate vanilla flavor.
8.Why does my pudding have a weird starchy, chalky aftertaste? ▾
That starchy, chalky flavor means you didn’t cook the cornstarch long enough to fully gelatinize and lose its raw, uncooked taste. Once your pudding starts to bubble and thicken, keep it at a gentle simmer for 1 full minute while whisking constantly to cook out that raw starch flavor. Don’t pull it off the stove the second it thickens— that extra minute makes all the difference.
9.Can I add mix-ins like chocolate chips, fruit, or cookie crumbs to this pudding? ▾
Absolutely! This neutral vanilla base is incredibly versatile for custom add-ins. Fold in mix-ins like mini chocolate chips, cooled berry compote, crushed vanilla wafers, or a dash of cinnamon right after taking the pudding off the heat, so they don’t burn, melt unevenly, or prevent proper setting. Avoid adding watery fresh cut fruit directly, as it can thin the pudding.
10.What should I do if my pudding is too runny even after cooking? ▾
If your pudding stays runny after a minute of simmering, you likely either used too little cornstarch, or the heat was too low to activate cornstarch’s thickening power. Fix it by making a quick slurry of 1 teaspoon cornstarch and 1 tablespoon cold milk, whisking it into the simmering pudding, and cooking 1 more minute until thick. Never add dry cornstarch directly, or you’ll get lumps.
11.Can I make this pudding ahead of time for a party or potluck? ▾
Yes, this pudding holds up really well for make-ahead prep! Store it in an airtight container (with plastic wrap pressed directly to the surface to prevent skin) in the fridge for up to 3 days. Give it a quick, gentle stir with a spoon right before serving to loosen it to that perfect soft, silky consistency. It is not freezer-friendly, as thawing causes separation and grainy texture.
12.How can I adapt this recipe to be dairy-free? ▾
For a dairy-free version, swap the whole milk for unsweetened plain oat milk, which has a similar creaminess and neutral flavor that won’t overpower vanilla notes. Add 1 extra teaspoon of cornstarch to account for oat milk’s thinner consistency, and swap the egg yolk for 1 extra tablespoon of cornstarch for a fully vegan version, plus a tablespoon of vegan butter at the end for richness.
13.Do I need any special equipment, like a double boiler, to make this pudding? ▾
No fancy equipment is required at all— that’s part of what makes this such a great quick weeknight treat! All you need is a small heavy-bottomed saucepan, a standard wire whisk, and basic measuring cups and spoons. You don’t need a double boiler, stand mixer, or special molds; it comes together in one pot on a regular stovetop in 15 minutes flat.
14.Can I use a cornstarch substitute like flour or arrowroot if I’m out of cornstarch? ▾
If you don’t have cornstarch, you can swap it for arrowroot starch at a 1:1 ratio for the same clear, silky set. All-purpose flour works too, but you’ll need twice as much flour as cornstarch (2 tablespoons flour per 1 tablespoon cornstarch) and cook it 2 to 3 extra minutes to eliminate raw flour taste. Avoid tapioca starch, as it creates a stringy, gummy texture.
15.What’s the difference between this homemade stovetop pudding and instant pudding mix? ▾
Unlike instant pudding, which relies on modified starches and artificial flavors to set without cooking, this homemade version has bright, real vanilla flavor, a melt-in-your-mouth silky texture, and no weird preservatives or chemical aftertaste. It only takes a few extra minutes of cooking compared to instant, and the fresh, creamy flavor is noticeably better with simple pantry staples.

Comments (9)

2 days ago

OMG this pudding is SO good!!! I threw it together last minute when my kid’s soccer crew showed up after practice yesterday, and every single kid asked for seconds. No weird artificial boxed aftertaste, just perfectly creamy, rich vanilla. That 10 minute cook time is no lie either—total game changer for chaotic weeknights when I don’t have time to fuss with a fancy dessert.

yesterday

This makes our day! So glad it was a hit with the soccer crew—nothing beats a quick, from-scratch treat that doesn’t leave you stuck in the kitchen for hours. Pro tip: top with a little crushed graham cracker for a fun s’mores adjacent twist next time!

2 hours ago

Quick question—did you use whole milk or 2%? I only have skim in the fridge right now and am wondering if it’ll still set up okay, or if I need to run to the store quick.

3 days ago

Really tasty base recipe! Mine came out a tiny bit lumpy my first go-round, but the flavor was spot on. I added a dash of cinnamon on top and it tasted just like the vanilla pudding my grandma used to make when I was a kid. Will definitely be making this again for our church potluck next weekend.

2 days ago

So glad you loved the classic flavor! The trick to avoiding lumps is to keep whisking constantly once you pour in the cornstarch slurry, and you can even pour it through a fine mesh sieve at the end if you spot any stray lumps—works every time! Hope it’s a total hit at the potluck.

1 week ago

As a broke college student with barely any cooking supplies in my dorm, this was perfect! I already had all the ingredients on hand (shoutout to the vanilla extract I swiped from my mom’s pantry during my last visit home) and it came together so fast. Way cheaper than buying those pre-made pudding cups from the campus convenience store and tastes 100x better. I meal prepped 4 servings for the week and I’m already excited to dig into a bowl after my evening lecture.

5 days ago

Made this for my partner’s birthday since they absolutely hate cake, and they cried happy tears!!! It was so smooth and the vanilla flavor really shines when you use good quality extract. I served it with fresh strawberries and whipped cream and it felt like a fancy restaurant dessert—no one believed it only took 10 minutes on the stove.

3 days ago

That’s such a sweet birthday idea! My partner also hates cake with a passion so I’m totally stealing this for our anniversary next month, thanks for the inspiration!

yesterday

Game. Changer. I’ve been buying overpriced gluten free pudding mixes forever because I thought from-scratch pudding would be too fussy, but this was idiot proof! I swapped in barista blend oat milk (not the watery cheap stuff) and it turned out perfectly creamy. My whole family devoured it after Sunday dinner, even my picky 7 year old who turns his nose up at 90% of the food I make. Absolute win.

2 hours ago

Love the oat milk swap! Thanks for sharing that tip for our gluten free readers—we’re so glad your picky eater approved, that’s honestly the highest praise there is!

30 minutes ago

Wait do you think unsweetened almond milk would work too? I have a carton in the fridge I need to use up before it expires!

2 weeks ago

Solid pudding recipe. I made it to use as the filling for my banana cream pie for a family cookout last weekend and it held up way better than the instant stuff I usually reach for. Only reason I’m not giving 5 stars is I wish it was a little sweeter, so next time I’ll add an extra tablespoon of sugar to match my massive sweet tooth. Otherwise, super easy, no fancy steps, will be my go-to pudding base from now on.

5 minutes ago

Wait I have never made anything that didn’t come out of a microwave before and this actually worked??? I was so scared I’d burn it or mess up the ratios but the instructions were so straightforward, I didn’t mess up a single step. It’s warm and creamy and perfect for this gross rainy day. I feel like a real chef now lmao

just now

Yay, welcome to the from-scratch cooking club! There’s nothing better than nailing a simple recipe on your first try, especially on a cozy rainy day. We’re proud of you!

3 days ago

Brought this to our neighborhood block party last weekend and people were literally scraping the bowl clean. I topped half with dark chocolate shavings and half with rainbow sprinkles so the kids and adults could pick their vibe, and I must have given the recipe out to 6 different neighbors before the night was over. 10/10, zero notes.

2 days ago

Wait I was just looking for an easy dessert to bring to our block party next weekend! This is such a sign, I’m definitely making this, thanks for the rec!

30 minutes ago

Made this to eat while I binged my new favorite show tonight and it hit so much better than the mint chocolate chip ice cream I was originally planning to dig into. I added a tiny splash of cold brew to my serving and it tasted like a fancy vanilla latte pudding, chef’s kiss. Will be making this every Sunday for my weekly little self care treat.



