
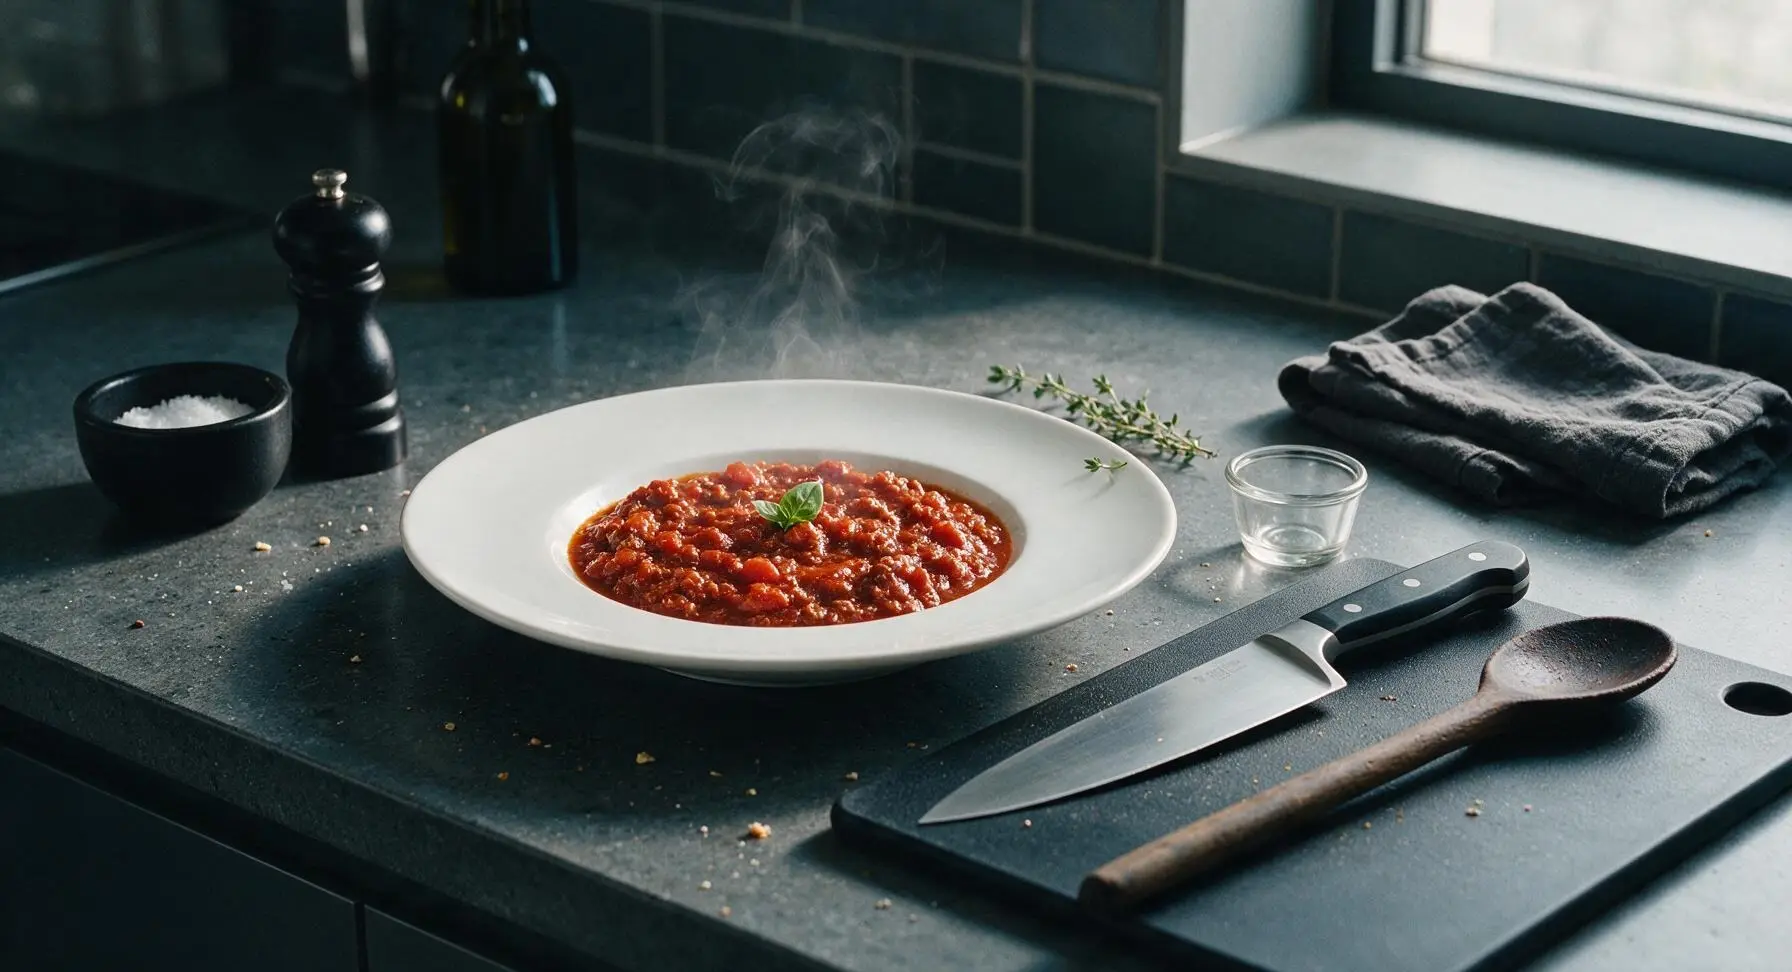
ragu pizza sauce

title 1
ragu pizza sauce
⏱️ cook time 1 hour 15 minutes
🍽️ servings 8
⚡ Difficulty medium

intro

Thick, slow-simmered meat and tomato ragu crafted specifically for pizza, with deep, savory flavor and zero watery drips to keep crust crisp on every homemade pie.

Ingredients
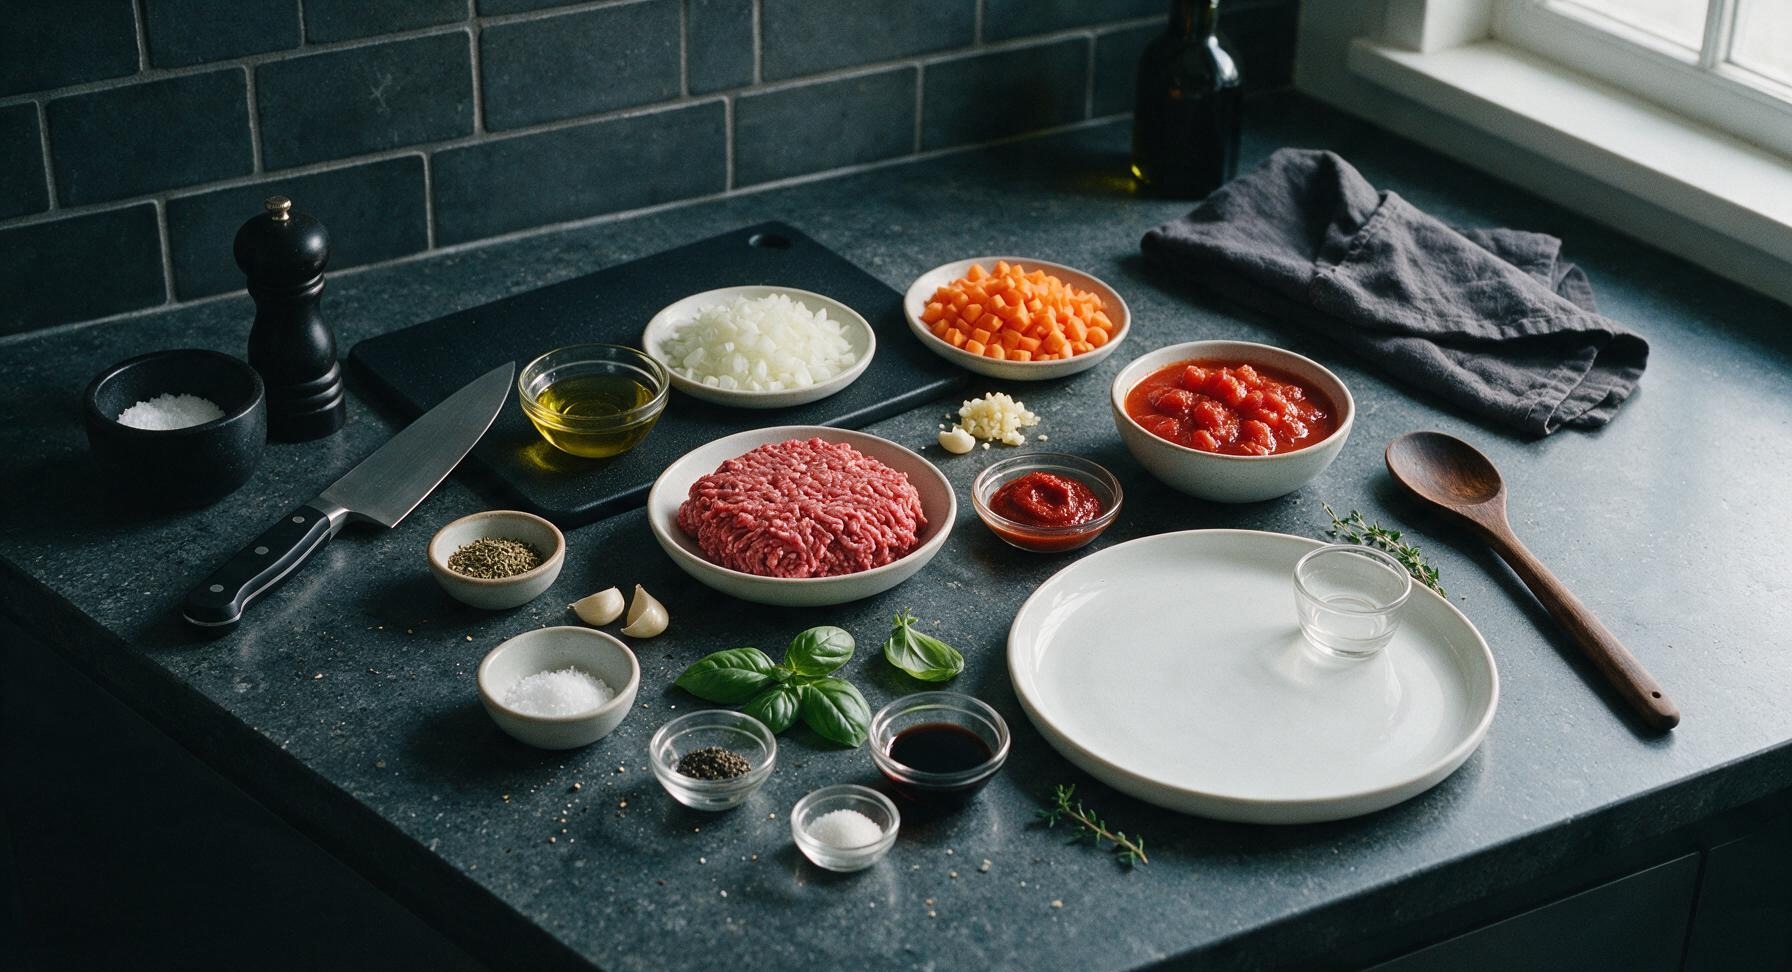
Extra-virgin olive oil 2 tbsp
Yellow onion 1 small (120g)
Carrot 1 medium (80g)
Garlic cloves 3 (10g total)
80/20 lean ground beef 225g (8oz)
Tomato paste 2 tbsp
Crushed San Marzano tomatoes, drained 1 can (400g)
Dried oregano 1 tsp
Fine sea salt 1 tsp
Freshly ground black pepper 1/2 tsp, plus extra for garnish
Fresh basil 5 large leaves, plus 1 sprig for garnish
Granulated sugar 1/4 tsp
Balsamic vinegar 1 tsp

Steps

1

Dice Base Aromatics

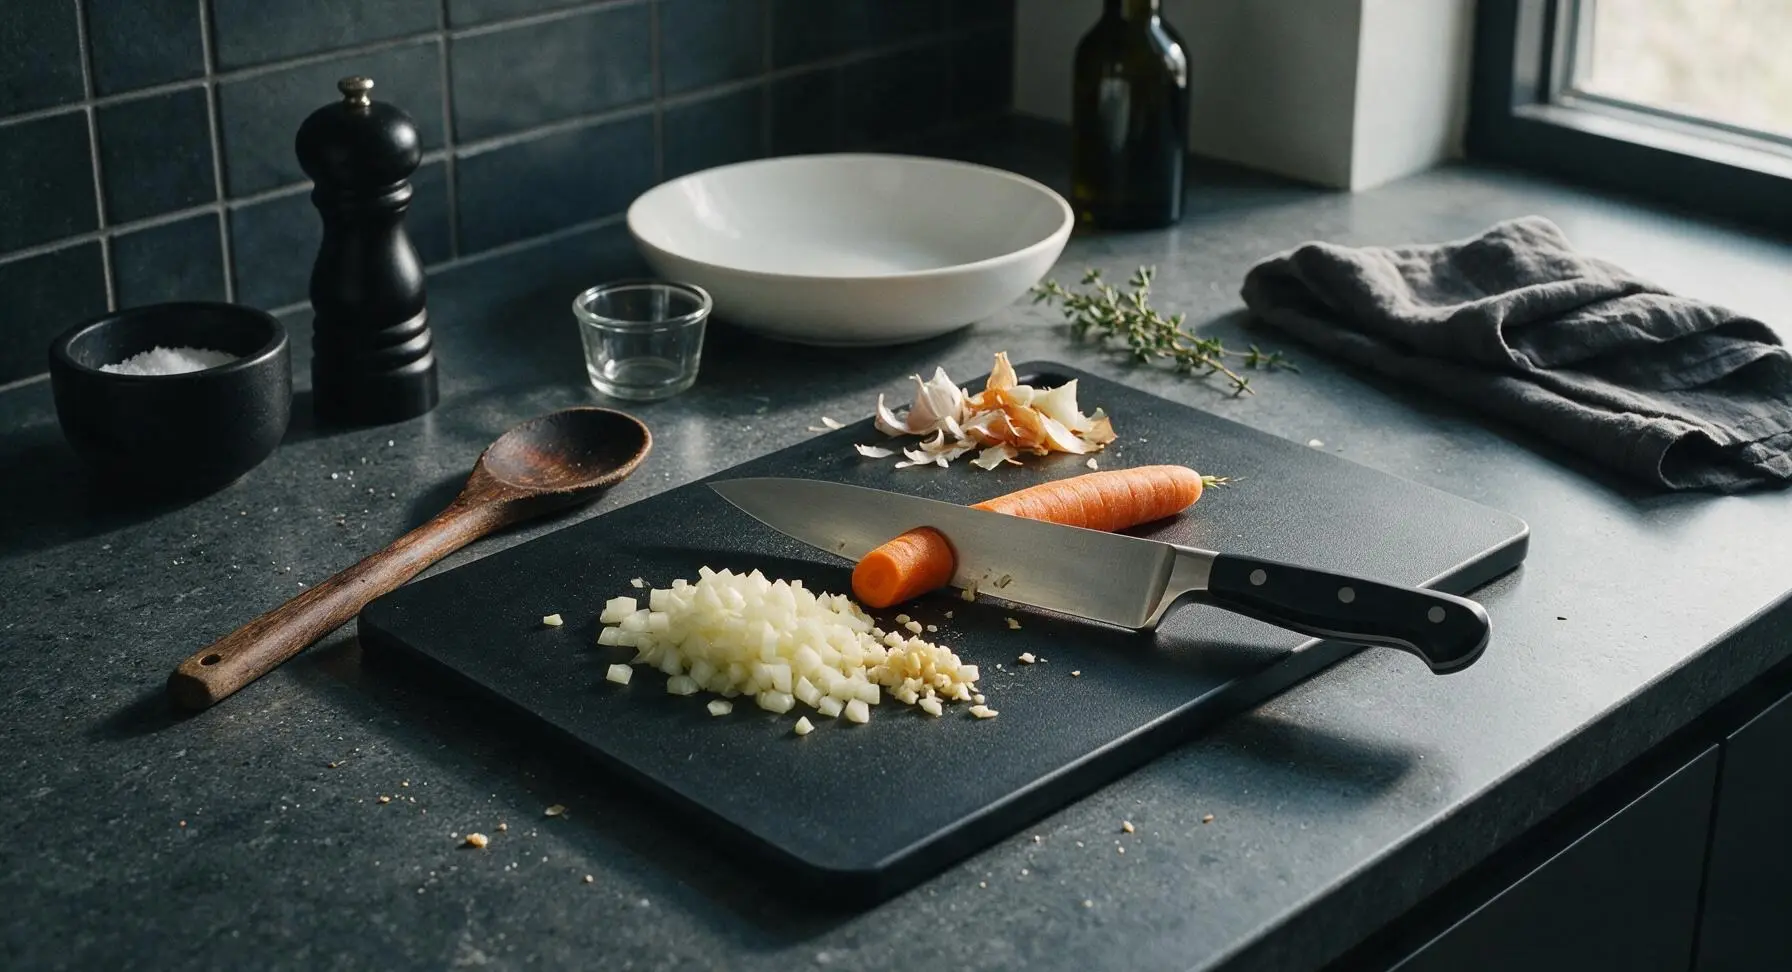
Place the honey maple cutting board at the center of the marble prep zone. Use the 8-inch chef's knife to finely dice the yellow onion and carrot into uniform 3mm (1/8 inch) pieces, then mince the garlic cloves until fine. Gather prepped veggies into a neat small pile on the edge of the board, and set papery garlic skins, onion peels, and carrot tops in a small scrap pile at the top corner of the board. Uniformly sized pieces will cook evenly without burning or turning mushy.
Step 1
step1:Dice Base Aromatics
2

Brown Lean Ground Beef

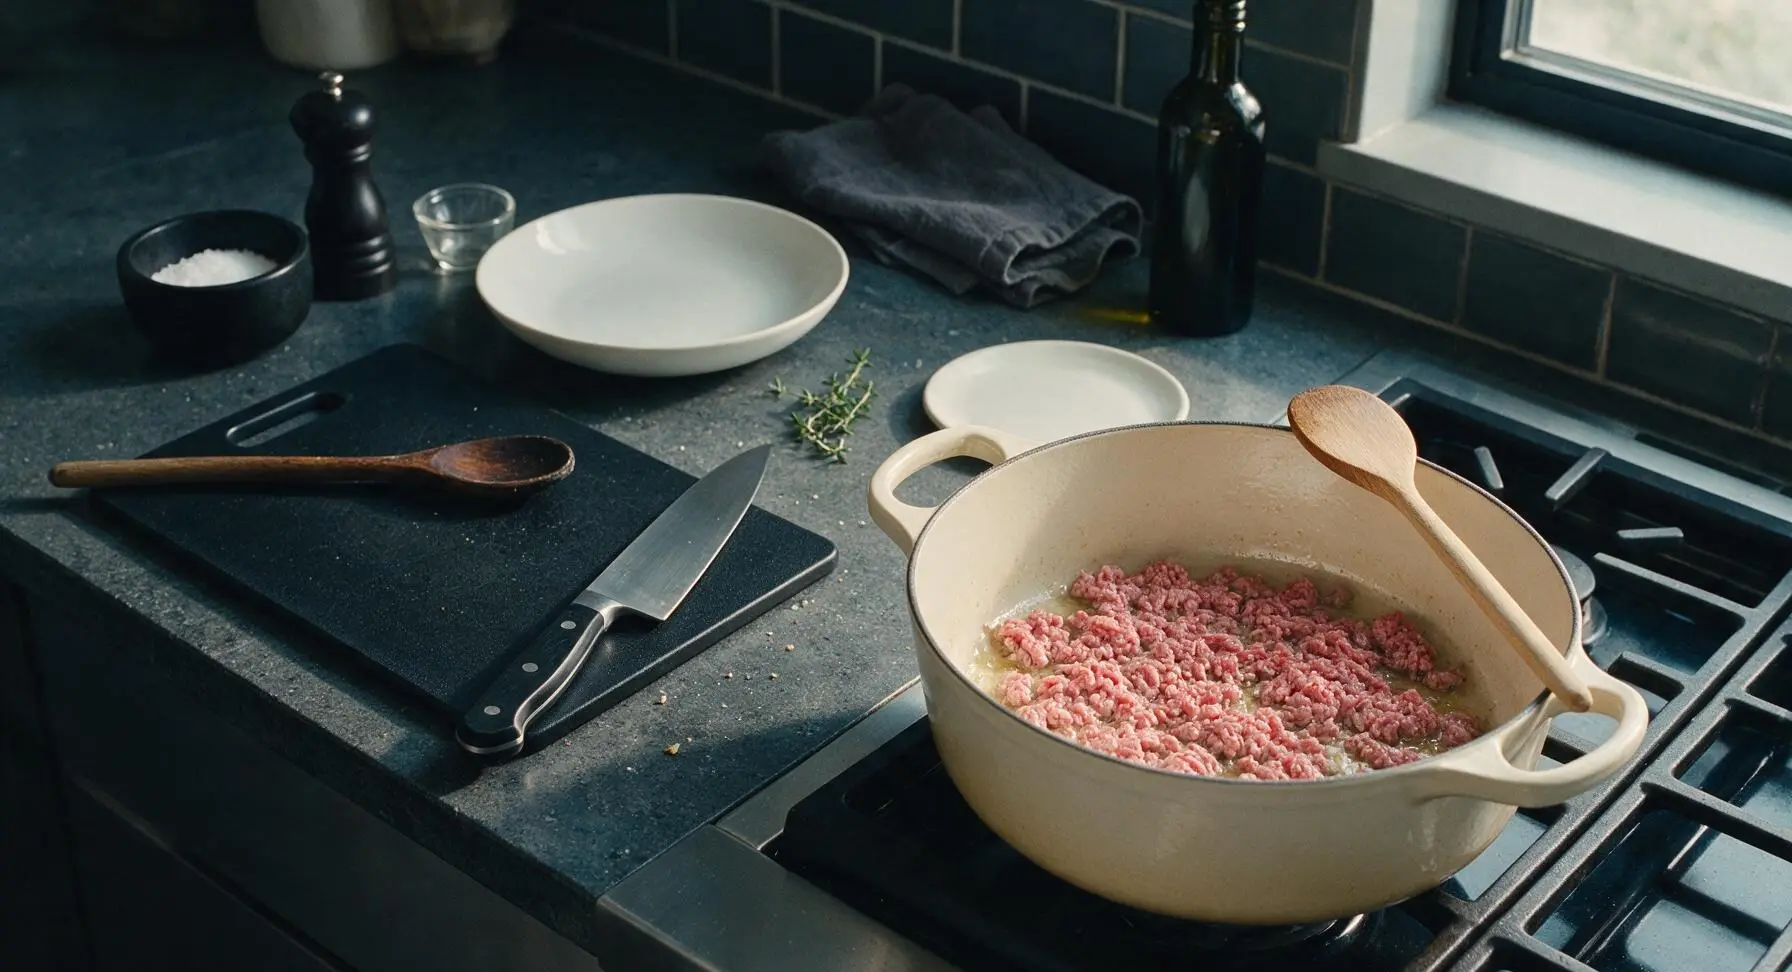
Set the enameled cast iron Dutch oven on the front right stovetop burner, and heat to medium (350°F/175°C). Add 1 tablespoon of olive oil, then crumble the ground beef into the pot in an even single layer. Cook for 5-6 minutes, breaking beef apart with the beechwood mixing spoon as it cooks, until no pink remains and beef develops deep golden, slightly crispy edges. Use the spoon to transfer browned beef to the small white ceramic side plate, leaving 1 tablespoon of rendered beef fat in the pot to cook aromatics.
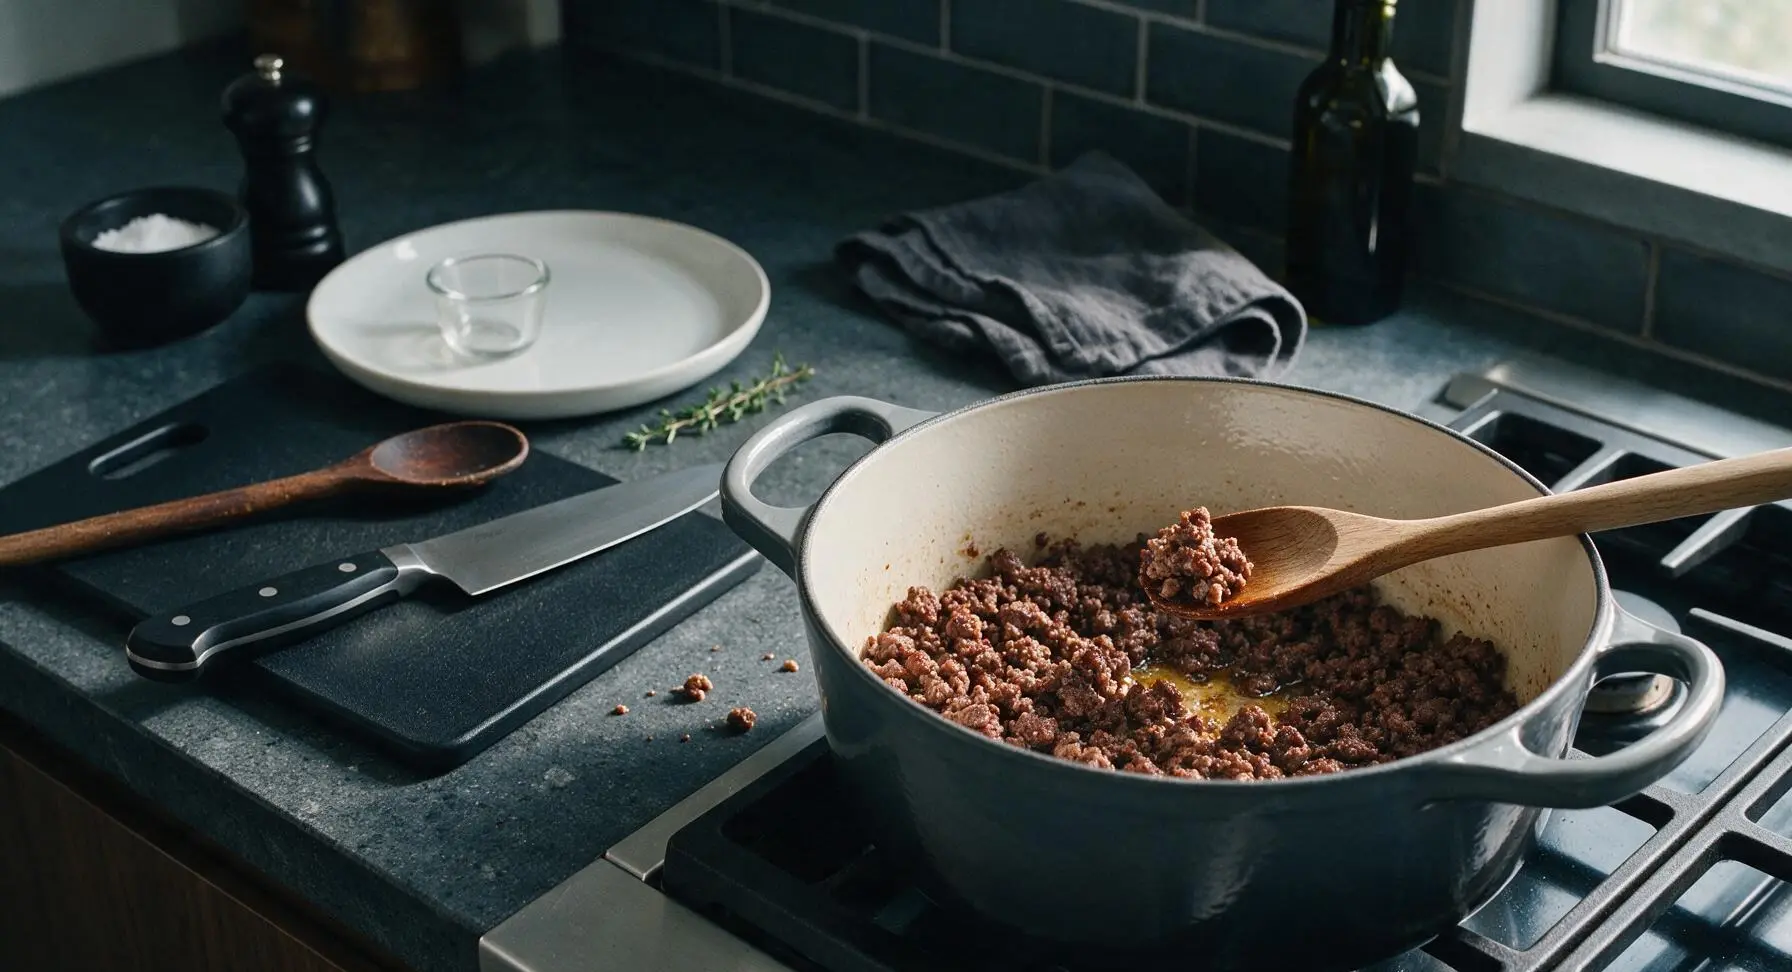
Step 2
step2:Brown Lean Ground Beef
Step 2
step2:Brown Lean Ground Beef
3

Sauté Aromatic Mirepoix

Reduce stovetop heat to medium-low (325°F/160°C). Add the diced onion and carrot to the rendered beef fat in the Dutch oven, stirring with the beechwood spoon to coat evenly. Cook for 8 minutes, stirring occasionally, until vegetables are soft and translucent with no raw crunchy texture. Add minced garlic and tomato paste, stirring constantly for 1 minute until the tomato paste darkens to a deep rust red and releases a sweet, fragrant aroma, taking care not to burn the garlic which will turn bitter.
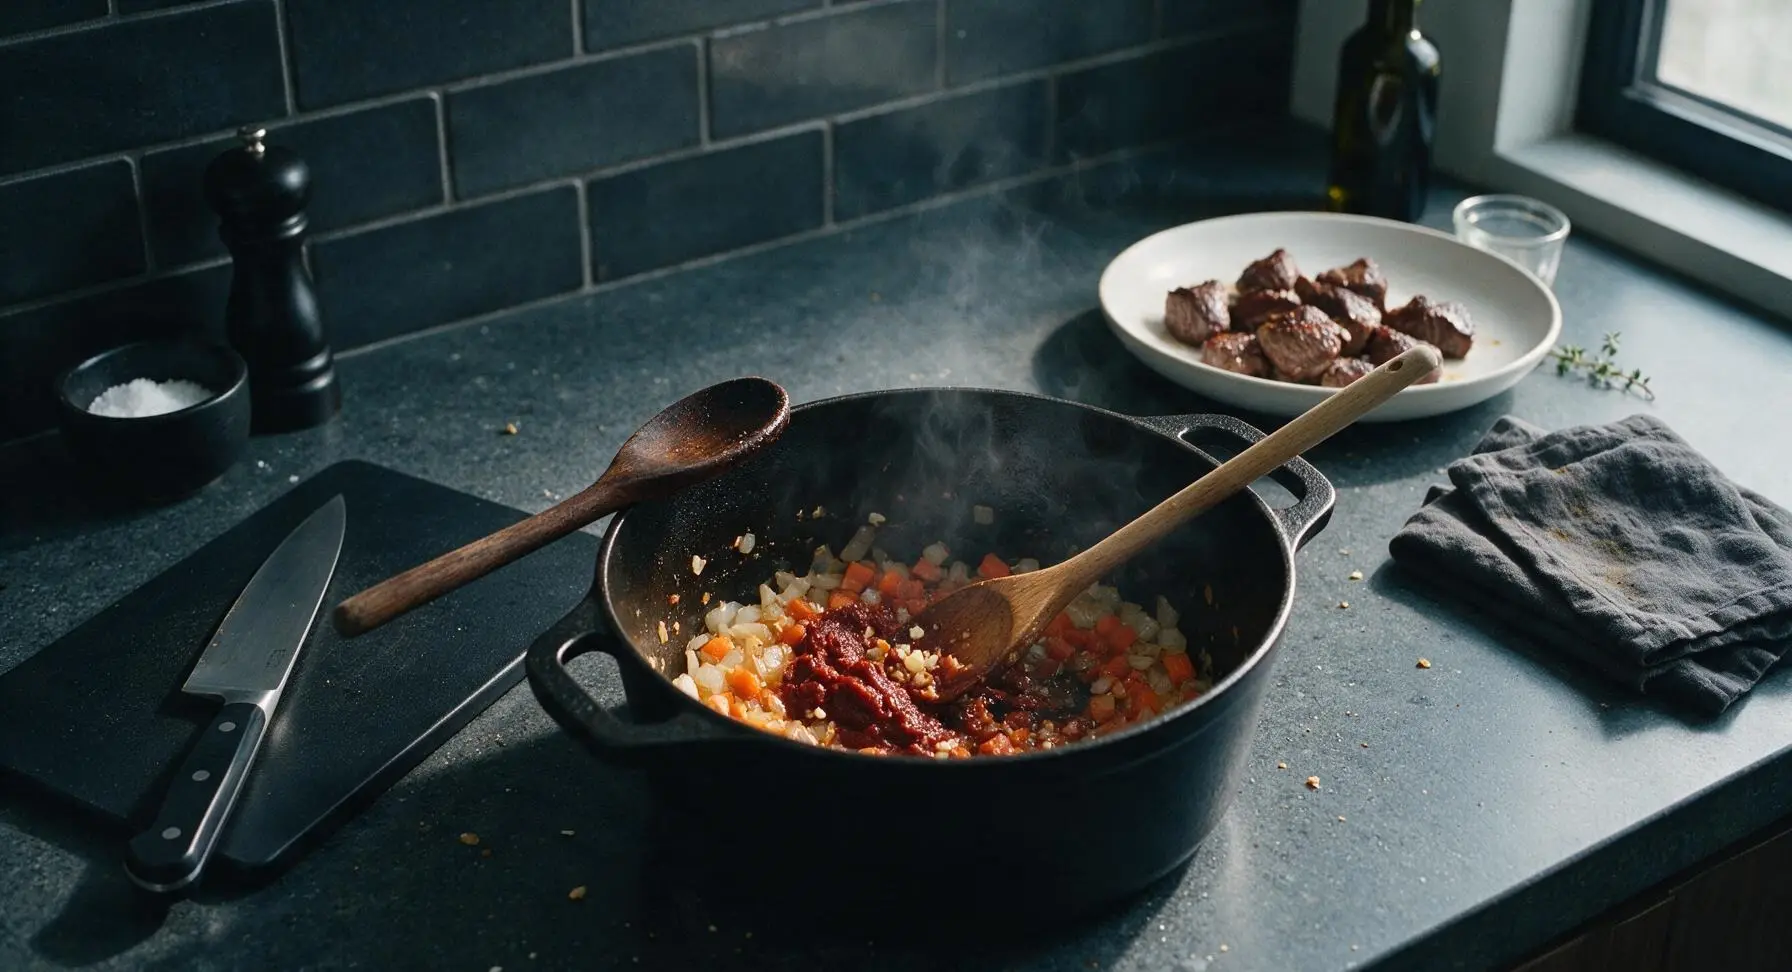
Step 3
step3:Sauté Aromatic Mirepoix
4

Add Tomato Base

Return the browned ground beef to the Dutch oven with the sautéed aromatics. Use the fine-mesh strainer to drain excess watery juice from the crushed San Marzano tomatoes (reserve the juice for another use like soup or pasta water), then add the drained tomatoes to the pot. Stir in dried oregano, granulated sugar, balsamic vinegar, and black pepper. Use the silicone spatula to fully combine all ingredients, scraping the bottom of the pot to lift any browned, flavorful fond stuck to the enamel.
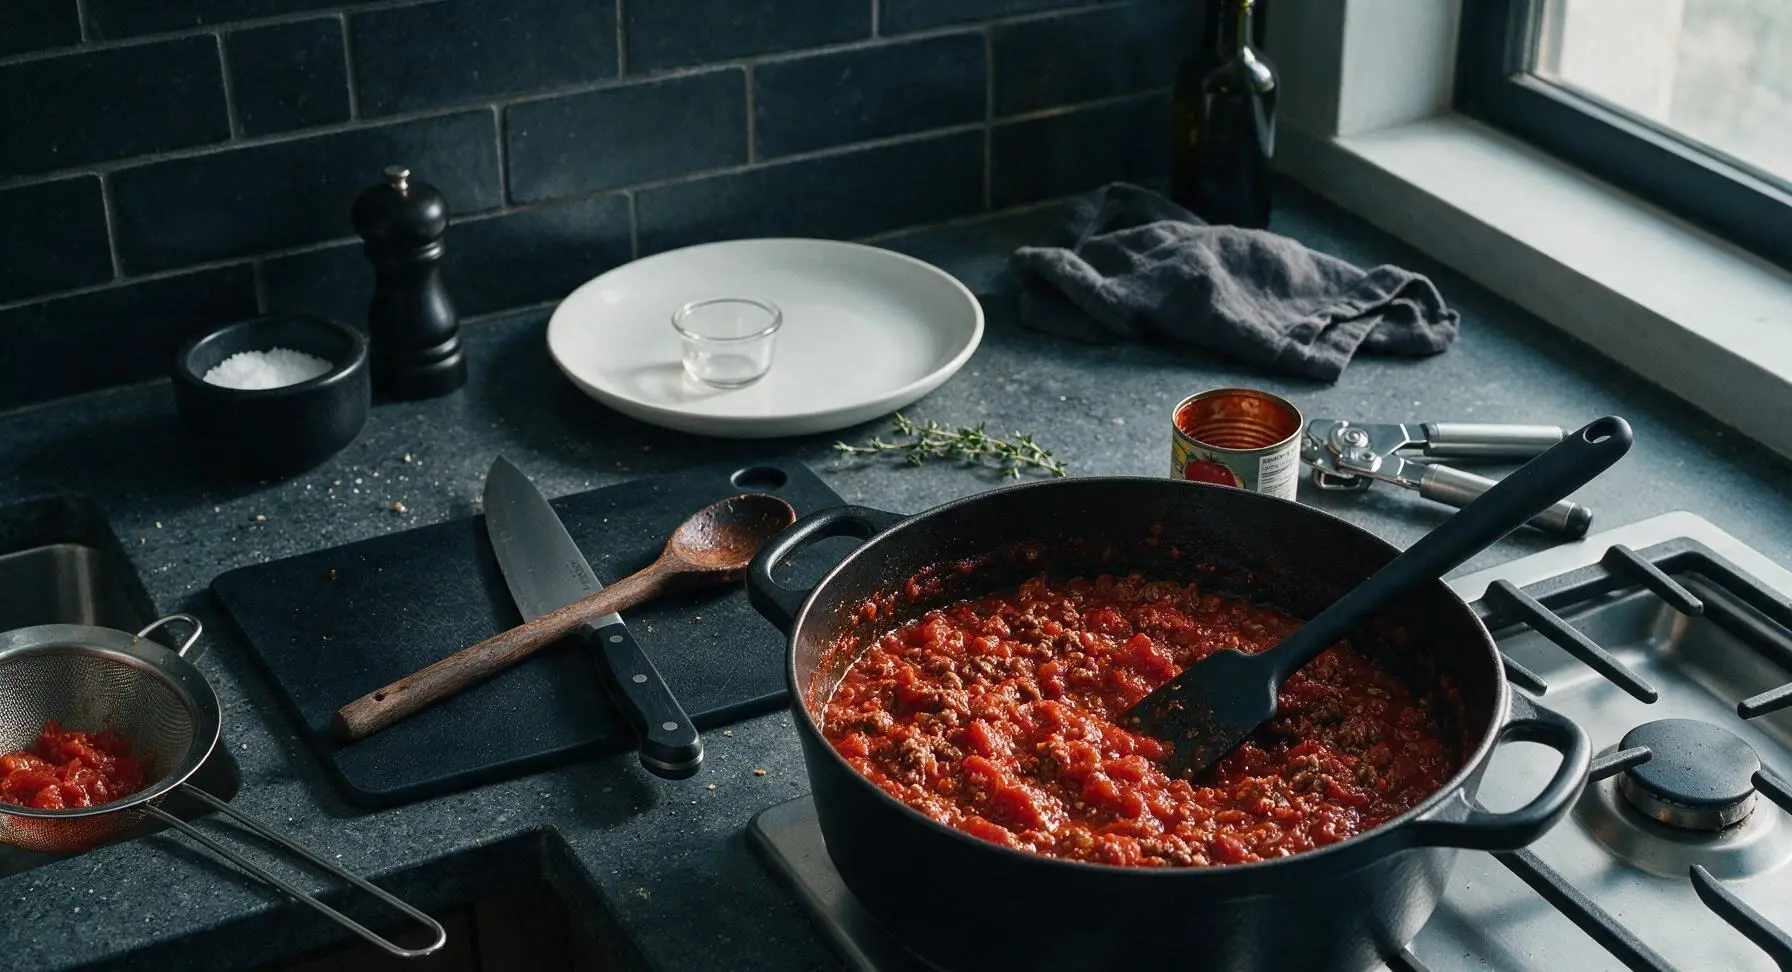
Step 4
step4:Add Tomato Base
5

Slow Simmer Sauce

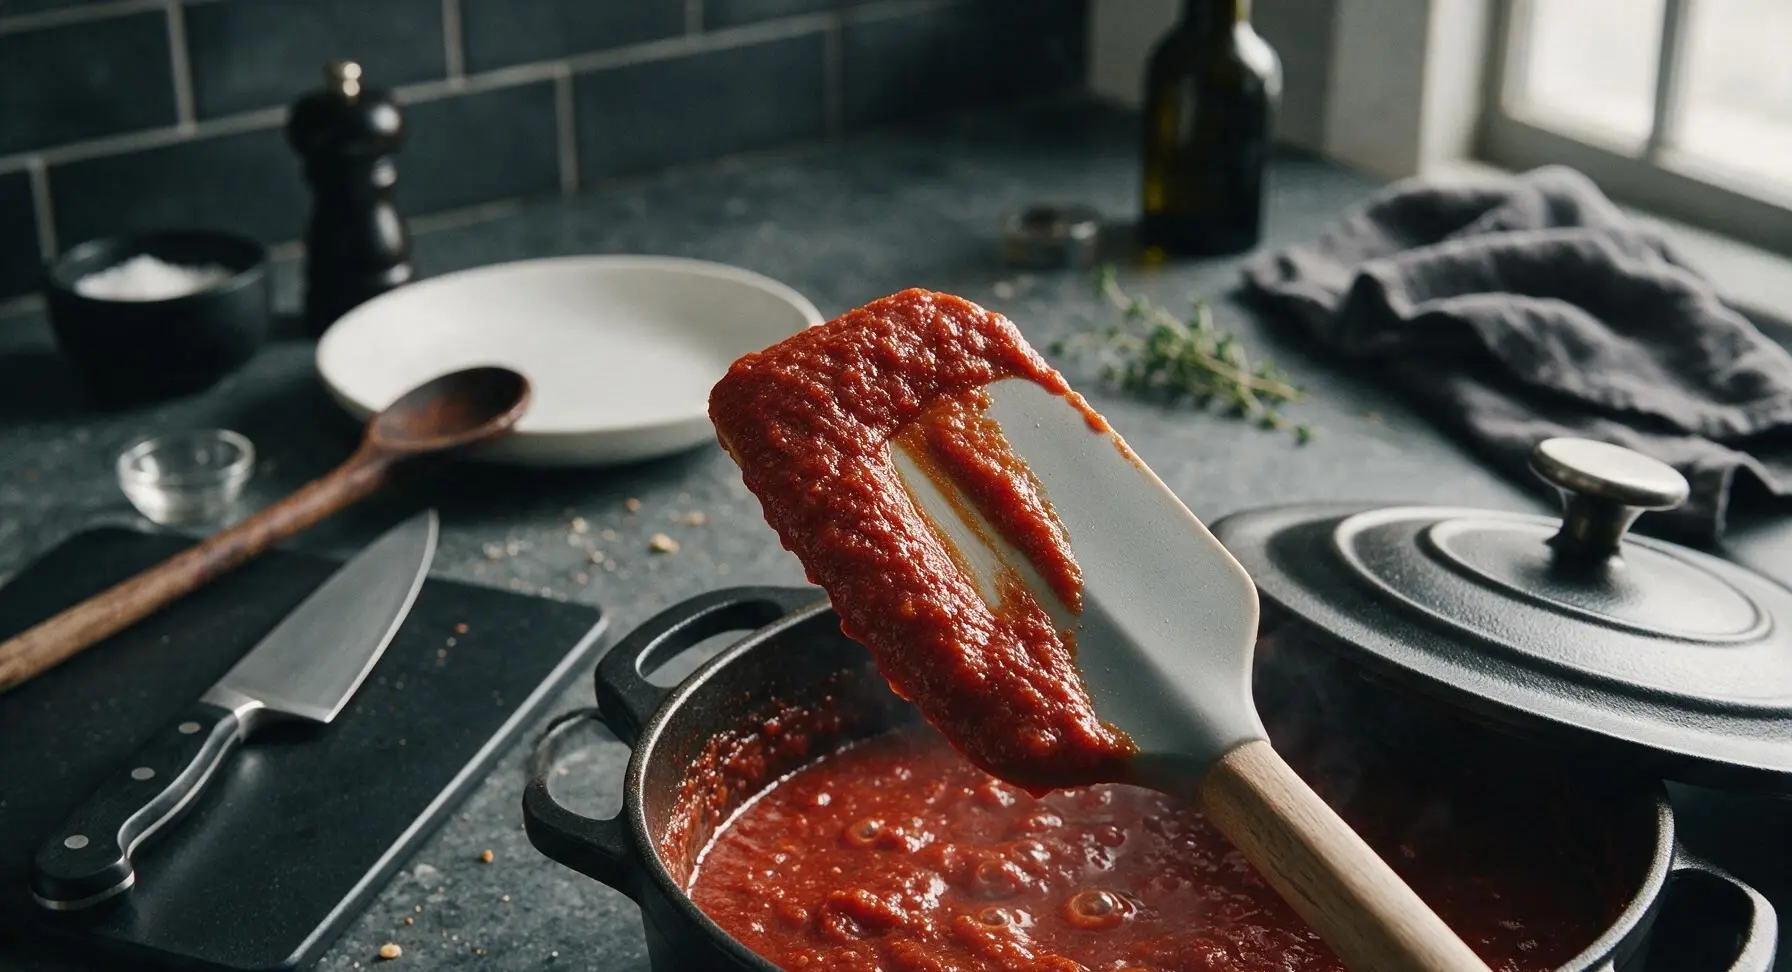
Bring the sauce to a gentle low simmer (small bubbles breaking the surface every 2-3 seconds, approximately 200°F/95°C), then reduce stovetop heat to the lowest setting. Partially cover the Dutch oven with its lid, leaving a 1-inch gap to let steam escape so the sauce reduces and thickens without splattering. Cook for 1 hour, stirring every 15 minutes with the silicone spatula to prevent sauce from sticking and burning on the pot bottom. The sauce reaches ideal pizza consistency when a line drawn through the sauce on the spatula holds its shape with no watery runoff.
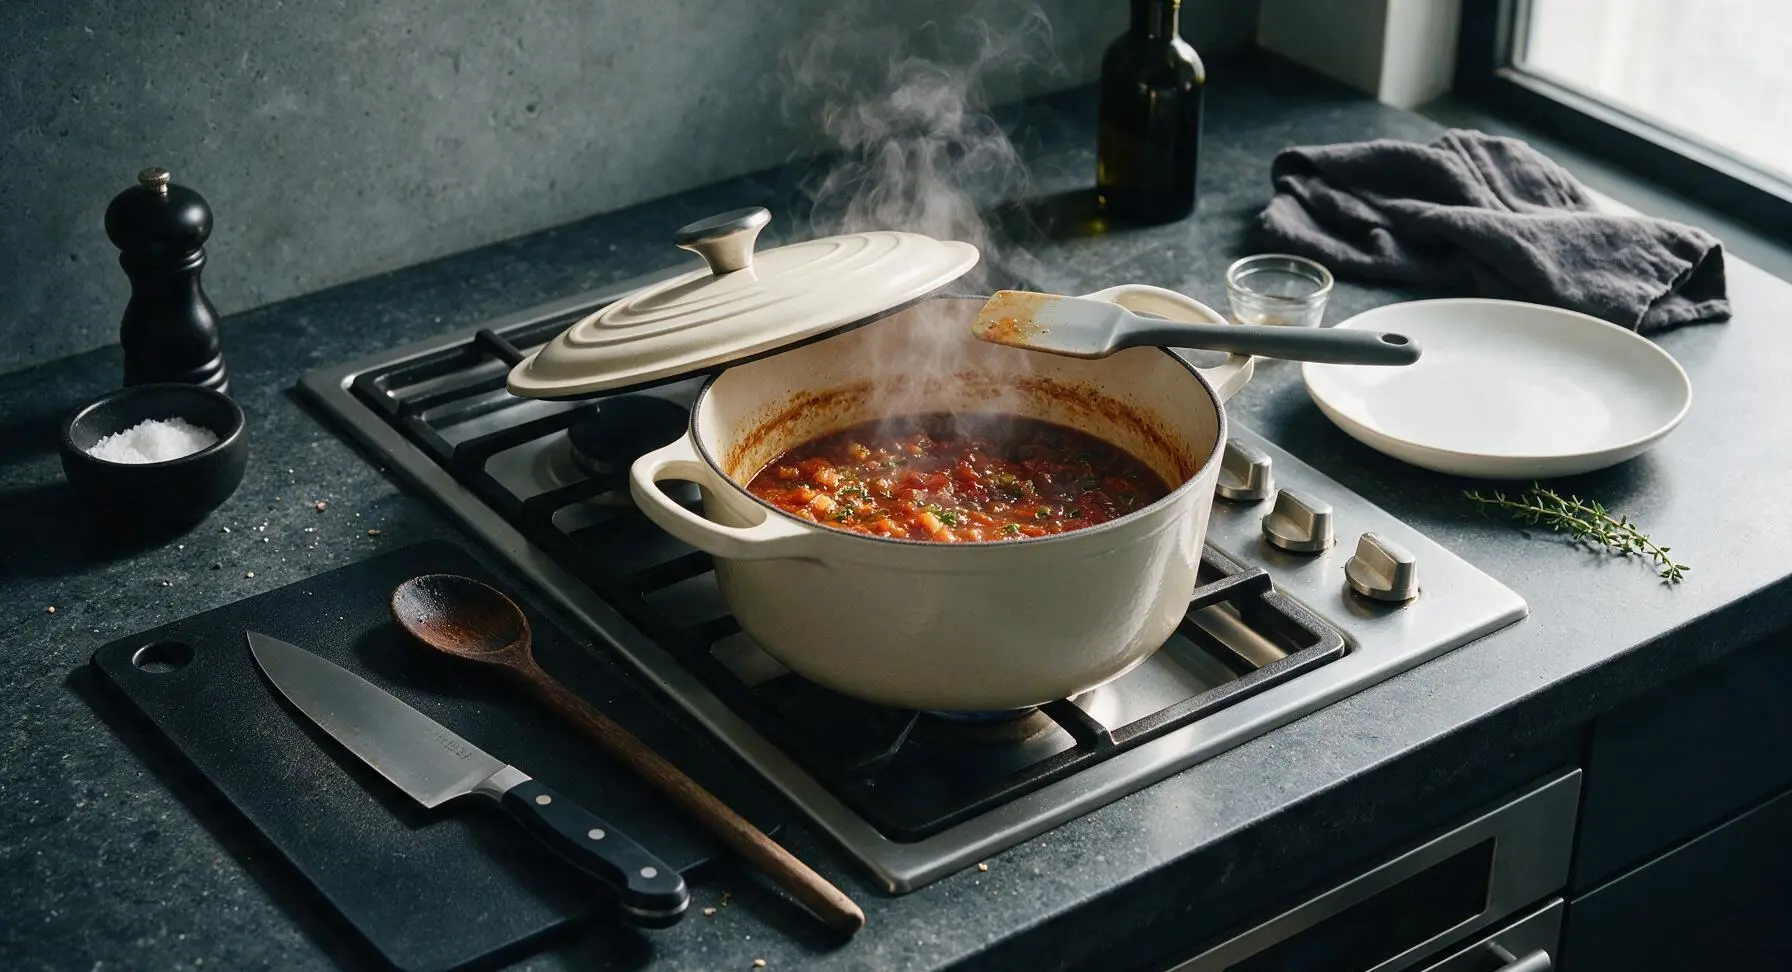
Step 5
step5:Slow Simmer Sauce
Step 5
step5:Slow Simmer Sauce
6

Season and Finish Sauce

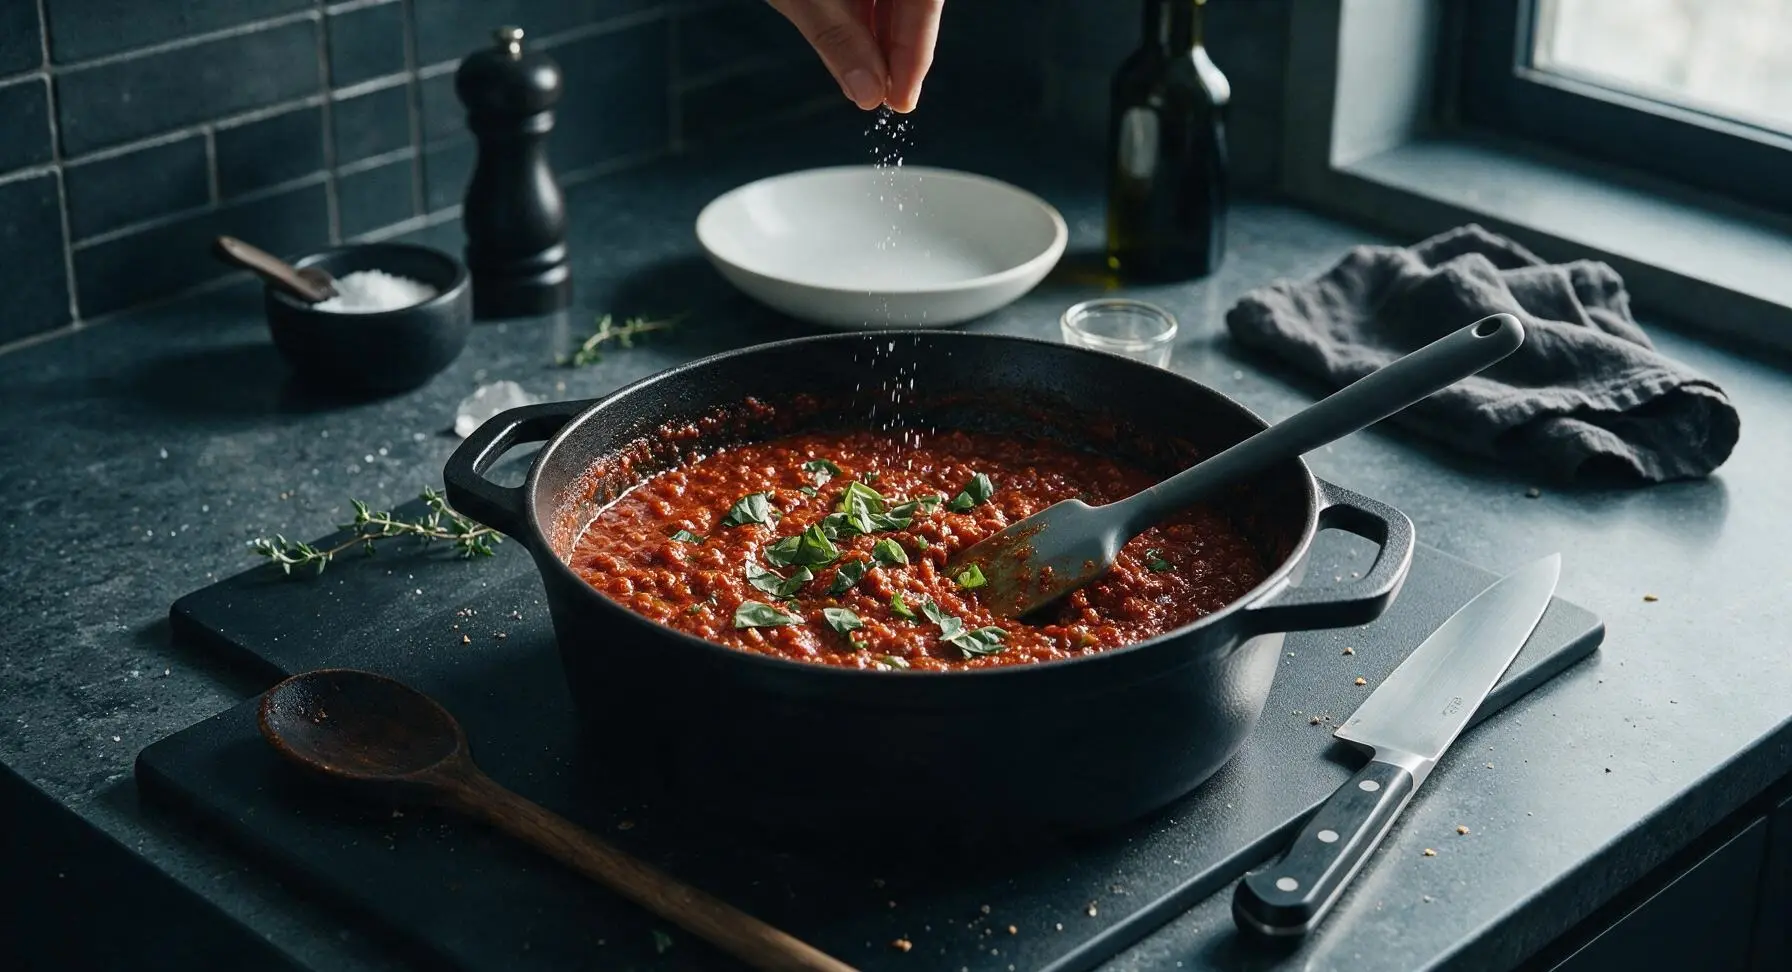
Remove the Dutch oven from stovetop heat. Stir in fine sea salt and 5 torn fresh basil leaves, then taste and add extra black pepper if desired. Let the sauce rest for 10 minutes to cool slightly and let flavors meld; hot, watery sauce will make pizza crust soggy and melt cheese prematurely. For a slightly smoother texture, mash larger meat and vegetable chunks gently with the back of the spatula, but leave small chunks for rustic texture.
Step 6
step6:Season and Finish Sauce
7

Transfer to Serving Bowl

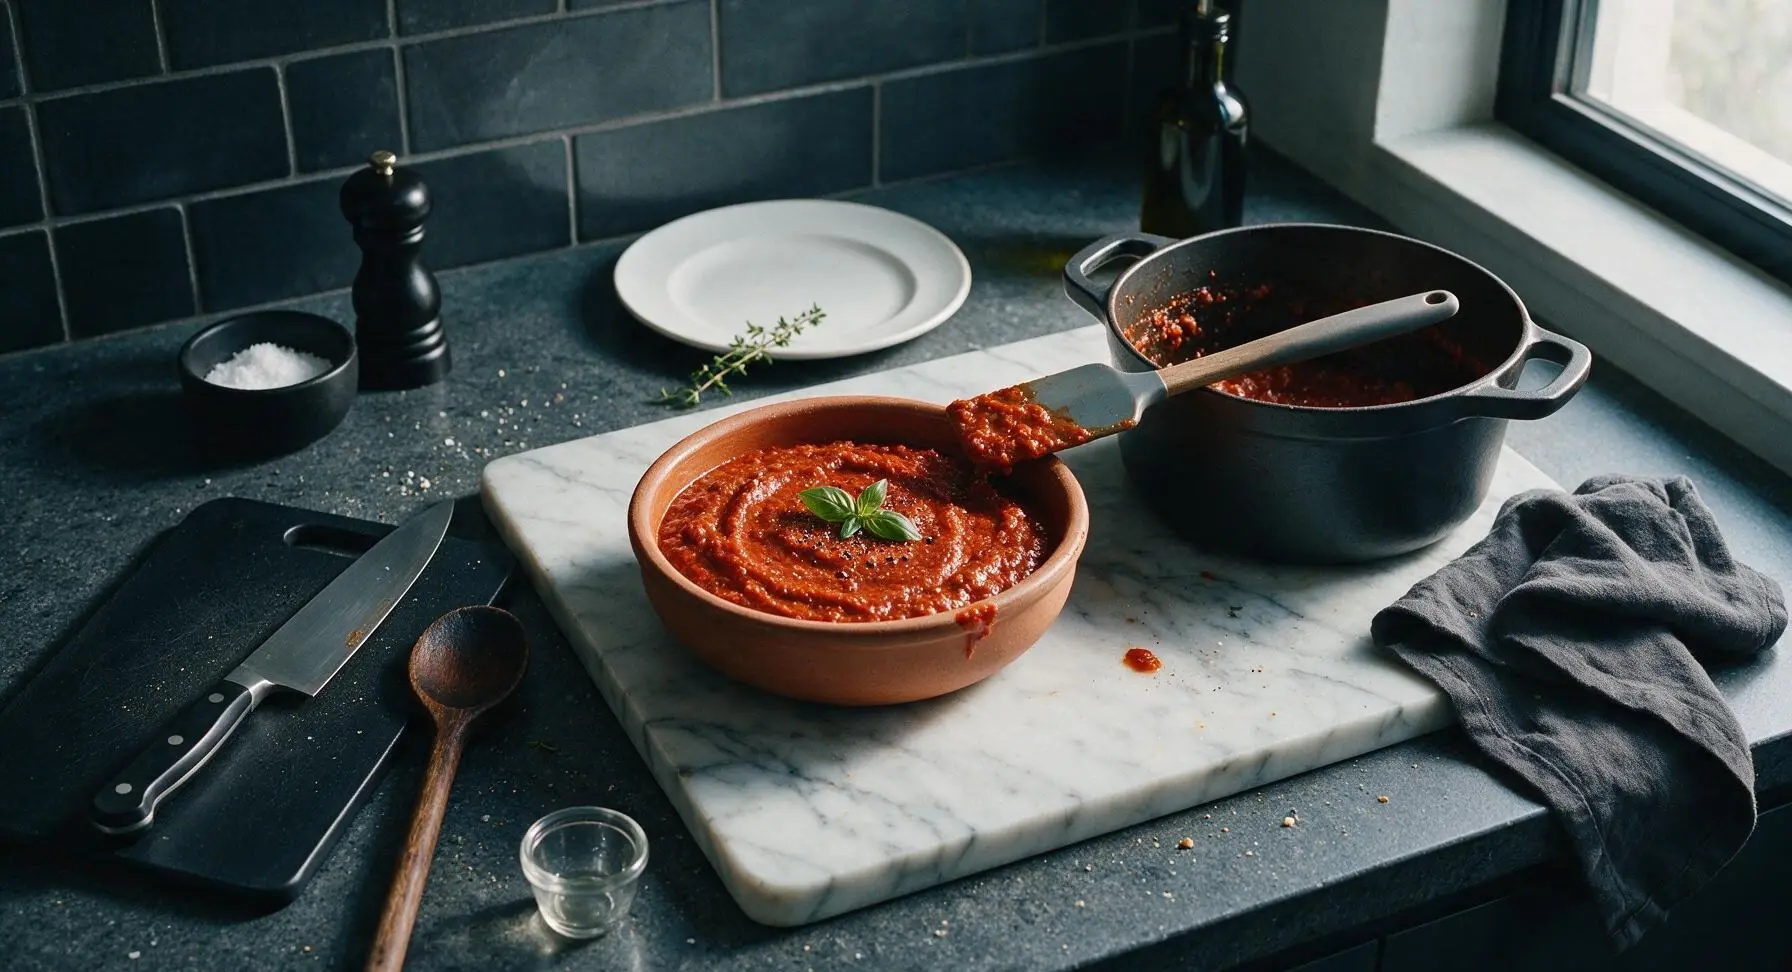
Once cooled slightly, pour the finished ragu pizza sauce into the shallow matte terracotta serving bowl, set center on the marble prep zone. Smooth the top surface lightly with the silicone spatula, then garnish with a single fresh basil sprig and a light crack of black pepper. The sauce is ready to spread on rolled pizza dough, or can be stored in an airtight container in the refrigerator for up to 5 days, or frozen for up to 3 months.
Step 7
step7:Transfer to Serving Bowl

Tips

1.Always drain excess watery juice from canned crushed tomatoes before adding to the pot: this cuts down required simmer time by nearly 20 minutes and guarantees your sauce is thick enough that it will not soak through pizza crust and leave it soggy in the middle.
2.Keep the simmer as low as possible: a rapid, rolling boil will make the ground beef tough and cause the tomato sugars to burn on the pot bottom, leading to a bitter, flat-tasting sauce. Small, occasional bubbles are the ideal simmer rate.
3.Let the sauce cool for 10 full minutes before spreading it on pizza dough: hot sauce will cause raw dough to turn gummy before the crust can crisp in the oven, and will melt shredded cheese prematurely leading to uneven, greasy baking.


✨ You May Also Like

Main Course
🍜 United Kingdom

A showstopping classic of tender seared beef, savory mushroom duxelles, and crisp prosciutto wrapped in flaky golden puff pastry, baked to juicy perfection.

⏱️ 2 hours 1Main Course ★ 4.7
Main Course
🍜 India

Tender charred marinated chicken simmered in a rich, spiced creamy tomato sauce, this iconic Anglo-Indian curry pairs perfectly with basmati rice or warm naan.

⏱️ 50 minuteMain Course ★ 4.6
Main Course
🍜 Thailand

Classic tangy, sweet, and savory Thai stir-fried rice noodles with shrimp, tofu, and crunchy garnishes, balancing all five core Thai flavor profiles.

⏱️ 30 minuteMain Course ★ 4.5
Main Course
🍜 United Kingdom

Crispy golden beer-battered cod and fluffy double-fried chips, served with tangy tartar sauce and malt vinegar: the timeless, beloved British pub comfort classic.

⏱️ 45 minuteMain Course ★ 4.7
Main Course
🍜 Mexico

Smoky, chile-marinated pork tacos with caramelized pineapple, fresh cilantro, and lime: a beloved classic Mexican street food perfect for casual summer gatherings.

⏱️ 1 hour 45Main Course ★ 4.8
Main Course
🍜 United States

Crunchy Fritos corn chips layered with savory beef chili and melted cheddar, topped with cool, zesty fixings for a beloved, cozy Tex-Mex comfort food.

⏱️ 35 minuteMain Course ★ 4.8

ragu pizza sauce:Frequently Asked Questions

1.Why do you call for 80/20 ground beef instead of a leaner blend for this pizza sauce? ▾
The 20% fat ratio adds rich, deep savoriness without making the sauce greasy, since we slow-simmer to render fat evenly and drain any excess before adding tomatoes. Leaner beef will turn dry and bland, while extra-fatty blends leave oily residue that makes pizza crust soggy, defeating this recipe’s drip-free goal.
2.How long do I need to simmer this sauce to get that signature no-drip, thick consistency? ▾
Plan for a minimum of 45 minutes, and up to 90 minutes, over your lowest stovetop heat, stirring every 10 minutes to prevent scorching on the pan bottom. It’s ready when it mounds slightly on a spoon instead of running off, with no loose, watery tomato liquid left to seep into crust during baking.
3.Can I make this ragu pizza sauce ahead of time, and how long does it keep? ▾
Absolutely—this sauce actually tastes better the next day, once the flavors meld together as it chills. Cool it completely, store it in a sealed airtight container, and it will stay fresh for up to 4 days in the fridge, or up to 3 months in the freezer for quick, last-minute pizza nights.
4.Do I need to sauté the onion, carrot, and garlic in olive oil first, or can I just throw everything in the pot to simmer? ▾
Don’t skip that initial sauté step! Heating finely diced onion, carrot, and garlic in extra-virgin olive oil over low heat softens them and coaxes out their sweet, mellow savoriness before you add beef and tomatoes. Tossing everything in raw leaves crunchy, harsh vegetable bits and flat, underdeveloped flavor.
5.Will this sauce make my pizza crust soggy like thin jarred marinara often does? ▾
That’s exactly the problem this recipe is built to solve! Unlike watery, loose marinara, we slow-simmer out all excess moisture, and the rendered fat from the ground beef binds to tomato solids for a thick, spreadable consistency that stays put on crust, even under layers of melted cheese and toppings.
6.Can I swap the ground beef for Italian sausage or another ground meat? ▾
You absolutely can, just stick to a similar 80/20 fat ratio for the best non-greasy, rich texture. If using Italian sausage, remove the casings and crumble it just like ground beef, and cut back a little on added salt—most pre-made sausage is well-seasoned, and you don’t want an overly salty final sauce.
7.How much of this sauce should I use per pizza, and how far out should I spread it? ▾
For a standard 12-inch homemade pizza, use roughly ⅔ cup of this thick ragu, spreading it in an even layer and leaving a 1-inch bare border for the crust. Resist piling on extra—since it’s so rich and concentrated, a thin, even layer delivers big flavor without weighing down crust or causing drips as it bakes.
8.My sauce is still too thin after the recommended simmer time—what should I do? ▾
If you have loose, watery sauce after 90 minutes of low simmering, turn the heat up slightly (keep a close eye to avoid burning) and simmer uncovered for 5 to 10 extra minutes, stirring constantly. Skip the quick fix of adding raw tomato paste, as it will leave a harsh, metallic taste that ruins the slow-simmered flavor.

Comments (11)

2 days ago

OMG this sauce is a total game changer! I slow simmered it exactly as written for our weekly family pizza night last Friday, and even my super picky 7 year old asked for seconds. It’s so much deeper in flavor than the jarred stuff I used to buy, no weird added sugars or preservatives. 10/10 will be making this every other week for meal prep too!

yesterday

So glad your kiddo approved! It makes my day to hear this is becoming a family pizza night staple—pro tip, you can freeze leftover sauce in ice cube trays for quick single-serve pizza nights too!

1 week ago

This was really good, but I found it a little too acidic for my taste even after the full simmer time. I ended up stirring in a tiny pinch of baking soda to cut the tang, which helped a ton. Next time I might add a little extra basil too, since I’m a huge basil fan. Cook time was right on the dot for me, no issues there!

5 days ago

Oh the baking soda trick is genius! I had the same acid issue last time I made it, I just added a spoonful of sugar which worked but I bet baking soda is better so it doesn’t make it sweet. Gonna try that next batch!

3 days ago

Great call with the baking soda! The acidity can vary a lot depending on what brand of canned tomatoes you use, so that’s a perfect quick fix. Extra basil is never a bad call in my book either!

3 days ago

Y’all, I used this sauce on a smoked brisket pizza last weekend for our neighborhood potluck and people were begging me for the recipe. The slow simmer lets all the garlic and oregano meld so perfectly, it held up great against the smoky brisket and melty mozzarella. Worth every minute of the cook time, don’t rush it!

2 days ago

Wait smoked brisket pizza?! That sounds insane, I’m stealing that idea for our next block party. Did you add any extra red pepper flakes to the sauce for a little heat, or keep it as written?

yesterday

I added a half teaspoon of red pepper flakes to the sauce while it simmered, just enough kick to cut through the rich brisket! Highly recommend, everyone raved about the little heat kick.

2 weeks ago

Grew up on Long Island eating corner slice pizza, and this sauce tastes exactly like the stuff my local pizzeria used when I was a kid. That slow simmer is non-negotiable, you can’t get that deep, rich tomato flavor cooking it for 15 minutes like a lot of quick sauce recipes tell you to. SO good, already made it twice this month.

yesterday

Made a double batch of this on Sunday to use for pizzas, calzones, and even as a dipping sauce for mozzarella sticks all week. It’s so versatile! My only note is that I wish the recipe specified what type of canned tomatoes work best— I used crushed San Marzano and it was perfect, but I almost grabbed diced by accident.

2 hours ago

Great point about the canned tomatoes! I always recommend unsalted crushed San Marzano tomatoes for the smoothest, sweetest flavor— I’ll add that note to the recipe card right away, thanks for the feedback!

1 week ago

As someone who makes gluten free pizza every Friday for my celiac kiddo, I’m always hunting for a sauce that doesn’t have hidden gluten additives. This is perfect! Super simple ingredients, no weird thickeners, and it tastes incredible. We topped ours with pepperoni and mushroom last night and it was a hit.

5 days ago

Oh thank you for mentioning this is gluten free! My youngest has celiac too and I’ve been so nervous to try new sauces because of hidden wheat in so many jarred ones. Can’t wait to test this out this weekend!

3 days ago

So happy this works for your gluten free family! I intentionally kept the ingredient list super simple with no weird fillers, so it works for all kinds of dietary restrictions as long as you check your canned tomato labels for hidden additives.

30 minutes ago

I’m a total beginner cook and I was nervous this would be too hard since it’s marked medium difficulty, but it was actually super straightforward! The steps were easy to follow, and the only thing I had to buy special was a can of tomato paste. My roommates lost their minds when I served this on homemade pizza for our game night watch party.

5 minutes ago

Same! I was intimidated by the 1 hour 15 minute cook time but it’s mostly just letting it simmer, you don’t have to stand over the stove the whole time. Game night pizza hits different with homemade sauce, right?

just now

I loaded this sauce up with extra sautéed bell peppers and olives when I made my veggie supreme pizza last night, and it was chef’s kiss. The base sauce is so flavorful that it doesn’t get lost under all the veggie toppings, which is a problem I’ve had with so many other homemade sauce recipes. Will definitely be making again!

5 days ago

I’m pretty particular about my tomato sauces, being Italian American from Jersey, and this ragu pizza sauce passes the test. I browned a little bit of Italian sausage and drained the fat before adding the tomatoes to give it extra depth, and let me tell you, that took it over the top. The long simmer is worth it, no shortcuts!

3 days ago

Adding Italian sausage to the base is such a smart move! I bet that adds so much savoriness. Did you crumble it super fine so it doesn’t make the sauce lumpy for pizza?

2 days ago

Yep, I crumbled it really small as it browned and then used an immersion blender for 2 seconds at the end to make sure the texture was totally smooth, perfect for spreading on pizza dough.

5 days ago

I used this sauce on my mini air fryer personal pizzas for lunch all last week, and it was so much better than the takeout pizza by my office. I will say, my kitchen smelled like garlic and tomatoes for literally two days after making it, but that’s a small price to pay for how good it turned out.

3 days ago

Oh the smell is half the fun! I made this last month and my neighbor knocked on my door asking what smelled so good, I ended up sending her home with a jar of the sauce. She texted me three days later saying it was the best pizza sauce she ever had.

2 hours ago

I added a whole teaspoon of calabrian chili paste to the sauce while it simmered for a spicy, smoky kick, and it was unreal. Paired it with hot honey and soppressata on my pizza, and my partner said it was better than any fancy pizza we’ve had at restaurants downtown. 10/10, will be adding that chili paste every time I make this from now on.



