
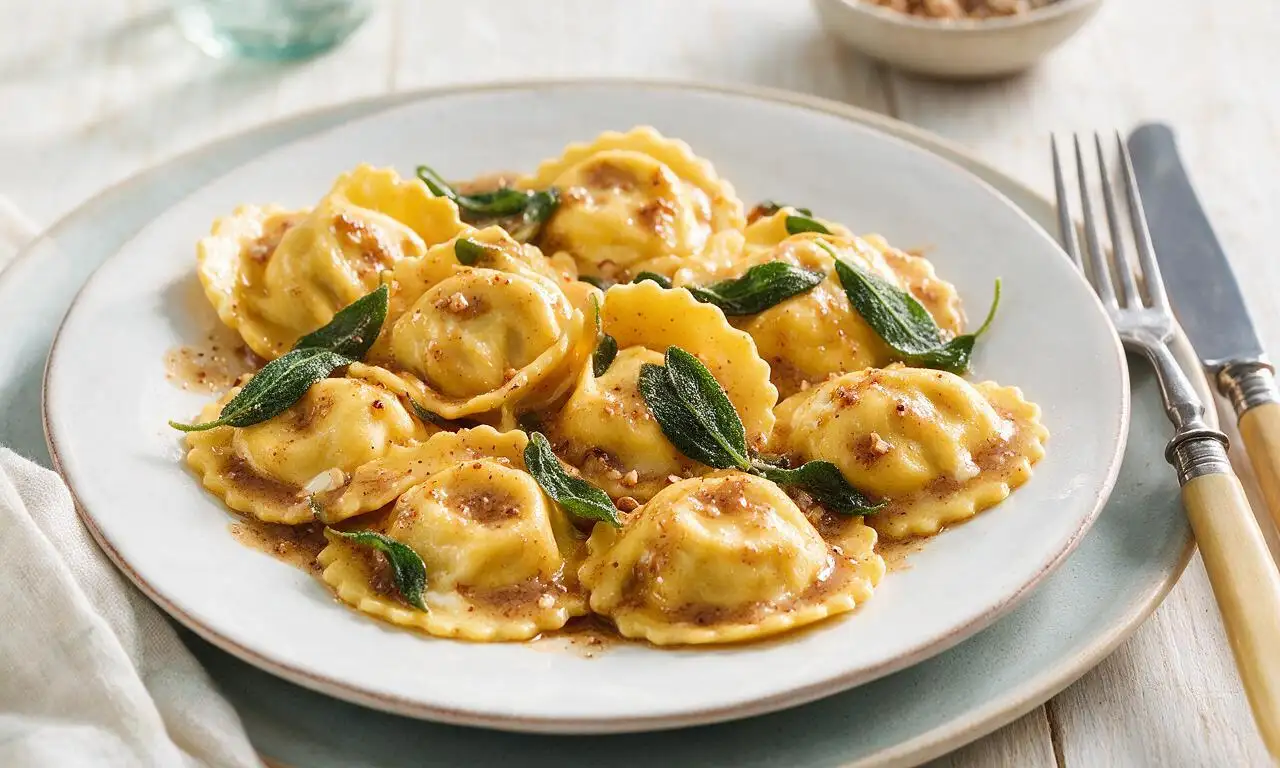
Ravioli

title 1
Ravioli
⏱️ cook time 1 hour 15 minutes
🍽️ servings 4
⚡ Difficulty medium

intro

Pillowy homemade cheese ravioli tossed in nutty brown butter and crisp sage: a comforting, classic Northern Italian meal made for family gatherings.

Ingredients

Tipo 00 flour 300 grams (approx 2.5 cups)
Whole milk ricotta cheese (drained) 250 grams (1 cup)
Grated Parmigiano-Reggiano cheese 100 grams (1 cup packed, divided)
Large eggs 4 whole, plus 1 egg yolk for sealing
Unsalted butter 113 grams (1 stick / ½ cup)
Fresh sage leaves 15 grams (approx 20 leaves)
Fine sea salt 4 teaspoons, divided
Freshly ground black pepper ½ teaspoon
Ground nutmeg ¼ teaspoon
Semolina flour (for dusting) 2 tablespoons

Steps

1

Mix and rest pasta dough

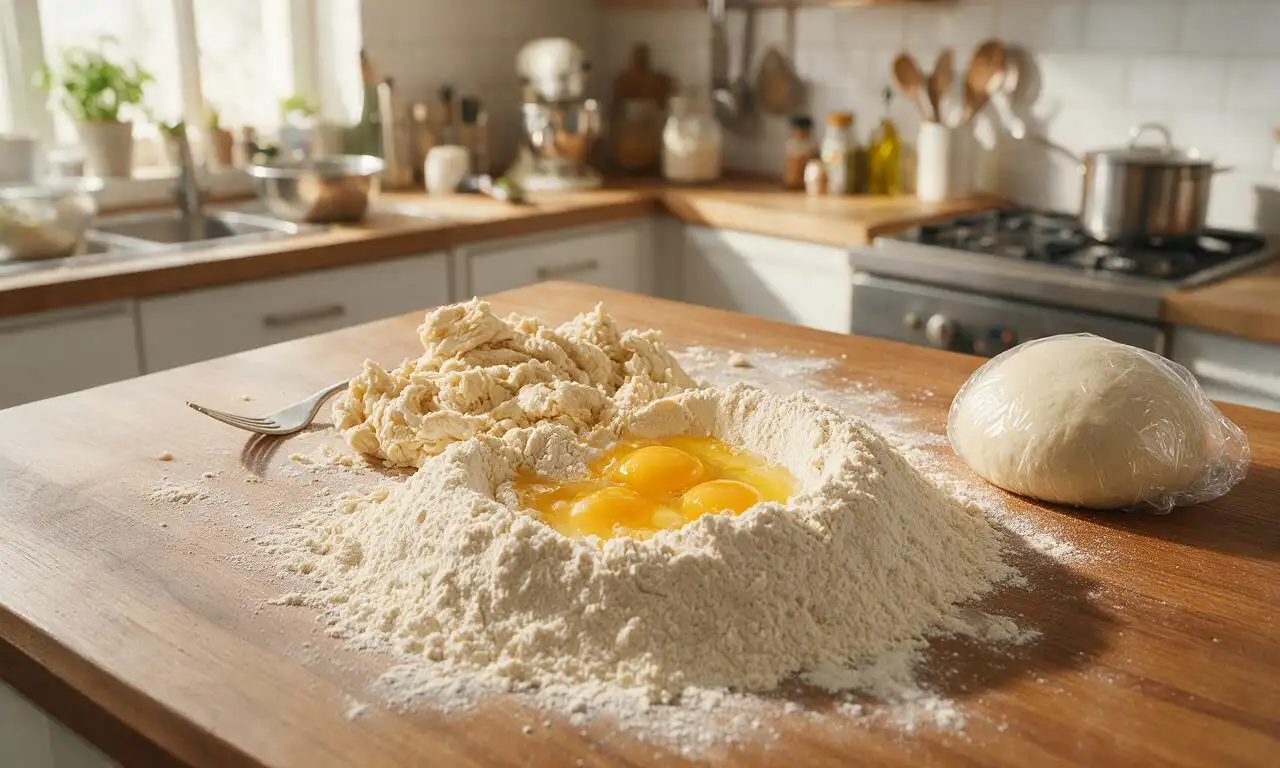
Mound 300 grams Tipo 00 flour on a clean wooden work surface, create a deep well in the center, and crack 4 whole eggs into the well. Add ½ teaspoon fine sea salt, then use a fork to gently beat the eggs, gradually incorporating flour from the well edges until a shaggy dough forms. Knead by hand for 10 minutes until the dough is smooth, elastic, and pale yellow, then wrap tightly in plastic wrap and rest at room temperature for 30 minutes before rolling.
Step 1
step1:Mix and rest pasta dough
2

Mix the cheese filling

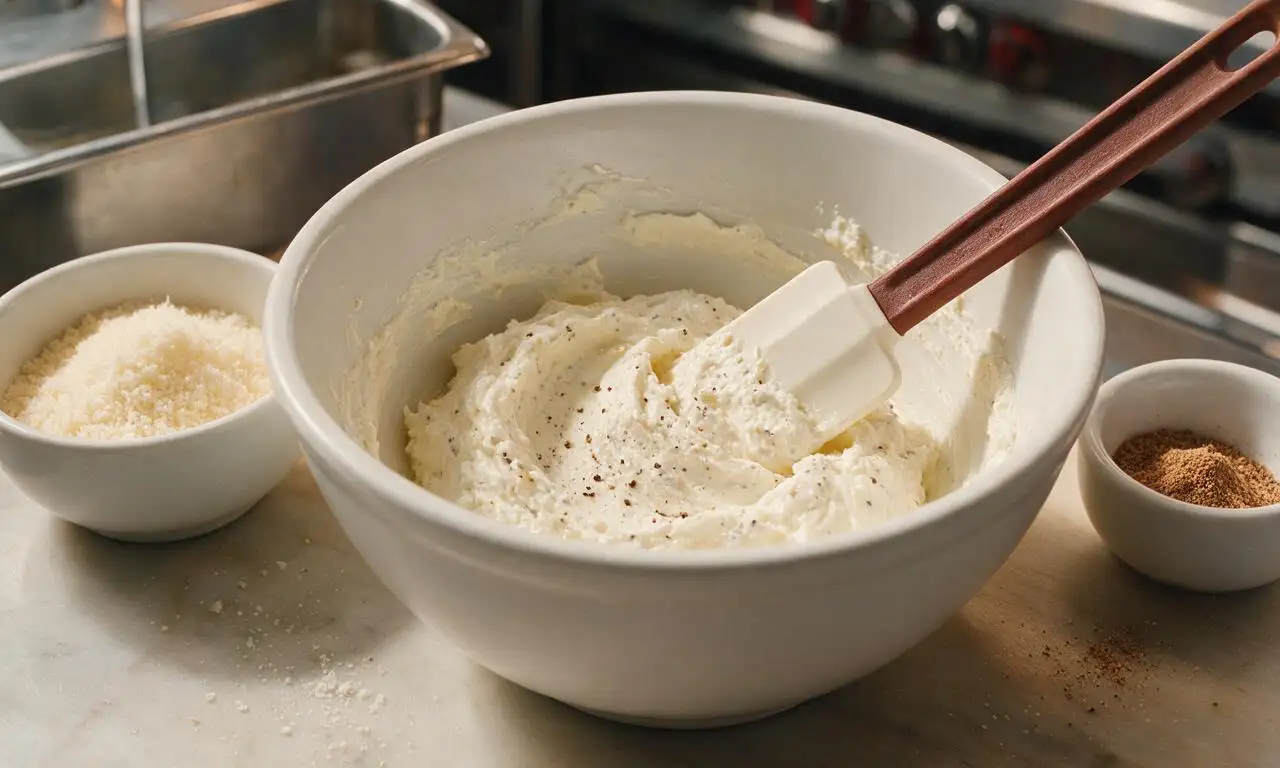
While the dough rests, add 250 grams drained whole milk ricotta, 80 grams of the grated Parmigiano-Reggiano, ¼ teaspoon ground nutmeg, ½ teaspoon fine sea salt, and ½ teaspoon freshly ground black pepper to a medium mixing bowl. Stir until completely smooth and evenly combined, then set aside in the refrigerator until ready to use.
Step 2
step2:Mix the cheese filling
3

Roll thin pasta sheets

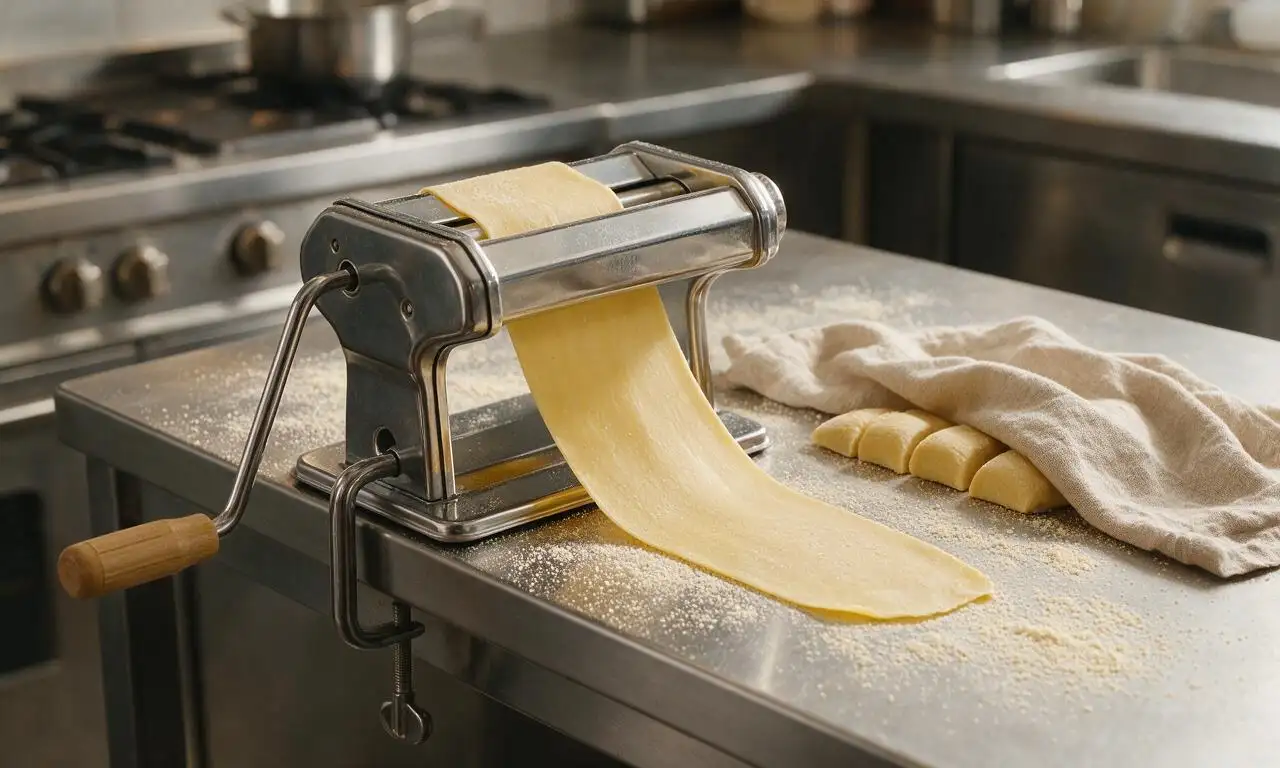
Unwrap the rested dough, cut it into 4 equal pieces, and flatten each piece to a 1cm thick disc. Dust your pasta roller and work surface with semolina flour, then run each dough disc through the roller on the widest setting, folding the dough into thirds between passes. Gradually reduce the roller setting one notch at a time, rolling until you reach the second-thinnest setting, creating 1mm thick, translucent pasta sheets. Lay sheets on a semolina-dusted tray, covering with a clean linen kitchen towel to prevent drying.
Step 3
step3:Roll thin pasta sheets
4

Fill and seal ravioli

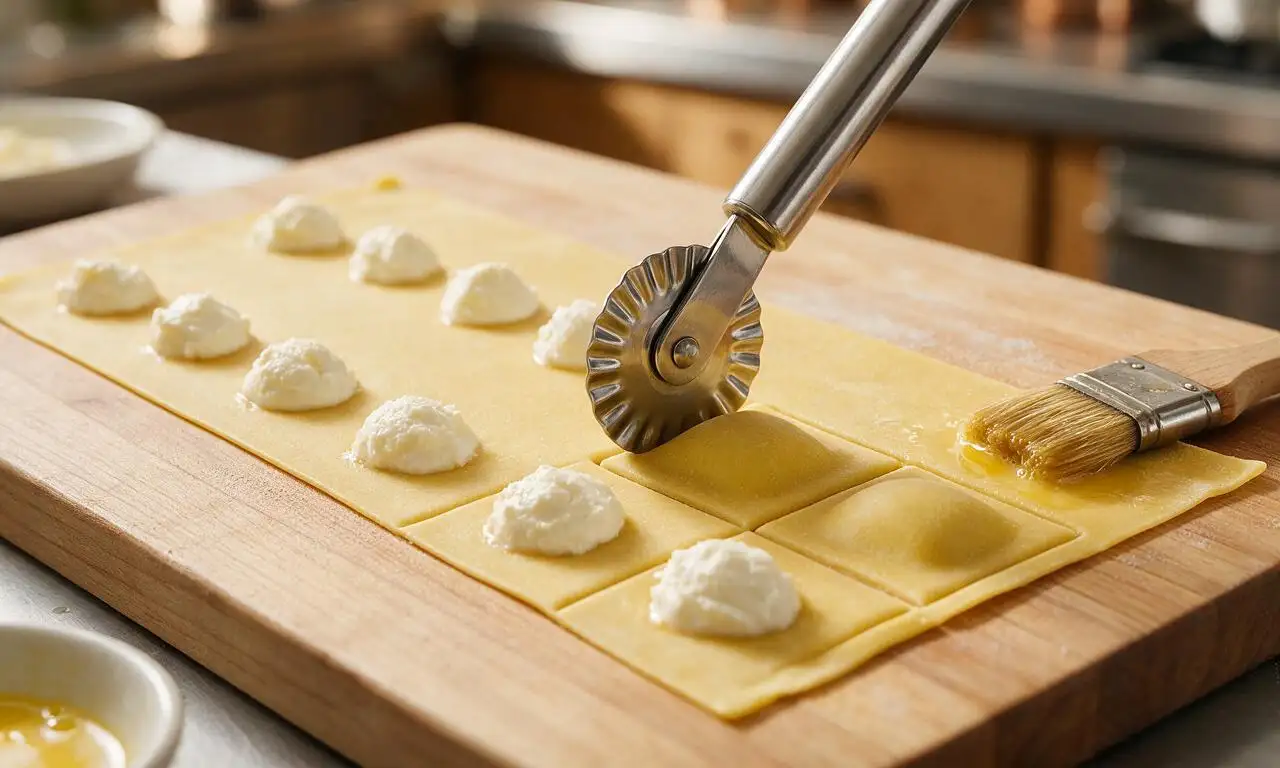
Lay one pasta sheet on the semolina-dusted work surface, and place 1 teaspoon mounds of the cheese filling 5cm apart along the length of the sheet. Beat the reserved egg yolk with 1 teaspoon water to make egg wash, then brush the egg wash around each filling mound to create a sticky seal. Lay a second matching pasta sheet over the top, pressing firmly around each filling mound to push out all trapped air and create a tight seal. Use a fluted ravioli cutter or sharp knife to cut 5cm square ravioli, then transfer cut pieces to the semolina-dusted tray, ensuring pieces do not touch to prevent sticking.
Step 4
step4:Fill and seal ravioli
5

Boil fresh ravioli

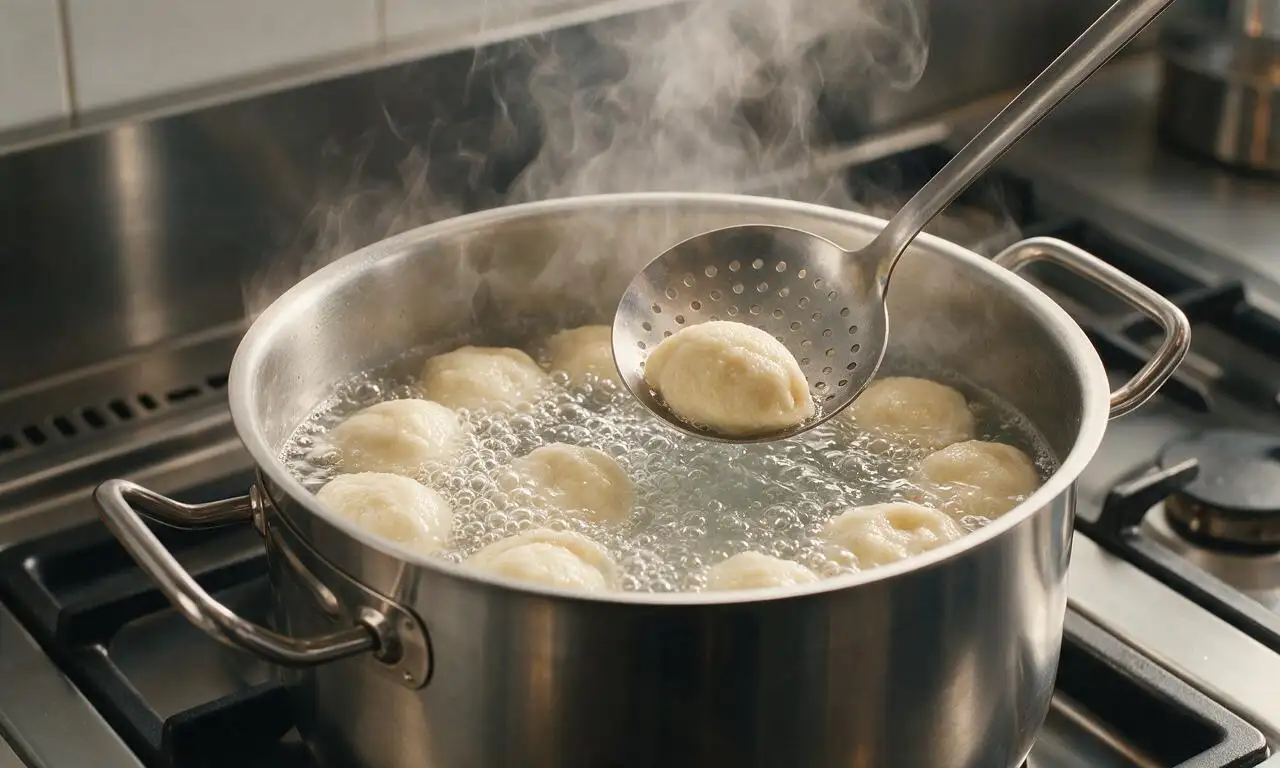
Bring 4 liters of water to a rolling boil over high heat, add the remaining 3 teaspoons fine sea salt (water should taste as salty as seawater). Gently drop ravioli into the boiling water in 2 batches, taking care not to overcrowd the pot, and cook for 3-4 minutes until ravioli float to the surface and are tender to the bite. Use a slotted spoon to lift cooked ravioli out of the water, reserving 60ml (¼ cup) of starchy pasta water before draining.
Step 5
step5:Boil fresh ravioli
6

Toss with brown butter sauce

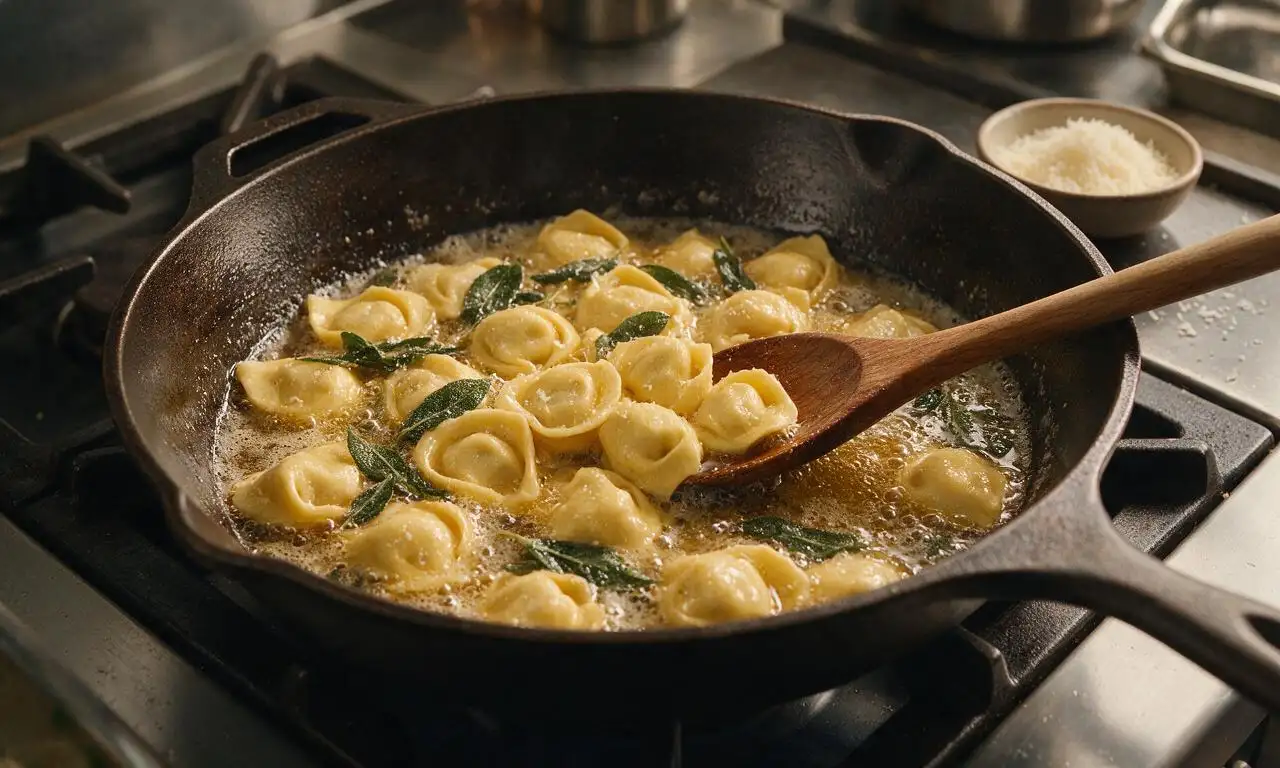
While ravioli cook, melt 113 grams unsalted butter in a large skillet over medium heat. Add fresh sage leaves and cook, swirling the pan frequently, for 3-4 minutes until butter turns deep golden, smells nutty and toasted, and sage leaves are crisp. Add cooked ravioli and reserved starchy pasta water to the skillet, toss gently over low heat for 1 minute to coat ravioli evenly in sauce. Serve immediately, topped with the remaining 20 grams of grated Parmigiano-Reggiano.
Step 6
step6:Toss with brown butter sauce

Tips

1.Drain ricotta in a fine-mesh sieve for 30 minutes before making the filling; excess moisture will make ravioli soggy and cause seals to break during boiling.
2.Press firmly around each filling mound to remove all trapped air before cutting ravioli; trapped air expands during boiling and will cause ravioli to burst open.
3.Do not rinse cooked ravioli after draining; the starchy pasta surface helps the brown butter sauce cling evenly to every piece.


✨ You May Also Like

Main Course
🍜 United Kingdom

A showstopping classic of tender seared beef, savory mushroom duxelles, and crisp prosciutto wrapped in flaky golden puff pastry, baked to juicy perfection.

⏱️ 2 hours 1Main Course ★ 4.7
Main Course
🍜 India

Tender charred marinated chicken simmered in a rich, spiced creamy tomato sauce, this iconic Anglo-Indian curry pairs perfectly with basmati rice or warm naan.

⏱️ 50 minuteMain Course ★ 4.6
Main Course
🍜 Thailand

Classic tangy, sweet, and savory Thai stir-fried rice noodles with shrimp, tofu, and crunchy garnishes, balancing all five core Thai flavor profiles.

⏱️ 30 minuteMain Course ★ 4.5
Main Course
🍜 United Kingdom

Crispy golden beer-battered cod and fluffy double-fried chips, served with tangy tartar sauce and malt vinegar: the timeless, beloved British pub comfort classic.

⏱️ 45 minuteMain Course ★ 4.7
Main Course
🍜 Mexico

Smoky, chile-marinated pork tacos with caramelized pineapple, fresh cilantro, and lime: a beloved classic Mexican street food perfect for casual summer gatherings.

⏱️ 1 hour 45Main Course ★ 4.8
Main Course
🍜 United States

Crunchy Fritos corn chips layered with savory beef chili and melted cheddar, topped with cool, zesty fixings for a beloved, cozy Tex-Mex comfort food.

⏱️ 35 minuteMain Course ★ 4.8

Ravioli:Frequently Asked Questions

1.Why do I need to drain the ricotta for the ravioli filling? ▾
Draining ricotta removes excess watery whey that would make your filling runny, cause ravioli to burst while cooking, and leave your sauce watery. Line a sieve with cheesecloth or paper towels, set it over a bowl, and let whole milk ricotta drain in the fridge for at least 4 hours (or overnight) for a thick, scoopable filling that stays sealed inside pasta.
2.Can I use all-purpose flour instead of Tipo 00 flour for the pasta dough? ▾
Absolutely, if you don’t have Tipo 00 on hand. Swap it 1:1 for unbleached all-purpose flour, but note your dough will be slightly chewier rather than ultra-silky. Add one extra egg yolk per 2 cups of flour to boost tenderness, and be careful not to overknead, which can make cooked pasta tough.
3.How do I prevent my ravioli from bursting open while they cook? ▾
Start by making sure your ricotta is fully drained so filling doesn’t leak and break seals. When crimping edges, press out all trapped air around the filling and moisten dough edges lightly with water to get a tight seal. Cook ravioli at a gentle simmer, not a rolling boil, to avoid jostling them too hard as they cook.
4.How do I know when brown butter is done so I don’t burn it? ▾
Keep the heat on medium-low as you melt the butter, swirling the pan frequently. You’ll first see it foam, then smell a rich, nutty aroma, and spot tiny golden-brown milk solids settling at the pan bottom. Pull it off heat immediately once you hit that point—residual heat will keep it cooking, and it burns in seconds if left unattended.
5.Can I make the ravioli ahead of time for a family gathering? ▾
Definitely! Assembled uncooked ravioli freeze beautifully: arrange them in a single layer on a parchment-lined baking sheet, freeze until solid, then transfer to a labeled airtight bag for up to 3 months. Don’t thaw them before cooking—drop frozen ravioli straight into simmering salted water to avoid sogginess.
6.Why do I add sage leaves directly to the brown butter? ▾
Frying fresh sage leaves in hot brown butter does two key things: it crisps the leaves into a delicate, aromatic, earthy garnish, and it infuses the nutty butter with warm, piney sage flavor that pairs perfectly with creamy cheese filling. Pull the crisp leaves out after 30 seconds so they don’t turn bitter from overcooking.
7.How thick should I roll the pasta dough for ravioli? ▾
Roll your rested pasta dough to the thinnest or second-thinnest setting on your pasta machine (about 1/16 of an inch thick). It should be translucent enough that you can just barely see your hand through it when you hold a sheet up to light. Dough that’s too thick makes heavy, chewy ravioli; too-thin dough tears easily around filling.
8.Do I need a special ravioli mold or stamp to make these? ▾
No fancy tools are required! While ravioli stamps or molds speed up assembly, you can cut and seal ravioli completely by hand: dollop filling evenly across one pasta sheet, lay a second sheet on top, press out air pockets around each dollop, cut into squares with a knife or pizza cutter, and crimp edges with a fork to seal.
9.How long do fresh homemade ravioli take to cook? ▾
Fresh homemade ravioli cook much faster than dried store-bought pasta, usually 3 to 5 minutes total. They’re done when they float to the surface of the simmering salted water and stay there for 30 seconds. Use a slotted spoon to lift them straight into your brown butter sauce instead of dumping them in a colander to avoid tearing.
10.Can I add other cheeses to the ravioli filling? ▾
Of course! The base of drained ricotta and Parmigiano-Reggiano is a classic, but you can mix in up to ½ cup of other low-moisture cheeses for extra depth: shredded low-moisture mozzarella, crumbled mascarpone, or a bit of grated pecorino Romano work beautifully. Skip high-moisture cheeses like fresh mozzarella, which make filling runny.
11.How much salt should I add to the pasta cooking water? ▾
Salt your pasta water until it tastes as salty as seawater—this is your only chance to season the pasta dough itself, since the filling and sauce are relatively mild. For a 6-quart pot of water, that’s roughly 2 tablespoons of kosher salt. Don’t add oil to the water, though; it will keep the brown butter sauce from clinging to the ravioli.
12.Why do I need to let pasta dough rest before rolling it out? ▾
Resting kneaded dough, wrapped tightly in plastic at room temperature for 30 minutes, lets the gluten in the flour relax. If you skip this step, the dough will shrink back constantly as you try to roll it thin, and it will turn out chewy and tough after cooking instead of tender and pillowy. It’s a non-negotiable step for silky fresh pasta.
13.Can I use dried sage instead of fresh for the brown butter sauce? ▾
Fresh sage is strongly recommended for this recipe, since dried sage has a dull, dusty, slightly bitter flavor that doesn’t match the bright, aromatic crisp fried sage garnish. If you’re in a pinch, stir ½ teaspoon of dried rubbed sage into the brown butter off heat, and don’t fry dried sage, as it will burn almost instantly.
14.What should I do if my ravioli dough is too dry and crumbly when kneading? ▾
If your dough is cracking and won’t come together into a smooth ball, don’t panic. Add cold water ½ teaspoon at a time, kneading between additions, until it forms a firm, smooth, elastic ball that doesn’t stick to your hands. Resist adding too much water at once; over-wet dough will be sticky and hard to roll thin without tearing.
15.What’s the best way to reheat leftover cooked ravioli? ▾
Skip the microwave, which will turn the pasta rubbery and make the butter sauce separate. Reheat leftovers gently in a skillet over low heat with a splash of chicken or vegetable broth, tossing until the ravioli are warmed through and the sauce emulsifies again. Leftovers will keep in an airtight container in the fridge for up to 3 days.
16.Should I rinse my cooked ravioli after draining them? ▾
Never rinse cooked ravioli! Rinsing washes off the light starchy coating on the outside of the fresh pasta, which is what helps the rich brown butter sage sauce cling evenly to every bite. The only exception is for cold pasta salad, which isn’t the case here—transfer ravioli straight from cooking water to sauce.

Comments (5)

2 days ago

OMG this ravioli was a total game changer for our Sunday family dinner! I was a little intimidated at first since it’s marked medium difficulty, but the instructions were so easy to follow even as a total homemade pasta newbie. My kids loved it—they went back for seconds before I even got to sit down and eat! My husband already asked if we can add this to our regular monthly rotation. The brown butter sage sauce is nutty, fragrant, and not heavy at all, SO good. I tossed in a tiny pinch of red pepper flakes for a subtle kick, and it was chef’s kiss.

yesterday

This makes my day to hear! That pinch of red pepper flakes is such a brilliant little hack—adds the perfect hint of warmth without covering up that earthy sage flavor. I’m so glad the steps felt approachable for your first homemade pasta attempt, can’t wait for you to make it again next month!

2 hours ago

Wait the red pepper flakes idea is genius! I made this last week and thought the sauce was missing a little something to cut the richness, can’t wait to try that trick when I whip up a batch this weekend!

3 days ago

Made a double batch of these on Sunday for my weekly meal prep, and they held up perfectly all week for work lunches! I will say the pasta dough took me a couple extra minutes to get the right elasticity, probably because my kitchen was way colder than the recipe assumes this time of year, but once I got it rolled thin it was smooth sailing. The brown butter sauce comes together so fast I was genuinely shocked. Quick heads up for other folks: don’t walk away from the butter when it’s browning, I almost burned my first batch lol.

2 days ago

Great catch about the brown butter—it really does go from perfectly nutty to burnt in the blink of an eye! Cold kitchen air can definitely make pasta dough feel stiffer and harder to roll; a quick fix is to let the dough rest an extra 10 minutes at room temp before rolling if it feels too tight. So happy these worked out for your meal prep rotation!

1 week ago

Brought these to our neighborhood potluck last weekend and people were practically begging me for the recipe! I used a mix of ricotta, parmesan, and a little leftover mascarpone I had in the fridge for the filling, and it came out so creamy and decadent. The sage leaves fried up crispy in the brown butter and made the whole dish look fancy enough for a dinner party, even though it’s totally doable on a casual weeknight if you prep the filling the night before. 10/10 will be making this again for my book club next month!

5 days ago

First time making ravioli from scratch and I was pretty intimidated going in, but this recipe made it feel totally achievable! The listed 1 hour 15 minute cook time was spot on for me, even with me fumbling around with the ravioli stamp my roommate got me for Christmas last year. My only small note is I wish the recipe had a reminder to salt the pasta water heavily, I undersalted mine the first go round so the pasta itself was a little bland. Still turned out really tasty, just a heads up for other newbies like me!

3 days ago

Oh good call on the pasta water! I always follow the ‘salty like the sea’ rule for any pasta, it makes such a huge difference in flavor. I messed up half my ravioli seals my first time making this too, cheese oozed out all over the pot—don’t feel bad about the fumbling, it gets easier with practice!

yesterday

I’ve been searching for a go-to homemade cheese ravioli recipe for literal years and this one finally delivered! I used whole milk ricotta and made sure to drain it really well like the recipe instructed, so the filling wasn’t runny at all—total game changer, because every other ravioli recipe I’ve tried had filling oozing out everywhere while boiling. The brown butter sage sauce is so simple but tastes like something you’d pay $25 for at a fancy downtown Italian restaurant. I topped mine with a little extra grated parm and toasted pine nuts, *chef’s kiss*.

30 minutes ago

The toasted pine nuts addition sounds insane! I never would’ve thought to add those, that little crunch would pair so perfectly with the soft ravioli and nutty brown butter. Adding pine nuts to my grocery list right now for when I make this this weekend!

5 minutes ago

Draining the ricotta is such a critical step to avoid runny filling, I’m so glad that tip paid off for you! Toasted pine nuts are one of my favorite toppings for this too—adds the best textural contrast. Hope you love this recipe for years to come!



