
recipe for parmesan chicken

title 1
recipe for parmesan chicken
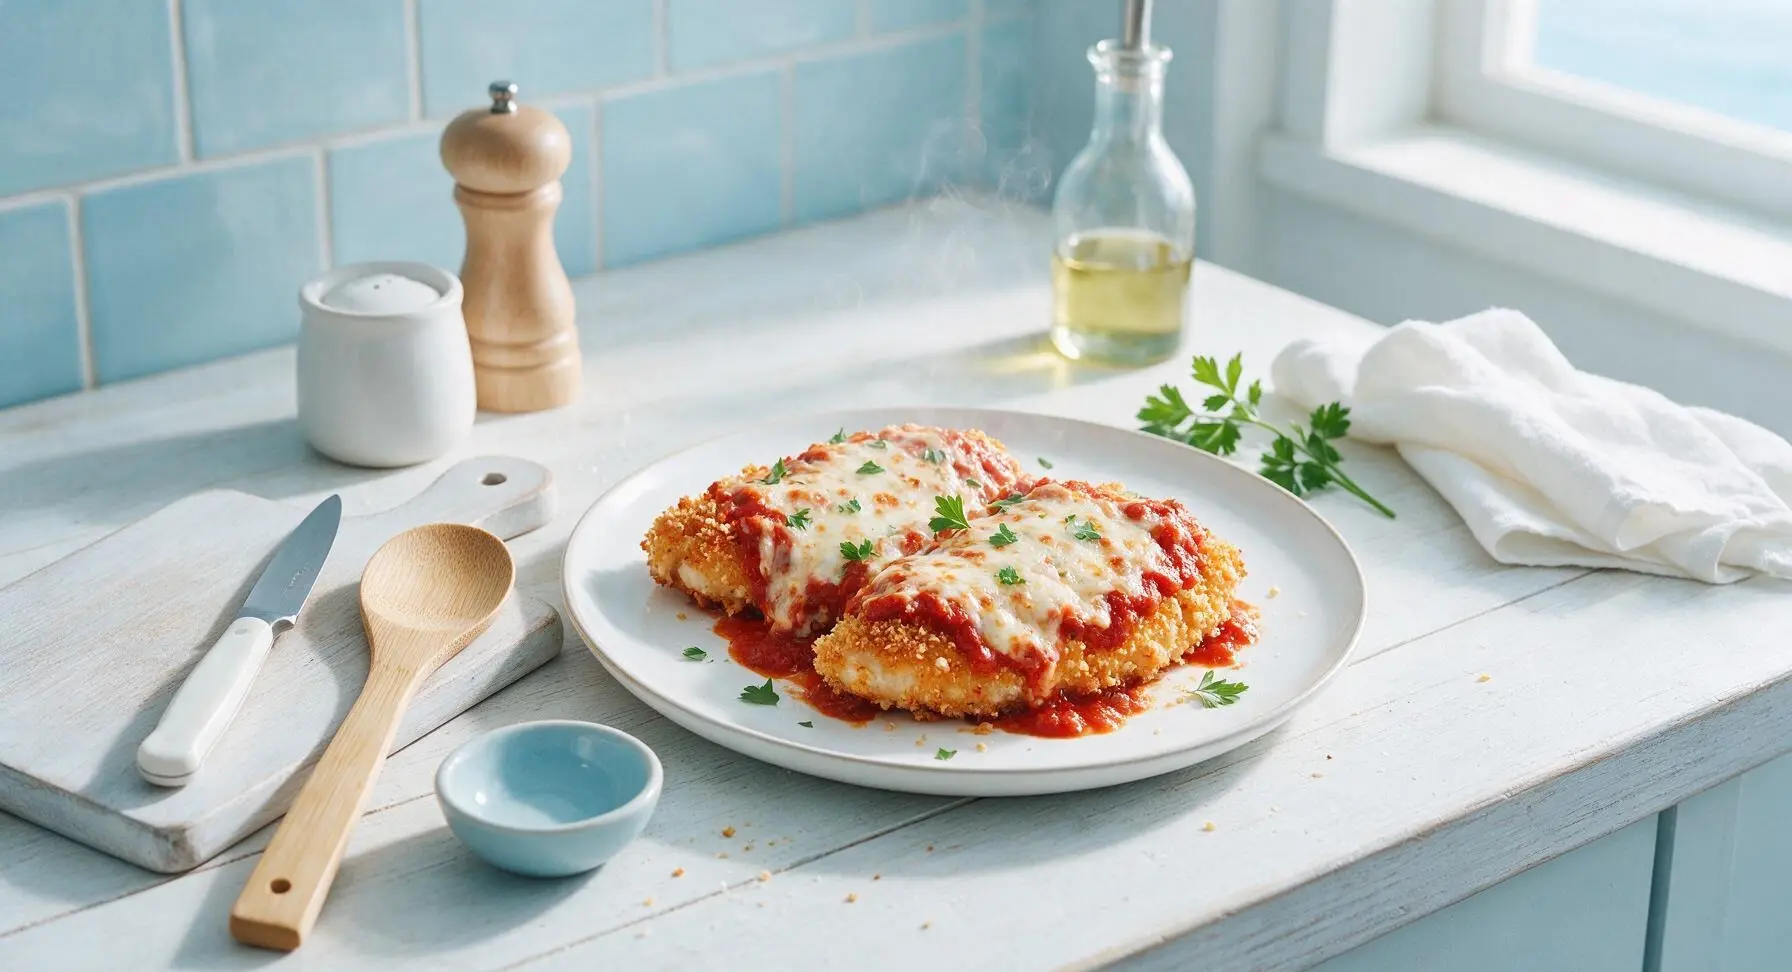
⏱️ cook time 25 minutes
🍽️ servings 4
⚡ Difficulty easy

intro

Crispy golden panko-crusted chicken smothered in bright marinara and bubbly melted parmesan, a cozy, crowd-pleasing classic with satisfying crunch in every bite.

Ingredients
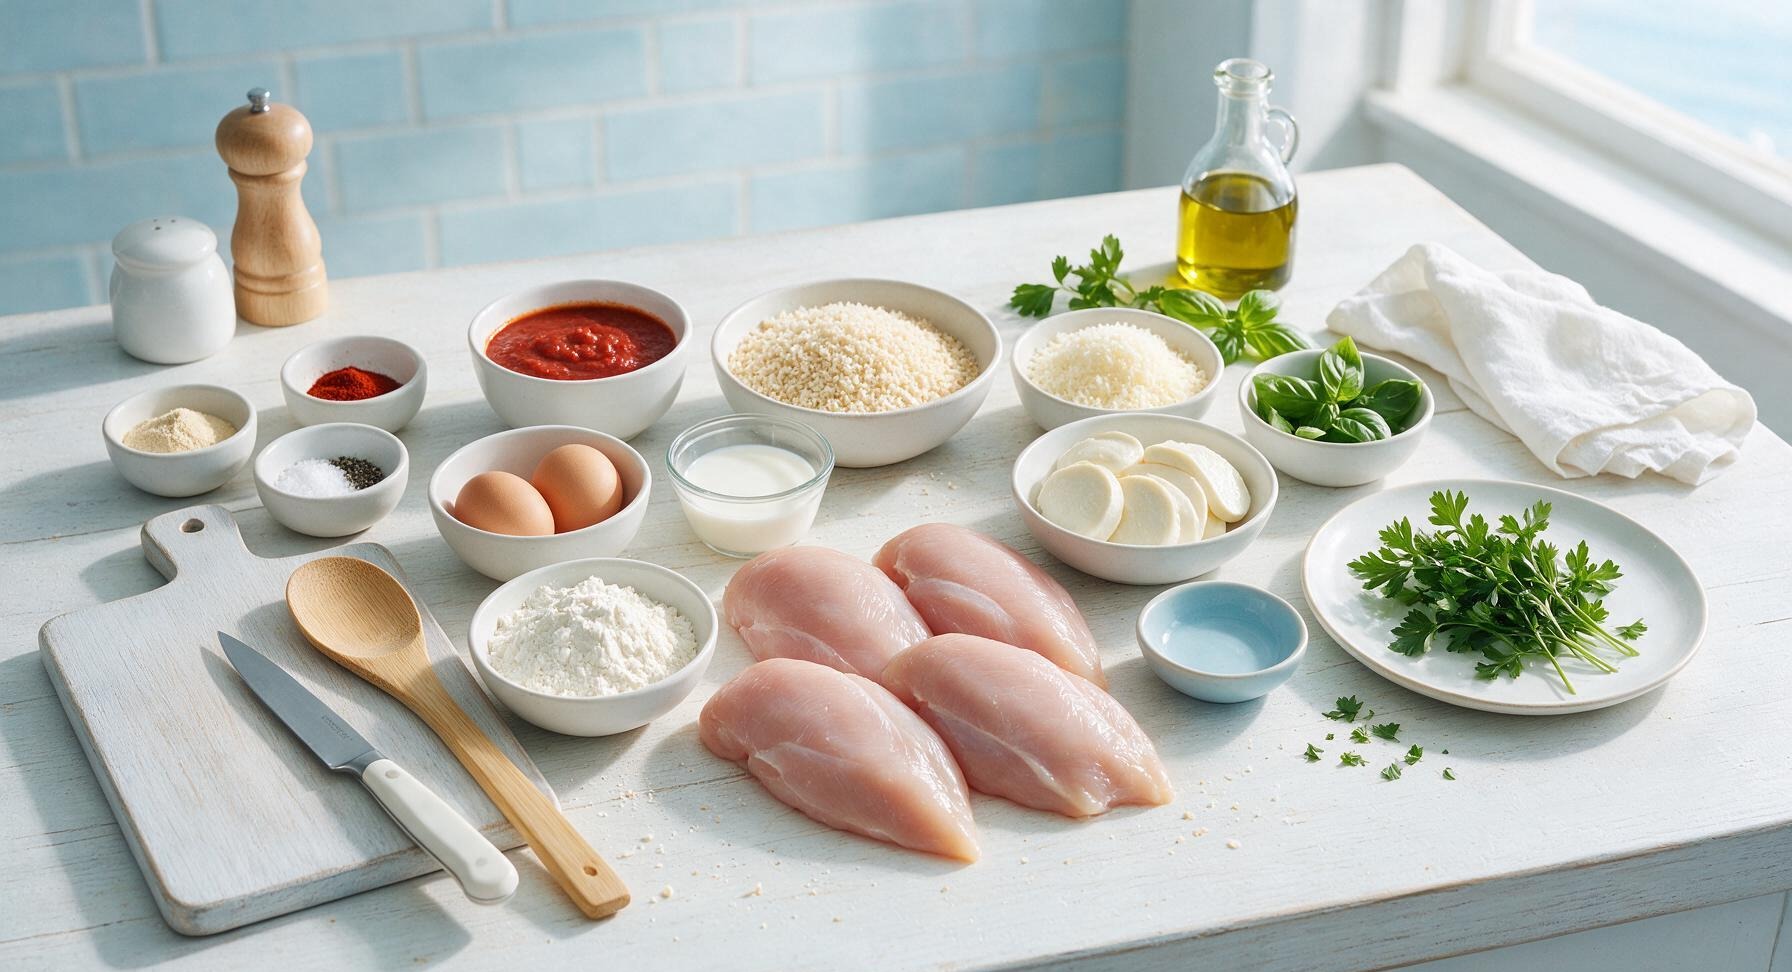
Boneless skinless chicken breasts 680g (4 pieces, 170g each)
All-purpose flour 65g (½ cup)
Large eggs 2
Whole milk 2 tbsp
Panko breadcrumbs 100g (1 cup)
Finely grated parmesan cheese 100g (1 cup, divided)
Garlic powder 1 tsp
Smoked paprika ½ tsp
Kosher salt 1 tsp
Freshly ground black pepper ½ tsp
Marinara sauce 360ml (1.5 cups)
Fresh mozzarella cheese 170g, sliced ½cm thick
Fresh basil leaves ¼ cup, plus sprigs for garnish
Extra-virgin olive oil 3 tbsp

Steps

1

Pound Chicken Cutlets

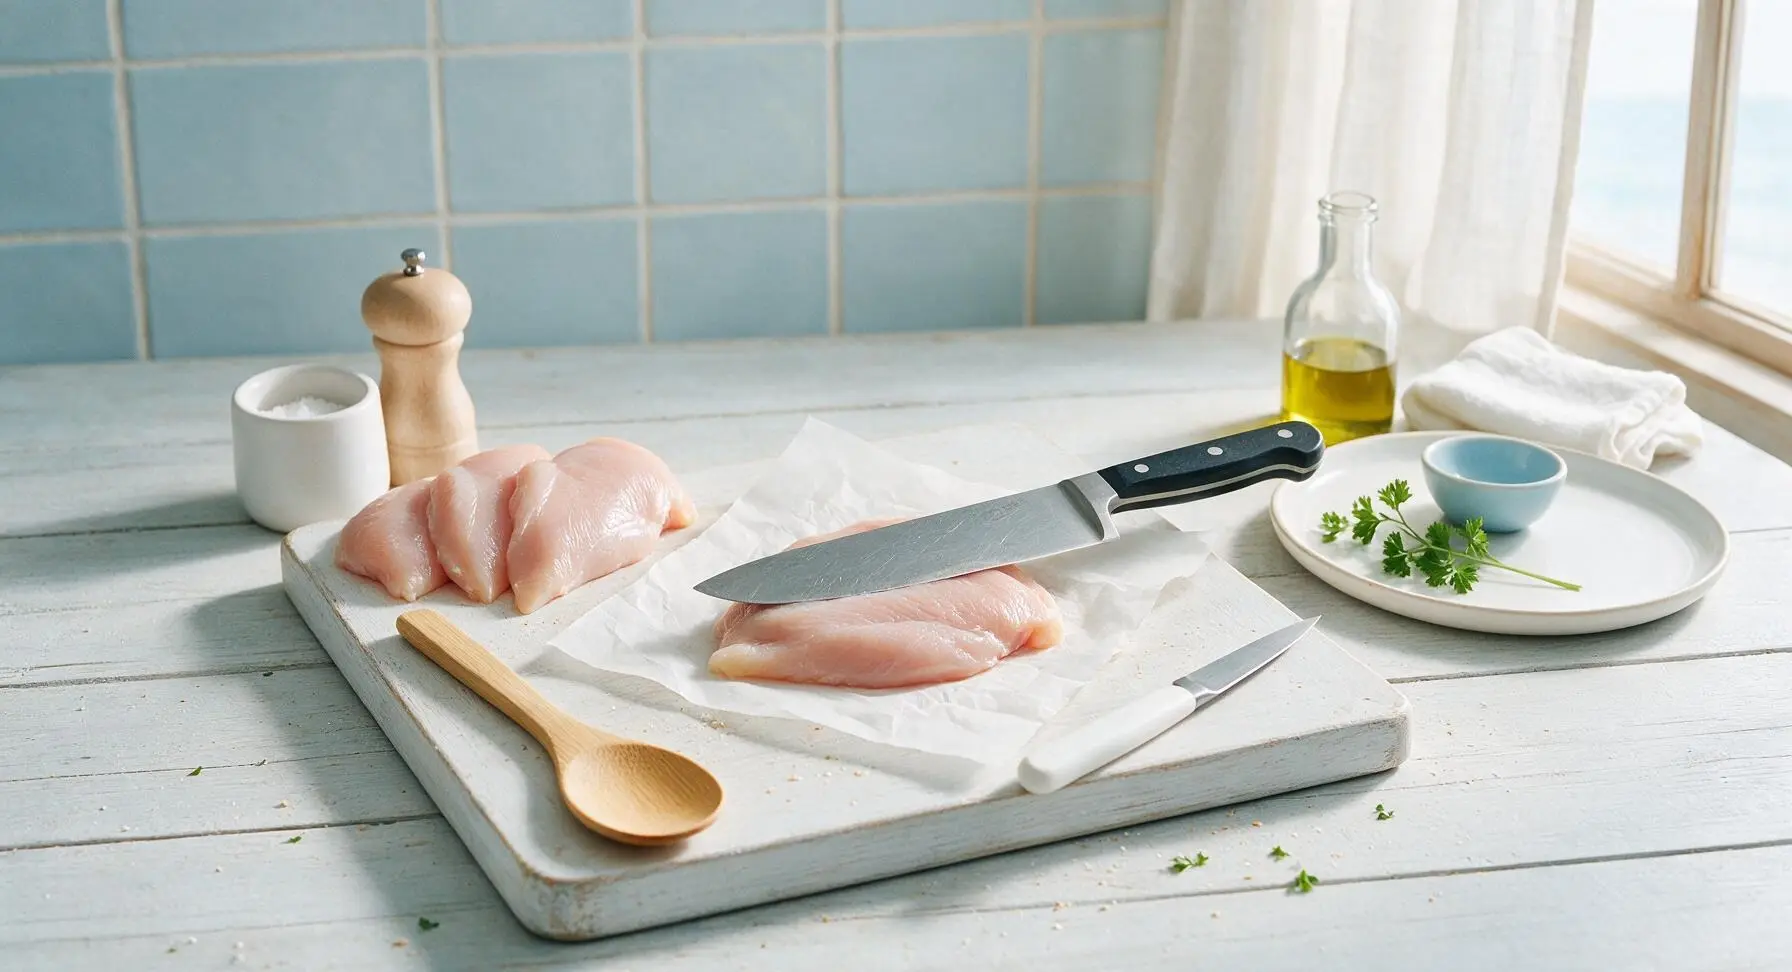
Place chicken breasts one at a time between two sheets of parchment paper on the acacia wood cutting board. Using the flat side of the chef knife blade, gently pound each breast to an even 1cm (½-inch) thickness to ensure consistent cooking and no dry, overcooked thick spots. Season both sides of the pounded cutlets with ½ tsp kosher salt and ¼ tsp freshly ground black pepper, then set aside on the right edge of the cutting board.
Step 1
step1:Pound Chicken Cutlets
2

Set Up Breading Station

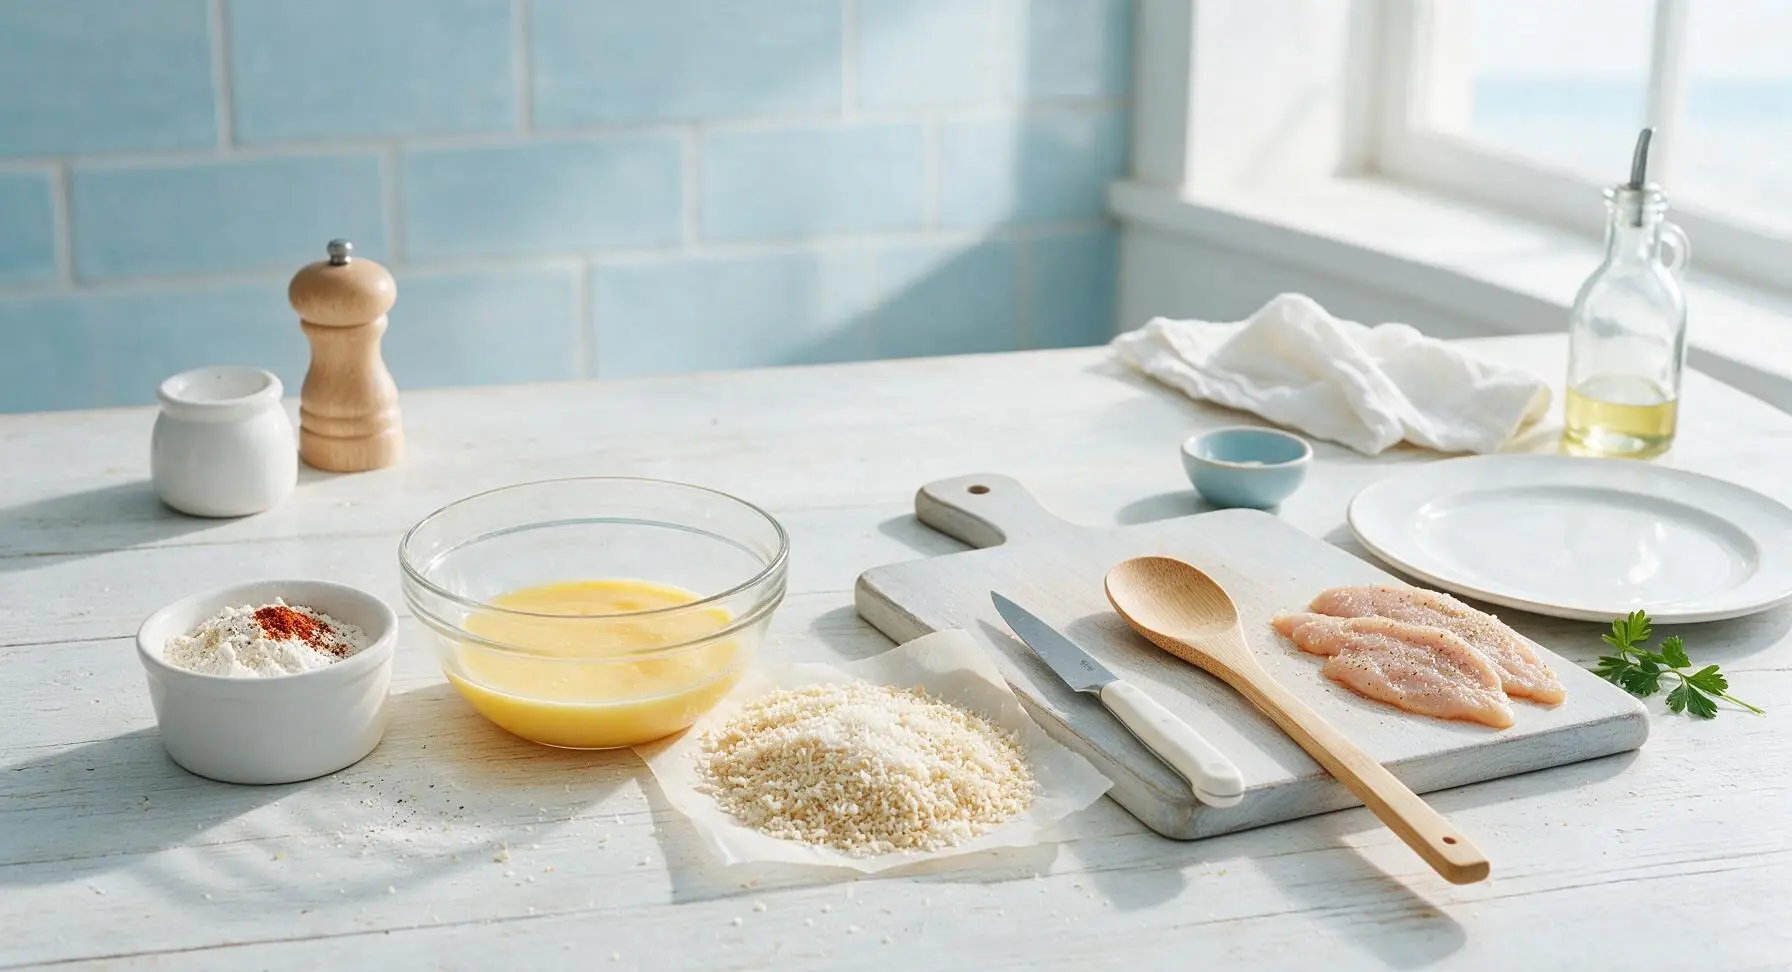
Arrange three sequential breading dishes in a line left to right on the counter adjacent to the cutting board: first, a matte white ramekin holding all-purpose flour mixed with garlic powder, smoked paprika, remaining ½ tsp kosher salt, and ¼ tsp black pepper; second, the clear tempered glass bowl holding two large eggs beaten with 2 tbsp whole milk until completely smooth; third, a square of parchment paper holding panko breadcrumbs mixed with ½ cup of the finely grated parmesan, stirred to distribute the cheese evenly through the crumbs.
Step 2
step2:Set Up Breading Station
3

Bread Chicken Cutlets

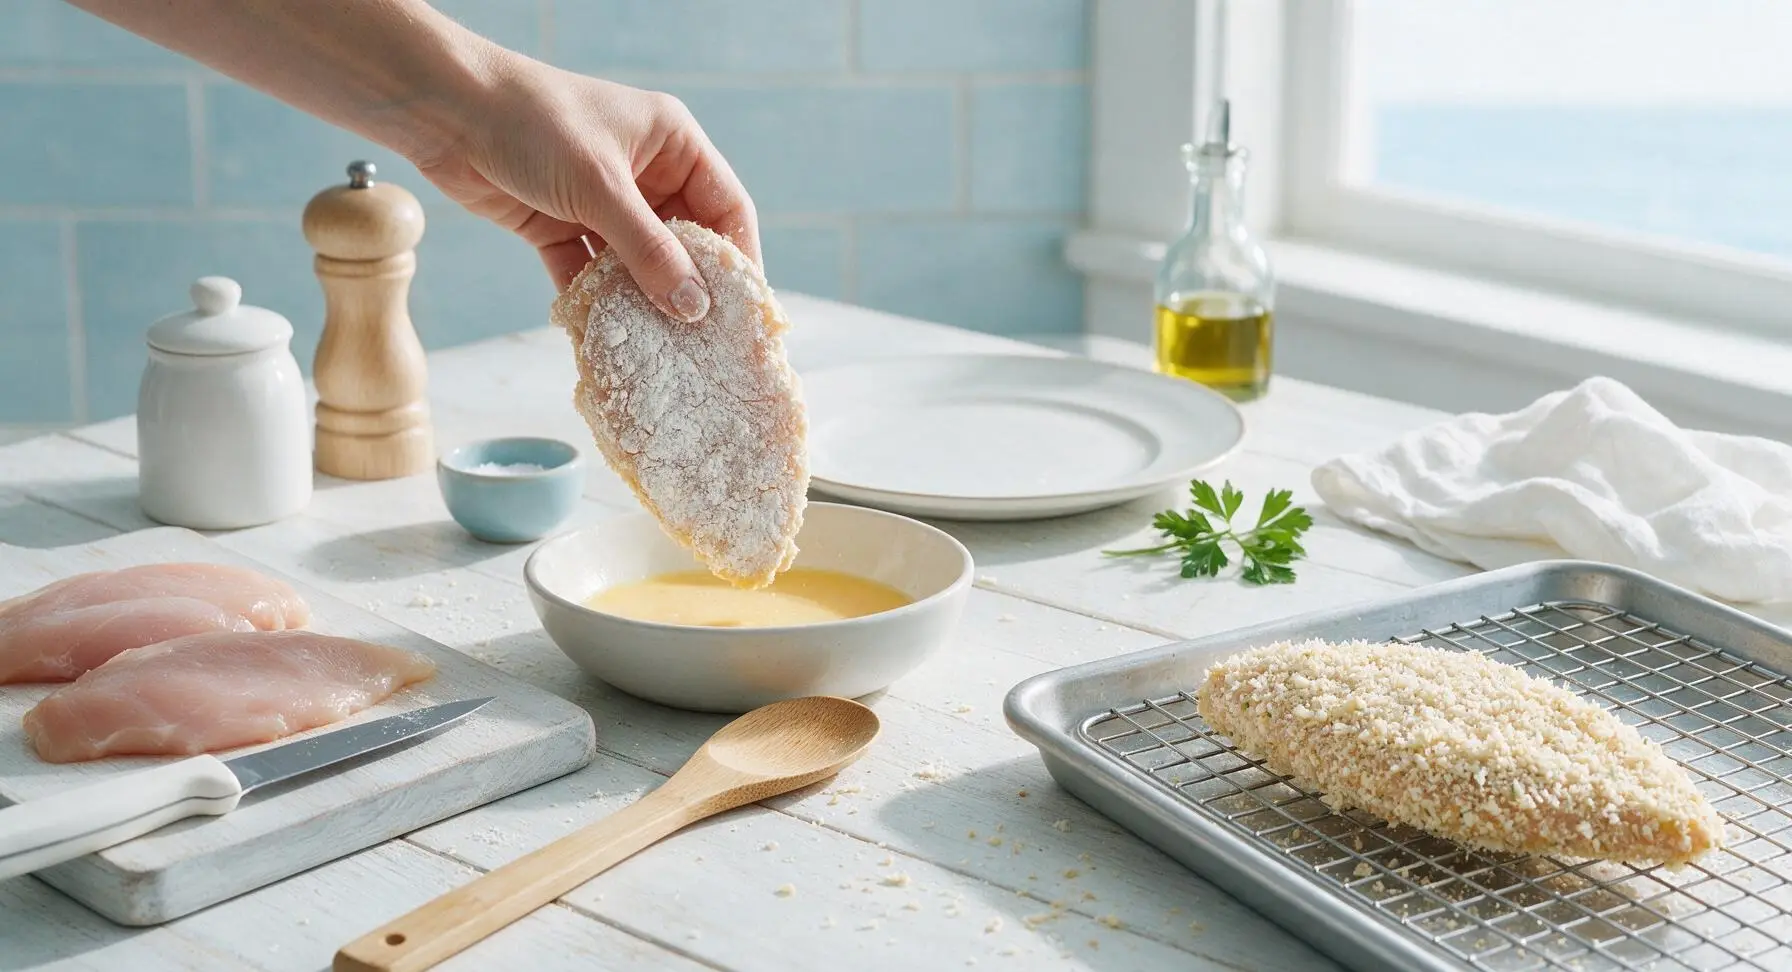
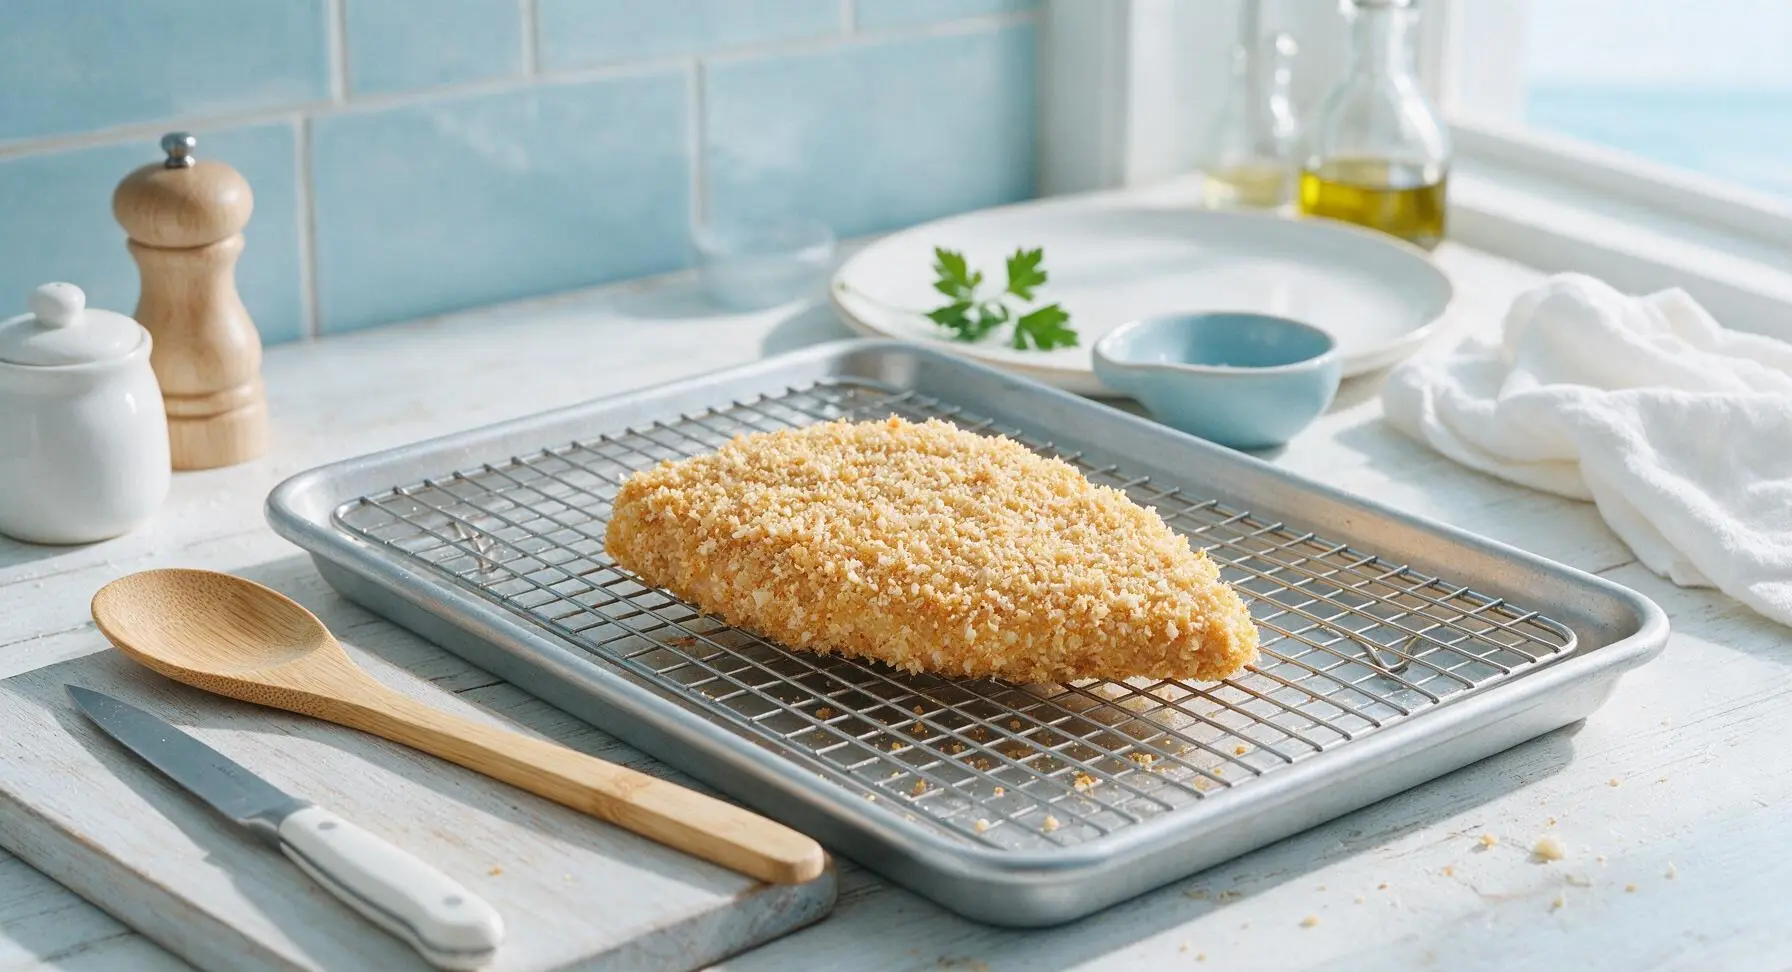
Working one cutlet at a time to avoid mess and ensure even coating: first dredge in seasoned flour, shaking off all excess to leave only a thin, even layer (thick flour patches cause breading to slide off during cooking). Next, dip the floured cutlet fully into the egg wash, letting excess drip off for 2 full seconds. Finally, press the cutlet firmly into the panko-parmesan mixture, coating both sides completely and pressing gently so crumbs adhere tightly. Place fully breaded cutlets on the wire rack set inside the rimmed aluminum baking sheet, and let rest 5 minutes to allow the breading layers to set before frying.
Step 3
step3:Bread Chicken Cutlets
Step 3
step3:Bread Chicken Cutlets
4

Pan-Fry to Crispy Golden

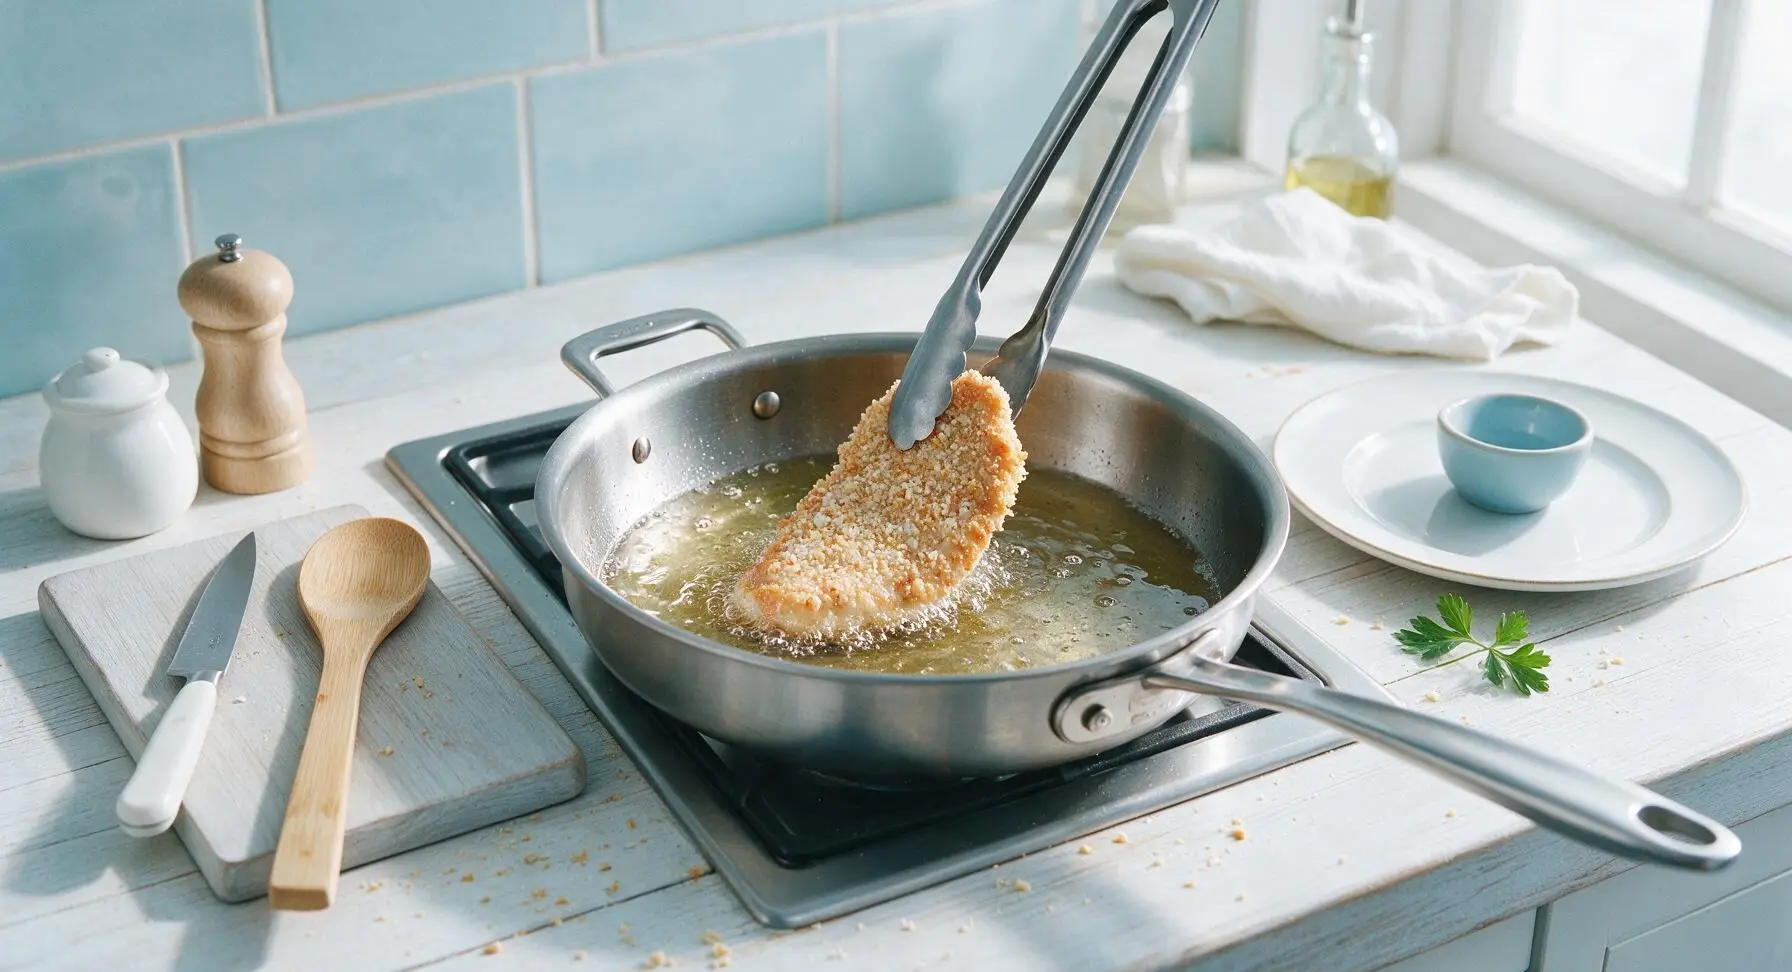
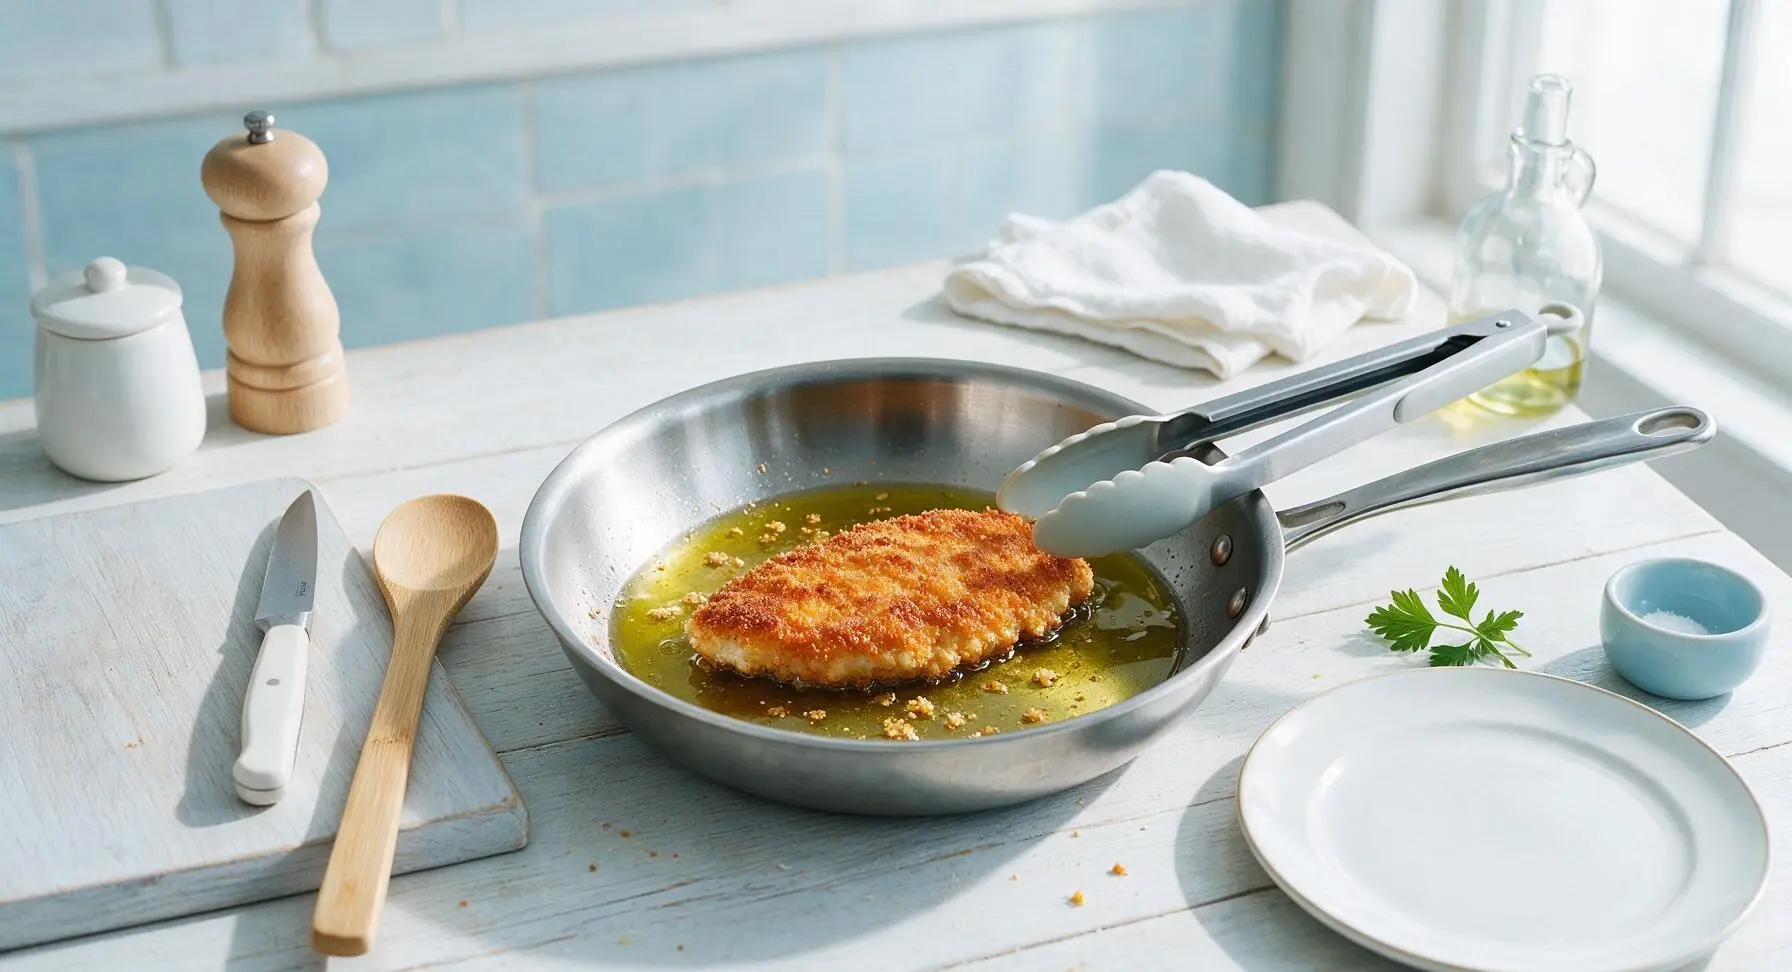
Heat 3 tbsp extra-virgin olive oil in the heavy-gauge stainless steel skillet over medium heat until the oil shimmers, reaching 350°F (175°C) — test by dropping a single panko crumb into the oil; if it sizzles immediately, the oil is ready. Cook cutlets in two batches to avoid crowding the pan (crowding drops oil temperature and results in soggy, not crispy, breading), frying 2.5 minutes per side until the crust is deep golden brown. Use the silicone-tipped stainless steel tongs to flip cutlets gently to avoid dislodging the crust. Transfer fried cutlets back to the wire rack as each batch finishes.
Step 4
step4:Pan-Fry to Crispy Golden
Step 4
step4:Pan-Fry to Crispy Golden
5

Top With Sauce and Cheese

Once all cutlets are fried and resting on the wire rack, spoon 2 tbsp of marinara sauce over the top of each cutlet, spreading it in a thin, even layer — do not douse the cutlets, as excess sauce will soak through the crispy crust. Top each sauced cutlet with two thin slices of fresh mozzarella, then sprinkle the remaining ½ cup of grated parmesan evenly over the mozzarella.
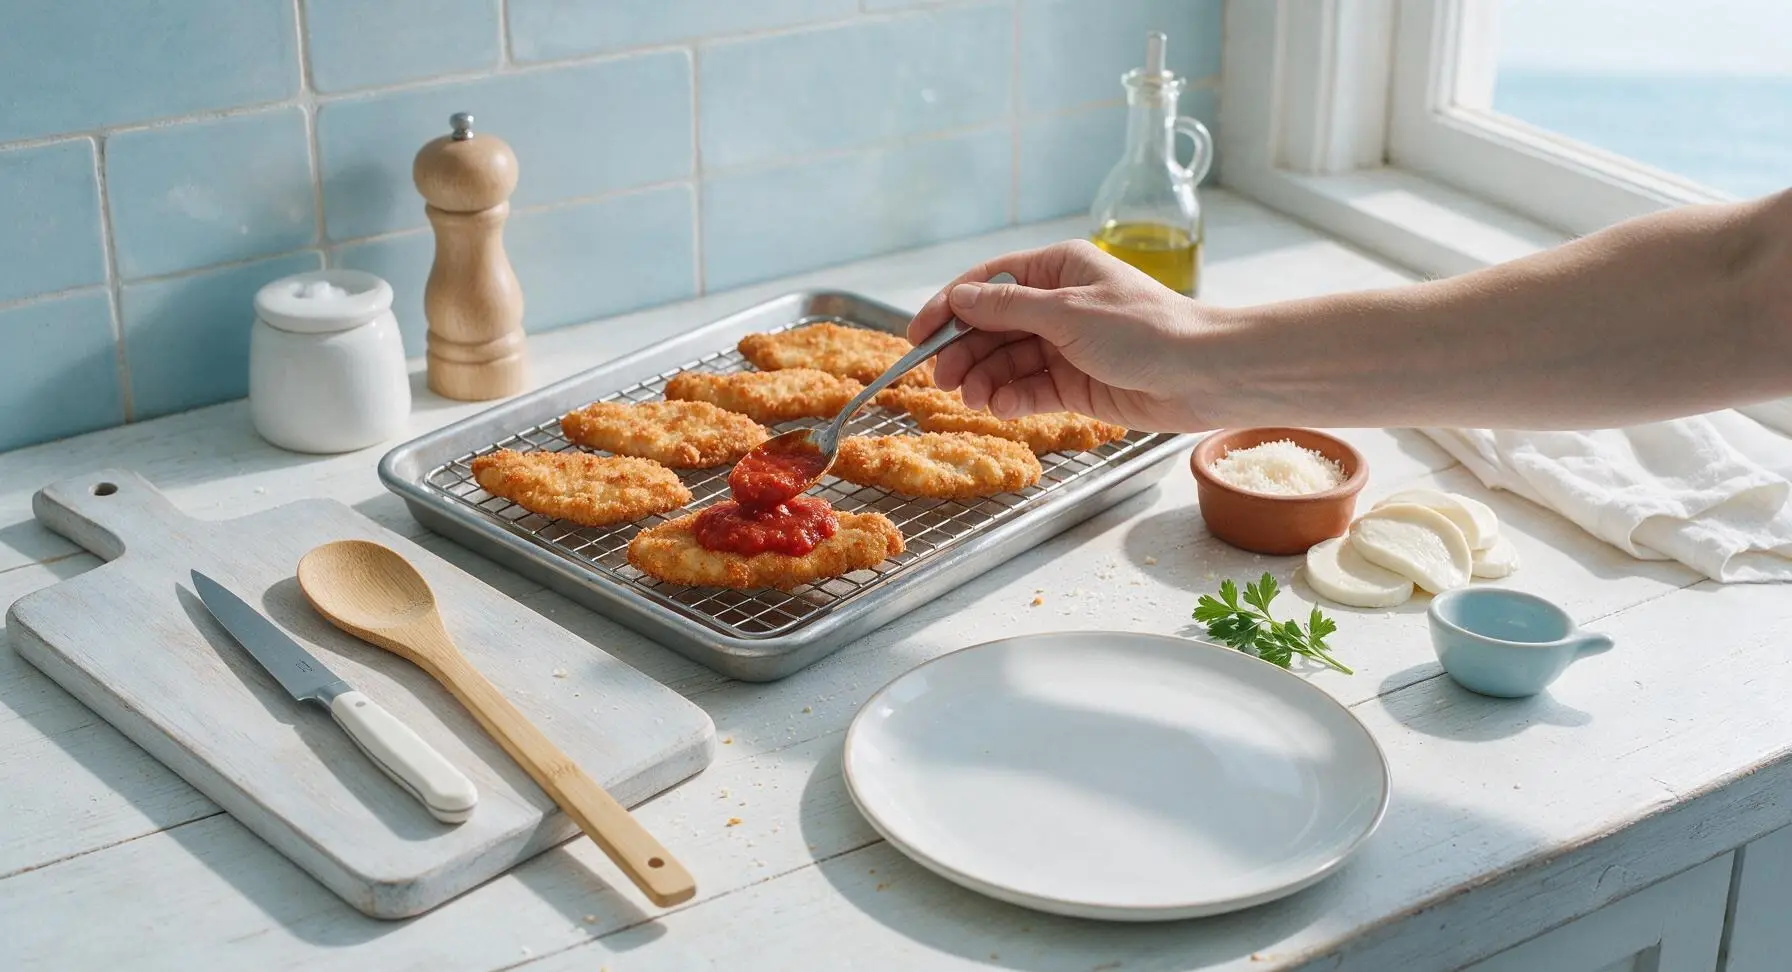
Step 5
step5:Top With Sauce and Cheese
6

Bake Until Cheese Bubbles

Transfer the baking sheet with topped cutlets to a preheated 425°F (220°C) oven. Bake for 8-10 minutes, until the mozzarella is fully melted, the parmesan is bubbly, and the edges of the cheese are just starting to turn light golden brown. Confirm doneness by using the instant-read thermometer to check that the thickest part of the chicken reaches an internal temperature of 165°F (74°C).
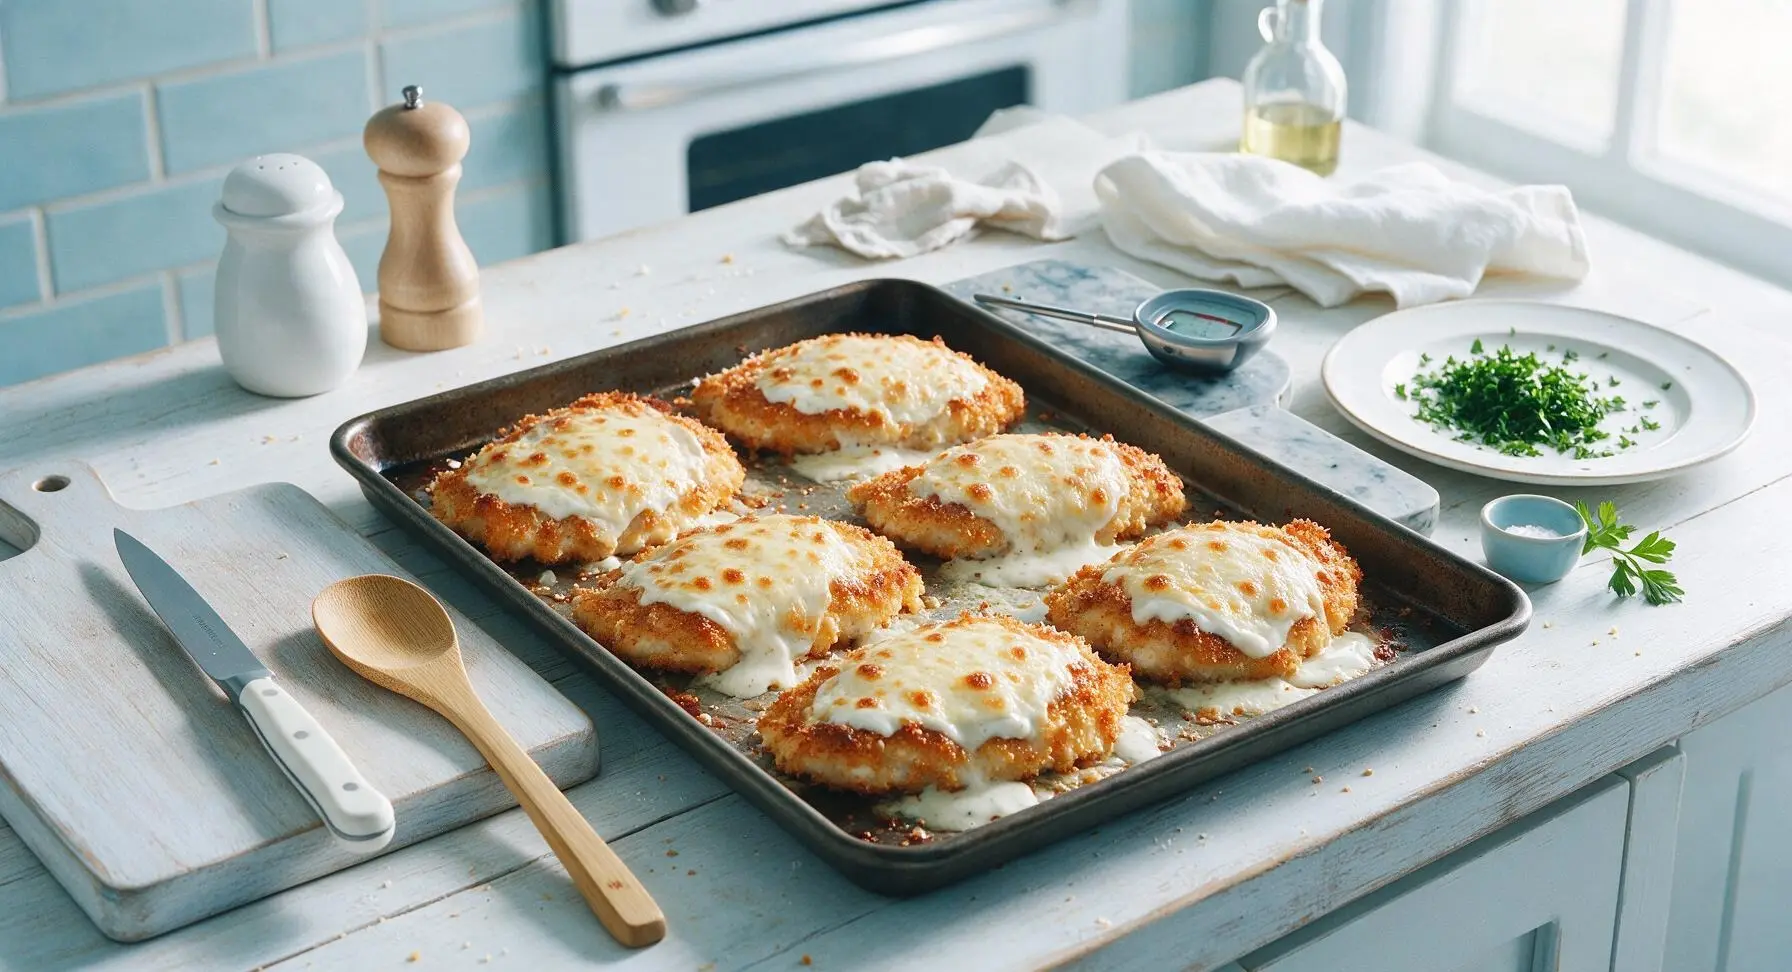
Step 6
step6:Bake Until Cheese Bubbles
7

Rest and Plate Chicken

Remove the baking sheet from the oven, and let the chicken rest for 3 minutes to allow the cheese to set and chicken juices to redistribute. Use the tongs to transfer two cutlets to the matte cream ceramic coupe dinner plate, tuck a fresh basil sprig next to the chicken for garnish, and add a light extra grating of parmesan if desired.
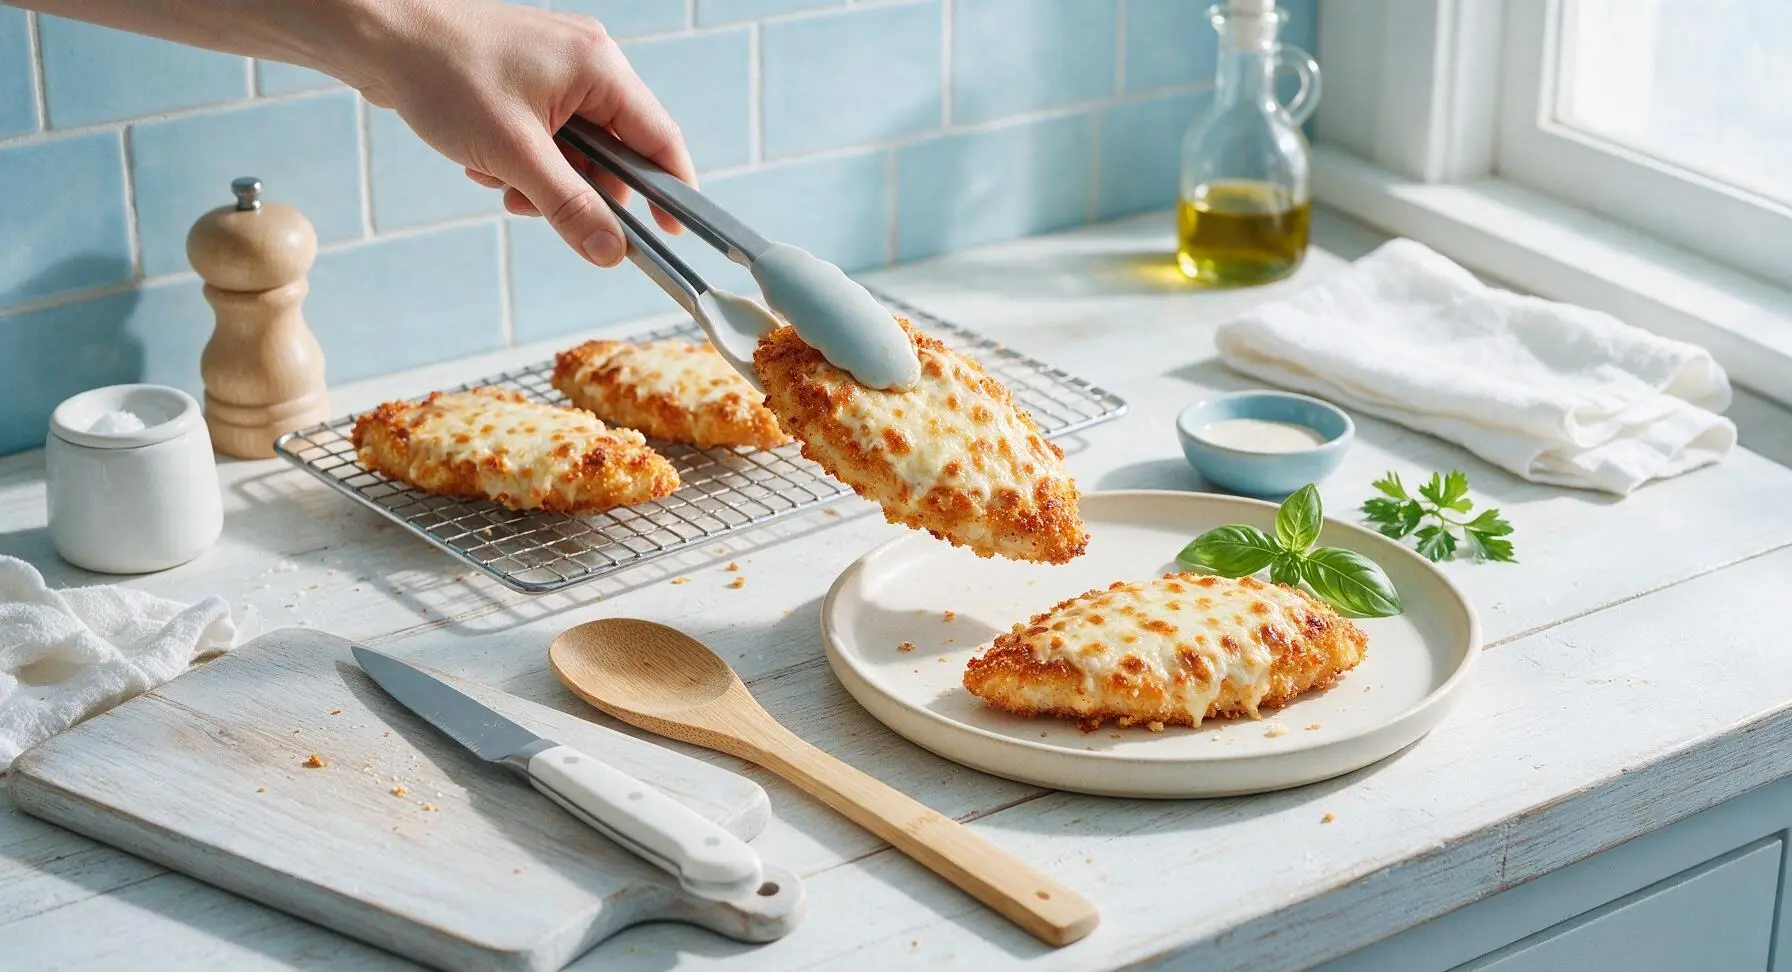
Step 7
step7:Rest and Plate Chicken

Tips

1.Let breaded cutlets rest for 5 minutes before frying: This rest time allows the flour, egg, and crumb layers to bind together, eliminating the common beginner mistake of breading sliding off the chicken during frying.
2.Keep cutlets on a wire rack after frying and baking: Placing crispy cutlets directly on paper towels traps steam against the crust, making it soggy; a wire rack allows air circulation to keep all sides perfectly crisp.
3.Go light on the marinara: A thin, even layer of sauce adds bright tomato flavor without soaking through the panko crust, preserving the signature crispy texture that makes this dish work.


✨ You May Also Like

Main Course
🍜 United Kingdom

A showstopping classic of tender seared beef, savory mushroom duxelles, and crisp prosciutto wrapped in flaky golden puff pastry, baked to juicy perfection.

⏱️ 2 hours 1Main Course ★ 4.7
Main Course
🍜 India

Tender charred marinated chicken simmered in a rich, spiced creamy tomato sauce, this iconic Anglo-Indian curry pairs perfectly with basmati rice or warm naan.

⏱️ 50 minuteMain Course ★ 4.6
Main Course
🍜 Thailand

Classic tangy, sweet, and savory Thai stir-fried rice noodles with shrimp, tofu, and crunchy garnishes, balancing all five core Thai flavor profiles.

⏱️ 30 minuteMain Course ★ 4.5
Main Course
🍜 United Kingdom

Crispy golden beer-battered cod and fluffy double-fried chips, served with tangy tartar sauce and malt vinegar: the timeless, beloved British pub comfort classic.

⏱️ 45 minuteMain Course ★ 4.7
Main Course
🍜 Mexico

Smoky, chile-marinated pork tacos with caramelized pineapple, fresh cilantro, and lime: a beloved classic Mexican street food perfect for casual summer gatherings.

⏱️ 1 hour 45Main Course ★ 4.8
Main Course
🍜 United States

Crunchy Fritos corn chips layered with savory beef chili and melted cheddar, topped with cool, zesty fixings for a beloved, cozy Tex-Mex comfort food.

⏱️ 35 minuteMain Course ★ 4.8

recipe for parmesan chicken:Frequently Asked Questions

1.Why does my panko crust turn out soggy instead of crispy when I bake this chicken? ▾
Great question! First, don’t overcrowd your baking sheet—leave 1 inch of space between pieces so hot air can circulate evenly. Toast panko in a dry skillet for 3 minutes first for extra crunch, set a wire rack on the baking sheet to keep chicken elevated above drippings, and avoid pressing crumbs too firmly into the chicken.
2.Can I use regular fine breadcrumbs instead of panko for this recipe? ▾
You absolutely can, but you’ll lose that signature light, shattery crunch panko delivers. If swapping, use plain dry fine breadcrumbs, toss them with 1 tablespoon of olive oil and a pinch of garlic powder first to help them crisp in the oven, and add 2 extra minutes of bake time if they look pale before the chicken hits 165°F.
3.How do I keep the chicken breasts from drying out during baking? ▾
Start by pounding the thick end of each breast to an even ½-inch thickness so every piece cooks at the same rate—no dry, overcooked thin ends waiting for the thick section to finish. Don’t bake below 400°F, pull the chicken the second it hits 165°F on an instant-read thermometer, and let it rest 3 minutes before serving.
4.Do I have to add marinara and cheese right away, or can I prep the crispy chicken ahead? ▾
You can absolutely prep the crispy baked chicken 1–2 days ahead! Bake the panko-crusted chicken without marinara or parmesan first, let it cool completely, then store it airtight in the fridge. When ready to serve, top with marinara and cheese, then broil 2–3 minutes until bubbly to bring the crunch back.
5.Can I make this Crispy Baked Parmesan Chicken gluten-free? ▾
Definitely! Swap the all-purpose flour for a 1:1 gluten-free all-purpose baking blend (pick one with xanthan gum to help the coating stick), and use certified gluten-free panko breadcrumbs, which most major grocery stores carry now. Double check that your jarred marinara is labeled gluten-free too, as some have hidden wheat thickeners.
6.What oven temperature gives a crispy crust without burning the parmesan cheese? ▾
Preheat your oven to 425°F to bake the crusted chicken first—this high heat toasts panko fast and locks in juiciness. Once the chicken hits 160°F internally, pull it out, top with marinara and parmesan, then switch to high broil for 1–2 minutes to melt the cheese. Keep a close eye during broiling to avoid burnt parmesan.
7.Why won’t the breading stay stuck to my chicken when it bakes? ▾
Breading slip almost always comes from skipping a small but key prep step! First, pat chicken completely dry with paper towels before you start dredging—wet chicken won’t grab the flour coating. Coat lightly in flour, shake off excess, dip fully in the egg-milk wash, press panko gently to adhere, then let it rest 5 minutes before baking so the coating sets.
8.Can I use boneless skinless chicken thighs instead of breasts for this recipe? ▾
You sure can, and lots of home cooks prefer the extra juiciness thighs bring! Use boneless, skinless chicken thighs, pounded to an even ½-inch thickness just like you would breasts. They need roughly the same bake time, but always verify doneness with a thermometer—thighs are safe to eat at 165°F, and their extra fat makes panko extra crispy.
9.How do I store leftovers, and will the crust stay crispy when reheated? ▾
Store leftover chicken in an airtight container in the fridge for up to 3 days. To reheat without sogginess, skip the microwave—place chicken on a wire rack set over a baking sheet, and bake at 400°F for 8–10 minutes until heated through. The crust will crisp back up and the cheese will get bubbly, almost as good as fresh.

Comments (4)

2 days ago

OMG this crispy baked parmesan chicken is a total game changer for our weeknight family dinners! I was so sick of sad, soggy baked chicken, but the crust came out perfectly crunchy even without frying. My 3 kids devoured it in 10 minutes flat and asked for seconds before they even finished their first helping. I paired it with roasted broccoli and garlic bread, and my husband said it’s better than the fried parmesan chicken we get at our local Italian spot. So easy too—only 25 minutes in the oven, which is perfect for busy school nights when we’re running between soccer practice and homework. 10/10 will be adding this to our regular meal prep rotation!

yesterday

Wait did you use regular panko or the Italian seasoned kind? I tried making a similar baked parmesan chicken last week and the crust fell right off every single piece, it was so frustrating 😅

yesterday

So glad your family loved it! For the crispiest crust that sticks every time, make sure to pat your chicken completely dry with paper towels before breading, and press the panko-parmesan mix firmly into each cutlet so it adheres. Regular or seasoned panko both work great—if you use plain, just add a pinch of extra Italian seasoning, garlic powder, and salt to the breading for extra flavor!

3 days ago

Made this for our neighborhood block party potluck last weekend and people would NOT stop asking me for the recipe! The parmesan gets all nutty and crispy in the oven, zero greasy mess from frying, and it held up really well on the buffet table for a couple hours. I cut the chicken into tender-sized strips so people could grab them easy with a side of marinara for dipping. SO good, even the picky teens at the party were going back for thirds. Easy enough to throw together before the party too, which is a huge win when you’re juggling 10 other potluck dishes.

1 week ago

Super solid recipe for weekly meal prep! I was worried the crust would get soggy after storing it in meal prep containers in the fridge for a few days, but it held up way better than I expected. Crisped right back up after 5 minutes in the air fryer when I was ready to eat. Only tiny tweak: I added a little extra garlic powder and a pinch of red pepper flakes to the breading for a tiny kick, which worked great. That 25 minute cook time is unbeatable for how tasty this comes out—no fuss, minimal cleanup, perfect for post-gym dinners.

5 days ago

Love that you added red pepper flakes and garlic powder for extra flavor—great call! For anyone reheating leftovers, the air fryer trick is perfect; you can also pop them in a 400°F oven for 3-4 minutes to get that crisp back instead of using the microwave, which tends to make the crust soggy. So happy this works for your meal prep routine!

5 days ago

Obsessed! I’ve made this twice already this month, both times with gluten-free panko since I have celiac, and it works perfectly. I was worried the GF breadcrumbs wouldn’t crisp up the same, but nope—crunchy, cheesy, absolutely no sad soggy chicken. Even my non-gluten-free roommate said she likes this better than her usual fried chicken recipe. Total game changer for my weeknight dinner rotation, especially since it’s so low-effort and only takes 25 minutes to bake!

2 hours ago

Thanks for the GF tip! My youngest has a gluten sensitivity and I’ve been nervous to test this recipe for our family dinner this week, this makes me so much more excited to make it tonight! Did you follow the oven temp exactly as written, or adjust it for the GF panko?



