
reheating breakfast burritos
intro
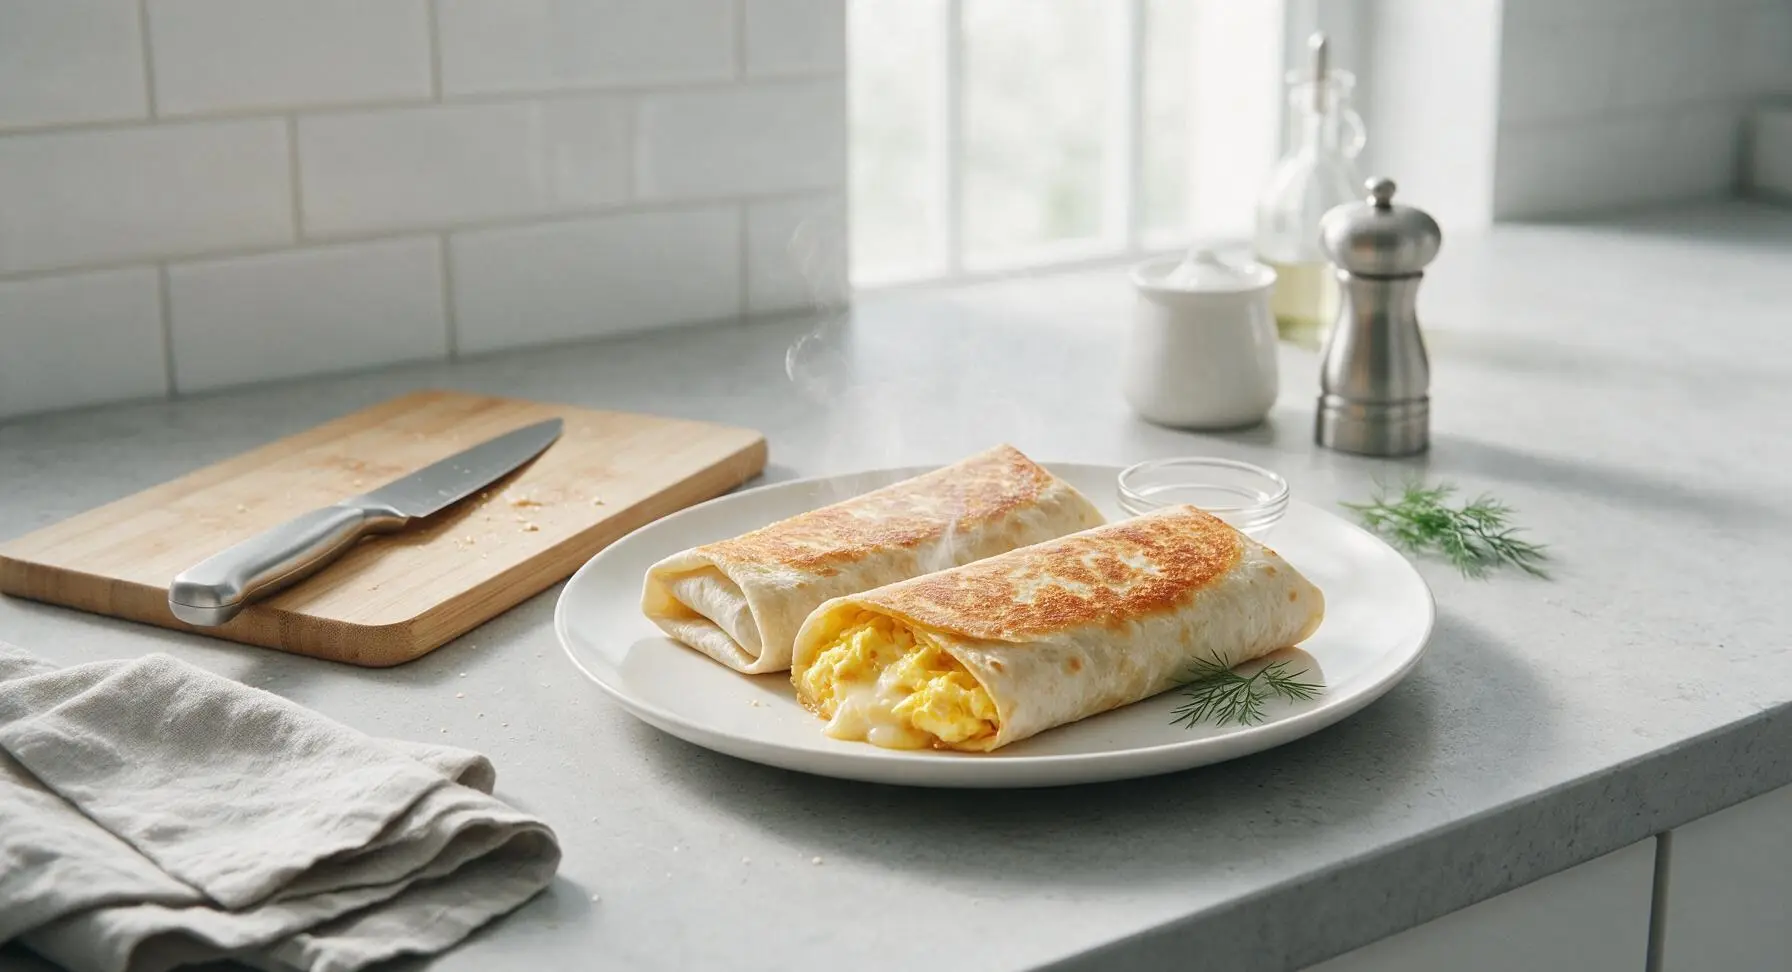
Crisp golden tortilla outside, oozing melted cheese and fluffy egg inside—this no-sogginess method turns pre-made breakfast burritos into a fast, cozy, satisfying meal in minutes.
Ingredients
Steps
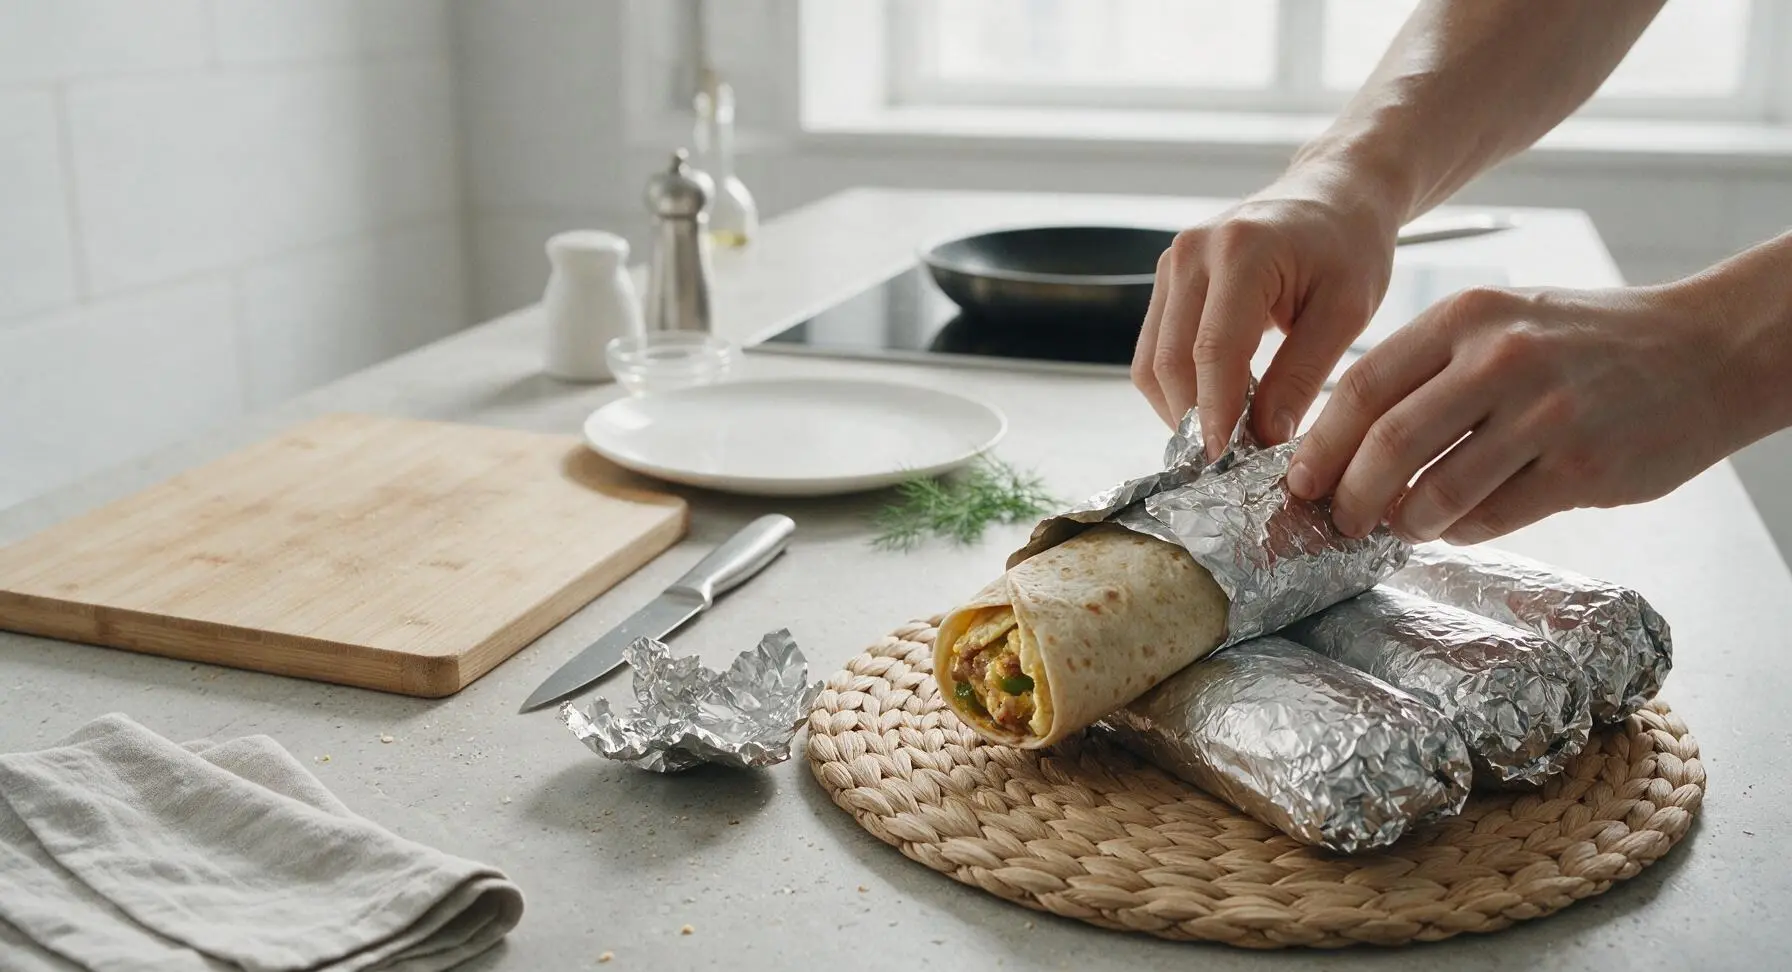
Remove Burrito Packaging
Take 4 pre-made breakfast burritos out of refrigerator or freezer storage. Discard all aluminum foil, plastic wrap, or sealed storage bags. If using frozen burritos, let them rest at room temperature for 2 minutes to take the sharp chill off the tortilla; do not rest longer than 2 minutes, as excess condensation will lead to soggy tortillas during reheating.
Microwave for Even Core Heat
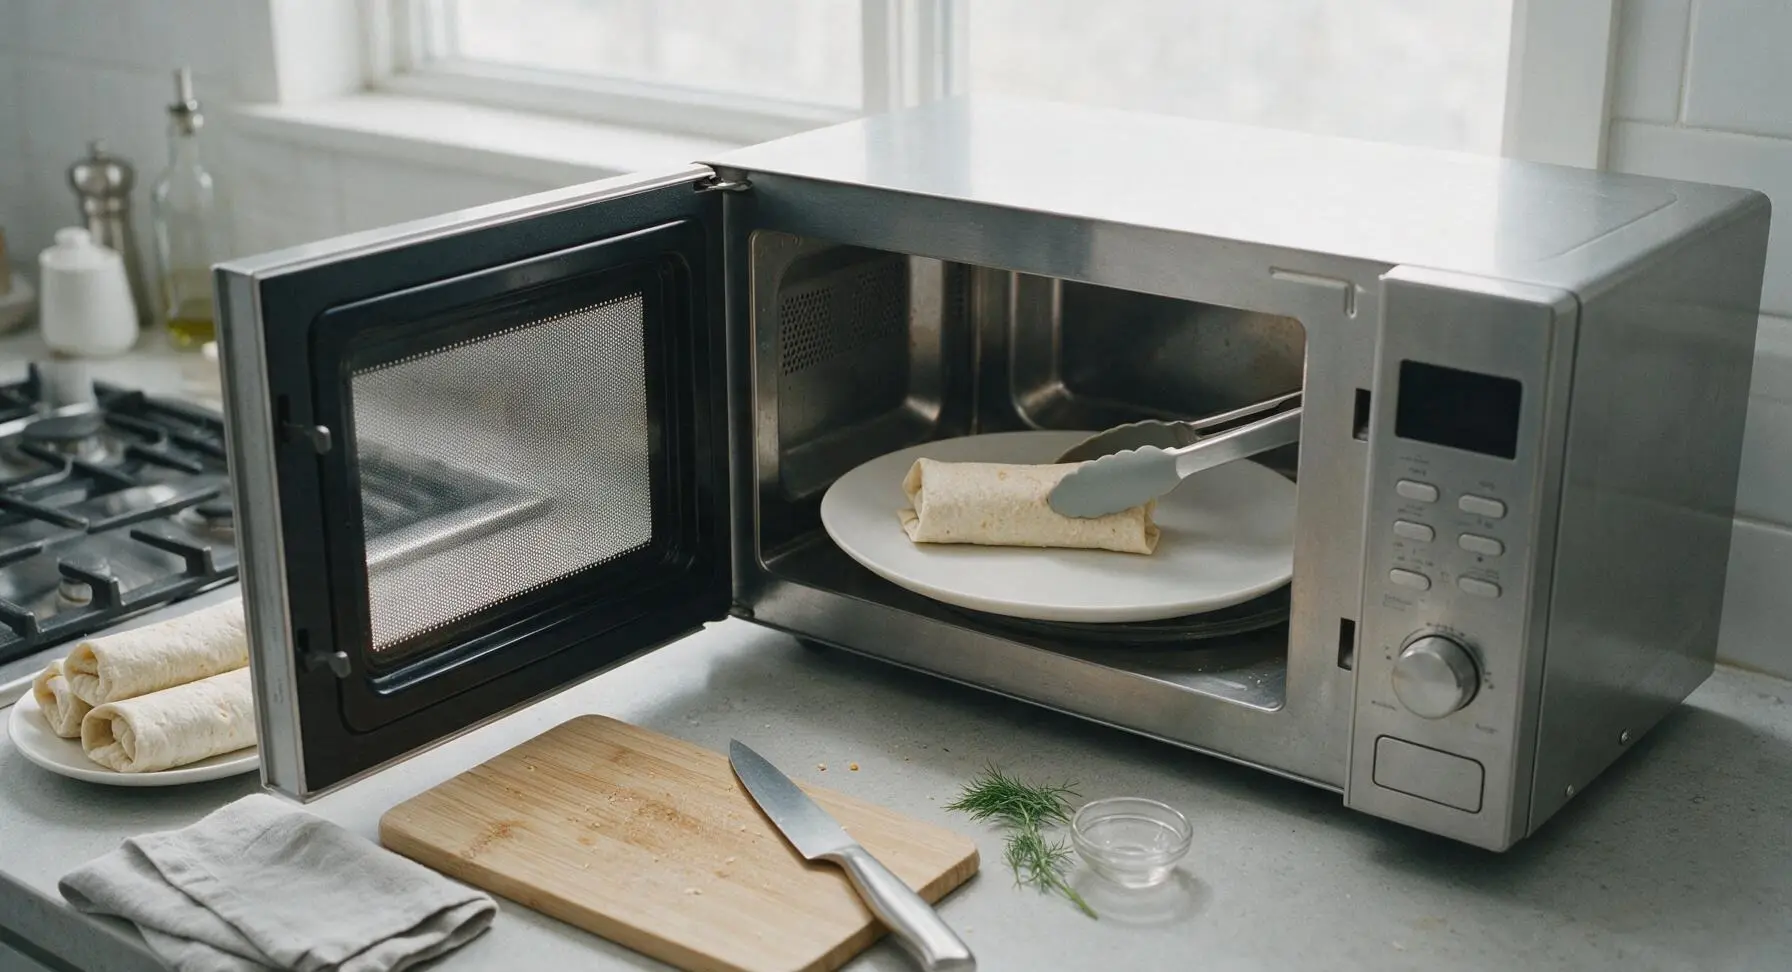
Arrange the unwrapped burritos in a single layer on the plain white microwave-safe plate; do not cover with a lid or paper towel. For refrigerated burritos, microwave on high (1200W) for 1 minute 30 seconds total, flipping each burrito once at the 45-second mark. For frozen burritos, microwave on high for 3 minutes total, flipping once at the 90-second mark. After microwaving, burritos will be heated all the way through when poked gently in the center, but the tortilla will be soft, pale, and slightly steamy.
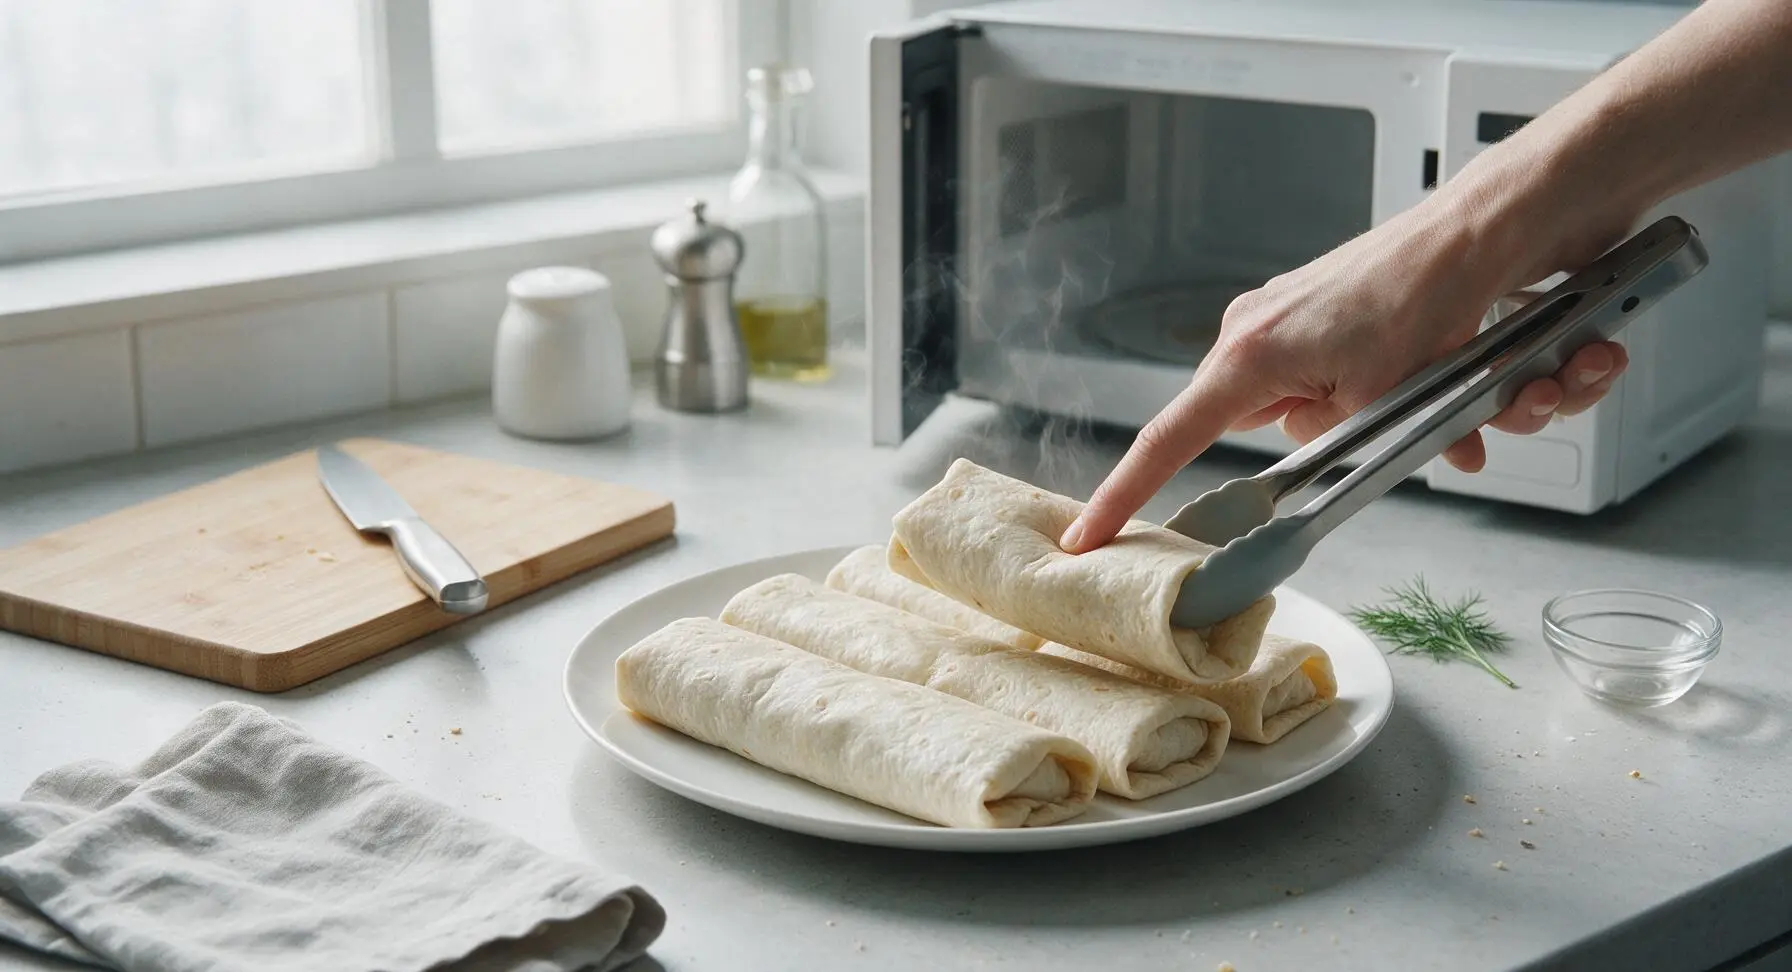
Preheat Skillet for Searing
Place the 10-inch carbon steel skillet on the induction cooktop over medium heat (375°F / 190°C). Add 1 teaspoon of neutral canola oil, and swirl the pan gently to coat the bottom evenly. Let the pan preheat for 2 minutes, until the oil shimmers lightly but does not smoke. Preheating properly ensures the tortilla crisps quickly instead of absorbing excess oil and turning greasy.
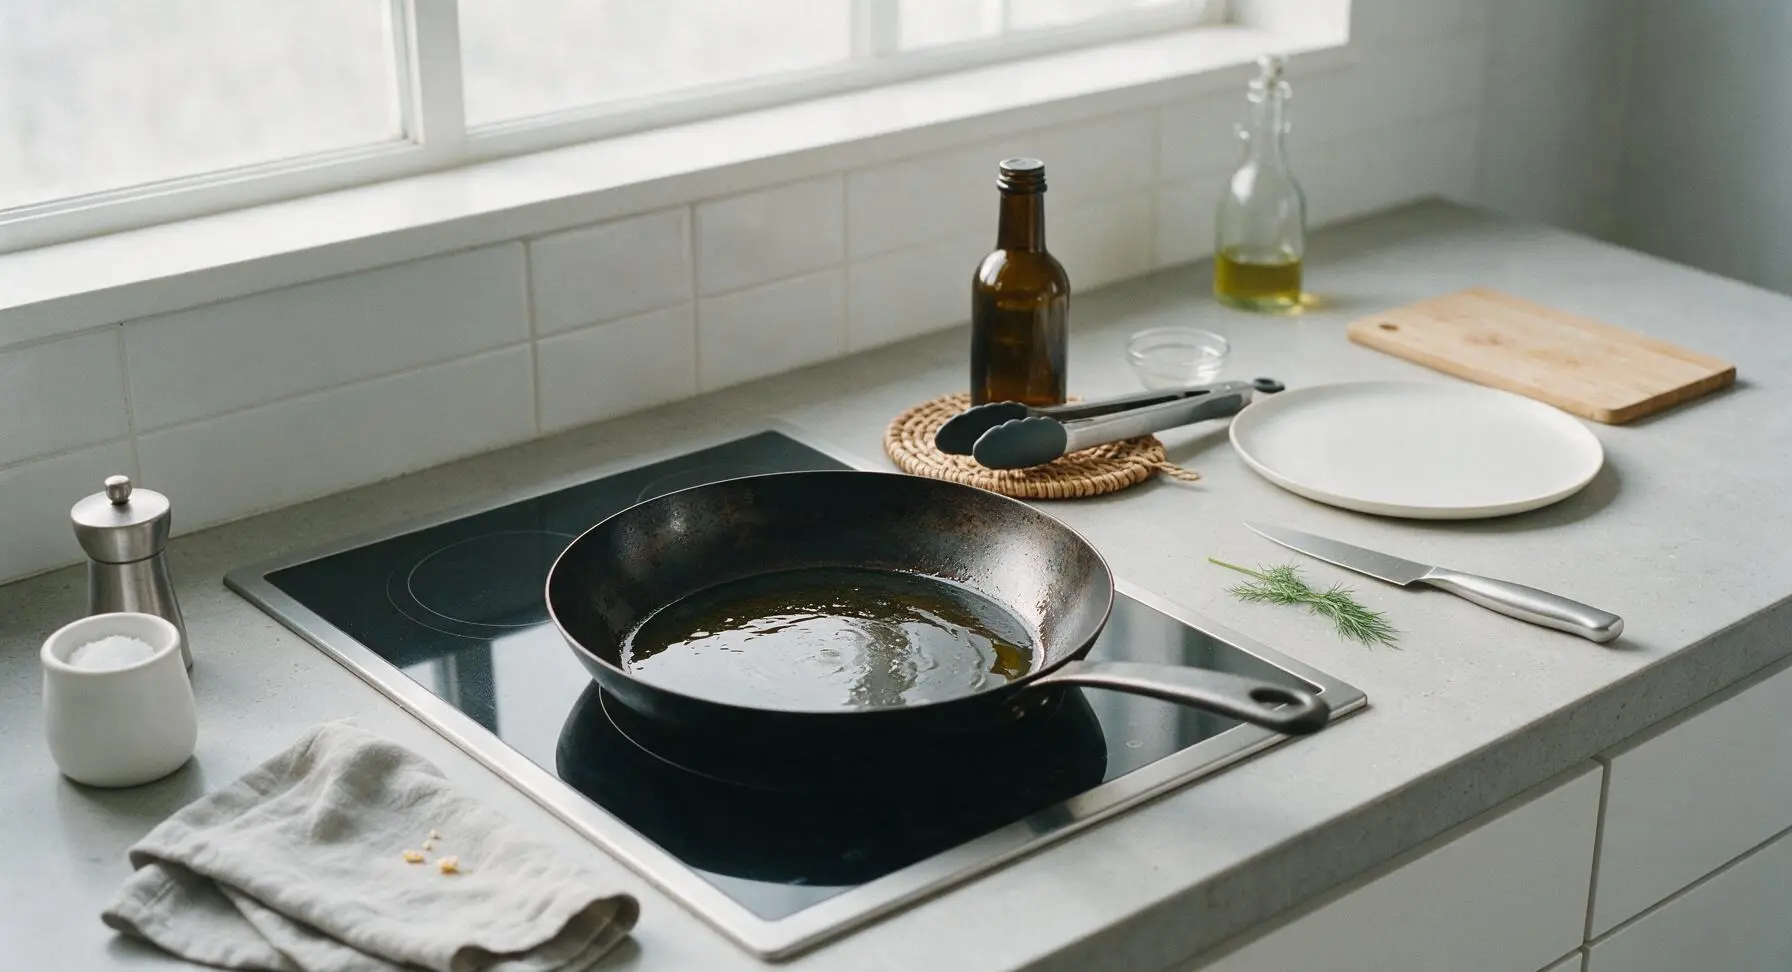
Sear Tortilla Until Crisp
Use the silicone-tipped tongs to transfer the soft, microwaved burritos to the preheated skillet, placing them seam-side down first. Cook for 3 minutes total, turning every 45 seconds with the tongs to crisp every surface, until the tortilla is deep golden brown, dotted with tiny dark toasted spots, and firm to the touch. This step cooks off residual microwave steam and creates a satisfying crunchy exterior that contrasts with the soft, creamy filling.
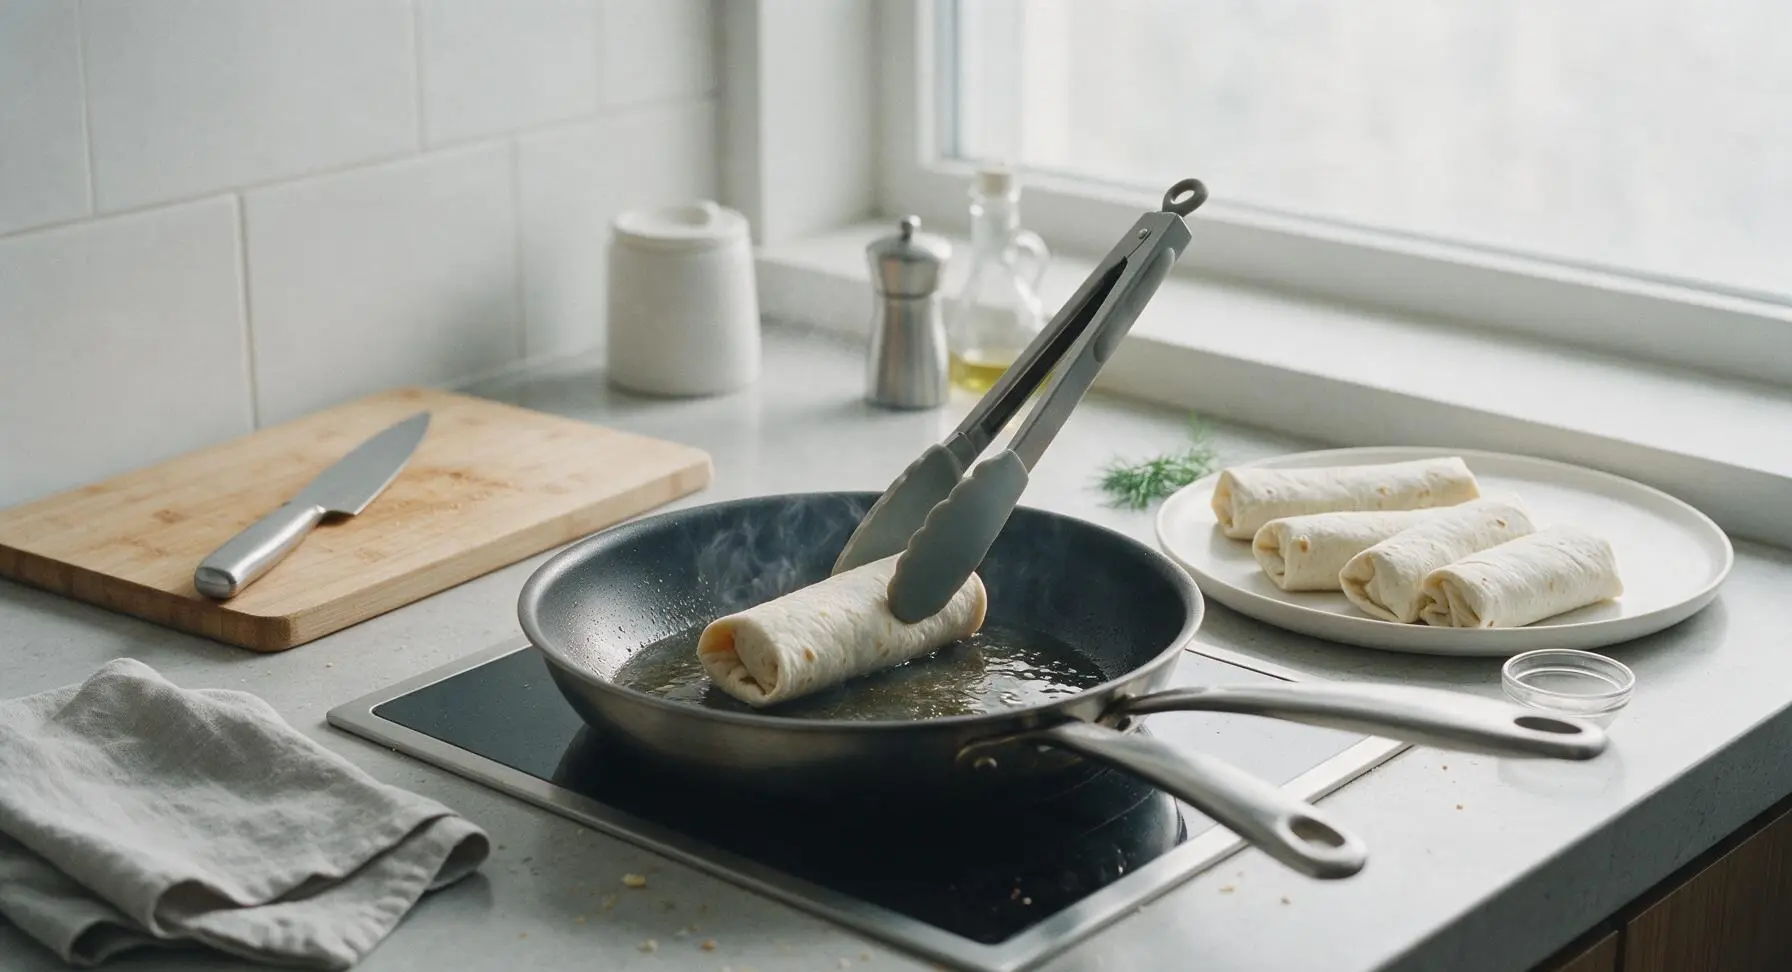
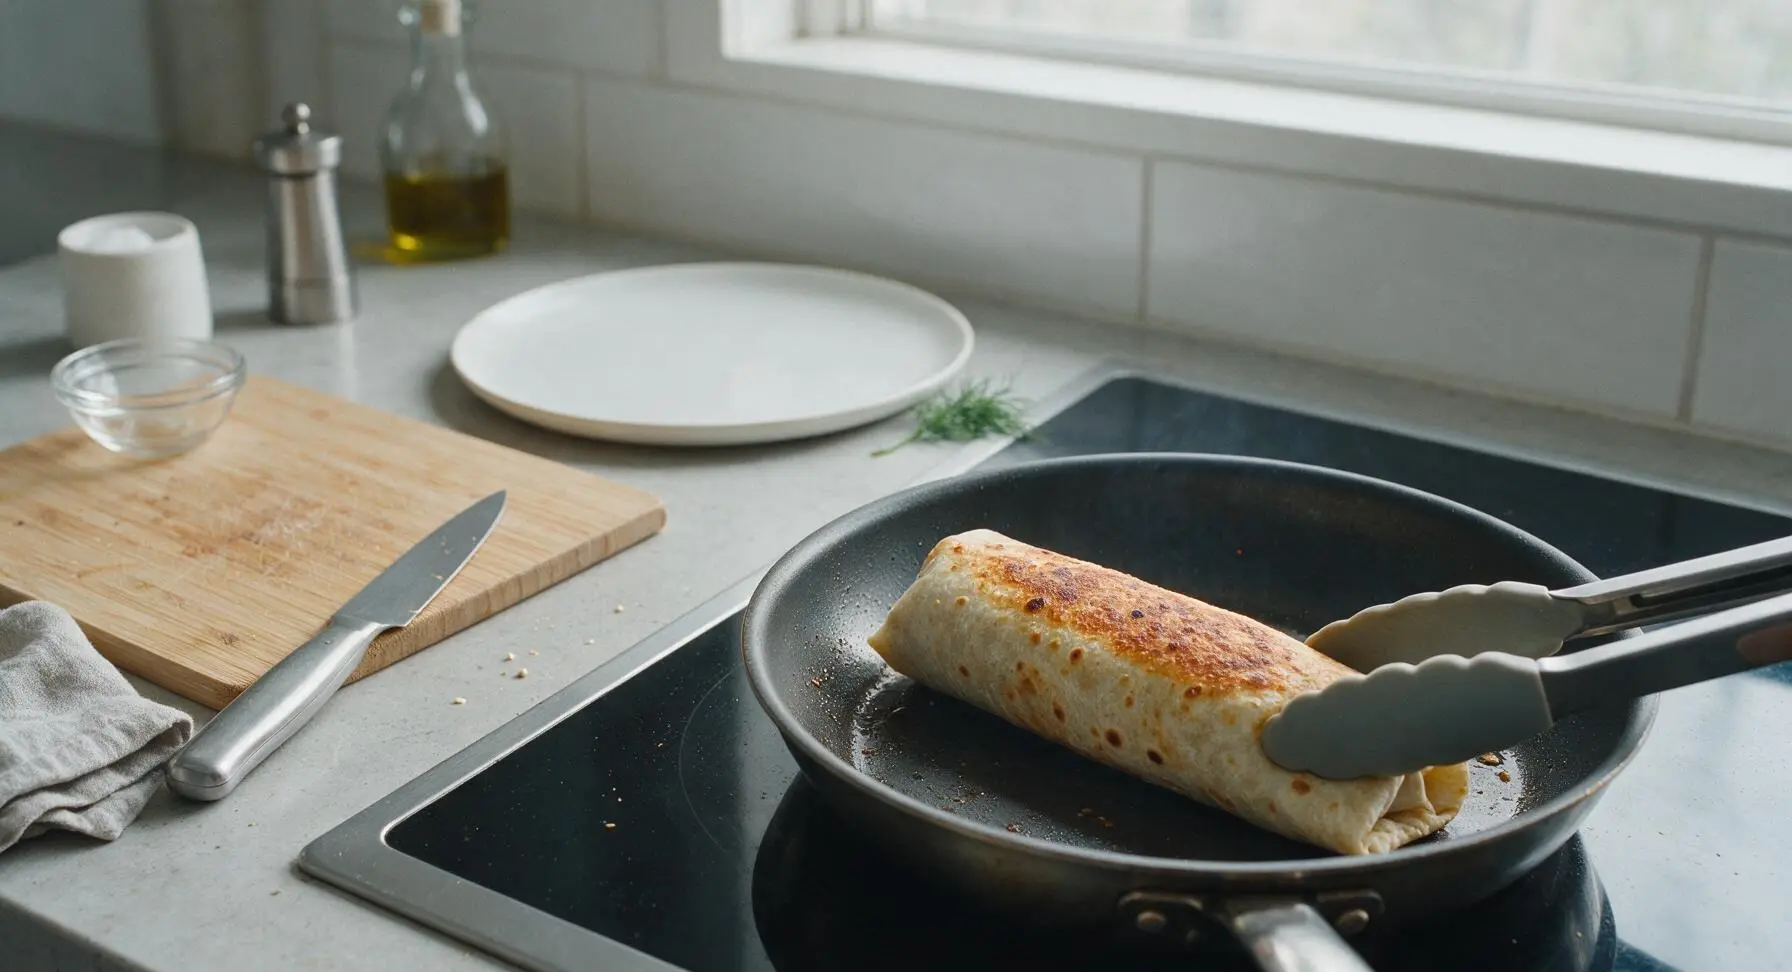
Rest Burritos Briefly
Once all sides are crisp, use the tongs to transfer the burritos from the skillet to the white microwave-safe plate lined with a single sheet of unprinted paper towel. Let them rest for 1 minute to allow the hot filling to set, so melted cheese and soft egg do not run out when sliced. Blot any excess surface oil from the tortillas lightly with the edge of the paper towel.
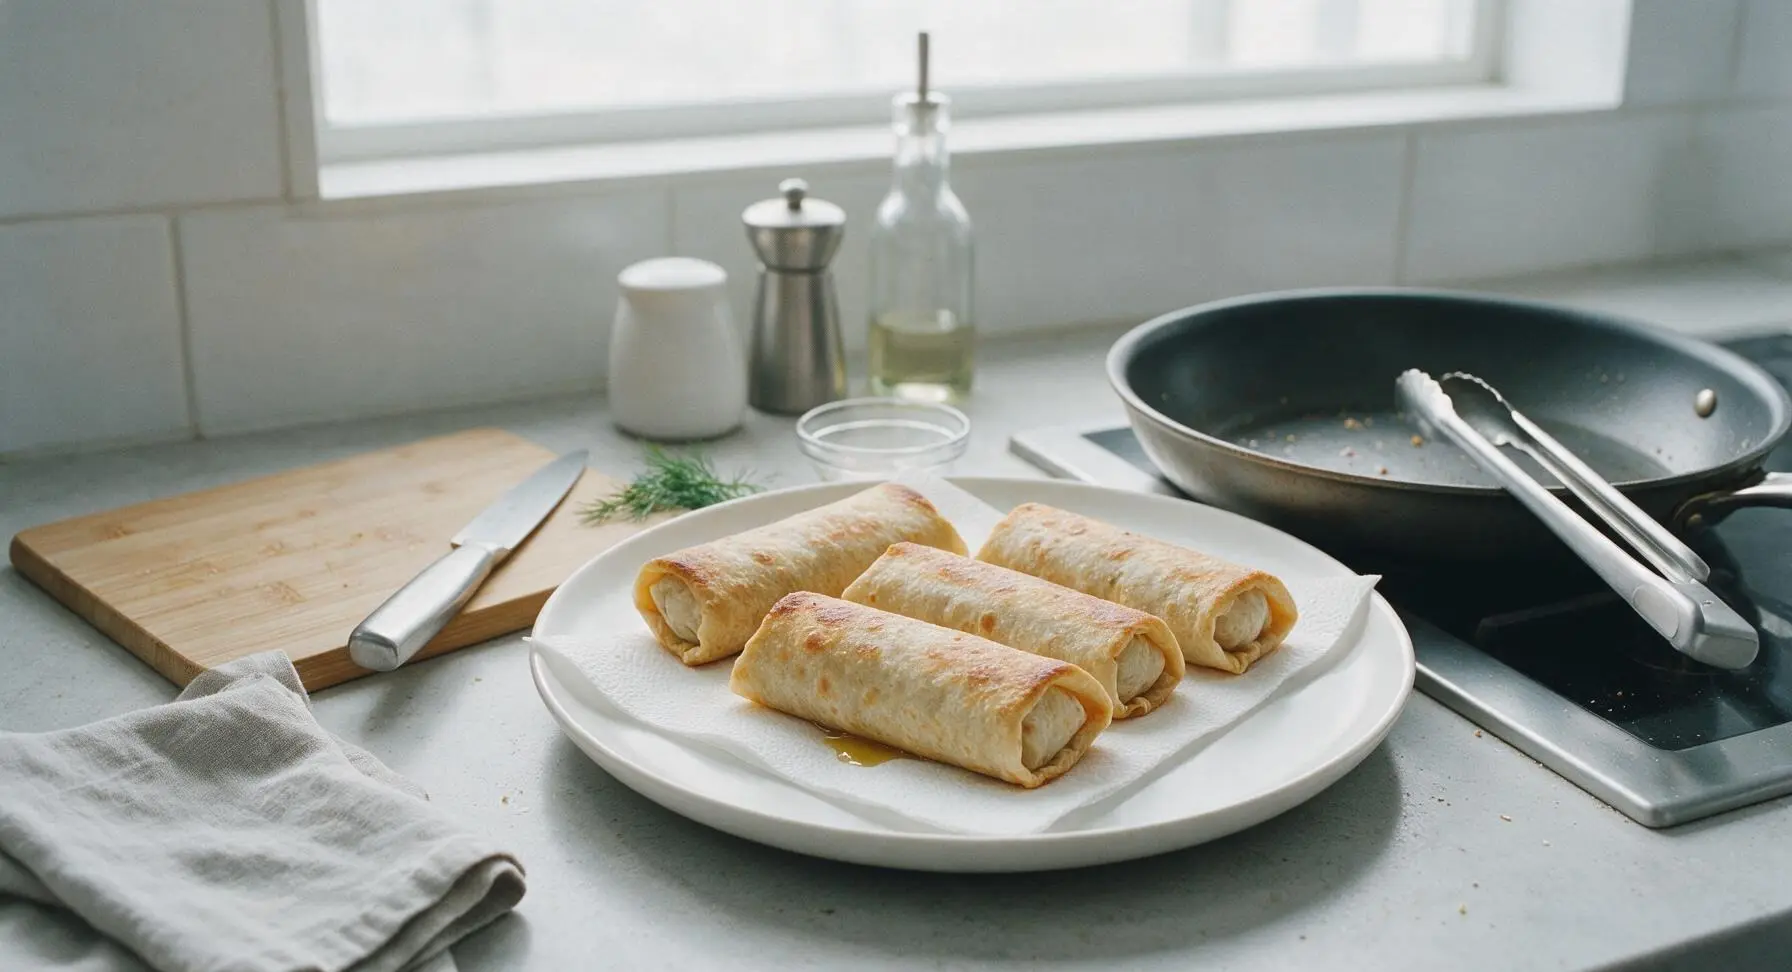
Plate and Add Toppings
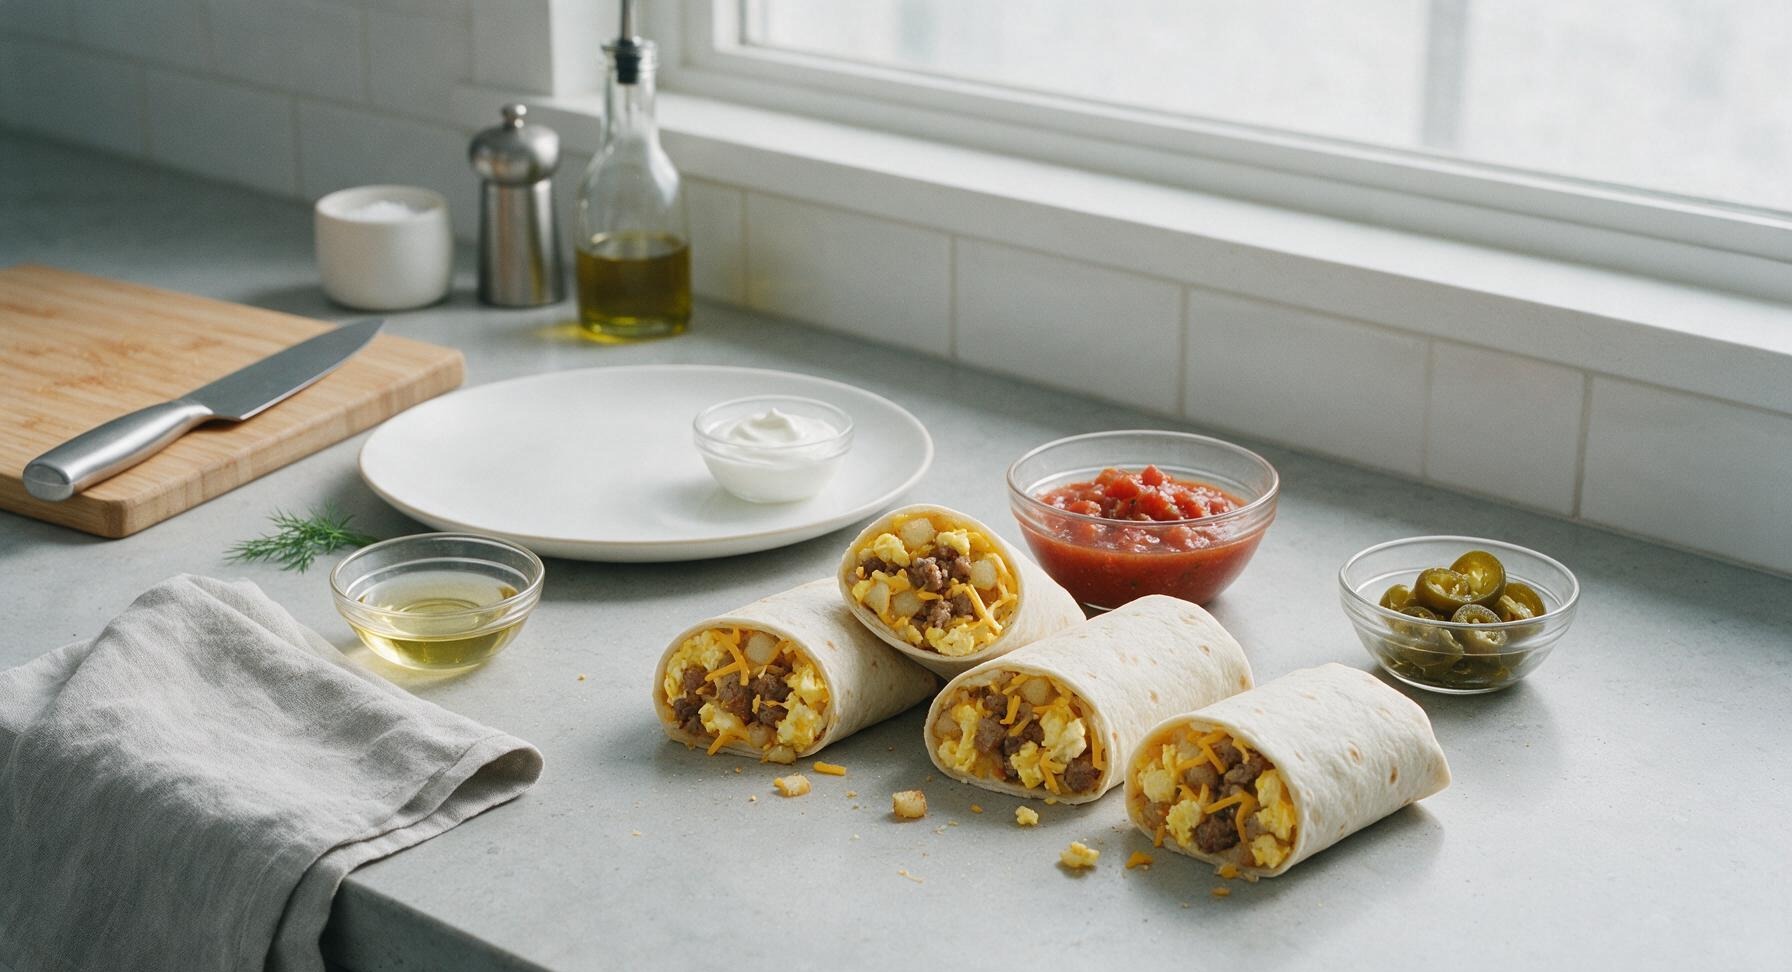
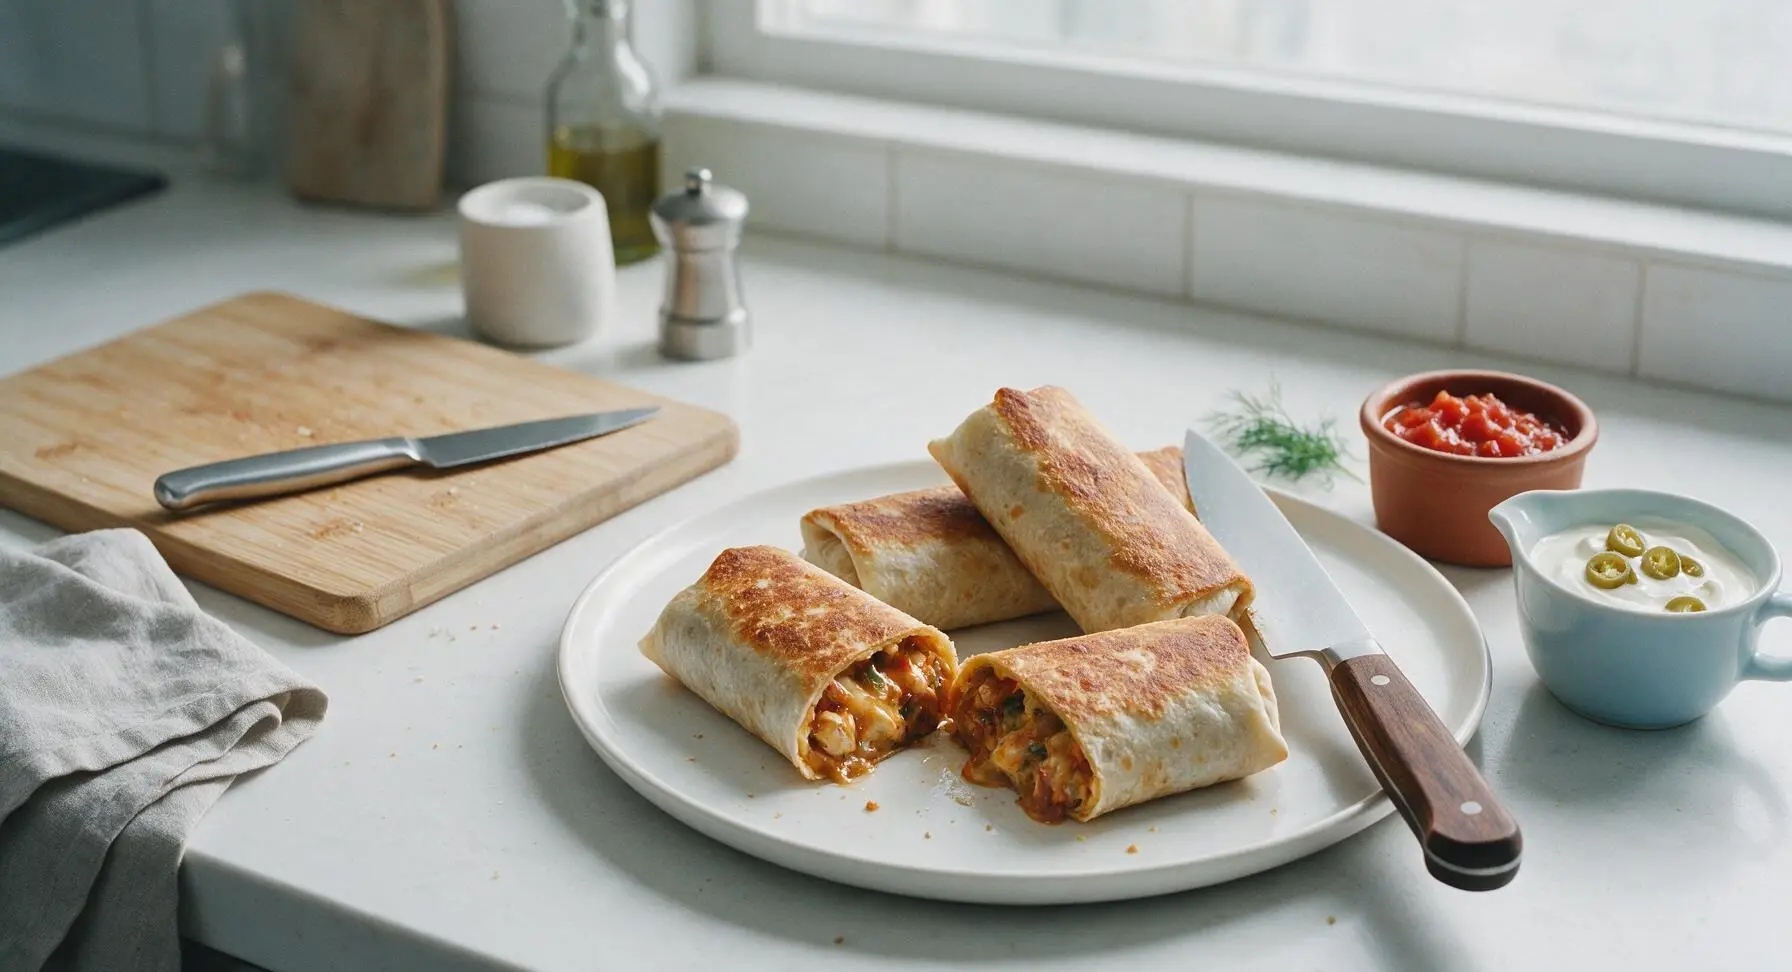
Use the 8-inch chef knife to slice two burritos in half on a sharp diagonal to showcase the melted filling, leaving the other two whole for handheld eating. Arrange the burritos on the matte off-white stoneware dinner plate. Spoon 1/4 cup roasted tomato salsa into the small terracotta ramekin, add 2 tablespoons of sour cream to the pale blue creamer pitcher, and scatter 1 tablespoon of pickled jalapeño slices over the sour cream for a bright, tangy contrast.
Tips
2.Skip covering burritos in the microwave: trapped condensation will make tortillas mushy, even after pan searing. Leaving burritos uncovered lets excess steam escape, so the final crisping step creates a crunchy, not soggy, shell.
3.If you don’t have a skillet, you can crisp microwaved burritos in a 400°F (200°C) toaster oven for 3 minutes, turning once, to get the same crunchy tortilla exterior without heating up your full-size oven.






OMG this is such a game changer! I make a big batch of breakfast burritos on Sunday for weekly meal prep and always hated how soggy and gummy they got when I microwaved them. Tried this method this morning and the tortilla was actually perfectly crispy, not chewy at all! My husband even asked if I picked them up from our local taco shop instead of reheating homemade ones from the freezer. 10/10 will be using this every week from now on.
My kids loved these! I was scrambling (pun intended) to get quick breakfasts on the table before school this week and these came together so fast. The 8 minute cook time is no joke, and even my pickiest eater ate his whole burrito without complaining about it being “too squishy”. The crispy outside makes it feel way more special than a regular microwaved breakfast. SO good.
Was fully expecting this to be another overhyped internet trick that doesn’t actually deliver, color me surprised. Tried it with a leftover breakfast burrito from my weekend brunch takeout and it tasted better than when it was first delivered. The only heads up I’ll give is make sure you don’t overstuff them if you’re making them ahead, otherwise a little filling oozes out while it crisps up. Still a great recipe, no real complaints.
Perfect for my tiny dorm kitchen! I don’t have a full oven, just a little countertop air fryer and this method worked flawlessly. Way cheaper than buying breakfast on campus every day, and I don’t have to deal with sad soggy tortillas anymore. Already sent this link to all my roommates, we’re doing a build-your-own burrito bar this weekend.
Made these for our neighborhood weekend potluck and they were gone in 10 minutes! Everyone was asking how I got the tortillas so crispy even after transporting them from my house. I set out a little side of salsa and sour cream for dipping and it was chef’s kiss. So easy, no fancy ingredients or equipment needed, which is my kind of recipe.