
reheating frozen breakfast burritos
intro
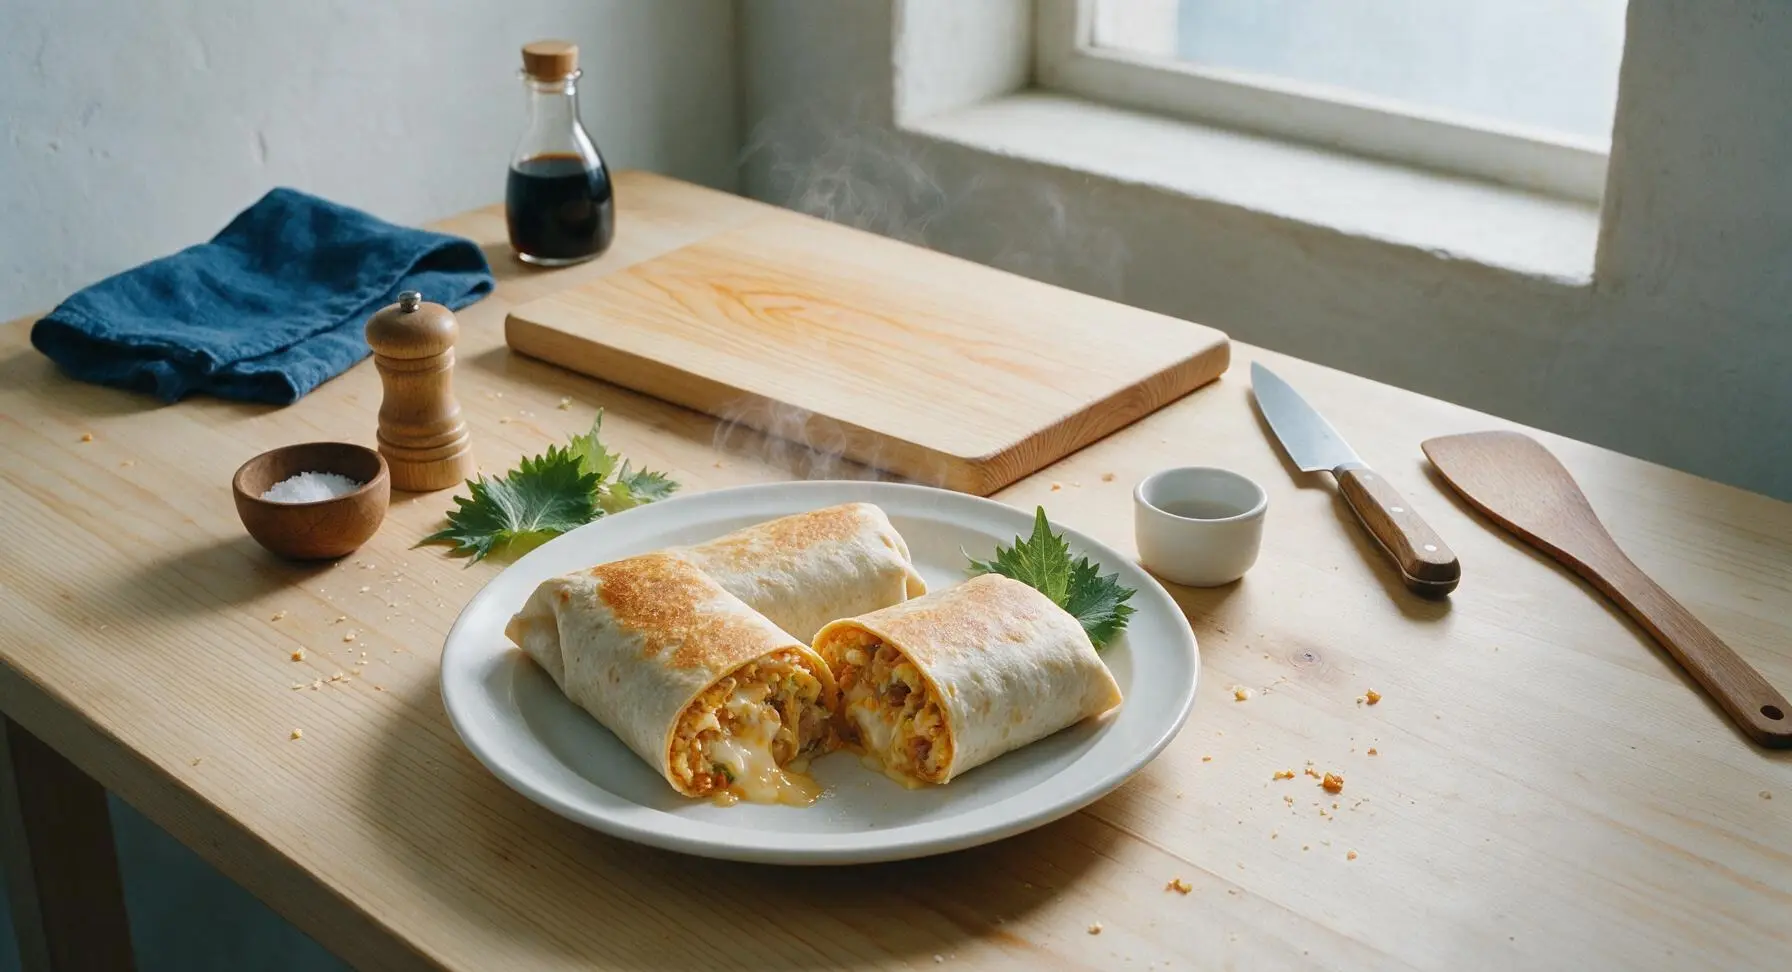
Crisp golden tortilla outside, steamy, cheese-oozing evenly heated filling inside—no soggy spots or cold centers, the perfect fast, hearty handheld meal.
Ingredients
Steps
Remove Freezer Packaging
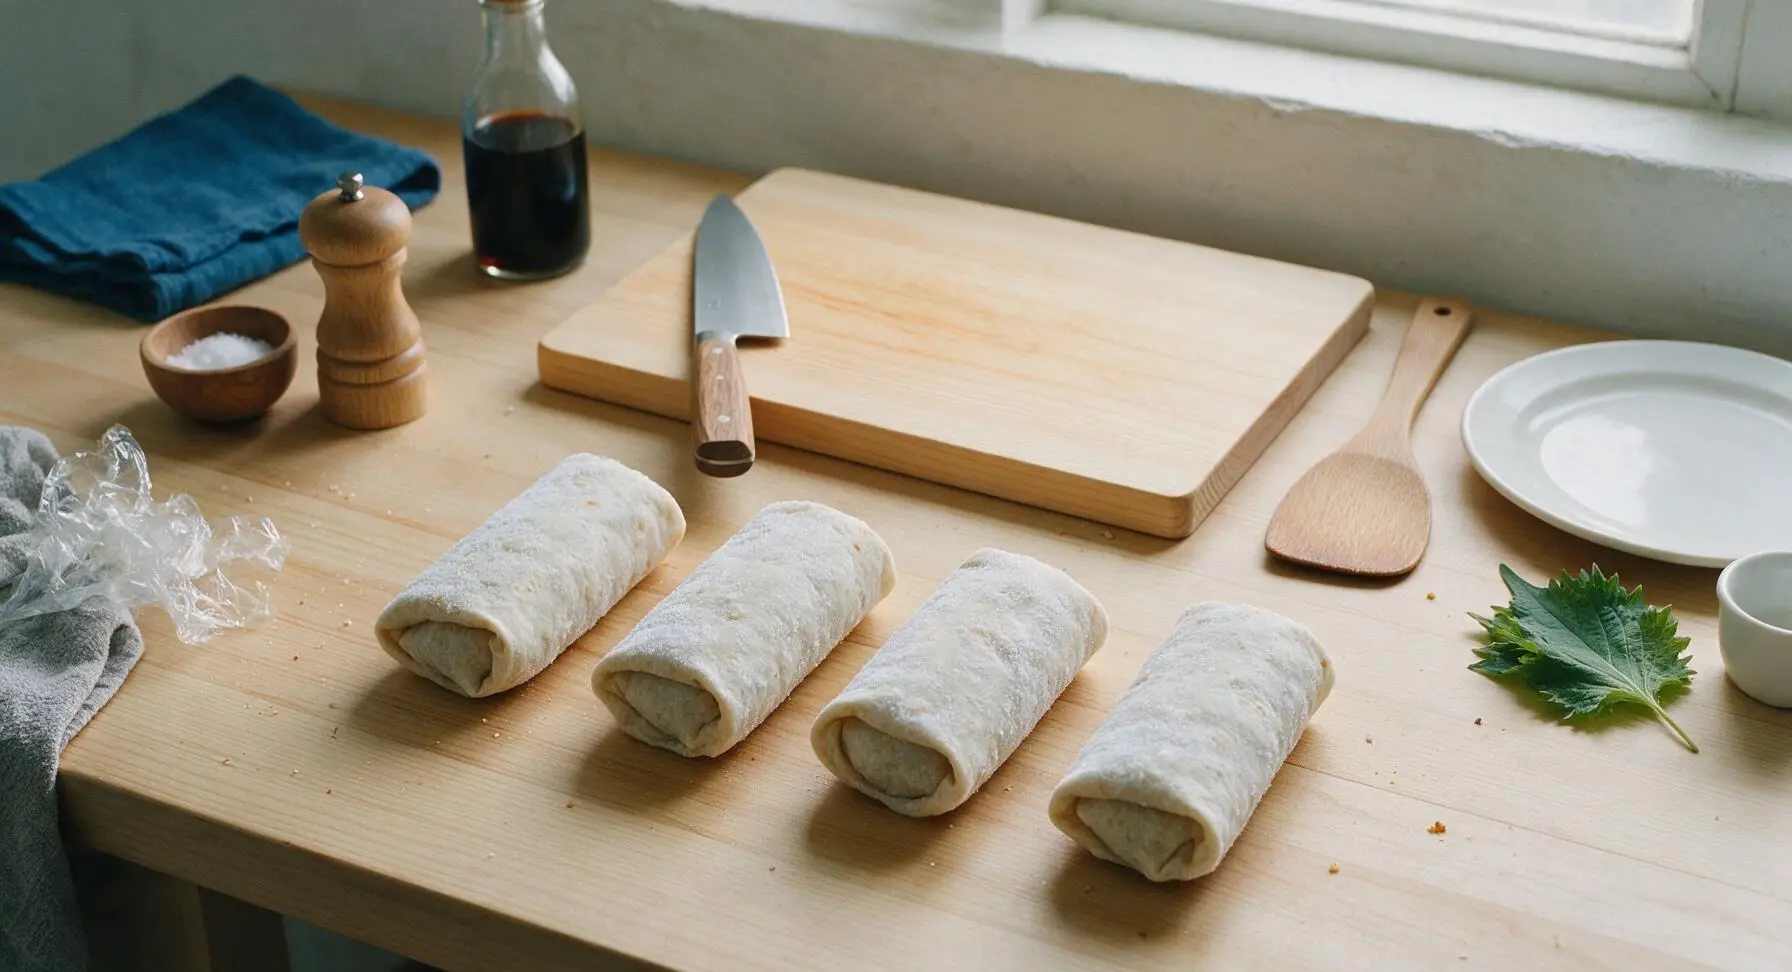
Take the 4 frozen burritos directly from the freezer (do not thaw first). Peel off and discard all plastic wrap, foil, or freezer paper packaging. Check that no small bits of plastic are stuck to the tortilla surface; the burritos will be rock hard and covered in a light layer of frost. Do not prick or poke holes in the tortilla, as this will let filling leak out during heating.
Wrap in Paper Towel
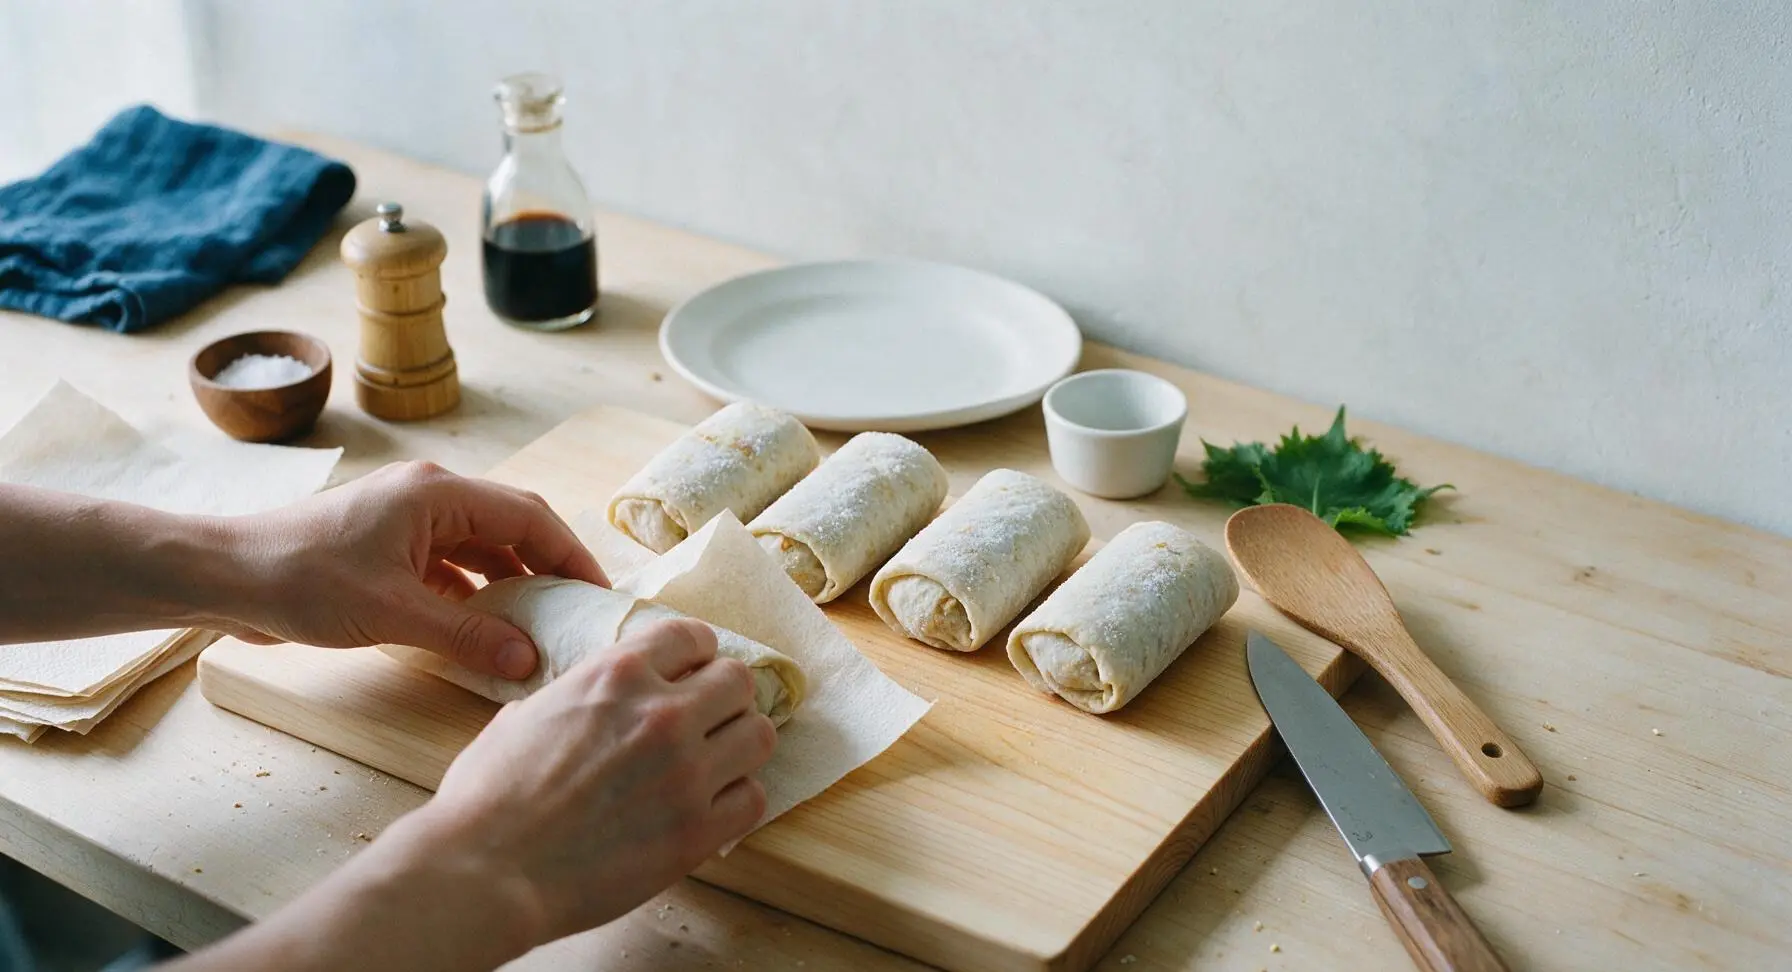
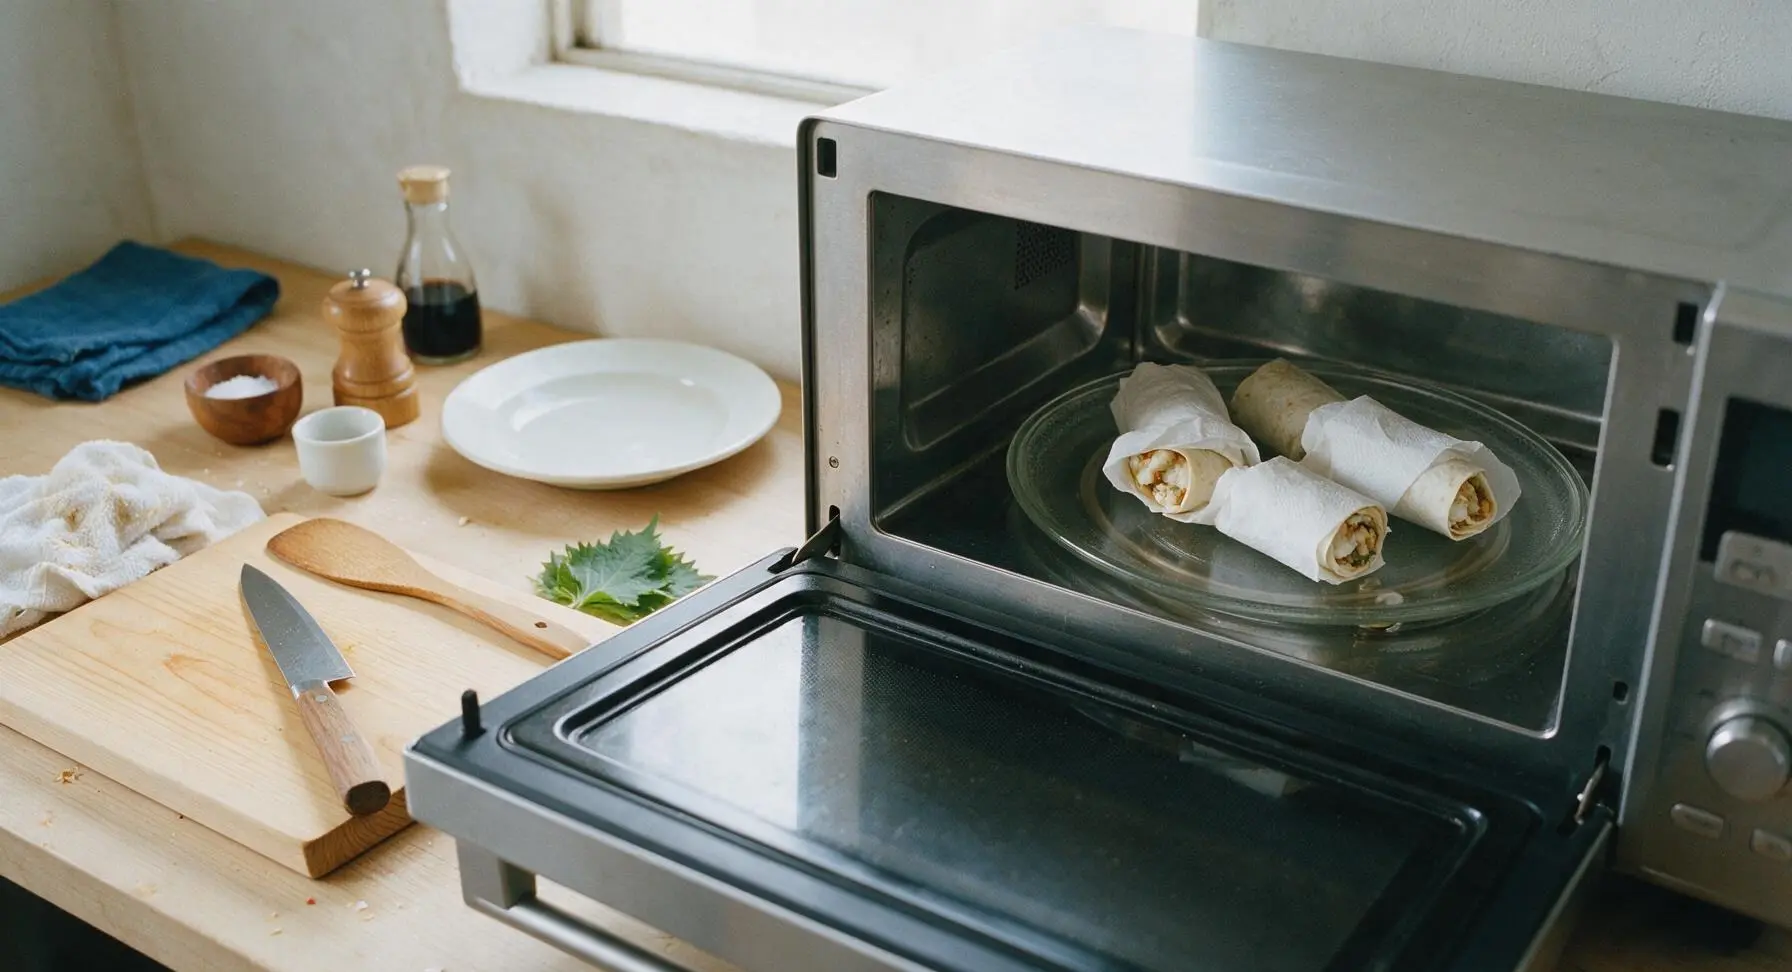
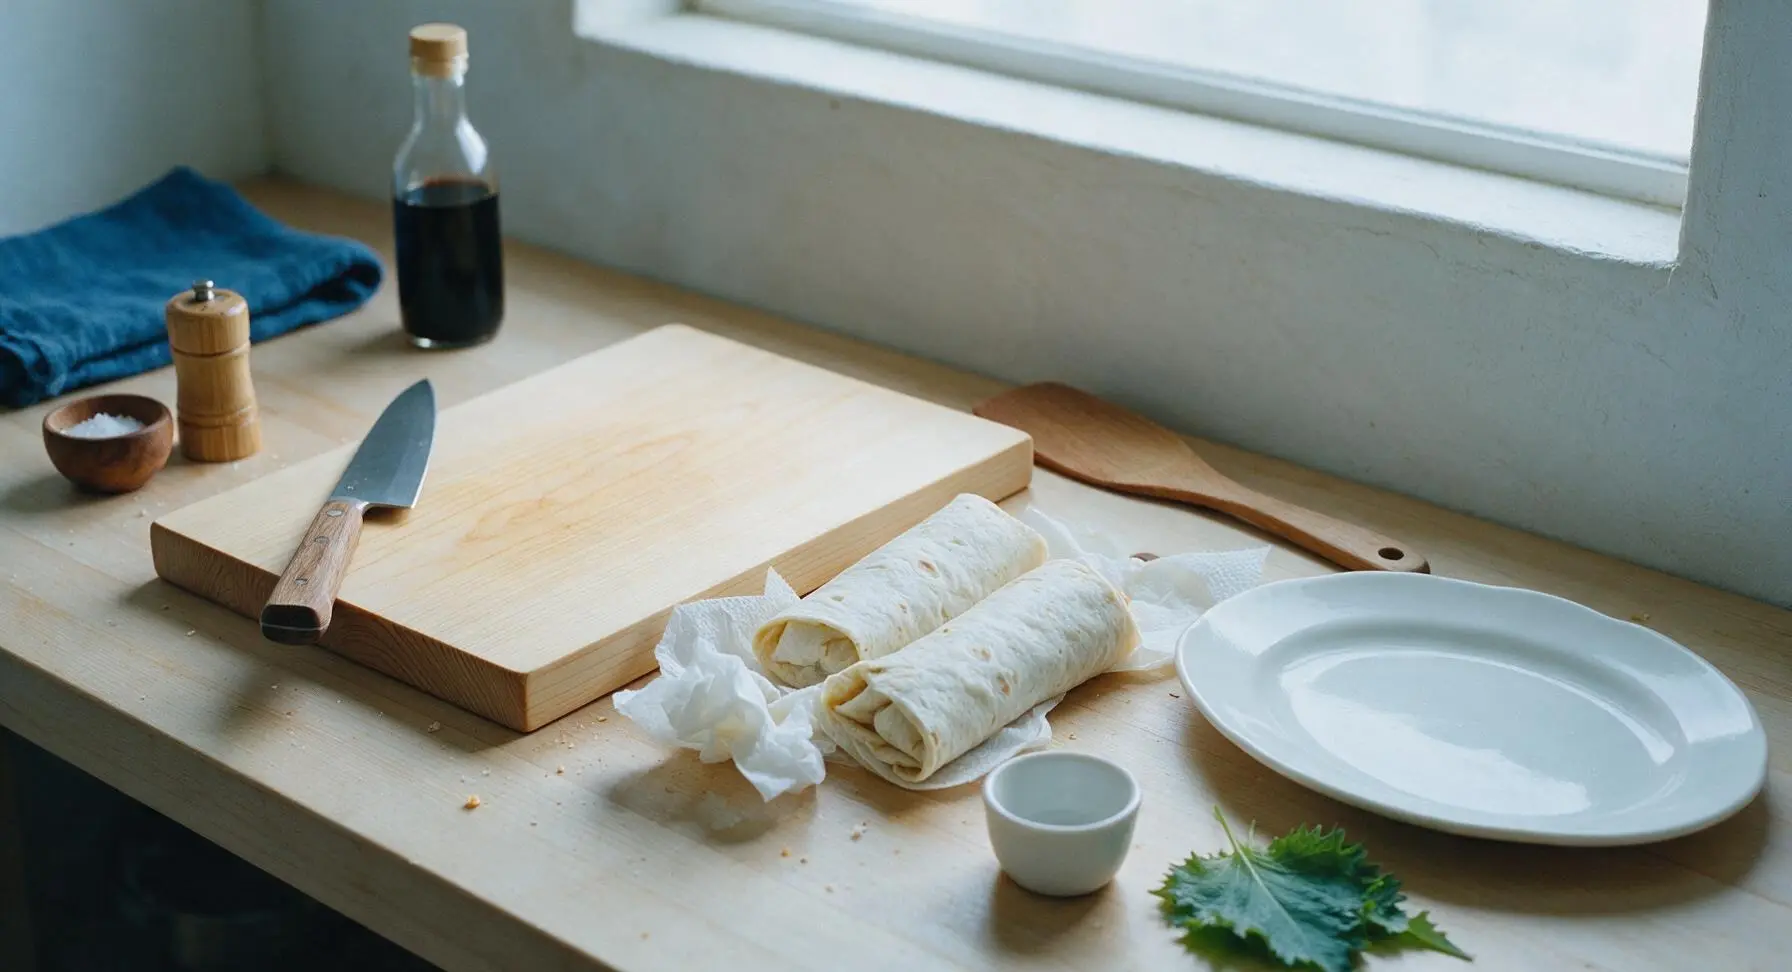
Loosely wrap each individual burrito in one half-sheet of unbleached paper towel. The paper towel will absorb excess moisture as the burrito heats, preventing the tortilla from turning soggy. Do not wrap the burritos tightly, as steam needs space to circulate evenly through the filling.
Microwave to Thaw Center
Place the paper-towel-wrapped burritos on the built-in microwave turntable, spaced 2cm apart to allow even steam circulation. Heat on full power (1100W) for 2 minutes total, pausing at the 1-minute mark to flip each burrito over. At the end of microwaving, the burritos will be soft and pliable, warm to the touch on the outside, with a partially thawed (not fully hot) center. Do not over-microwave, as this will turn the tortilla rubbery and tough.
Preheat Skillet with Oil
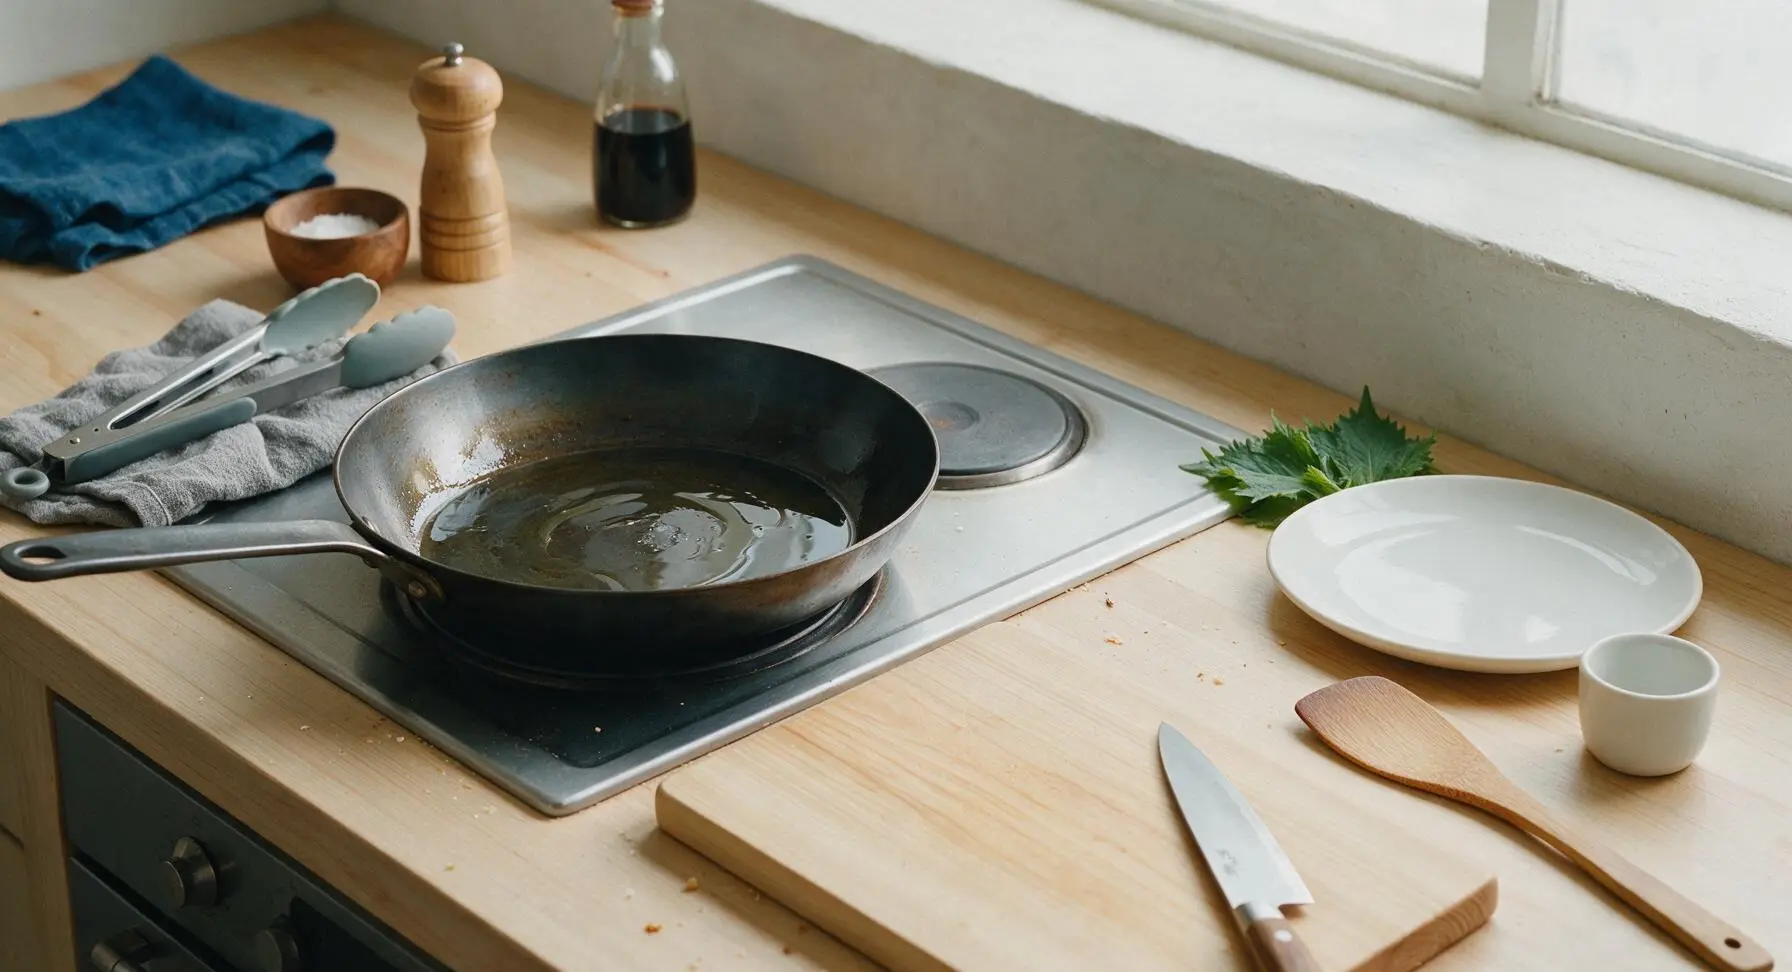
Place the 10-inch seasoned carbon steel skillet on the integrated center-left stovetop burner, turn heat to medium-low, and add 1 teaspoon of neutral vegetable oil. Swirl the oil to coat the pan bottom evenly, and heat for 1 minute until the oil shimmers but does not smoke. Wipe out excess oil with a corner of used paper towel to leave only a thin, even coating—this prevents greasy, heavy tortillas after searing.
Sear First Tortilla Side
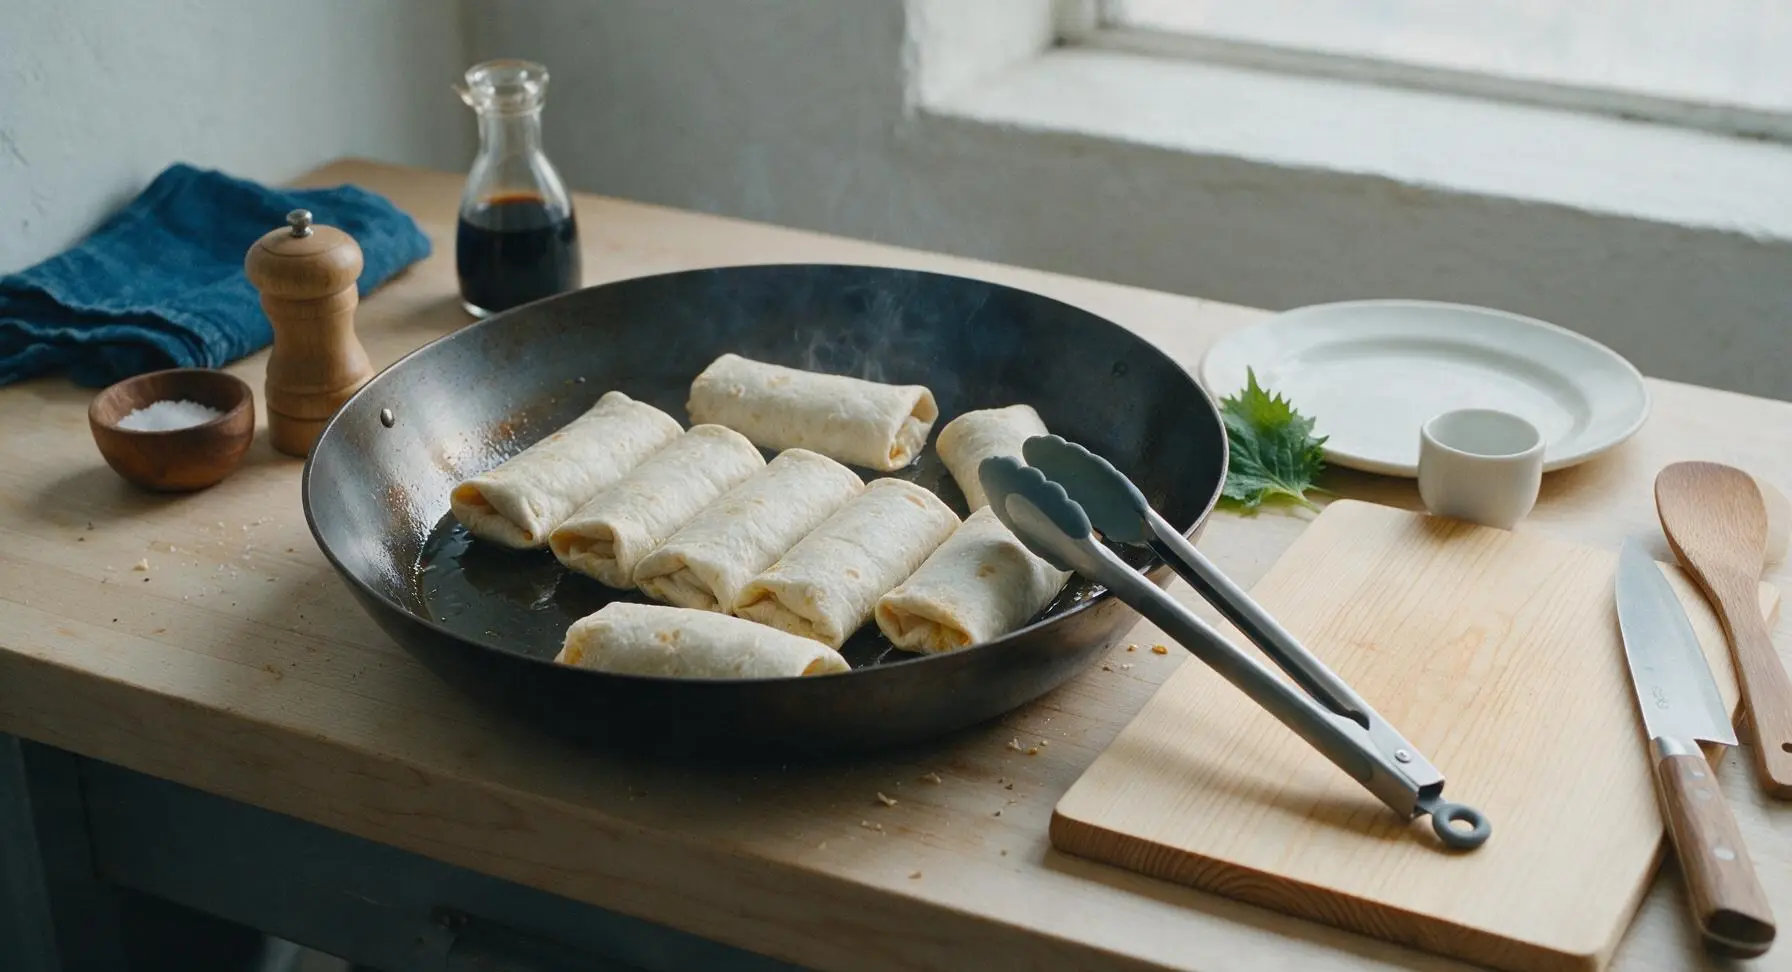
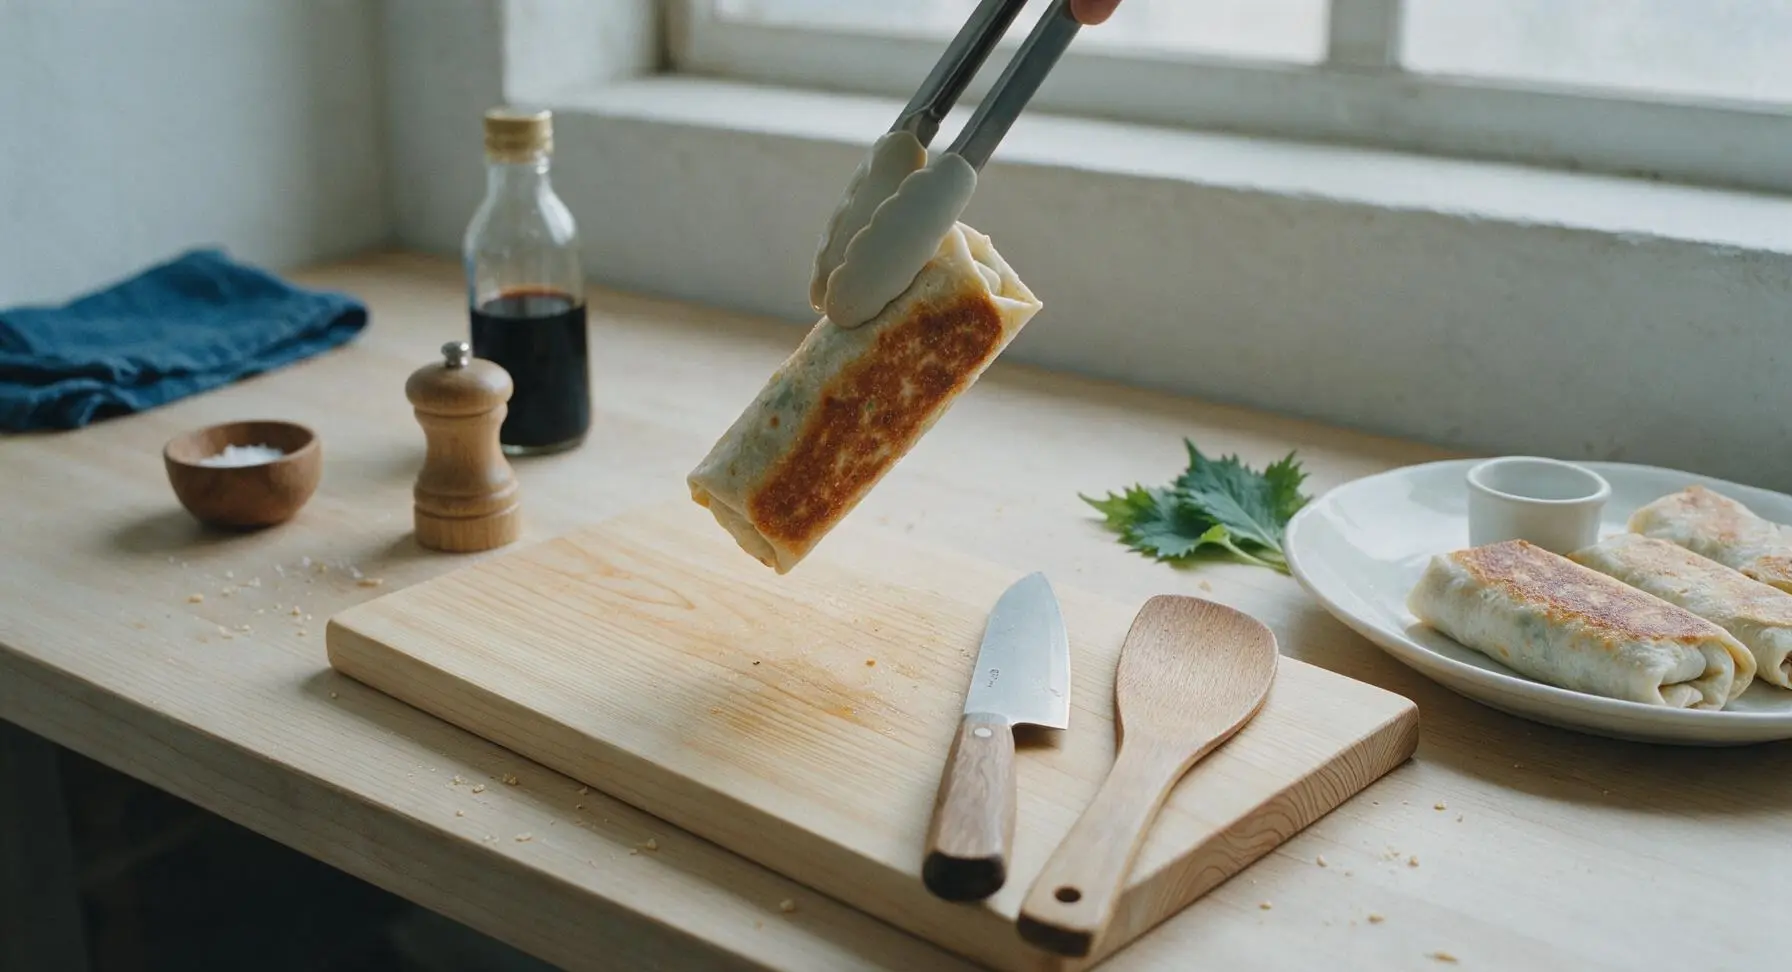
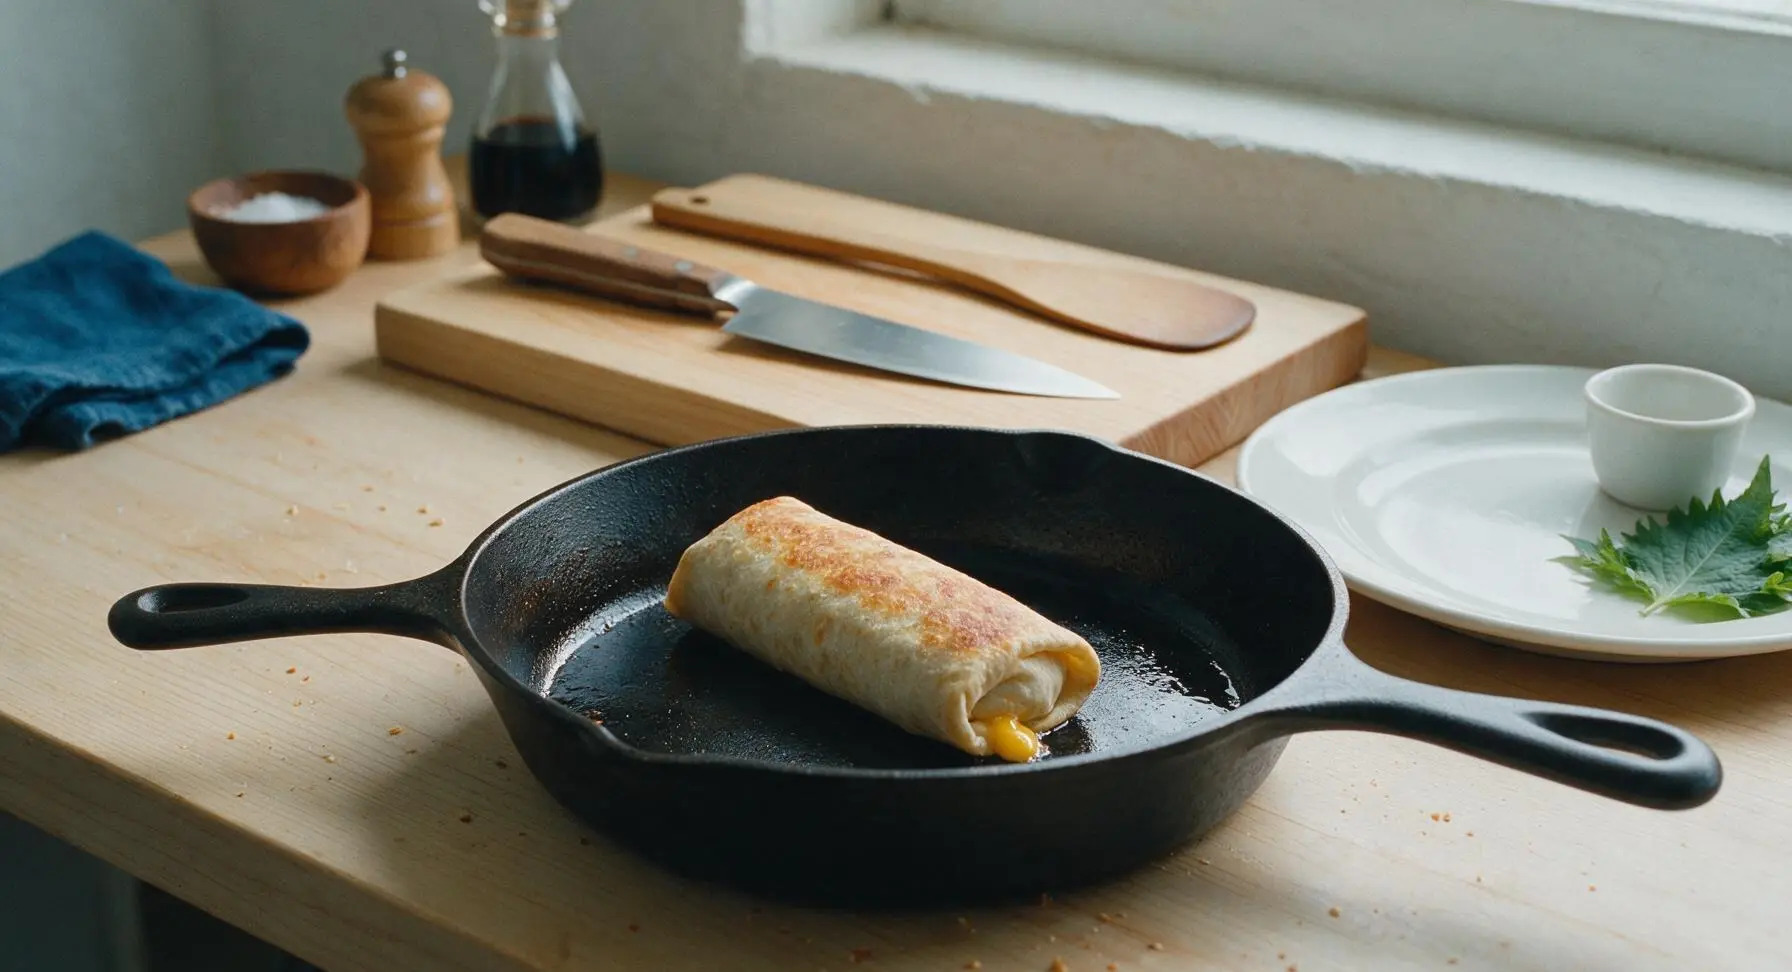
Use the stainless steel silicone-tipped tongs to place the pliable microwaved burritos in the preheated skillet, seam-side down. Cook for 2 minutes on medium-low heat, until the downward-facing tortilla surface is deep golden brown, slightly crisp, and dotted with tiny dark toasted spots. Do not press down on the burritos with the tongs as they cook, as this will squeeze out melted cheese and filling, creating a mess and drying out the burrito center.
Flip and Crisp All Sides
Use the tongs to carefully flip each burrito to the opposite side, and cook for 2 more minutes until golden and crisp. Continue rotating the burritos every 1 minute to crisp all four rounded sides, for a total searing time of 5-6 minutes. The burritos are done when the entire tortilla surface is crisp and golden, and an instant-read thermometer inserted into the center reads 74°C/165°F, confirming the filling is fully heated with no cold spots and cheese is fully melted.
Rest and Plate Burritos
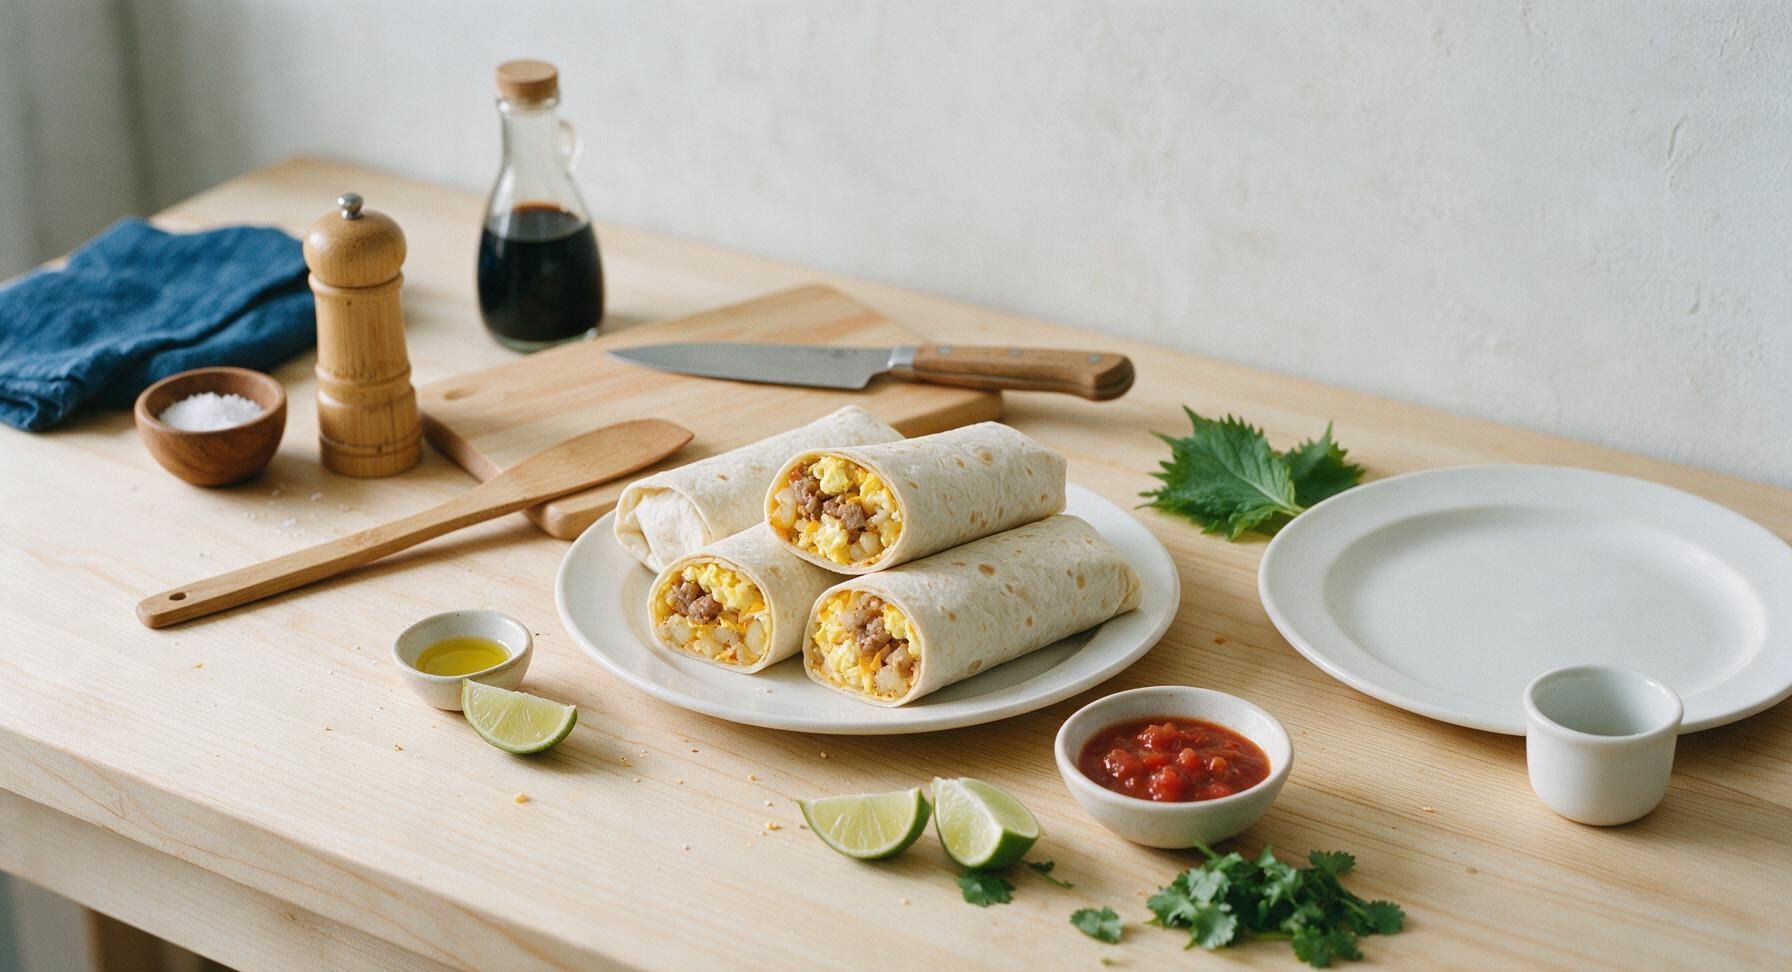
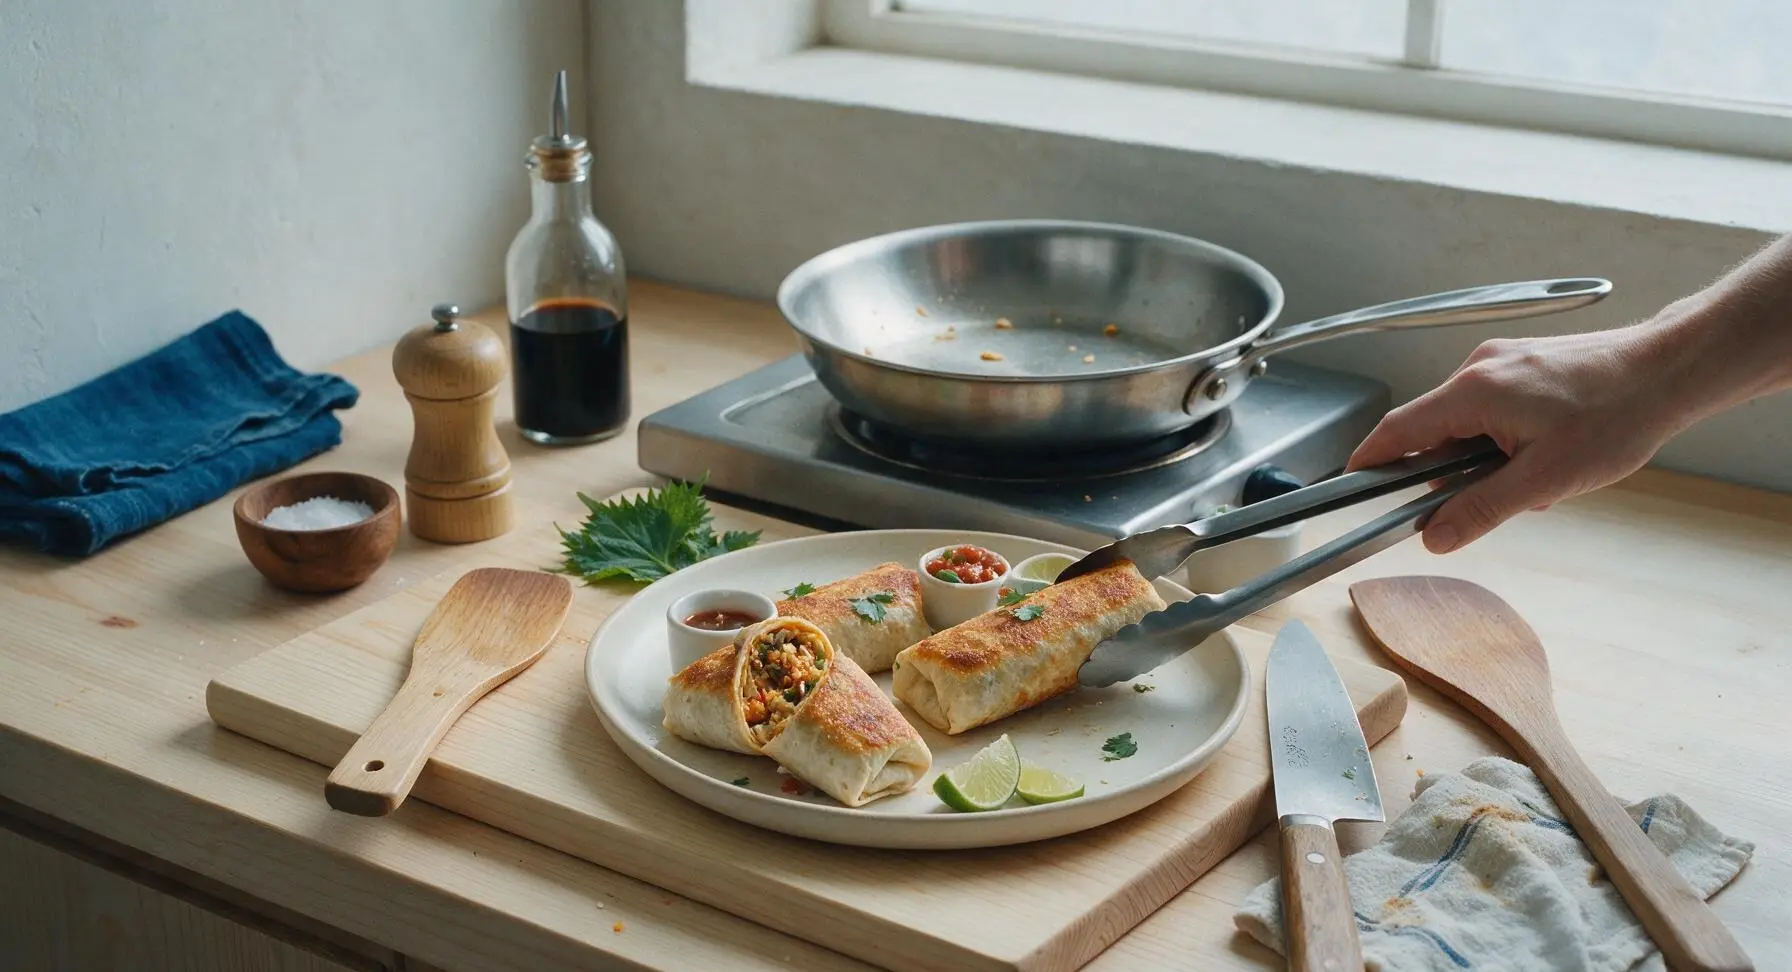
Use the tongs to transfer the fully crisped burritos from the skillet to the fixed matte cream ceramic dinner plate. Let the burritos rest for 1 full minute to allow the hot filling to set, so it does not gush out and burn fingers when bitten. Cut one burrito in half on a 45-degree bias to show the layered filling, garnish with a light sprinkle of fresh cilantro, and serve alongside salsa and lime wedges.
Tips
2.Don’t over-microwave the burritos: heating longer than 2 minutes on high power will overcook the tortilla, making it tough and rubbery before searing. The microwave only needs to warm the frozen core, not fully heat the burrito.
3.For a softer, non-crisp tortilla option, skip the skillet entirely: after microwaving, wrap burritos in a dry cotton kitchen towel for 1 minute to gently steam the tortilla, then serve immediately for a pliable, non-soggy texture.






OMG this is a total game changer for my Sunday meal prep! I used to nuke my frozen breakfast burritos for 3 minutes and they’d be soggy on one end and frozen solid in the middle. 7 minutes total? Perfect crispy tortilla, hot filling all the way through, no weird chewy spots. My husband grabbed two on his way out to work this morning and didn’t even complain, that’s a 10/10 from us!
Made these for my kids before school this week and they went crazy for them! I usually skip frozen breakfasts because they never reheat right, but this method had every burrito perfectly melty, even the ones with extra cheese. Saved me so much time on chaotic school mornings. SO good.
Wait 7 minutes is way faster than standing in line at the campus dining hall for breakfast. I stashed a dozen frozen burritos in my mini fridge freezer and tested this method last night after a late study session — no more sad, rubbery burritos for me. Absolute win for a broke college student.
I pack these for early morning trailhead breakfasts! I usually reheat them at home before I leave, but I was wondering — has anyone tried reheating these in a portable microwave/car warmer? Would the timing be about the same?
I’ve been making my own frozen breakfast burritos for my grandkids for years, and I always thought my reheating method was the best — turns out I was wrong! This 7 minute flip method is so much better, no cold spots at all. The kids said they taste just as good as fresh off the griddle.
Pro tip: After it’s done reheating, let it sit for 1 minute before you bite into it. The cheese and egg filling gets SUPER hot, I learned that the hard way when I burned the roof of my mouth last week. Other than that, this method is unbeatable for quick office breakfasts.
So excited to try this! I use gluten free frozen breakfast burritos, does the cook time change at all for those? The tortillas are usually a little thinner than regular flour ones.
Game. Changer. I used to have to make three separate batches of breakfast every morning because my boys all wake up at different times, now I just pull a burrito out of the freezer, pop it in, and it’s perfect every time. I added a dollop of sour cream and guac on the side this morning and they asked for seconds!
First attempt I forgot to flip it halfway, so the bottom was a little too crispy and the top was still a touch cold. Tried it again the next day following the directions exactly? *Chef’s kiss* No sogginess, all the filling was hot, tortilla had the perfect little crunch on the outside. Don’t skip the flip, folks!
I brought a whole batch of these to our neighborhood weekend potluck last weekend, reheated them right in the host’s microwave using this method, and people were asking for the recipe left and right! Everyone thought I woke up at 6am to make fresh burritos, nope — frozen, 7 minutes, done. No one knew the difference.
Wait has anyone tested this method in the air fryer instead of the microwave? I love how crispy air fryer tortillas get, but I always end up overcooking the eggs if I guess the time.
I keep a box of these in the work freezer for days I forget my lunch. Used to eat them half frozen because I’d only zap em for 2 minutes between jobs, tried this 7 minute method yesterday and I’ll never go back. Hot all the way through, even the potato chunks in the filling were warm. 10/10
Tried this with the vegan frozen breakfast burritos from my grocery store and it worked perfectly! I was worried the vegan cheese wouldn’t melt all the way, but 7 minutes with a flip had it nice and gooey, no weird rubbery texture. Even my meat-eating roommate stole a bite and said it was great.
This is a lifesaver for 7am shifts! I get home at 7:30am and am too tired to cook, so popping a frozen burrito in for 7 minutes means I can eat a hot breakfast before crashing without any effort. No more cold cereal for this tired nurse.
Wait why did I never think to flip it halfway? I’ve been eating soggy, partially frozen burritos for YEARS because I thought that was just how frozen burritos were. This method is so simple I feel silly for not figuring it out myself, but thank you for saving my breakfasts forever.