
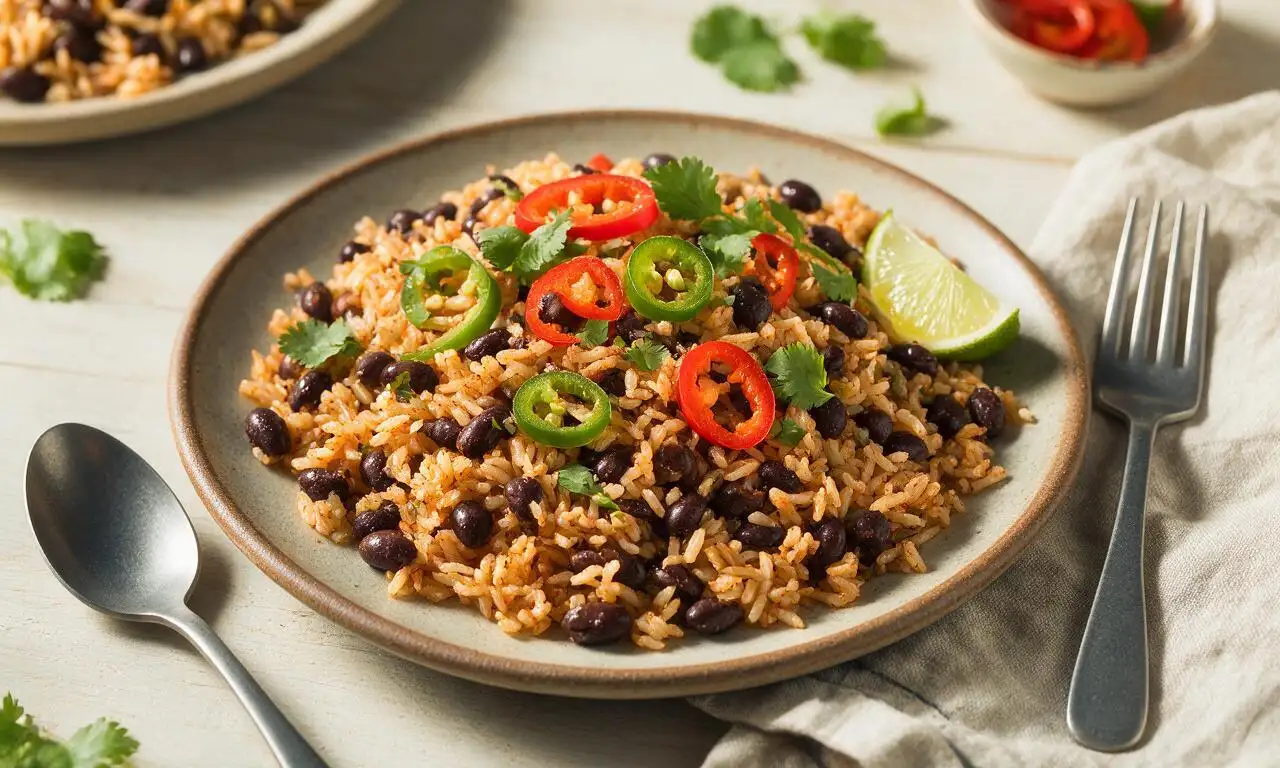
Rice and Beans

title 1
Rice and Beans
⏱️ cook time 35 minutes
🍽️ servings 4
⚡ Difficulty easy

intro

A protein-packed, budget-friendly one-pot staple with fluffy spiced rice and tender black beans, perfect for fast, satisfying, low-cleanup weeknight meals.

Ingredients

Long-grain white rice 1 cup (185g, rinsed)
Canned black beans 2 cans (450g total, drained and rinsed)
Yellow onion 1 medium (150g, finely diced)
Red bell pepper 1 small (120g, seeded and diced)
Garlic 3 cloves (10g, minced)
Extra-virgin olive oil 2 tablespoons (30ml)
Tomato paste 2 tablespoons (32g)
Ground cumin 1 teaspoon (2g)
Smoked paprika 1 teaspoon (2g)
Dried oregano ½ teaspoon (1g)
Low-sodium vegetable broth 2 cups (480ml)
Kosher salt 1 teaspoon (5g)
Fresh cilantro ¼ cup (10g, chopped)
Fresh lime 1 medium (60g, cut into wedges)

Steps

1

Prep and measure ingredients

First, rinse 1 cup (185g) of long-grain white rice under cold running water for 1 minute until the water runs clear to remove excess starch, then drain and set aside. Drain and rinse the 2 cans of black beans, dice the yellow onion and red bell pepper into ½-inch (1cm) pieces, mince the garlic, and portion out all spices, olive oil, tomato paste, and broth to have ready for cooking.
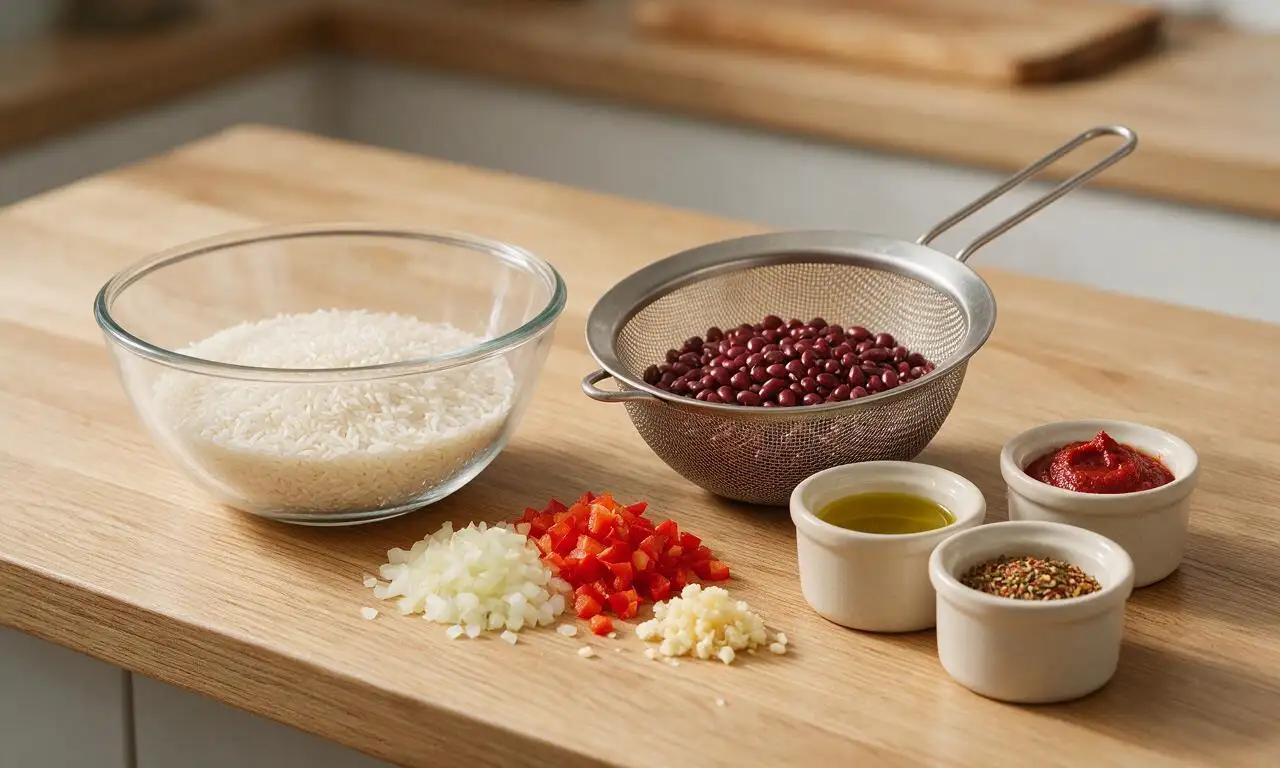
Step 1
step1:Prep and measure ingredients
2

Sauté aromatic vegetables

Heat 2 tablespoons (30ml) of olive oil in a heavy-bottomed 3-quart pot or Dutch oven over medium heat (350°F/175°C). Add the diced onion and bell pepper, and cook for 5 minutes, stirring occasionally, until the vegetables soften and turn translucent. Add the minced garlic and cook for 30 seconds more, stirring constantly, until fragrant, taking care not to burn the garlic which will turn bitter.
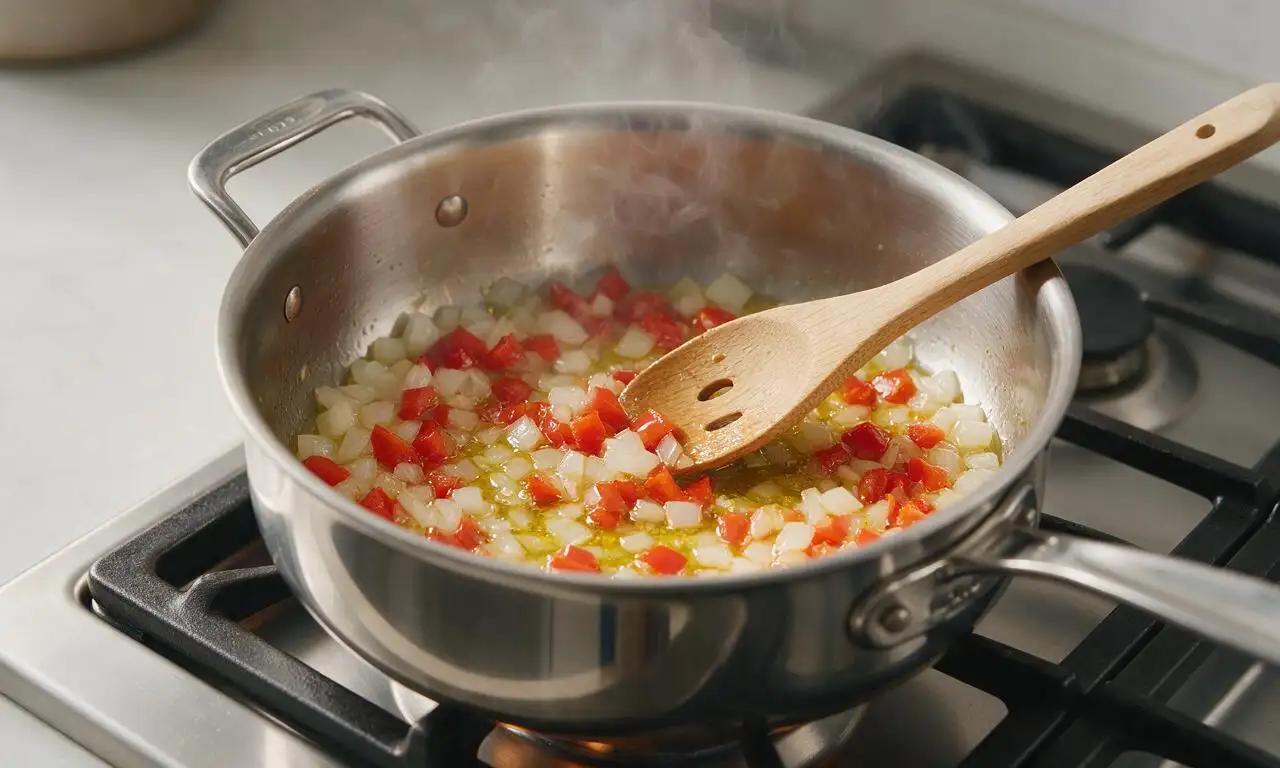
Step 2
step2:Sauté aromatic vegetables
3

Toast spices and paste

Add the 2 tablespoons (32g) of tomato paste, 1 teaspoon (2g) ground cumin, 1 teaspoon (2g) smoked paprika, and ½ teaspoon (1g) dried oregano to the pot with the cooked aromatics. Stir constantly for 1 minute over medium heat, until the tomato paste darkens to a deep rust color and the spices release a rich, warm, earthy aroma.
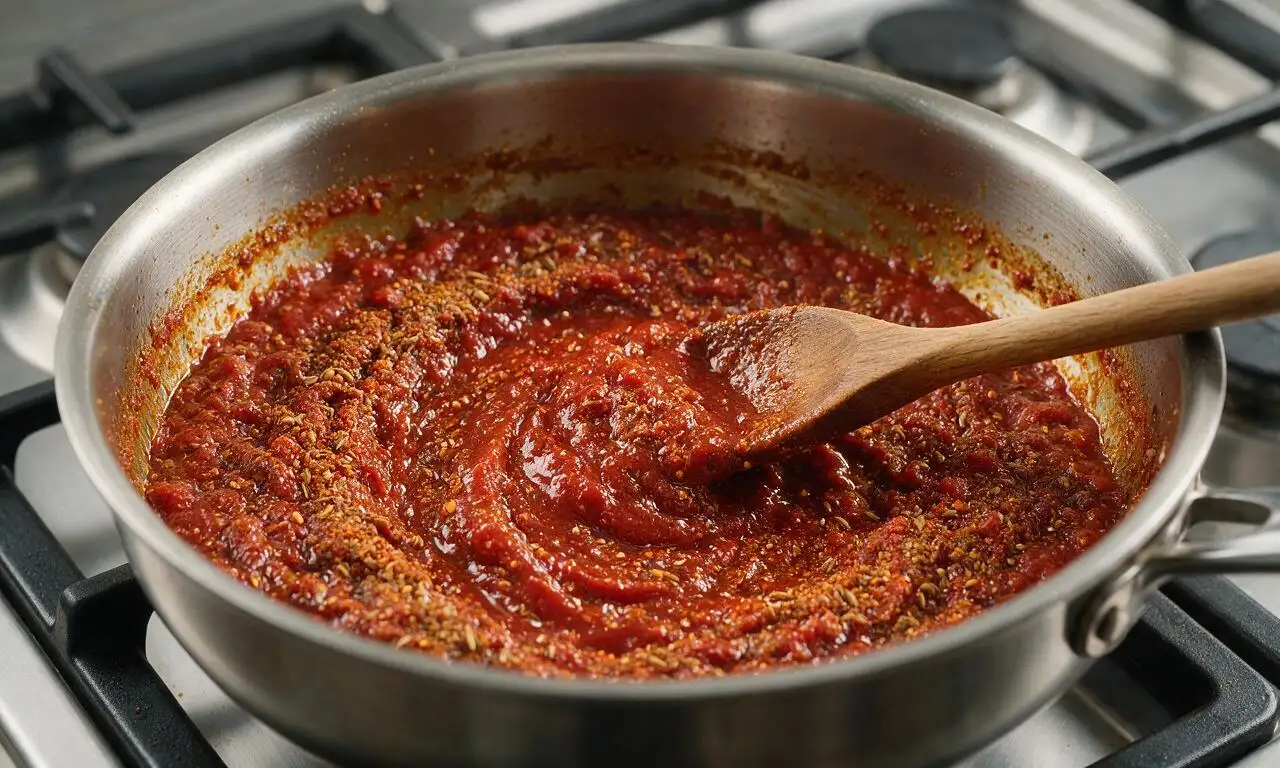
Step 3
step3:Toast spices and paste
4

Add rice and broth

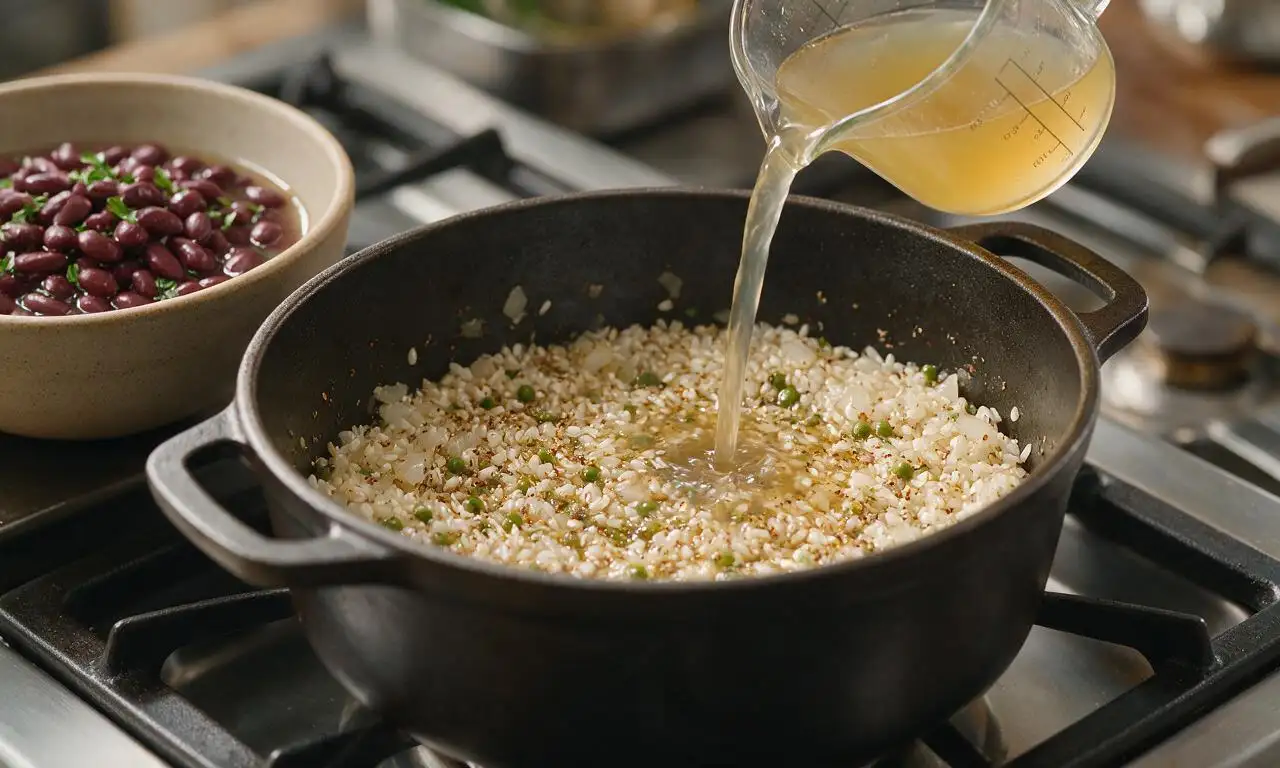
Add the rinsed, drained white rice to the pot, stirring to coat every grain completely in the spiced oil and vegetable mixture. Toast the rice for 2 minutes, stirring occasionally, until the edges of the grains turn slightly translucent. Pour in the 2 cups (480ml) of low-sodium vegetable broth and 1 teaspoon (5g) of kosher salt, stir once to lift any browned bits stuck to the pot bottom, and bring the mixture to a rolling boil over medium-high heat.
Step 4
step4:Add rice and broth
5

Simmer rice covered

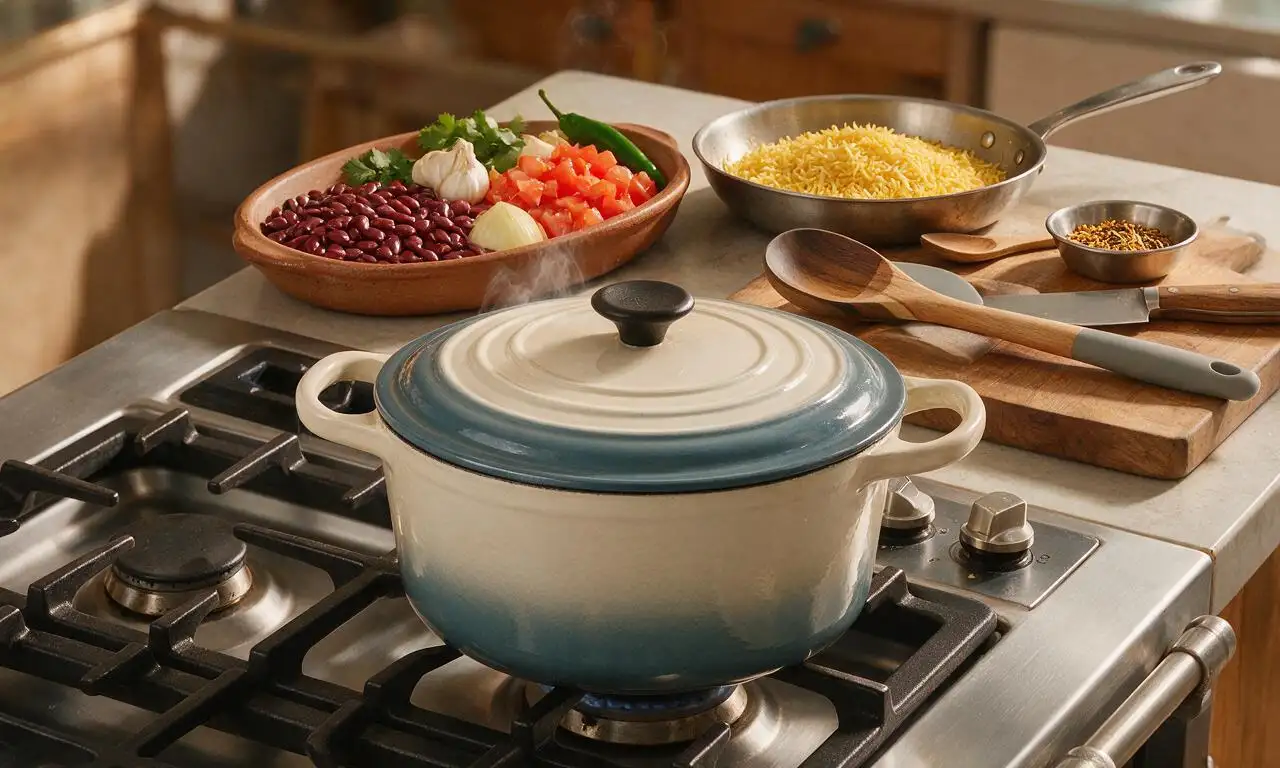
Once the mixture reaches a full rolling boil, reduce the heat to the lowest setting (low, 200°F/95°C), seal the pot tightly with a lid, and let the rice cook undisturbed for 18 minutes. Do not lift the lid during this cooking period, as trapped steam is required to cook the rice evenly and produce light, fluffy grains.
Step 5
step5:Simmer rice covered
6

Add beans and rest

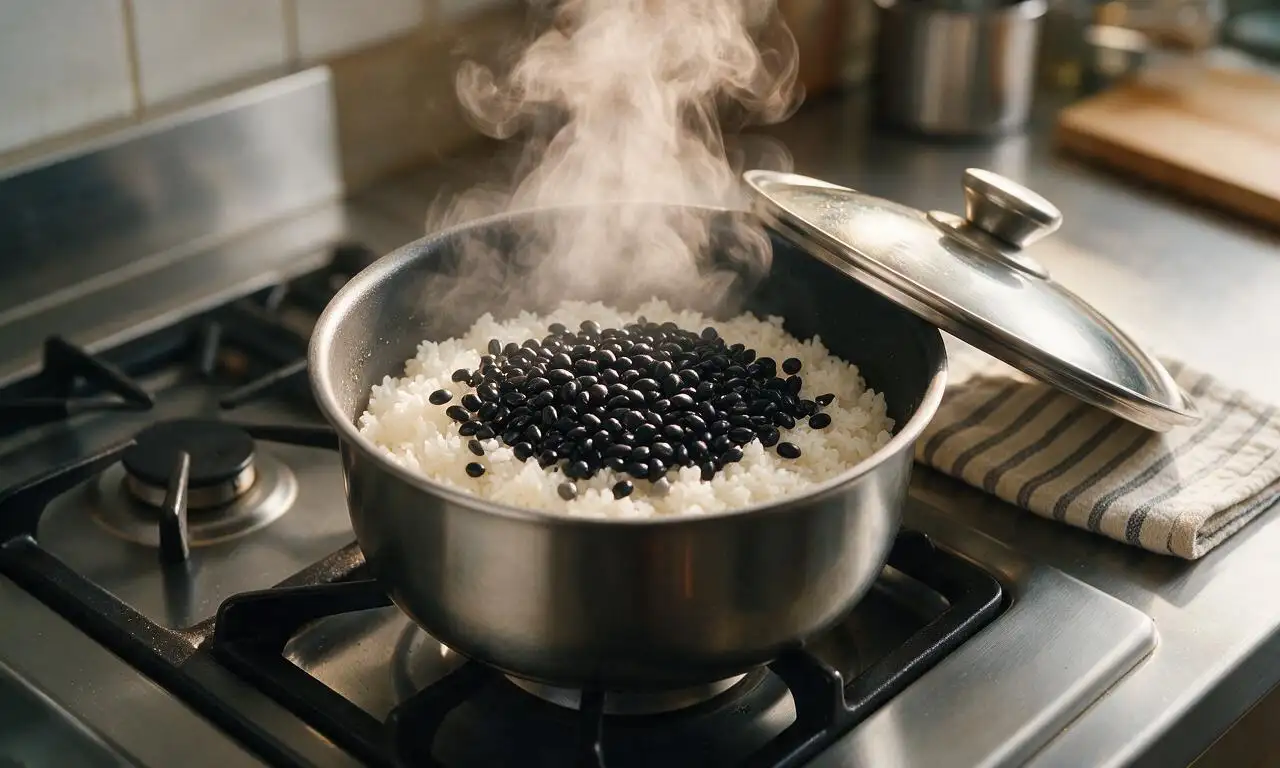
After 18 minutes of simmering, turn off the heat and move the pot off the hot burner. Scatter the drained, rinsed black beans evenly over the top of the cooked rice (do not stir them in at this point), replace the tight-fitting lid, and let the dish rest, covered, for 5 minutes to allow the beans to warm through and the rice to absorb any last remaining moisture.
Step 6
step6:Add beans and rest
7

Fluff and serve dish

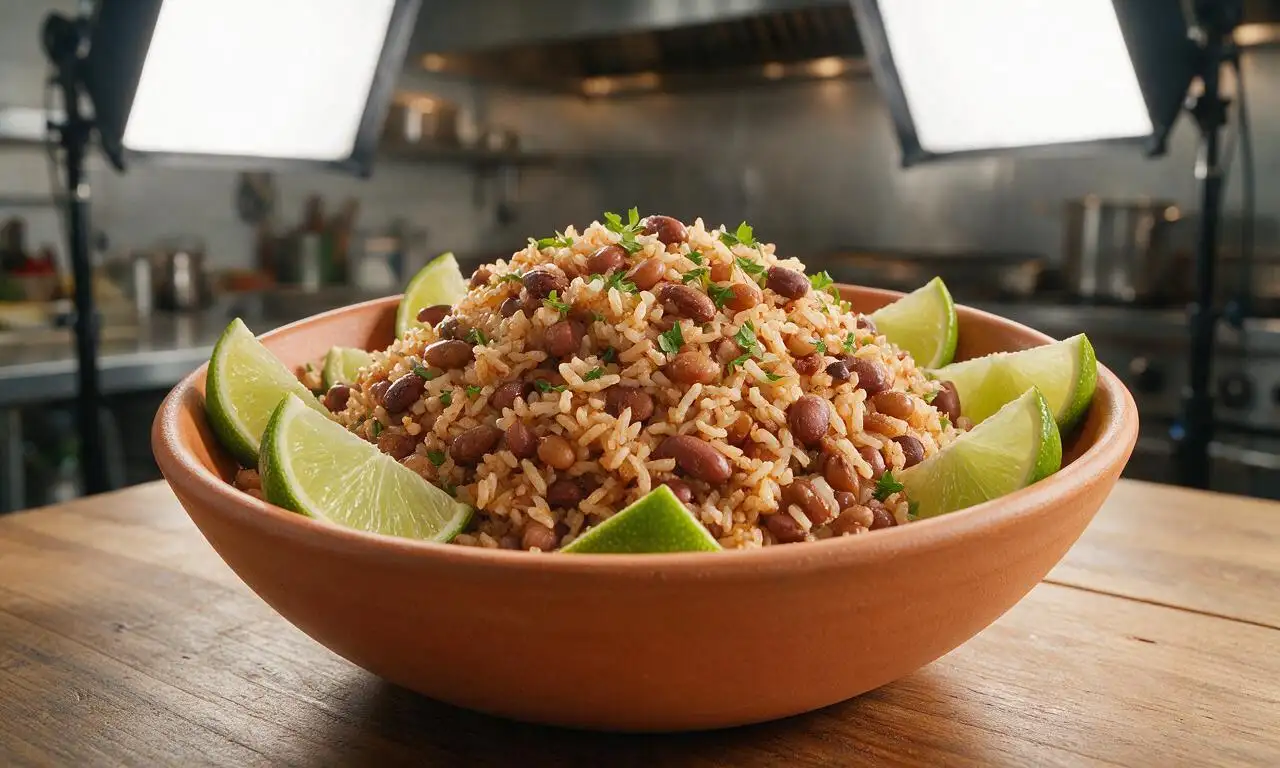
After the 5-minute rest period, remove the lid, add the ¼ cup (10g) of chopped fresh cilantro, and use a fork to gently fluff the rice and fold the beans and cilantro evenly through the dish. Taste and adjust salt if desired, then serve immediately with fresh lime wedges on the side for squeezing over individual portions.
Step 7
step7:Fluff and serve dish

Tips

1.Never lift the pot lid while the rice simmers: trapped steam is critical for even cooking, and releasing it will lead to undercooked, crunchy, or unevenly mushy rice.
2.For a creamier, more cohesive texture, mash ¼ cup (55g) of the drained black beans before adding them to the pot, which creates a light, savory coating for the rice grains.
3.Customize the dish to your taste: add diced cooked chorizo, shredded rotisserie chicken, a pinch of cayenne for heat, or sliced avocado on top for extra creaminess.


✨ You May Also Like

Main Course
🍜 United Kingdom

A showstopping classic of tender seared beef, savory mushroom duxelles, and crisp prosciutto wrapped in flaky golden puff pastry, baked to juicy perfection.

⏱️ 2 hours 1Main Course ★ 4.7
Main Course
🍜 India

Tender charred marinated chicken simmered in a rich, spiced creamy tomato sauce, this iconic Anglo-Indian curry pairs perfectly with basmati rice or warm naan.

⏱️ 50 minuteMain Course ★ 4.6
Main Course
🍜 Thailand

Classic tangy, sweet, and savory Thai stir-fried rice noodles with shrimp, tofu, and crunchy garnishes, balancing all five core Thai flavor profiles.

⏱️ 30 minuteMain Course ★ 4.5
Main Course
🍜 United Kingdom

Crispy golden beer-battered cod and fluffy double-fried chips, served with tangy tartar sauce and malt vinegar: the timeless, beloved British pub comfort classic.

⏱️ 45 minuteMain Course ★ 4.7
Main Course
🍜 Mexico

Smoky, chile-marinated pork tacos with caramelized pineapple, fresh cilantro, and lime: a beloved classic Mexican street food perfect for casual summer gatherings.

⏱️ 1 hour 45Main Course ★ 4.8
Main Course
🍜 United States

Crunchy Fritos corn chips layered with savory beef chili and melted cheddar, topped with cool, zesty fixings for a beloved, cozy Tex-Mex comfort food.

⏱️ 35 minuteMain Course ★ 4.8

Rice and Beans:Frequently Asked Questions

1.Why does my rice turn out mushy when I make this one-pot Tex-Mex rice and beans? ▾
Mushy rice usually comes from two easy-to-fix missteps: using too much cooking liquid, or stirring the rice too much as it simmers, which releases excess starchy gluten. Stick to a 2:1 liquid-to-rice ratio for long-grain white rice, keep the lid sealed tight while it cooks, and resist stirring once it reaches a simmer for light, separate, fluffy grains.
2.Can I use dried black beans instead of canned for this recipe? ▾
Absolutely, though you’ll need a little advance prep to keep the quick, budget-friendly weeknight timeline on track. Swap one 15-oz can of rinsed black beans for 1.5 cups of cooked dried black beans. Soak dried beans overnight, simmer until tender (45 minutes to 1 hour) before adding them to the pot, so they match the soft, creamy texture of canned beans.
3.Do I really need to rinse my long-grain white rice before cooking this dish? ▾
Rinsing rice under cold running water until the water runs clear removes excess surface starch that would otherwise make your finished rice gummy or sticky, rather than light and fluffy. It only takes 30 to 60 seconds, and it makes a noticeable difference in final texture, so I don’t recommend skipping this quick prep step.
4.Is this Classic Tex-Mex Rice and Beans recipe spicy? ▾
The base recipe as written is very mild, since it builds flavor from sweet yellow onion, bright red bell pepper, and aromatic garlic with no added hot chiles. If you want heat, toss in a diced jalapeño with the veggies, add a pinch of cayenne to the spice mix, or stir in hot sauce at the end to adjust spice level to your taste.
5.Does this recipe work well for weekly meal prep? ▾
This dish is ideal for meal prep, since it holds up beautifully in the fridge for up to 4 days. Let it cool completely after cooking, portion it into airtight containers, and reheat individual servings in the microwave or on the stovetop with a tiny splash of water to loosen rice that dries out while chilling. Flavors actually meld and improve after a day in the fridge.
6.Why do you call for long-grain white rice instead of brown or short-grain rice? ▾
Long-grain white rice is the classic pick for Tex-Mex rice because it cooks up light, fluffy, and separate, with a mild flavor that soaks up spices without turning sticky. Short-grain rice turns gummy due to its higher starch content, and brown rice needs nearly twice as much liquid and 20+ extra minutes of simmer time, which throws off the fast one-pot timing.
7.Should I drain and rinse my canned black beans before adding them to the pot? ▾
I always recommend draining and giving canned black beans a quick rinse under cold water before adding them to the pot. The thick, starchy canning liquid has a slightly metallic, briny off-flavor that can make your finished dish taste flat or overly salty. Rinsing only takes a few seconds, and it lets the warm, earthy bean flavor and spices shine.
8.What easy add-ins make this dish a more filling complete meal? ▾
This flexible, protein-packed base works with tons of quick add-ins to make it a full, satisfying meal. Toss in a cup of frozen corn when you add the beans, stir in browned ground beef or turkey with the spices, or top servings with diced avocado, shredded cheese, a dollop of sour cream, or a squeeze of fresh lime for extra brightness.
9.Can I freeze leftover Tex-Mex rice and beans for later? ▾
You can freeze this dish for up to 3 months for ultra-quick future meals. Let it cool fully after cooking, pack it into freezer-safe airtight bags or containers, and press out as much excess air as possible to prevent freezer burn. Thaw it in the fridge overnight before reheating, and fluff with a fork after warming to restore its light texture.
10.My rice is still crunchy at the end of the recommended simmer time—what went wrong? ▾
Crunchy, undercooked rice almost always means your pot lid wasn’t sealed tight enough, letting steam escape as it cooks, or you used slightly less liquid than required. If you hit the end of the cook time and rice is still crunchy, add 2 tablespoons of water or broth, seal the lid tight, and simmer 3 to 5 more minutes until liquid is absorbed.
11.What order should I add ingredients to keep this truly one-pot with minimal cleanup? ▾
Start by sautéing diced yellow onion, red bell pepper, and garlic in the pot first to build deep, aromatic flavor, then toast the dry rice in the same pot for 1 to 2 minutes to bring out its nutty taste. Add cooking liquid and spices, bring to a simmer, then stir in rinsed black beans right before covering to cook, so beans stay tender and you only wash one pot.

Comments (10)

2 days ago

OMG this was SO good! Threw this together for taco night last minute and my kids devoured it — even my picky 7 year old who picks beans out of everything asked for seconds. Total game changer for our weekly family dinners.

yesterday

So happy to hear the whole family loved it! It’s such a perfect easy side for taco night, so glad your picky eater gave it a thumbs up too 😊

1 week ago

This is going into my regular Sunday meal prep rotation for sure! It’s so easy to throw together, holds up great in the fridge all week, and I can toss it in burritos, eat it as a side, or even top it with a fried egg for a quick lunch. 10/10, no notes.

5 days ago

Wait the fried egg idea is genius! I never thought to do that — I’ve just been eating it as a side with grilled chicken, definitely trying that tomorrow.

3 days ago

Love that meal prep hack! The fried egg trick is one of my go-to busy weekday breakfasts too, so glad you’re enjoying the versatility of this recipe.

3 days ago

Brought this to my neighborhood potluck over the weekend and people were asking me for the recipe before I even set the dish down! It’s hearty, has that perfect classic Tex-Mex flavor, and it’s cheap to make for a big crowd. Will absolutely be making this again.

2 hours ago

This was super tasty! I added a can of diced green chiles and a little extra cumin to kick the heat up a bit, and it came out perfect. The base recipe is so solid, it’s really easy to tweak to your taste.

30 minutes ago

Thanks for the green chile tip! I was looking for a way to add a little extra zing, I’m definitely tossing those in when I make this tonight.

yesterday

First time making rice and beans from scratch instead of using a boxed mix, and wow this was way easier than I thought! The only thing I messed up was toasting the rice a little too long at the start, but it still tasted amazing. Can’t wait to make it again and get it perfect.

2 hours ago

I did the exact same thing my first time! Just turn the heat down a tiny bit when toasting and stir constantly, it makes such a difference for that fluffy texture.

30 minutes ago

So proud of you for giving it a shot! A slightly toasty (okay, almost burnt) rice mishap is totally normal, and so glad it still turned out tasty for you. Next time it’ll be perfect!

30 minutes ago

35 minute cook time is no joke! I got home from soccer practice drop off, threw this together, and it was done by the time the kids were done with homework. Perfect quick weeknight meal when you don’t have a ton of time to prep.

5 minutes ago

That’s exactly what we love about this recipe — no fancy prep, no long cook times, just hearty, good food that fits into even the craziest weeknight schedules. So glad it worked out for you!

5 days ago

Great vegetarian option that even my meat-loving roommate went back for a second helping of! I added a little corn and diced bell pepper to bulk it up a bit, and it was so filling. Perfect for meatless Mondays.

2 weeks ago

I grew up eating rice and beans just like this my abuela made, and this recipe hits so close to home! The ratio of rice to beans is perfect, and the seasoning is exactly the classic flavor I was craving. 10/10.

1 week ago

So glad I’m not the only one who thought this tasted like the homemade stuff! I’ve tried so many recipes that are too bland or use weird seasonings, this one is dead on.

just now

Made this for under $5 total for a whole big batch! It’s so affordable, tastes way better than takeout, and I don’t have to worry about a million fancy ingredients. This is going to be a staple for me when I’m trying to save on groceries.

5 minutes ago

Wait why did I sleep on this recipe for so long? I made it to go with my fajitas last night and it was way better than the plain white rice I usually make. My only question is — can I freeze the leftovers? I made way too big of a batch and don’t want it to go to waste.

2 minutes ago

I froze a batch last month! Just let it cool completely, portion it into freezer bags, and it reheats perfectly in the microwave for a quick side. No mushy texture at all!

1 minute ago

Great question! You absolutely can freeze leftovers for up to 3 months — just make sure it’s fully cooled before storing, and reheat with a tiny splash of water to fluff it back up. So glad you loved it with fajitas!



