
Rich Tea Biscuits
intro
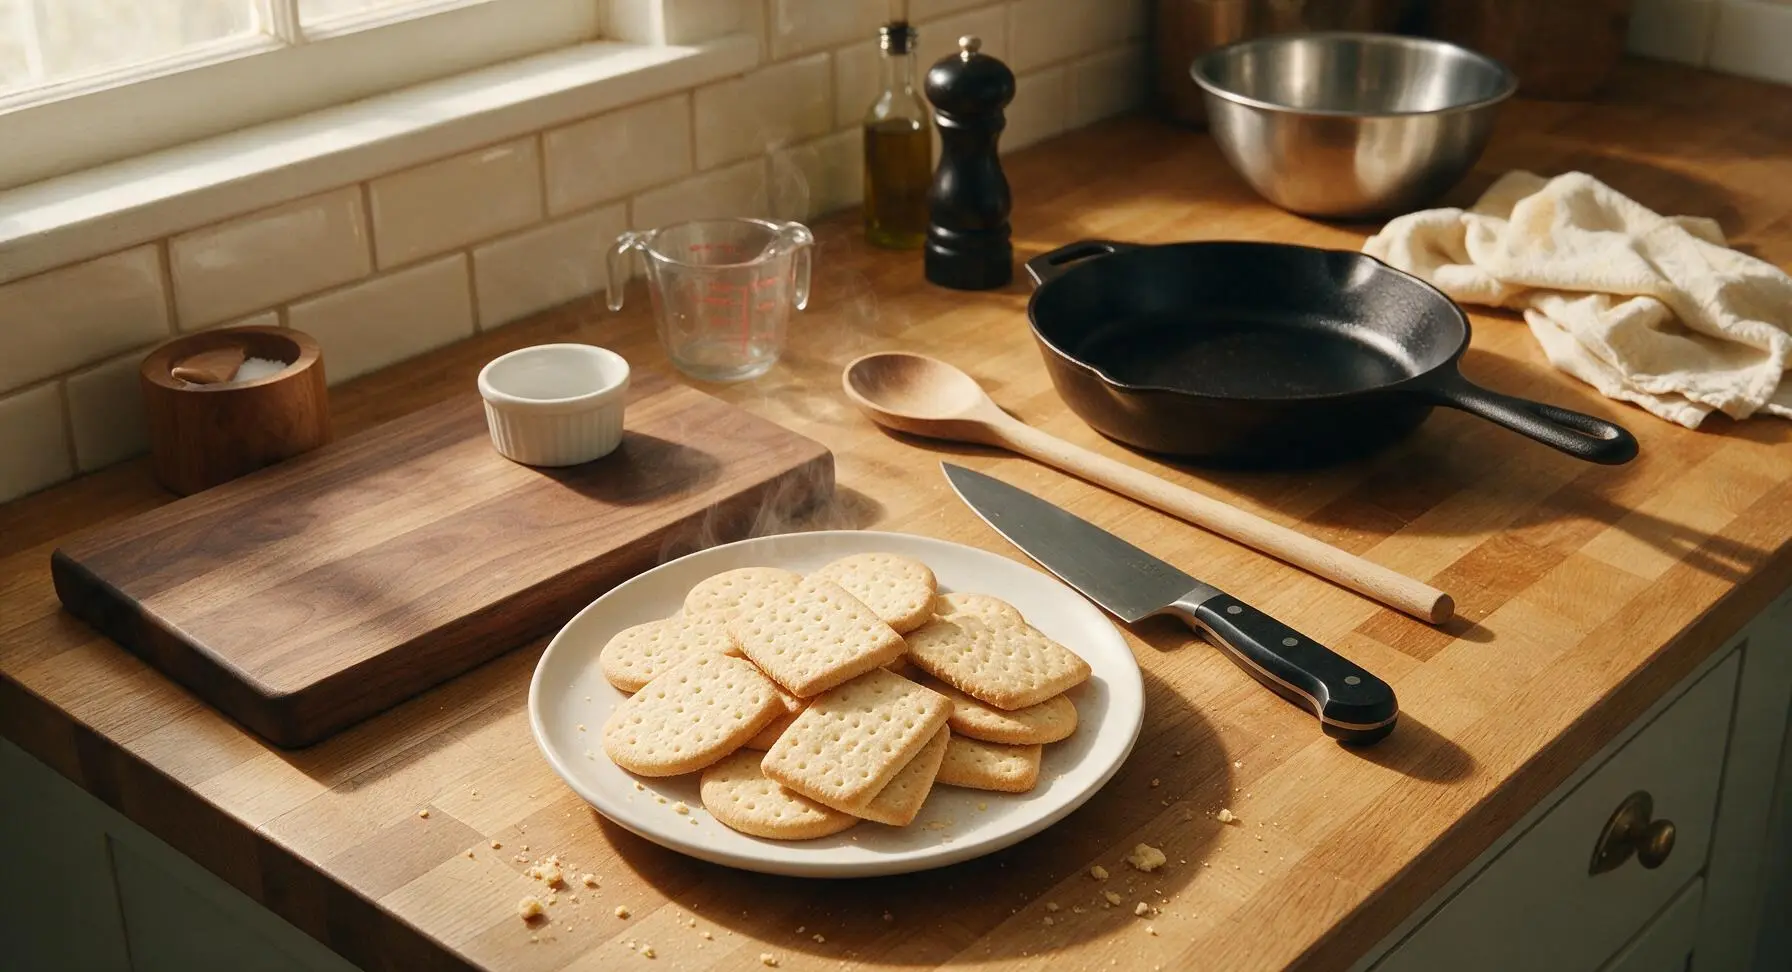
Crisp, lightly sweet classic British rich tea biscuits, with a delicate snappy texture and subtle malt note, perfect for dipping in a hot cup of tea.
Ingredients
Steps
Sift Dry Ingredients
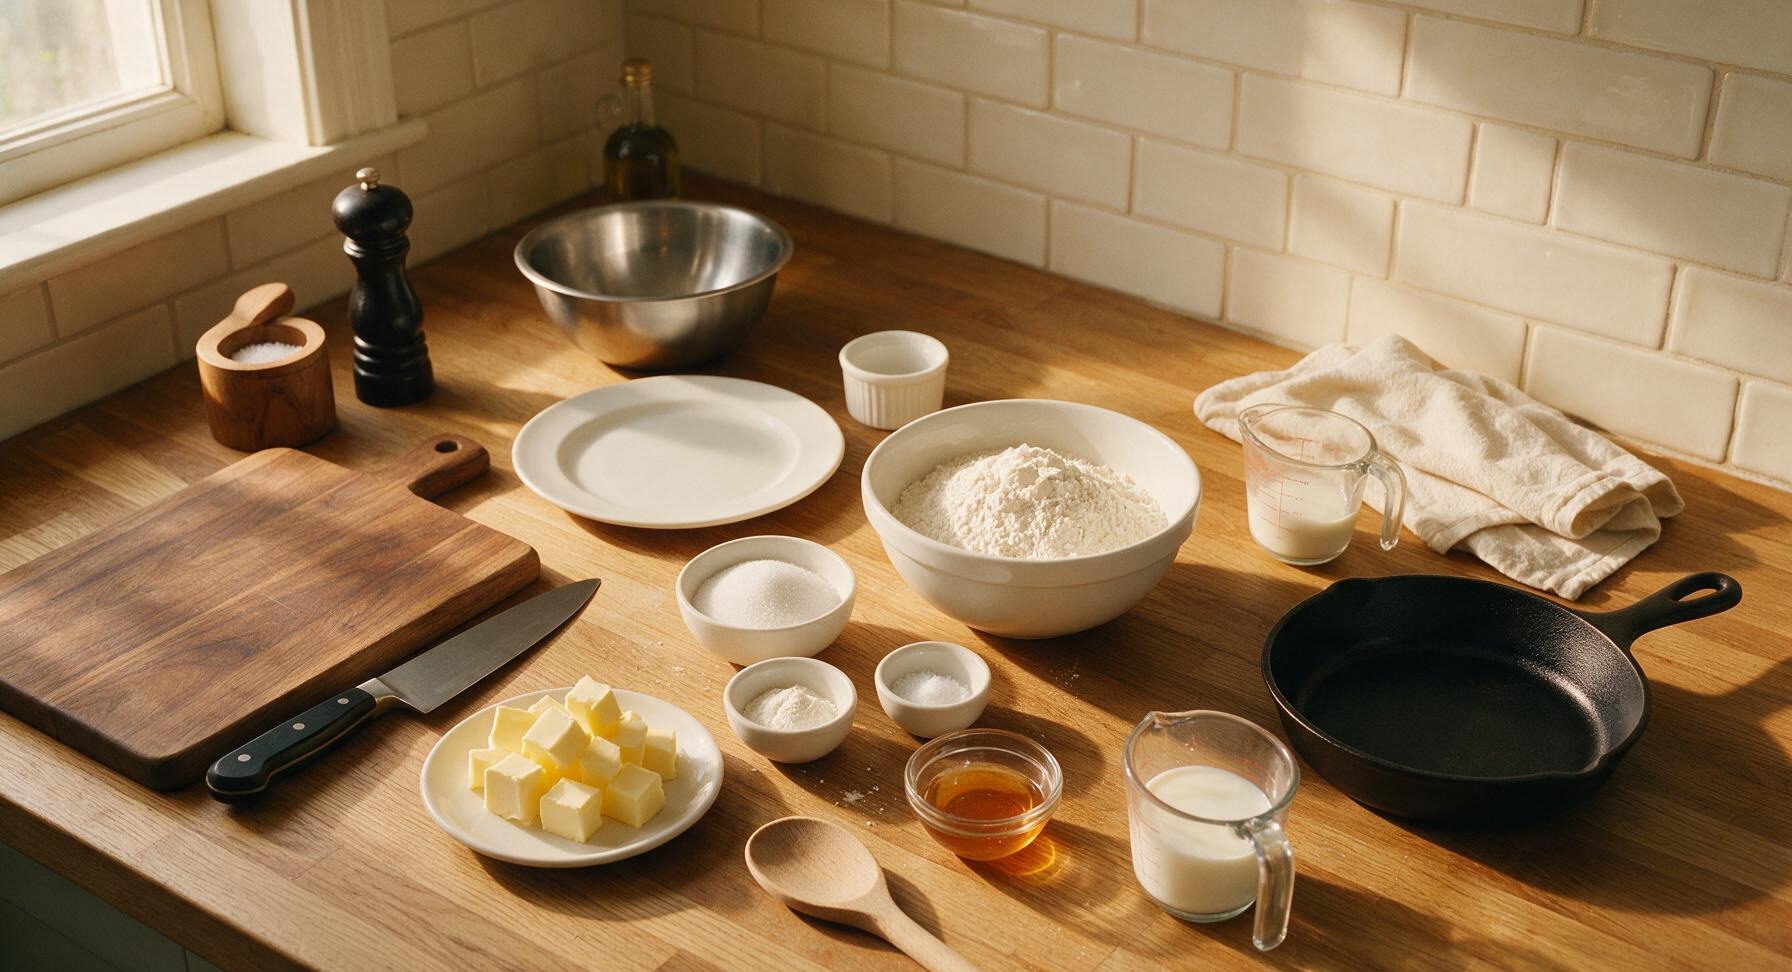
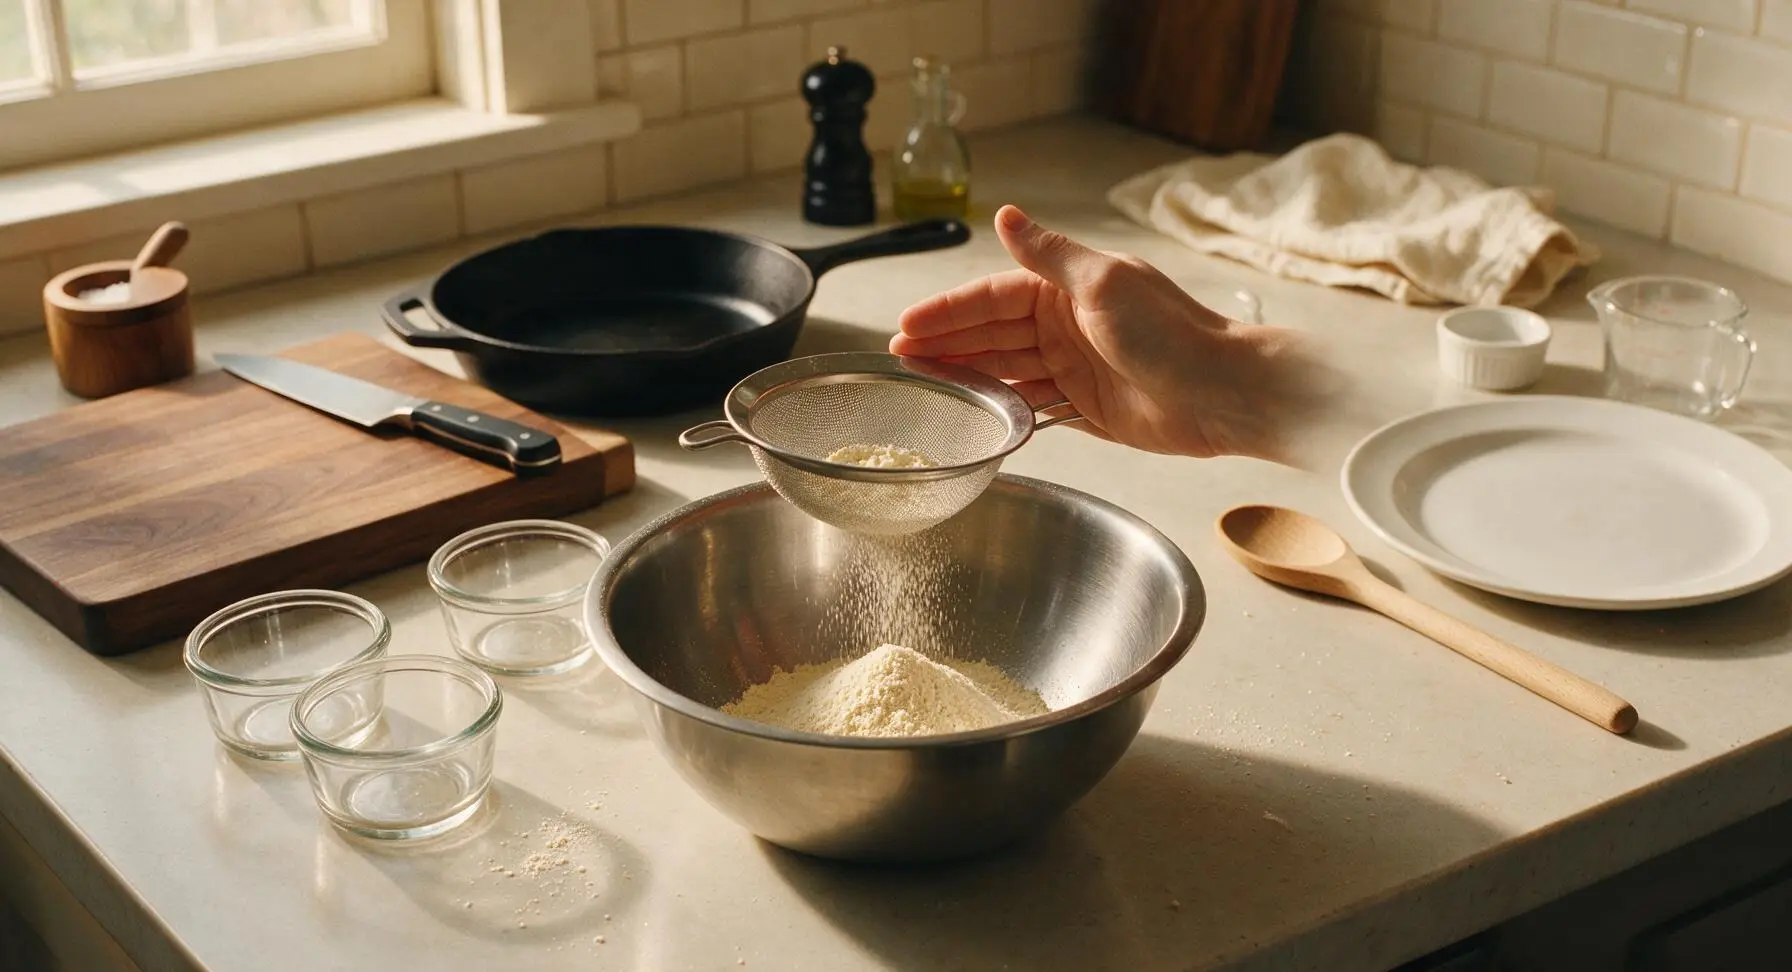
Place the medium stainless steel mixing bowl on the counter next to the beech wood cutting board. Fit the fine mesh stainless steel sieve over the bowl, then add 225g all-purpose flour, 50g caster sugar, 1 tsp baking powder, and 1/4 tsp fine sea salt to the sieve. Tap the side of the sieve gently to sift all ingredients into the bowl, discarding any small hard lumps left in the mesh. The finished dry mixture should be completely smooth, evenly combined, and pale cream in color with no visible clumps.
Rub in Cold Butter
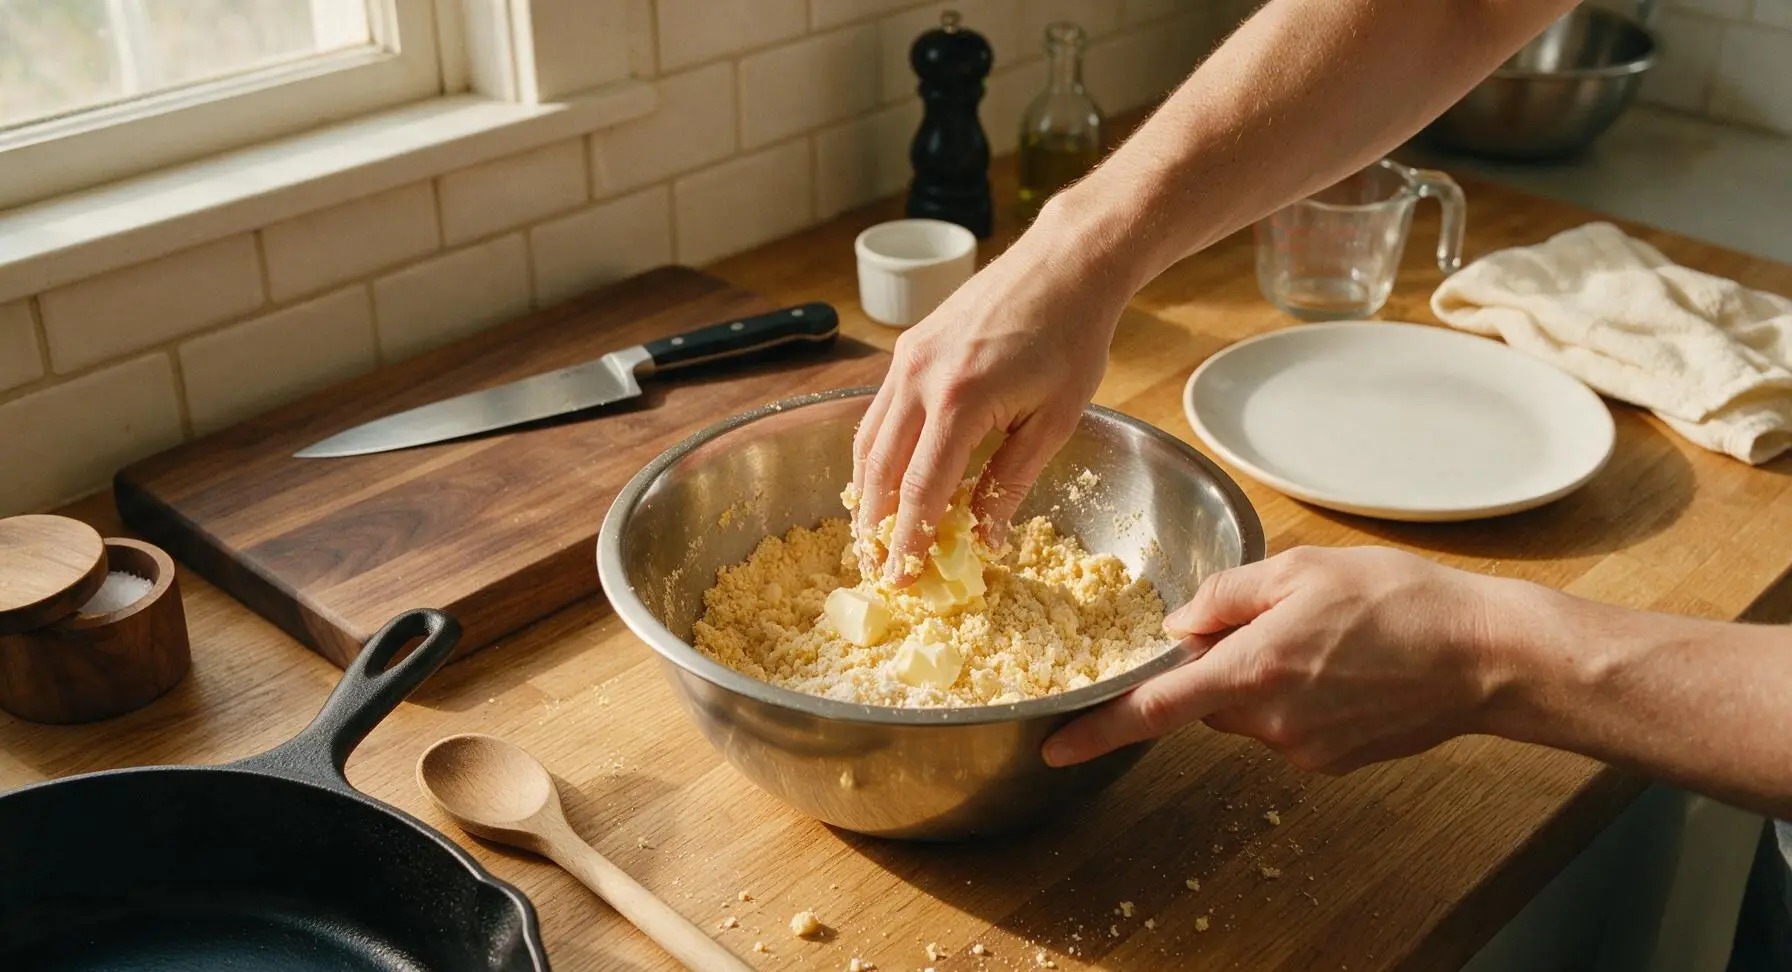
Add the 75g of cold, cubed unsalted butter to the bowl of sifted dry ingredients. Use your fingertips to rub the butter into the flour mixture, lifting the mixture 5-10cm above the bowl as you work to incorporate air, until the entire mixture resembles fine, pale golden breadcrumbs with no large butter lumps remaining. This takes 3-4 minutes; work quickly to keep the butter cold, as warm butter will cause spread and reduce biscuit crispness.
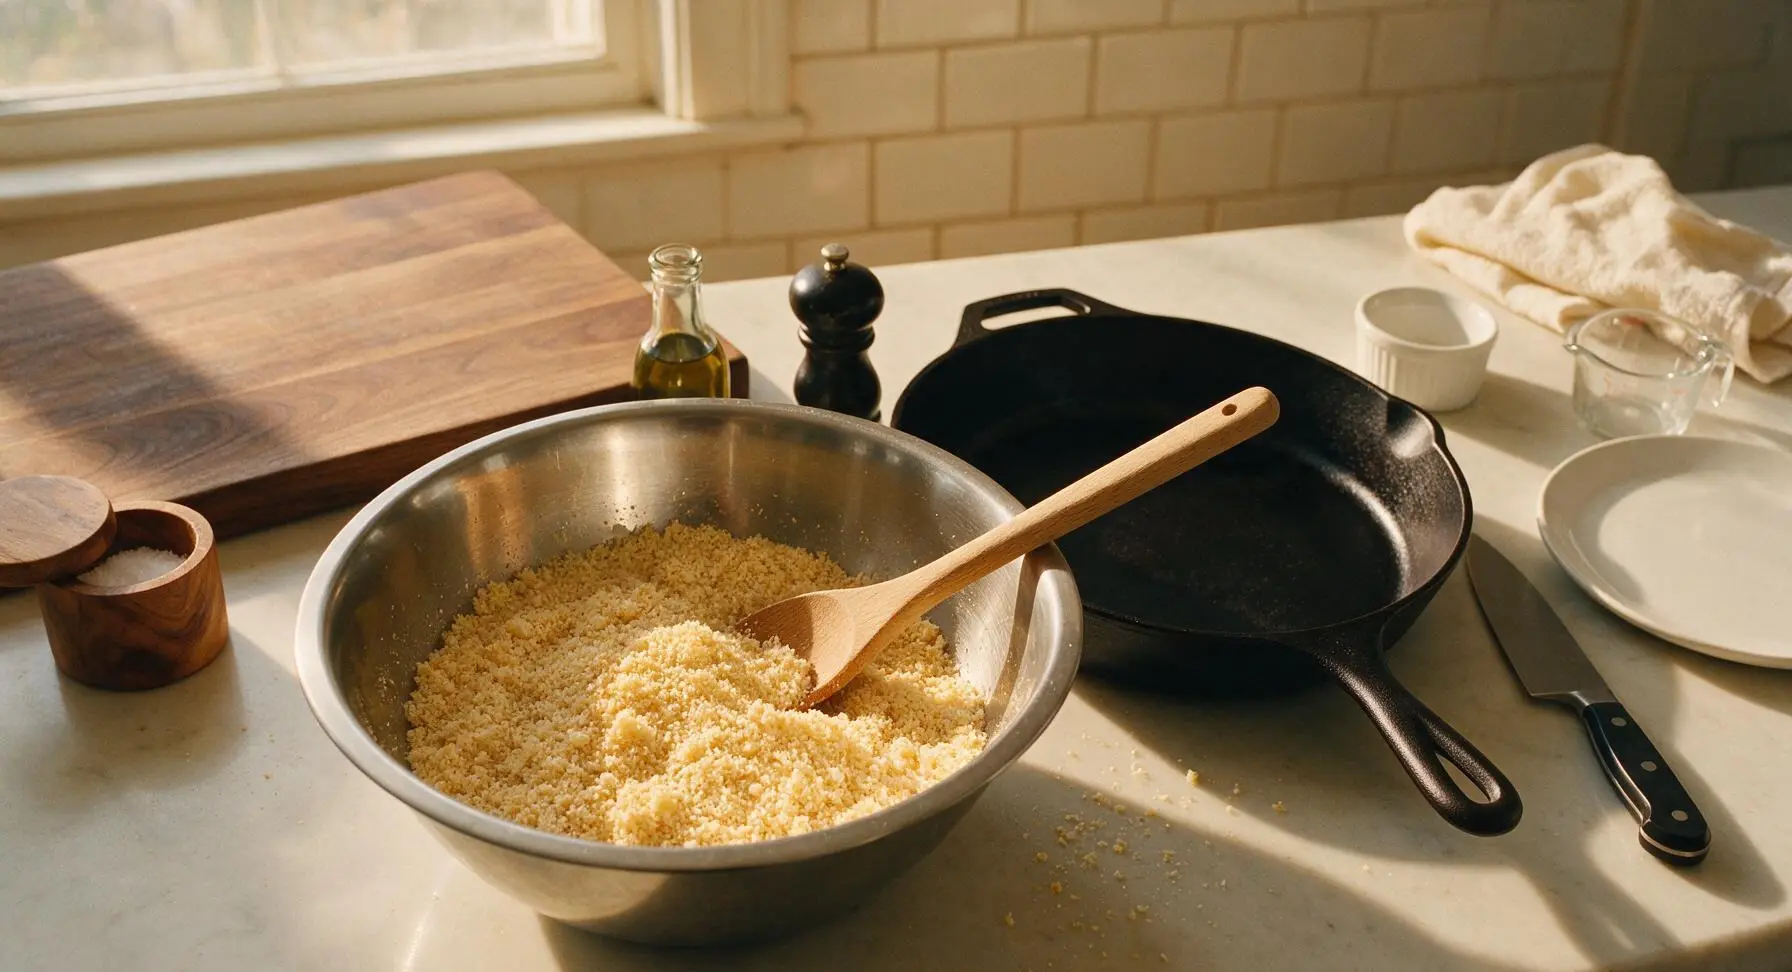
Mix to Form Dough
Make a 5cm wide well in the center of the butter-flour crumb mixture. Add 1 tbsp light barley malt syrup and 3 tbsp cold whole milk to the well. Use the butter yellow silicone spatula to stir the mixture gently from the center outwards, until ingredients come together into a stiff, smooth, non-sticky dough. Do not overmix, as overdeveloped gluten will make biscuits tough rather than delicately crisp.
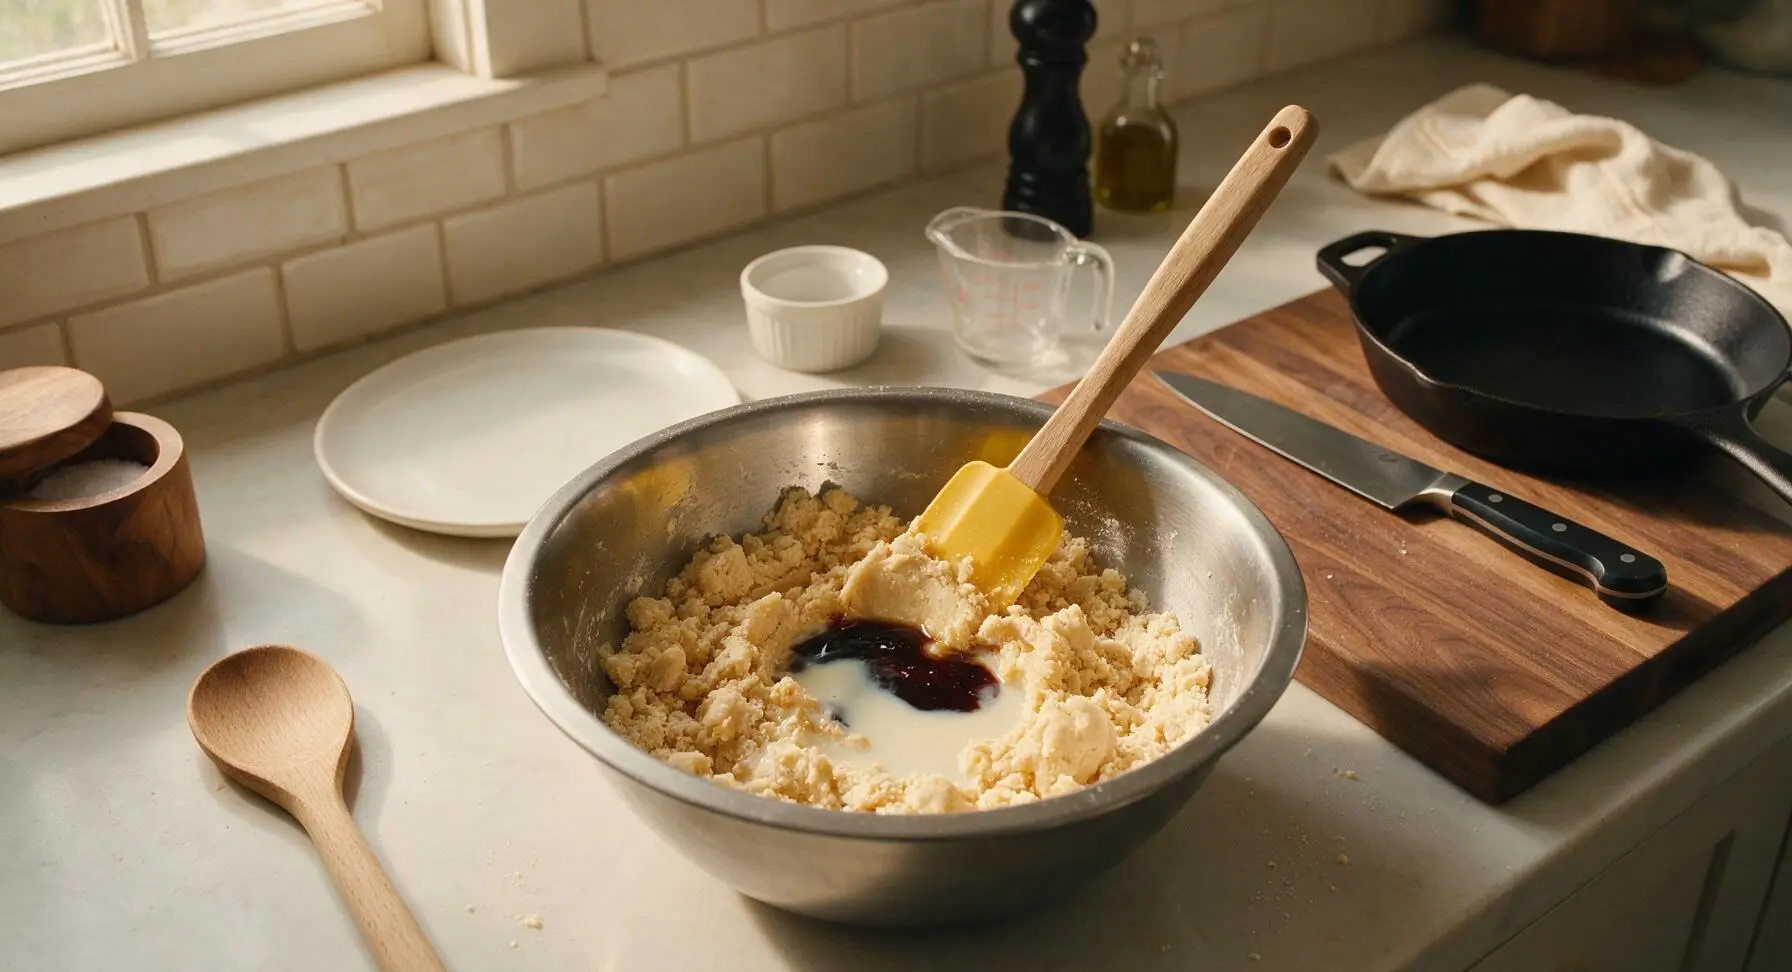
Chill the Dough
Turn the formed dough out onto the beech wood cutting board, and shape it into a flat, even disc roughly 3cm thick. Wrap the disc tightly in a small sheet of plastic wrap, then place it in the refrigerator to chill for 30 minutes. Chilling relaxes gluten and keeps butter firm, ensuring biscuits hold their shape and develop a crisp snap when baked.
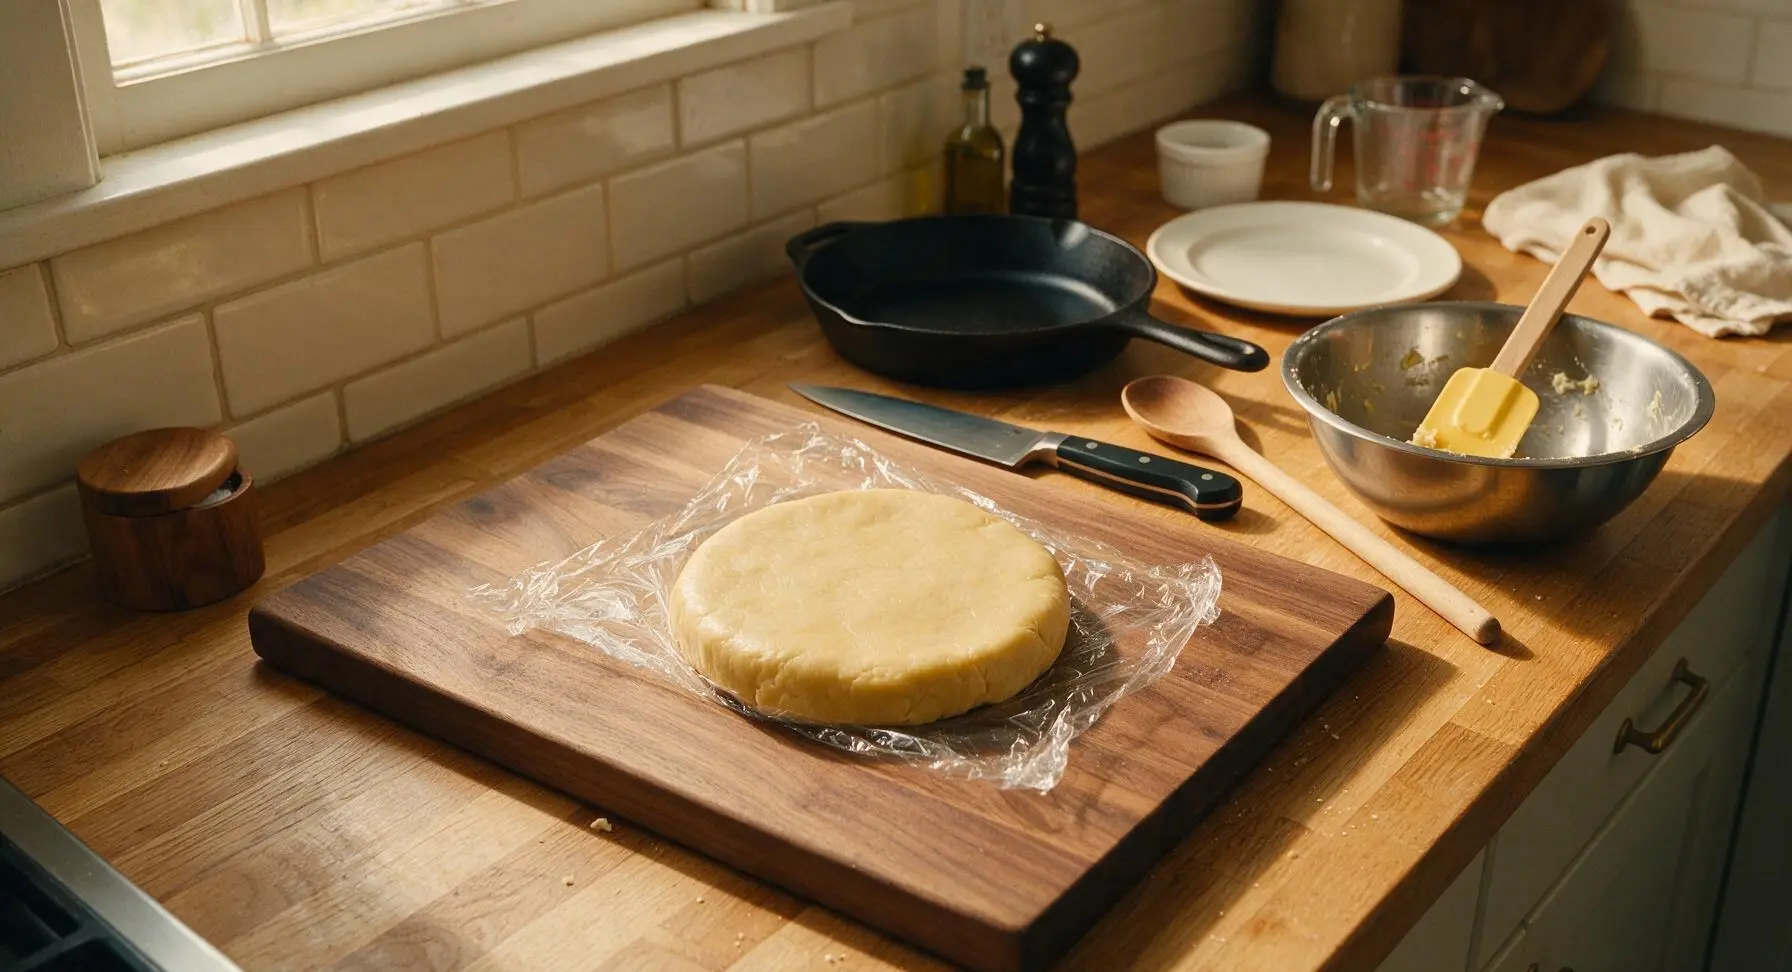
Roll and Cut Biscuits
After chilling, unwrap the dough and return it to the lightly floured beech wood cutting board. Use the solid maple wooden rolling pin to roll the dough to an even 5mm thickness, applying consistent pressure across the surface to ensure uniform thickness. Use the 6cm fluted stainless steel biscuit cutter to cut straight down through the dough (do not twist the cutter, as this seals edges and prevents even rising), cutting out as many rounds as possible. Gather dough scraps, re-roll gently to 5mm thickness, and cut remaining rounds until all dough is used, yielding approximately 24 biscuits.
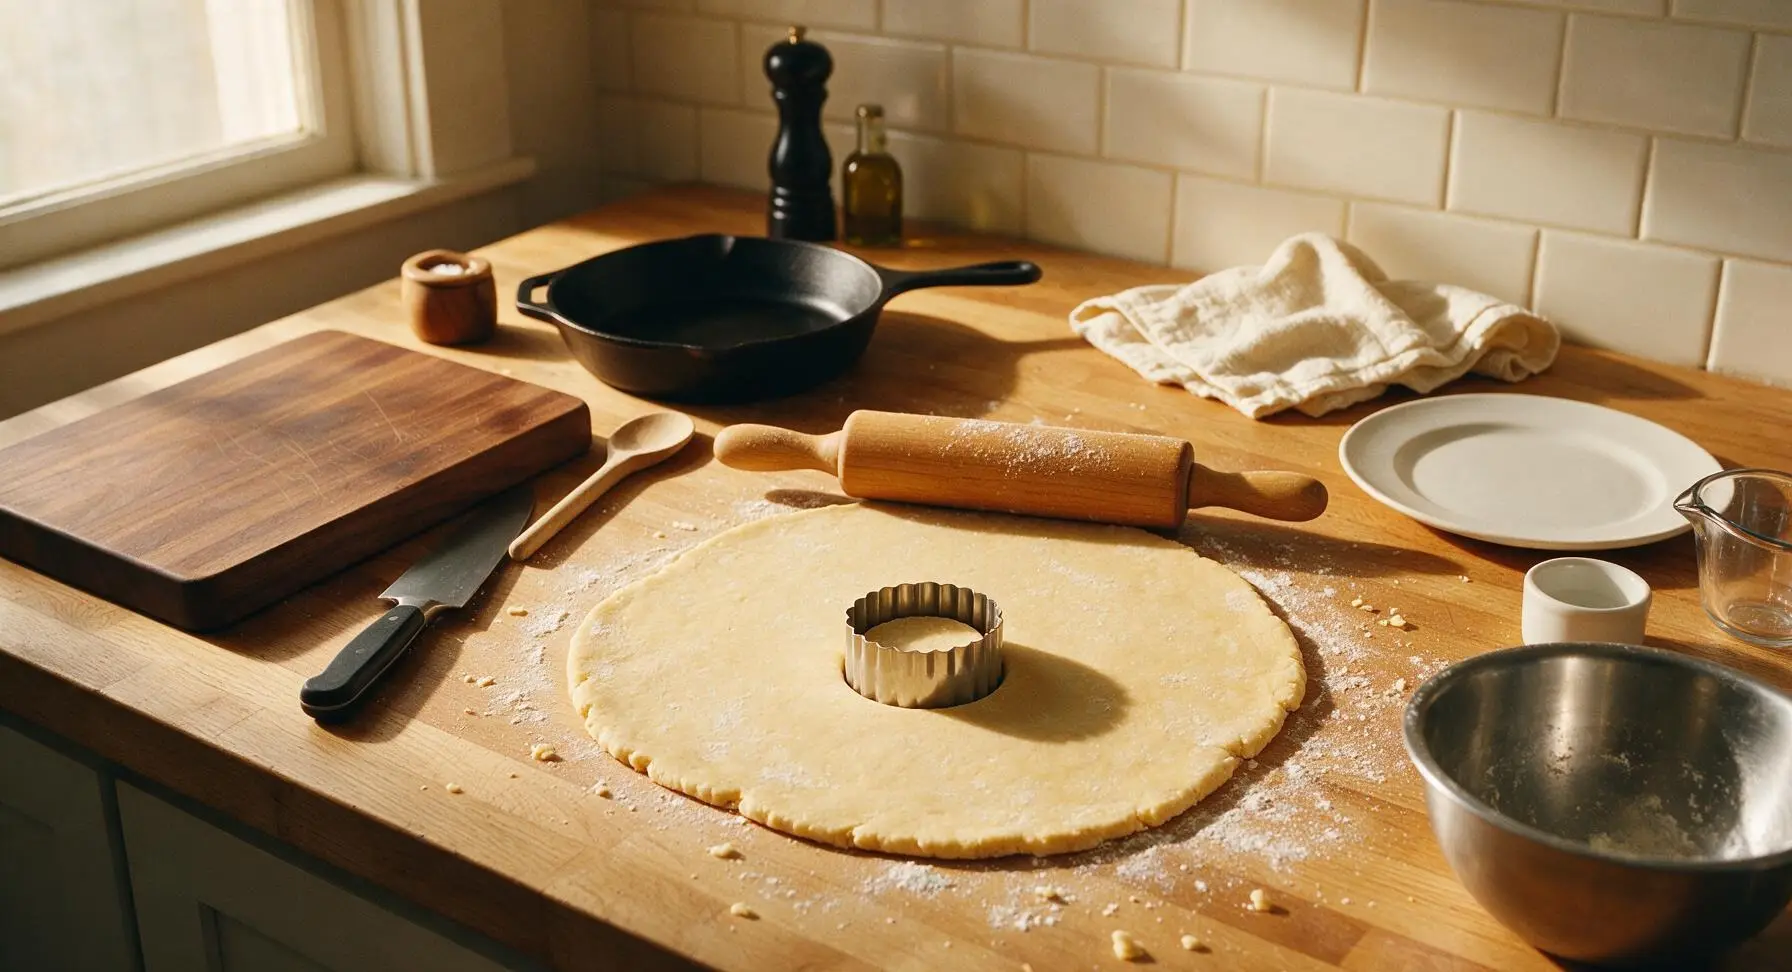
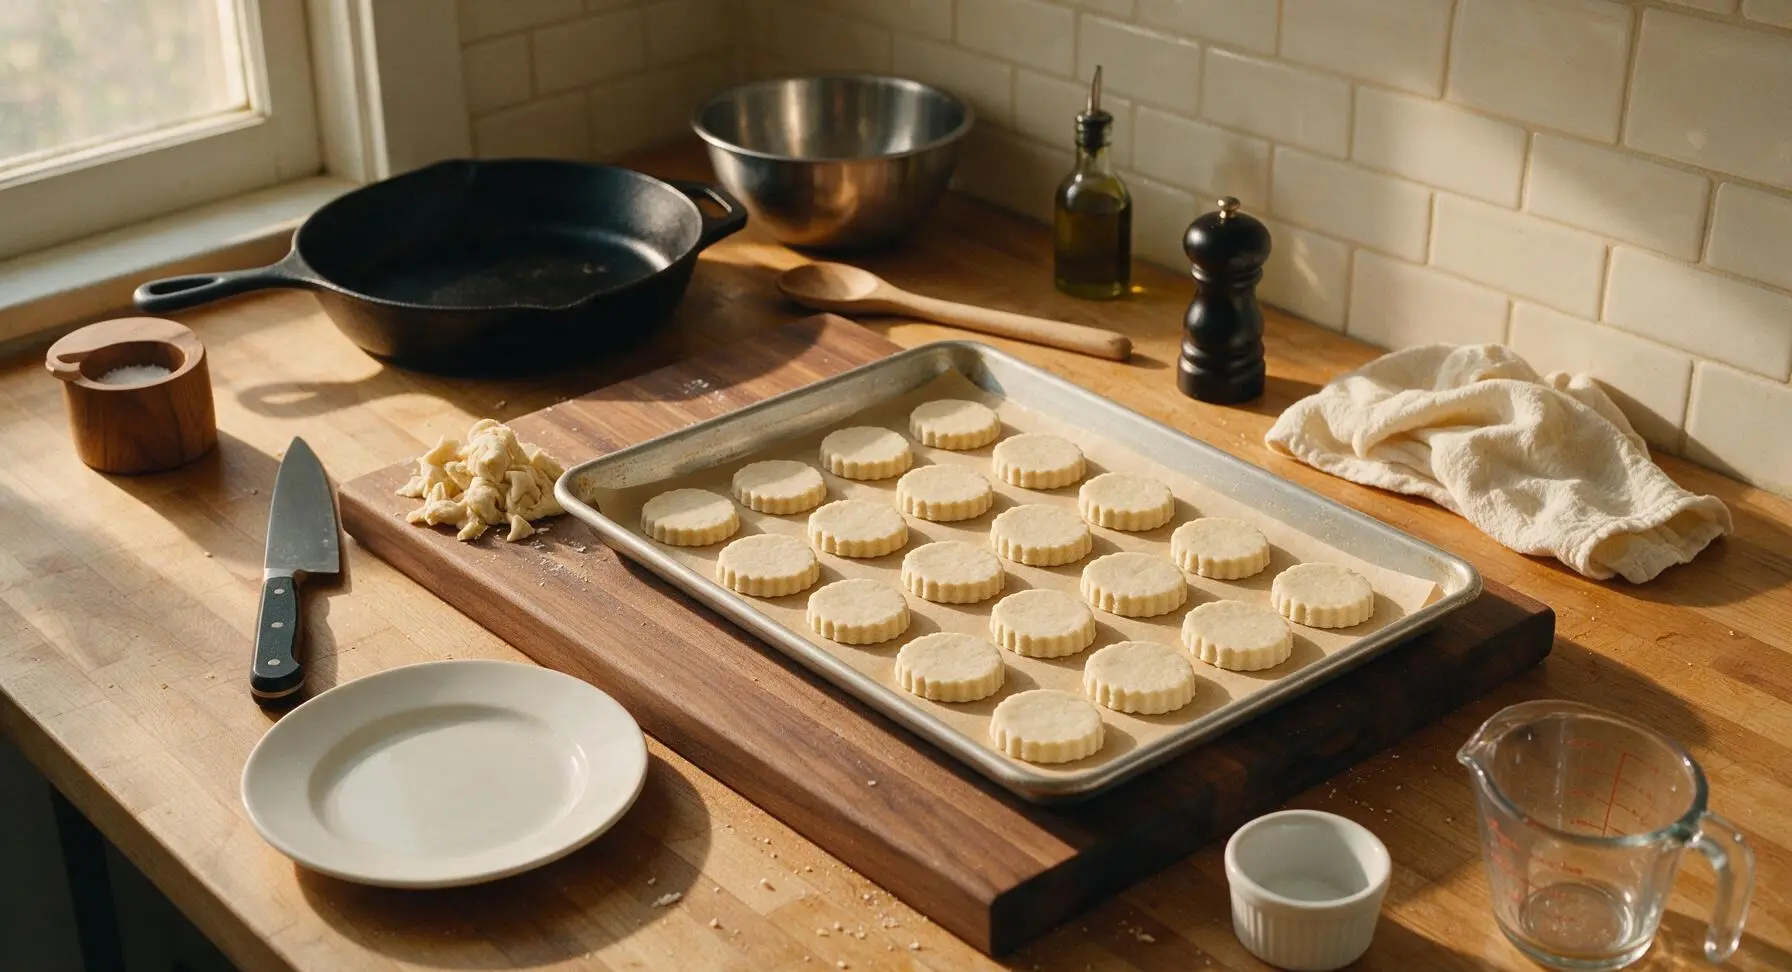
Bake Until Golden
Preheat the oven to 180°C (350°F / Gas Mark 4) while cutting the biscuits. Once the tray is loaded with cut rounds, place it on the middle oven shelf. Bake for 10-12 minutes, until biscuits are a pale even golden color across the top, with slightly darker, crisp edges. Do not overbake, as this leads to bitter flavor; biscuits will feel slightly soft when removed from the oven, and will crisp fully as they cool.
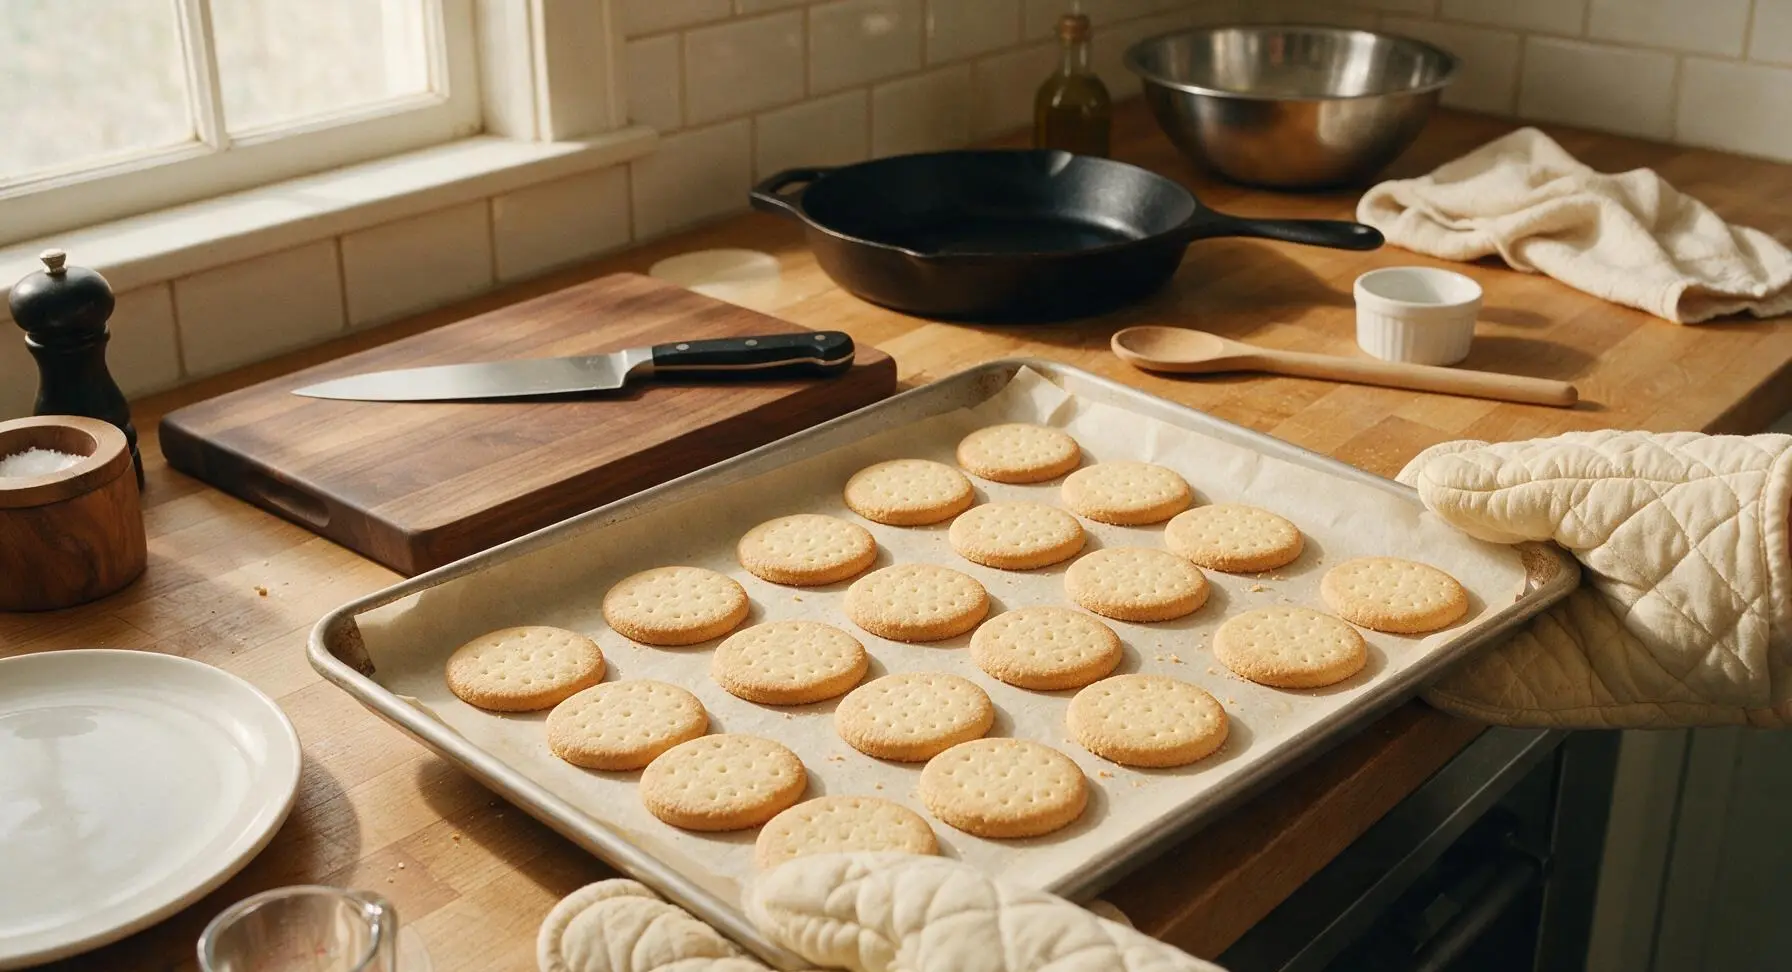
Cool Biscuits Fully
Leave the biscuits on the hot baking sheet for 2 minutes to set slightly, then use the silicone spatula to transfer them to the chrome wire cooling rack. Cool completely at room temperature for 20 minutes, until firm and crisp all the way through. Do not stack warm biscuits, as trapped steam will soften their crisp texture.
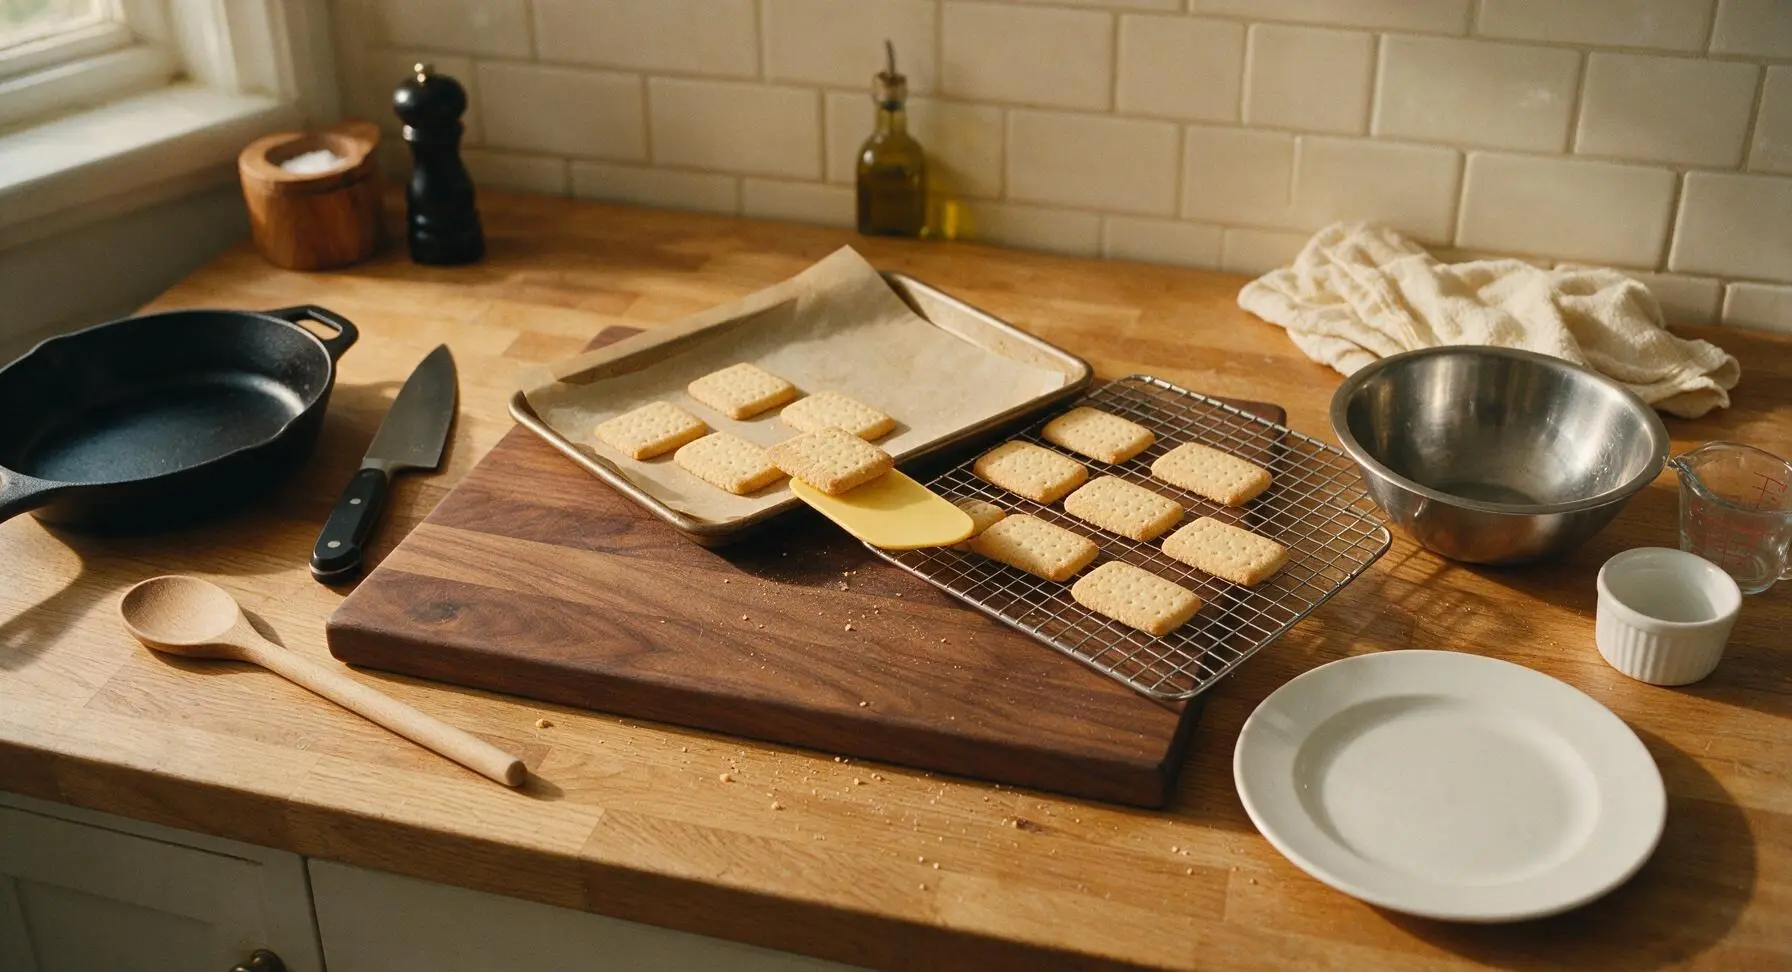
Tips
2.Avoid twisting the biscuit cutter when pressing through the dough: twisting crimps and seals the cut dough edges, which prevents even rising during baking and leads to lopsided, misshapen biscuits instead of uniform, perfectly round rounds.
3.Wait until biscuits are completely cool before storing them in an airtight tin: warm biscuits release trapped steam inside the sealed container, which softens their signature snappy crisp texture and reduces their shelf life from 2 weeks to just 1-2 days.






Honey, these taste just like the rich tea biscuits my mama used to make when I was a little girl growing up in south Georgia! Not too sweet, perfectly tender-crisp, just right for dipping in my afternoon sweet tea. The easy instructions meant my 10-year-old granddaughter could help me mix the dough too, which made for such a fun Sunday afternoon activity before our family dinner.
I brought these to our neighborhood block party potluck last weekend and people went absolutely crazy for them! I added a tiny sprinkle of flaky sea salt on top before baking and it elevated them so much. They hold up really well dipped in coffee too, no sogginess even after a good 10-second dip. 10/10 will be making these again for our next family taco night.
Stumbled on this recipe looking for easy, no-mess snacks to pack for our day hike in Rock Canyon this weekend and these are perfect! Light, don’t get squished in the backpack, and give just enough energy to get up the trail. I added a half teaspoon of cinnamon to the dough and it’s chef’s kiss. Will be adding these to my regular hiking and meal prep rotation.
I made a batch of these to meal prep for mid-morning snacks at my desk this week, and I’ve already eaten half of them while they were cooling, oops. Way better than the overpriced, crumbly store-bought version I usually grab from the gas station on my way in. My whole apartment smelled like butter for hours, in the best way possible.
I swapped the all-purpose flour for a 1:1 gluten-free baking flour on a whim and these still turned out amazing! I was worried they’d be super crumbly but they held together perfectly, even when dipped in my morning oat milk latte. My whole family (even the non-gluten-free folks) loved them at our Sunday dinner, no weird aftertaste at all.
OMG these are SO good! I whipped these up last minute for my kid’s soccer team snack after practice and every single parent asked for the recipe. Buttery, crisp, not too sweet—perfect with a cold glass of sweet tea. The 12-minute cook time is a total game changer for busy weeknights, no fancy ingredients needed either!
Super easy to make in my tiny dorm kitchen! I didn’t have a rolling pin so I used a clean soda can to flatten the dough, lmao. Only reason it’s not 5 stars is I burned the first batch by 2 minutes because my ancient dorm oven runs super hot, but the second batch came out perfect. Great for late-night study snacks with a mug of instant coffee.
Just pulled a batch of these out of the oven for my girls’ brunch get-together tomorrow and oh my gosh, my apartment smells like a fancy downtown bakery! I’m serving them with lemon curd and clotted cream, and I know everyone is going to obsess over them. The dough came together in literally 5 minutes, I can’t believe how easy this was for how incredible they taste.