
Ricotta Mac and Cheese

title 1
Ricotta Mac and Cheese
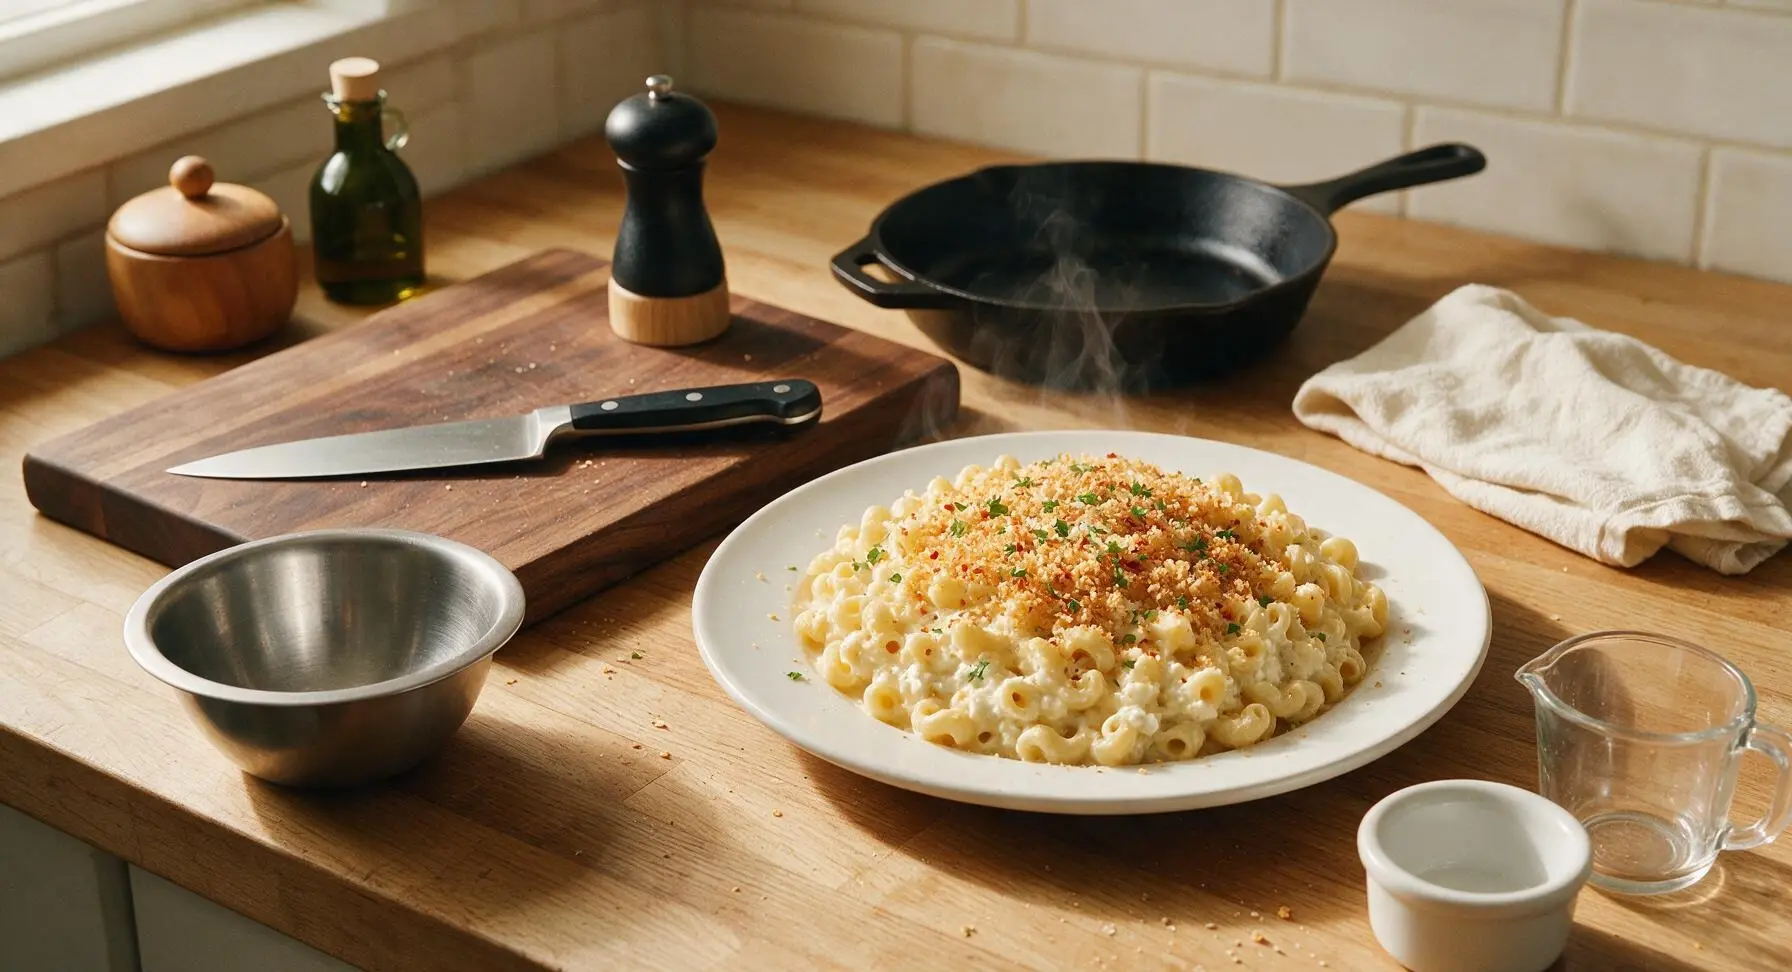
⏱️ cook time 20 minutes
🍽️ servings 4
⚡ Difficulty easy

intro

Creamy, tangy whole-milk ricotta coats tender elbow pasta in this lighter, bright take on classic mac and cheese, finished with nutty toasted panko for cozy, quick comfort.

Ingredients
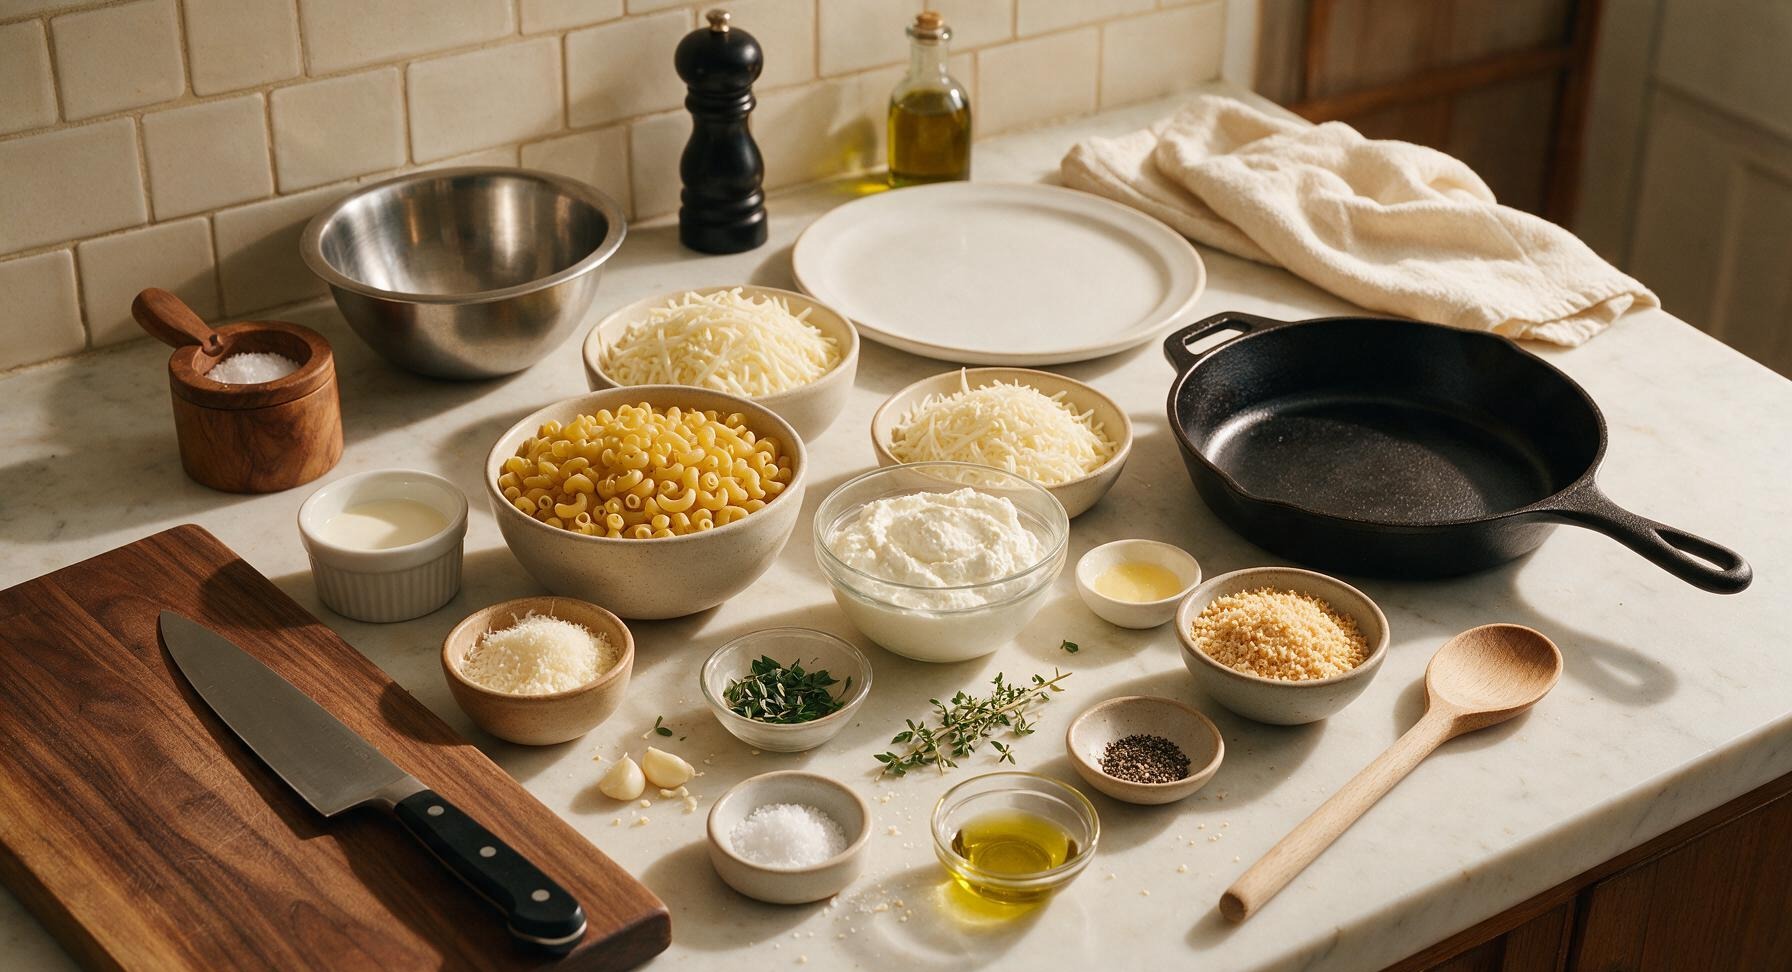
Dry elbow macaroni 12 oz (340g)
Whole milk ricotta cheese 12 oz (340g)
Low-moisture mozzarella cheese, shredded 3 oz (85g)
Parmesan cheese, freshly grated ⅓ cup (35g)
Unsalted butter 1.5 tbsp (21g)
Panko breadcrumbs 3 tbsp (22g)
Garlic cloves, finely minced 2
Fresh thyme leaves 1 tsp, plus extra sprigs for garnish
Extra-virgin olive oil 2 tsp, plus extra for drizzling
Kosher salt ½ tsp, plus 2 tbsp for pasta water
Freshly ground black pepper ½ tsp

Steps

1

Boil Salted Pasta Water

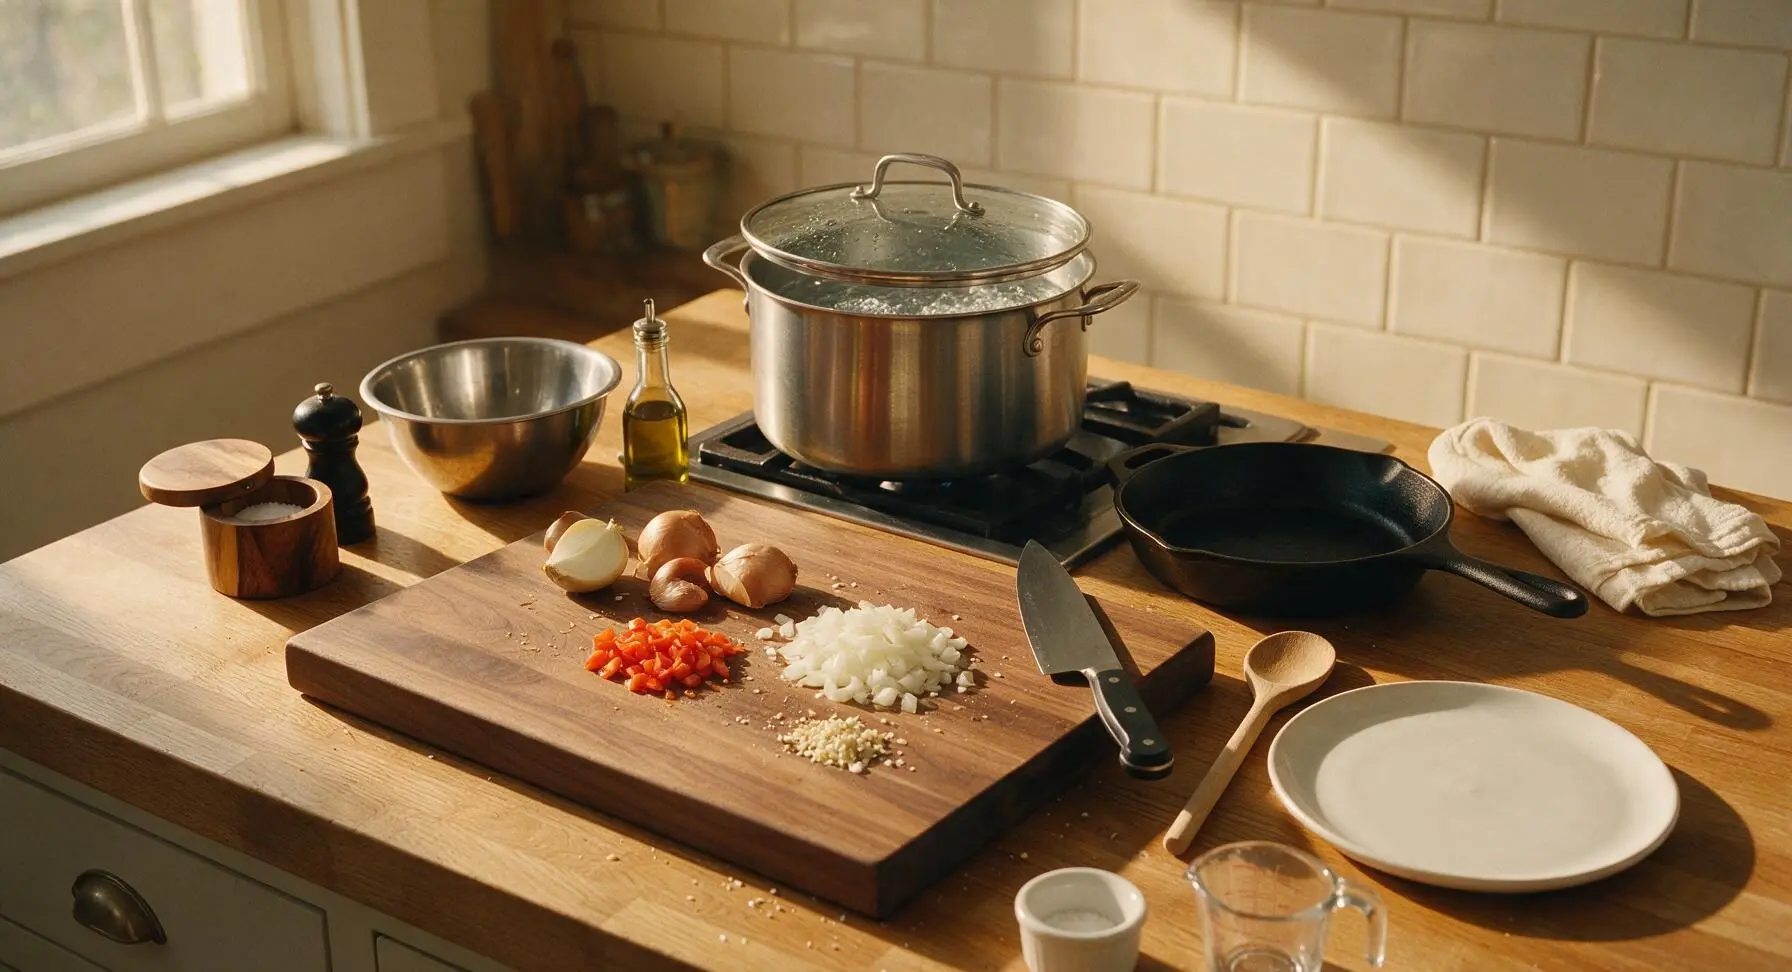
Fill the 6-quart stainless steel stock pot with 4 quarts of cold water, place on the stovetop over high heat. Add 2 tablespoons of kosher salt (water should taste as salty as seawater) and bring to a rolling boil, approximately 8-10 minutes. Cover with the glass lid to speed heating.
Step 1
step1:Boil Salted Pasta Water
2

Toast Crispy Panko Topping

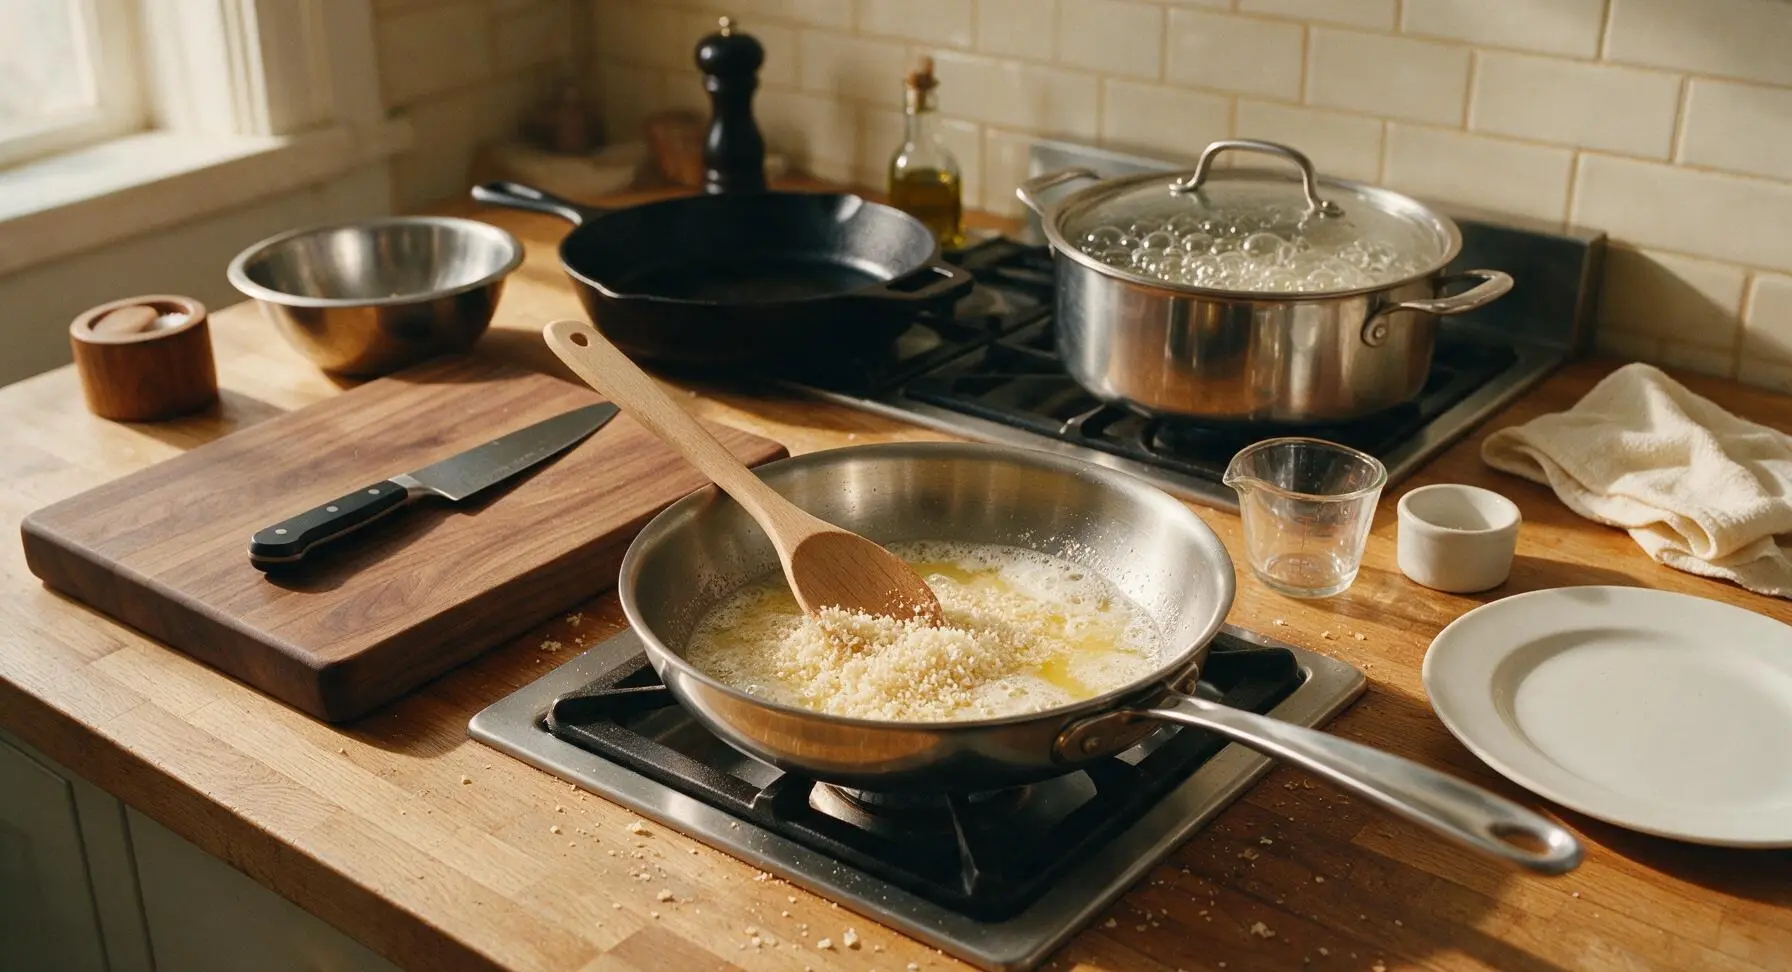
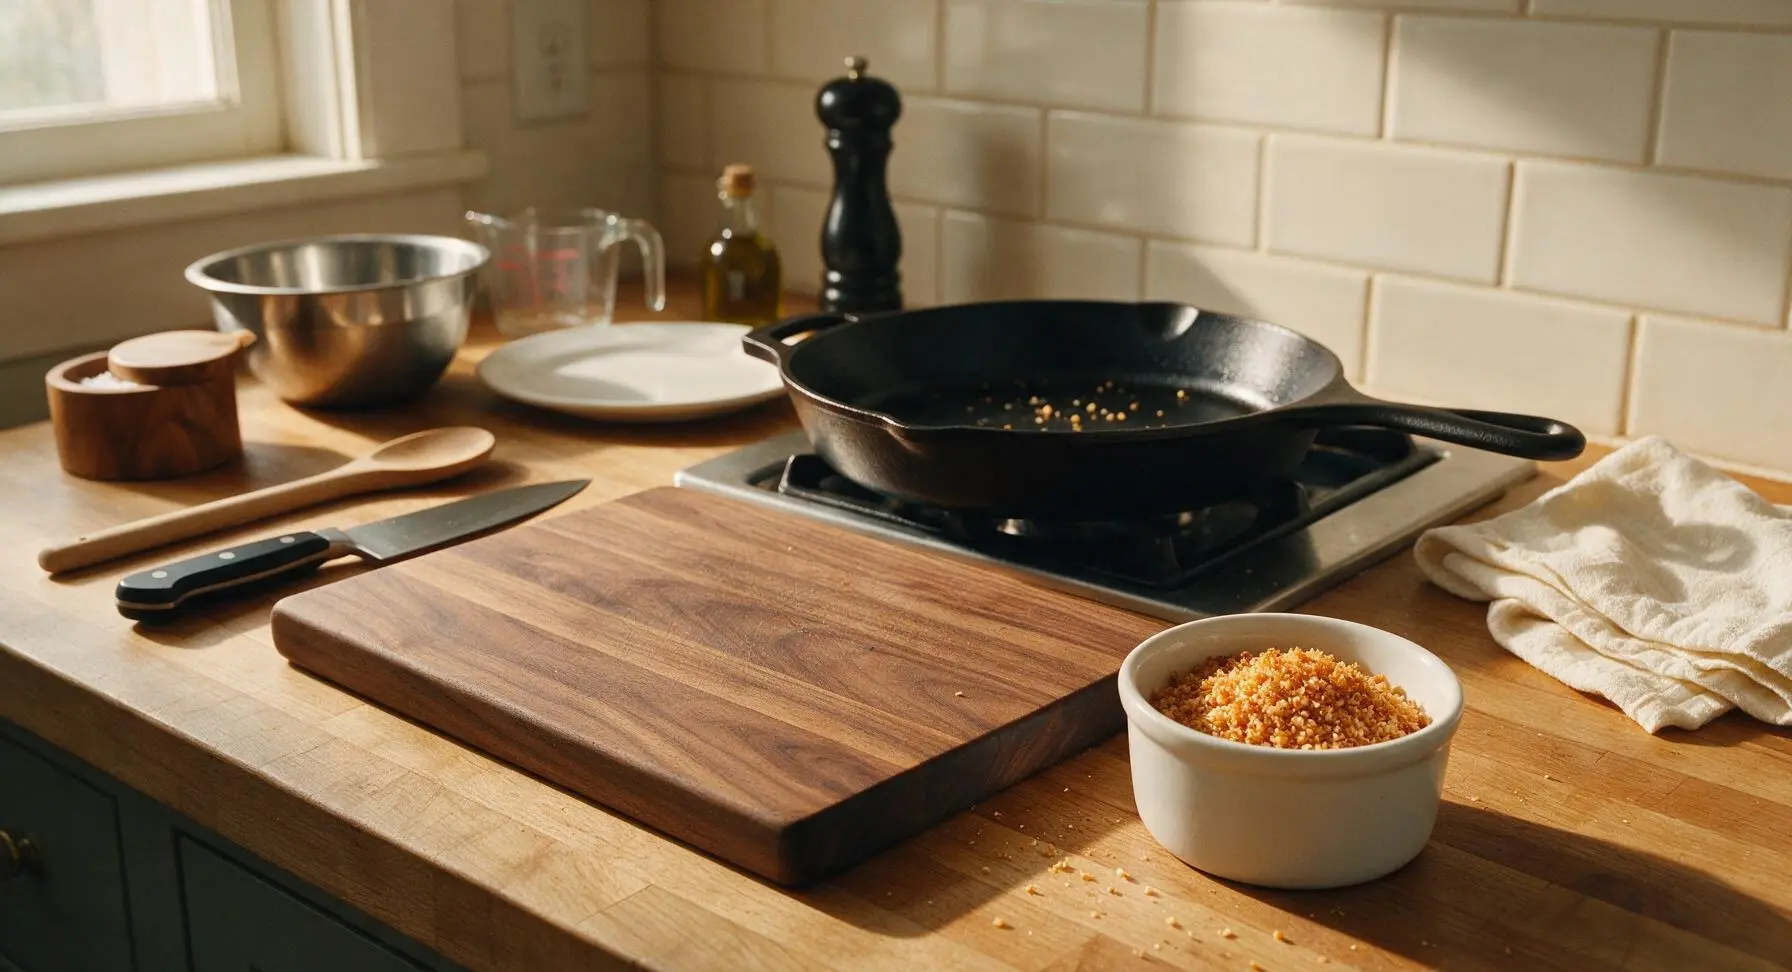
While the water heats, place the 8-inch stainless steel skillet over medium heat (350°F/175°C). Add 1 tablespoon of unsalted butter, let melt and foam slightly then add 3 tablespoons panko breadcrumbs. Stir constantly with the beech wood cooking spoon for 3-4 minutes until crumbs are evenly deep golden brown and smell richly nutty. Watch closely to avoid burning, as panko can darken quickly in the final 30 seconds. Transfer toasted crumbs to the small matte white ramekin and set aside.
Step 2
step2:Toast Crispy Panko Topping
Step 2
step2:Toast Crispy Panko Topping
3

Mix Ricotta Cheese Sauce

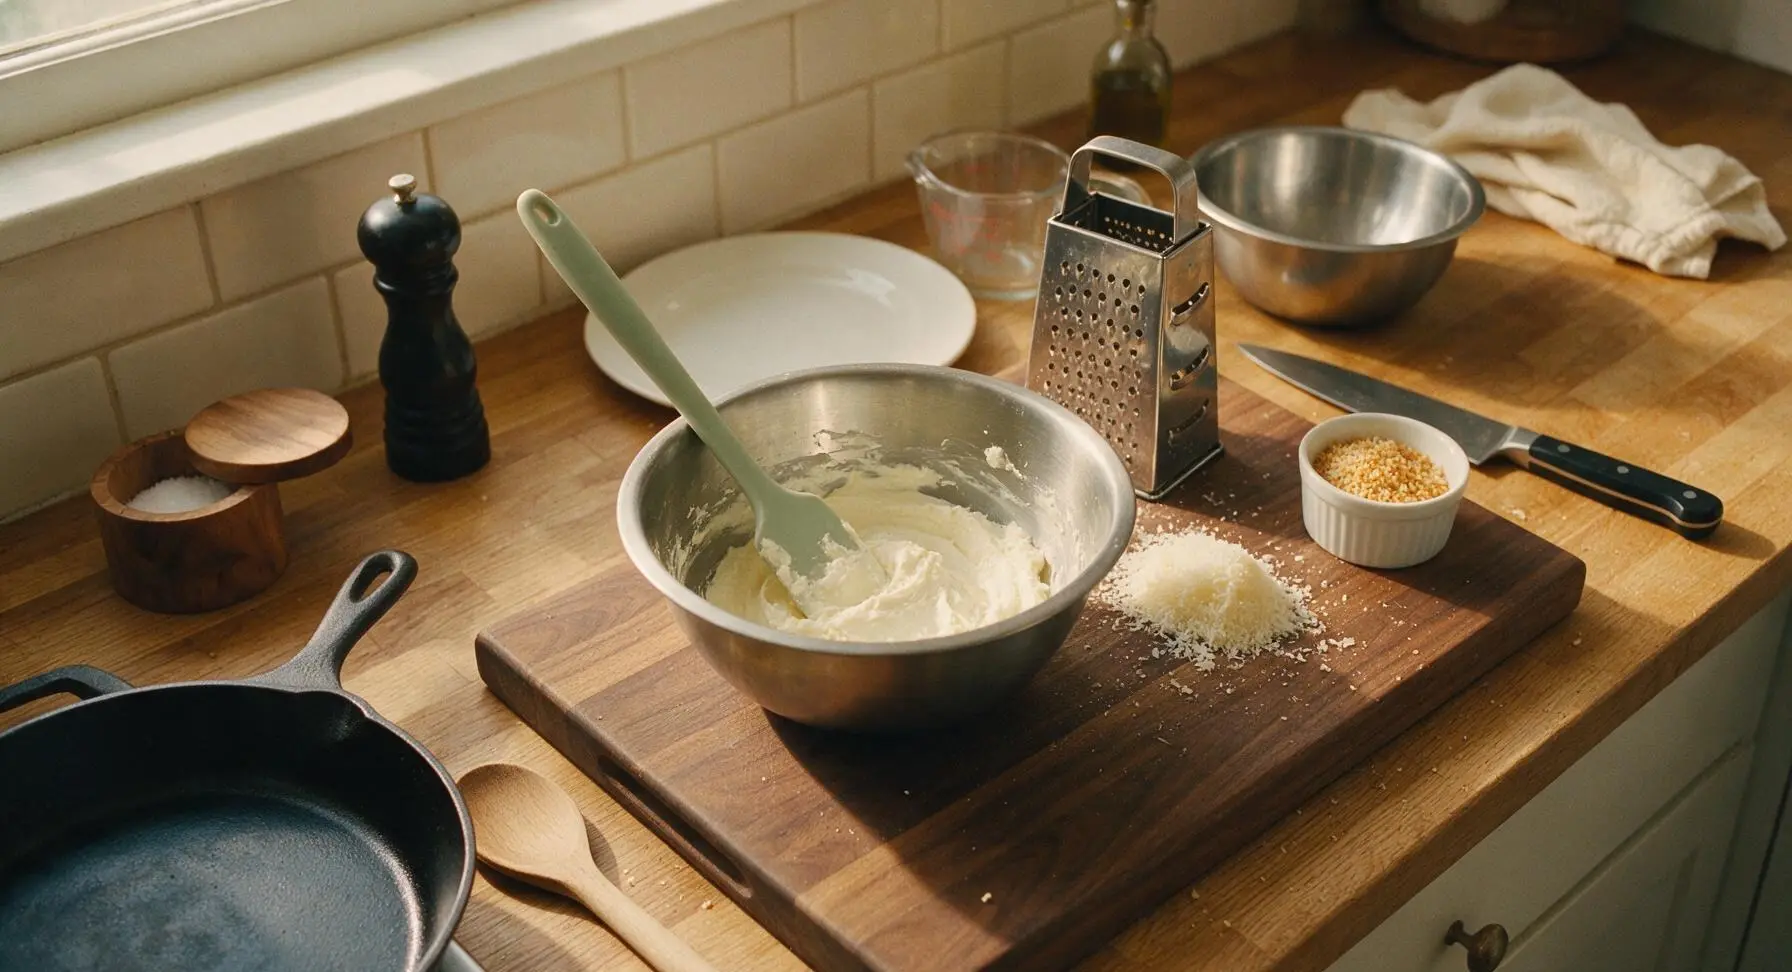
In the medium stainless steel mixing bowl, combine 12oz whole milk ricotta, ⅓ cup freshly grated parmesan, 2 finely minced garlic cloves, 1 teaspoon of picked fresh thyme leaves, remaining ½ tablespoon of softened unsalted butter, ½ teaspoon kosher salt, and ½ teaspoon freshly ground black pepper. Stir with the sage green silicone spatula until completely smooth, pressing out any small ricotta lumps against the side of the bowl until the mixture has the consistency of thick sour cream.
Step 3
step3:Mix Ricotta Cheese Sauce
4

Cook Elbow Macaroni

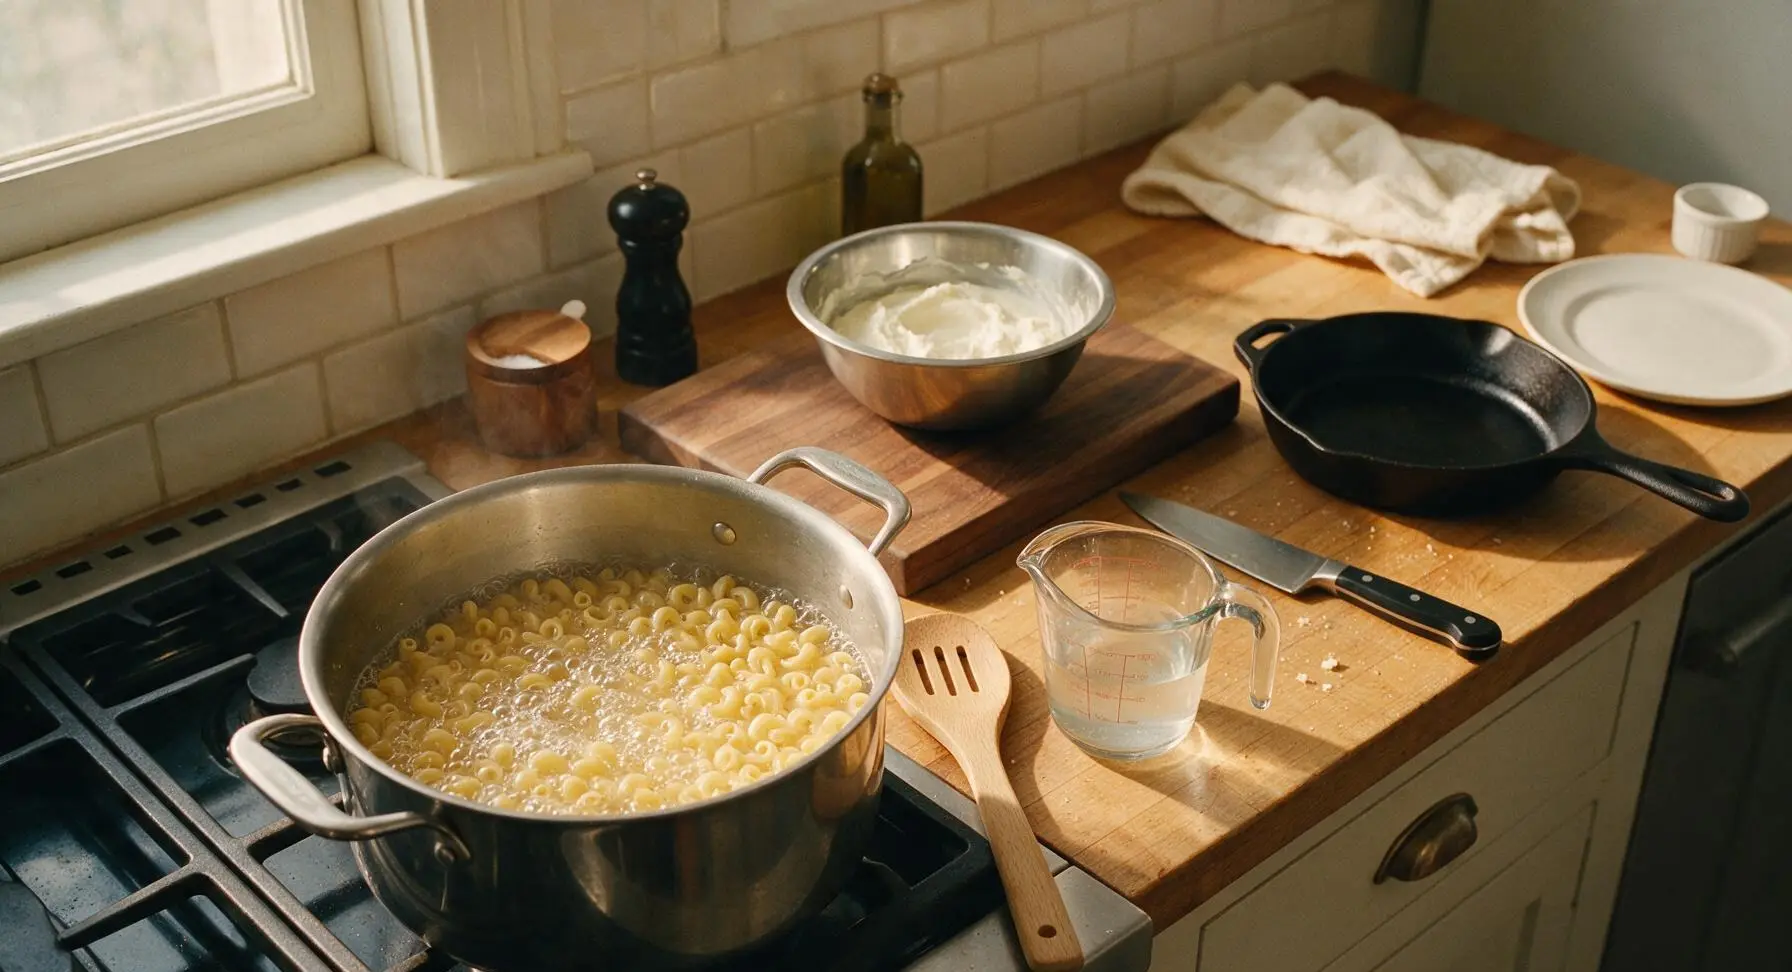
Once the pasta water reaches a rolling, bubbling boil, add 12oz dry elbow macaroni. Stir immediately with the beech wood slotted pasta spoon to prevent noodles from sticking to the bottom of the pot. Cook for 1 minute less than the package instructions for al dente (typically 7 minutes for standard elbow macaroni), as pasta will continue to cook when mixed with the warm sauce. Before draining, scoop 1 cup of cloudy, starchy pasta water into the clear glass measuring cup and set aside for thinning the sauce.
Step 4
step4:Cook Elbow Macaroni
5

Drain Cooked Pasta

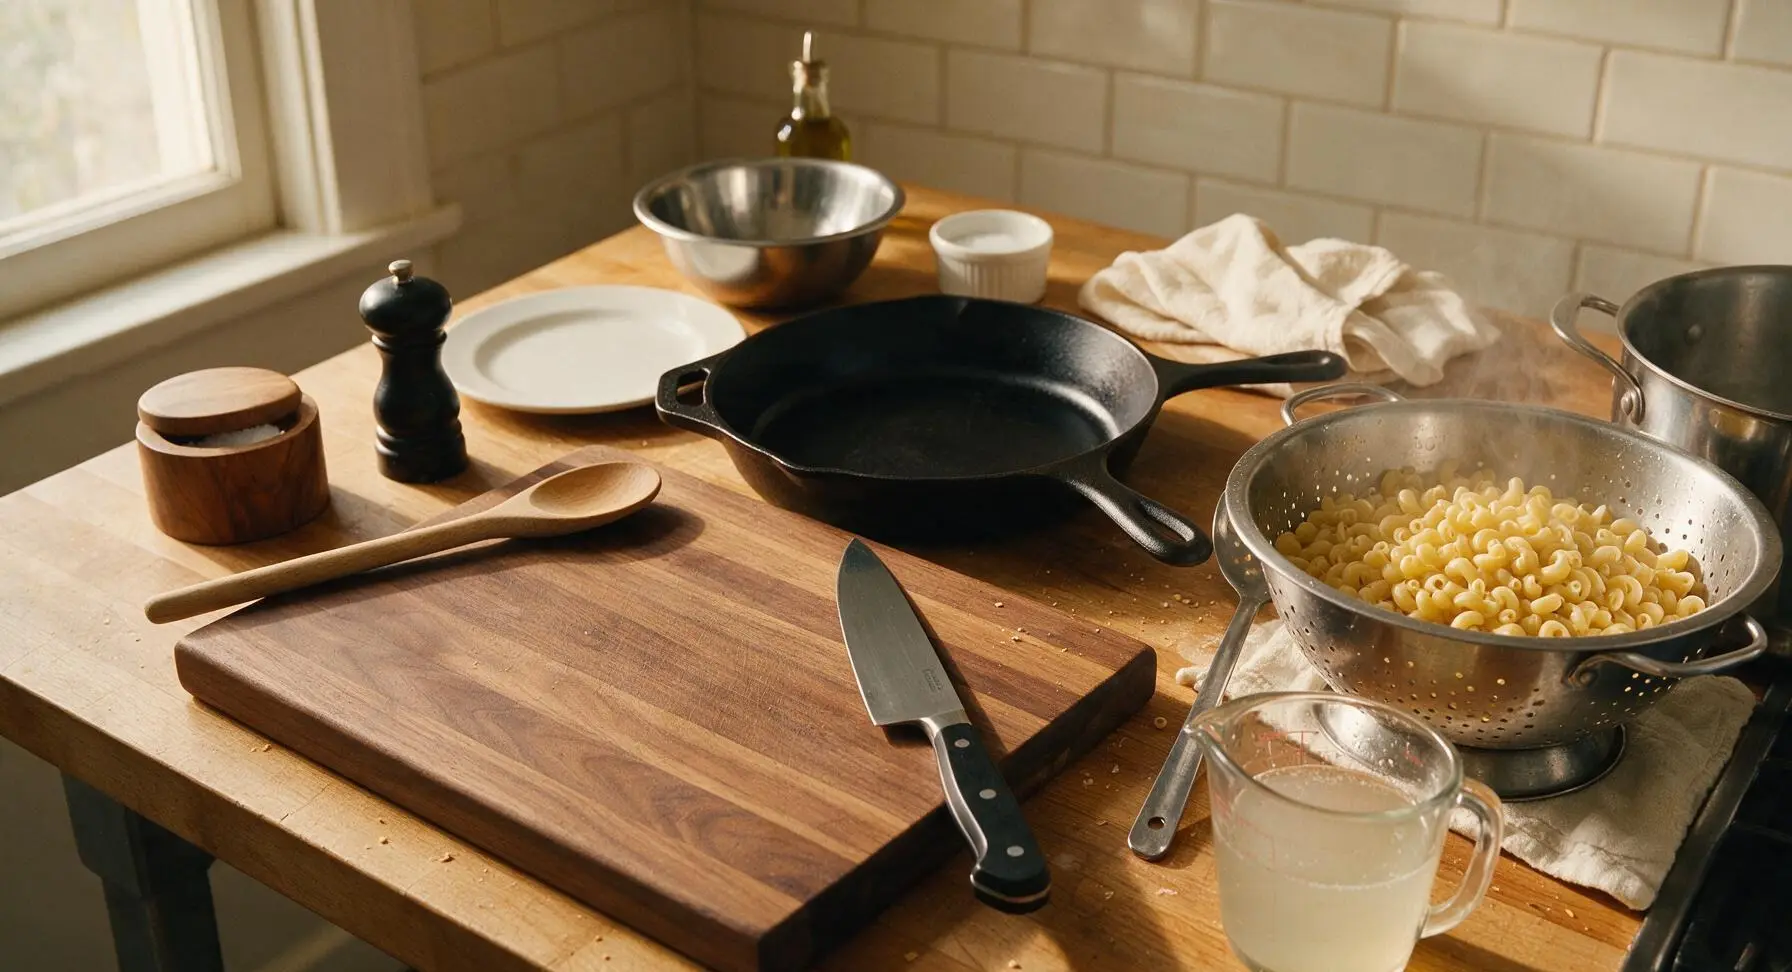
Pour the cooked pasta and water into the stainless steel colander, shaking gently over the sink to remove excess standing water. Do NOT rinse the pasta, as the starchy coating on the noodle surface helps the cheese sauce cling smoothly and evenly. Leave 1 tablespoon of residual water in the bottom of the stock pot to prevent sauce from sticking when you combine ingredients.
Step 5
step5:Drain Cooked Pasta
6

Combine Pasta and Sauce

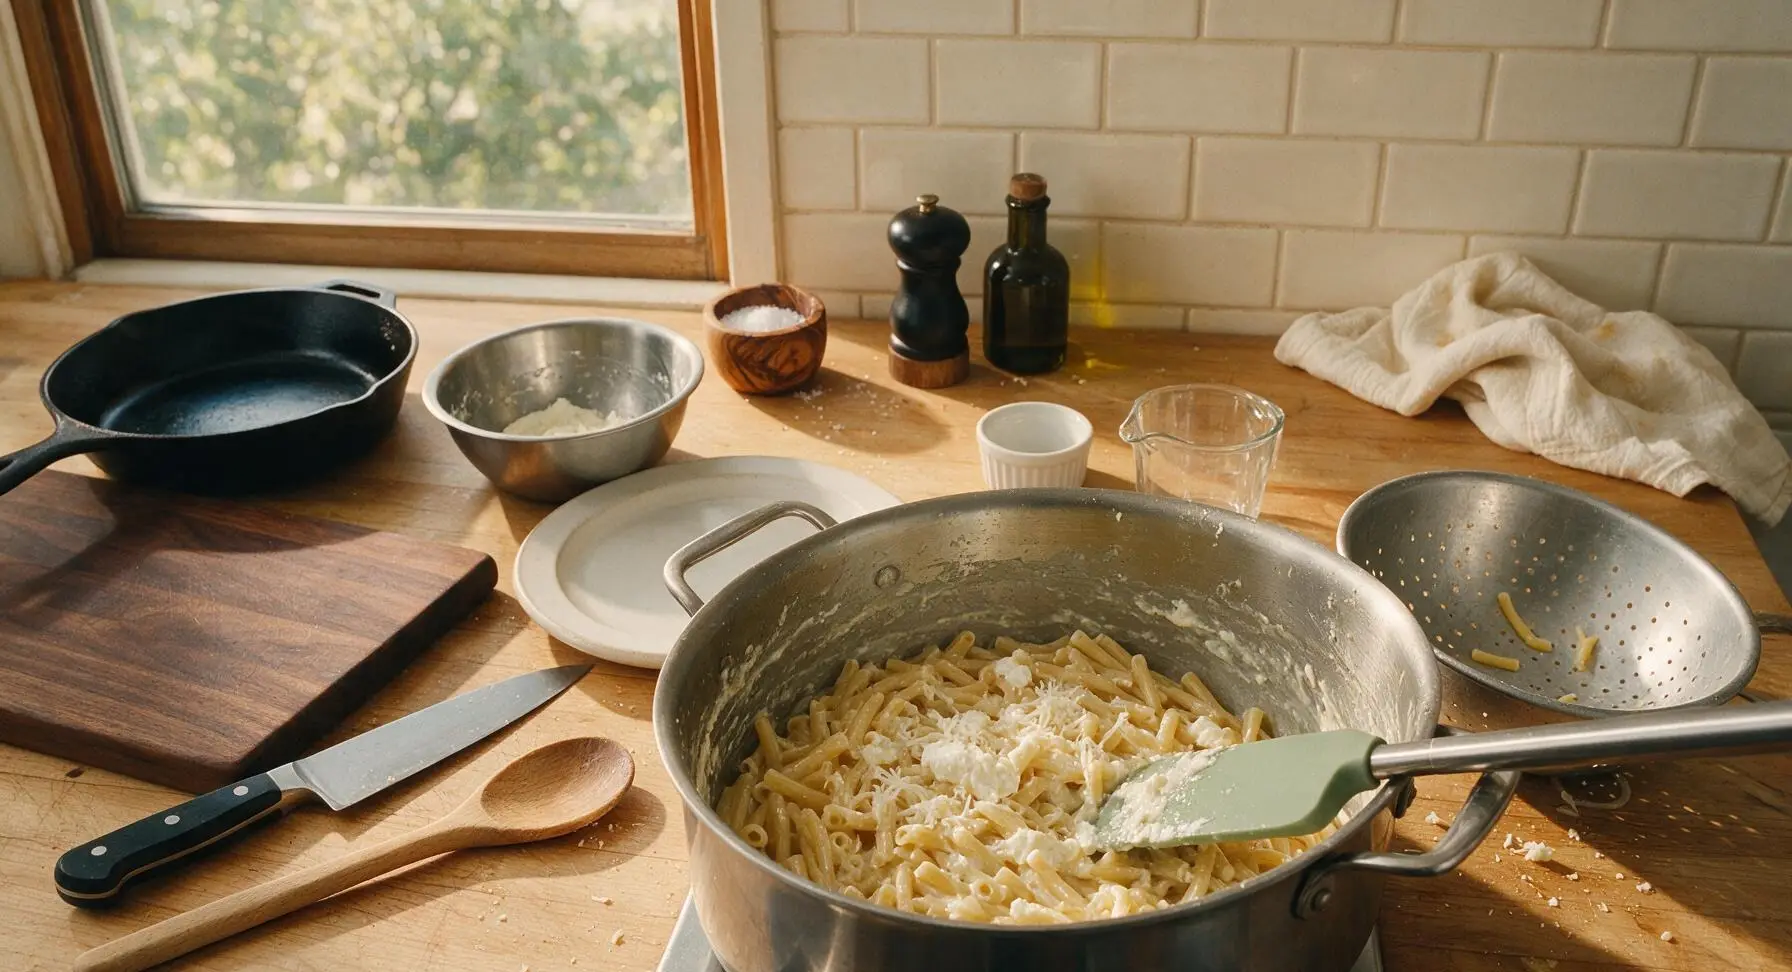
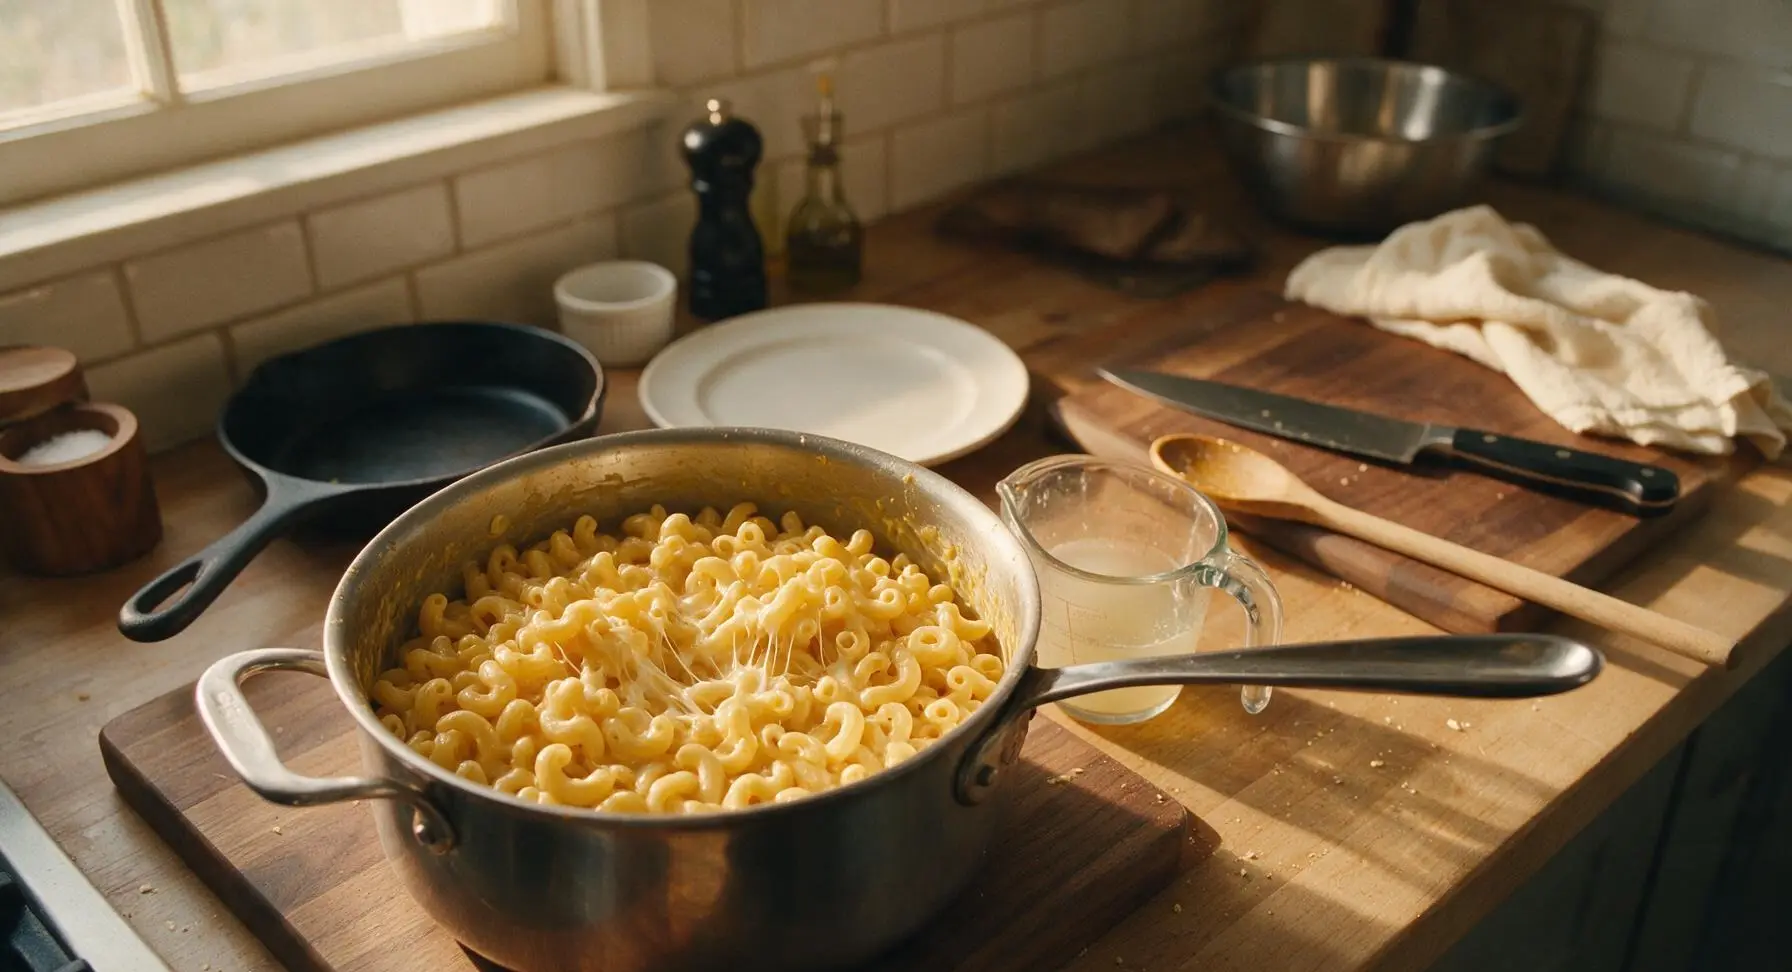
Return the drained hot pasta to the warm stock pot set over the lowest heat setting. Add the ricotta cheese mixture and 3oz shredded low-moisture mozzarella, stirring gently with the sage green silicone spatula to distribute. Add reserved starchy pasta water 2 tablespoons at a time, stirring continuously, until the sauce is glossy, smooth, and coats every noodle evenly (you will likely use ½ to ¾ cup of the reserved water total, stop adding water once sauce reaches a thick, creamy consistency that does not pool at the bottom of the pot). The mozzarella will be fully melted and stretch slightly when you lift a noodle, approximately 2 minutes of stirring total.
Step 6
step6:Combine Pasta and Sauce
Step 6
step6:Combine Pasta and Sauce
7

Plate Pasta Portions

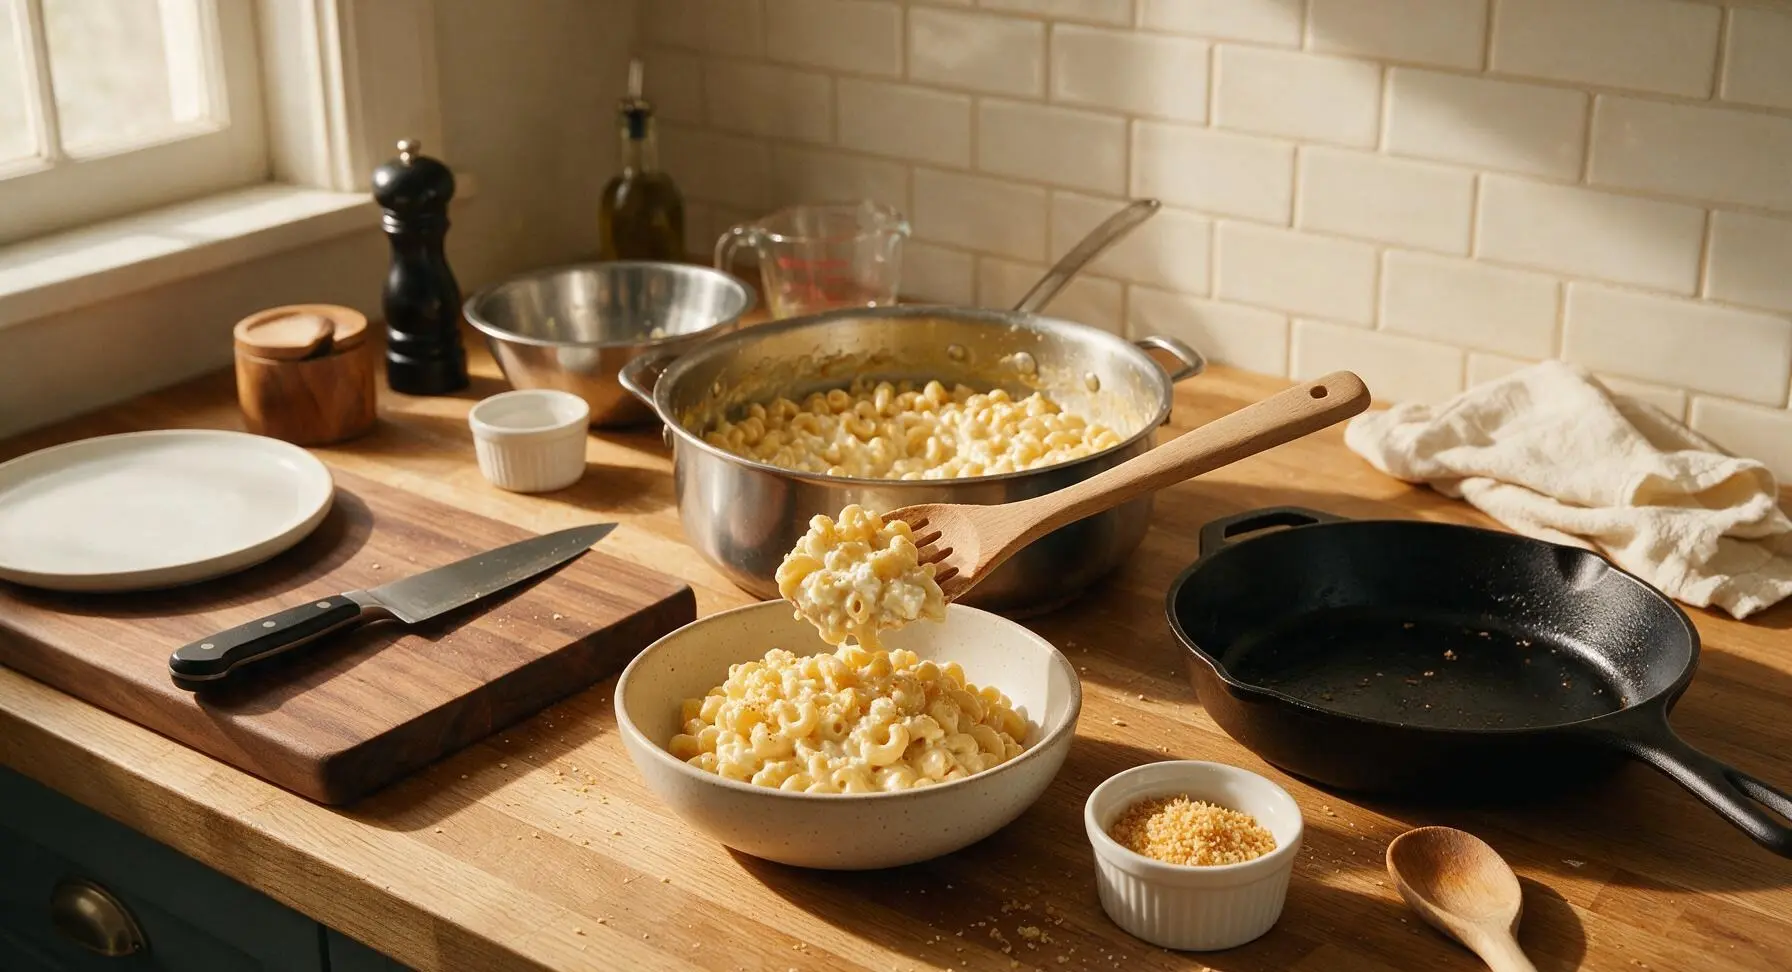
Once the sauce is smooth and evenly coats all noodles, turn off the heat. Scoop equal 1.5 cup portions of the creamy mac and cheese into the off-white speckled ceramic pasta bowls, mounding gently in the center of each bowl and leaving a ½ inch rim of the bowl visible around the edge of the pasta.
Step 7
step7:Plate Pasta Portions
8

Garnish and Serve

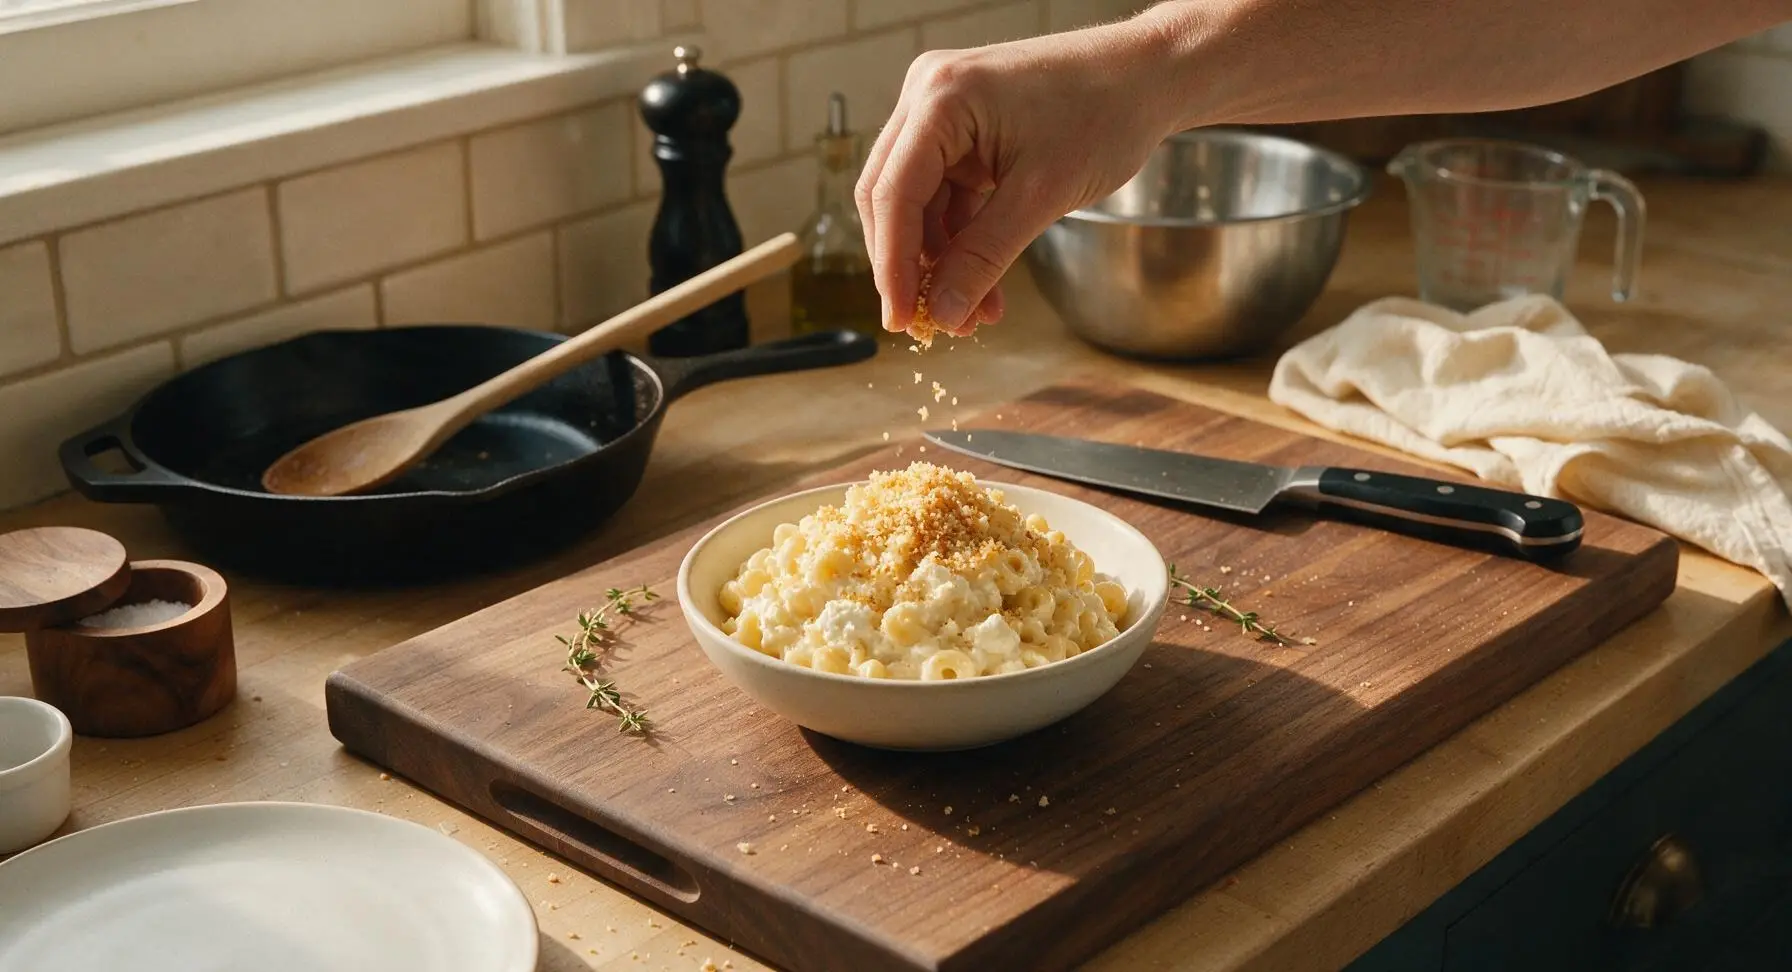
Top each mounded bowl of pasta with 2 teaspoons of the toasted panko breadcrumbs, sprinkled evenly across the center, a light crack of fresh black pepper, 3-4 fresh thyme leaves, and a tiny ¼ teaspoon drizzle of extra-virgin olive oil for a subtle sheen. Serve immediately while warm, before the sauce thickens and cools, approximately 2-3 minutes after plating.
Step 8
step8:Garnish and Serve

Tips

1.Do not use non-fat or low-fat ricotta for this recipe: whole milk ricotta has a rich, creamy texture and mild tang that creates a smooth sauce without grittiness, while low-fat versions will result in a watery, grainy final dish.
2.Always reserve starchy pasta water before draining: the starchy, salty water emulsifies with the ricotta and cheese to create a silky, clingy sauce without needing heavy cream, and is far more effective than plain water or milk for thinning sauce to the perfect consistency.
3.Avoid overcooking the pasta: cooking noodles 1 minute less than package directions ensures they stay perfectly al dente when mixed with the hot sauce, as residual heat from the pasta and pot will continue to soften the noodles for 1-2 minutes after draining.


✨ You May Also Like

Main Course
🍜 United Kingdom

A showstopping classic of tender seared beef, savory mushroom duxelles, and crisp prosciutto wrapped in flaky golden puff pastry, baked to juicy perfection.

⏱️ 2 hours 1Main Course ★ 4.7
Main Course
🍜 India

Tender charred marinated chicken simmered in a rich, spiced creamy tomato sauce, this iconic Anglo-Indian curry pairs perfectly with basmati rice or warm naan.

⏱️ 50 minuteMain Course ★ 4.6
Main Course
🍜 Thailand

Classic tangy, sweet, and savory Thai stir-fried rice noodles with shrimp, tofu, and crunchy garnishes, balancing all five core Thai flavor profiles.

⏱️ 30 minuteMain Course ★ 4.5
Main Course
🍜 United Kingdom

Crispy golden beer-battered cod and fluffy double-fried chips, served with tangy tartar sauce and malt vinegar: the timeless, beloved British pub comfort classic.

⏱️ 45 minuteMain Course ★ 4.7
Main Course
🍜 Mexico

Smoky, chile-marinated pork tacos with caramelized pineapple, fresh cilantro, and lime: a beloved classic Mexican street food perfect for casual summer gatherings.

⏱️ 1 hour 45Main Course ★ 4.8
Main Course
🍜 United States

Crunchy Fritos corn chips layered with savory beef chili and melted cheddar, topped with cool, zesty fixings for a beloved, cozy Tex-Mex comfort food.

⏱️ 35 minuteMain Course ★ 4.8

Ricotta Mac and Cheese:Frequently Asked Questions

1.Can I use part-skim ricotta instead of whole-milk ricotta for this recipe? ▾
You can, but I don’t recommend it for the creamiest results. Part-skim ricotta has a drier, grainier texture and less rich, tangy flavor, so your sauce will end up thinner and less lush. If that’s all you have, stir in 2 tablespoons of heavy cream to boost fat content and smooth the texture before tossing with pasta.
2.Why did my ricotta sauce turn grainy instead of smooth? ▾
Grainy sauce almost always comes from overheating the ricotta or using low-quality, overly dry ricotta. Never boil ricotta once you add it to pasta—toss it off heat to warm it gently. If your ricotta is extra thick, blitz it for 10 seconds in a food processor first to get a silky, lump-free base that coats noodles evenly.
3.Do I have to use elbow macaroni, or can I swap in a different pasta shape? ▾
Elbows are classic because their ridges and hollow centers catch the creamy ricotta sauce perfectly, but you can absolutely swap in other short, ridged shapes. Cavatappi, rotini, small shells, or campanelle all work great—just cook them to al dente per package directions, and reserve ½ cup of starchy pasta water to thin sauce as needed.
4.How do I get that perfectly crispy, nutty panko topping mentioned in the recipe? ▾
Melt your unsalted butter in a small skillet over medium heat, toss in the panko, and stir constantly for 2 to 3 minutes until crumbs turn light golden brown and smell toasty. Don’t walk away! Panko burns fast, so pull the pan off heat as soon as it colors, then sprinkle over finished mac right before serving to keep it crisp.
5.Can I make this mac and cheese ahead of time for meal prep? ▾
It holds up really well for 3 to 4 days in the fridge, but wait to add the toasted panko topping until right before you serve it. When reheating, stir in a splash of milk or reserved pasta water to loosen the ricotta sauce, as it thickens as it chills. I don’t recommend freezing it, as ricotta will separate and turn grainy when thawed.
6.Why do I need to reserve starchy pasta water for this recipe? ▾
Starchy, salty pasta water is the secret to a silky, evenly coated sauce without adding extra heavy cream. The starch emulsifies with ricotta, mozzarella, and parmesan to create a smooth, clingy coating that sticks to every noodle, instead of a sauce that slides off or clumps. Start with ¼ cup and add more a tablespoon at a time as needed.
7.Can I add mix-ins like cooked bacon, broccoli, or roasted veggies to this mac? ▾
Absolutely—this recipe is super flexible for custom add-ins. Crispy bacon, steamed broccoli florets, roasted cherry tomatoes, sautéed spinach, or even diced cooked chicken all pair beautifully with the tangy ricotta base. Just fold pre-cooked mix-ins in right when you toss pasta with cheese sauce so they heat through evenly.
8.Do I need to bake this mac and cheese after tossing it with the sauce? ▾
No, that’s part of what makes this such a quick weeknight meal! The residual heat from freshly cooked al dente pasta is more than enough to melt shredded mozzarella and parmesan into the ricotta base. The only stovetop cooking beyond boiling pasta is toasting the panko, so the whole dish comes together in under 25 minutes.
9.What’s the difference between low-moisture mozzarella and fresh mozzarella, and can I use fresh? ▾
Low-moisture mozzarella melts smoothly without releasing excess water that would make your sauce runny, which is why it’s called for here. Fresh mozzarella has very high water content, so if you use it, pat it extremely dry with paper towels and shred it first, otherwise your mac will turn watery instead of creamy.
10.Why does the recipe call for freshly grated parmesan instead of pre-grated parmesan from a shaker? ▾
Pre-grated parmesan is coated in anti-caking agents like potato starch that keep it from clumping in the container, but those additives also prevent it from melting smoothly into the ricotta sauce, leaving a gritty texture. Freshly grated parmesan melts seamlessly, has a nuttier, brighter flavor, and mixes into a perfectly cohesive sauce.
11.My sauce came out too thick and clumpy—how do I fix that? ▾
No stress, this is an easy fix! Grab that reserved starchy pasta water you set aside earlier, and stir it in one tablespoon at a time while tossing pasta over very low heat. Keep adding small splashes until the sauce loosens to a silky, creamy consistency that coats every noodle—just don’t crank the heat too high, or you’ll risk making ricotta grainy.
12.Is this recipe kid-friendly, or is the ricotta tang too noticeable? ▾
Most kids absolutely love this version! The ricotta adds a very subtle tang that cuts through cheese richness, but it doesn’t taste sour or overpowering at all. If you have extra picky eaters, reduce the ricotta by ¼ cup and add a little extra shredded mozzarella for a milder, more classic cheese flavor that feels familiar to little ones.
13.Can I make this recipe gluten-free? ▾
Definitely! The only swaps you need are your favorite gluten-free short pasta shape and gluten-free panko breadcrumbs for the topping. Pick a gluten-free pasta that holds its shape well when cooked al dente, and make sure to reserve that starchy pasta water—it works just as well as regular pasta water to create a smooth, emulsified sauce.
14.How much salt should I add to pasta water, and does it really matter? ▾
You should salt your pasta water until it tastes as salty as seawater—usually about 1 tablespoon of kosher salt per 4 quarts of water. This is your only chance to season the pasta itself, and salty water makes the whole dish taste brighter, so you won’t end up with bland, flat cheese sauce even when using high-quality cheeses.
15.What should I serve with this creamy ricotta mac and cheese for a full meal? ▾
It pairs perfectly with simple, bright sides to cut through the rich, cheesy flavor. Try a crisp green salad with lemon vinaigrette, roasted garlic broccoli, grilled chicken breasts, or crispy roasted Brussels sprouts. For a classic comfort food spread, serve it alongside juicy baked chicken thighs or tangy coleslaw for a balanced, cozy meal.

Comments (10)

2 days ago

OMG this creamy ricotta mac and cheese is a total game changer! I threw it together on a busy weeknight in literally 20 minutes flat, just like the recipe said, and my two picky toddlers gobbled up two servings each. No weird processed cheese taste, the ricotta makes it so light but still super rich? 10/10 will be adding this to our weekly meal prep rotation.

yesterday

Wait did you use whole milk or part skim ricotta? I only have part skim in my fridge right now and don’t wanna run to the store lol

yesterday

Great question! Part skim works totally fine here, you just might want to add an extra tablespoon of butter to keep that extra creamy texture if you go that route. So glad your family loved the recipe!

1 week ago

I brought this to our neighborhood block party potluck last weekend and people were asking me for the recipe before I even set the dish down! It was so easy to make ahead and pop in the oven right before we left, the ricotta adds such a nice tang that regular mac and cheese is missing. Only note is I added a little panko breadcrumb on top for crunch and it was chef’s kiss.

5 days ago

Love the panko topping hack! That crispy crunch pairs so perfectly with the creamy ricotta base, I’m definitely going to try that next time I make it for a potluck too. Thanks for sharing!

5 minutes ago

Bro this is so easy even I can’t mess it up. I’m a junior in a dorm with just a hot plate and a microwave and I pulled it off in like 22 minutes, no fancy ingredients needed. SO good, way better than the boxed stuff I’ve been living off of for two years. Will be making this every time I’m sick of dining hall food.

3 days ago

I swapped the regular elbow pasta for gluten-free chickpea pasta and this still turned out insanely creamy! I was worried the ricotta would make it grainy but no, it was smooth as can be. My husband who hates all ‘healthy swaps’ didn’t even notice a difference, he had three helpings at dinner last night.

2 days ago

Oh thank you for saying the GF pasta works! I’ve been scared to try mac and cheese with chickpea pasta because it always gets mushy, did you cook it al dente first?

2 days ago

I did! Cooked it a full minute less than the package directions so it stayed nice and firm, it held up perfectly mixed into the sauce with zero mushy bits. Highly recommend!

2 weeks ago

Made a big batch of this for my work lunches this week and it reheats like an absolute dream! No separating, no weird greasy texture like a lot of leftover mac and cheese gets. The ricotta keeps it creamy even after 2 minutes in the office microwave. 10/10 for meal prep, this is going in my regular rotation.

1 week ago

So happy to hear it reheats well! A lot of people don’t realize ricotta is way more stable for leftovers than heavy cream-based cheese sauces, it makes it perfect for weekly meal prep. Thanks for giving it a try!

30 minutes ago

I added a little extra garlic powder and a handful of shredded mozzarella to mine and holy cow, it was so good. I’ve made fancy baked mac and cheese that takes an hour before and this 20 minute easy version tastes better. No notes, will be making this again tonight actually.

yesterday

Wait I thought this was going to be weird with ricotta? I’ve only ever used ricotta in lasagna before, but I had a tub in the fridge I needed to use up so I gave this a shot. My 8 year old said it’s the best mac and cheese I’ve ever made, which is high praise because he is OBSESSED with the blue box stuff. Only giving 4 stars because I wish I’d added a little salt, but that’s totally my bad for not tasting as I went!

2 hours ago

I felt the exact same way about ricotta in mac! I added a pinch of nutmeg too, just like I do in my lasagna, and it was unreal. You should try that next time!

30 minutes ago

So glad your kiddo approved! A pinch of nutmeg is such a good call from Peggy, it adds such a nice warm depth without being noticeable. And you’re totally right, salt levels can vary a lot depending on what brand of ricotta and cheese you use, so tasting as you go is always a great tip.

2 hours ago

Super easy, super fast, tasted great. I didn’t have any whole milk so I used half and half I had leftover from coffee and it came out perfectly creamy. Great recipe for when you forget to plan dinner and have 20 minutes to get food on the table before soccer practice.

30 minutes ago

Half and half is such a good swap! I did the same thing last week when I realized I was out of milk, and my whole team of 10 year olds devoured the pan I brought for post-practice snacks. No leftovers at all!

just now

First time making mac and cheese from scratch ever, and I didn’t burn it! It was so straightforward, the instructions were super easy to follow even for someone who can barely boil pasta without messing up. The ricotta makes it feel fancy without any of the fancy work. Obsessed.

just now

Yay, so proud of you for nailing your first from-scratch mac and cheese! That’s exactly why we love this recipe—no fancy skills or ingredients required, just delicious, creamy comfort food in 20 minutes. Can’t wait to hear what you make next!

5 days ago

I’ve been making mac and cheese for my family Sunday dinners for 40 years, and I have to say this ricotta version is going in the old recipe box. It’s so much lighter than the heavy cheddar bake I usually make, but just as satisfying. My grandkids asked for seconds before they even finished their first helping. Absolute winner.



