
Rista Turkey
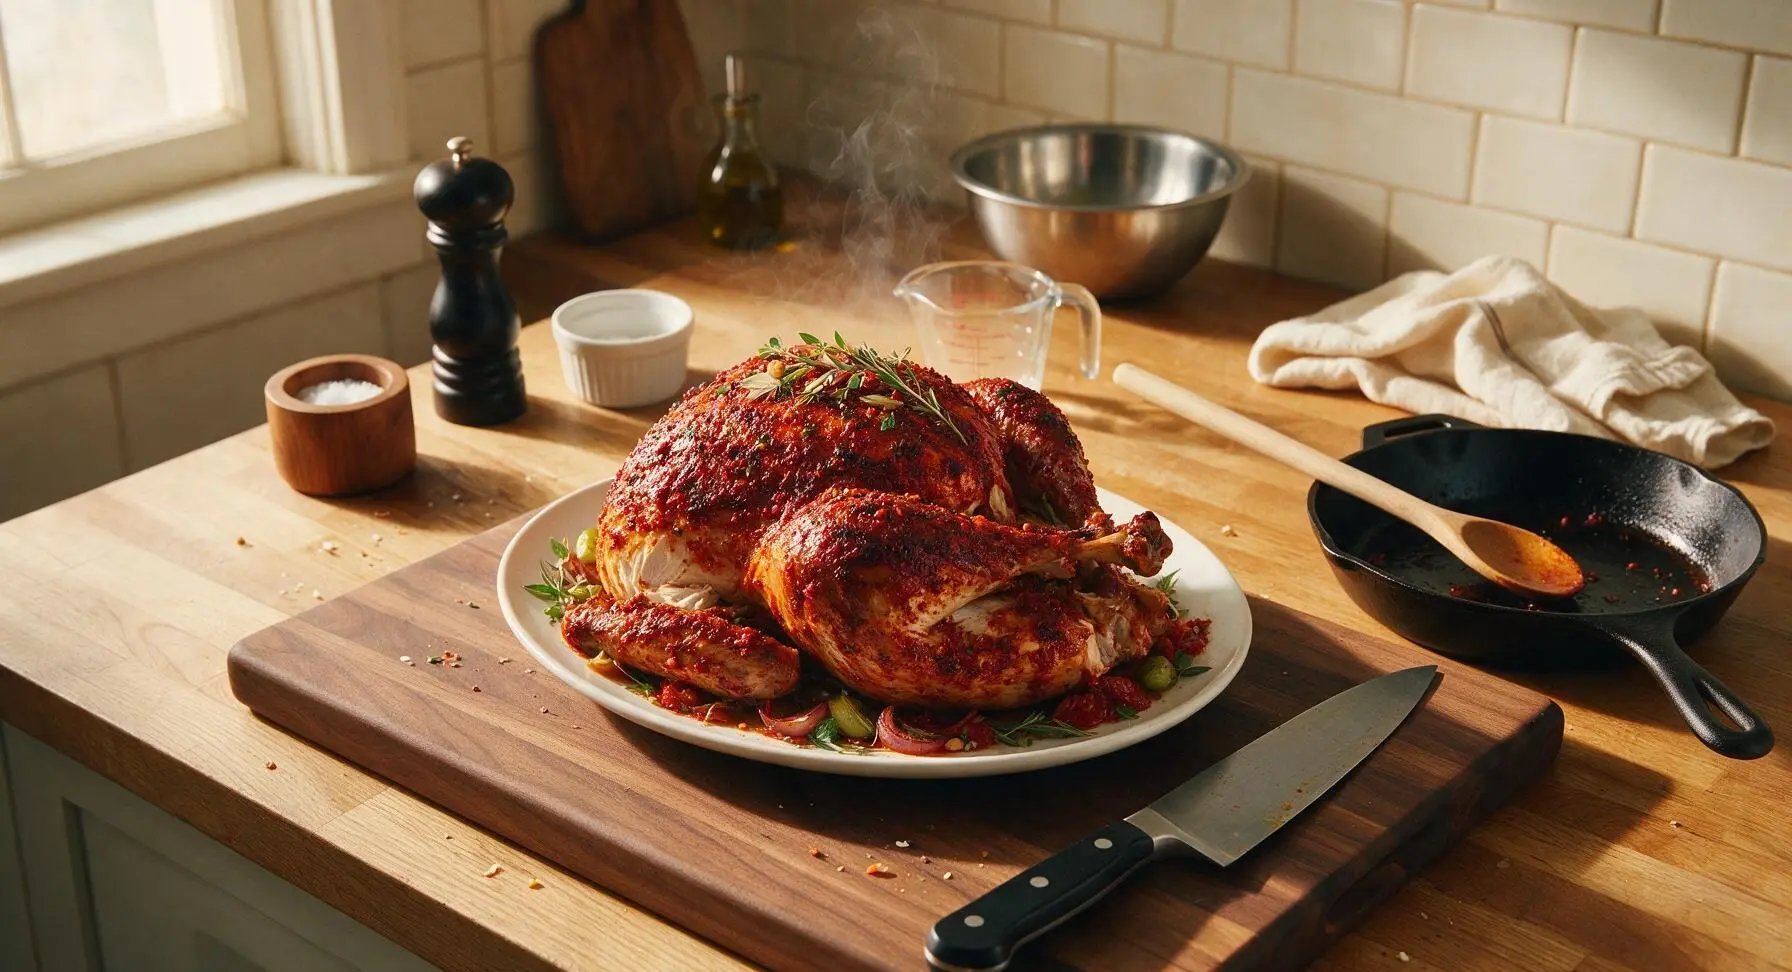
intro
Tender, spice-crusted roasted turkey coated in aromatic red pepper and tomato paste, slow-roasted to juicy perfection for a warm, fragrant family-style feast.
Ingredients
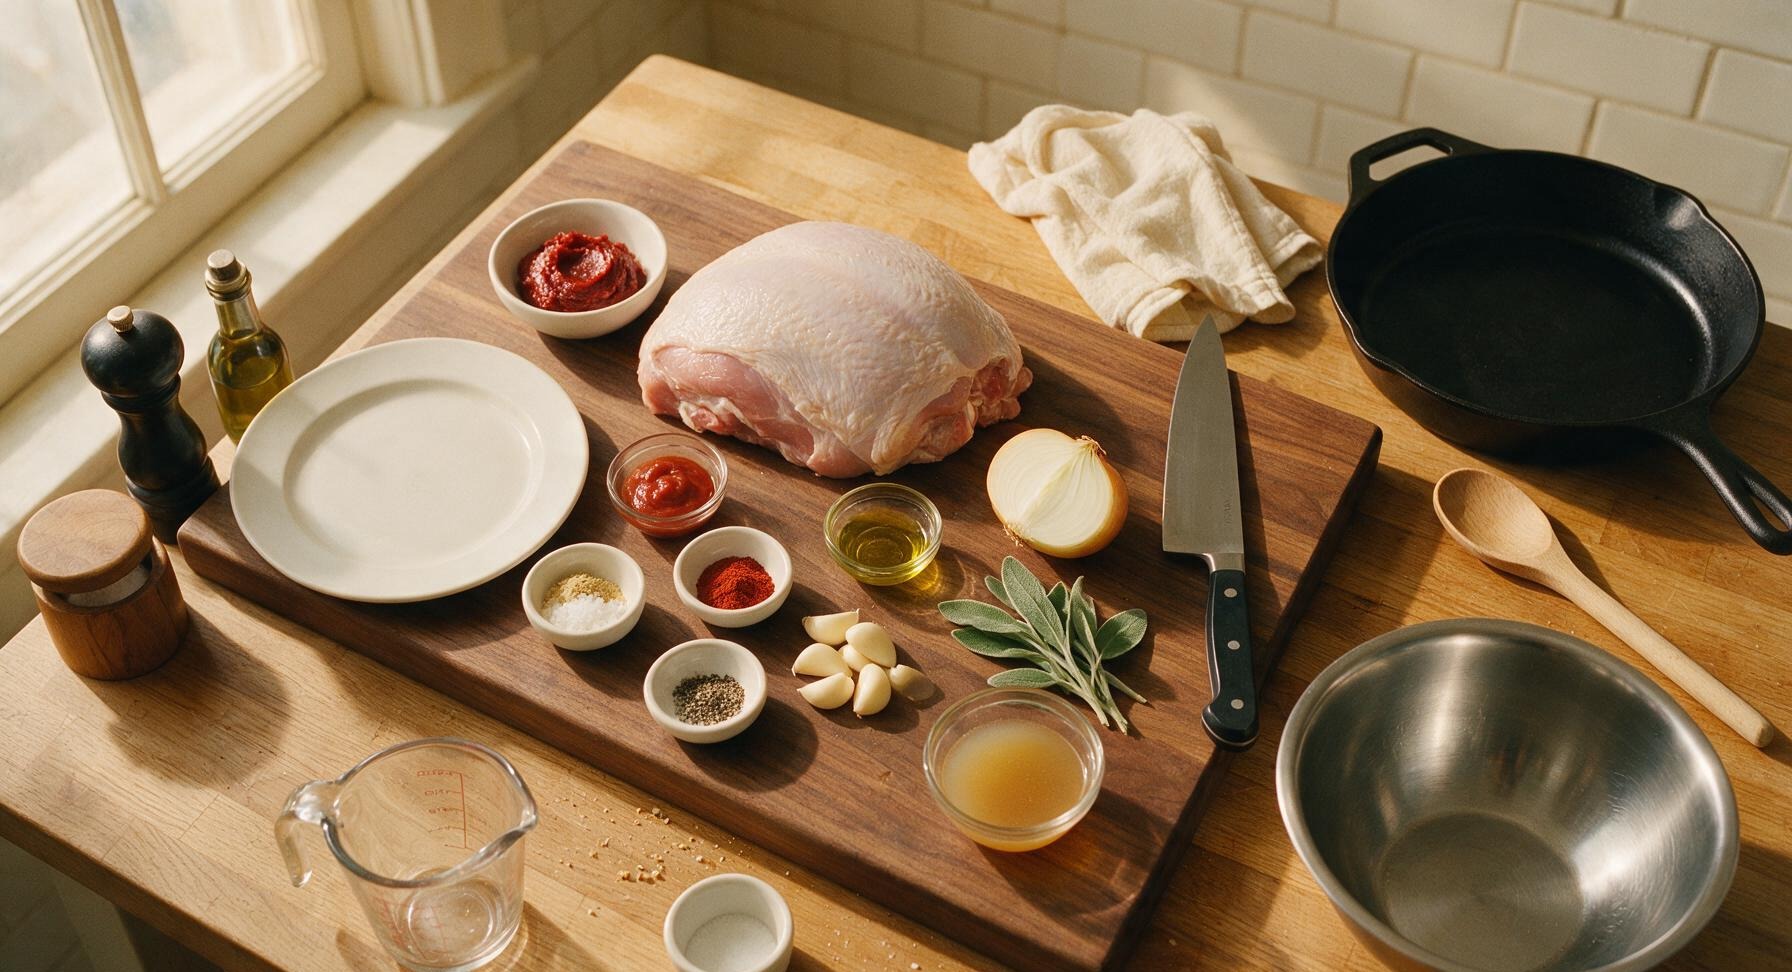
Steps
Prep Turkey and Aromatics
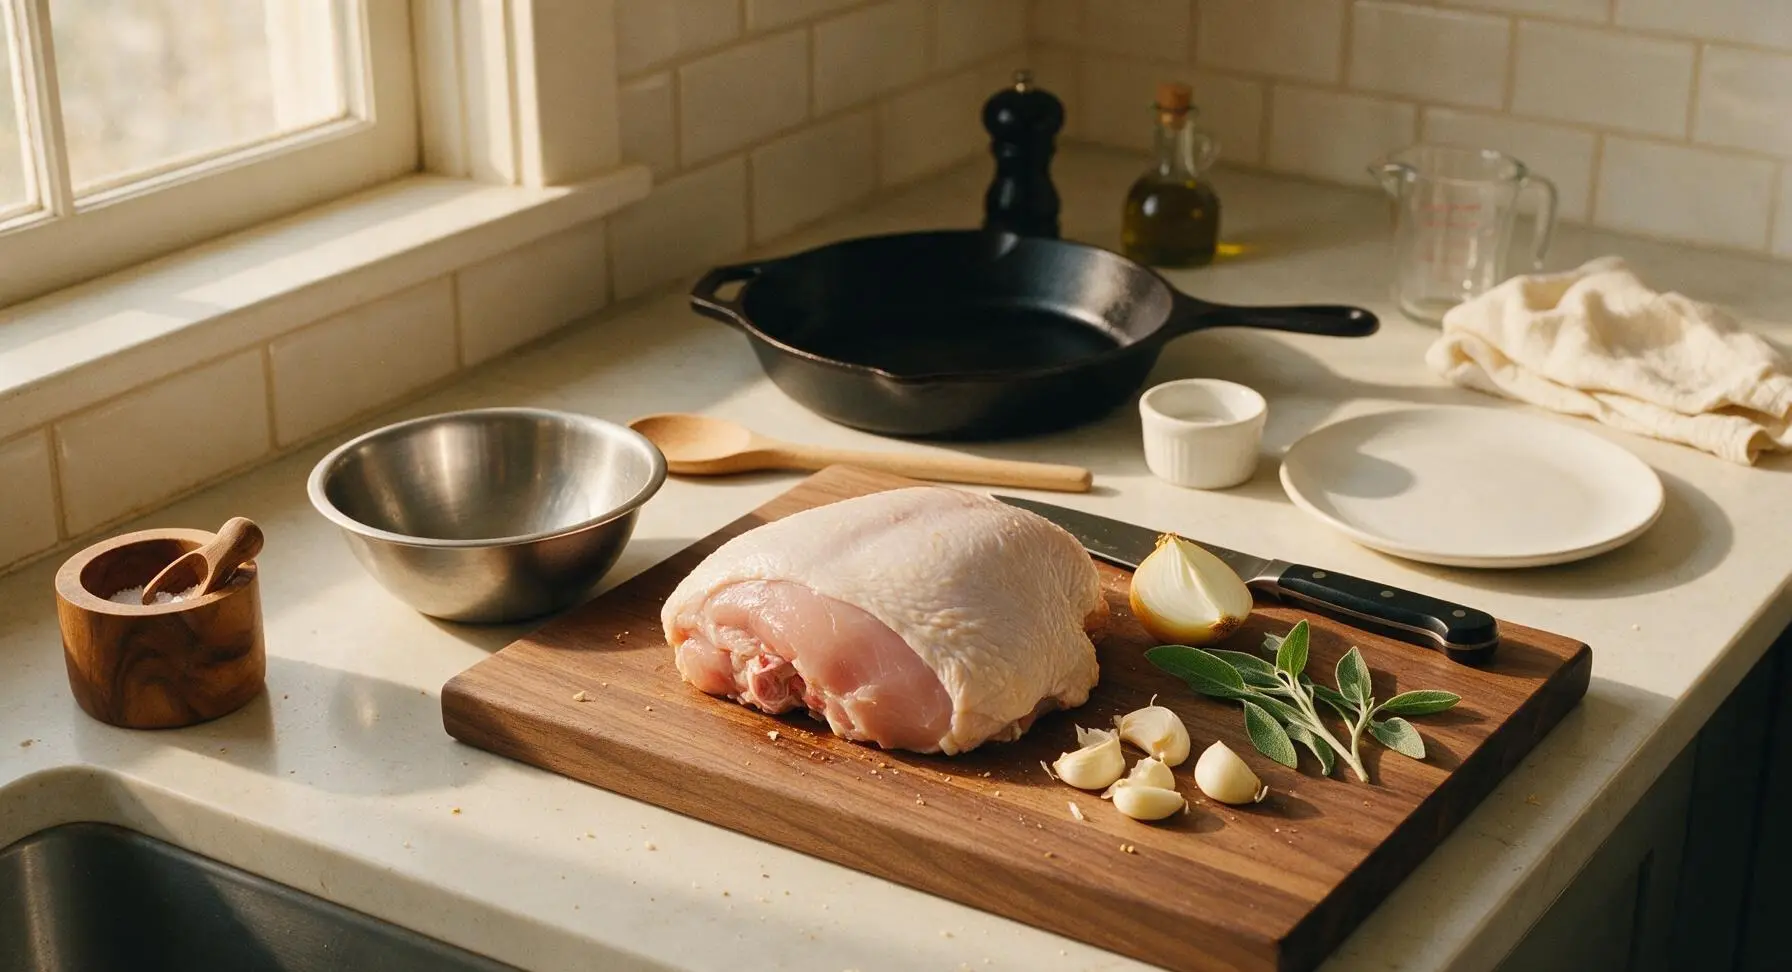
Pat the 2kg bone-in, skin-on turkey breast completely dry with paper towels, then set it on the acacia wood cutting board. Peel the 6 garlic cloves, crush 4 lightly and leave 2 whole, quarter the large yellow onion, and set 4 sage sprigs aside for the roasting pan. Run a hand over the turkey skin to confirm it is completely dry to the touch—this is critical for achieving crispy skin during roasting.
Mix Rista Spice Paste
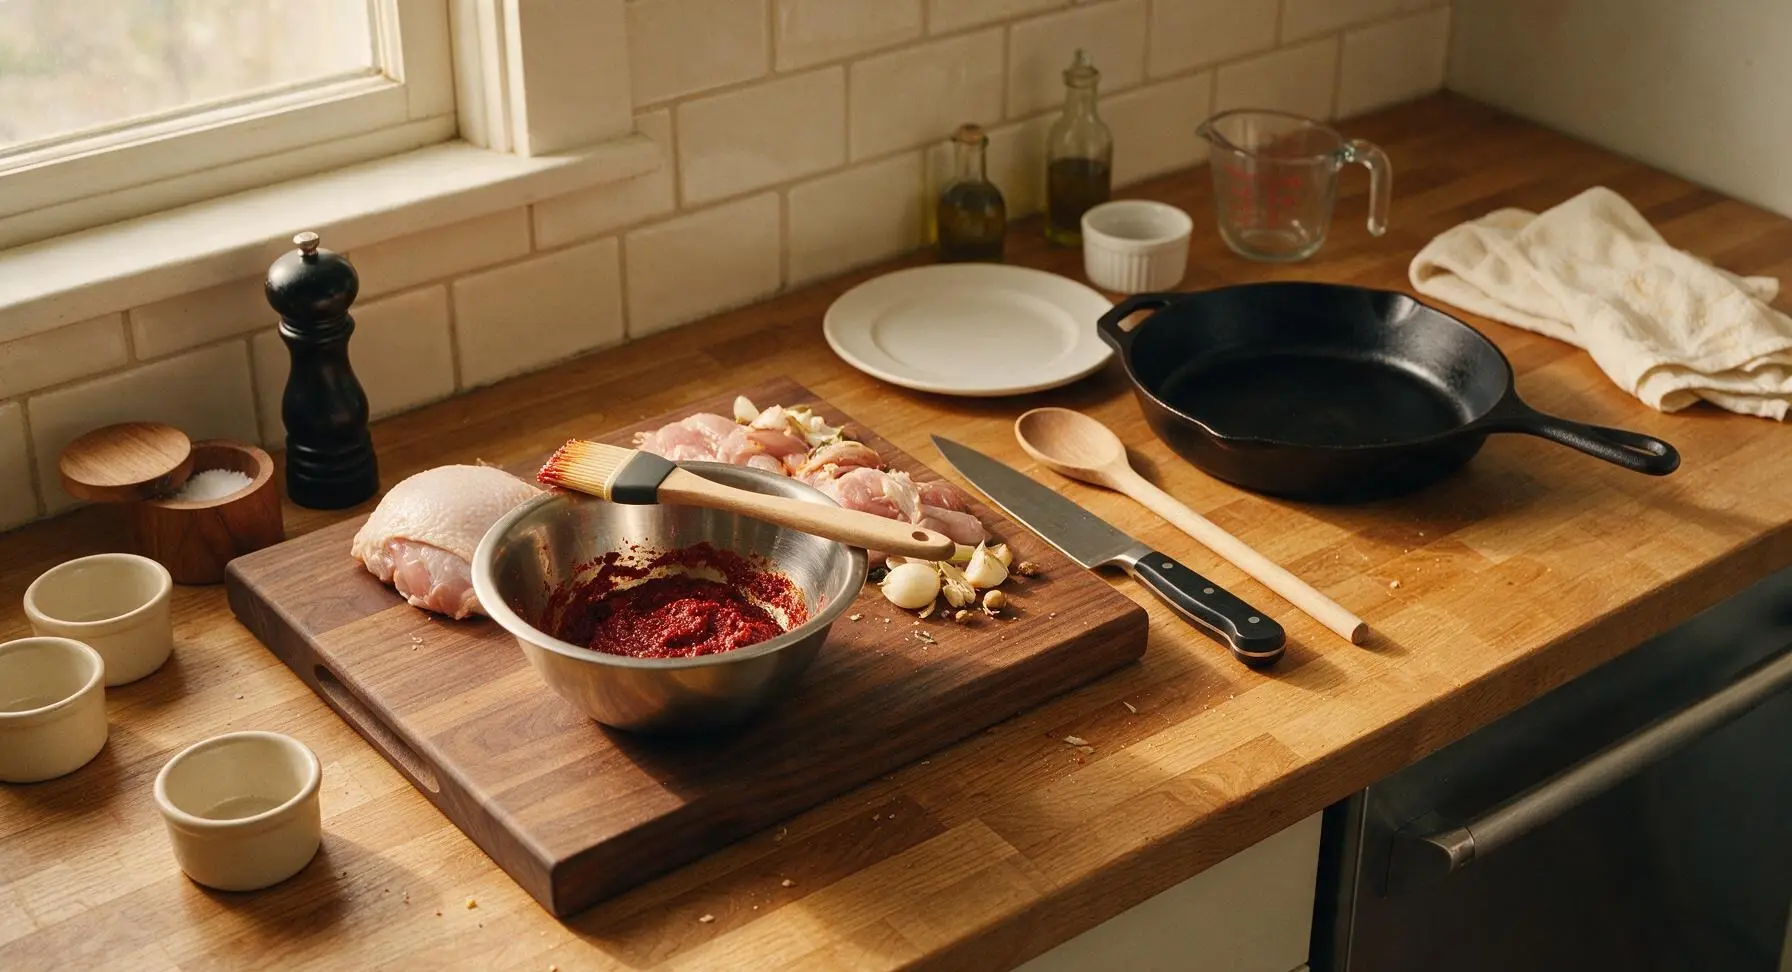
In the small stainless steel mixing bowl, combine 3 tablespoons sweet red pepper paste, 2 tablespoons tomato paste, 2 tablespoons olive oil, 1 tablespoon sweet paprika, 1 teaspoon ground cumin, 1 teaspoon garlic powder, 2 teaspoons coarse sea salt, and 1 teaspoon black pepper. Stir until completely smooth, with no lumps of paste remaining; the finished mixture will be a thick, spreadable deep red consistency.
Coat Turkey with Rub
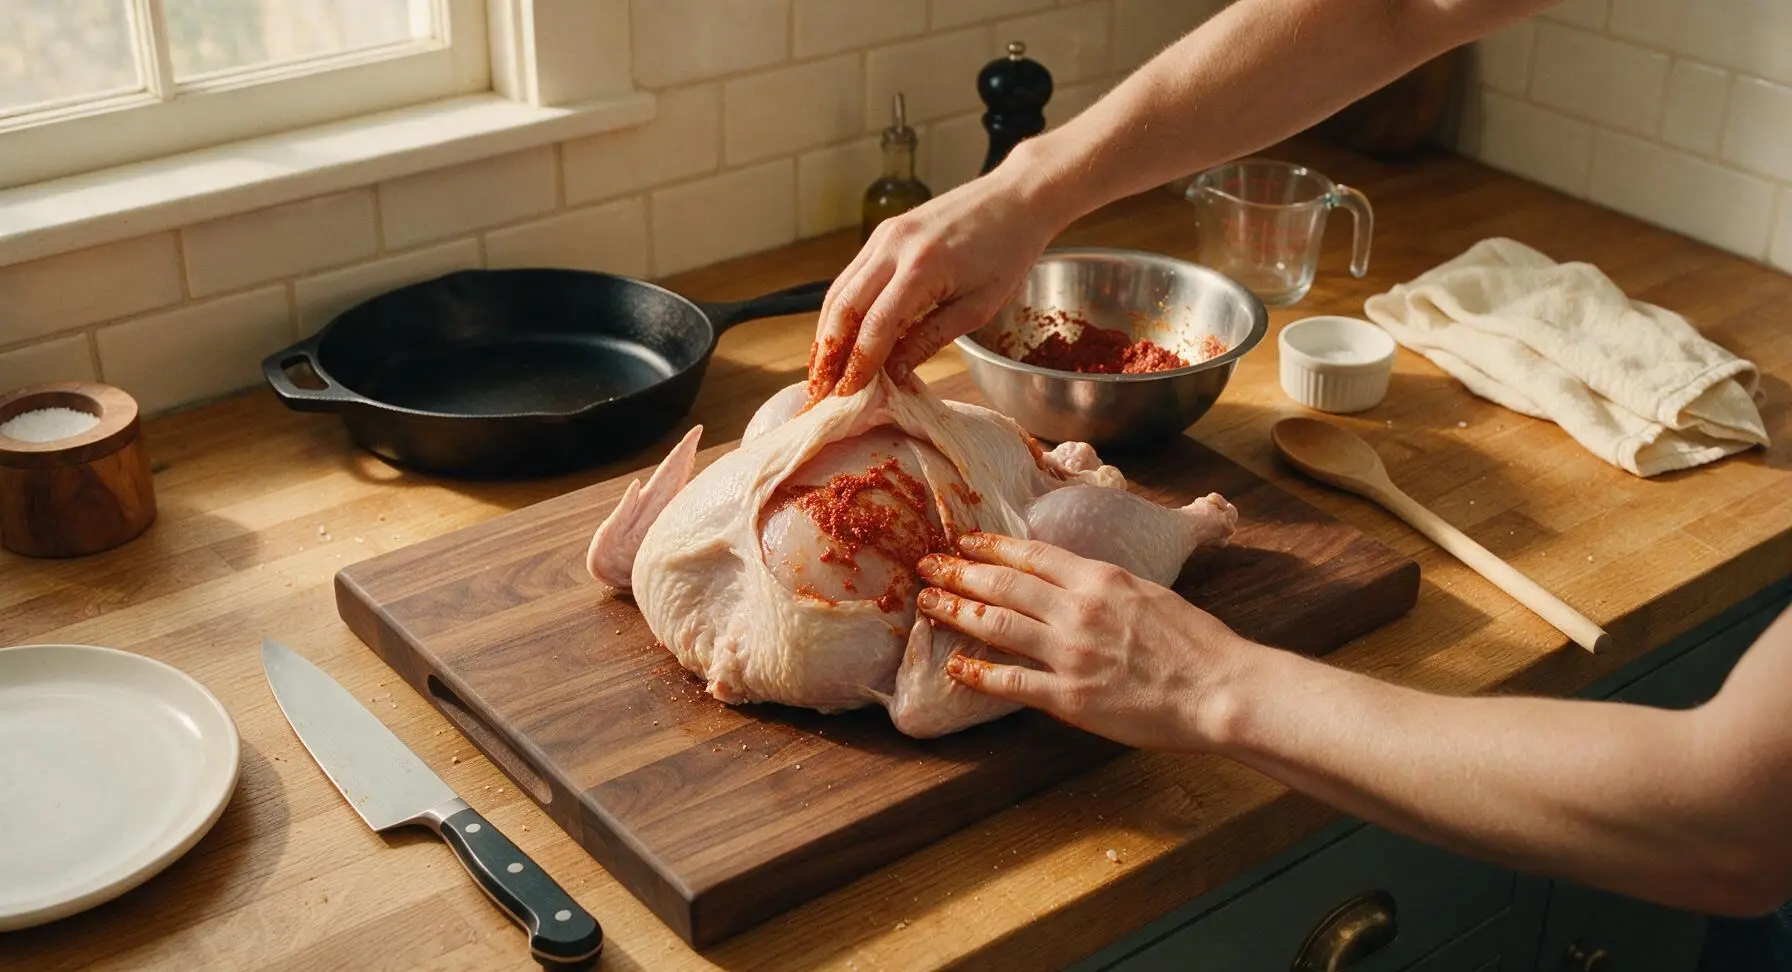
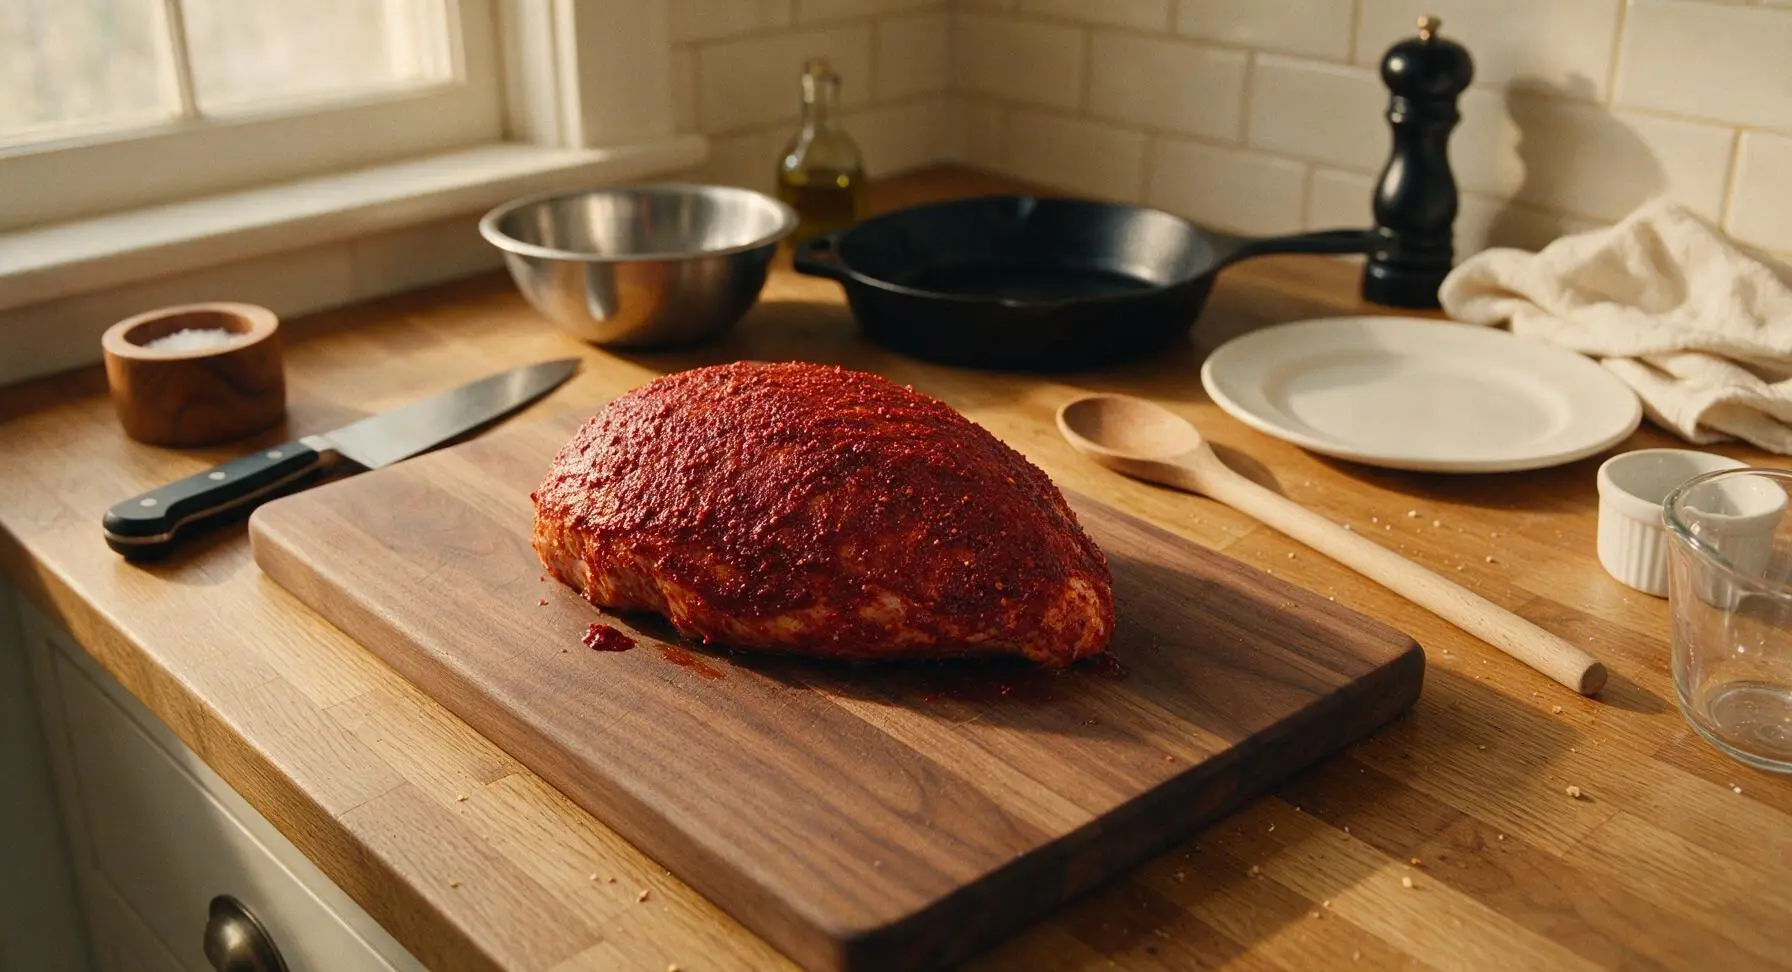
Gently lift the turkey skin away from the breast meat, taking care not to tear it, and use your hands or the silicone basting brush to spread one-third of the spice paste directly onto the meat under the skin. Smooth the skin back into place, then rub the remaining paste evenly over every outer surface of the turkey, including the sides and underside. The entire turkey should be an even deep red color, with no bare patches of skin visible.
Truss and Prep Roasting Pan
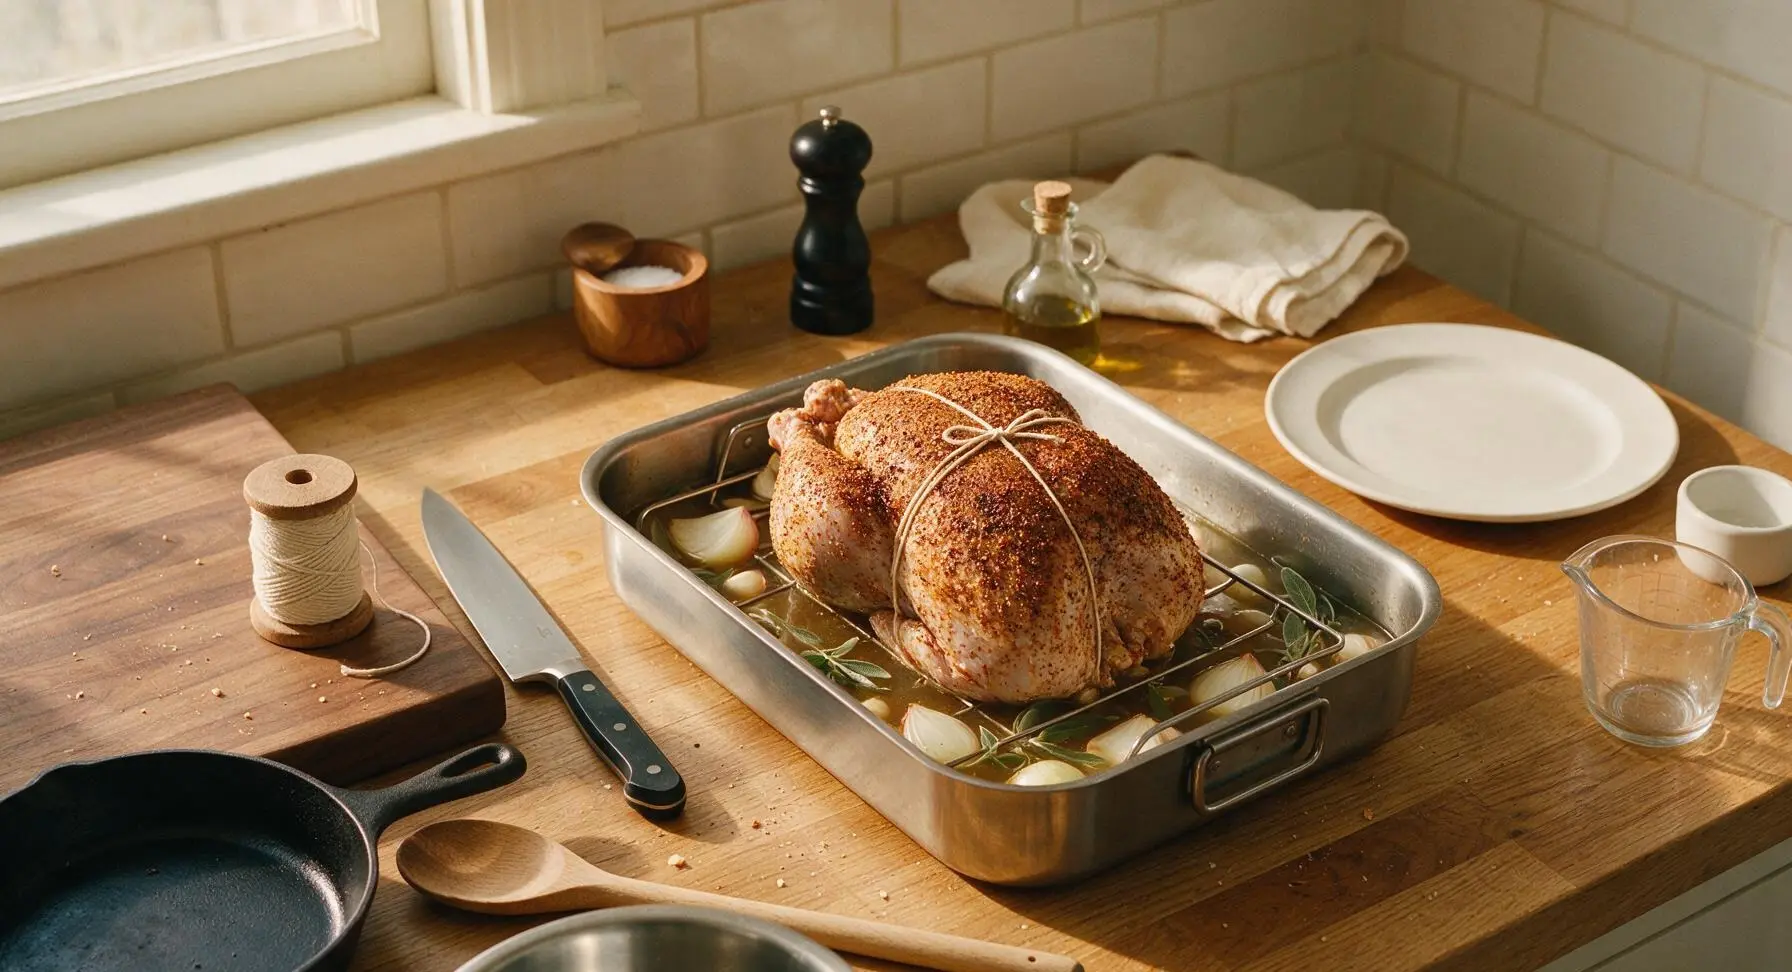
Cut a 60cm length of unbleached cotton kitchen twine. Tuck the turkey wing tips under the breast to prevent them from burning during roasting, then tie the twine loosely around the turkey to hold the skin snug and the breast in a uniform shape for even cooking. Place the wire rack insert inside the stainless steel roasting pan, scatter the quartered onion, crushed garlic cloves, and 4 sage sprigs across the pan bottom, then pour the 120ml chicken broth into the pan base to create steam and catch drippings.
Roast and Baste Regularly
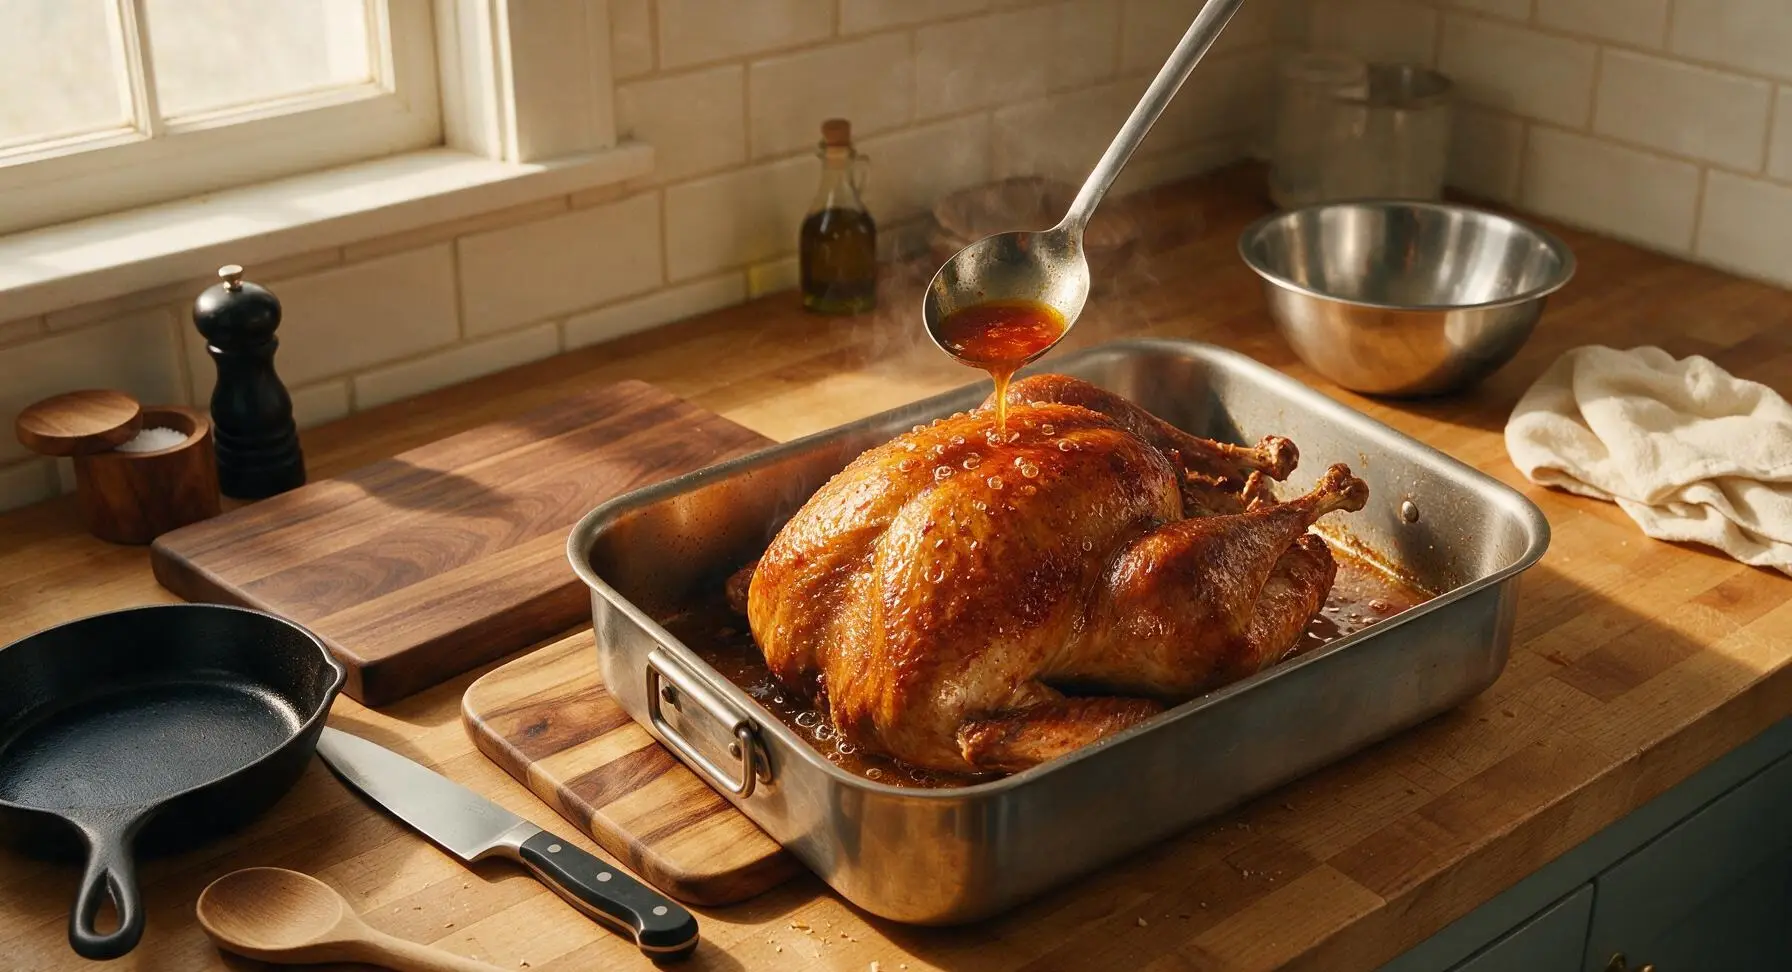
Place the roasting pan in a preheated 175C (350F) oven. Roast for 2 hours total, pulling the pan out every 30 minutes to baste the turkey with pan juices using the long-handled stainless steel basting spoon. The skin will gradually darken to a deep glistening amber as the spice paste forms a fragrant crust; limit oven door openings to prevent temperature drops.
Check Doneness Temperature
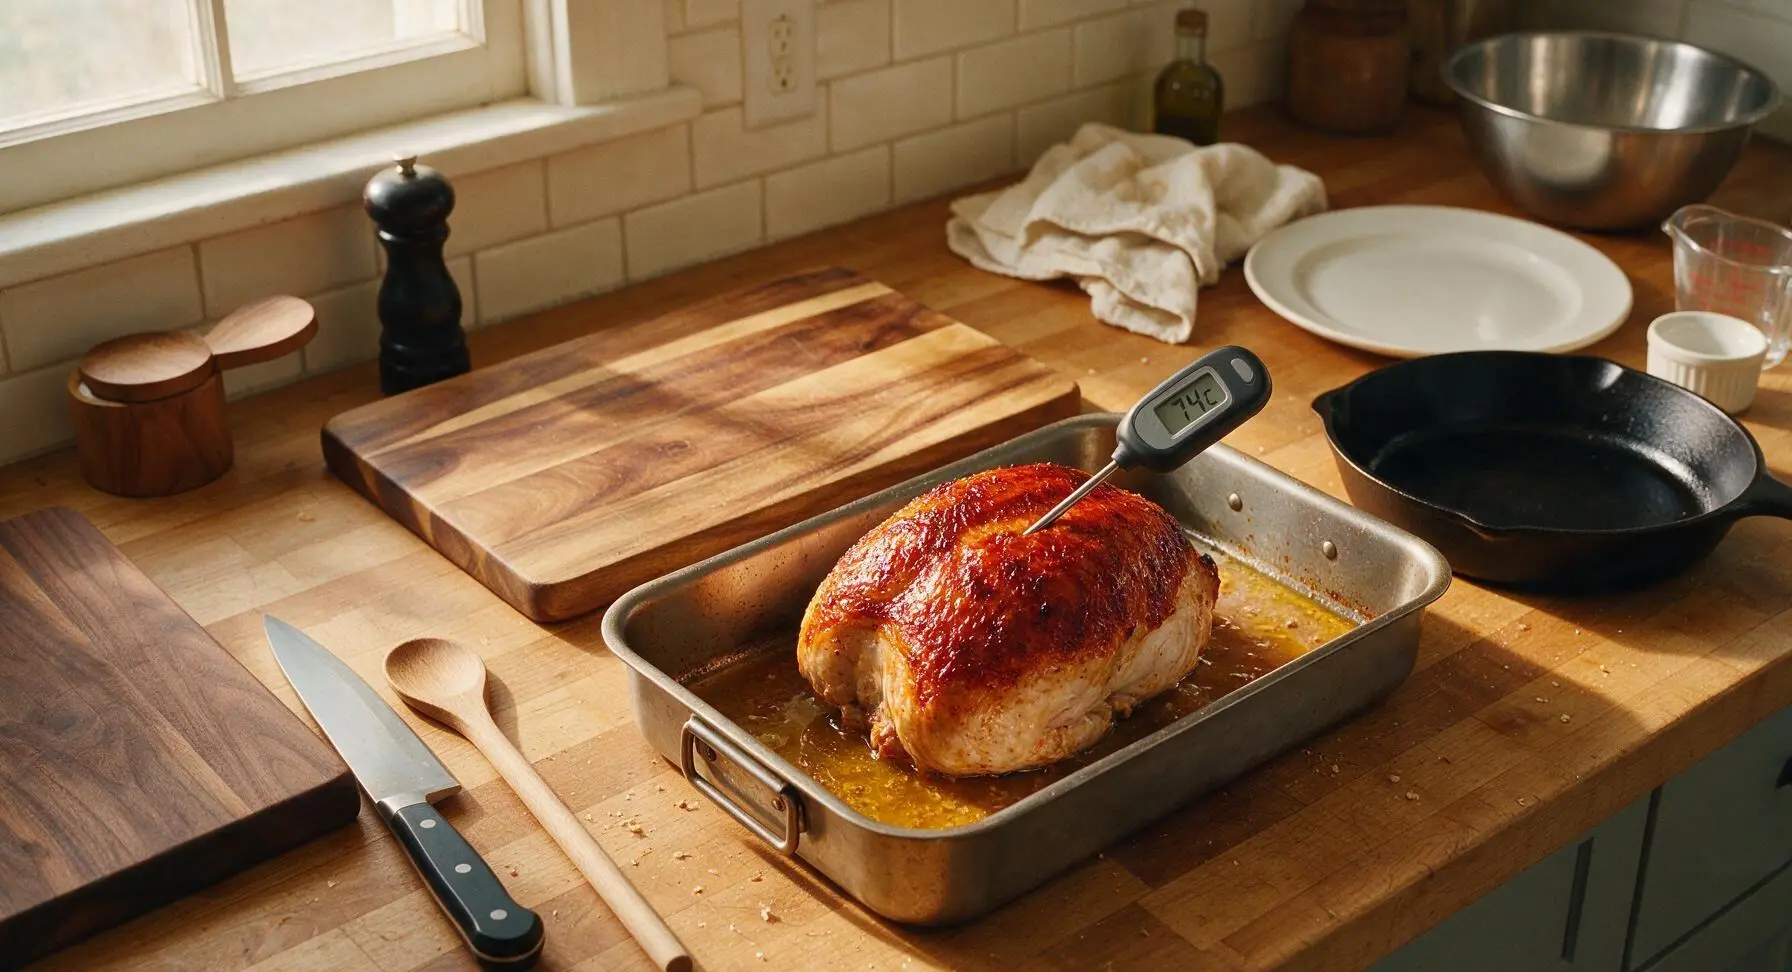
After 2 hours of roasting, insert the digital meat thermometer probe into the thickest part of the turkey breast, taking care not to touch the bone (which will give a falsely high reading). The turkey is fully cooked when the internal temperature reads 74C (165F). If the skin darkens too quickly before the target temperature is reached, tent the top loosely with aluminum foil.
Rest Turkey Before Carving
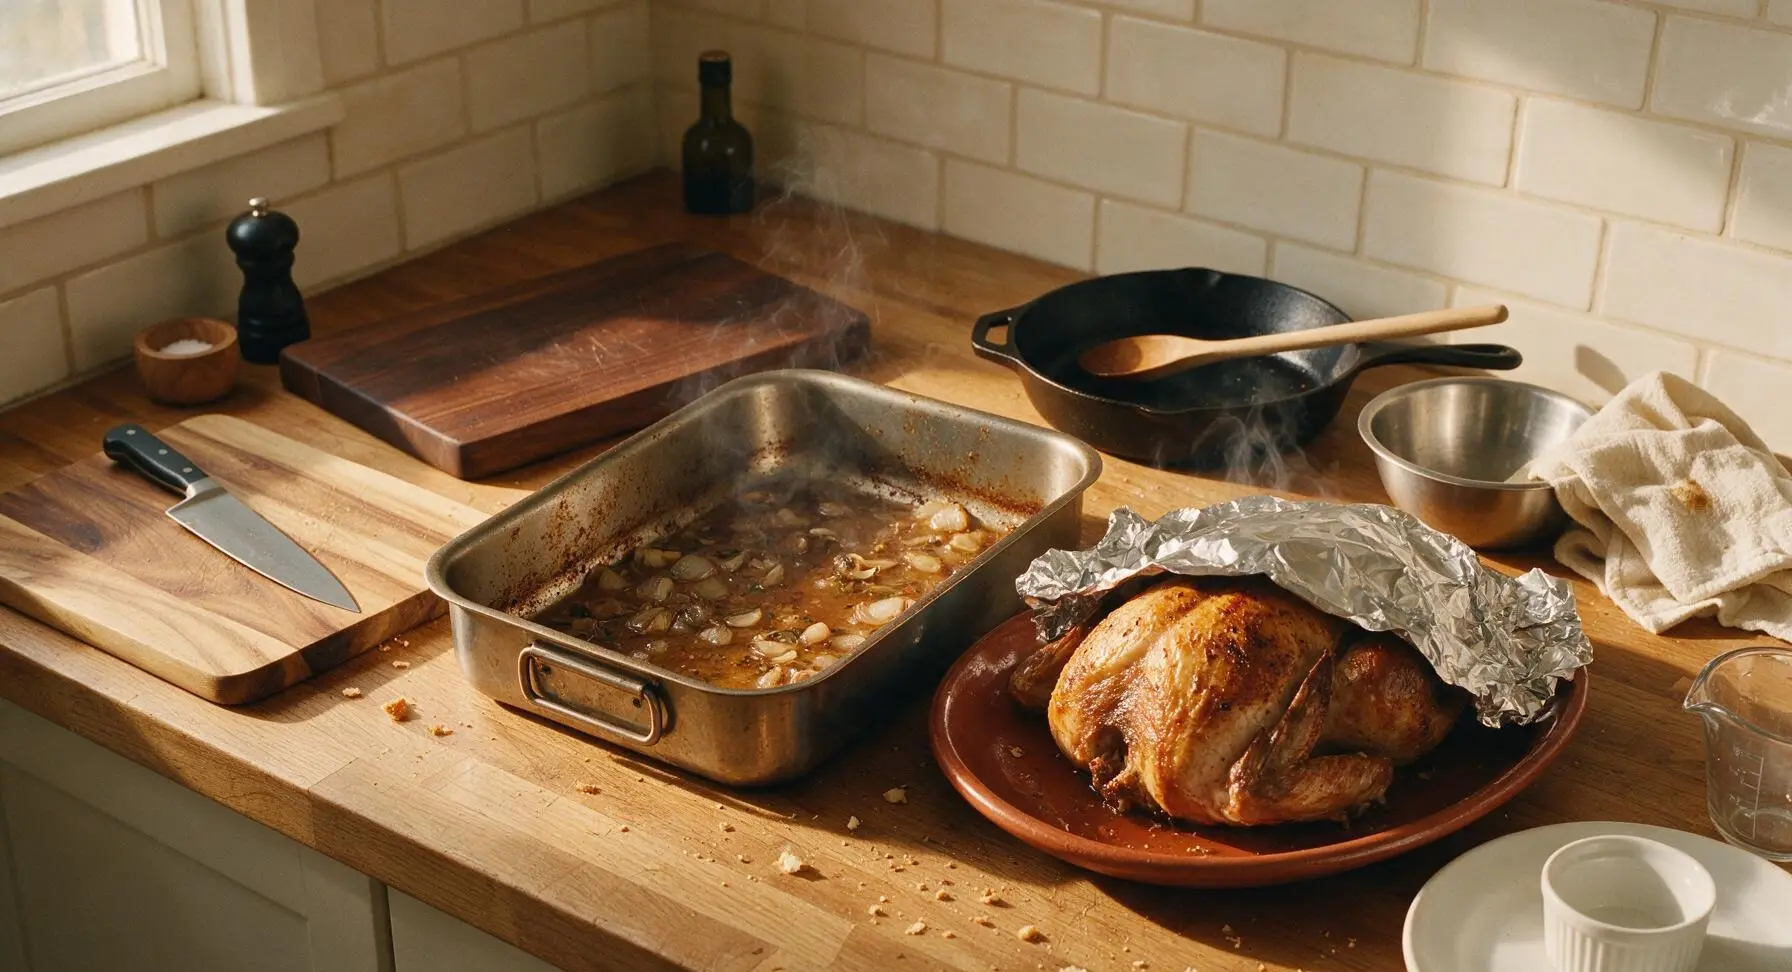
Carefully lift the turkey from the roasting rack and transfer it to the large terracotta serving platter. Loosely tent the platter with a sheet of aluminum foil, then let the turkey rest for 20 minutes at room temperature. Resting allows muscle fibers to relax and reabsorb juices, ensuring every slice stays moist instead of leaking juice onto the platter when cut.
Carve and Serve Warm
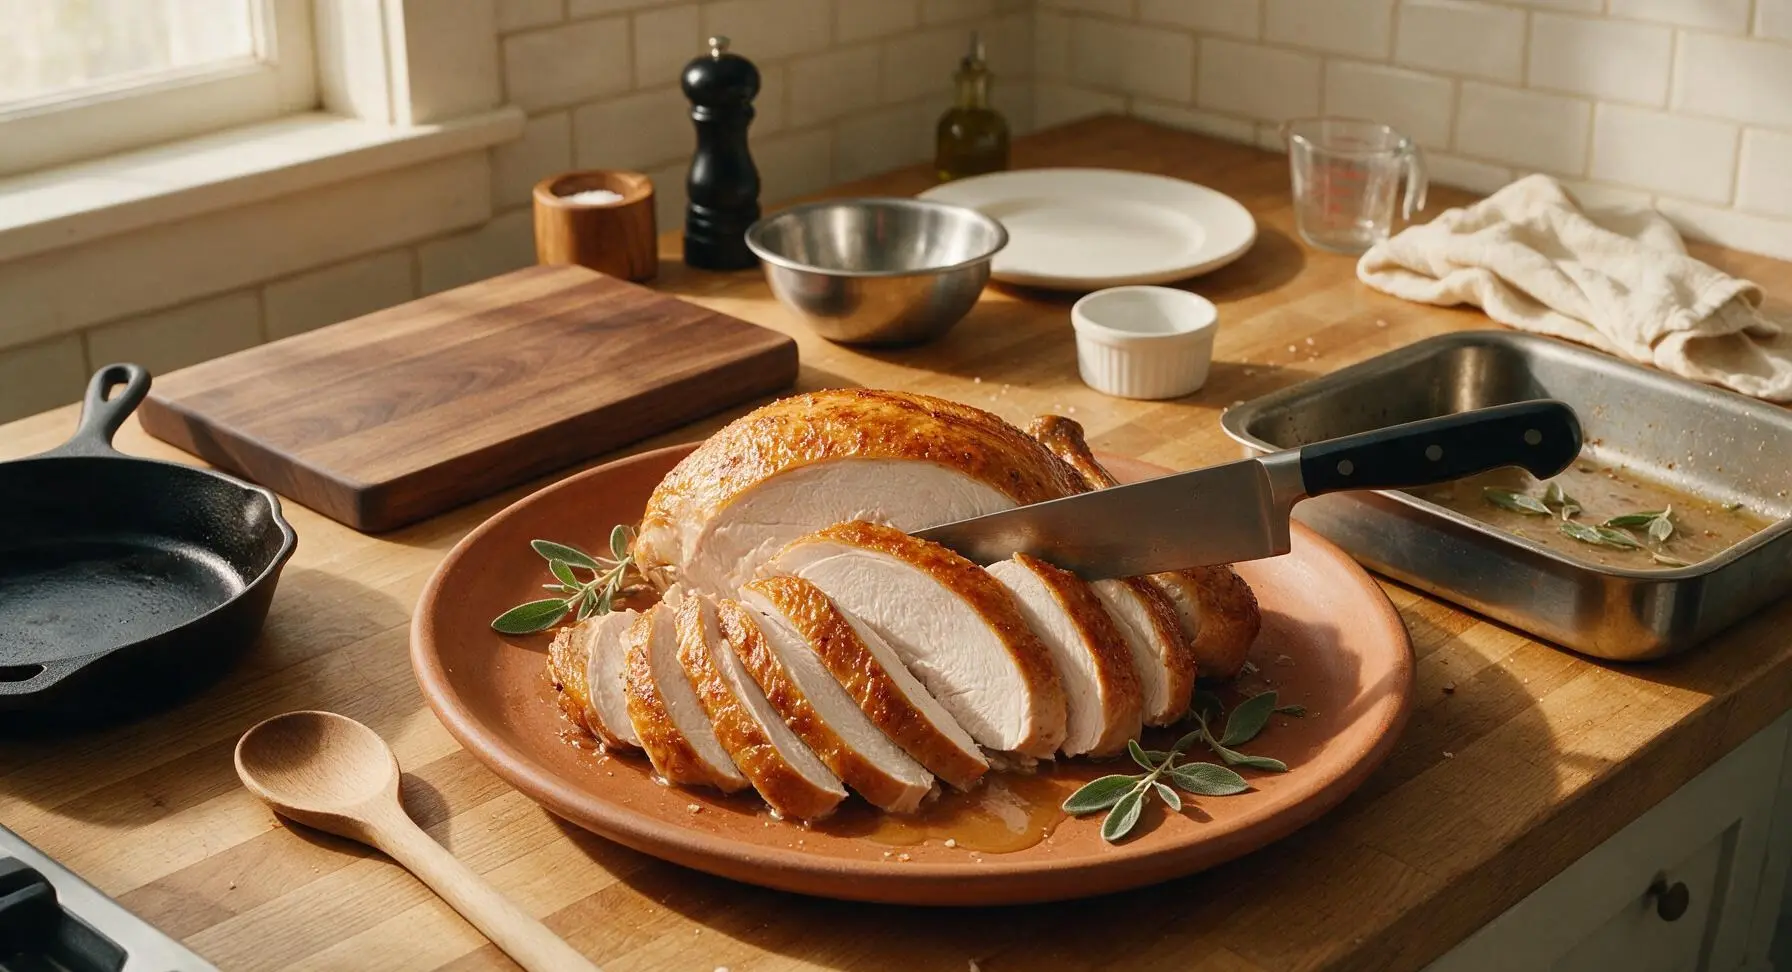
After resting, remove and discard the kitchen twine from the turkey. Use the 8-inch chef knife to carve the turkey into 1.5cm thick slices, arranging them in a gentle fan across the terracotta platter. Spoon 2-3 tablespoons of strained pan juices over the sliced turkey, garnish with fresh sage sprigs, and serve immediately with extra pan juices on the side.
Tips
2.If you cannot find traditional Turkish sweet red pepper paste (biber salçası), substitute with 3 tablespoons of roasted red pepper puree mixed with ½ teaspoon extra sweet paprika to match the deep, sweet pepper flavor; avoid using spicy biber salçası unless you prefer a noticeably hot dish.
3.Resist the urge to carve the turkey immediately after pulling it from the oven. The 20-minute rest period allows hot, pressurized juices to redistribute back into the meat fibers—skipping this step will cause all the flavorful juice to run out onto the platter, leaving dry, bland slices.






OMG y’all, this Rista Turkey was the star of our Sunday family dinner! I was a little nervous about the medium difficulty rating since I’m usually a 30-minute meal kind of cook, but the steps were so straightforward even I didn’t mess it up. The spice blend is a total game changer — my kids went back for seconds and thirds! 10/10 will be making this for our Thanksgiving potluck next month too.
Really solid recipe! Cook time was right around 2 hours for me, though I did have to tent the turkey with foil the last 20 minutes because the skin was browning faster than expected. Flavor was SO good, just wish there was a note about adjusting oven temp for people with convection ovens! Definitely making again.
Meal prepped this for the week and I’m not even mad I ate it for lunch 4 days in a row. The turkey stays so juicy even when reheated! I served it over saffron rice with a side of roasted veggies and my roommate begged for the recipe before I even finished my first bite. Obsessed.
Brought this to my neighborhood block party potluck and people were asking me for the recipe before I even set the platter down! I was worried 2 hours of cook time would be too much for a weeknight, but I prepped all the spice rub the night before and it cut down so much of the work. Worth every minute.
Taste was great, but I definitely struggled a bit with the rista sauce consistency? Mine came out way thicker than the photos show, almost paste-like, even though I followed the measurements exactly. Maybe I simmered it too long? Not sure, but I added a splash of chicken broth to thin it out and it was fine, just frustrating.
Usually I only smoke turkeys on the grill, but my wife asked me to try this recipe for her birthday dinner and I’m a total convert. The depth of flavor from the dried chiles in the rista is unreal. Even my father-in-law, who swears no turkey is better than his smoked one, asked for a second helping. Win in my book.
Just pulled this out of the oven and oh my GOD the smell in my apartment right now is unreal. I haven’t even taken a bite yet but I already know it’s gonna be 5 stars — had to pop in and say how easy the instructions were to follow even for a total newbie like me. Can’t wait to dig in!
Great flavor, just note that if you’re using a larger turkey breast than the recipe calls for, you’ll need to bump up the cook time a bit! I used a 7lb breast instead of 5lb and it took almost an extra 30 minutes to hit temp. Tasted amazing though, even with the extra cook time the meat didn’t dry out at all. Will adjust portion size next time.
Wait a second, I always thought rista was only for red chile sauce on enchiladas?! Putting it on turkey is a total game changer, I can’t believe I never thought to do this before. I added a little extra garlic because I’m a garlic fiend, and it paired perfectly with the warm, earthy chile flavor. 10/10.
Made this in my tiny dorm oven for my friend’s early Friendsgiving and everyone lost their minds. I was worried the medium difficulty would be too hard with my terrible dorm kitchen setup, but I only used one baking pan and a mixing bowl, minimal cleanup! So good, even without fancy kitchen tools.
So happy this recipe is naturally gluten free! I’ve been searching for a fun turkey recipe that doesn’t require weird flour thickeners or bread-based fillings for my celiac kiddo, and this checked every box. We had it for our weekly family dinner and my kids loved it — even the non-gluten-free family members raved about it. Will be on repeat all fall.
Really tasty! The only thing I’ll note is that the 2 hour cook time was a little long for my bone-in turkey cut — mine was done in about an hour and 40 minutes, so I’d recommend using a meat thermometer to check early instead of relying solely on the timer. Flavor was unbeatable though, will make again.