
roast chicken air fryer

title 1
roast chicken air fryer
⏱️ cook time 40 minutes
🍽️ servings 4
⚡ Difficulty easy

intro

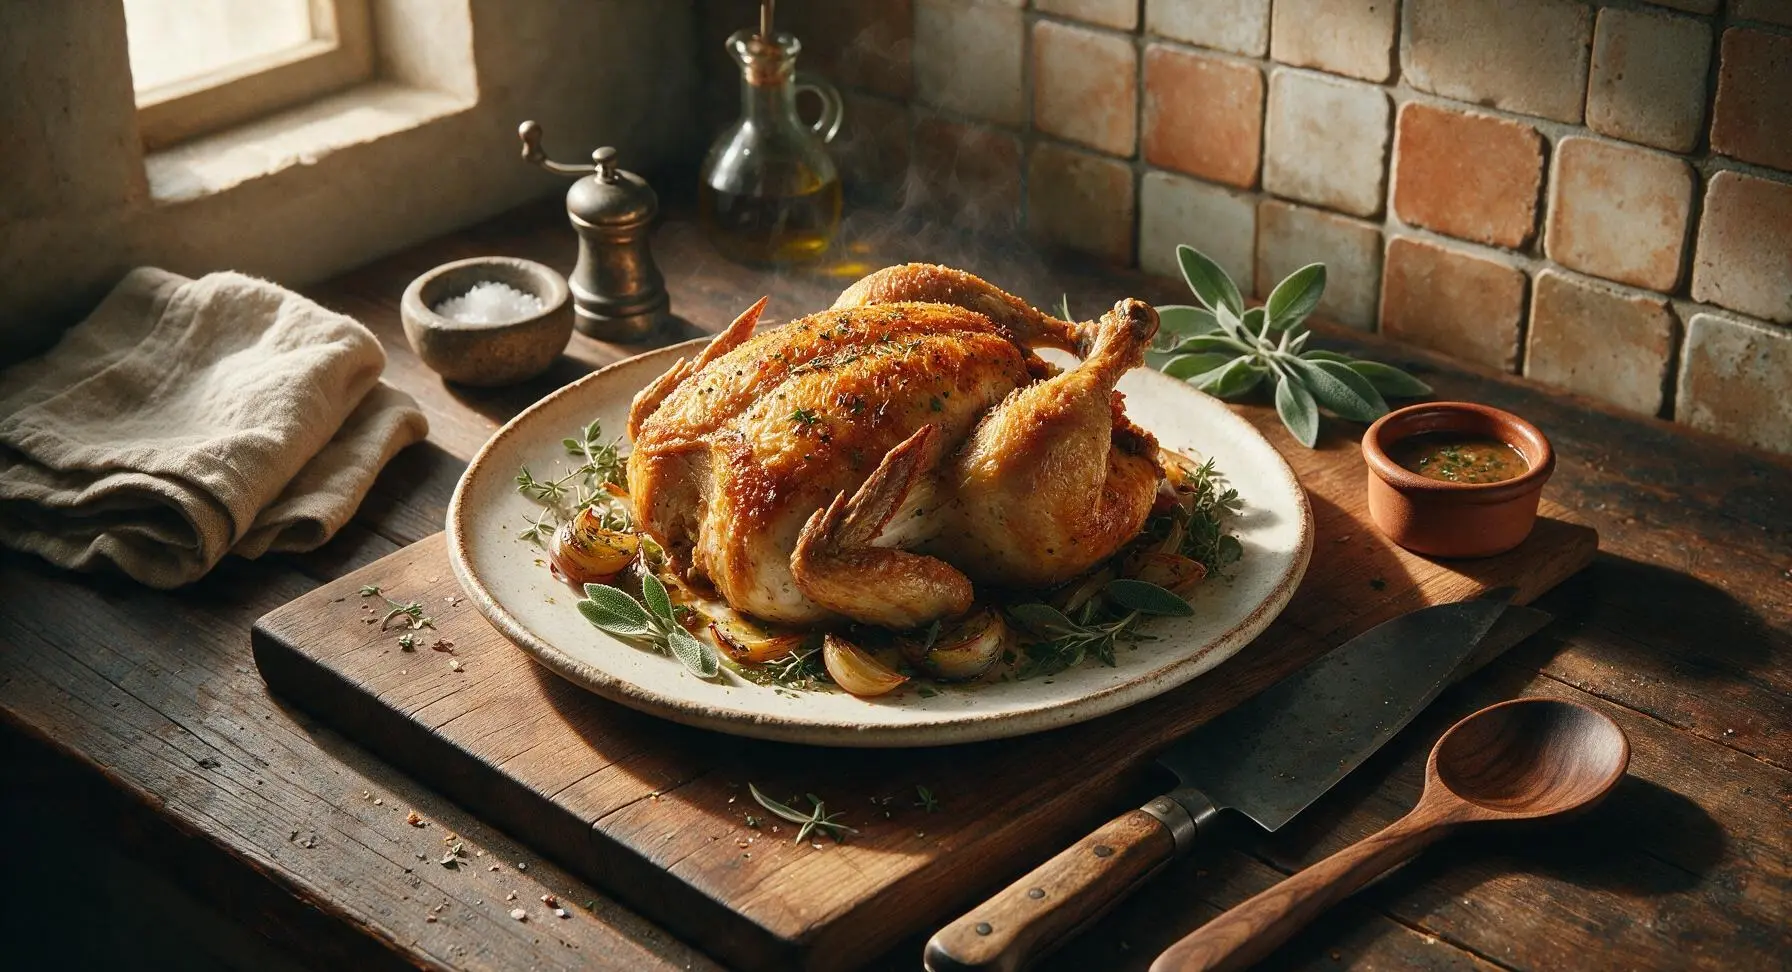
Golden shatteringly crisp skin, tender herb-infused juicy meat—this air fryer roast chicken delivers classic Sunday roast flavor in a fraction of traditional oven time.

Ingredients
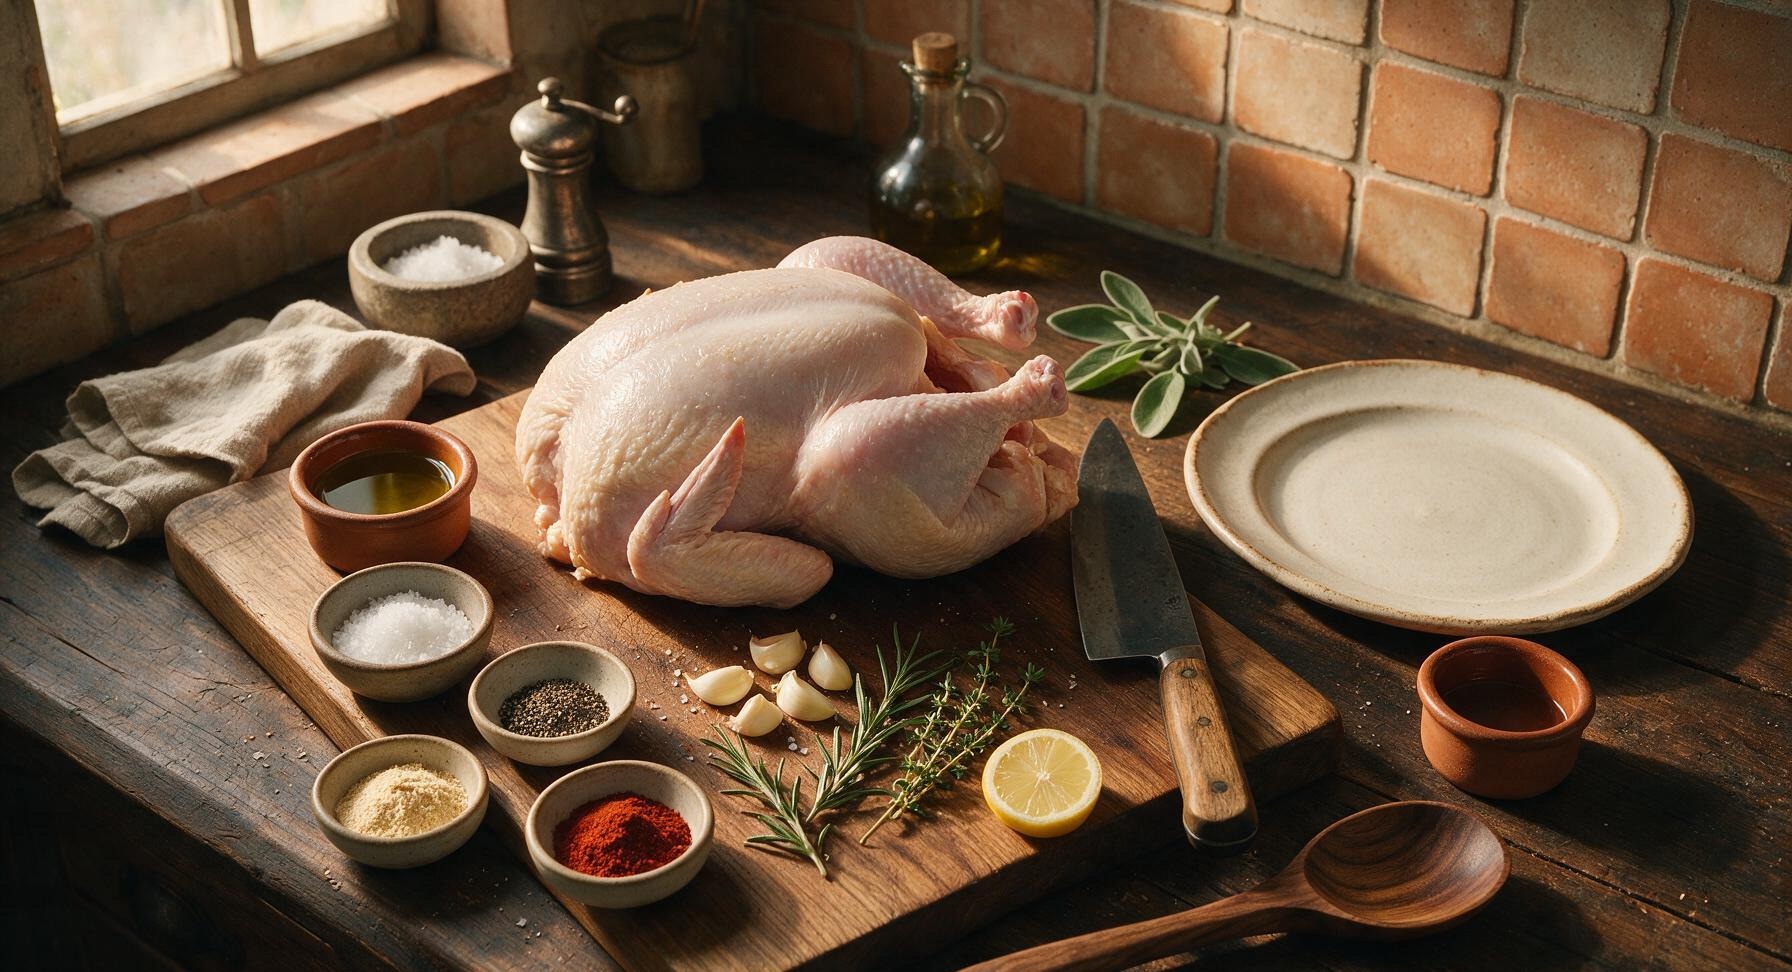
Whole roasting chicken (giblets removed) 4 lb / 1.8 kg
Extra-virgin olive oil 2 tbsp
Kosher salt 1 tbsp
Freshly ground black pepper 1 tsp
Garlic powder 1 tsp
Sweet smoked paprika 1 tsp
Fresh garlic cloves (crushed) 4 cloves
Fresh rosemary sprigs 2 sprigs
Fresh thyme sprigs 3 sprigs
Small lemon (quartered) 1 each

Steps

1

Pat Chicken Dry

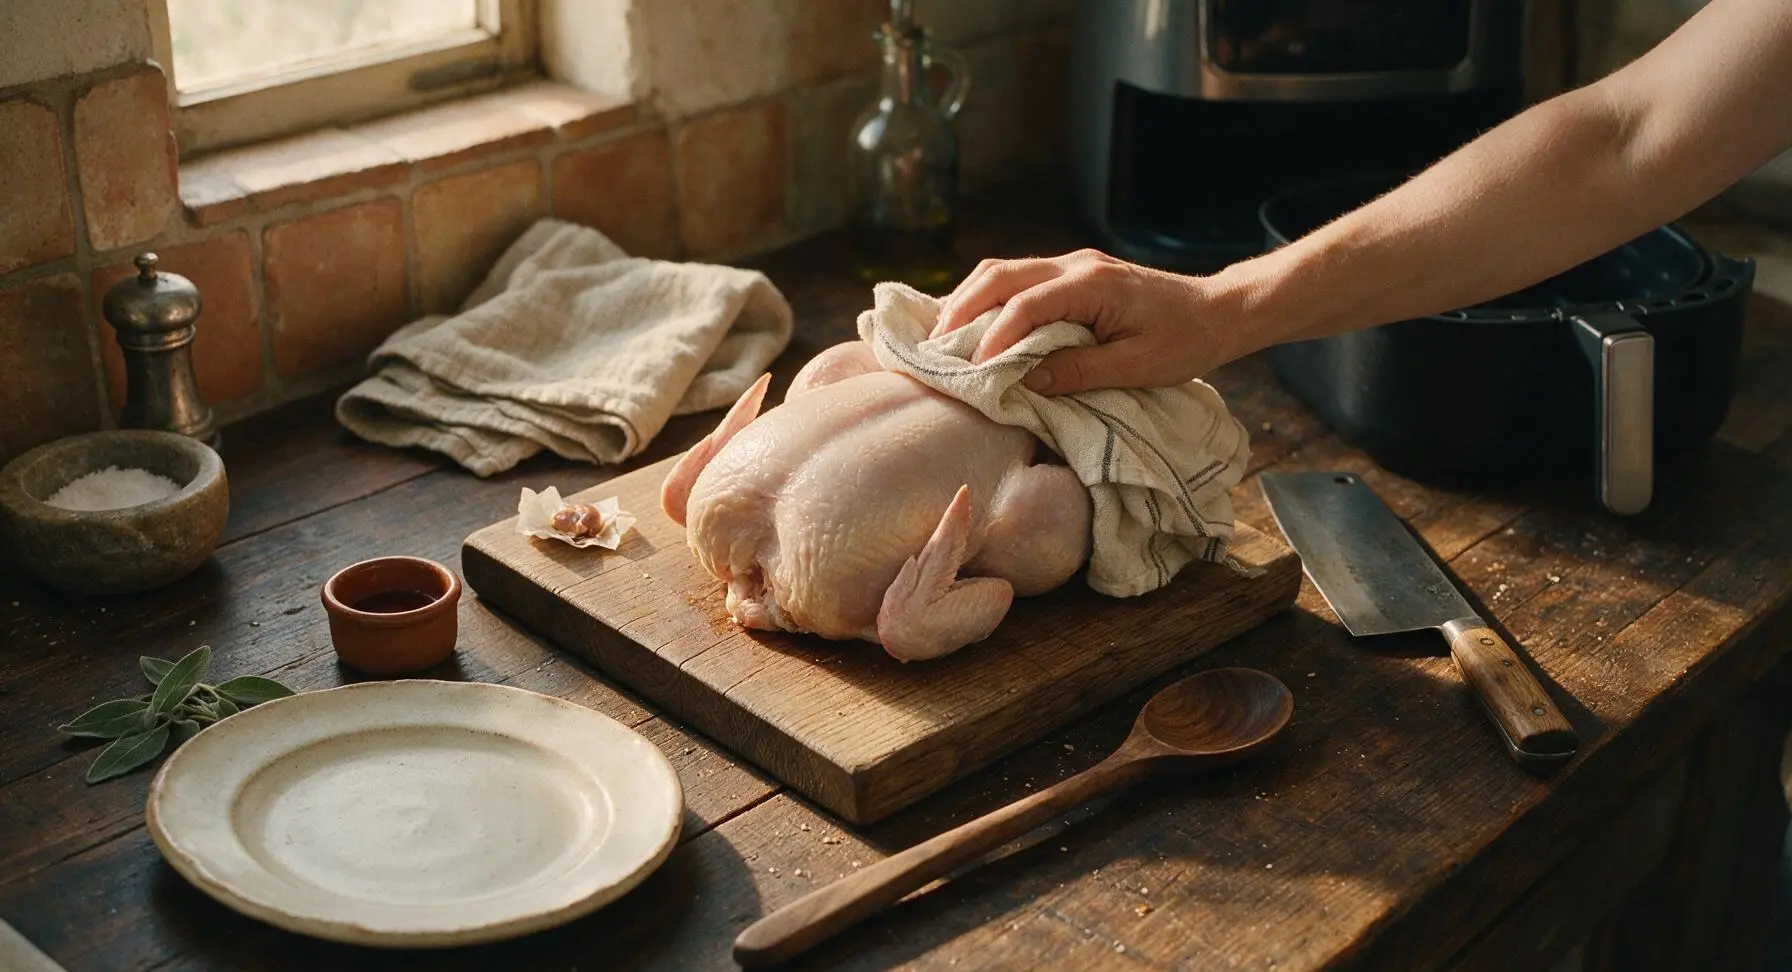
Remove the 4lb (1.8kg) whole roasting chicken from packaging, extract and discard the giblet packet from the cavity (reserve for stock if desired). Use the off-white striped cotton kitchen towel to thoroughly pat every surface of the chicken (outer skin and inner cavity) completely dry, paying extra attention to wing tips and thigh creases—dry skin is non-negotiable for shatteringly crisp air fryer results. Tuck wing tips behind the chicken’s back to prevent burning during cooking.
Step 1
step1:Pat Chicken Dry
2

Mix Spice Rub

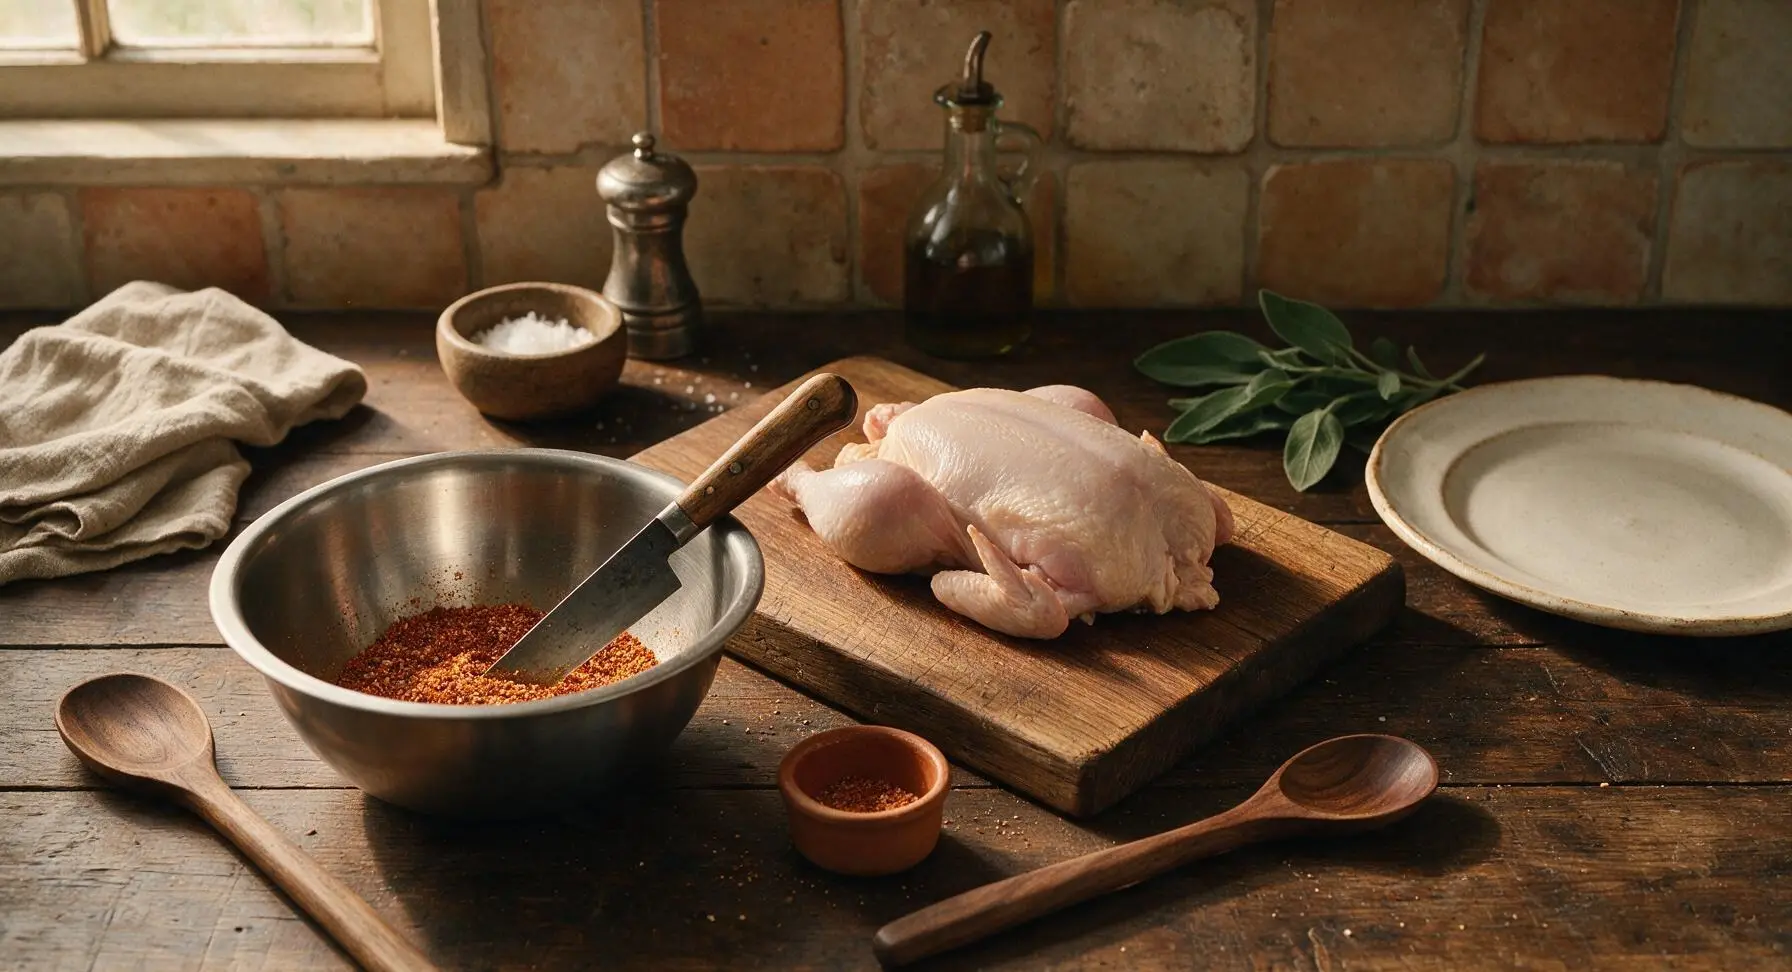
In the 1-quart brushed stainless steel mixing bowl, combine 1 tbsp kosher salt, 1 tsp freshly ground black pepper, 1 tsp garlic powder, and 1 tsp sweet smoked paprika. Stir with the tip of the walnut-handled utility knife until fully blended, with no clumps of paprika or garlic powder remaining.
Step 2
step2:Mix Spice Rub
3

Coat Chicken with Seasoning

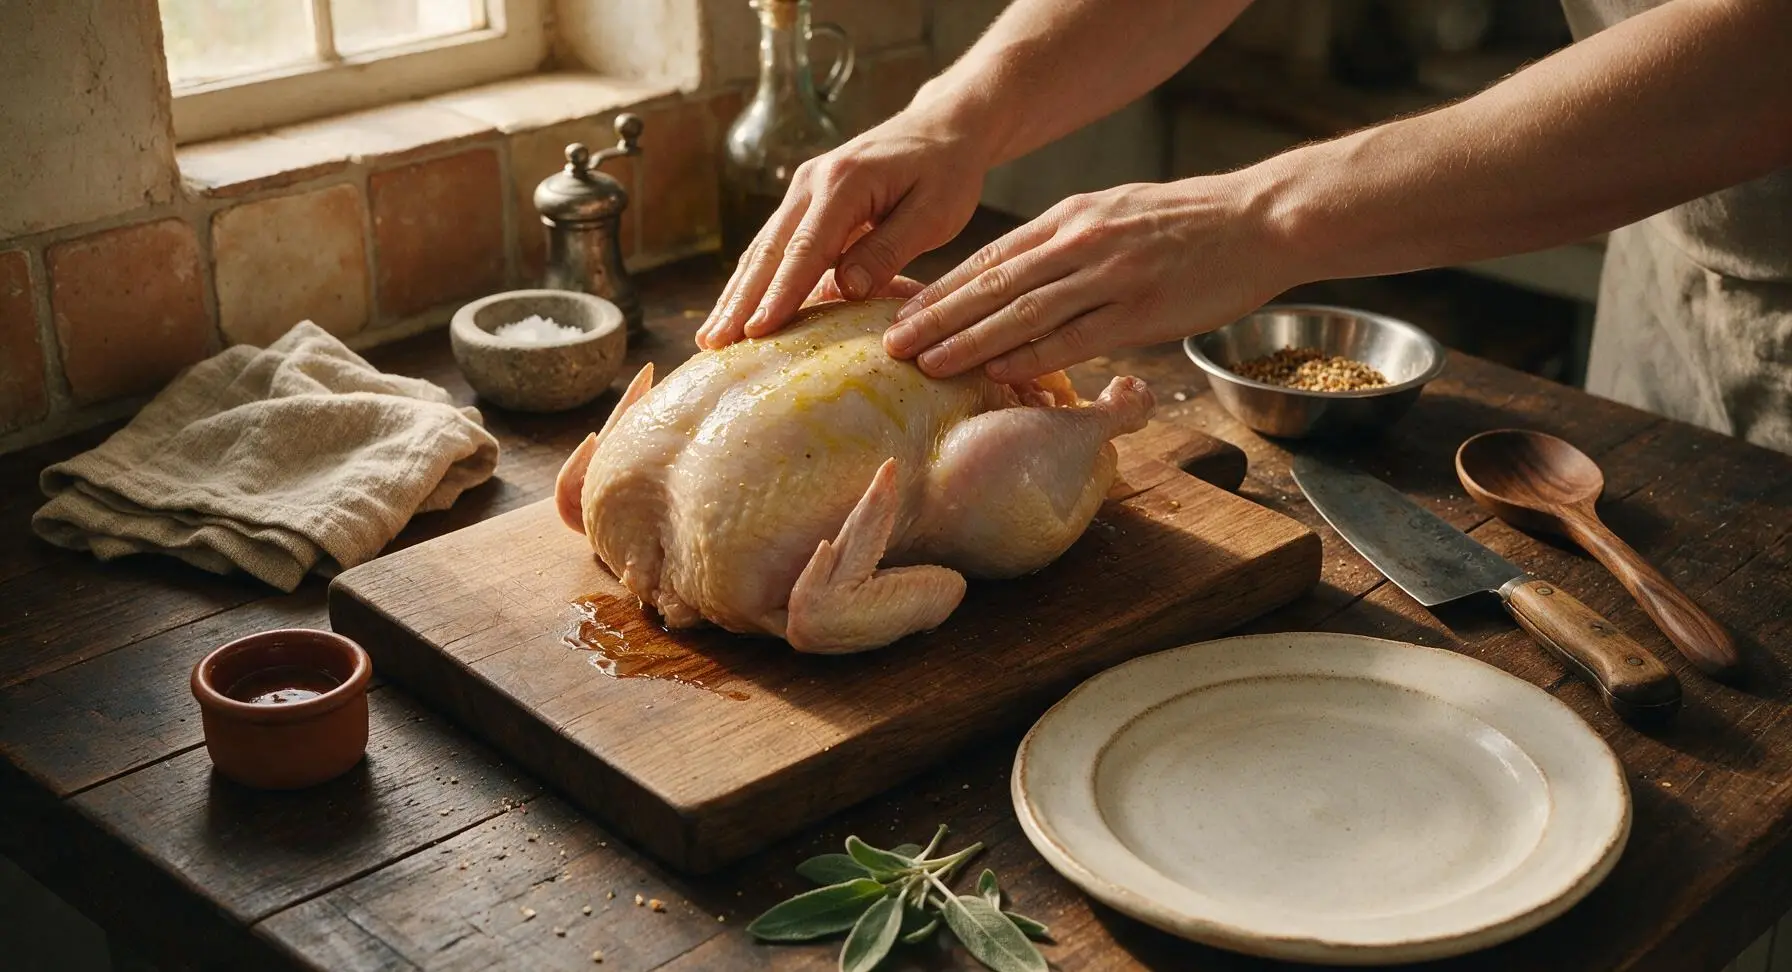
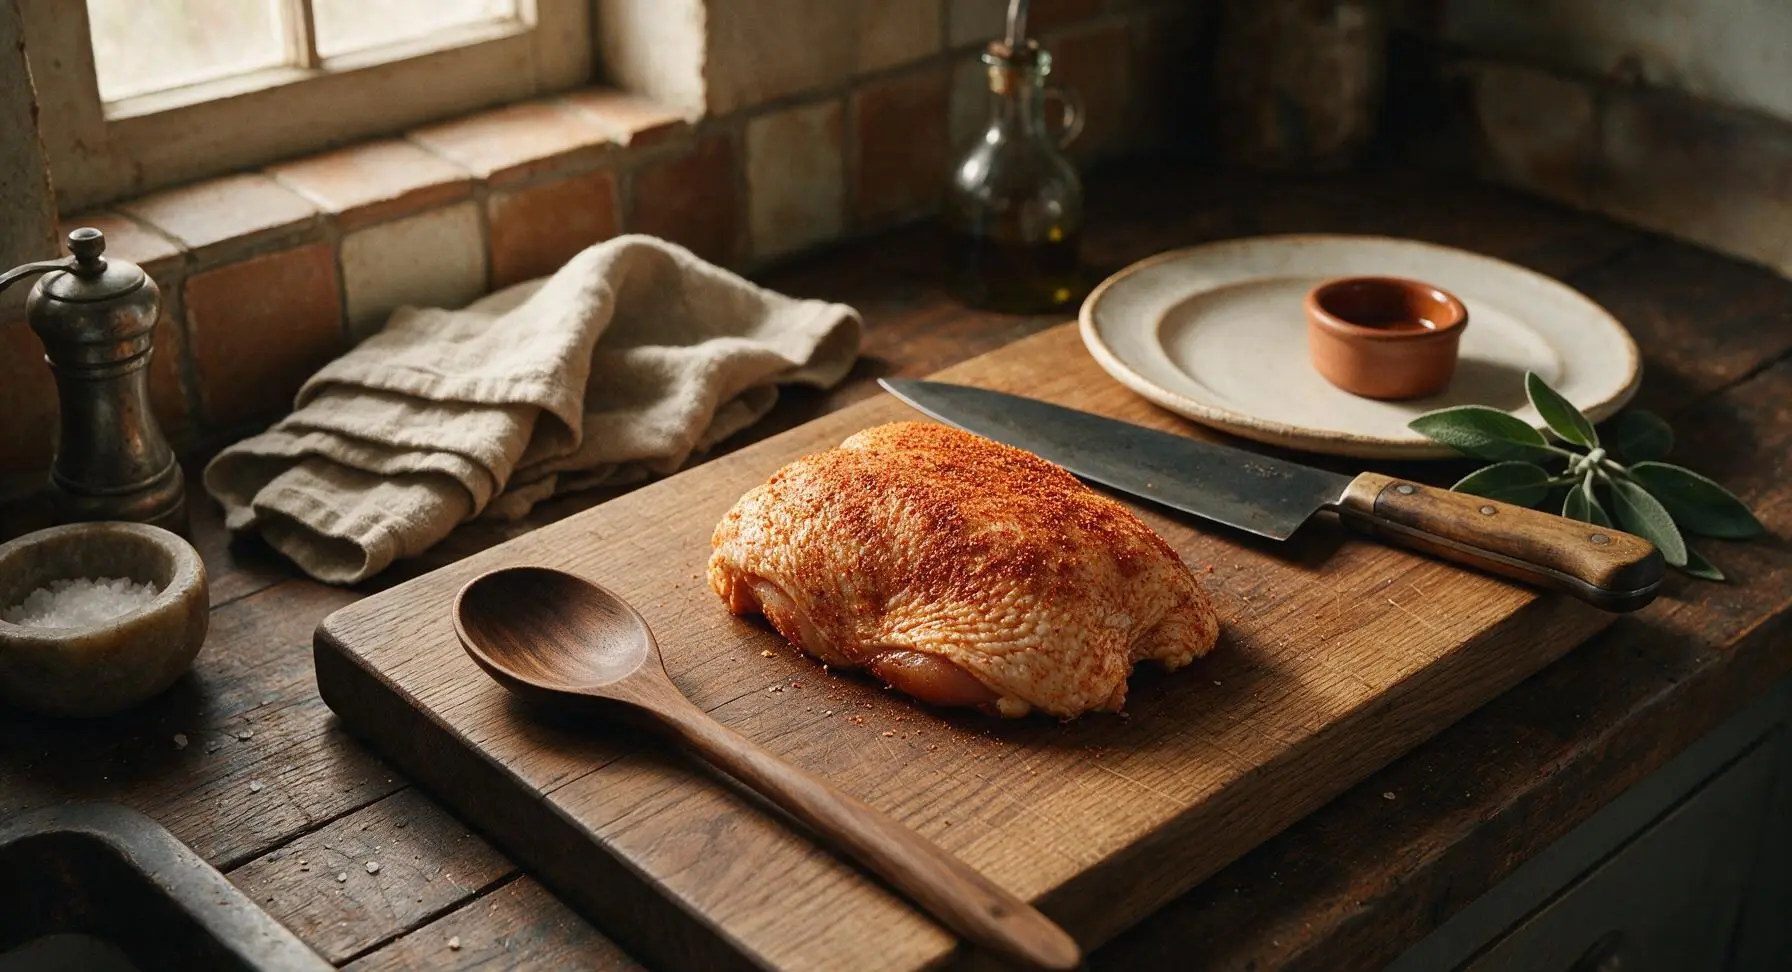
Drizzle 2 tbsp extra-virgin olive oil over the entire outer surface of the chicken, rubbing it evenly across all skin areas with clean hands. Sprinkle 3/4 of the spice rub across the oiled skin, pressing gently to help the spices adhere. Sprinkle the remaining 1/4 of the rub inside the chicken cavity for deep, even flavor.
Step 3
step3:Coat Chicken with Seasoning
Step 3
step3:Coat Chicken with Seasoning
4

Stuff Cavity with Aromatics

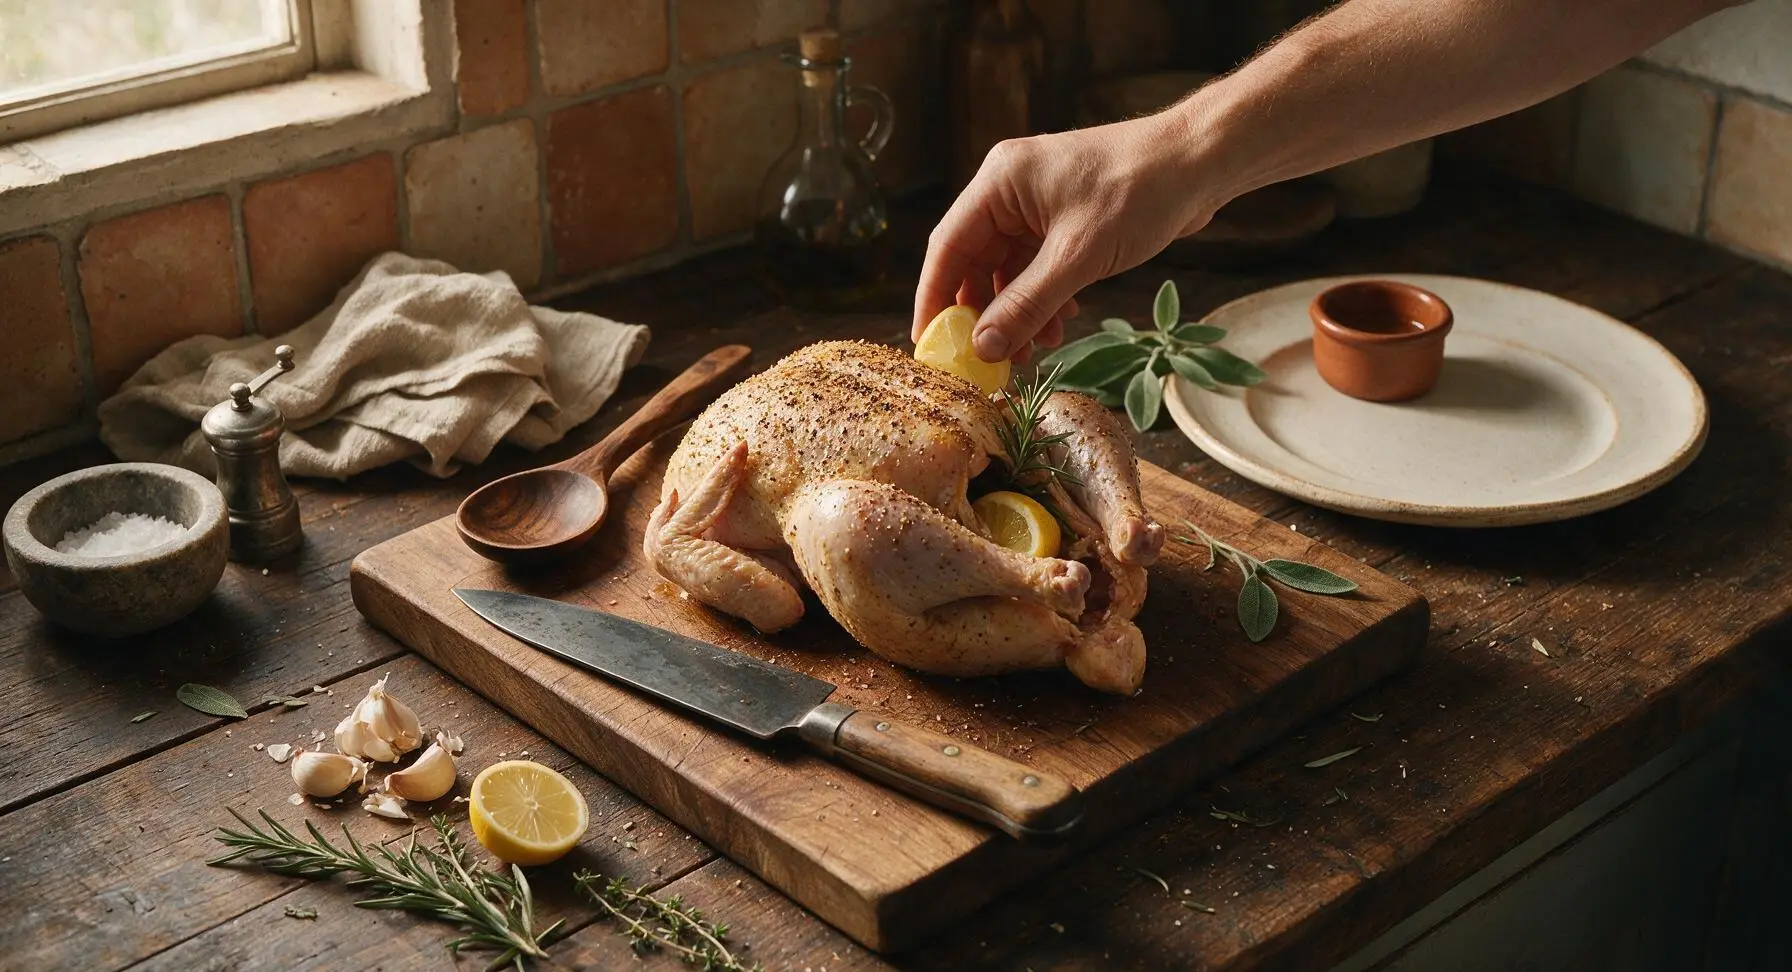
Stuff the chicken cavity with 4 lightly crushed garlic cloves, 2 rosemary sprigs, 3 thyme sprigs, and quartered small lemon. Do not overpack the cavity—leave small air gaps to allow hot air to circulate for even cooking. Trussing is not required for air fryer roast chicken, as the strong circulating air will reach all sides of the bird without it.
Step 4
step4:Stuff Cavity with Aromatics
5

Air Fry the Chicken

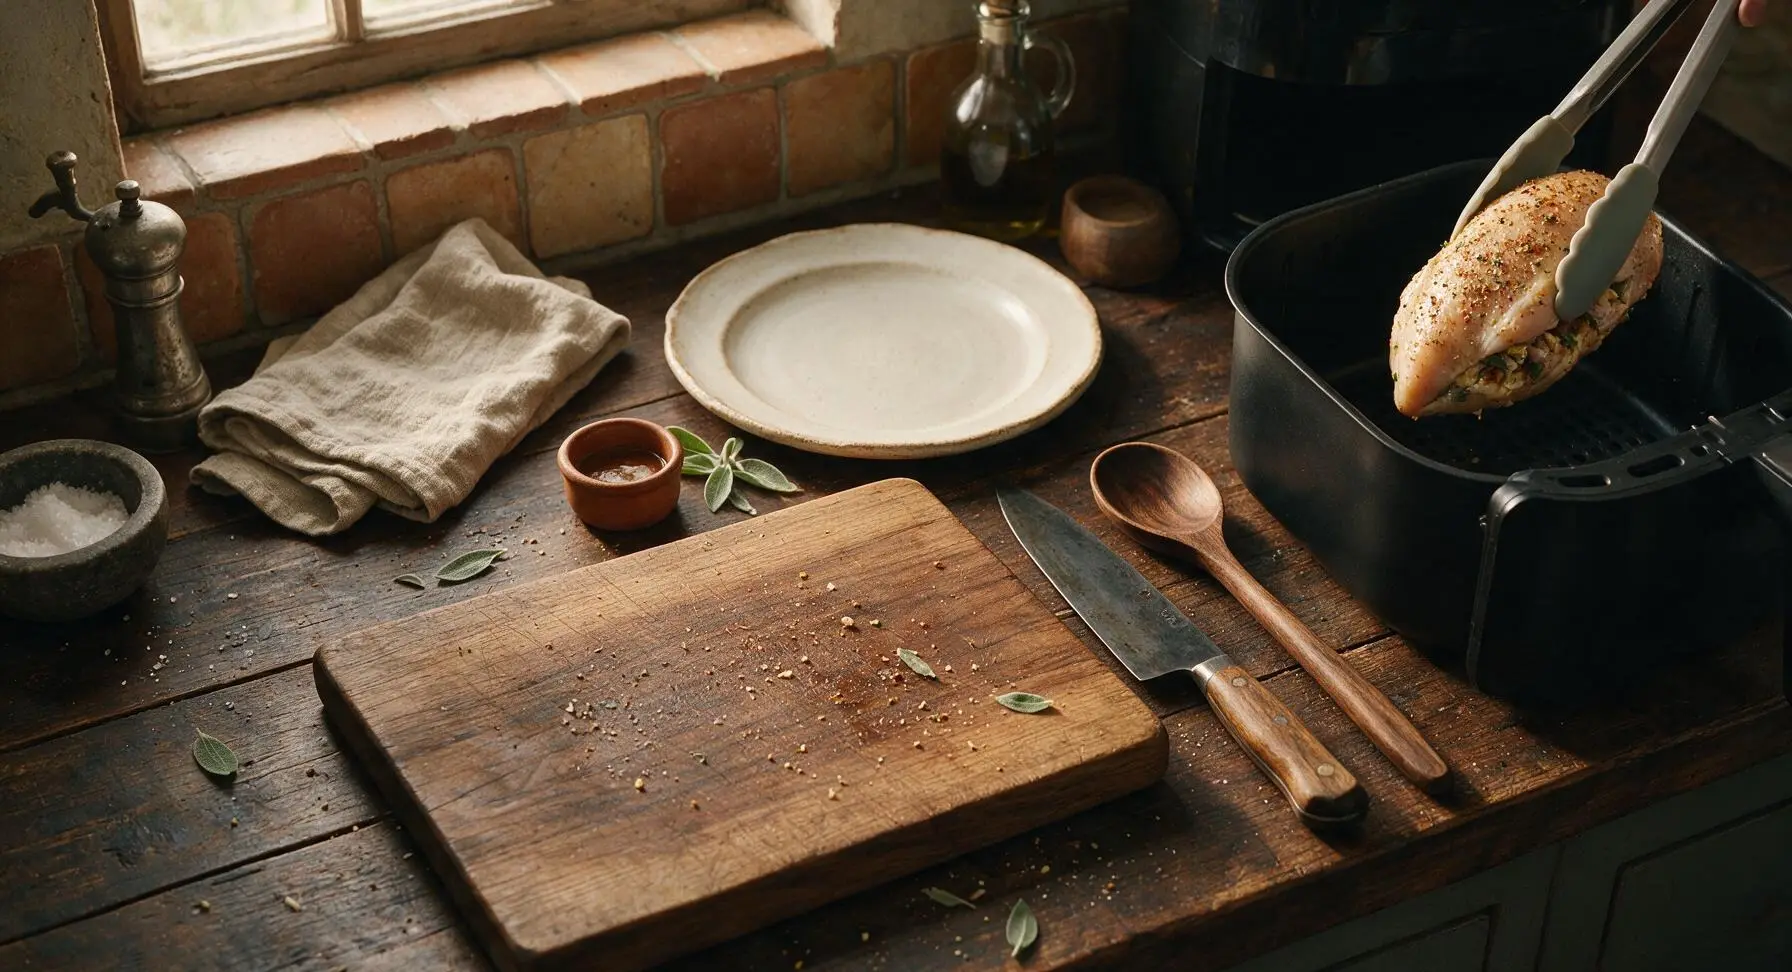
Use the silicone-tipped tongs to carefully lower the seasoned chicken breast-side up into the basket of the matte black air fryer; no parchment liner is needed. Cook at 360°F (180°C) for 35 minutes, then increase the temperature to 400°F (200°C) for a final 5 minutes to crisp the skin to deep golden amber. Do not flip the chicken during cooking, as this will tear the delicate breast skin and prevent crisping.
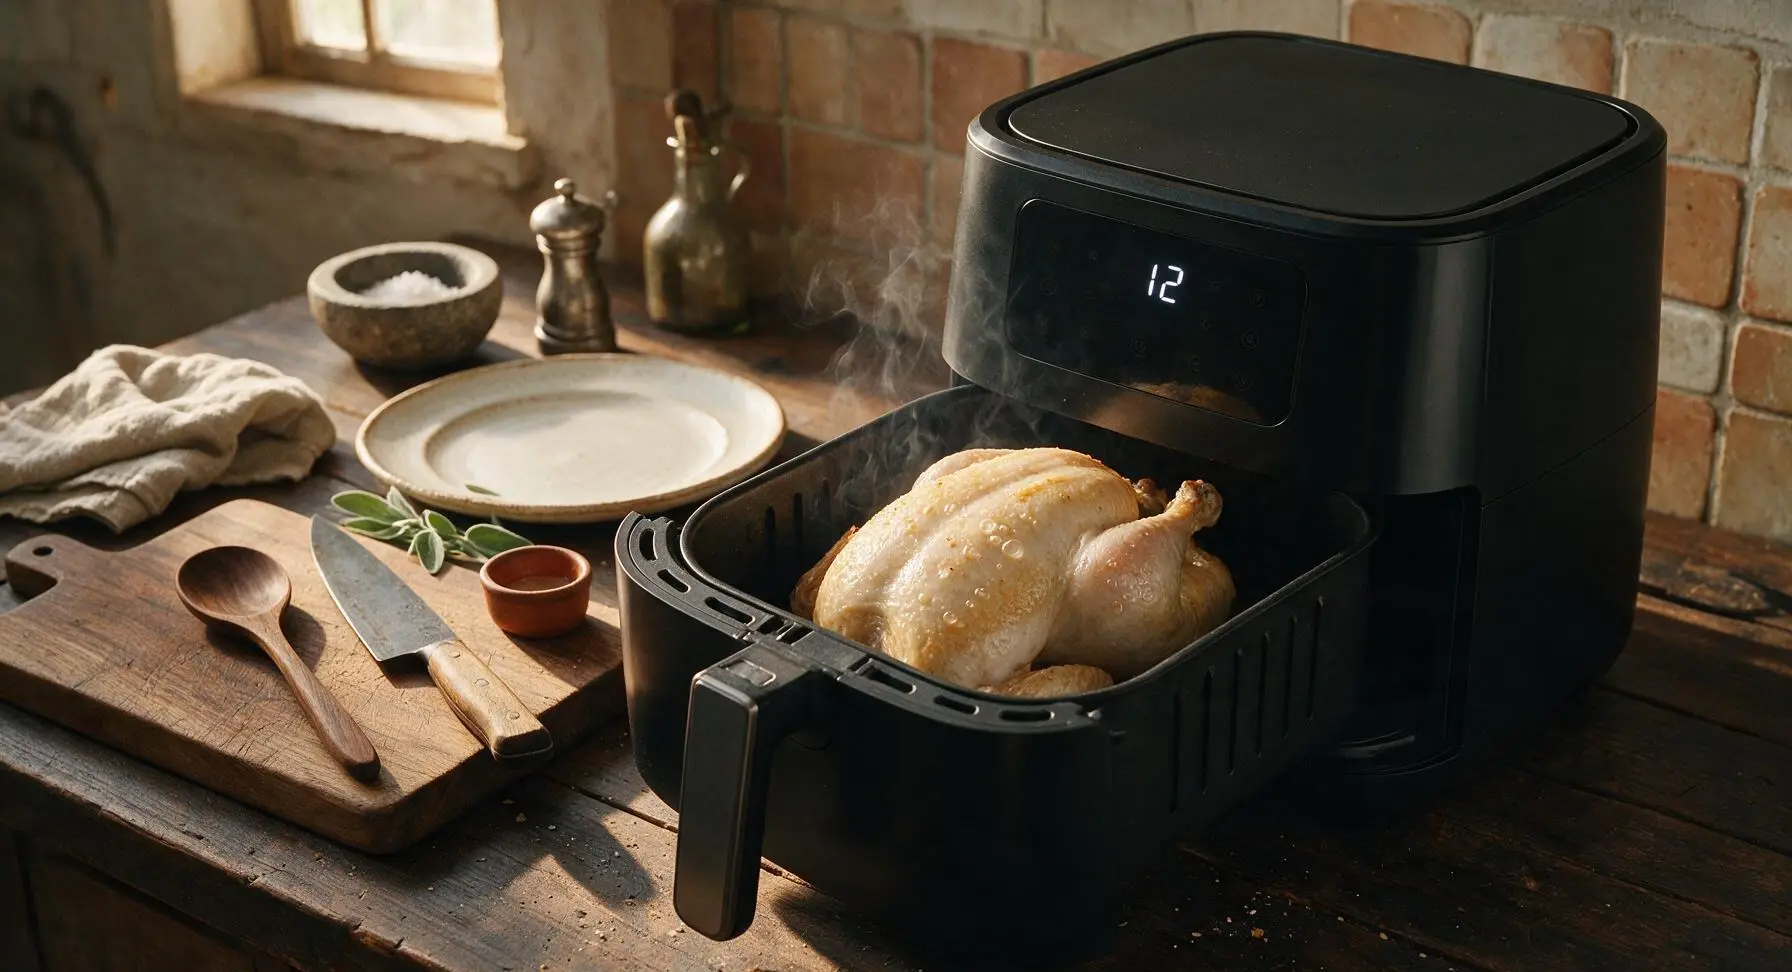
Step 5
step5:Air Fry the Chicken
Step 5
step5:Air Fry the Chicken
6

Verify Internal Temperature

When the full 40 minute cook time completes, pull the air fryer basket out slightly. Insert the silver digital instant-read thermometer into the thickest part of the chicken thigh, taking care not to touch bone; the temperature should read 165°F (74°C) for safe, juicy doneness. If the temperature reads below 160°F, return the chicken to the air fryer for 3-5 additional minutes before rechecking. Fully cooked skin will be deep amber and crackly, with no pale soft patches.
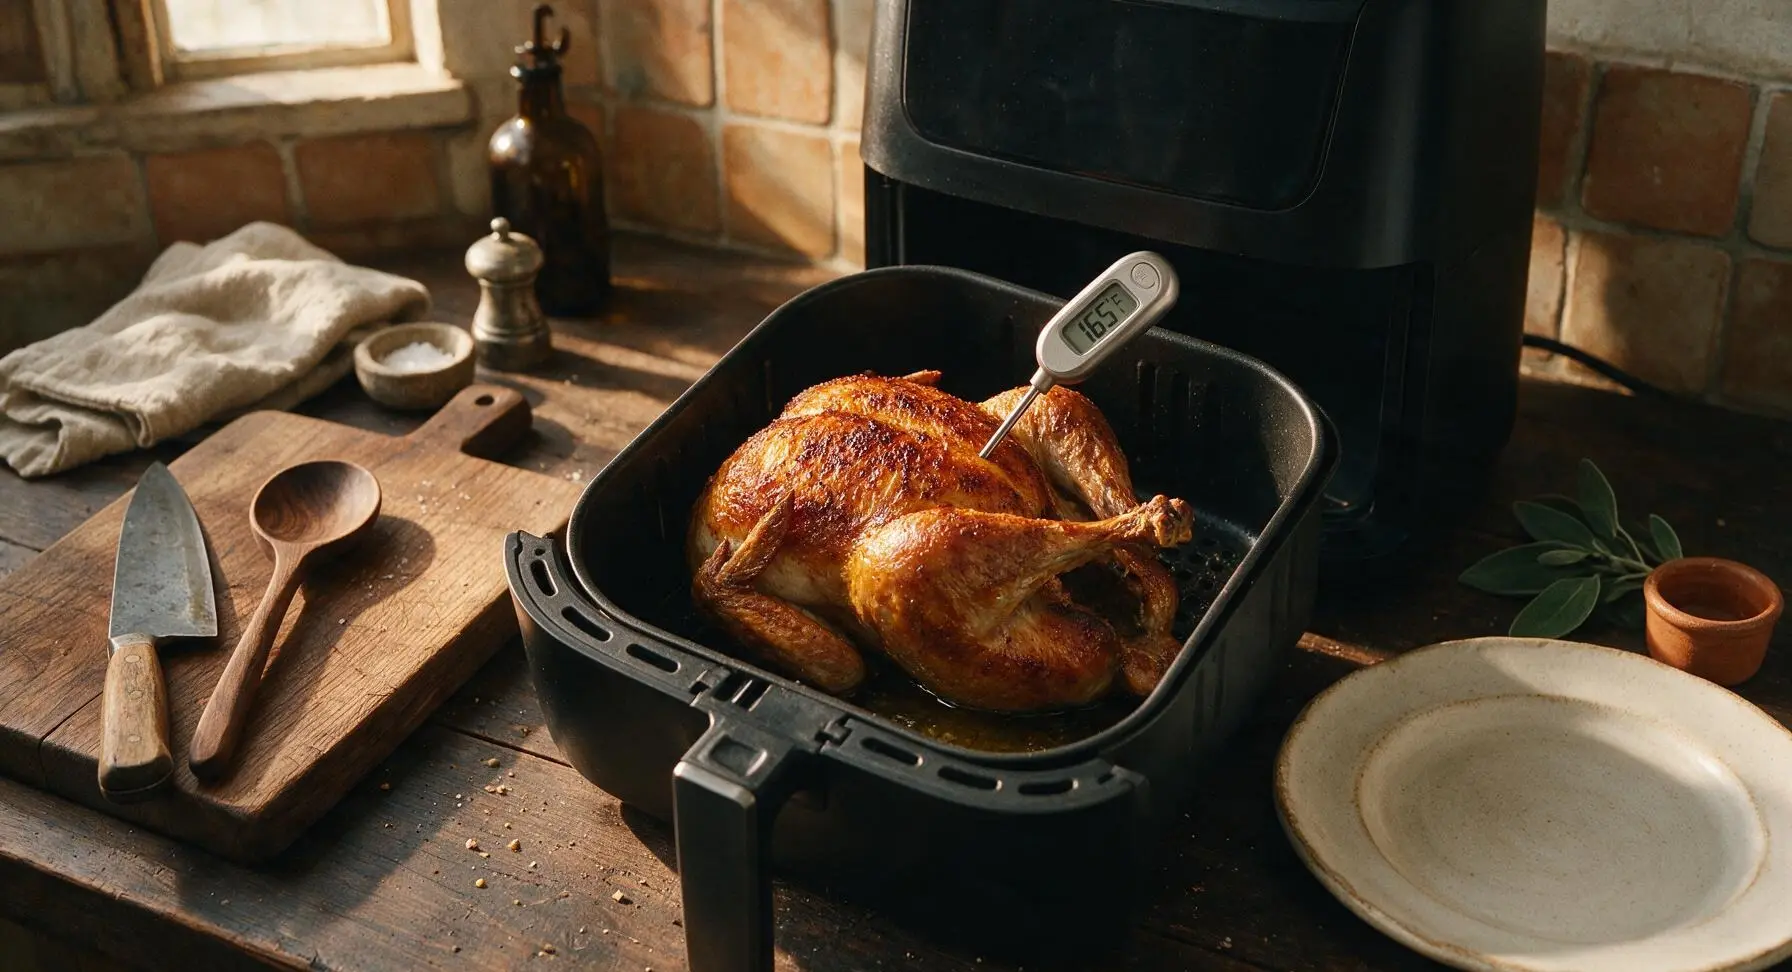
Step 6
step6:Verify Internal Temperature
7

Rest Chicken Before Serving

Use the silicone-tipped tongs to carefully lift the cooked chicken from the air fryer basket, transferring it to the fixed matte cream ceramic dinner plate with terracotta rim. Let rest 10 minutes at room temperature, loosely tented with a small scrap of unbleached parchment to retain warmth. Resting allows muscle fibers to relax and reabsorb juices, ensuring every bite is moist rather than having juices run out onto the plate when cut.
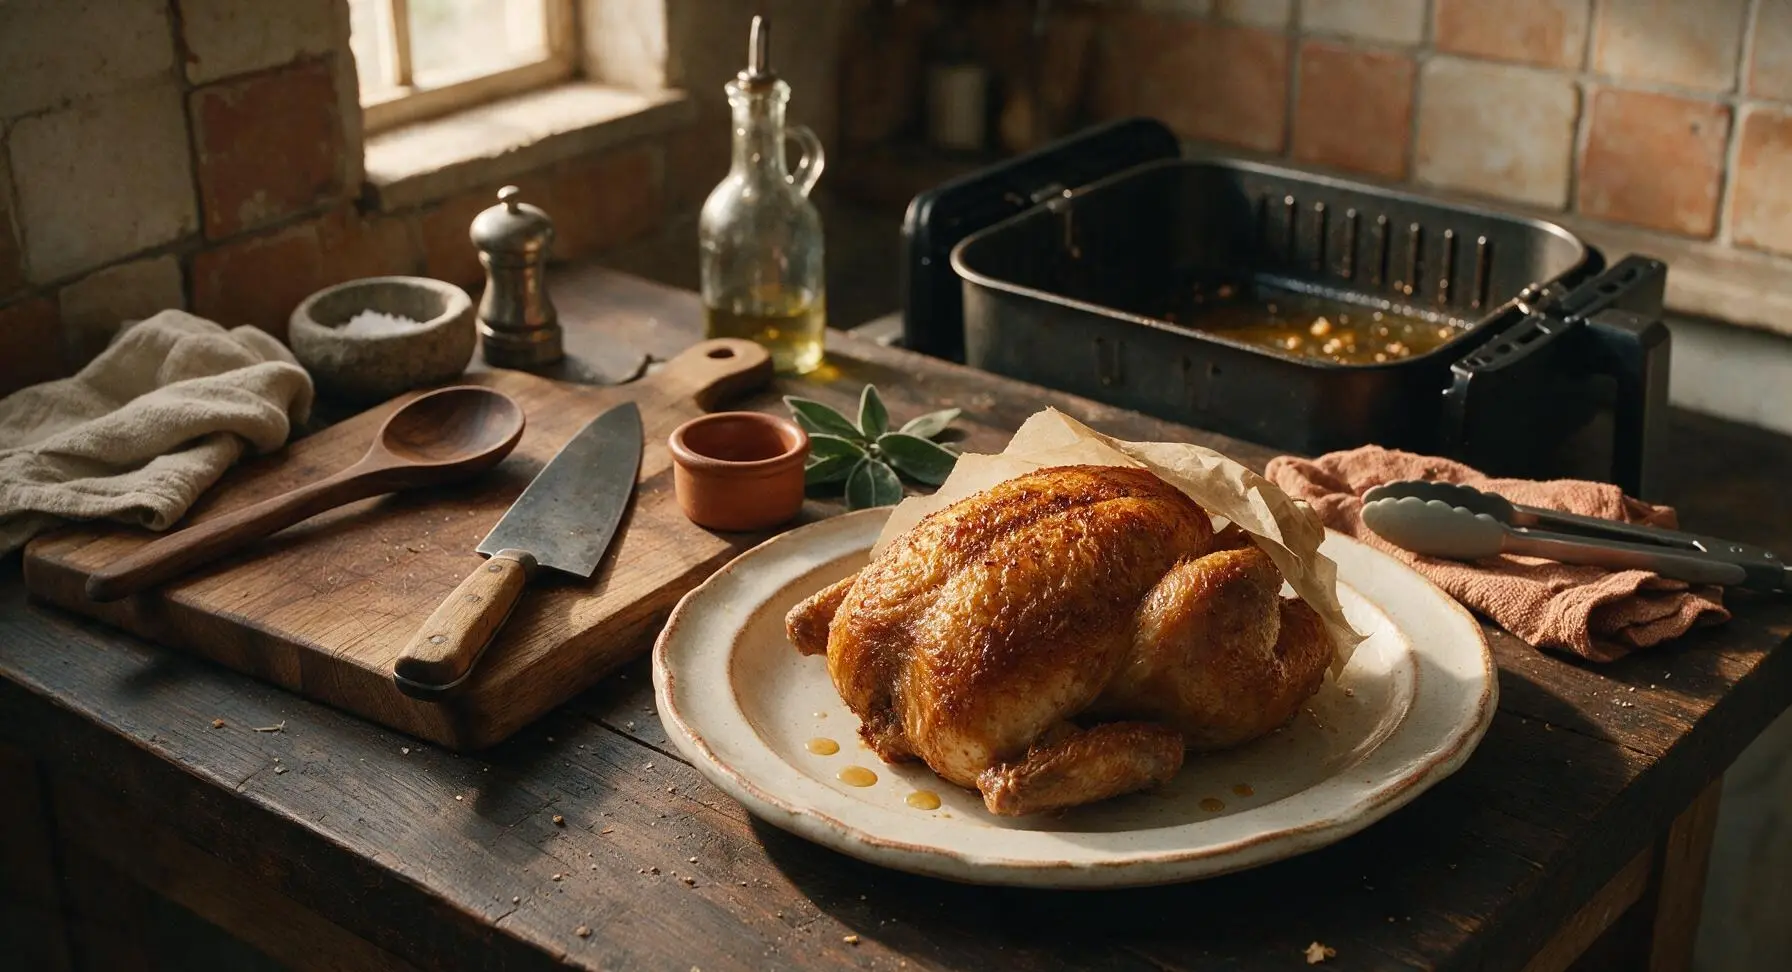
Step 7
step7:Rest Chicken Before Serving

Tips

1.Patting the chicken completely dry before seasoning is the single most important step for crisp skin: any residual moisture on the skin will steam rather than crisp in the air fryer’s circulating heat, leading to soft, rubbery skin instead of the desired shattery crunch.
2.Skip parchment paper or silicone liners in the air fryer basket for this recipe: liners block hot air circulation under the chicken, preventing the thigh and back skin from crisping evenly, and can add 5-10 minutes to total cook time. Rendered chicken fat will prevent the bird from sticking to a clean basket.
3.Avoid opening the air fryer basket repeatedly during cooking: every time the basket is pulled out, the internal air temperature drops by 25-30°F, which extends cook time and can prevent skin from reaching maximum crispness. Only open the basket to check doneness once the full programmed cook time has elapsed.


✨ You May Also Like

Main Course
🍜 United Kingdom

A showstopping classic of tender seared beef, savory mushroom duxelles, and crisp prosciutto wrapped in flaky golden puff pastry, baked to juicy perfection.

⏱️ 2 hours 1Main Course ★ 4.7
Main Course
🍜 India

Tender charred marinated chicken simmered in a rich, spiced creamy tomato sauce, this iconic Anglo-Indian curry pairs perfectly with basmati rice or warm naan.

⏱️ 50 minuteMain Course ★ 4.6
Main Course
🍜 Thailand

Classic tangy, sweet, and savory Thai stir-fried rice noodles with shrimp, tofu, and crunchy garnishes, balancing all five core Thai flavor profiles.

⏱️ 30 minuteMain Course ★ 4.5
Main Course
🍜 United Kingdom

Crispy golden beer-battered cod and fluffy double-fried chips, served with tangy tartar sauce and malt vinegar: the timeless, beloved British pub comfort classic.

⏱️ 45 minuteMain Course ★ 4.7
Main Course
🍜 Mexico

Smoky, chile-marinated pork tacos with caramelized pineapple, fresh cilantro, and lime: a beloved classic Mexican street food perfect for casual summer gatherings.

⏱️ 1 hour 45Main Course ★ 4.8
Main Course
🍜 United States

Crunchy Fritos corn chips layered with savory beef chili and melted cheddar, topped with cool, zesty fixings for a beloved, cozy Tex-Mex comfort food.

⏱️ 35 minuteMain Course ★ 4.8

roast chicken air fryer:Frequently Asked Questions

1.What size whole chicken fits best in a standard air fryer for this recipe? ▾
Stick to a 3.5 to 4 pound whole roasting chicken for most 5 to 6 quart air fryer models. This size sits in the basket without touching the top heating element, cooks evenly all the way through, and leaves enough air circulation around every side to get that perfectly shatteringly crisp skin without raw spots near the bone.
2.Do I really need to pat the chicken dry before cooking to get crispy skin? ▾
Absolutely—this step is non-negotiable for that shatteringly crisp skin. Any surface moisture on the chicken skin will steam instead of crisp as it cooks. Use paper towels to thoroughly pat every inch of the outside, and even dab the cavity dry, before rubbing on oil and seasonings for the best possible texture.
3.What internal temperature means the chicken is safe to eat and still juicy? ▾
Pull the chicken when the thickest part of the thigh (not touching bone) hits 165°F on an instant-read thermometer. The breast will usually sit around 160°F at that point, and carryover cooking will bring it up to a safe temp as it rests, so you won’t end up with dry, overcooked white meat.
4.How long do I need to rest the chicken after air frying? ▾
Let it rest for 10 full minutes on a cutting board tented loosely with foil before carving. This gives the hot, rushing juices inside the meat time to redistribute back into every fiber, instead of running all over your cutting board the second you slice into it, so every bite stays juicy.
5.Can I stuff the chicken cavity with aromatics for extra flavor? ▾
You absolutely can! Tuck a couple halved lemons, a few crushed garlic cloves, or sprigs of fresh thyme and rosemary into the cavity before cooking. Just skip heavy bread stuffing, since it won’t cook to a safe temperature fast enough in the air fryer and can throw off even air circulation for crisp skin.
6.Why is my chicken skin coming out soggy instead of crispy? ▾
Soggy skin almost always traces back to three common issues: you didn’t pat the skin fully dry before seasoning, your chicken was too large for the air fryer and blocked air flow, or you added veggies too early that released excess steam as they cooked. Stick to the recommended chicken size, dry it well, and leave space for air to circulate.
7.Do I need to flip the chicken halfway through cooking? ▾
Yes, I recommend cooking the chicken breast-side down for the first two-thirds of the cook time, then flipping it breast-side up for the final third. This lets fat render out of the back and thigh skin first, and prevents delicate breast meat from sitting too close to the top heating element and drying out before the thighs finish cooking.
8.Can I use dried herbs or extra seasonings beyond the base salt, pepper, and garlic powder? ▾
Definitely! The base seasoning is a classic blank canvas. Add ½ teaspoon of dried thyme, rosemary, smoked paprika, or onion powder to the rub if you’d like. Just avoid adding too much sugary seasoning like sweet barbecue rub, since it will burn quickly under the high circulating heat of the air fryer.
9.What air fryer temperature gives the best balance of crisp skin and juicy meat? ▾
Set your air fryer to 375°F for this recipe. That temp is hot enough to render skin fat and crisp the outer layer quickly without burning it, but gentle enough that thick thigh meat cooks through to a safe temperature before thinner breast meat gets overcooked and dried out.
10.Do I need to truss the chicken before putting it in the air fryer? ▾
Trussing is totally optional here, but it does help the chicken cook more evenly. If you truss, tie the legs together loosely with kitchen twine and tuck the wing tips under the body so they don’t burn from being too close to the heating element. Skip tight trussing, though, since it can block air flow to the inner thighs.
11.Can I cook a frozen chicken in the air fryer for this recipe? ▾
I don’t recommend starting with fully frozen chicken for this recipe. Frozen chicken releases a huge amount of excess moisture as it thaws during cooking, which will leave you with soggy, rubbery skin and unevenly cooked meat that may not reach a safe internal temperature. Thaw it fully in the fridge first for best results.
12.How do I keep the breast meat from drying out during cooking? ▾
The easiest trick is to cook the chicken breast-side down for the first 25 minutes of cook time before flipping. That lets all rendered fat and juices drip down into the breast meat as it cooks, instead of running away from the white meat, and keeps it tender and juicy without requiring a long brine for most 3-4 pound birds.
13.Can I add vegetables to the air fryer basket to cook with the chicken? ▾
You can, but add them during the last 15 to 20 minutes of cook time. If you add veggies too early, they’ll release a lot of steam as they roast that will make the chicken skin soggy. Toss root veggies like carrots, potatoes, or parsnips in a little oil and seasoning, and arrange them in a single layer around the chicken for a full one-basket meal.
14.How long does a 4-pound chicken take to cook fully in the air fryer? ▾
A 4-pound chicken will take roughly 55 to 65 minutes total at 375°F, depending on your specific air fryer model. Always rely on an instant-read thermometer instead of a set timer, since air fryer heat levels can vary pretty widely between brands, and undercooked chicken is never worth the risk.
15.Do I need to preheat my air fryer before adding the chicken? ▾
Preheating for 3 minutes is enough for this recipe—you don’t need a full 10 minute preheat like you would with a traditional oven. A short preheat helps the skin start crisping as soon as the chicken goes in, but a long preheat can lead to uneven cooking and burnt wing tips before the rest of the chicken is done.
16.Can I brine the chicken ahead of time for extra juiciness? ▾
Absolutely! A simple dry brine works beautifully here: rub the chicken all over with kosher salt 12 to 24 hours before cooking, and let it sit uncovered on a wire rack in the fridge. This seasons the meat all the way through, draws out excess surface moisture for extra crisp skin, and makes every bite even juicier.
17.What should I do if the wing tips or leg ends are browning too fast? ▾
If you notice small, thin parts like wing tips or drumstick ends getting dark before the rest of the chicken is up to temp, just wrap those small spots in tiny pieces of aluminum foil. The foil will block direct circulating heat from burning those spots, while still letting air flow around the rest of the chicken to crisp skin evenly.
18.How should I store leftover air fryer roast chicken? ▾
Let leftover chicken cool to room temperature within 2 hours of cooking, then remove the meat from the bones and store it in an airtight container in the fridge for up to 4 days. Keep the skin separate if you want to re-crisp it in the air fryer for 2 minutes when reheating, since storing it with moist meat will make it go soft.

Comments (11)

2 days ago

OMG this air fryer chicken was a total game changer for our Sunday family dinner! The skin was so crispy I thought I’d deep fried it, and the meat was juicy all the way through, no dry breast at all! My 3 kids devoured two drumsticks each and asked when we’re making it again. 10/10 way easier than roasting in the oven for 2 hours.

yesterday

Wait did you truss the chicken like the recipe says? I skipped that step last time and it was a little uneven, curious if that made the difference for you!

yesterday

So glad your family loved it! Trussing does help the chicken cook more evenly, but even if you skip it, just make sure to flip the chicken halfway through cook time for crisp skin all over!

3 days ago

This is going into my weekly meal prep rotation for sure! 40 minutes cook time is unbeatable, I seasoned it with the paprika and garlic powder the recipe recommends plus a little extra cayenne for a kick, and it stayed juicy even after I reheated slices for lunch all week. SO good, way better than grabbing rotisserie chicken from the grocery store.

2 days ago

Love that you added a little cayenne kick! Great tip for meal prep too — leftover chicken works amazing in salads, wraps, and soups for days after you make it!

5 minutes ago

As someone who burns literally everything I try to make in the kitchen, this recipe was so foolproof! I was convinced air fryer chicken would come out dry or rubbery, but following the temp guide exactly gave me perfect crispy skin, zero burnt bits, and it cooked way faster than I expected. My roommates thought I ordered takeout lmao. Will be making this every other week for sure.

1 week ago

I was skeptical about cooking a whole chicken in the air fryer, I’ve always used my old roasting pan in the oven for 60+ years! My granddaughter talked me into trying this, and wow — the skin is crispier than any oven roast I’ve ever made, and clean up was a breeze since I just lined the air fryer basket with foil. Only thing I changed was adding a little lemon and thyme inside the cavity, just like I always do.

5 days ago

The lemon and thyme addition sounds amazing! I bet that adds such a bright flavor to the meat, I’m definitely stealing that trick next time I make this!

3 days ago

Fellow old-timer here! I was also skeptical about the air fryer for whole chicken, but you’re so right about the clean up — no scrubbing a giant roasting pan is worth the switch alone!

2 hours ago

Really solid recipe! The chicken came out super juicy, though the skin on the bottom side was a little less crispy than the top for me. I think next time I’ll spritz a little extra oil on the skin before cooking and make sure my air fryer is fully preheated like the recipe mentions. Even with that, it was way better than I expected for a 40 minute cook time.

1 week ago

Made this for our neighborhood potluck last weekend and people were hounding me for the recipe all night! I carved it up right before serving and paired it with roasted veggies I made in the air fryer too. Total crowd pleaser, even the picky eaters went back for seconds.

5 days ago

Wait was this the chicken you brought?! I had two pieces it was SO good, I can’t believe you made it in an air fryer! Saving this recipe right now to make for my grandkids next weekend.

30 minutes ago

Made this last week at my parents’ house and it was incredible, but I have a quick question before I make it at my place this weekend — my apartment air fryer is a smaller 4 quart model, will a whole 4lb chicken fit in there okay? I don’t want to cram it in and have it not crisp up right like it did at my parents’! I’ve been craving it ever since I had it last week.

5 minutes ago

Great question! A 3-3.5lb chicken will fit perfectly in a 4 quart air fryer, I’d recommend grabbing a slightly smaller bird so there’s enough air flow around it to get that crispy skin all over. You can always tuck the wings in tight to save a little extra space too!

just now

I have a 4 quart too! I made this last week with a 3.2lb chicken and it worked perfectly, just make sure you don’t line the bottom with parchment the whole time or it blocks the air flow. Turned out amazing!

2 weeks ago

Pro tip if you want next level flavor: pat the chicken completely dry with paper towels before rubbing the seasoning on, and let it sit in the fridge uncovered for an hour before air frying. The skin gets so shatteringly crispy it’s insane. This recipe is a perfect base, I’ve made it 3 times in the last two weeks!

1 week ago

That’s such a fantastic pro tip! Patting the skin dry is the secret to next-level crispiness, that fridge rest trick is chef’s kiss. So happy you’re loving the recipe!

just now

First time ever making a whole chicken and I didn’t mess it up!!! I forgot to add the garlic powder the recipe calls for but it still tasted so good, the cook time was exactly right, no pink meat, no dry spots. My boyfriend said it’s better than the rotisserie chicken we get from the warehouse club. Total win for a quick weeknight dinner.

5 days ago

This is such a great high protein meal for my post-workout dinners! I love that I don’t have to add a ton of oil to get it crispy, the nutrition info lines up perfectly with my macro goals, and I can pair it with roasted broccoli or quinoa for a balanced meal. Way less hassle than grilling chicken breasts every night.

3 days ago

Totally agree! I’ve been eating this for post-gym dinners too, the dark meat has such good flavor and it’s way less boring than plain chicken breast. Great call pairing it with broccoli!

yesterday

Wait, I followed the recipe exactly but the thick part of the thigh was still 155 degrees when I pulled it out after 40 minutes, had to pop it back in for 8 extra minutes. Did I do something wrong? The parts that were cooked were amazing, crispy and juicy, just needed extra time for my machine I guess?

yesterday

So glad the cooked parts tasted great! All air fryers run a little different temperature-wise, which is why we always recommend using a meat thermometer to check for 165°F in the thickest part of the thigh. If your air fryer runs on the cooler side, adding 5-10 minutes is totally normal, no misstep on your end!



