
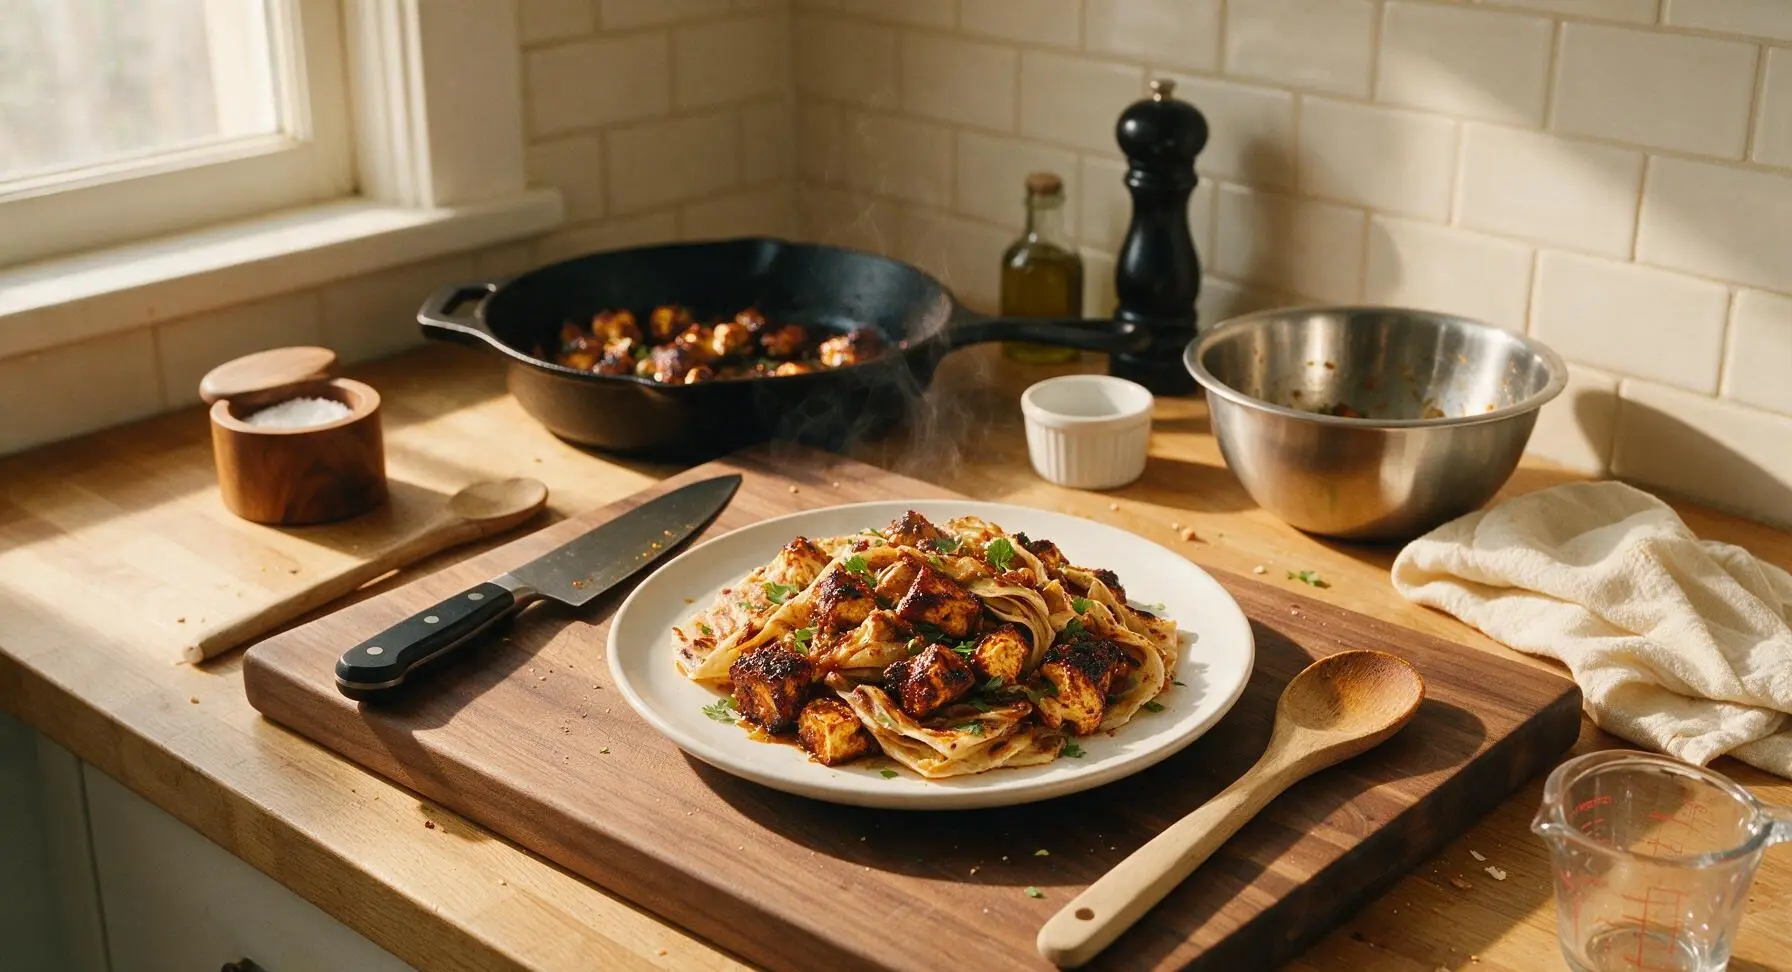
Roti Burnt Ends

title 1
Roti Burnt Ends
⏱️ cook time 35 minutes
🍽️ servings 4
⚡ Difficulty medium

intro

Sticky, smoky roti and paneer burnt ends tossed in spiced masala BBQ sauce, with crispy charred edges—an irresistible Indo-American fusion bite perfect for summer cookouts.

Ingredients
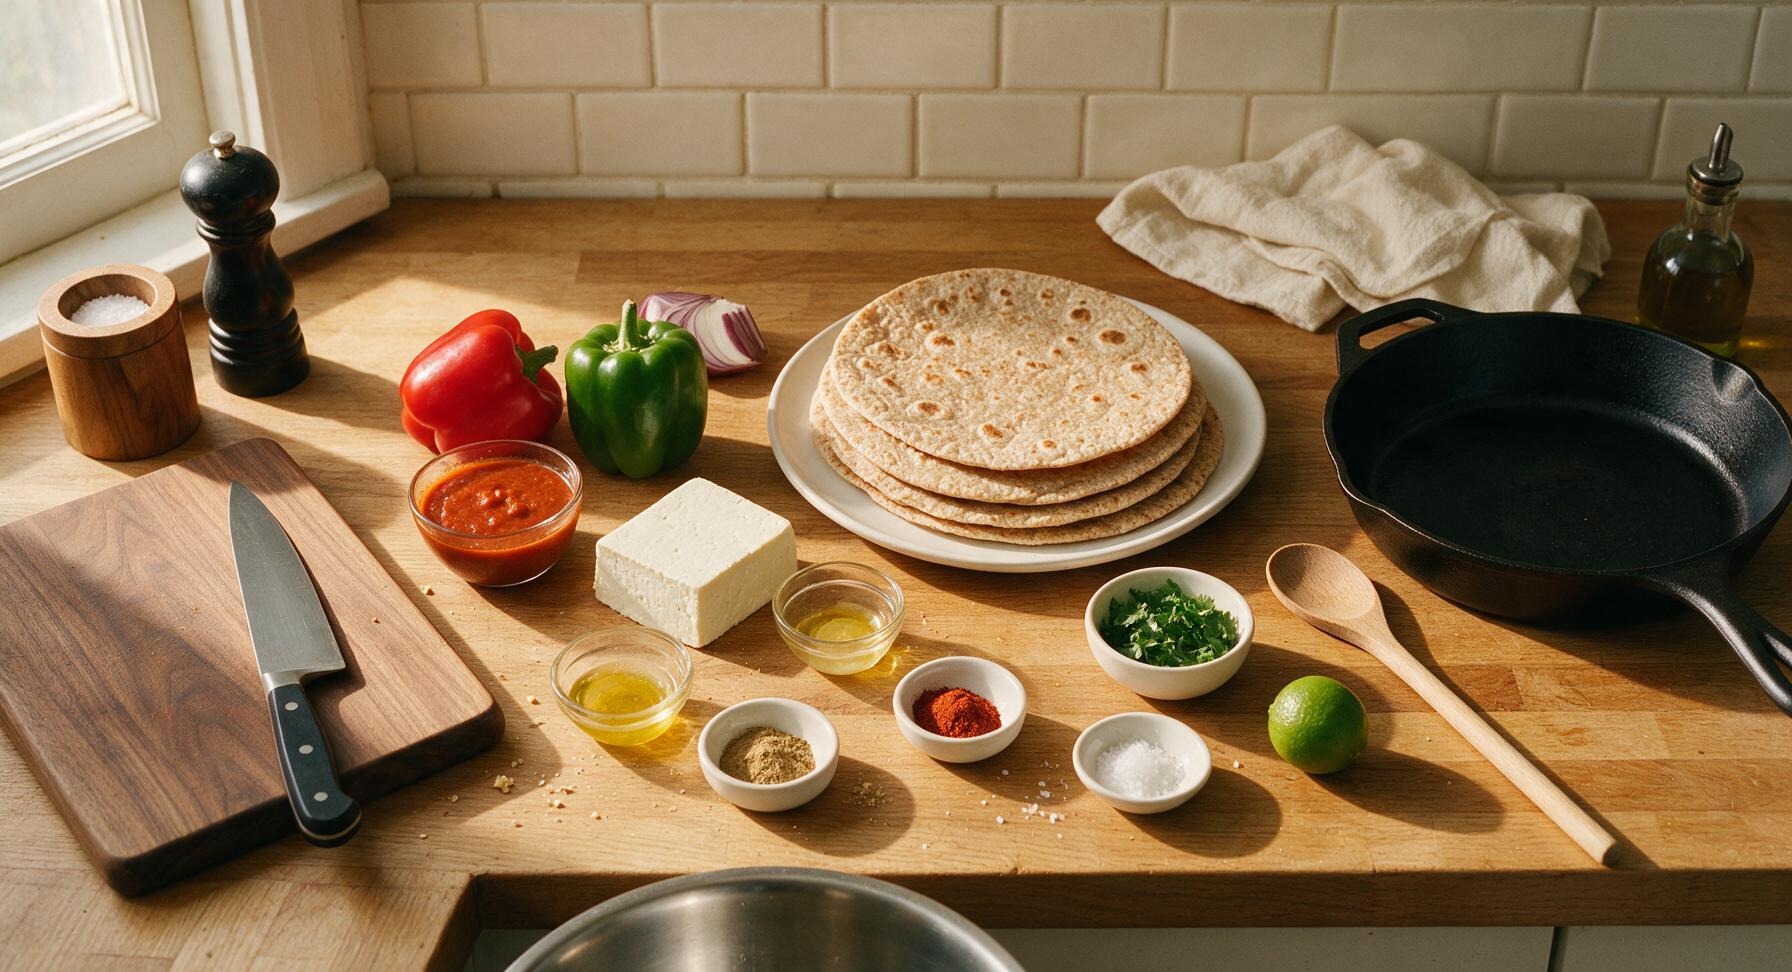
Whole wheat roti (day-old preferred) 4 large (240g total)
Firm pressed paneer 250g
Red bell pepper 1 medium (150g)
Green bell pepper 1 medium (150g)
Small red onion 1 (100g)
Tangy masala BBQ sauce (tomato-based) 180ml
Ghee, melted 2 tbsp (30ml)
Smoked paprika 1 tsp
Garam masala 1 tsp
Ground cumin 1/2 tsp
Garlic powder 1/2 tsp
Flaky sea salt 1 tsp
Fresh cilantro 1/4 cup (10g), chopped
Fresh lime 1 small (1 tbsp juice)

Steps

1

Cube Roti and Paneer

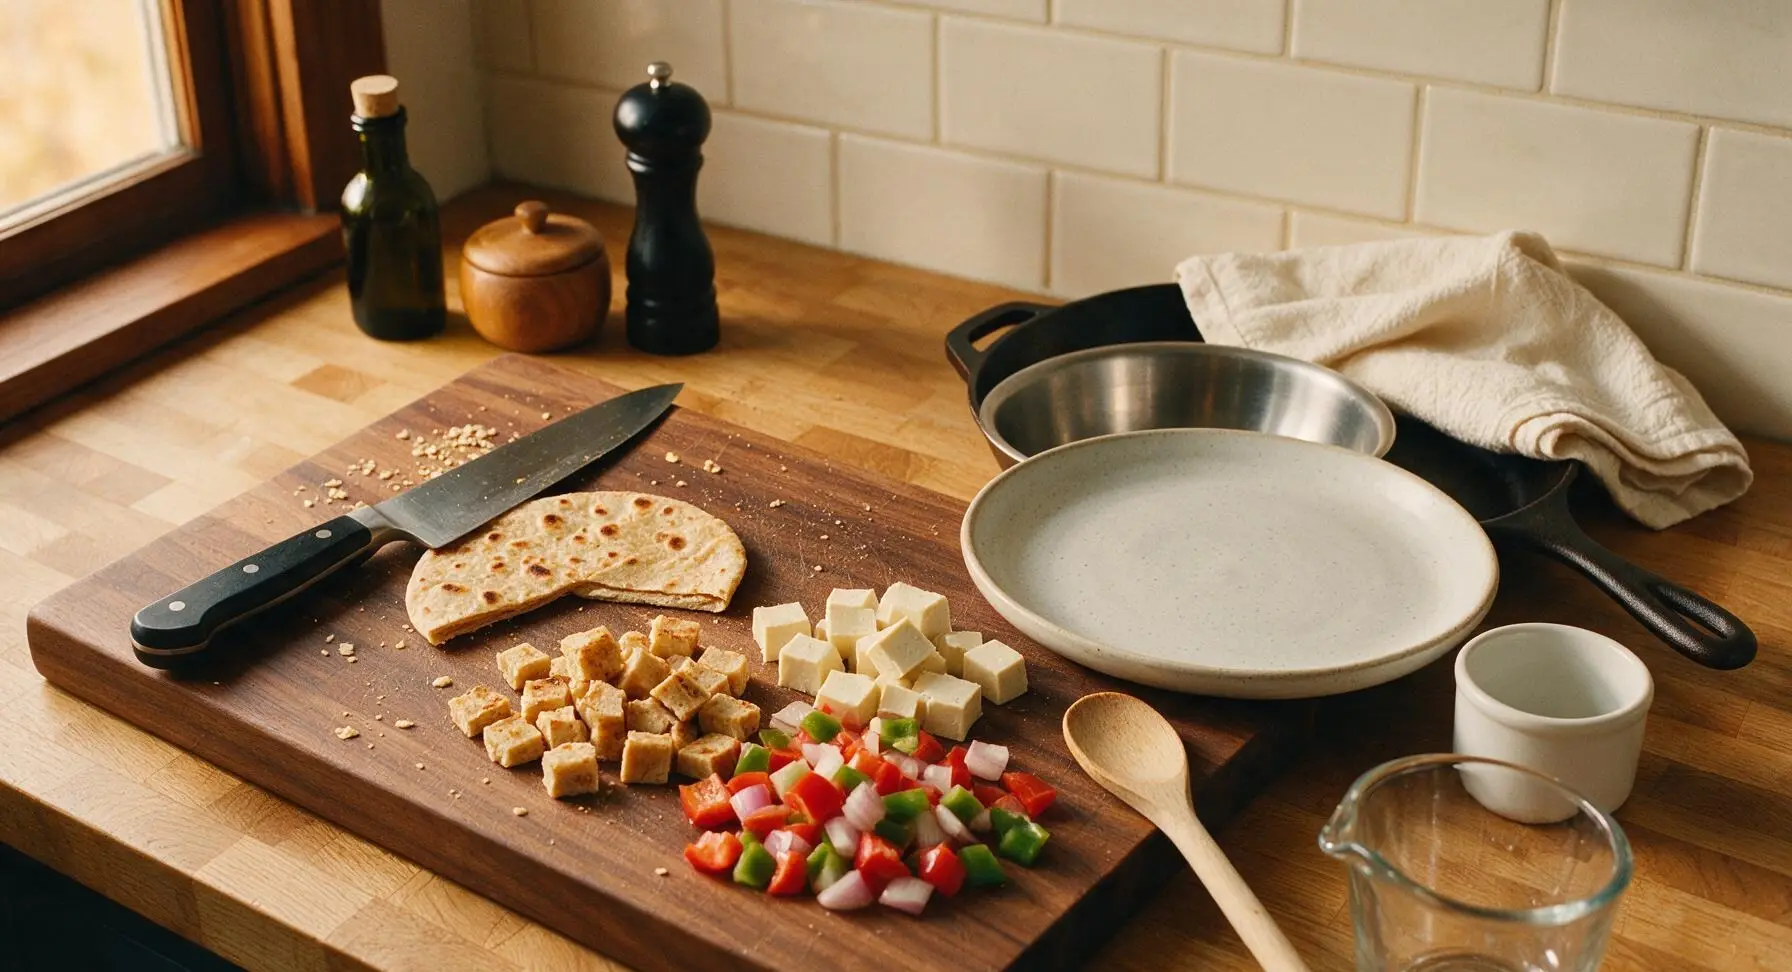
Place the day-old whole wheat rotis, block of pressed paneer, whole bell peppers, and small red onion on the teak cutting board. Using the 8-inch olive wood-handled chef knife, cut rotis into uniform 2.5cm (1-inch) cubes, paneer into matching 2.5cm cubes, and bell peppers and onion into same-sized 2.5cm chunks. Consistent sizing ensures every piece chars evenly without overcooking smaller bits.
Step 1
step1:Cube Roti and Paneer
2

Coat in Spiced Ghee

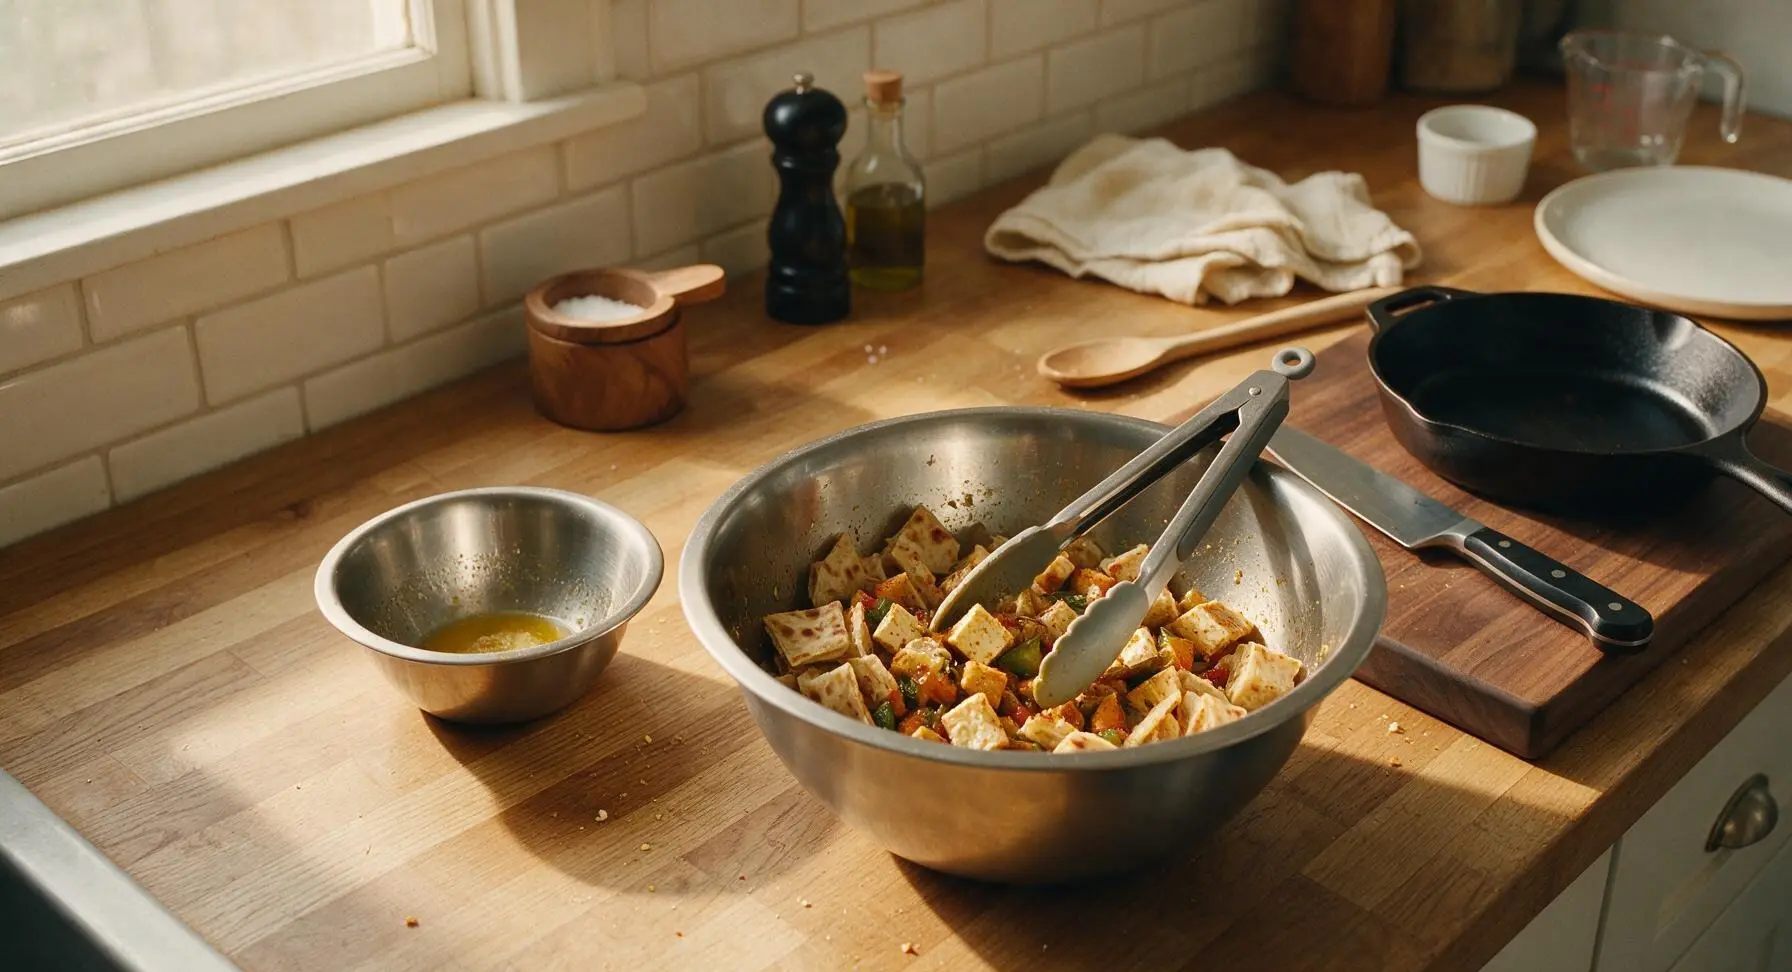
Add cubed roti, paneer, and vegetable chunks to the medium brushed stainless steel mixing bowl. Drizzle with 2 tablespoons of melted ghee, then add smoked paprika, garam masala, ground cumin, garlic powder, and 3/4 teaspoon of flaky sea salt. Toss gently with the silicone-tipped tongs until every piece is lightly and evenly coated in spiced ghee, taking care not to crumble the soft paneer or break roti cubes.
Step 2
step2:Coat in Spiced Ghee
3

Sear for Char Marks

Place the 12-inch matte black carbon steel grill pan over medium-high heat, preheating for 3 minutes until a drop of water sizzles and evaporates in 1 second on contact. Working in 2 even batches to avoid overcrowding, add coated roti, paneer, and veggie pieces in a single layer. Cook 8–10 minutes per batch, turning occasionally with tongs, until all pieces have dark, defined grill marks, roti edges are crispy, and paneer is golden brown. Transfer cooked batches to the chrome wire cooling rack set inside the rimmed aluminum baking sheet to rest for 2 minutes.
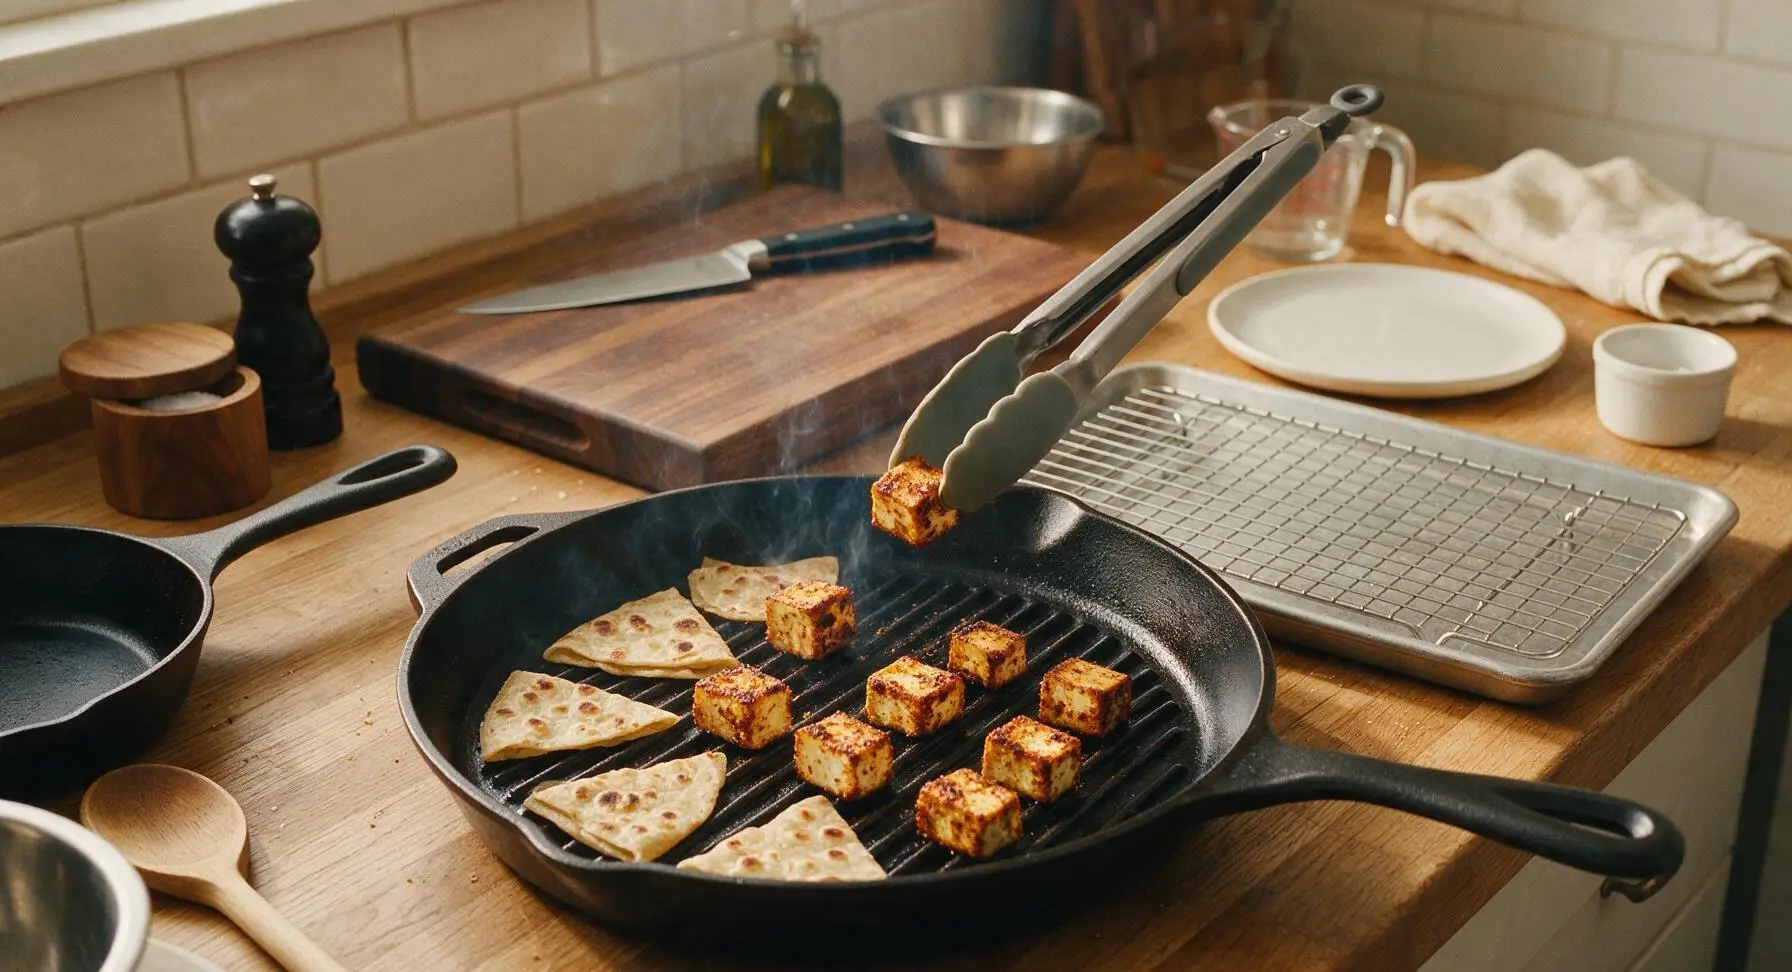
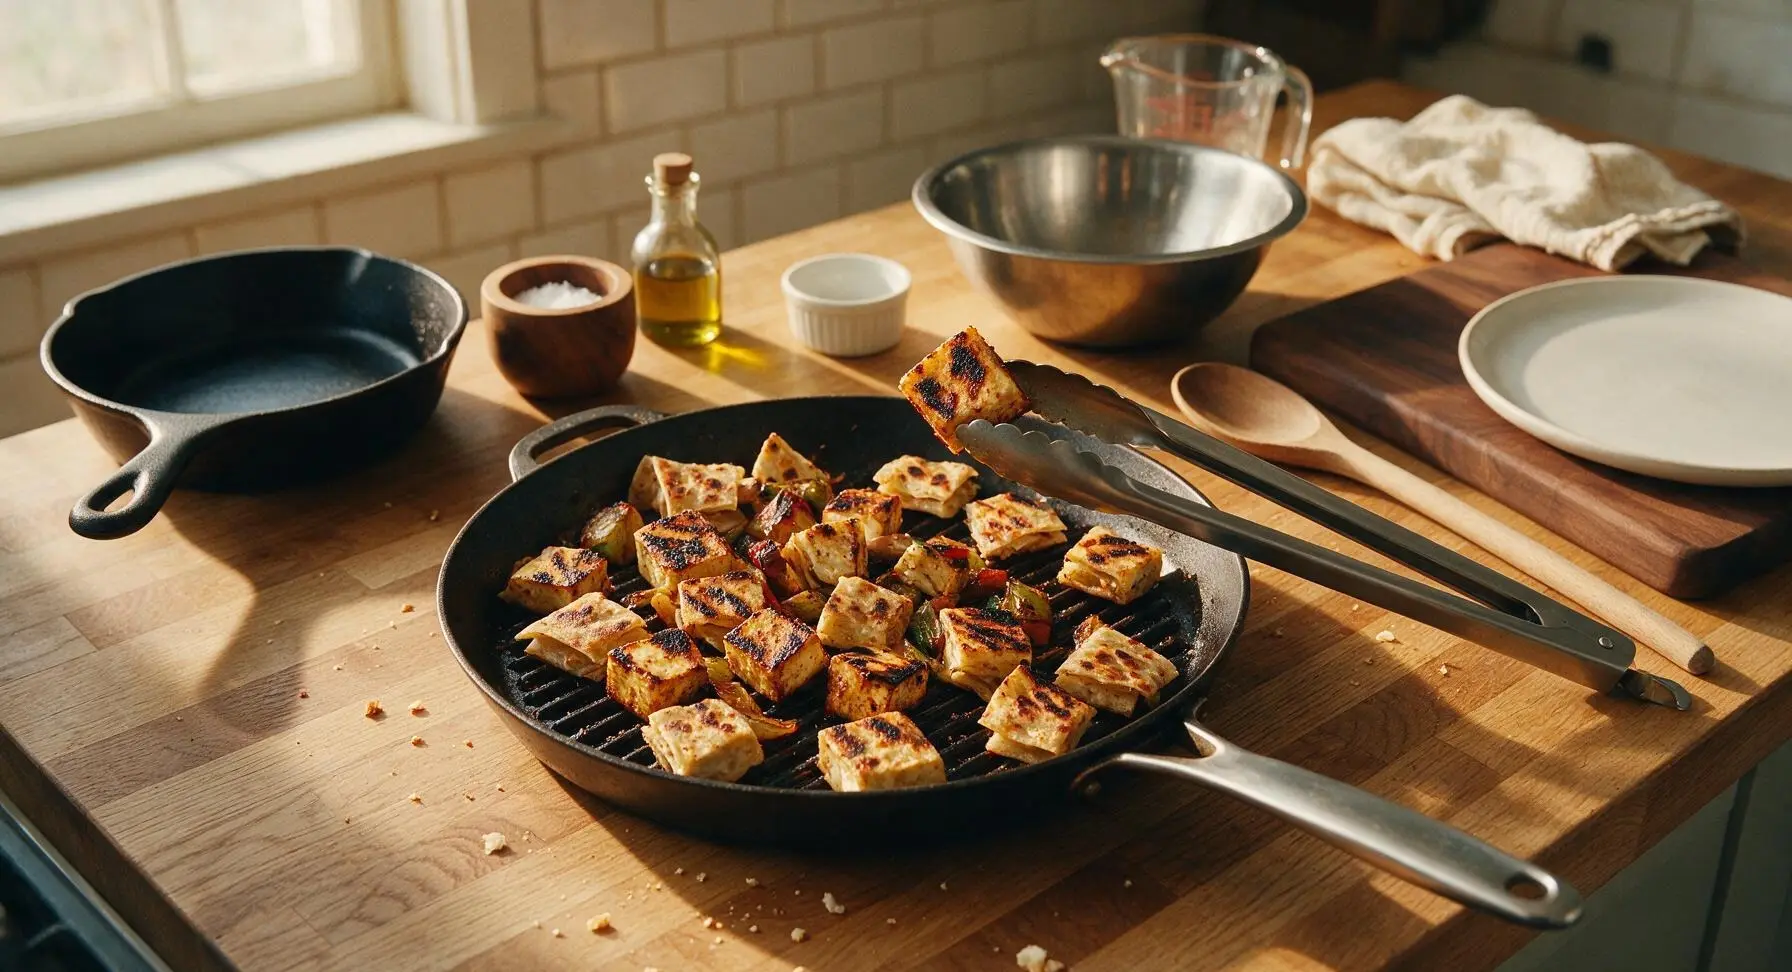
Step 3
step3:Sear for Char Marks
Step 3
step3:Sear for Char Marks
4

Toss with BBQ Sauce

Once all batches are seared and slightly cooled, transfer all charred pieces back into the empty medium stainless steel mixing bowl. Pour 120ml (1/2 cup) of masala BBQ sauce and 1 tablespoon of fresh lime juice into the bowl, then toss gently with tongs until every cube is coated in a thin, even layer of sauce, leaving charred edges partially visible through the coating.
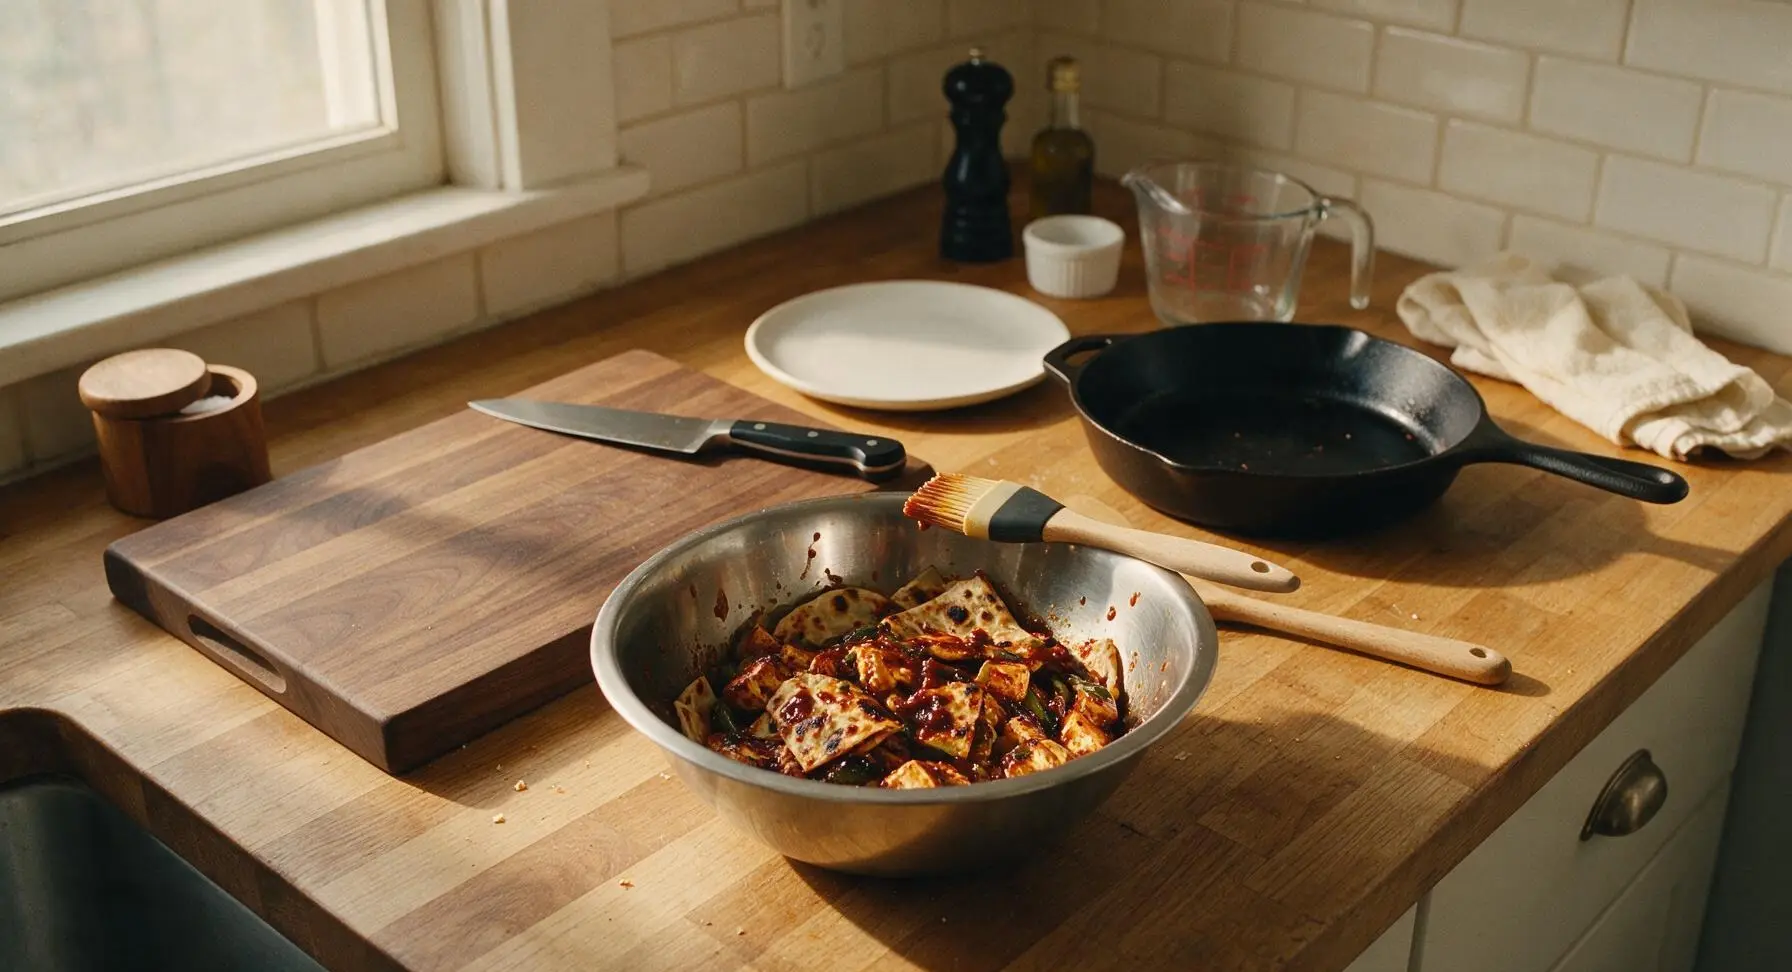
Step 4
step4:Toss with BBQ Sauce
5

Caramelize to Perfection

Arrange the sauced cubes in a single even layer back on the chrome wire cooling rack set inside the rimmed aluminum baking sheet. Place in a preheated 200C (400F) oven for 8 minutes, until the sauce bubbles and caramelizes into a sticky, glossy coating, with dark, slightly "burnt" crispy spots on cube corners that define the burnt end texture. Watch closely during the final 2 minutes to prevent sauce from burning and turning bitter.
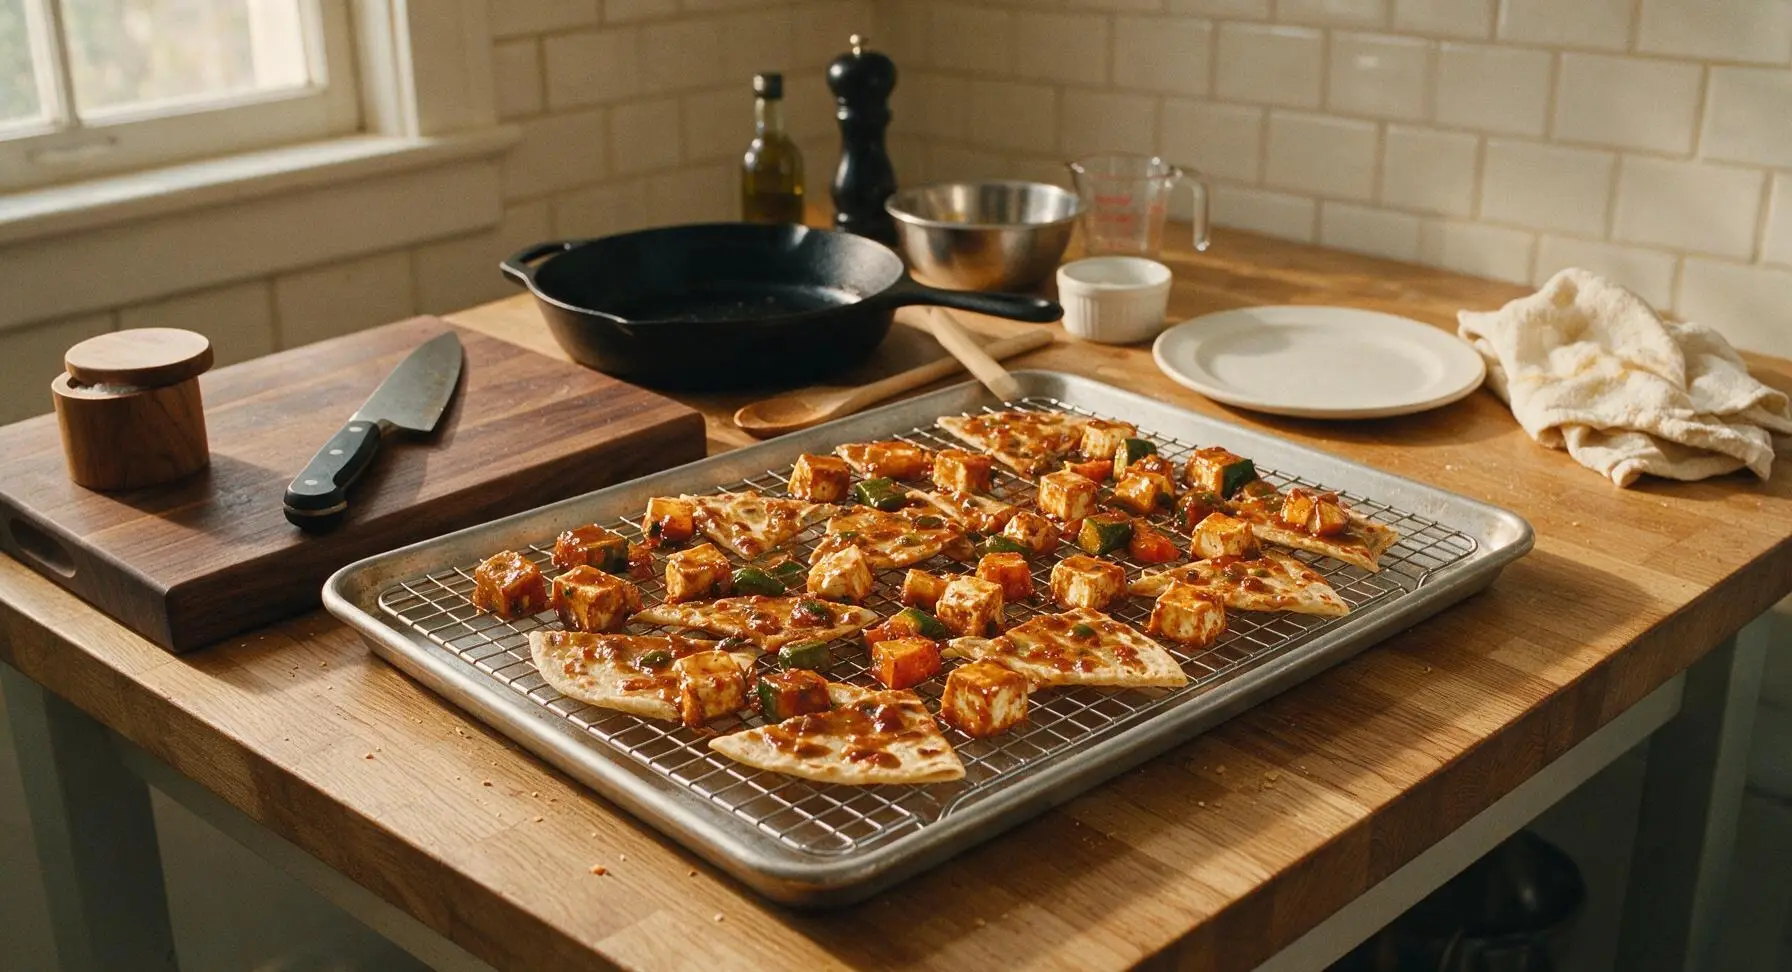
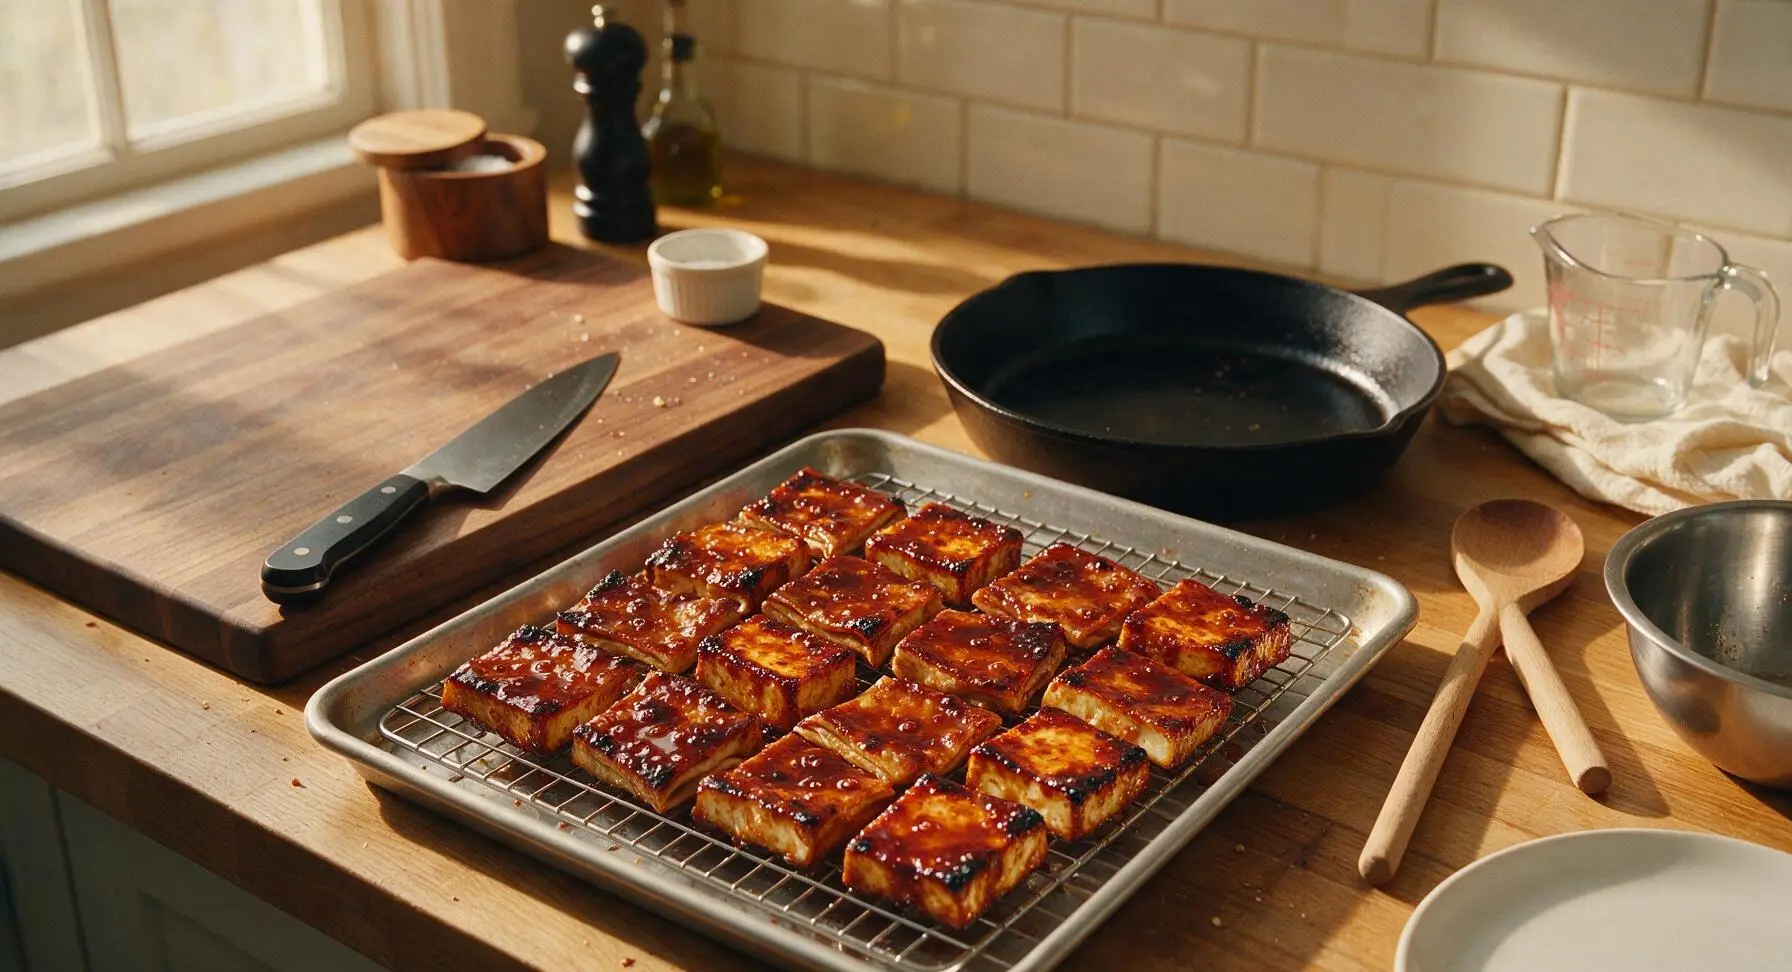
Step 5
step5:Caramelize to Perfection
Step 5
step5:Caramelize to Perfection
6

Plate and Serve Hot

Pile the hot caramelized burnt ends high in the center of the hand-thrown matte terracotta dinner plate. Drizzle with the remaining 60ml (1/4 cup) BBQ sauce, sprinkle with chopped fresh cilantro and the remaining 1/4 teaspoon flaky sea salt. Set the small clear glass ramekin filled with extra sauce beside the plate for dipping, and serve immediately while hot and crispy.
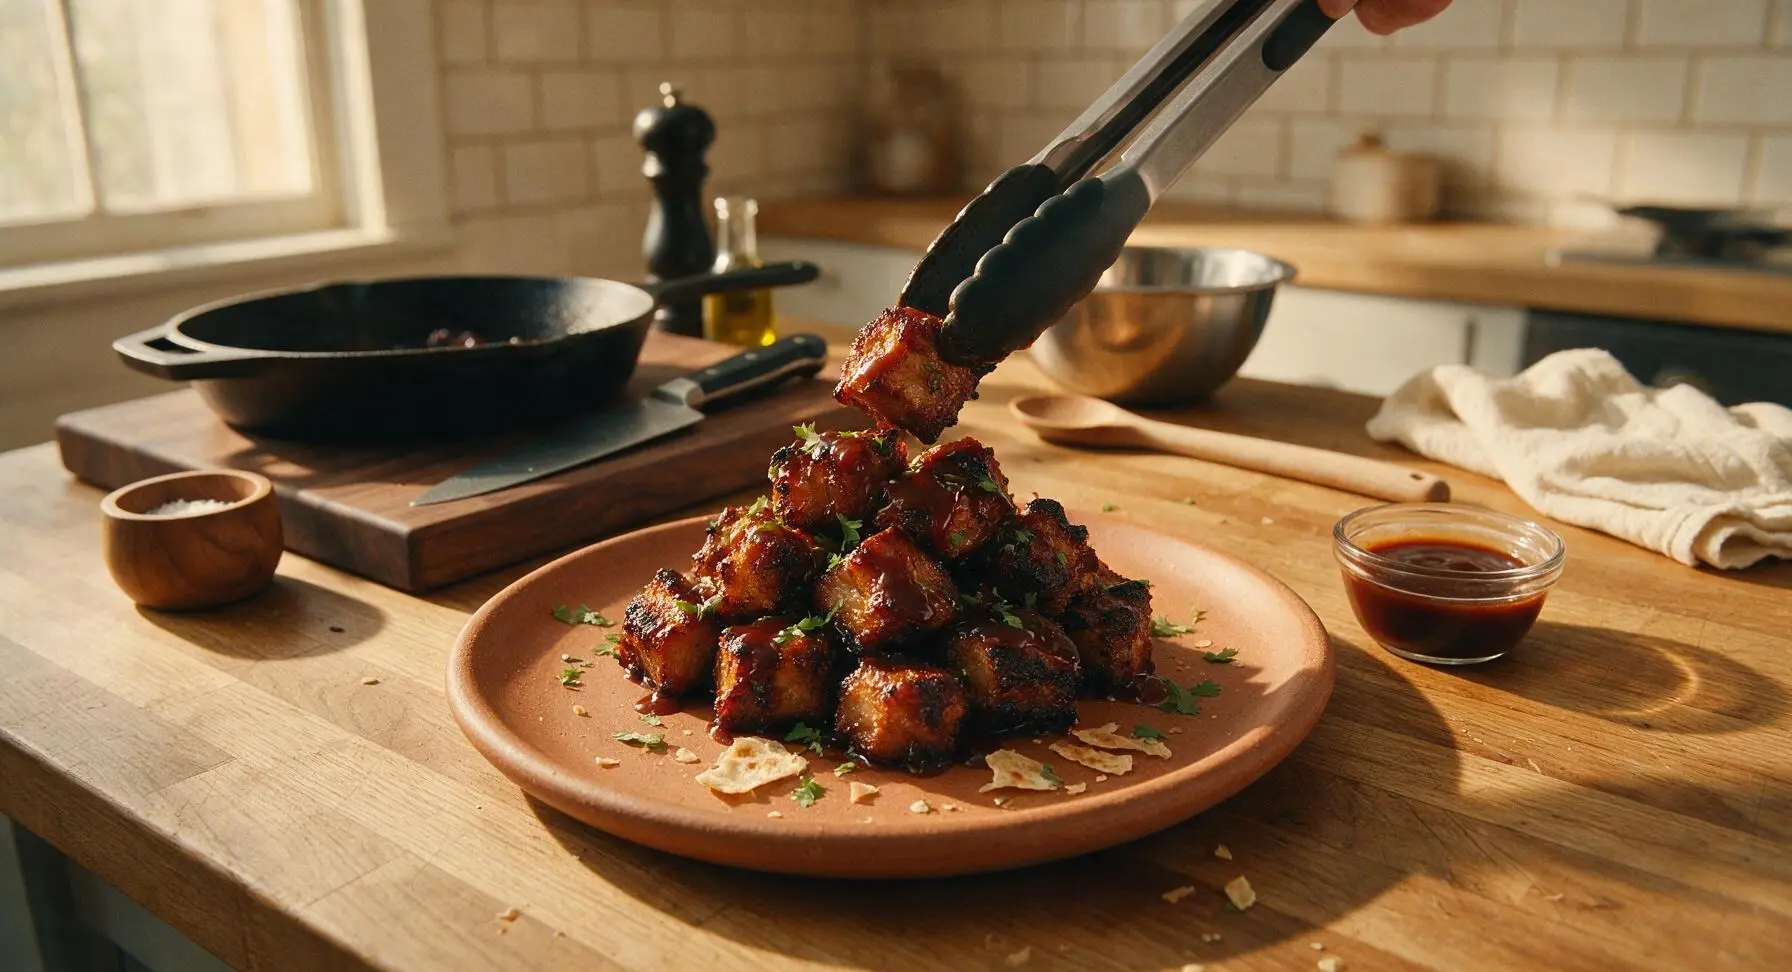
Step 6
step6:Plate and Serve Hot

Tips

1.Use day-old, slightly stale roti instead of fresh, soft roti: stale roti holds its shape through tossing and searing, developing a crunchy, bark-like crisp edge that mimics traditional brisket burnt ends, while fresh roti will turn soggy and mushy when coated in sauce.
2.Never overcrowd the grill pan when searing: working in small batches ensures each piece makes direct contact with the hot pan ridges, developing deep smoky char marks instead of steaming, which is critical for the signature burnt end flavor and texture.
3.Monitor the oven caramelization step closely after the 6-minute mark: the high sugar content in BBQ sauce can go from perfectly sticky and caramelized to bitter and acrid in under 2 minutes, so pull the pan as soon as you see dark, bubbly sauce edges.


✨ You May Also Like

BBQ & Grilling
🍜 United States

Tender, melt-in-your-mouth beef brisket with a crisp, spiced bark, slow-smoked to deep smoky perfection, the iconic centerpiece of Texas backyard barbecue.

⏱️ 12 hours BBQ & Grilling ★ 4.4
BBQ & Grilling
🍜 Korea

Tender, sweet-savory marinated beef short ribs, a beloved Korean BBQ staple with caramelized, slightly charred edges and deep umami flavor, perfect for outdoor summer gatherings.

⏱️ 4 hours 2BBQ & Grilling ★ 4.8
BBQ & Grilling
🍜 United States

Juicy grilled beef patties topped with smoky homemade chili, melted cheddar, and tangy pickles on toasted brioche buns for a hearty, flavor-packed handheld meal.

⏱️ 40 minuteBBQ & Grilling ★ 4.7
BBQ & Grilling
🍜 United States

A sweet, smoky, tangy BBQ sauce brightened with peak-season dark cherries, ideal for glazing grilled ribs, chicken, pork, or summer roasted veggies.

⏱️ 35 minuteBBQ & Grilling ★ 4.7
BBQ & Grilling
🍜 United States

Rich, smoky, slightly sweet homemade bourbon BBQ sauce with deep caramel notes, ideal for glazing grilled ribs, chicken, and burgers at cookouts.

⏱️ 25 minuteBBQ & Grilling ★ 4.7
BBQ & Grilling
🍜 United States

Iconic Alabama-style BBQ featuring tender hickory-smoked chicken slathered in tangy creamy white sauce, a beloved regional Southern cookout staple.

⏱️ 3 hoursBBQ & Grilling ★ 5

Roti Burnt Ends:Frequently Asked Questions

1.Why does the recipe recommend day-old whole wheat roti instead of fresh roti? ▾
Fresh roti is too soft and high in residual moisture, so it will turn soggy, fall apart on the grill, and fail to develop those signature crispy charred edges. Day-old roti is slightly dried out, so it crisps perfectly, holds its shape, and absorbs the masala BBQ sauce without turning mushy. If you only have fresh roti, toast it 2-3 minutes in a 300°F oven first to remove excess moisture.
2.What can I use as a substitute for paneer if I don’t eat dairy? ▾
The best dairy-free swap is extra-firm pressed tofu, cut into the same 1-inch cubes as the paneer. Press it for at least 30 minutes first to squeeze out excess water so it crisps instead of steaming on the grill. For a salty, dairy-containing twist, halloumi also works beautifully, as it holds up perfectly to high grill heat without falling apart.
3.Do I need an outdoor grill to make roti burnt ends, or can I cook them indoors? ▾
You don’t need an outdoor grill to get great results! For indoor cooking, use a cast iron grill pan over medium-high heat, or roast the cubed roti, paneer, and veggies on a sheet pan at 425°F for 18-22 minutes, flipping halfway, until edges are charred and crispy. A pinch of smoked paprika in the sauce will boost that signature smoky grill flavor when cooking inside.
4.How do I keep the roti and paneer from sticking to my grill grates? ▾
Start with clean, fully preheated grates—food sticks far less to hot, clean metal. Before adding your ingredients, lightly oil the grates with a paper towel dipped in high-smoke-point oil (like canola or avocado oil) held with tongs. Avoid moving the pieces for the first 3-4 minutes of cooking so they develop a firm sear that releases naturally from the grates.
5.Can I prep roti burnt ends ahead of time for a summer cookout? ▾
You can tackle most of the prep 1-2 days ahead to cut down on day-of work! Cut your roti, paneer, bell peppers, and onion into uniform 1-inch cubes, store them in separate airtight containers in the fridge, and mix up your masala BBQ sauce ahead too. Wait to toss the cooked pieces with sauce until right after cooking, though—saucing too early makes roti soggy.
6.How do I properly press paneer so it doesn’t crumble while cooking? ▾
Firm, well-pressed paneer is key to getting crispy, intact cubes that don’t fall apart on the grill. Take your block of paneer, wrap it tightly in a few layers of paper towels or a clean kitchen towel, set it on a plate, and weigh it down with a heavy cast iron pan or canned goods for 20-30 minutes to squeeze out excess whey.
7.How spicy is this dish, and can I adjust the heat level to my taste? ▾
The base spiced masala BBQ sauce is warm and aromatic rather than aggressively spicy, so it works for most palates as written. If you love extra heat, add a pinch of cayenne, diced fresh jalapeño to the sauce, or red chili flakes at the end. If you prefer milder flavor, skip added hot spices and lean into smoky paprika, cumin, and garlic for depth.
8.What should I serve with roti burnt ends to make a full meal? ▾
These burnt ends work great as a standalone cookout appetizer, but you can easily turn them into a full meal. Serve them over cilantro-lime rice with a side of cooling mint raita to cut the rich, sticky sauce, tuck them into warm naan wraps with pickled onions, or pair them with classic cookout sides like coleslaw or grilled corn.

Comments (18)

2 hours ago

OMG these roti burnt ends are a game changer for our weekly family dinner! I was worried medium difficulty would be too much for a weeknight but 35 minutes is totally doable. The crispy edges with that smoky glaze? *Chef’s kiss* My kids devoured every last bite before I even got seconds. SO good.

3 days ago

Took these to my neighborhood potluck last weekend and people were begging for the recipe! I prepped the glaze the night before to cut down on day-of work, which worked perfectly. Only note is I wish I’d cut the roti pieces a little bigger so they held up better to the sauce, otherwise zero complaints.

2 days ago

Great tip prepping the glaze ahead! Pro move for potlucks for sure. If you cut roti into 1.5 inch cubes next time they hold up really well without getting too soggy, hope that helps!

1 week ago

Wait, roti burnt ends?? I was skeptical at first because I’m used to brisket burnt ends, but this vegetarian twist absolutely slaps. I added a little extra cayenne to the glaze for heat and it was perfect. 10/10 will be making this again for my next game night watch party.

5 days ago

Oh adding cayenne is such a good call! Did you use whole wheat roti or regular? I’m making this for my vegan crew next week and wondering which holds up better.

5 days ago

Love the extra cayenne idea! For plant-based crews, whole wheat roti actually holds its shape great during the glazing step, and you can swap the honey in the glaze for maple syrup to keep it fully vegan too!

30 minutes ago

First time making anything that’s not frozen pizza or mac and cheese, and this went way better than expected! It says medium difficulty but the steps were super straightforward, I didn’t mess anything up even as a total newbie. My roommate said it tastes like something from a fancy BBQ spot lmao.

5 minutes ago

Dude same! I made this last week for my dorm floor and everyone lost their minds, way easier than it sounds for real.

yesterday

Made these for our Sunday family supper alongside some collard greens and mac and cheese, and even my super picky 7 year old asked for thirds! The caramelization on the roti edges is unreal, I can’t believe how much flavor you get in just 35 minutes. Already added this to our regular rotation.

2 days ago

Tried this recipe last night and it was good, but my roti got a little too crispy almost burnt (ironic, I know, given the name) on the bottom of the pan. Did I have the oven temp too high? I followed the recipe exactly but my oven runs a little hot usually.

yesterday

Oh I had the same issue my first time! I turned my oven down 25 degrees and tossed the roti every 8 minutes instead of 10 and they came out perfect the second go around.

yesterday

So sorry they got a little extra crispy! Since oven temps can vary a lot, your fix of turning it down 25 degrees is spot on. Tossing halfway through cook time also helps make sure every piece gets evenly glazed and crisp without burning on one side.

5 days ago

I made these last night and they were SO good, but I’m wondering how well they keep for meal prep? I want to make a big batch on Sunday to eat for lunches throughout the week, but I’m worried they’ll get soggy in the fridge. Anyone tried reheating them?

3 days ago

Great question! These hold up really well for meal prep if you store them in an airtight container in the fridge for up to 4 days. Reheat in the air fryer at 350 for 3-4 minutes to get that crispy edge back, microwaving will make them soggy so skip that!

2 weeks ago

Made these for my office potluck today and they were the first dish gone! People kept coming up to me asking if I ordered them from a local BBQ spot, I felt so fancy. The only tweak I made was adding a sprinkle of sesame seeds on top for a little extra crunch, chef’s kiss.

2 weeks ago

Wait I was at that potluck!!! These were insane, I had three helpings lmao I had no idea they were homemade, you killed it!

1 week ago

Love the sesame seed addition, that sounds amazing! So glad they were a hit at the office potluck, nothing beats being the person who brings the most popular dish.

1 week ago

Okay I’ll admit I was skeptical when my wife asked me to make roti burnt ends for our taco night twist, but holy cow these are incredible. We stuffed them into warm tortillas with a little coleslaw and pickled onions and it was the best taco night we’ve ever had. 10/10, will be doing this again.

5 days ago

Stuffing them into tacos is genius!!! I never would have thought of that, I’m totally stealing that idea for our taco night next week.

5 days ago

The taco twist is such a creative serving idea! The tang from the pickled onions and coleslaw cuts the sweetness of the glaze perfectly, I’m going to have to try that myself soon.

3 days ago

I used gluten free roti for this recipe and it worked perfectly! I was worried the GF roti would fall apart when I tossed it in the glaze, but it held up great and got just as crispy as regular roti. Such a fun, easy dinner for when I’m sick of my usual go-to meals.

5 days ago

I made these on my smoker instead of the oven just to add a little extra smoky flavor, and man oh man did that hit. 225 degrees for 30 minutes, tossed in the glaze at the end, tasted just like traditional burnt ends but way cheaper and faster. Will be making these all summer long.

3 days ago

Smoker version is the way to go! I did the same last weekend with a little hickory wood and my buddies said it was better than the brisket burnt ends I made last month.

2 days ago

Okay so I messed up the glaze the first time (forgot the brown sugar, oops) so I had to whip up a second batch, but even the slightly unglazed test pieces were so tasty! Once I got the glaze right it was absolute perfection. Don’t be like me and measure your ingredients ahead of time y’all lmao.

yesterday

Oh I did the exact same thing last week! I was rushing and poured soy sauce instead of the vinegar? Total mess, but the second batch was chef’s kiss, totally worth the extra 10 minutes.

yesterday

We’ve all been there with cooking mishaps! So glad you gave the glaze a second go, it makes all the difference for that sticky, caramelized finish. Measuring ahead is definitely the pro tip here.

2 days ago

35 minute cook time is such a win for busy school nights! I feel like so many fun, interesting recipes take over an hour which is impossible when we have soccer practice and homework to get through. These were fast, flavorful, and everyone at the table cleaned their plates. What more could you ask for?

yesterday

So glad this fits into your busy weeknight routine! That’s exactly why we love this recipe—all the fun BBQ flavor without the hours of cook time traditional burnt ends require. Hope it becomes a regular for your family!

just now

Made this for my date night in with my partner last night and they were so impressed! We paired it with a little cucumber salad and some cold beer, and it felt like we were eating at a cool downtown restaurant without the $50 price tag. 10/10, great date night meal that doesn’t take all night to make.

1 week ago

This recipe is so budget friendly! I already had roti in my fridge from takeout earlier in the week, and all the glaze ingredients are pantry staples I already had on hand. Spent basically zero extra money to make a meal that tasted like a million bucks. Obsessed.

5 days ago

Same! I used leftover roti from our Indian takeout on Friday and it was the best leftover hack I’ve ever tried. No food waste and amazing dinner? Win win.

5 days ago

We love a good leftover hack! Using leftover takeout roti is such a smart way to cut down on food waste and save a little money, so glad this worked out for you.

2 weeks ago

I served these with a side of spicy pickles and ranch for dipping and it was *chef’s kiss*. The tang from the pickles and cool ranch pairs so well with the sweet, smoky glaze. My friends made fun of me for dipping in ranch but they all ended up stealing my dip cup by the end of the night lmao.

1 week ago

Ranch is never a bad call, don’t listen to your friends! I dip literally everything in ranch and I know that combo would slap, trying this this weekend.

3 days ago

I made these in the oven last week and they were incredible, but I’m wondering if anyone has tried making these in the air fryer instead of the oven? I don’t love heating up my whole oven in the summer when it’s 90 degrees out, would love to know if the air fryer works for this!

2 days ago

Great question! You can absolutely make these in the air fryer. Cook at 375 for 12-15 minutes, tossing every 4 minutes and brushing with glaze the last 3 minutes of cook time. They get extra crispy in the air fryer, perfect for hot summer days when you don’t want to turn on the oven!

30 minutes ago

Who says burnt ends are only for dinner? I made these for a savory brunch option last weekend alongside scrambled eggs and hash browns, and it was such a hit. The sweet smoky flavor pairs so good with eggs, I’m never going back to plain breakfast sausage again.



