
rump roast instant pot

title 1
rump roast instant pot
⏱️ cook time 1 hour 30 minutes
🍽️ servings 6
⚡ Difficulty easy

intro

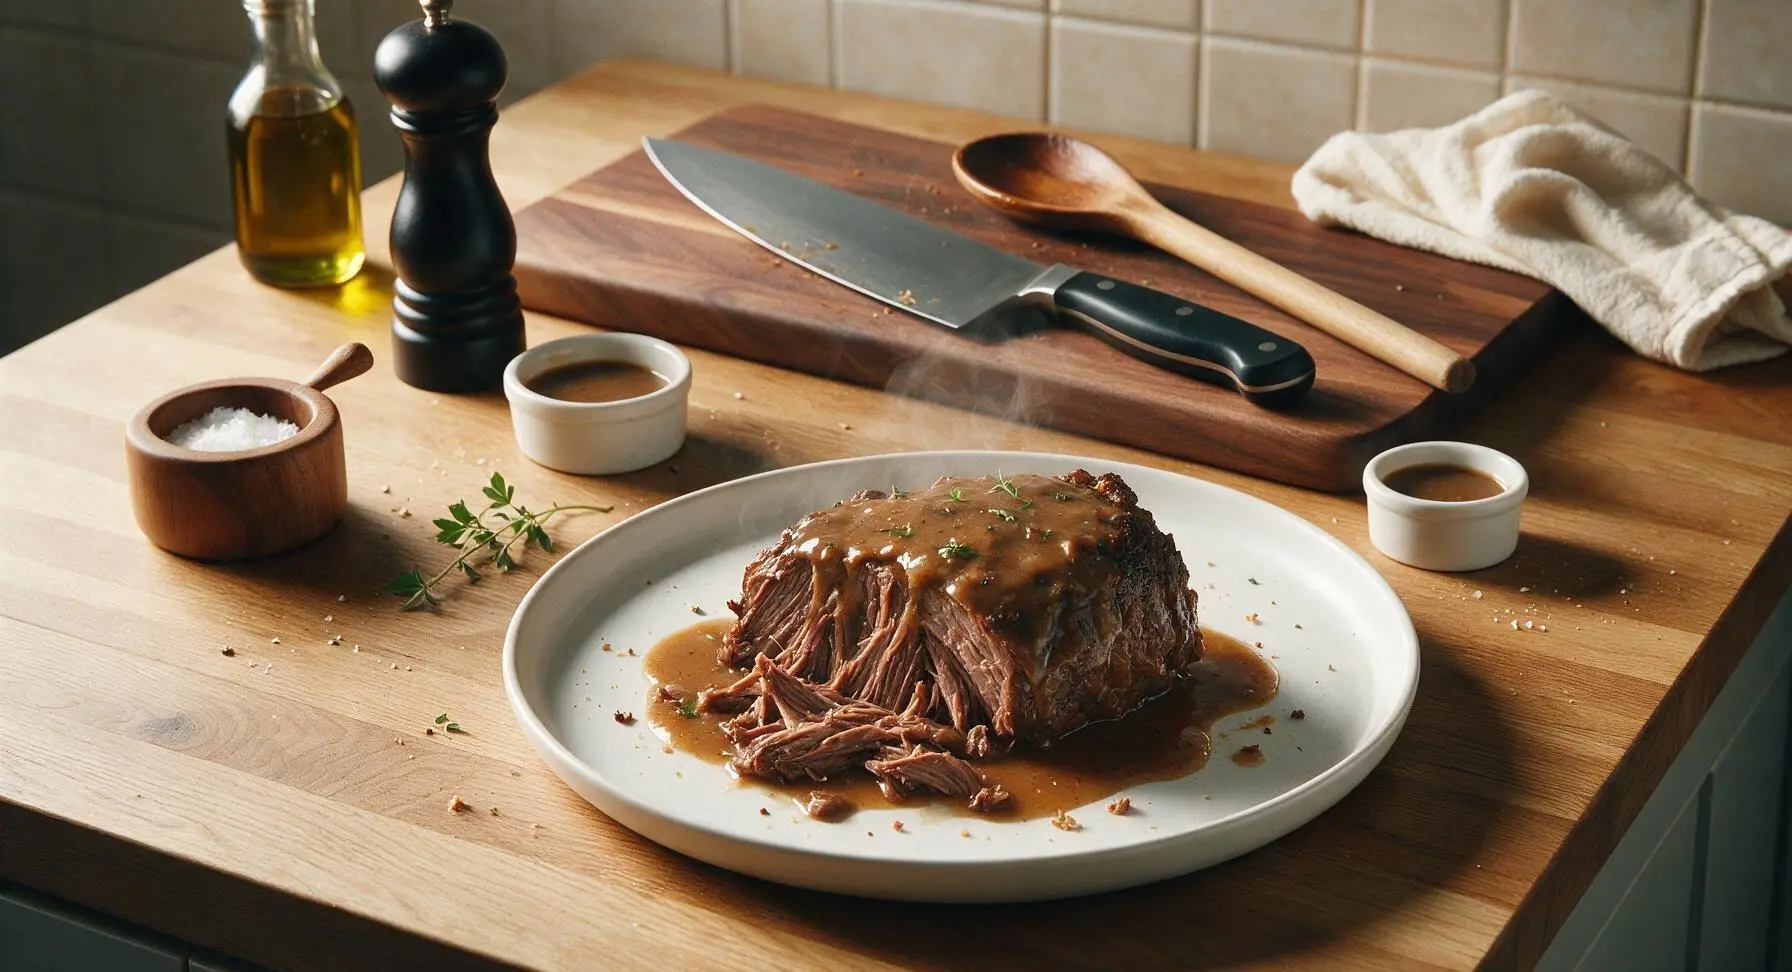
Tender, fall-apart juicy rump roast cooked quickly in the Instant Pot with rich savory pan gravy, perfect for low-fuss, cozy family meals.

Ingredients
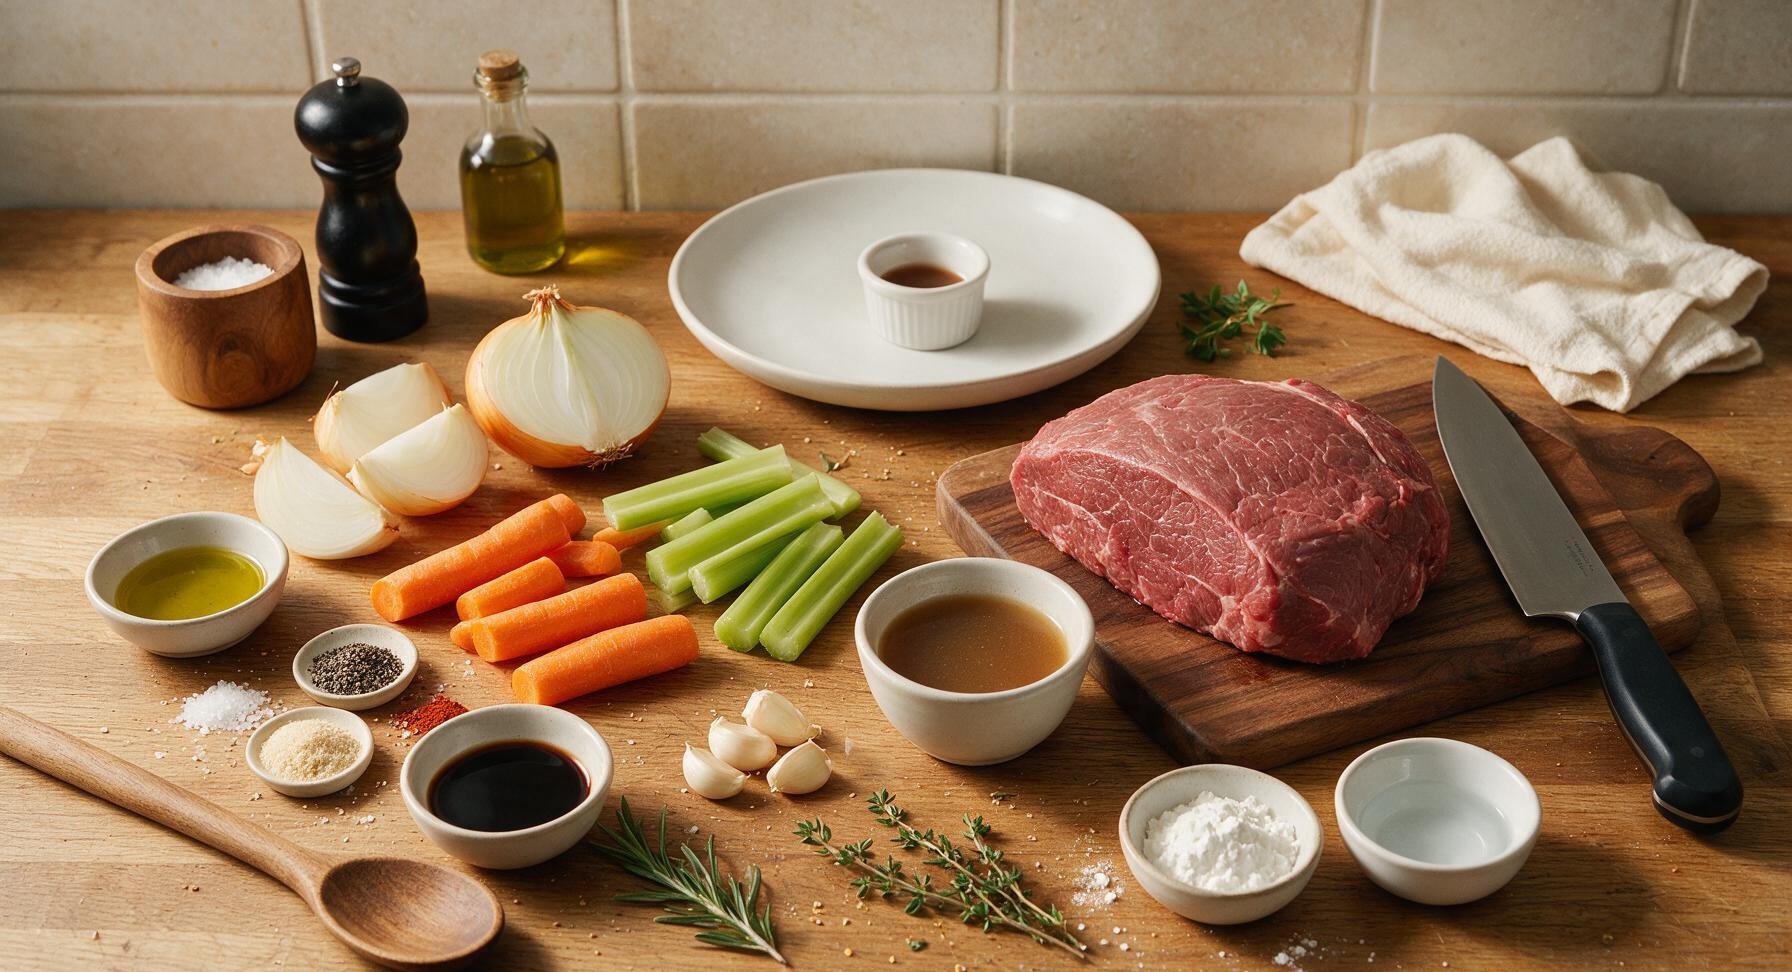
Beef rump roast 1.5kg (3.3lb)
Extra-virgin olive oil 2 tbsp
Coarse kosher salt 1.5 tsp
Freshly ground black pepper 1 tsp
Garlic powder 1 tsp
Onion powder ½ tsp
Smoked paprika ½ tsp
Large yellow onion 1, cut into 8 wedges
Medium carrots 3, peeled and cut into 5cm chunks
Celery stalks 2, cut into 5cm chunks
Garlic cloves 4, lightly crushed
Low-sodium beef broth 250ml (1 cup)
Worcestershire sauce 2 tbsp
Fresh rosemary 1 sprig
Fresh thyme 2 sprigs
Cornstarch 2 tbsp
Cold water 2 tbsp

Steps

1

Season the rump roast

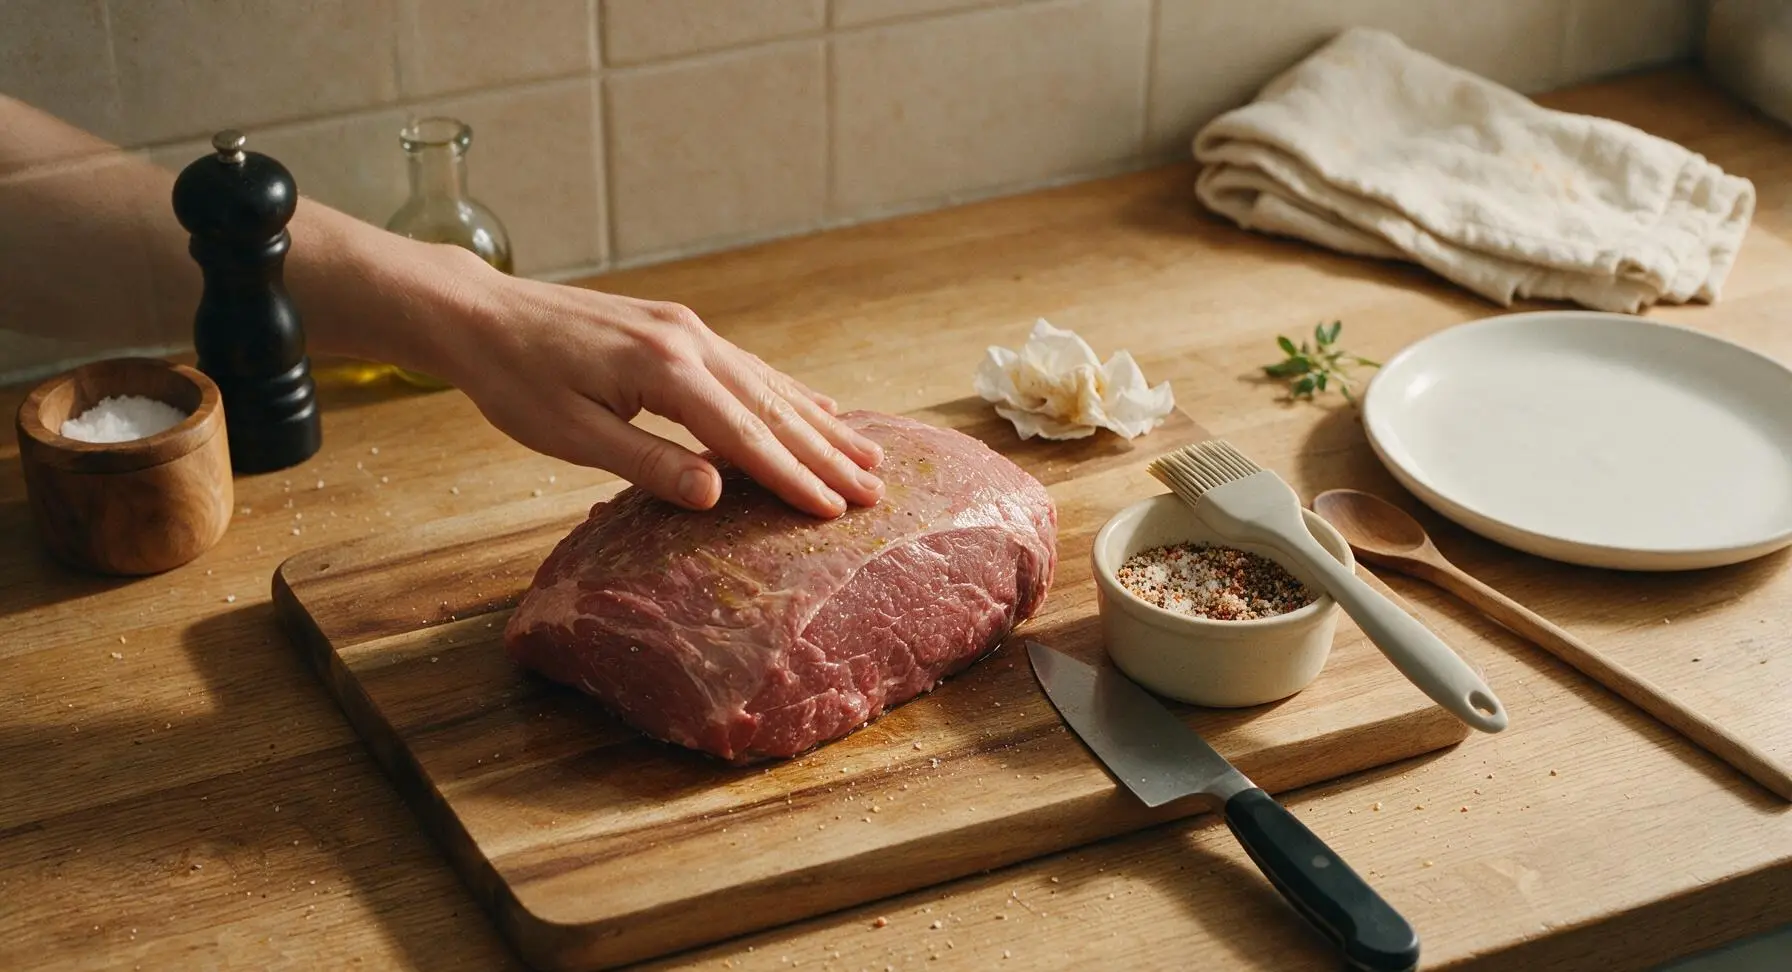
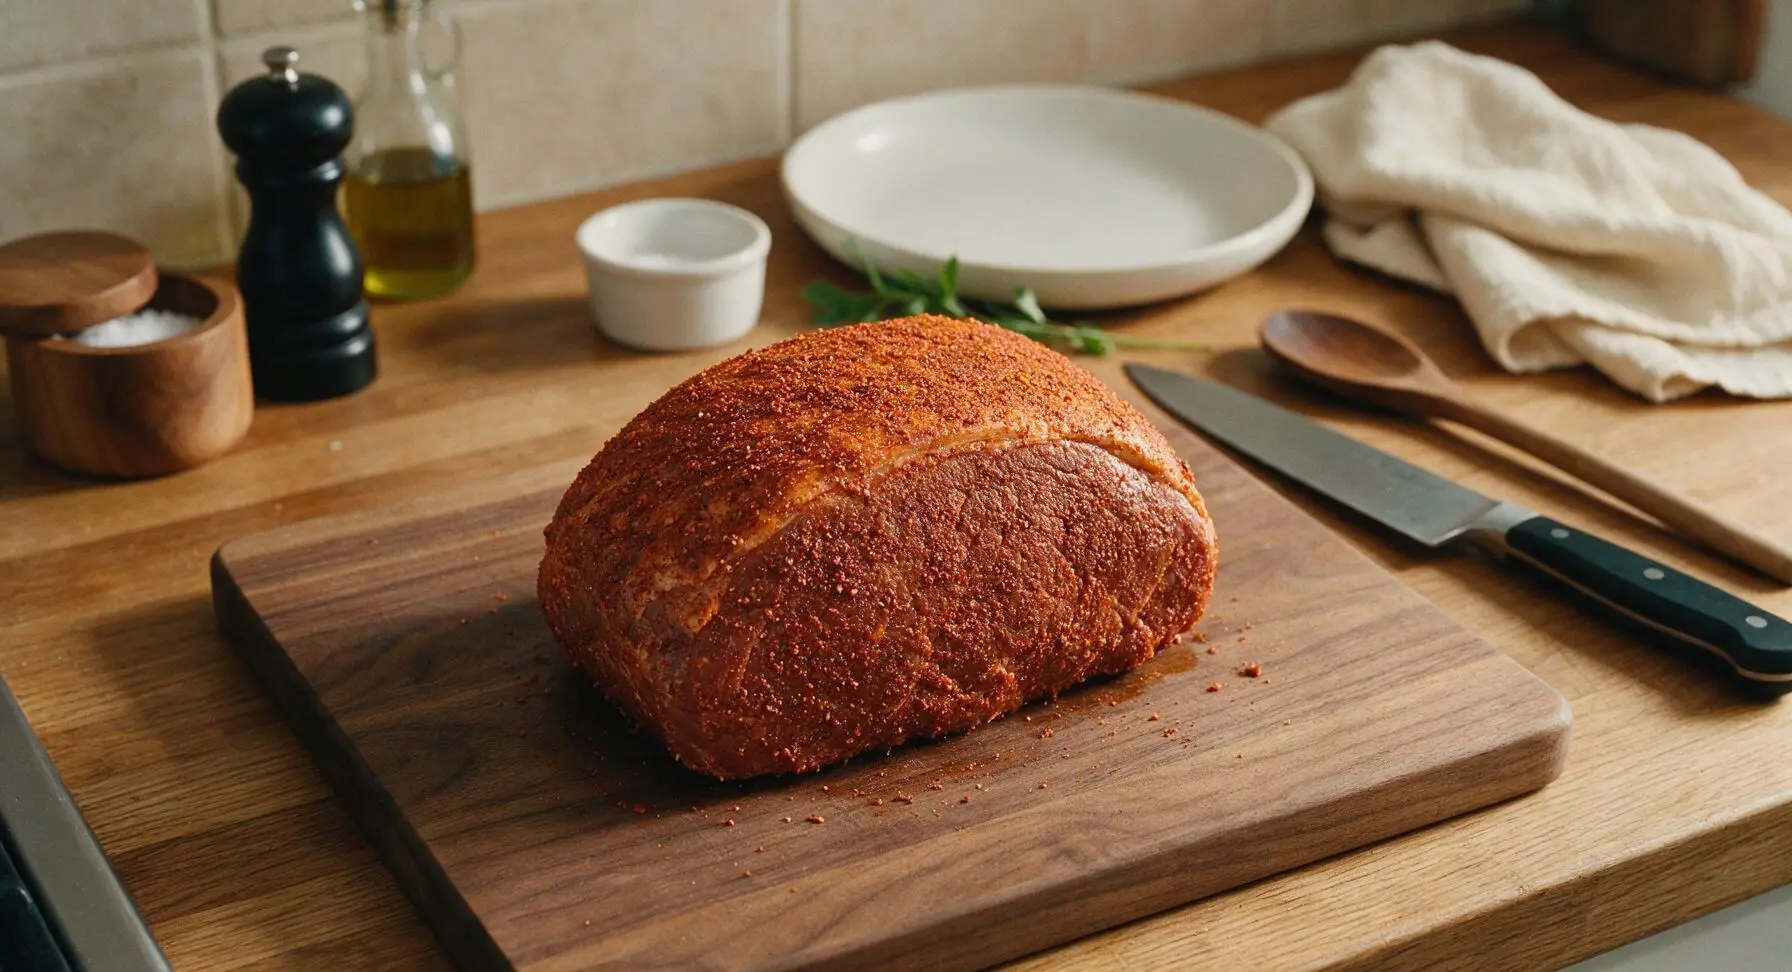
Pat the rump roast completely dry on all sides with paper towels. In the matte cream ceramic ramekin, mix the kosher salt, black pepper, garlic powder, onion powder, and smoked paprika until evenly combined. Rub 1 tsp of olive oil over the entire surface of the roast (use the silicone basting brush for even coating if desired), then sprinkle the spice mix evenly over all sides, pressing gently so the seasoning adheres. The roast should have a thin, even coating of spices with no bare patches visible.
Step 1
step1:Season the rump roast
Step 1
step1:Season the rump roast
2

Sear roast on all sides

Place the Instant Pot at center counter, turn to the high Sauté setting, add the remaining olive oil to the stainless steel inner pot, and heat until the oil shimmers (about 2 minutes). Use the silicone-tipped tongs to carefully lower the seasoned roast into the pot. Sear for 3 minutes per side (top, bottom, and all four edges) until a deep golden-brown crust forms on every surface. Do not move the roast while searing each side to ensure a crisp, even crust.
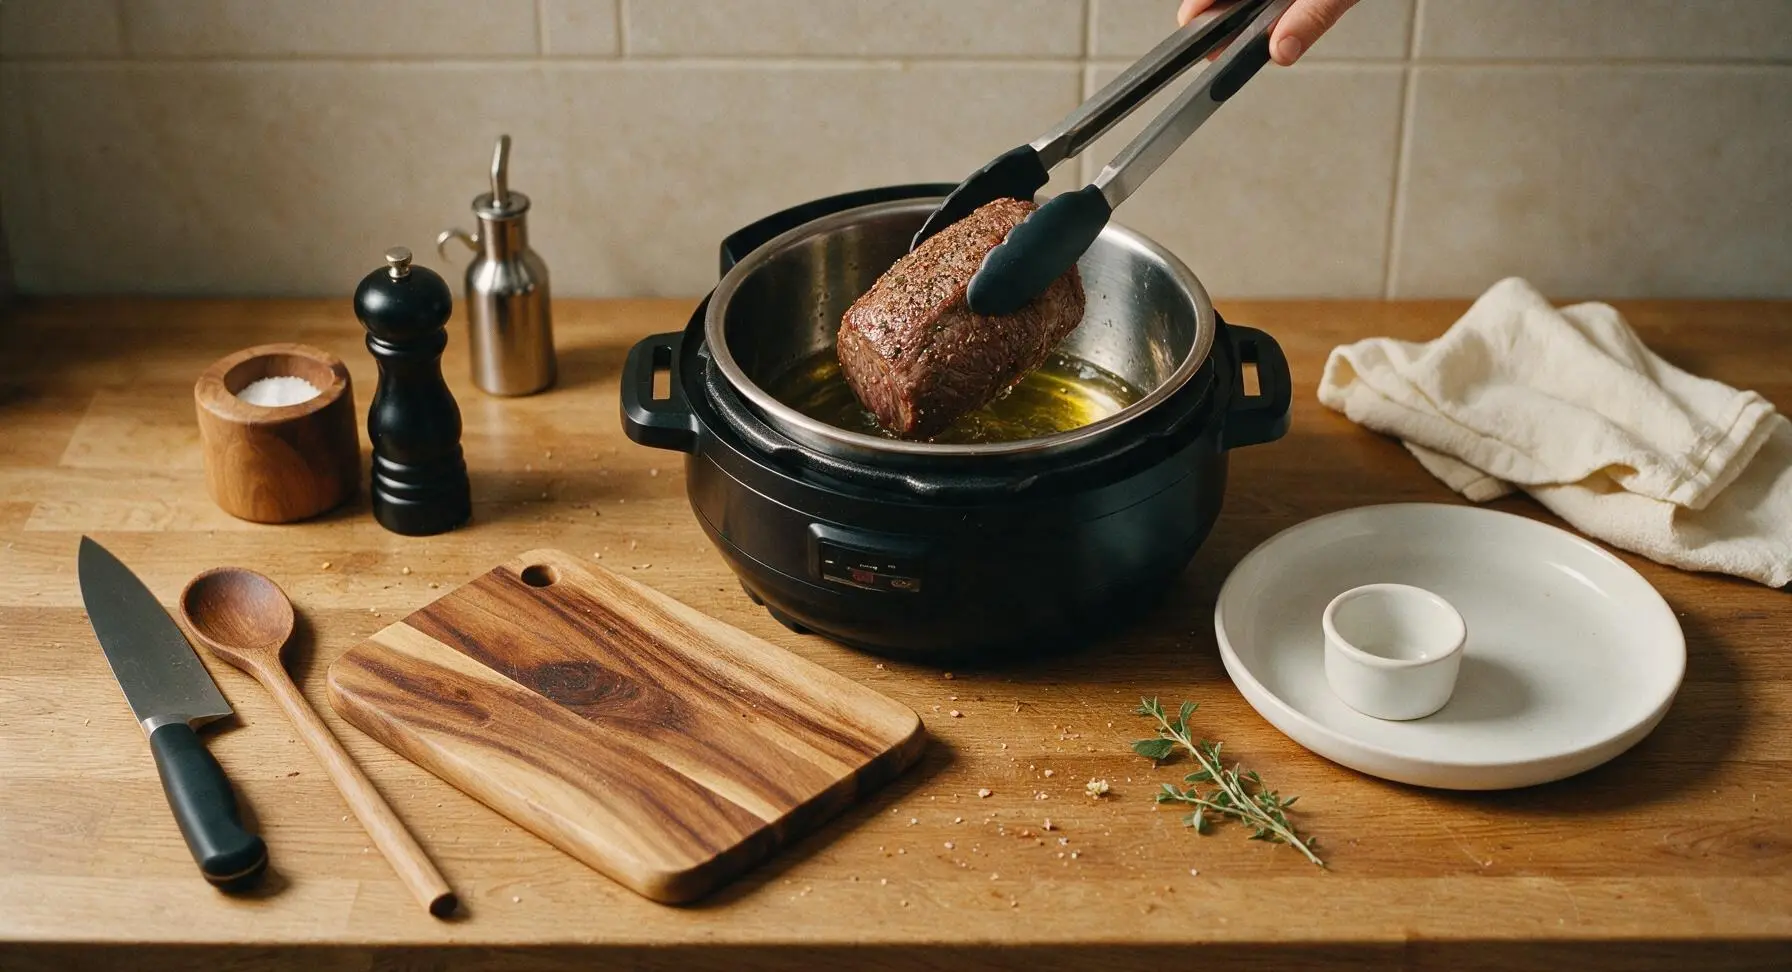
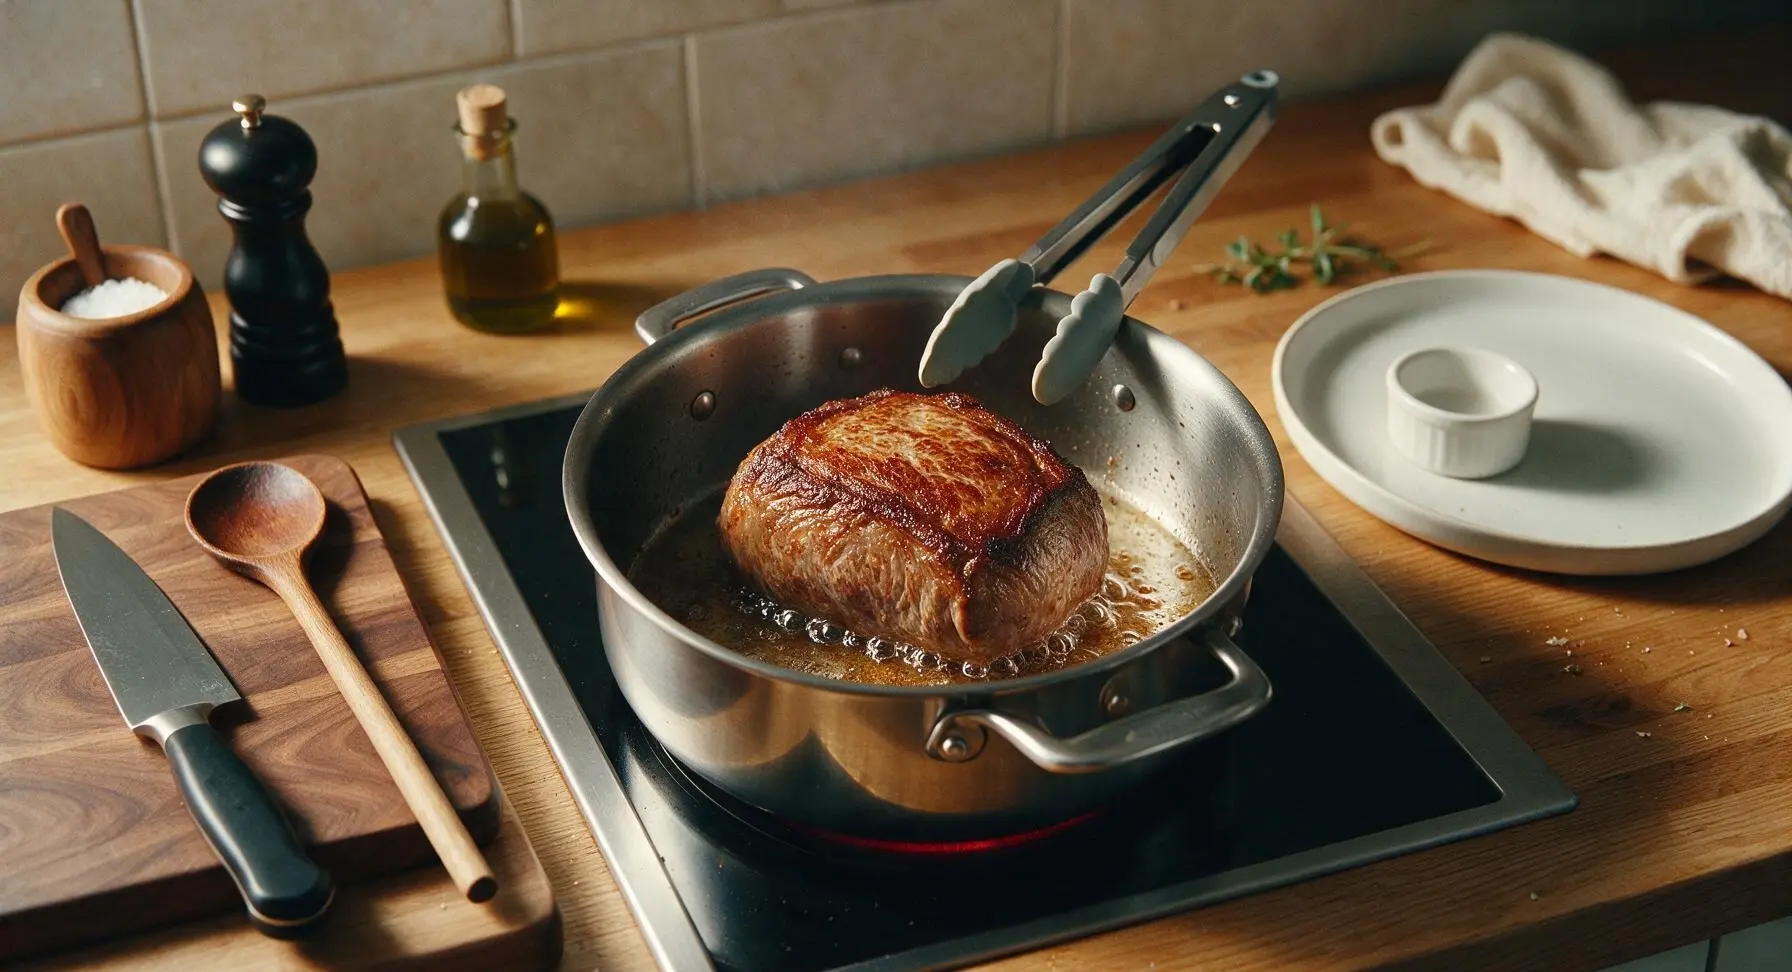
Step 2
step2:Sear roast on all sides
Step 2
step2:Sear roast on all sides
3

Add veggies and broth

Once the roast is fully seared on all sides, use tongs to lift it temporarily to one side of the pot. Add the onion wedges, carrot chunks, celery pieces, and crushed garlic to the pot, sautéing for 2 minutes until slightly softened and fragrant. Pour in the beef broth and Worcestershire sauce, stirring to scrape up all browned fond bits from the bottom of the pot. Tuck the rosemary and thyme sprigs into the liquid around the roast, then rest the roast on top of the vegetable bed.
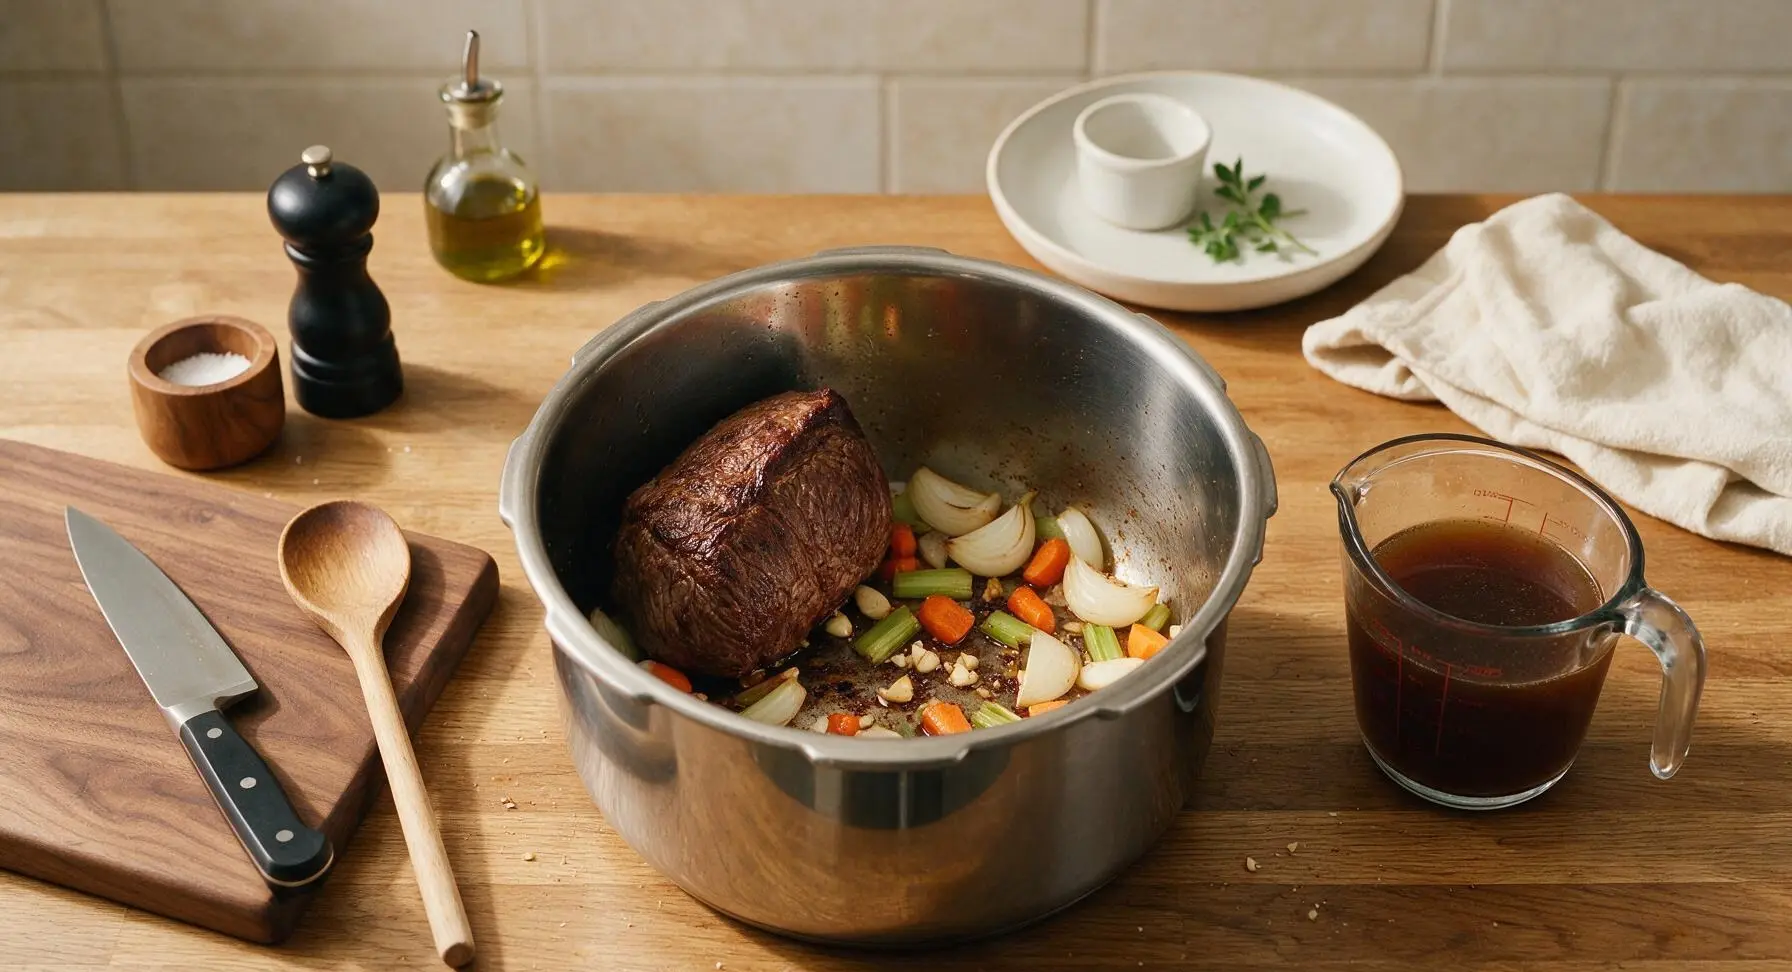
Step 3
step3:Add veggies and broth
4

Pressure cook until tender

Secure the Instant Pot lid, turn the pressure release valve to the Sealing position, and set to cook on High Pressure for 55 minutes. Once the cook time ends, allow a full 15-minute Natural Pressure Release (do not touch the pressure valve during this time), then carefully turn the valve to Venting to release any remaining steam, keeping hands and face away from the vent. Test the roast with the instant-read thermometer; it should reach 93°C (200°F) for shreddable, tender texture. If below this temperature, reseal and cook for 5 additional minutes with a 5-minute natural release.
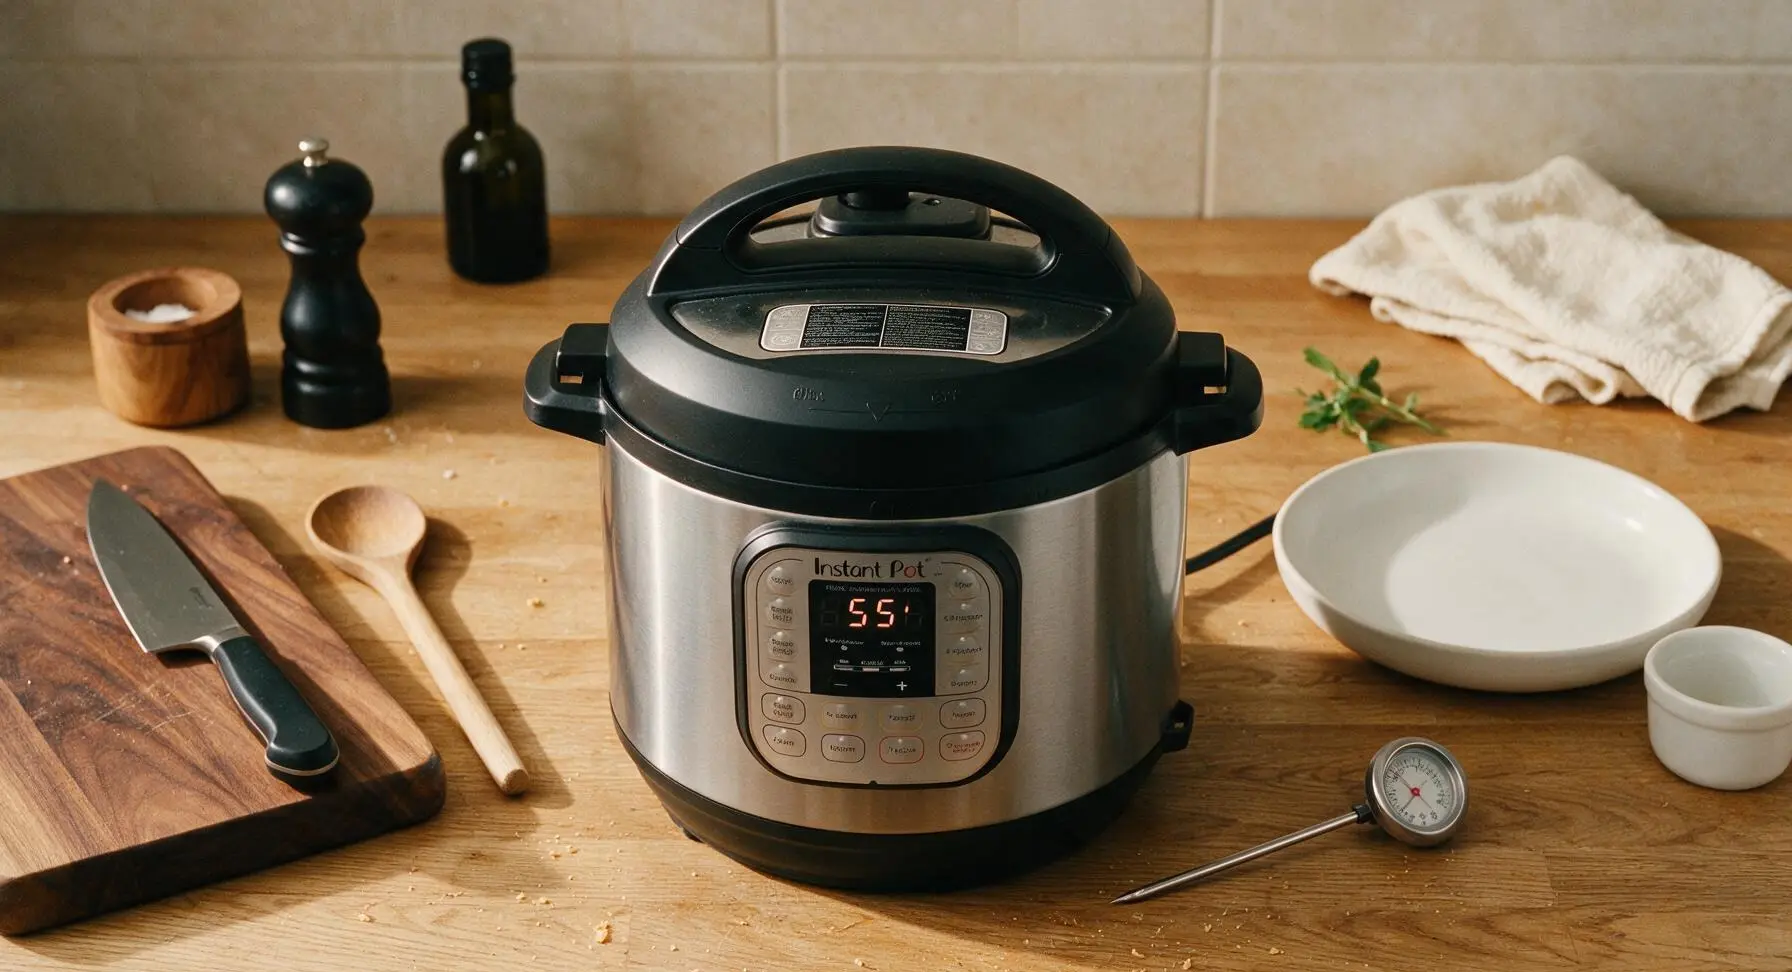
Step 4
step4:Pressure cook until tender
5

Remove and rest roast

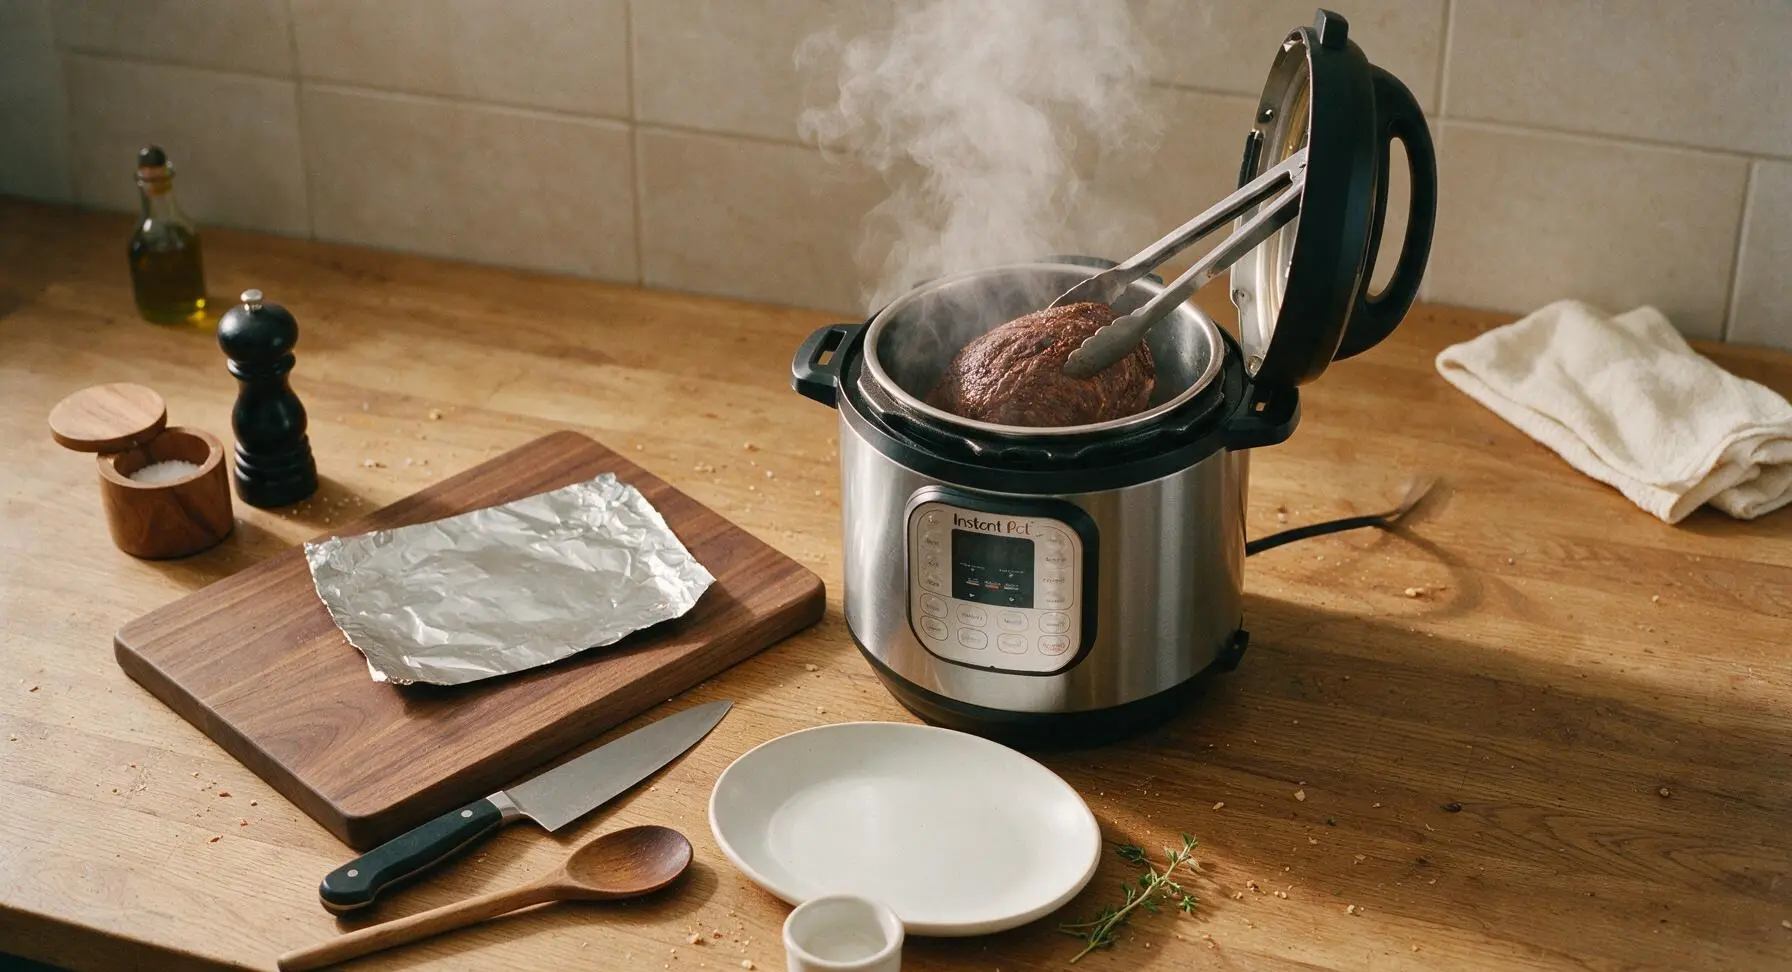
Once all pressure is released, carefully open the lid, tilting it away from your face to avoid steam burns. Use tongs to gently lift the roast out of the pot, transferring it back to the acacia wood cutting board. Loosely tent the roast with a small sheet of aluminum foil, and let it rest for 10 minutes to allow juices to redistribute, which prevents juice runoff when slicing. Leave the cooked vegetables and cooking liquid in the Instant Pot for gravy.
Step 5
step5:Remove and rest roast
6

Whisk smooth pan gravy

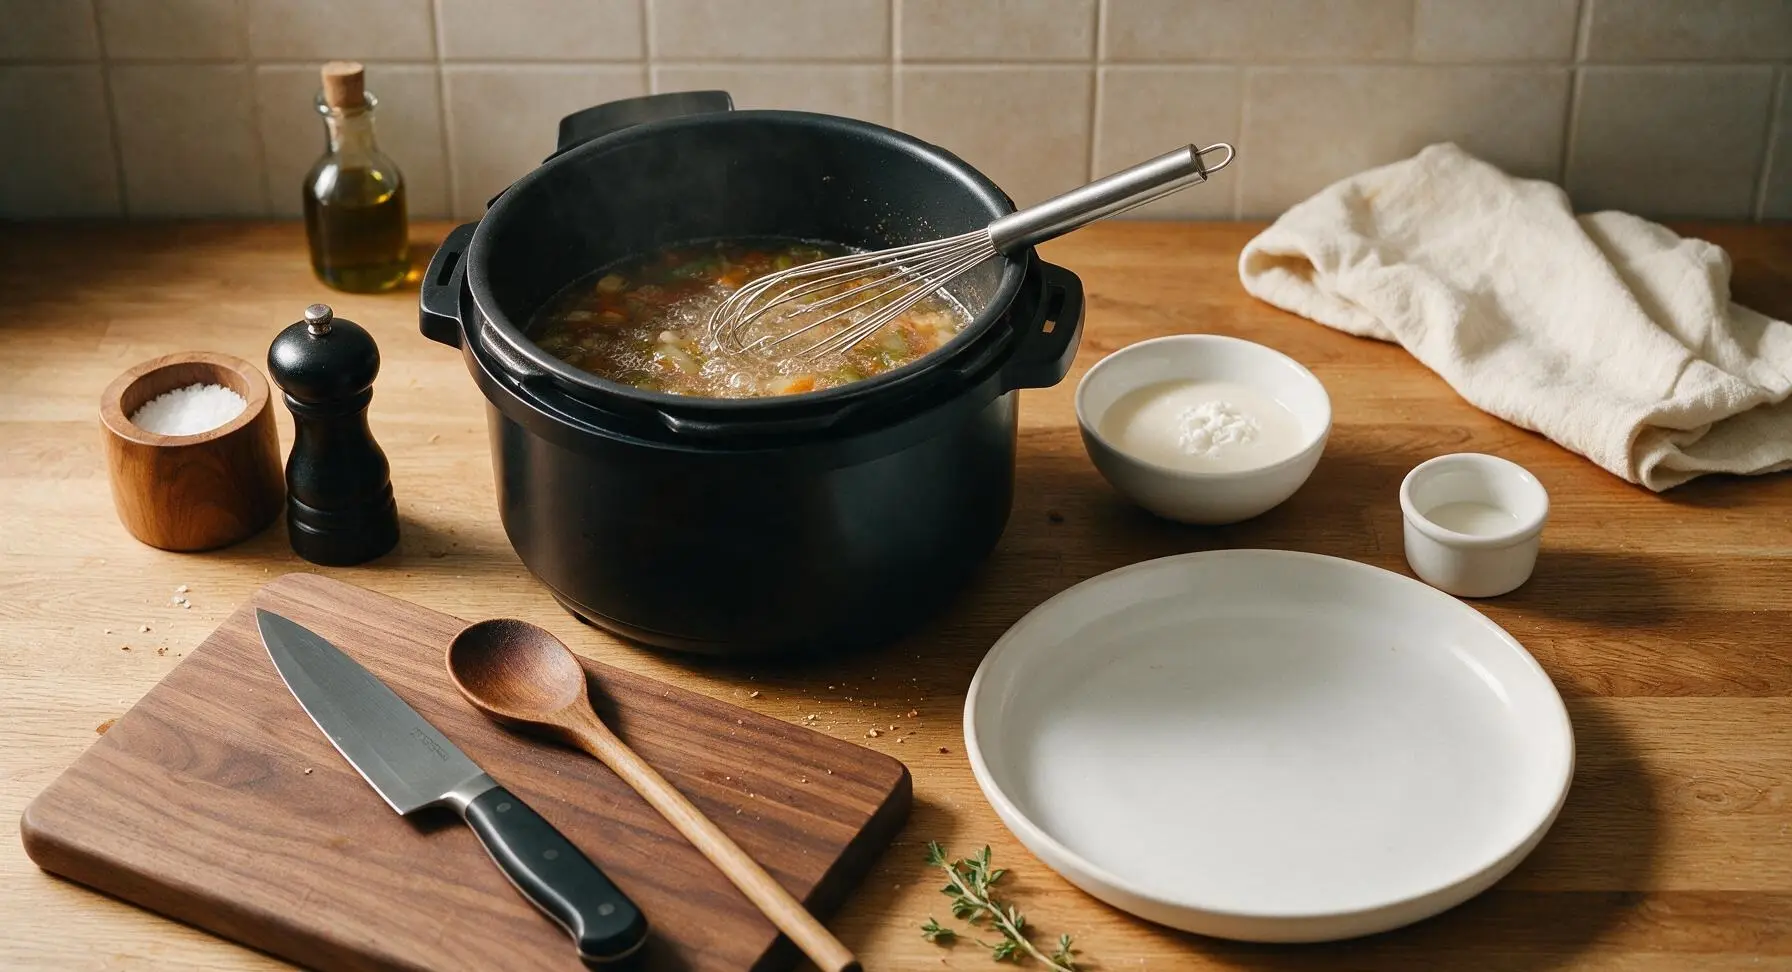
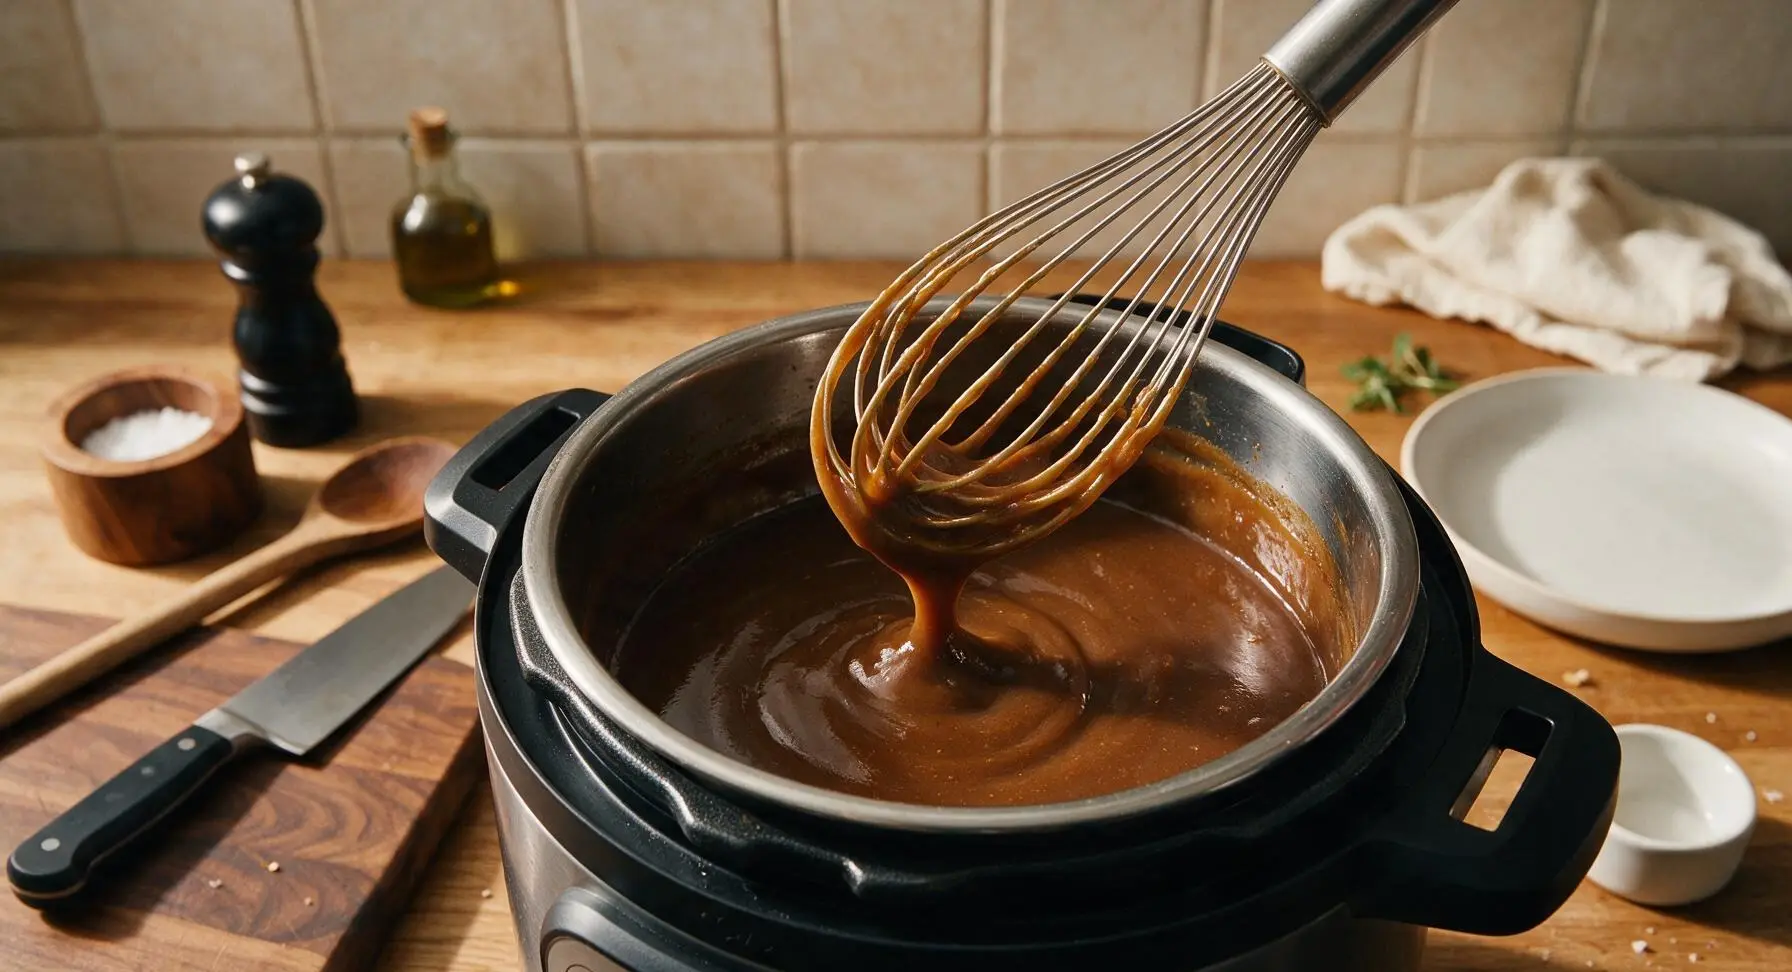
Turn the Instant Pot back to the high Sauté setting, bringing the remaining cooking liquid and vegetables to a gentle simmer. In a small bowl, whisk the cornstarch and cold water together until completely smooth with no lumps (this slurry prevents lumpy gravy). Slowly pour the slurry into the simmering liquid while stirring constantly with the stainless steel wire whisk. Cook for 2-3 minutes, whisking occasionally, until the gravy thickens to a smooth, pourable consistency that coats the back of a spoon. Taste and adjust seasoning with extra salt or pepper if needed.
Step 6
step6:Whisk smooth pan gravy
Step 6
step6:Whisk smooth pan gravy
7

Slice and plate roast

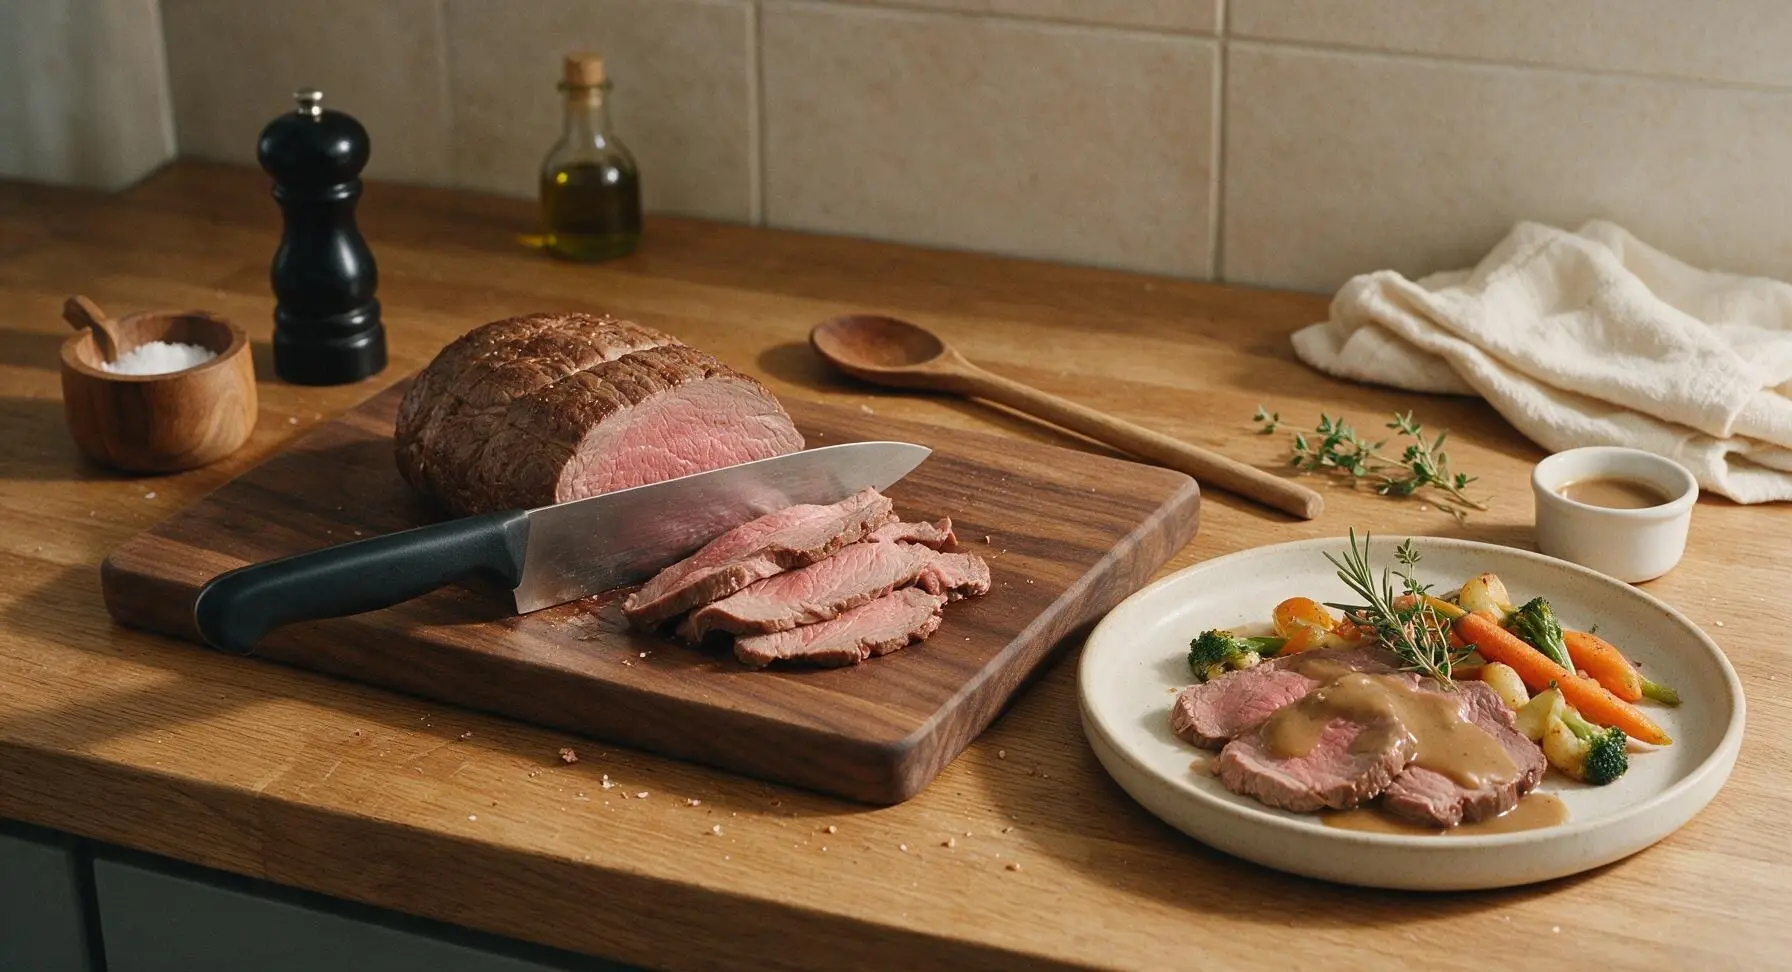
After the 10-minute rest, use the chef’s knife to slice the roast against the grain into 1cm (½-inch) thick slices. Arrange the sliced roast on the matte off-white stoneware oval platter, spoon the cooked vegetables alongside the meat, then drizzle the thick pan gravy over the top of the roast. Garnish with a small fresh sprig of rosemary and thyme before serving hot.
Step 7
step7:Slice and plate roast

Tips

1.Pat the rump roast completely dry with paper towels before seasoning and searing: excess surface moisture will steam instead of sear, preventing a deep, caramelized golden crust that adds critical savory depth to both the meat and gravy.
2.Do not skip the 15-minute natural pressure release after cooking: manually releasing pressure immediately shocks the meat fibers, causing them to seize up and squeeze out moisture, which results in tough, dry roast instead of juicy, tender slices.
3.Slice the fully rested roast against the grain (perpendicular to the long muscle fibers) into ½-inch thick slices: this cuts through tough connective tissue and muscle fibers, ensuring every bite is tender rather than stringy.


✨ You May Also Like

Main Course
🍜 United Kingdom

A showstopping classic of tender seared beef, savory mushroom duxelles, and crisp prosciutto wrapped in flaky golden puff pastry, baked to juicy perfection.

⏱️ 2 hours 1Main Course ★ 4.7
Main Course
🍜 India

Tender charred marinated chicken simmered in a rich, spiced creamy tomato sauce, this iconic Anglo-Indian curry pairs perfectly with basmati rice or warm naan.

⏱️ 50 minuteMain Course ★ 4.6
Main Course
🍜 Thailand

Classic tangy, sweet, and savory Thai stir-fried rice noodles with shrimp, tofu, and crunchy garnishes, balancing all five core Thai flavor profiles.

⏱️ 30 minuteMain Course ★ 4.5
Main Course
🍜 United Kingdom

Crispy golden beer-battered cod and fluffy double-fried chips, served with tangy tartar sauce and malt vinegar: the timeless, beloved British pub comfort classic.

⏱️ 45 minuteMain Course ★ 4.7
Main Course
🍜 Mexico

Smoky, chile-marinated pork tacos with caramelized pineapple, fresh cilantro, and lime: a beloved classic Mexican street food perfect for casual summer gatherings.

⏱️ 1 hour 45Main Course ★ 4.8
Main Course
🍜 United States

Crunchy Fritos corn chips layered with savory beef chili and melted cheddar, topped with cool, zesty fixings for a beloved, cozy Tex-Mex comfort food.

⏱️ 35 minuteMain Course ★ 4.8

rump roast instant pot:Frequently Asked Questions

1.What size rump roast fits best in a standard 6-quart Instant Pot for this recipe? ▾
A 3 to 4 pound rump roast is perfect for a standard 6-quart model. It won’t overcrowd the pot, leaves enough room for the cooking liquid needed to build pressure, and cooks evenly to that signature fall-apart tender texture without requiring extra adjusted cook time.
2.Do I need to sear the rump roast before pressure cooking it? ▾
Absolutely—don’t skip this step! Searing the seasoned roast on all sides using the Instant Pot’s sauté function builds deep, rich, savory browning (called the Maillard reaction) that adds huge flavor to both the beef itself and the smooth pan gravy you’ll make from the drippings later.
3.How much coarse kosher salt should I use to season the roast before cooking? ▾
For a 3 to 4 pound rump roast, use about 1 teaspoon of coarse kosher salt per pound of beef, so 3 to 4 teaspoons total. Sprinkle it evenly on all sides of the roast along with black pepper and garlic powder 15 minutes before searing to let the seasoning penetrate the meat a bit.
4.Why did my rump roast turn out tough instead of tender? ▾
Tough rump roast almost always traces back to two common missteps: insufficient cook time under pressure, or skipping a full natural pressure release. Rump is a lean, heavily worked muscle, so it needs consistent moist high heat to break down tough connective tissue into that melt-in-your-mouth texture you want.
5.Can I use a frozen rump roast for this recipe instead of thawed? ▾
You can absolutely use a fully frozen rump roast, but adjust your process slightly. Skip the initial searing, add ½ cup extra low-sodium beef broth to the pot, and increase pressure cook time by 50% (roughly 20 extra minutes for a 3-4 pound roast) to ensure even, thorough cooking.
6.How do I make the pan gravy smooth without lumps? ▾
For perfectly smooth, lump-free pan gravy, after removing the cooked roast, set the Instant Pot back to sauté mode. Whisk a slurry of 2 tablespoons cornstarch mixed with 2 tablespoons cold water into the hot drippings, stirring constantly for 2-3 minutes as it thickens, and strain through a fine sieve if you want extra silkiness.
7.How long should I pressure cook the rump roast to get that fall-apart texture? ▾
For a 3-4 pound thawed rump roast, cook on high pressure for 60 minutes, then let the pot do a full 20-minute natural pressure release before manually venting any remaining steam. This timing breaks down tough connective tissue without turning the beef mushy or overly dry.
8.Can I add vegetables like potatoes and carrots to the pot with the roast? ▾
Definitely! Cut root veggies like carrots, Yukon gold potatoes, and yellow onion into 2-inch chunks, and nestle them on top of the roast right before you seal the lid for pressure cooking. They’ll soak up the savory beef flavor and be perfectly tender when the roast is finished cooking.
9.What do I do if my pan gravy turns out too thin after cooking the roast? ▾
If your pan gravy is too thin, keep the Instant Pot on sauté mode and let it simmer for 3 to 5 minutes to reduce and concentrate, or whisk in an extra half-batch of cornstarch slurry a little at a time until it reaches your ideal thick, coat-the-back-of-a-spoon consistency.
10.Is it normal for my Instant Pot to take a long time to come to pressure for this recipe? ▾
That’s totally normal! With a dense cut of meat like rump roast and several cups of cold liquid in the pot, it can take 10 to 15 minutes for the unit to build enough high pressure to start the cook timer. Don’t stress—this pre-heat time doesn’t count toward your listed cook time.
11.Can I substitute other cooking fats for the extra-virgin olive oil when searing? ▾
Absolutely! You can swap the olive oil for an equal amount of avocado oil, melted beef tallow, or even unsalted butter if that’s what you have on hand. Just avoid fats with very low smoke points (like unrefined flax oil) that will burn easily during the high-heat sear.
12.How should I store leftover rump roast and pan gravy? ▾
Let the beef and gravy cool completely to room temperature within 2 hours of cooking, then store them in separate airtight containers in the fridge for up to 4 days. You can also freeze portions for up to 3 months, thawing overnight in the fridge before reheating gently on the stovetop or microwave.
13.Do I need to add extra liquid to the pot to help it build pressure? ▾
Yes! Even with the moisture that leaches out of the roast as it cooks, you’ll need a minimum of 1 cup of liquid (low-sodium beef broth works great, or even water in a pinch) in the bottom of the Instant Pot to generate enough steam to build and maintain high pressure.
14.Can I use garlic salt instead of separate garlic powder and kosher salt? ▾
You can, but adjust your measurements to avoid over-salting the roast. If using garlic salt, cut the total added kosher salt by ¾, since garlic salt is a pre-blend of salt and garlic powder, and taste the final gravy before adding extra salt to make sure the seasoning is well balanced.
15.Why does this recipe call for coarse kosher salt instead of regular table salt? ▾
Coarse kosher salt has larger, flakier grains that stick evenly to the roast’s surface when seasoning, making it much harder to over-salt compared to fine table salt. If you only have table salt on hand, cut the total salt amount in half, since table salt is denser and tastes saltier per teaspoon.
16.Should I slice the roast or shred it when serving with the pan gravy? ▾
That’s totally up to your preference! If you let the roast rest for 10 minutes after removing it from the pot, you can slice it against the grain for neat, tender slices, or use two forks to shred it into juicy, pull-apart bits for sandwiches, bowls, or serving over mashed potatoes.
17.What if I don’t have time for a full natural pressure release? ▾
If you’re crunched for time, wait a minimum of 10 minutes after the cook timer ends before doing a quick pressure release, rather than venting immediately. Venting right away can make the roast’s muscle fibers seize up and turn tough, and can also cause hot, savory liquid to splatter out of the steam vent.

Comments (11)

2 days ago

OMG this rump roast came out SO juicy! I’ve messed up so many roasts in the Instant Pot before—they always came out tough or bland, but this recipe was a total game changer. My husband and two kids devoured it at Sunday dinner, even my picky 7 year old asked for seconds! The pan gravy was chef’s kiss, no weird lumps at all.

1 week ago

Solid recipe, super easy to follow even after a long day at work. Cook time was almost exactly as stated—mine needed about 5 extra minutes under pressure to get as tender as I wanted, but that’s probably just my Instant Pot being finicky. I added a little extra garlic because we’re garlic fiends in this house. Will absolutely be adding this to our weekly meal rotation.

3 days ago

Wait I’ve never made a roast in my life and this turned out perfect? I was so nervous I’d waste a whole cut of meat, but the steps are so straightforward. The gravy saved my sad dorm dinner, my roommates all thought I was a professional cook lmao. 10/10 would make again for our next floor potluck.

30 minutes ago

Hi! This recipe looks so good, I’m about to throw it in the pot for dinner tonight! Quick question—do I have to use the sauté function first to sear the roast, or can I skip that step if I’m short on time? I’m running late for my kid’s soccer practice and need to get this in the pot ASAP.

5 minutes ago

Hi there! You can skip the searing step if you’re crunched for time, but it does add a nice deep flavor to both the roast and the gravy. If you skip it, just add an extra 1/4 tsp of smoked paprika to bump up that savoriness! Hope the soccer game goes great!

5 days ago

Made this for my neighborhood block party last weekend and people would NOT stop asking me for the recipe! The roast was so tender it practically fell apart when I pulled it out to slice, and the gravy went perfectly with the mashed potatoes I brought too.

3 days ago

Oh I was thinking of making this for our annual camping potluck next month! Did you transfer it to a slow cooker to keep it warm after making it in the Instant Pot? Curious if it holds up well for a couple hours on the warm setting without getting mushy.

2 weeks ago

How well does this keep for meal prep? I usually make Sunday meals to portion out for lunches for the whole week, and I’m wondering if the roast stays tender and the gravy doesn’t get weird when reheated.

2 weeks ago

Great question! This roast holds up beautifully for meal prep for up to 5 days in the fridge. Just store the gravy separate from the roast if you can, and reheat low and slow (either in the microwave at 50% power or in a small pot on the stovetop) to keep the meat from getting tough. Works great for weekly lunches!

yesterday

This tasted just like the rump roast my mom used to make for Sunday suppers when I was a kid! I added a handful of baby carrots and quartered potatoes right in the pot with the roast for the last 20 minutes of cook time and it made a full one-pot meal. So easy, so cozy.

2 hours ago

Oh adding carrots and potatoes is such a smart call! I always forget I can toss veggies right in the IP instead of making a separate side. Definitely trying that next time I make this!

2 hours ago

Dude, this recipe turned me into a roast guy. I used to think roasts were only for fancy holiday dinners, but this is easy enough to make on a random weeknight. The gravy is so good I was dipping my bread in it straight from the pot no shame.

30 minutes ago

LMAO I did the exact same thing with the bread! My girlfriend made fun of me but even she snuck a dip when she thought I wasn’t looking. The gravy is unreal.

5 minutes ago

I’m so ready to make this for dinner tonight! Quick question—can I use a frozen rump roast for this recipe? I forgot to thaw mine out last night and dinner is in a couple hours, I really don’t want to run to the grocery store if I don’t have to.

just now

I did this last week! I added 25 extra minutes to the cook time and it came out exactly the same as when I used a thawed roast, no joke. Just make sure you can get the trivet under it okay if it’s a big frozen block.

just now

Great tip from FreezerMealFan! You absolutely can use a frozen rump roast—just add 20-25 minutes of high pressure cook time, and make sure the roast isn’t stuck to the bottom of the pot when you add your liquid to avoid the burn notice. It’ll turn out just as tender!

1 week ago

I cannot sing this recipe’s praises enough! I work 10 hour shifts and the last thing I want to do when I get home is spend hours cooking. This was so hands off in the Instant Pot, I was able to help my kid with homework while it cooked, and we had a full, delicious dinner on the table in no time. My kid loved it so much he asked if we could have it for his birthday dinner next month!

5 days ago

Same here! I’m always looking for low-effort meals that don’t taste like low-effort meals, and this fits the bill perfectly. I made it last night while I was on a work call and didn’t have to babysit the pot at all.

5 days ago

This makes us so happy to hear! That’s exactly what we love about Instant Pot recipes—getting to spend time with family instead of slaving over the stove, while still getting a home cooked meal that tastes like you spent hours on it. Hope the birthday dinner turns out perfect!

yesterday

So excited to make this! Quick check—is the pan gravy gluten free if I use cornstarch instead of flour to thicken it? I have celiac so I have to be super careful about cross contamination and gluten containing thickeners.

yesterday

I made it with cornstarch last week! Just make a slurry with equal parts cornstarch and cold water before stirring it into the pan drippings, and it thickens up perfectly with no flour needed. No weird texture or aftertaste at all!

2 hours ago

Perfect tip from GFBakerBabe! Swapping the all purpose flour for a cornstarch slurry works perfectly for a gluten free version of this gravy. Just make sure any broth you use is labeled gluten free too, and you’re good to go!



