
Sables
intro
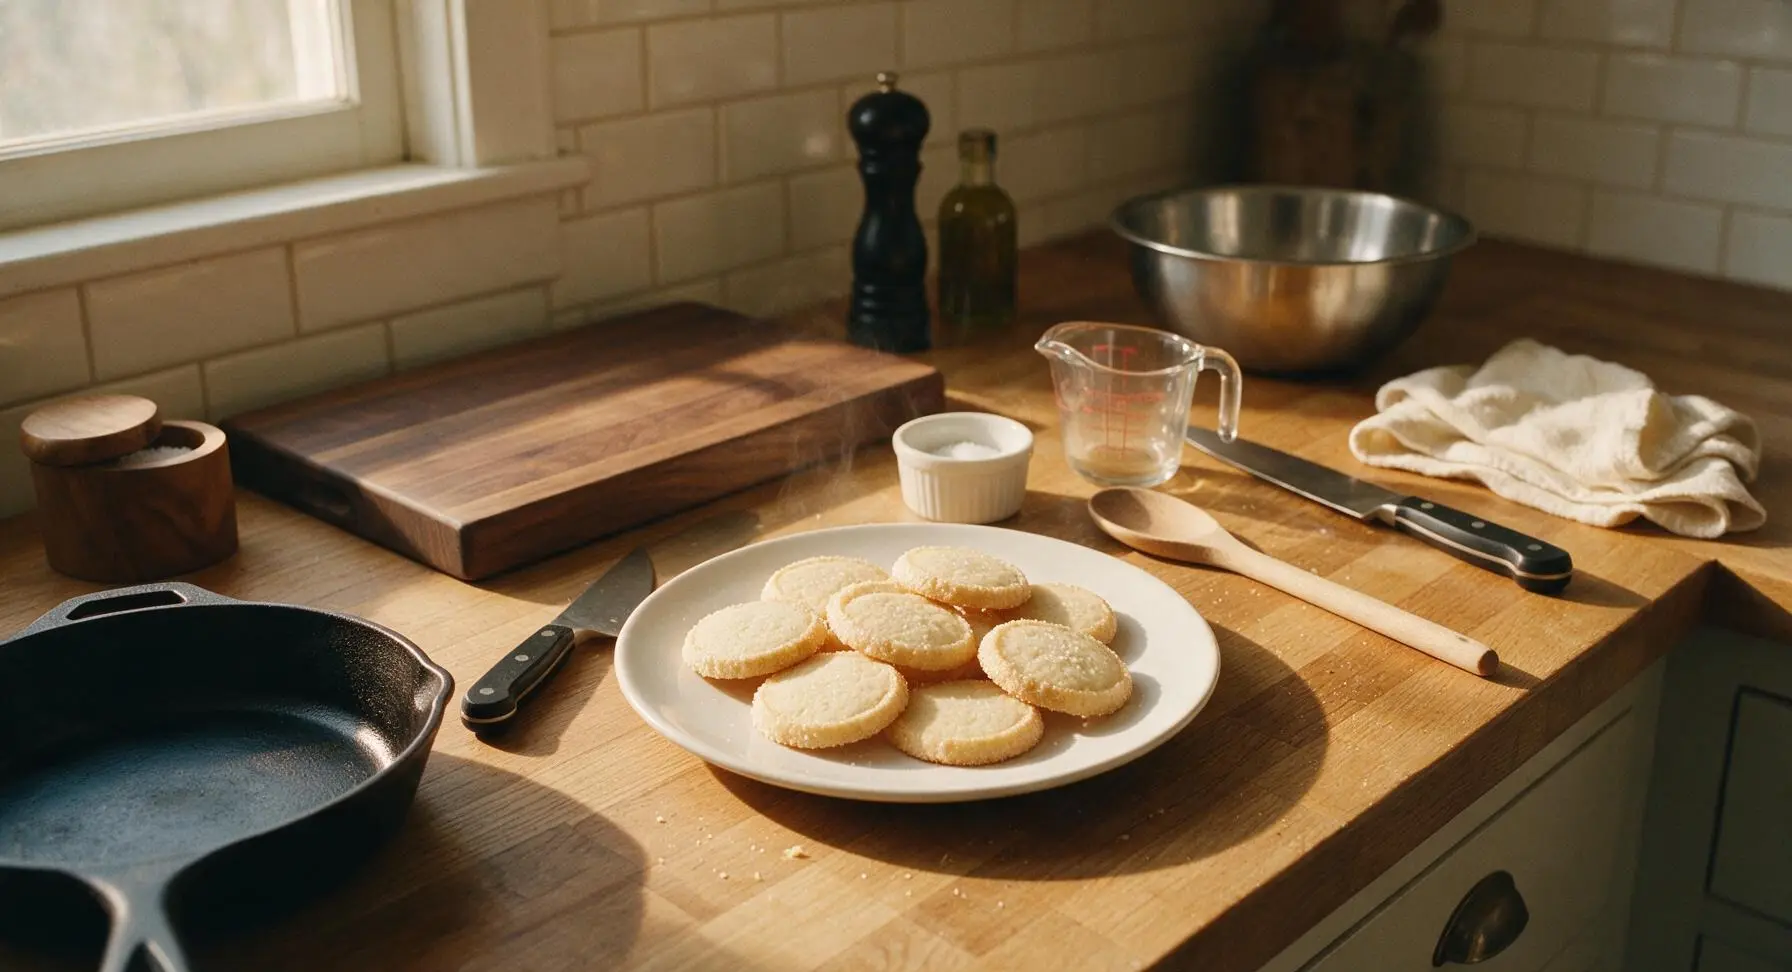
Buttery, melt-in-your-mouth French sable cookies, lightly sweet with a delicate crumb and crisp sugar edge, perfect for holiday tins, tea time, or gifting.
Ingredients
Steps
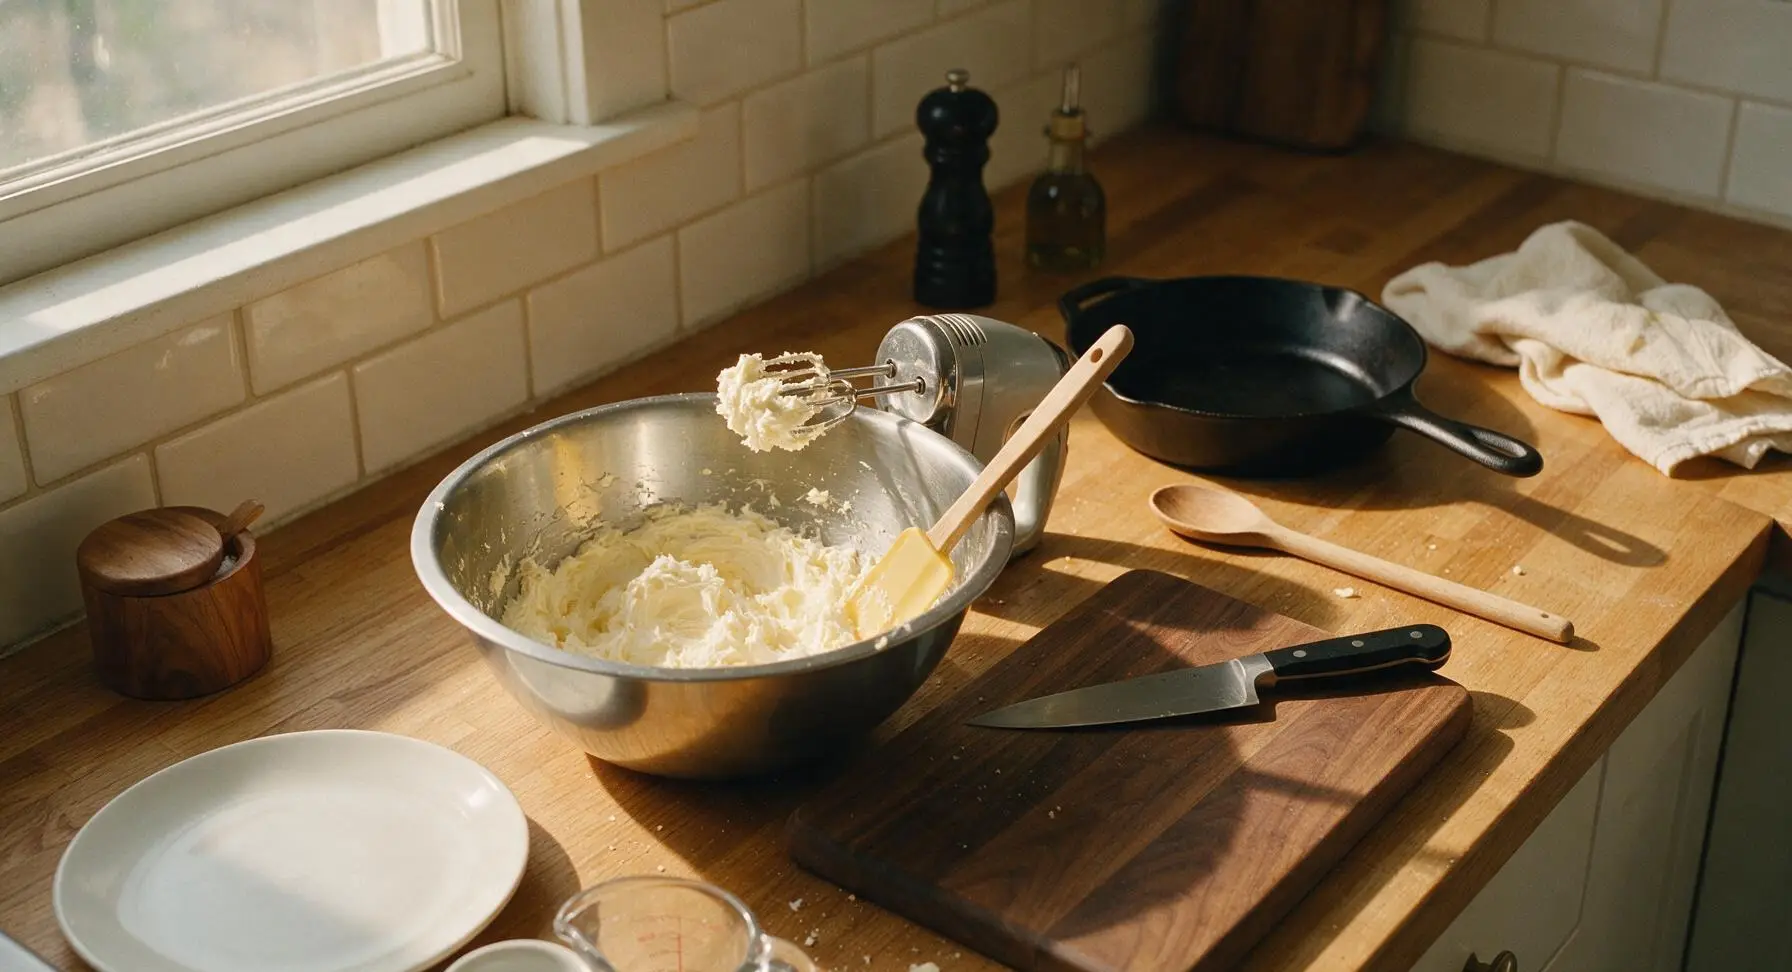
Cream Butter and Sugar
Place the slightly cool, cubed unsalted butter and caster sugar in the large stainless steel mixing bowl. Using the electric hand mixer on medium-low speed, beat the mixture for 2 minutes until smooth, pale, and fluffy, stopping to scrape down the bowl sides with the butter-yellow silicone spatula as needed. Avoid overbeating, as excess air will cause cookies to spread during baking.
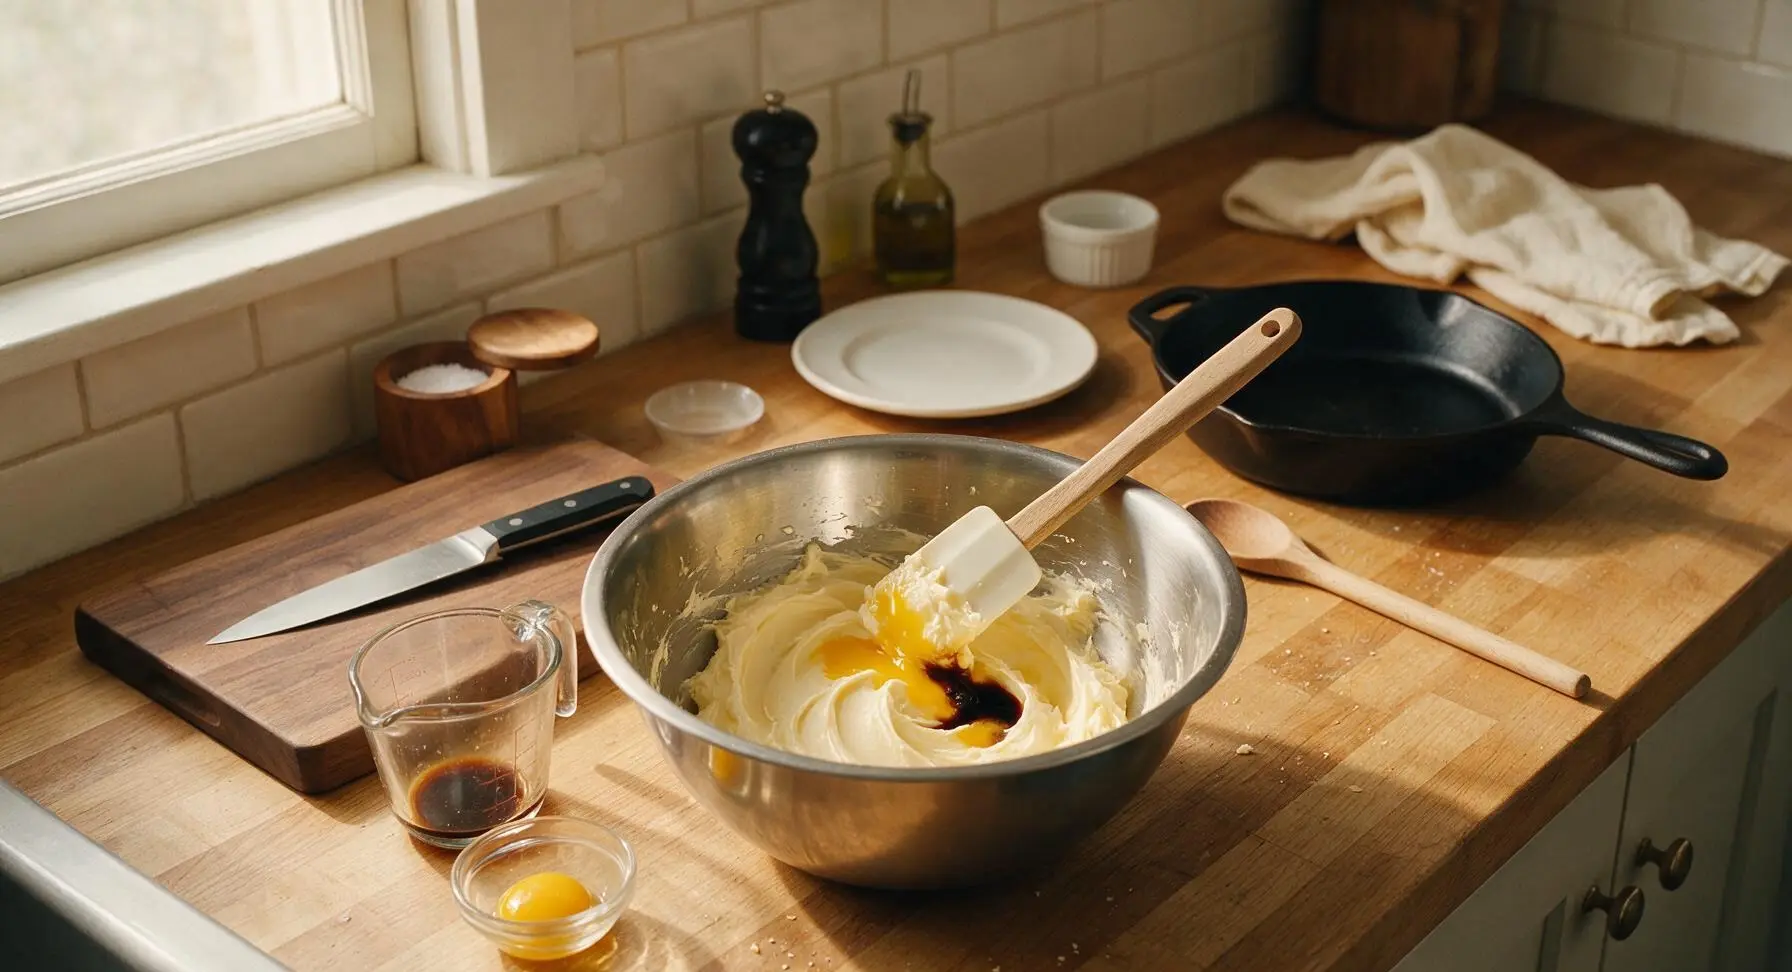
Add Egg and Vanilla
Add the room temperature egg yolk and vanilla extract to the creamed butter mixture. Beat on low speed for 30 seconds until fully combined, scraping down the bowl once with the silicone spatula to eliminate any egg streaks at the bowl bottom. The finished mixture will be smooth and homogenous, with no signs of curdling.
Sift Dry Ingredients
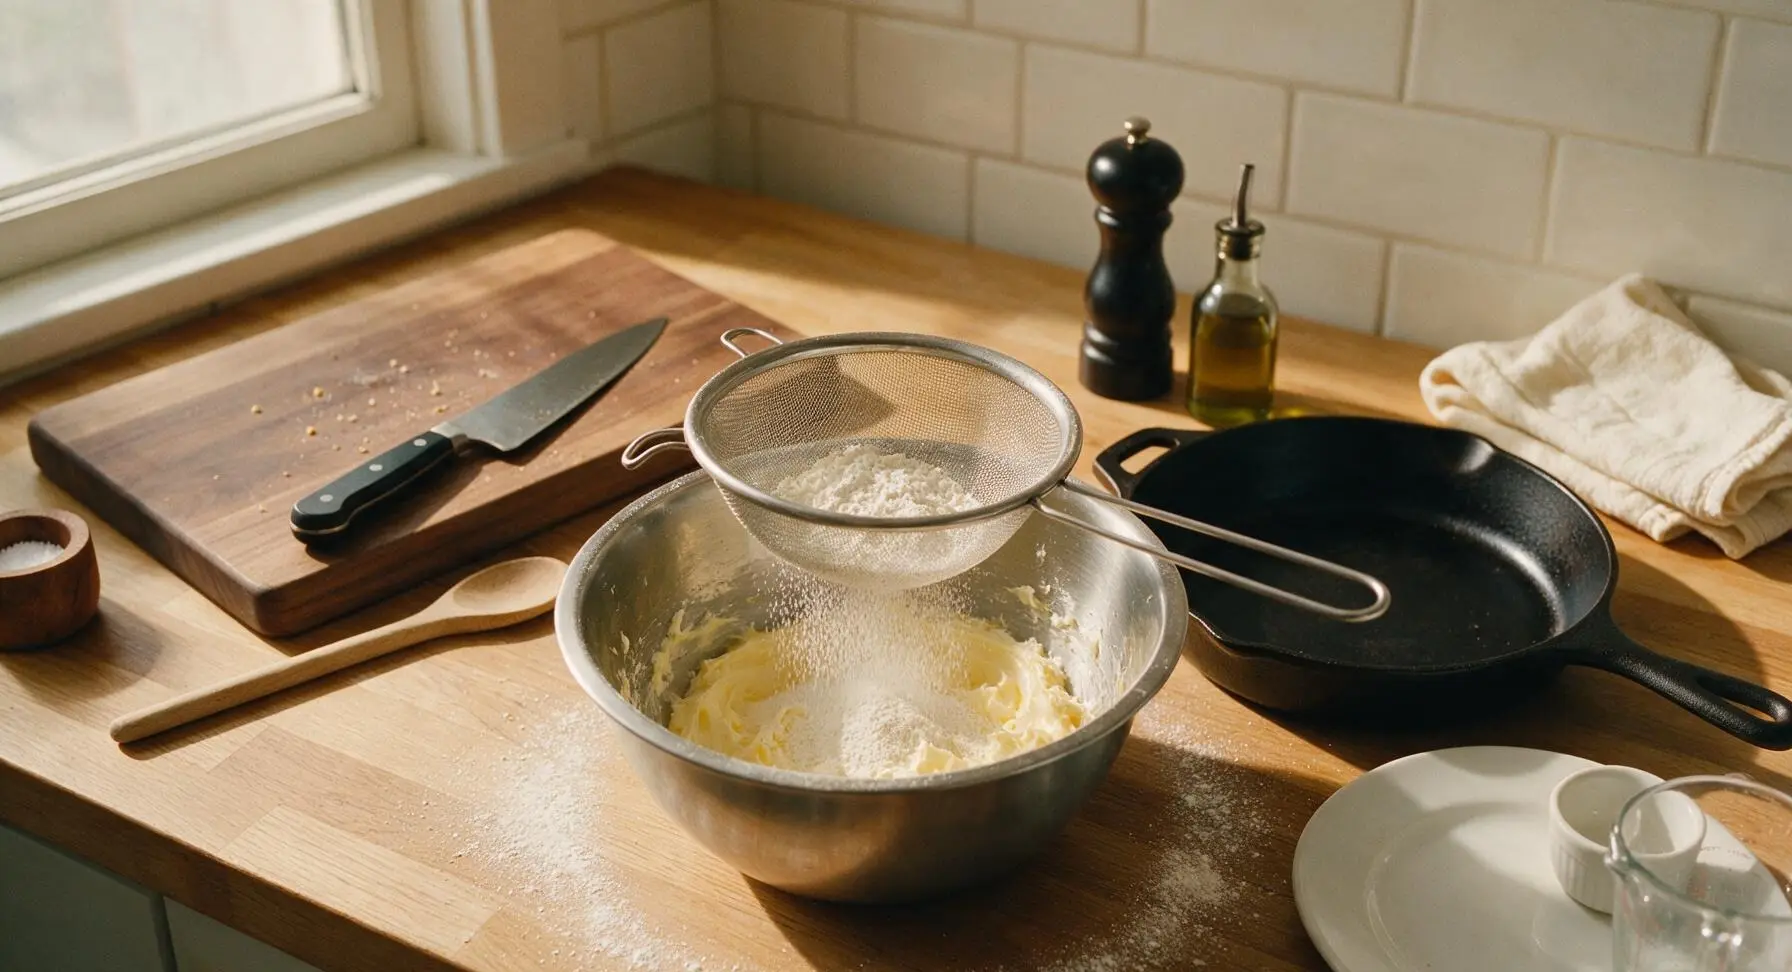
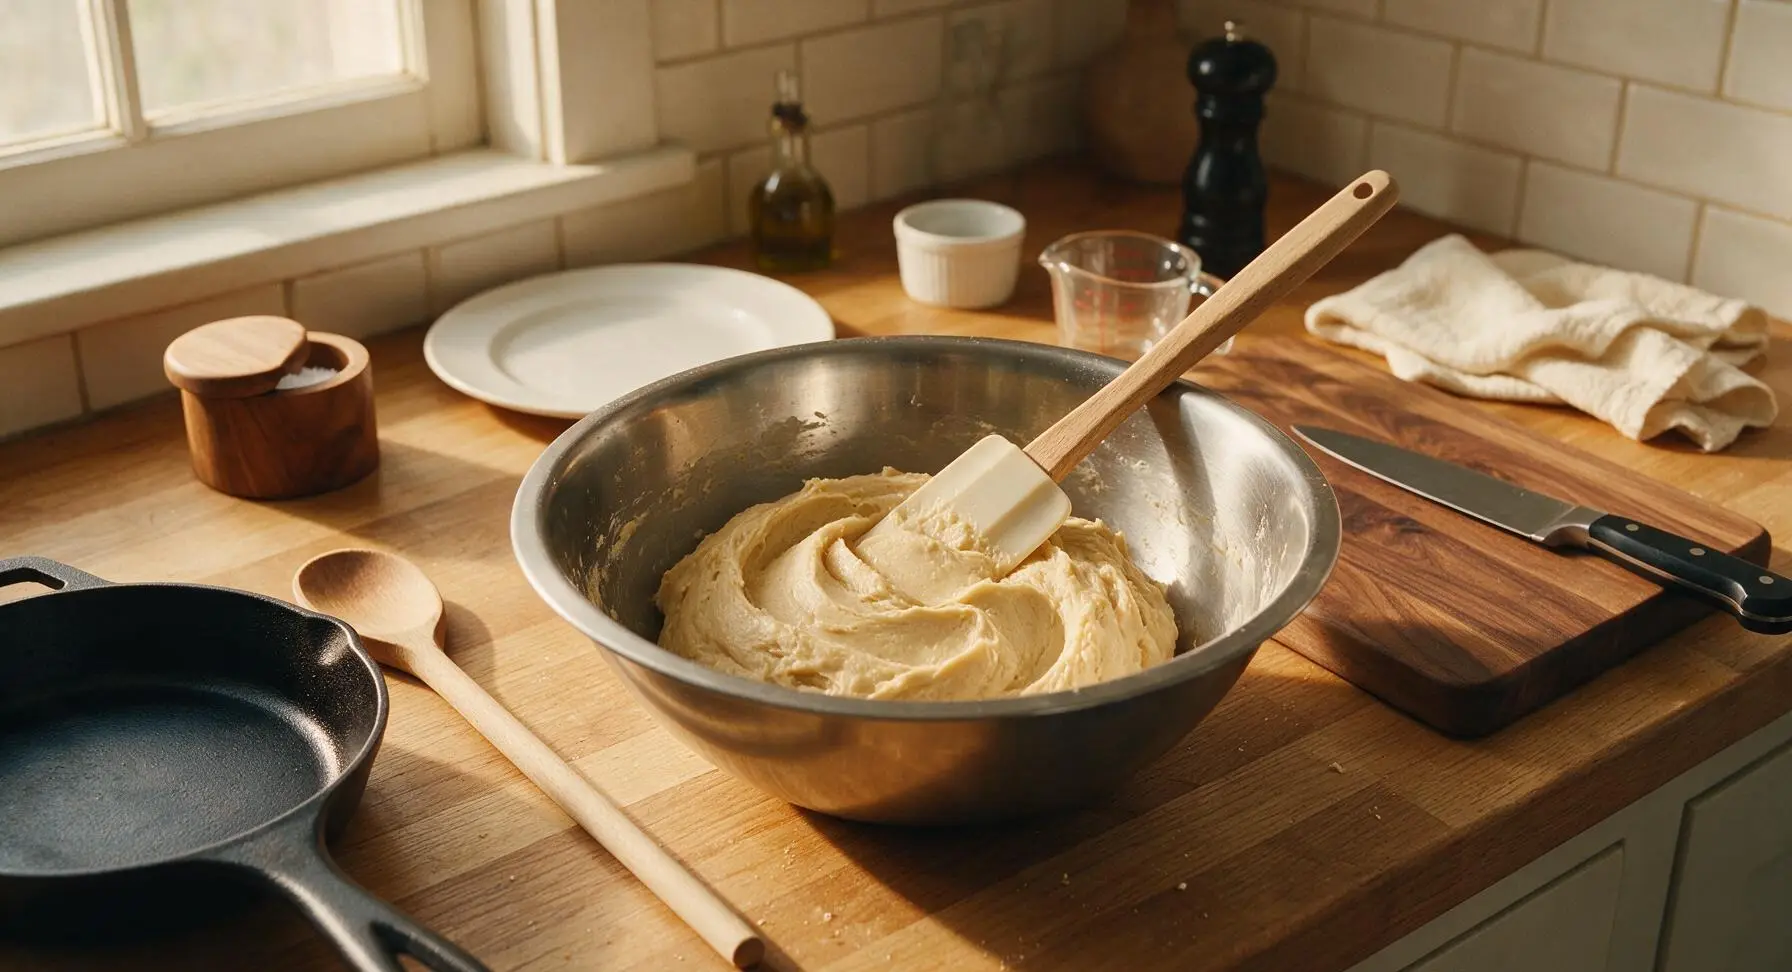
Set the fine mesh stainless steel sieve over the large mixing bowl, add all-purpose flour and fine sea salt to the sieve, and tap gently to sift dry ingredients evenly over the butter mixture. Use the silicone spatula to fold flour in with gentle cutting motions, stopping as soon as no dry flour streaks remain. Overmixing will develop gluten and create tough cookies, rather than tender, crumbly sables. The finished dough will be soft, slightly crumbly, and hold together when pressed.
Shape Dough Logs
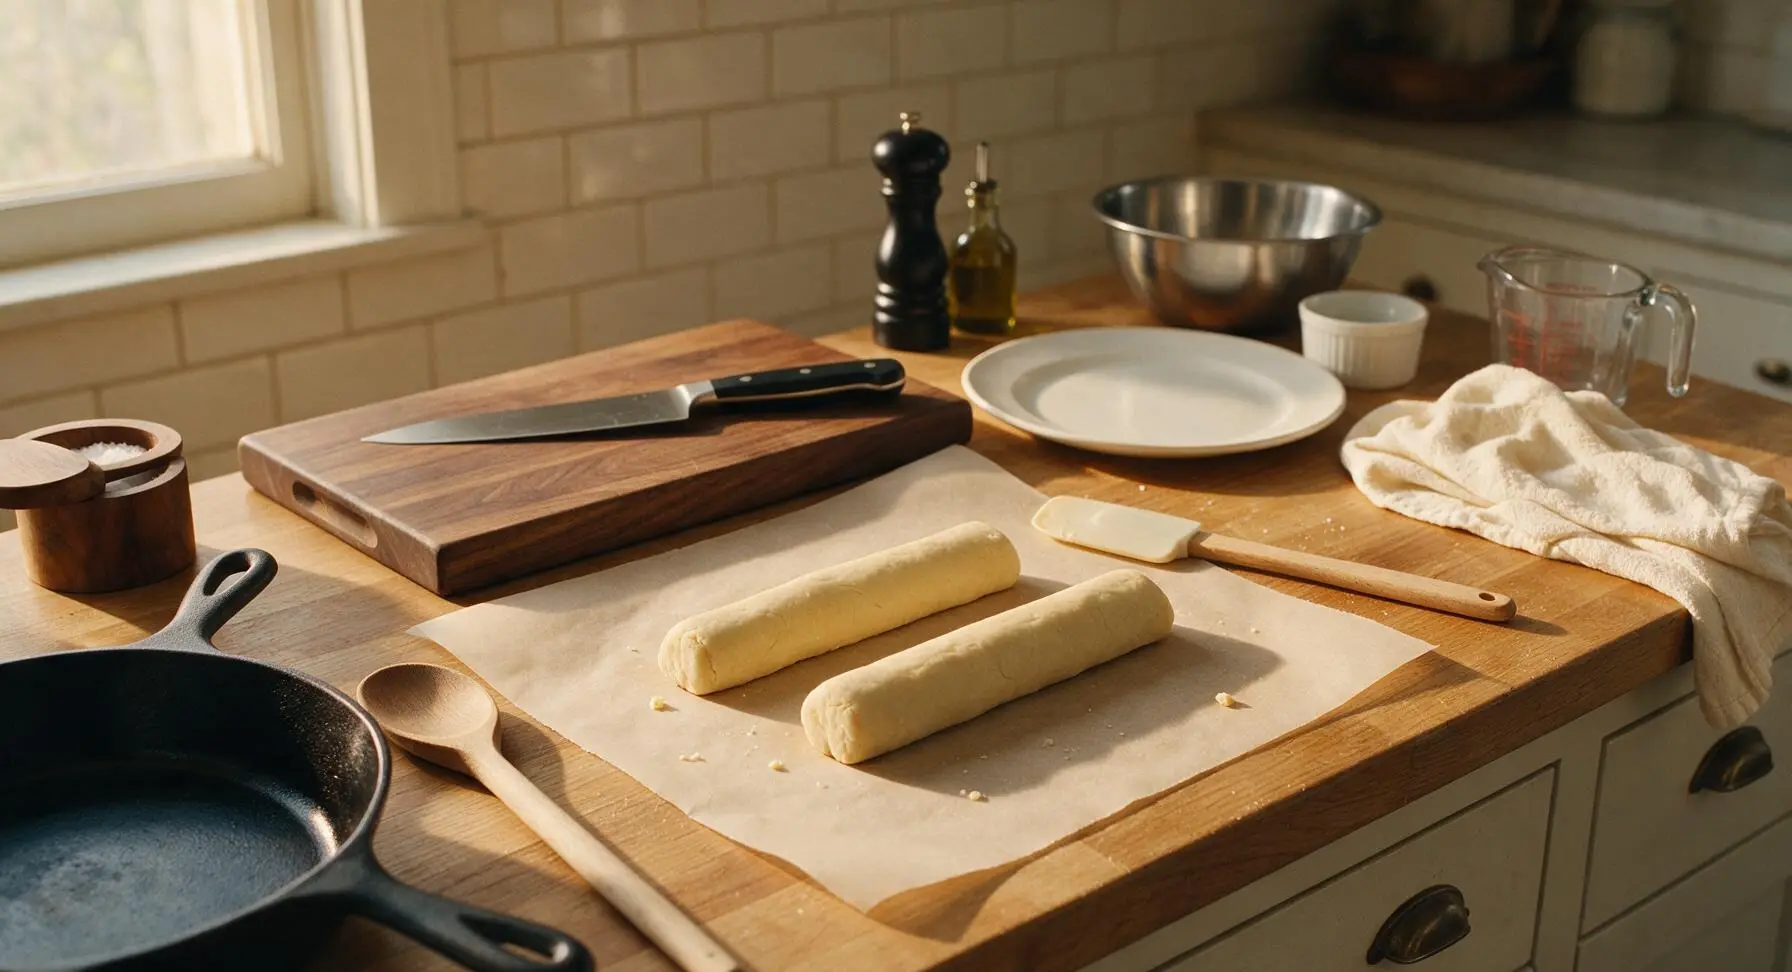
Turn the mixed dough out onto a clean section of counter, and divide evenly into two equal portions. Roll each portion with the palms of your hands into a uniform log 4cm in diameter and 15cm long, smoothing the outer surface as you go. Even log thickness ensures every cookie slices to the same width and bakes evenly.
Coat and Chill Logs
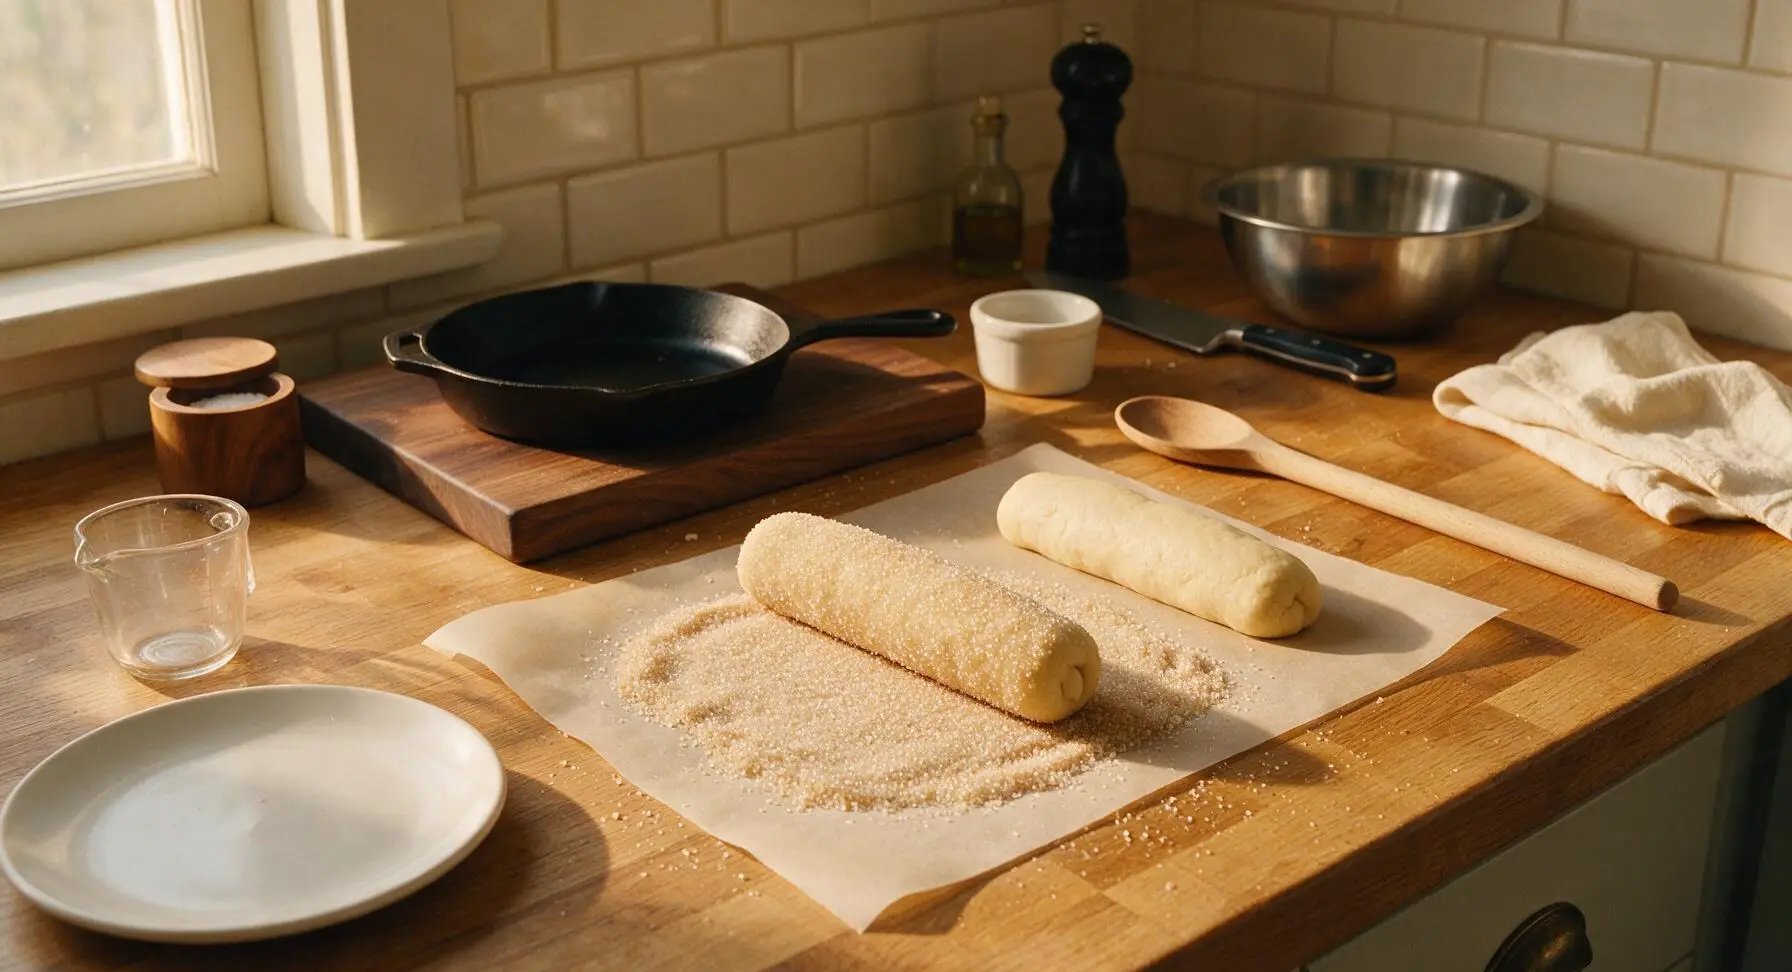
Sprinkle the 3 tablespoons of granulated sugar evenly across a fresh sheet of parchment paper. Roll each dough log across the sugar until the entire outer surface is coated in a thin, even layer of sugar crystals. Wrap each log tightly in clear plastic wrap, and chill in the refrigerator for a minimum of 2 hours (or up to 3 days) until the dough is completely firm to the touch. Proper chilling is non-negotiable to prevent cookie spread during baking.
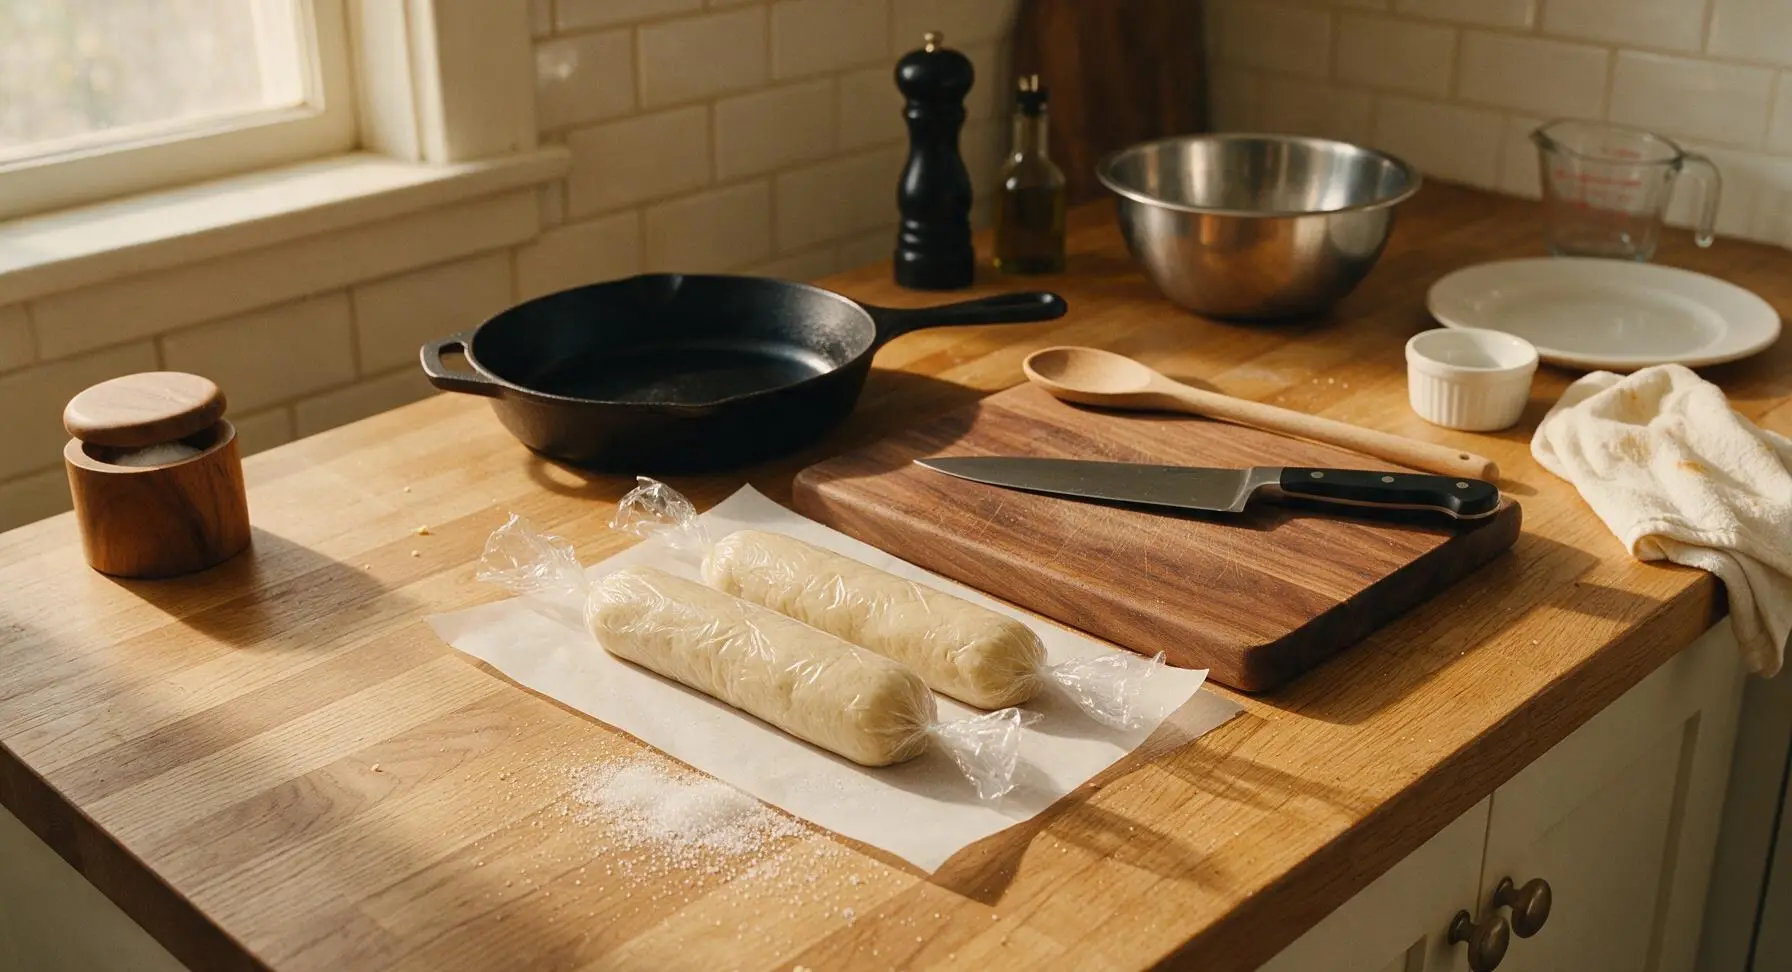
Slice Chilled Dough
Preheat oven to 170°C (340°F), and line the rimmed aluminum half-sheet pan with a sheet of unbleached parchment paper. Remove one chilled dough log from the refrigerator, unwrap it, and place it on the light beech wood cutting board. Use the sharp paring knife to slice the log into uniform 7mm thick rounds, applying even, gentle pressure to make clean cuts without squishing the soft dough. Arrange sliced rounds on the prepared pan 2cm apart to allow for slight spreading.
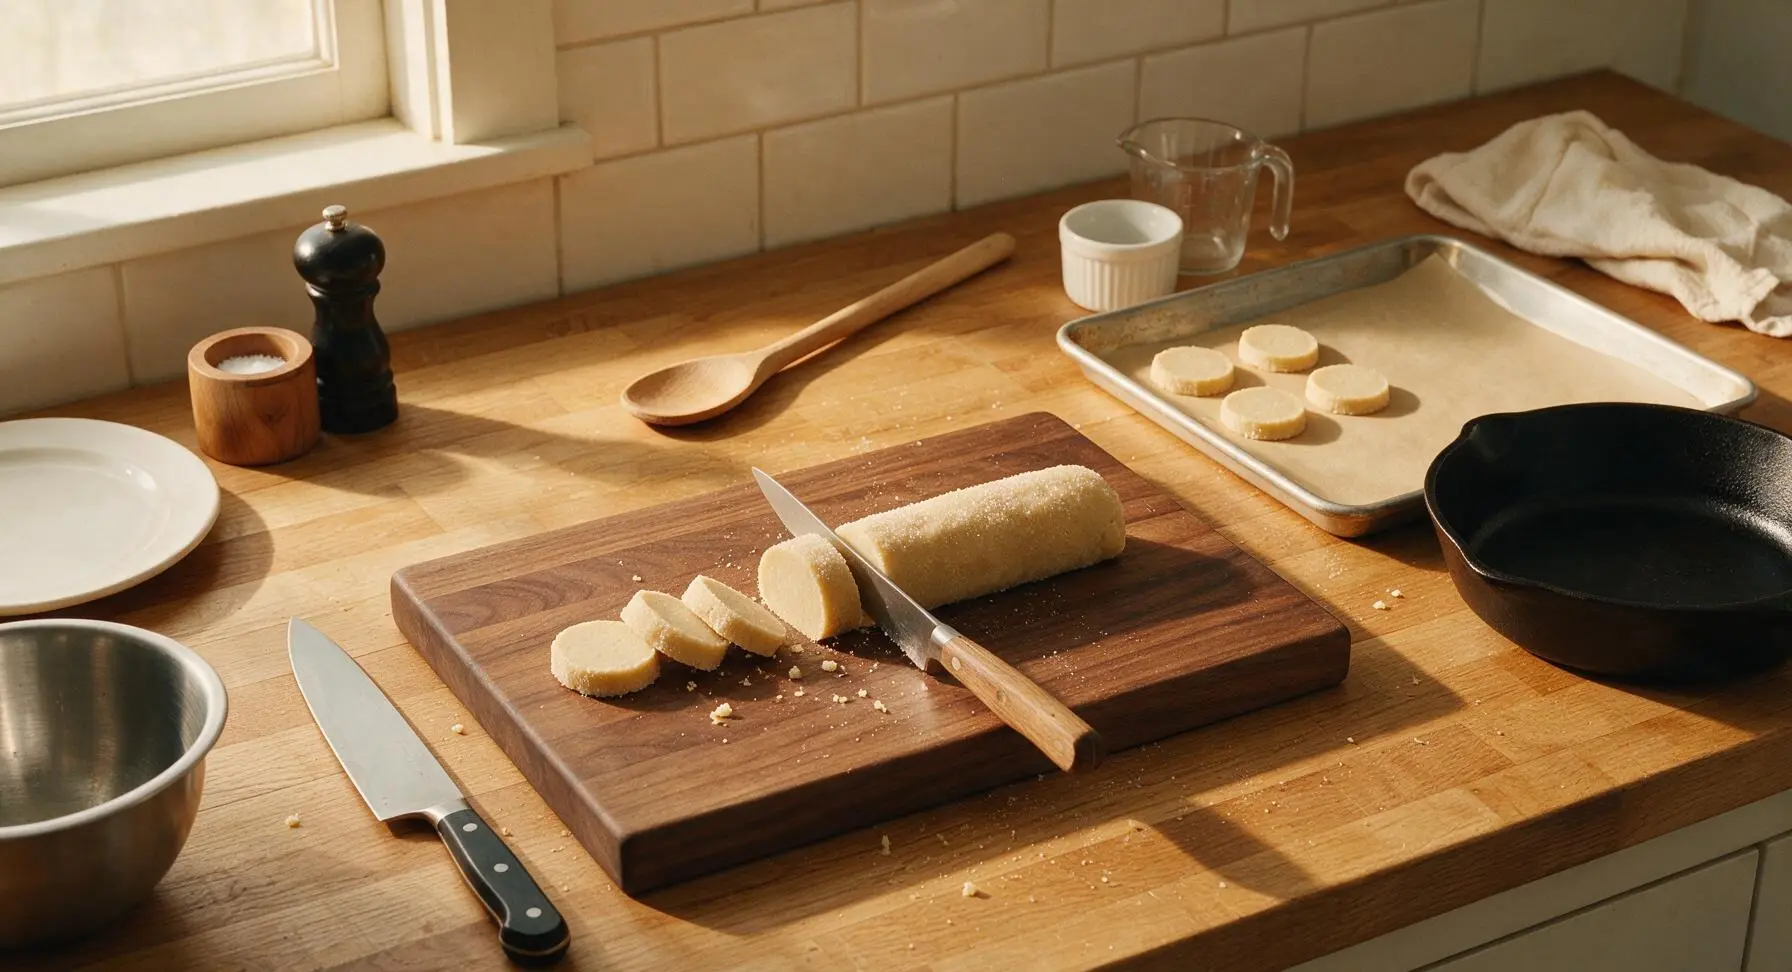
Bake to Perfection
Place the baking pan on the middle oven rack, and bake for 11-12 minutes. Cookies are done when edges are light golden brown, and centers remain pale and just set. Resist the urge to bake until centers brown, as cookies continue to firm as they cool, and overbaking will result in hard, crunchy cookies instead of tender, melt-in-your-mouth sables.
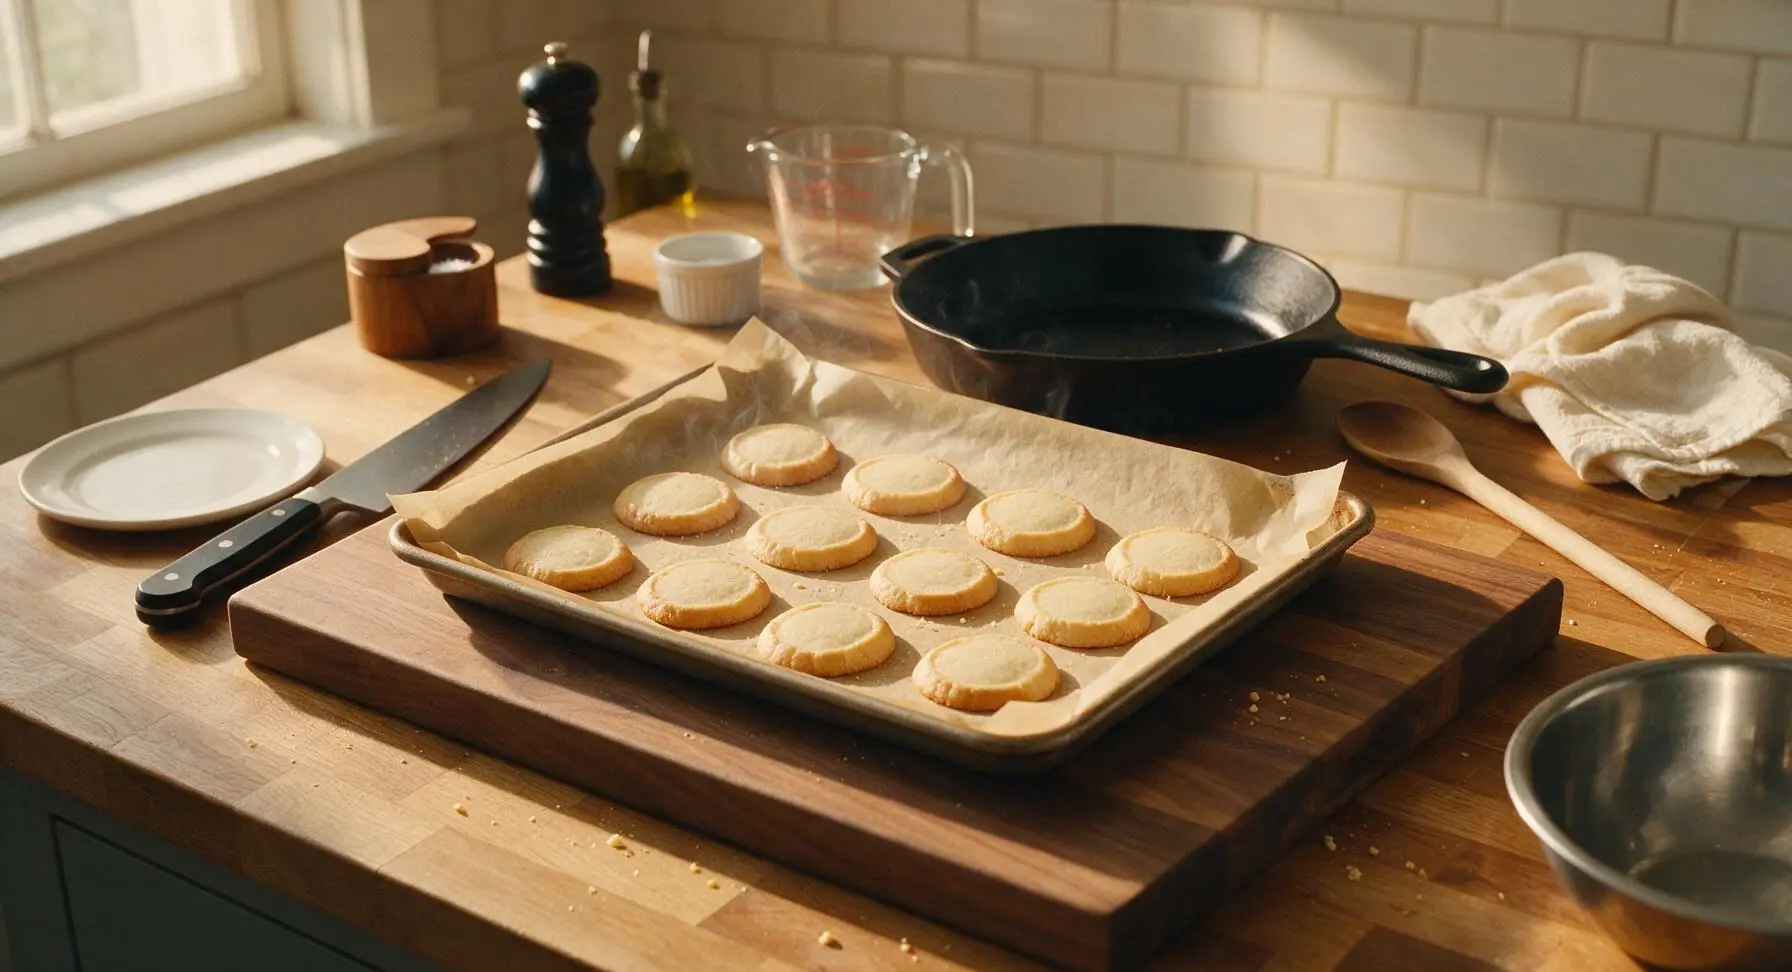
Cool and Serve
Let cookies rest on the hot baking pan for 5 minutes to set, then transfer them to the matte black wire cooling rack to cool completely for 20 minutes. Once fully cool, arrange cookies on the vintage cream ceramic serving platter for serving, or store in an airtight tin for up to 1 week.
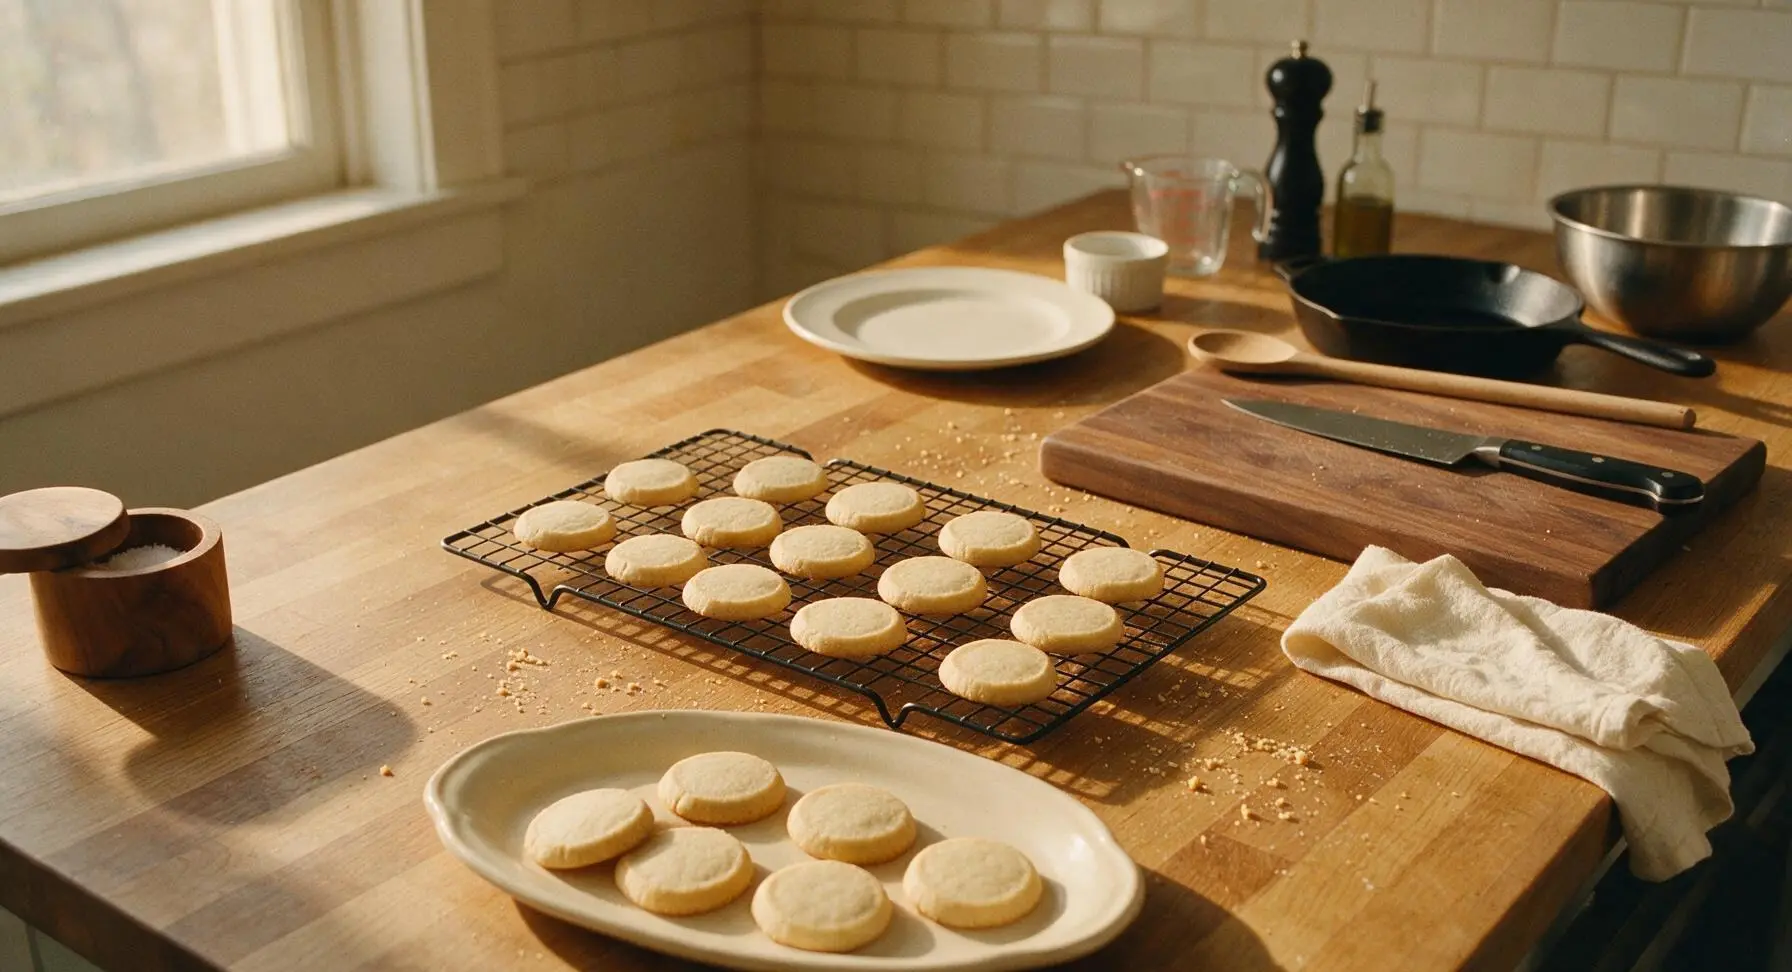
Tips
2.Stop mixing the dough as soon as no dry flour remains: Overmixing develops gluten in the all-purpose flour, which will produce tough, dense cookies rather than the signature light, melt-in-your-mouth crumb.
3.Freeze plastic-wrapped dough logs for up to 3 months for impromptu baking: When ready to bake, slice frozen logs (no thawing required) and add 2-3 minutes to the total bake time for identical results to fresh dough.






OMG these sable cookies are SO good! I whipped them up for my kid’s after-school snack yesterday and they devoured the whole batch in 10 minutes. They’re buttery, crumbly, not too sweet — perfect with a cup of coffee for me too! So easy even a beginner baker like me didn’t mess them up. Total game changer for my weekly meal prep bake list.
Great base recipe! Cook time was spot on at 12 minutes for my oven, no burnt edges at all. I did chill the dough for an extra hour because I’ve had spread issues with shortbread-type cookies before, and they held their shape perfectly. Only reason it’s not 5 stars is I wish there was a note about how thick to roll the dough — mine were a little uneven first batch but turned out fine after I adjusted.
Made these last night for my roommate’s birthday and they were a hit! Super easy to throw together between study sessions, I didn’t even need to run to the store because all the ingredients are pantry staples. Rolled them in sparkly sugar before baking for a little fancy vibe, 10/10 would make again.
I brought these to our neighborhood block party last weekend and people were asking me for the recipe left and right! They’re so buttery they just melt in your mouth. I did half plain and half dipped in salted caramel, and the salted caramel ones disappeared first. Will absolutely be adding these to my regular holiday cookie platter rotation.
These look absolutely perfect for my upcoming brunch! I’m hosting for a friend who’s celiac, so I was wondering if anyone has tested this recipe with a 1:1 gluten free all purpose flour? I’d hate to make a batch that turns out crumbly or off texture for the group!