
salad sandwich
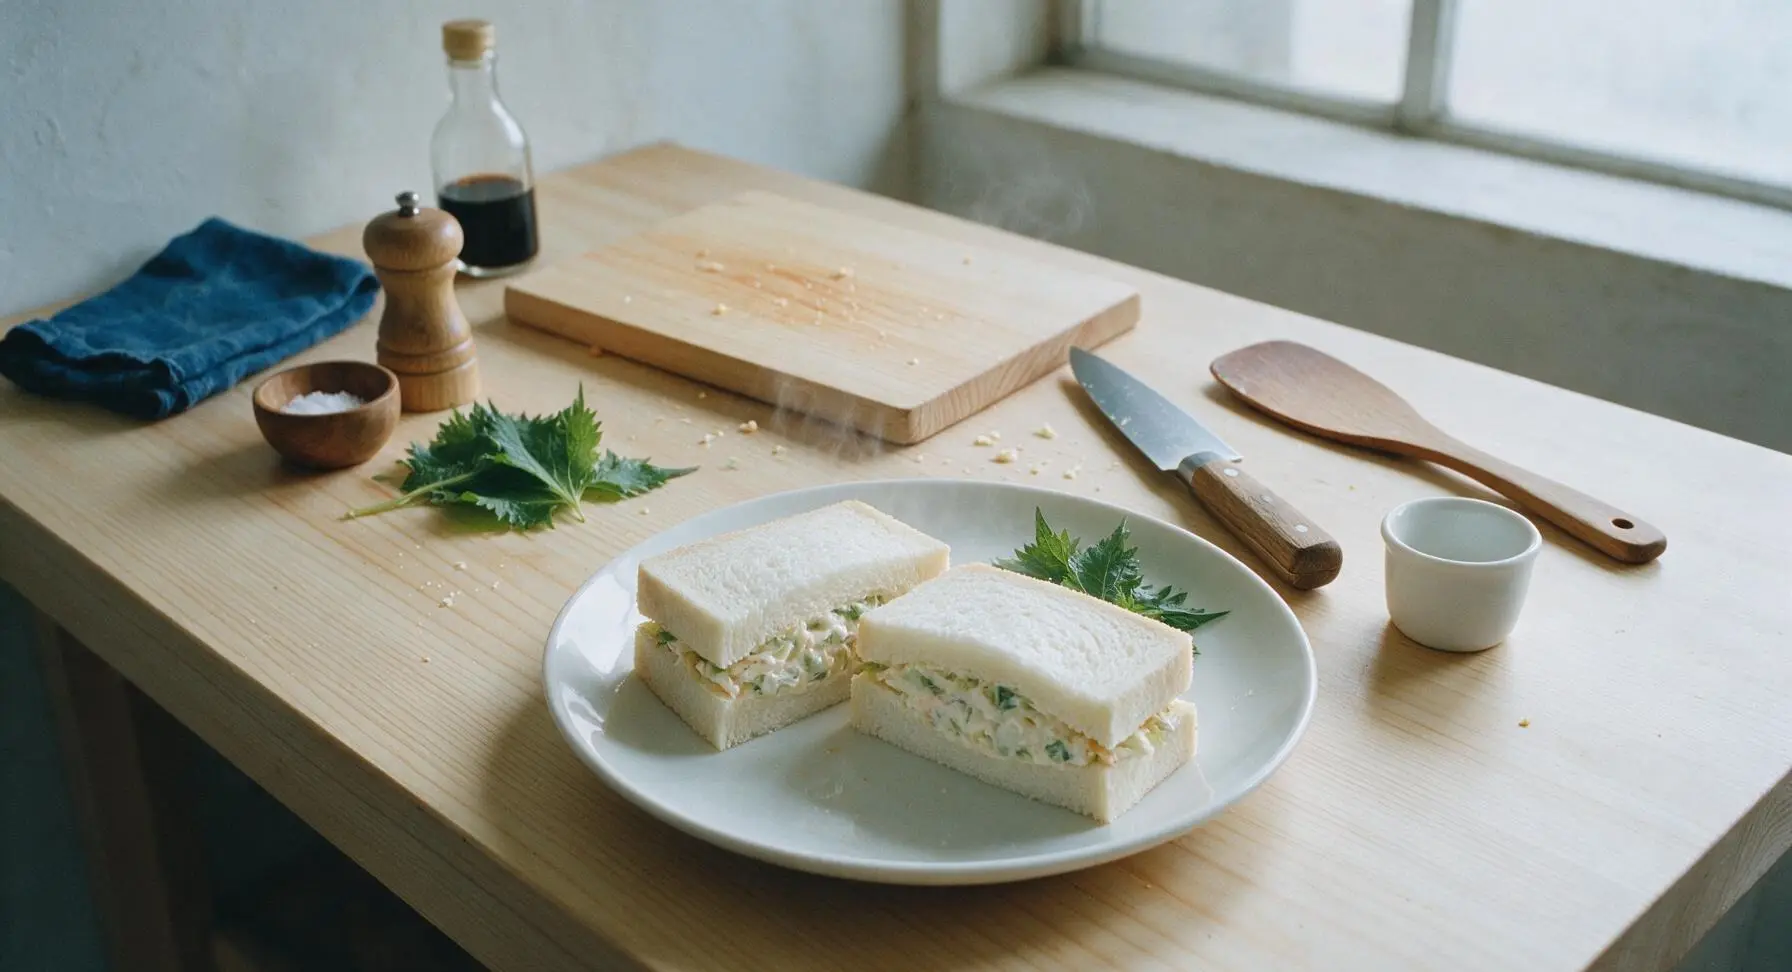
intro
Creamy, crisp, and perfectly portable, this classic salad sandwich stacks tangy veggie filling and fresh produce between soft bread for a light, satisfying summer bite.
Ingredients
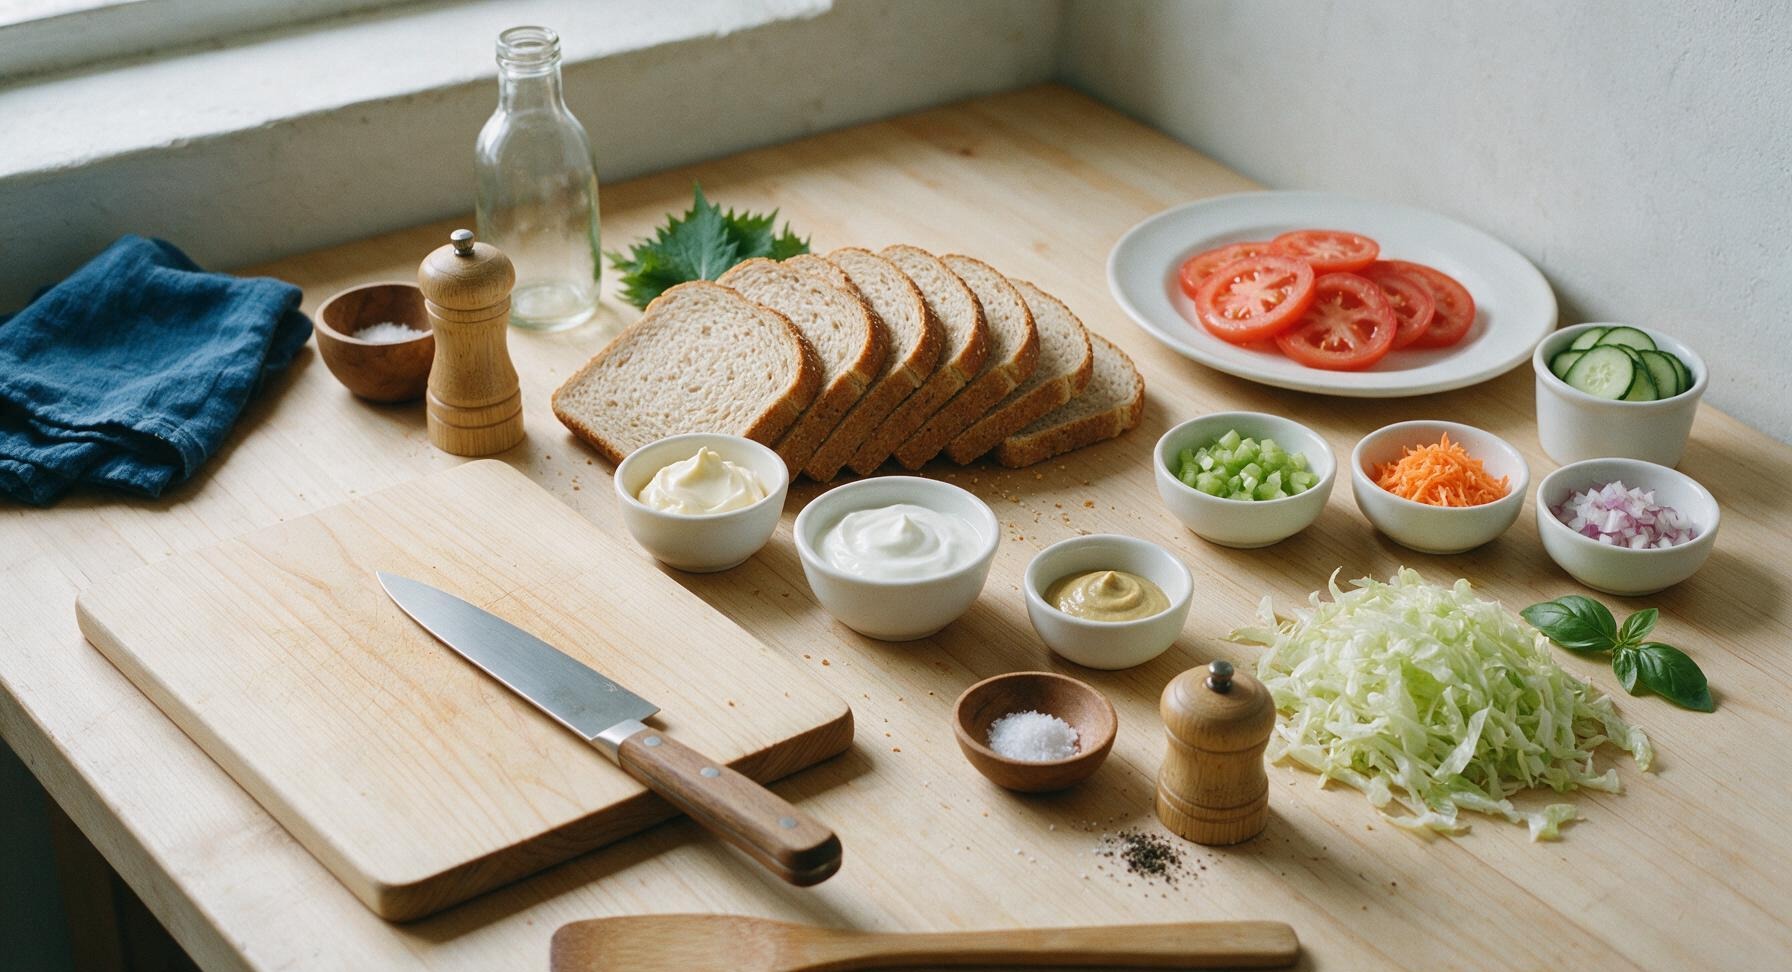
Steps
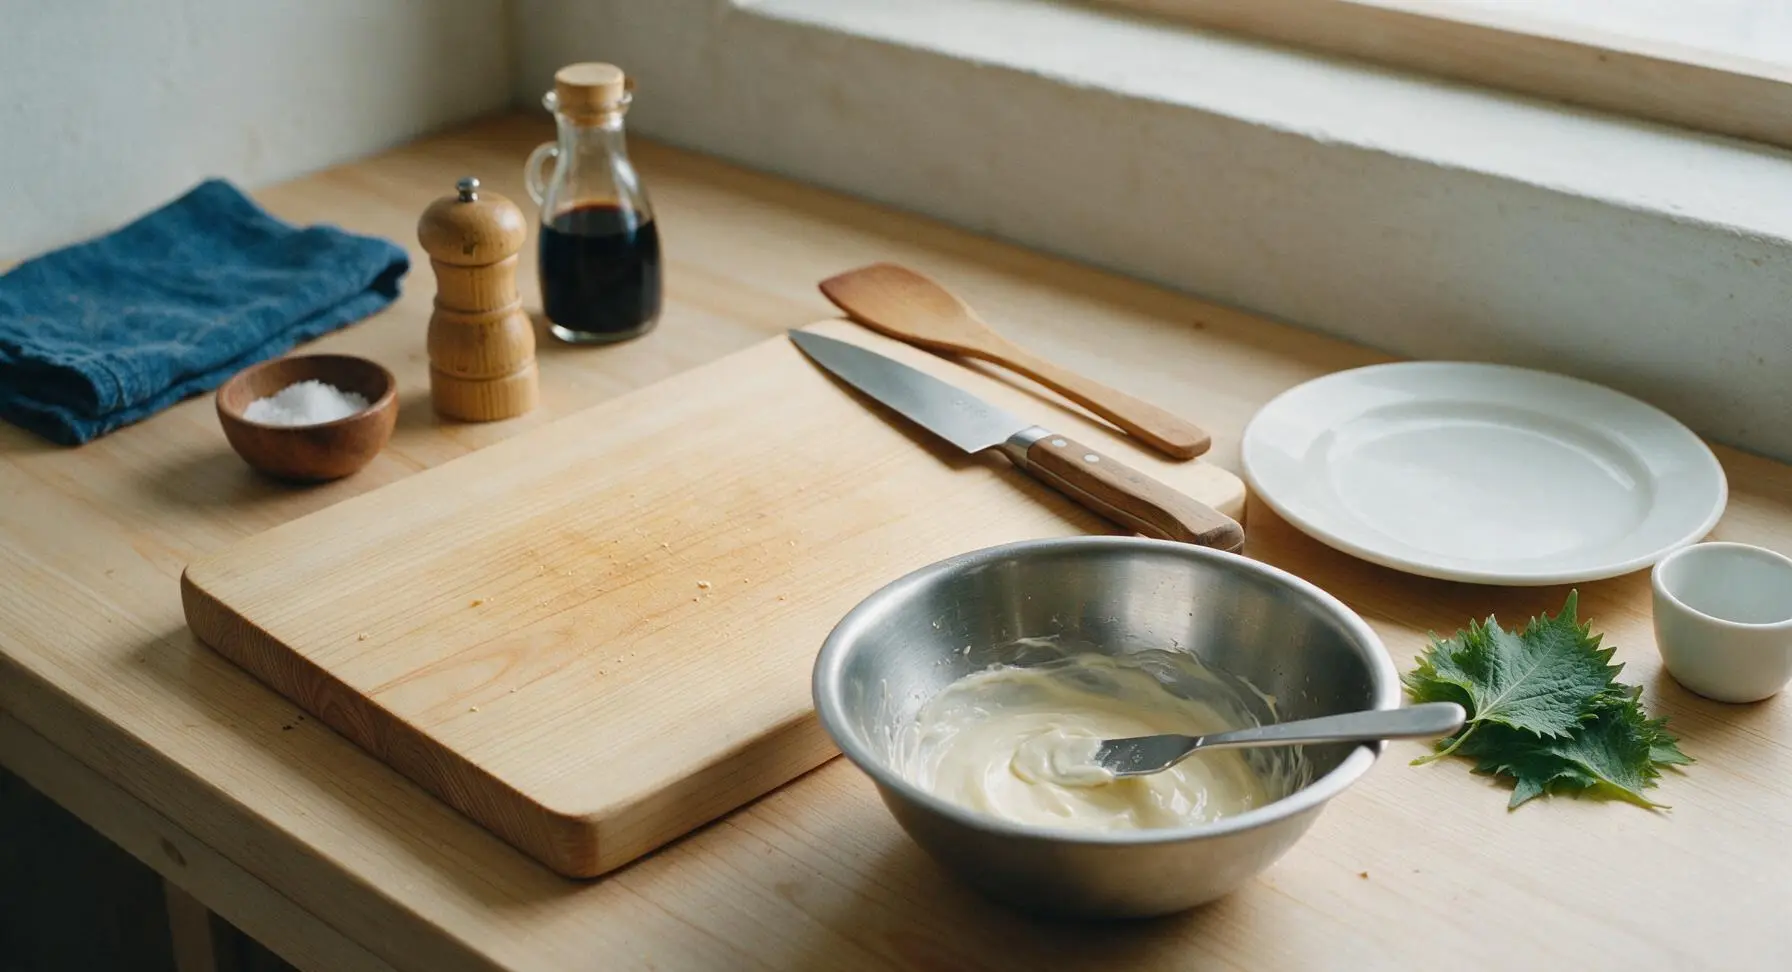
Mix Creamy Dressing Base
In the 18cm brushed stainless steel mixing bowl, combine 1/3 cup full-fat mayonnaise, 1/4 cup plain whole-milk Greek yogurt, and 1 tablespoon Dijon mustard. Use the 12cm stainless steel butter spreader to stir the mixture until completely smooth, with no visible streaks of mustard or yogurt remaining. Season with 1/4 teaspoon fine sea salt and 1/4 teaspoon freshly ground black pepper, stirring once more to evenly incorporate the seasonings.
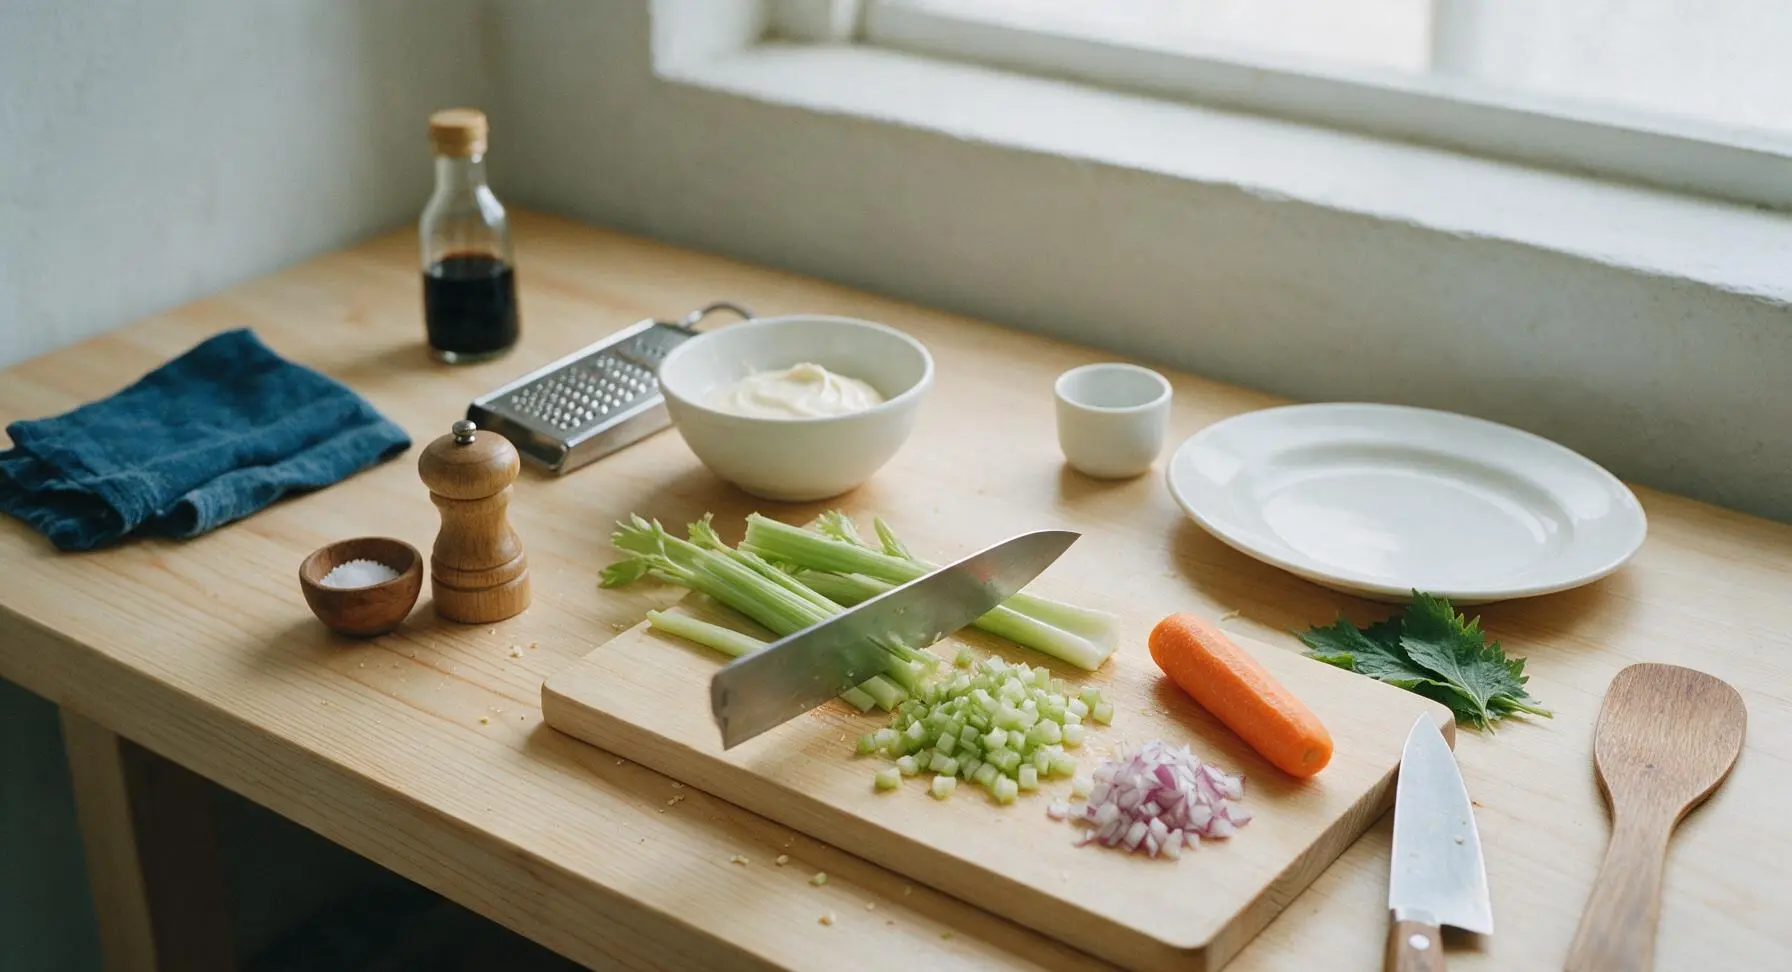
Dice and Grate Veggies
Place the 2 celery stalks on the honey beech cutting board. Use the 8-inch stainless steel chef's knife to dice celery into uniform 1/4-inch pieces. Finely dice the red onion into equally small pieces, then peel the carrot and grate it on the large holes of the stainless steel box grater. Add all three prepped vegetables to the mixing bowl with the creamy dressing base.
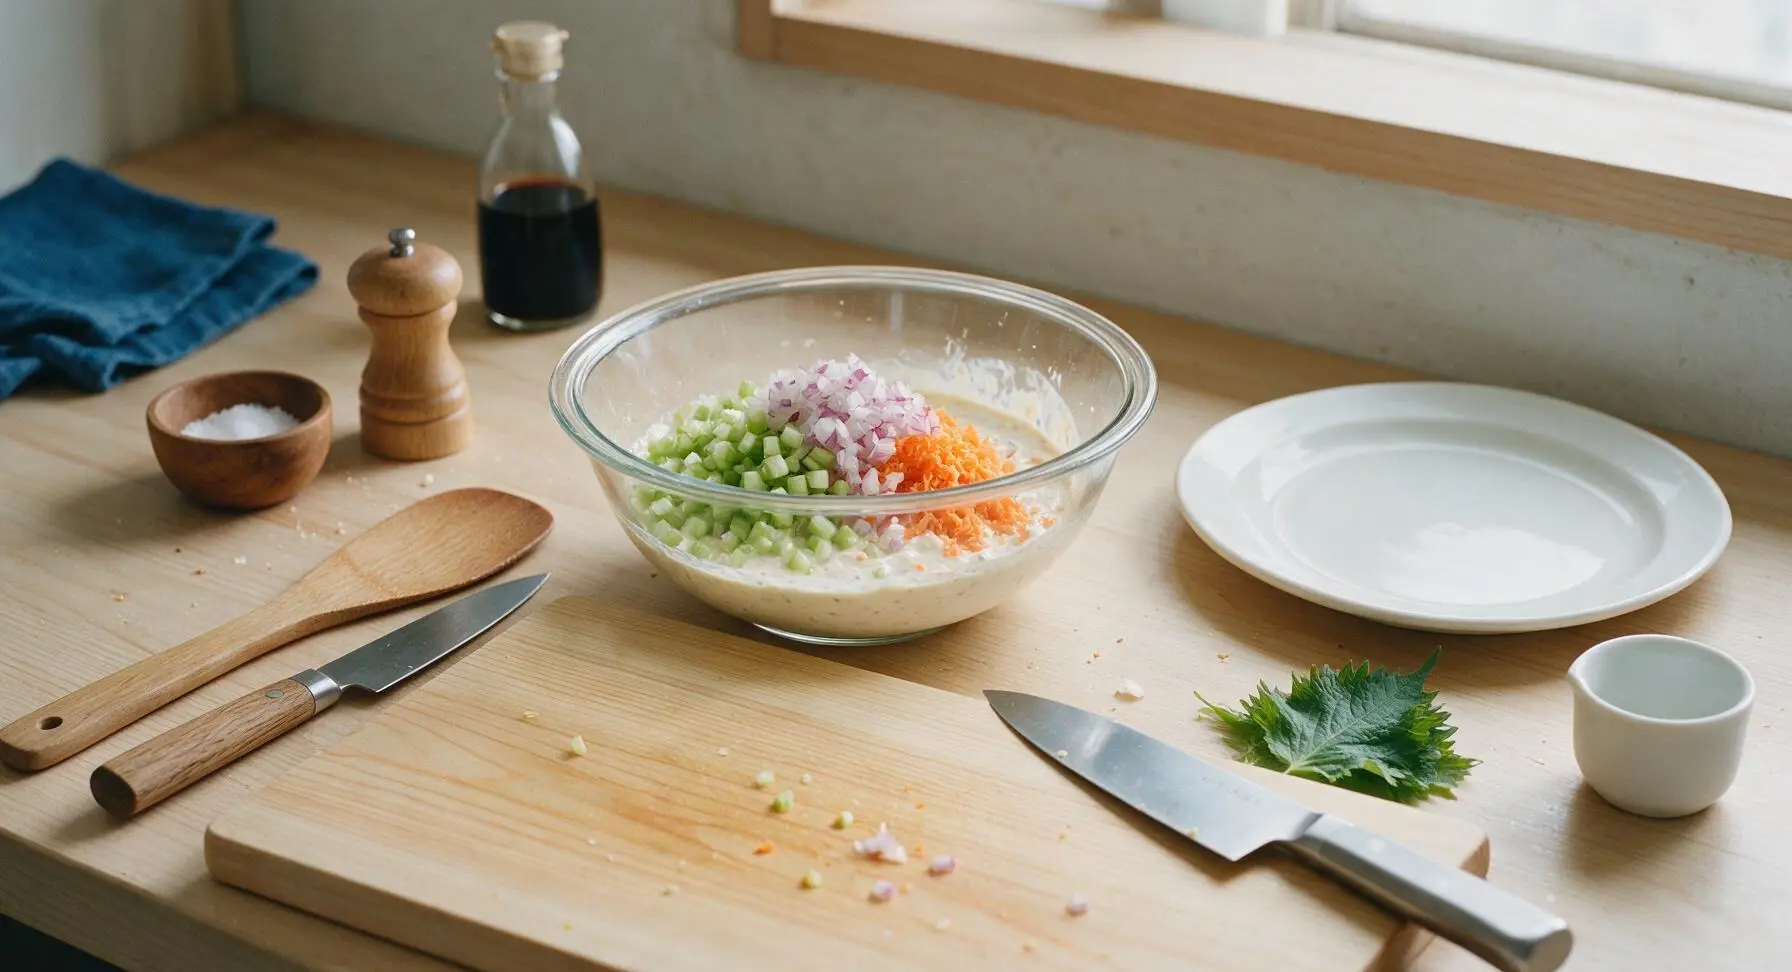
Stir Filling to Combine
Use the stainless steel butter spreader to fold the diced celery, grated carrot, and diced red onion into the creamy dressing until every piece of vegetable is evenly coated. The finished filling should hold together slightly when scooped, neither runny nor overly dry. Taste and add an extra pinch of salt or pepper if desired, then set the bowl aside for 5 minutes to let flavors meld.
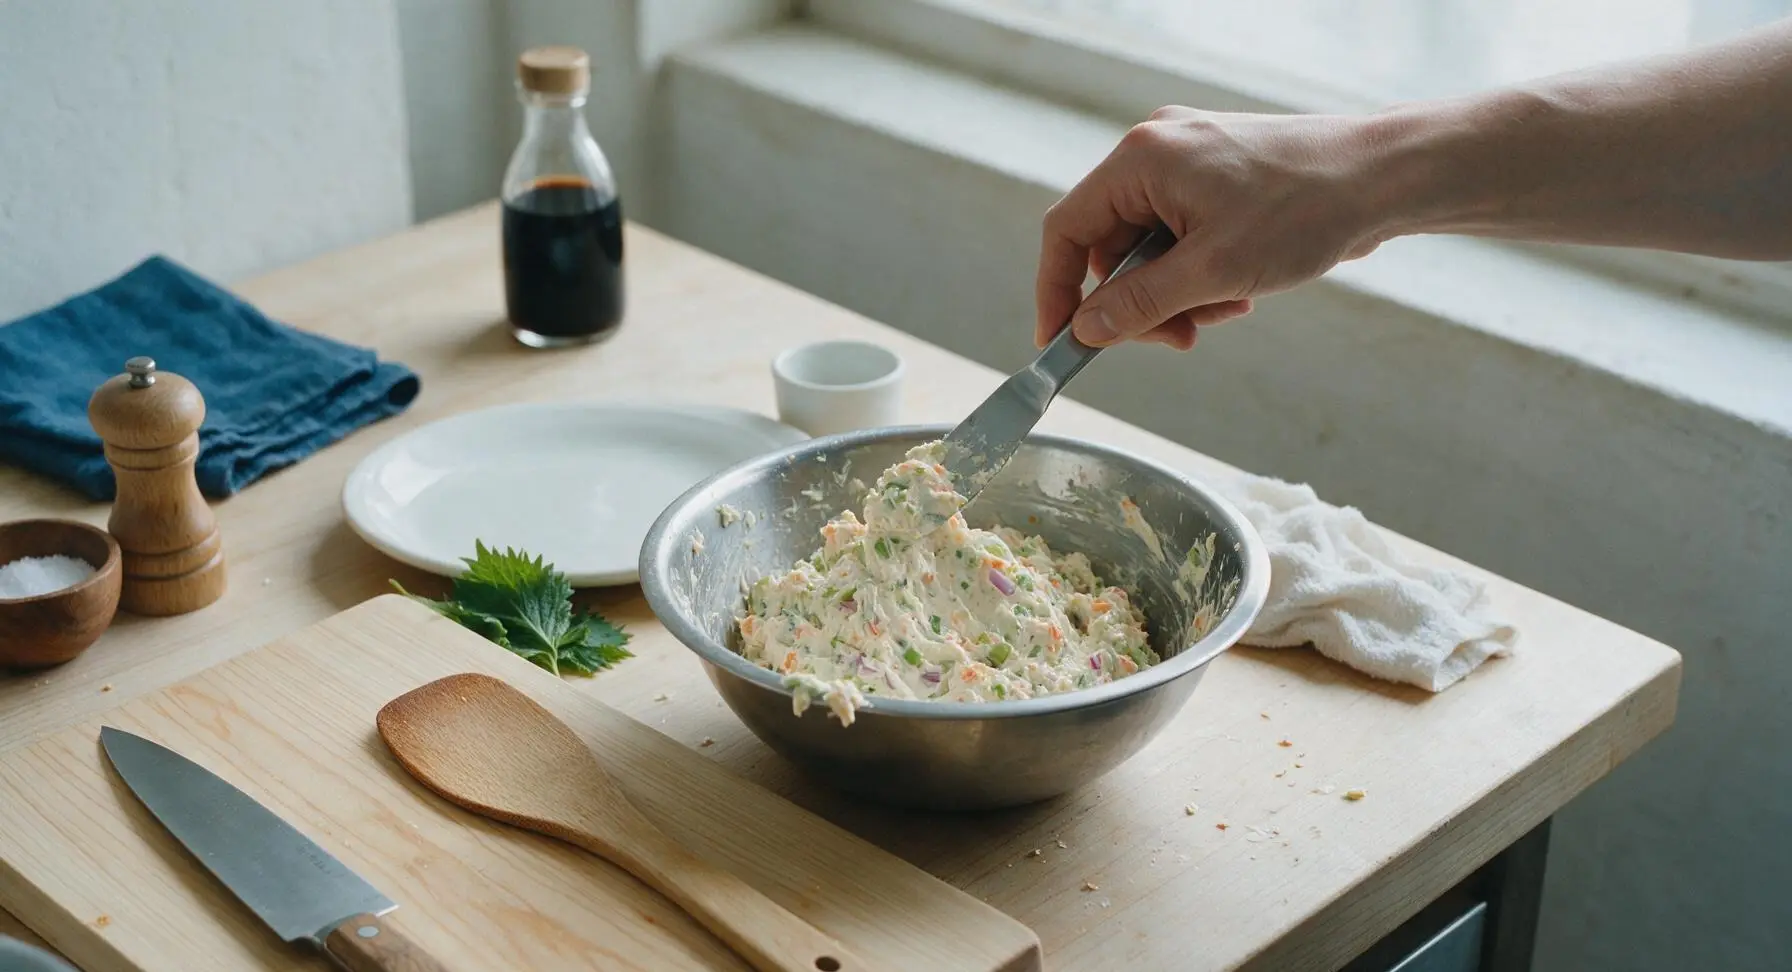
Slice Fresh Toppings
Wipe the beech cutting board clean with a crumpled half-sheet of paper towel from the roll at back right. Use the chef's knife to slice the ripe tomato into even 1/4-inch thick slices, discarding the tough stem end. Slice the English cucumber into equally thin rounds, then pat both tomato and cucumber slices lightly with a clean corner of the paper towel to remove excess surface moisture, which prevents soggy bread.
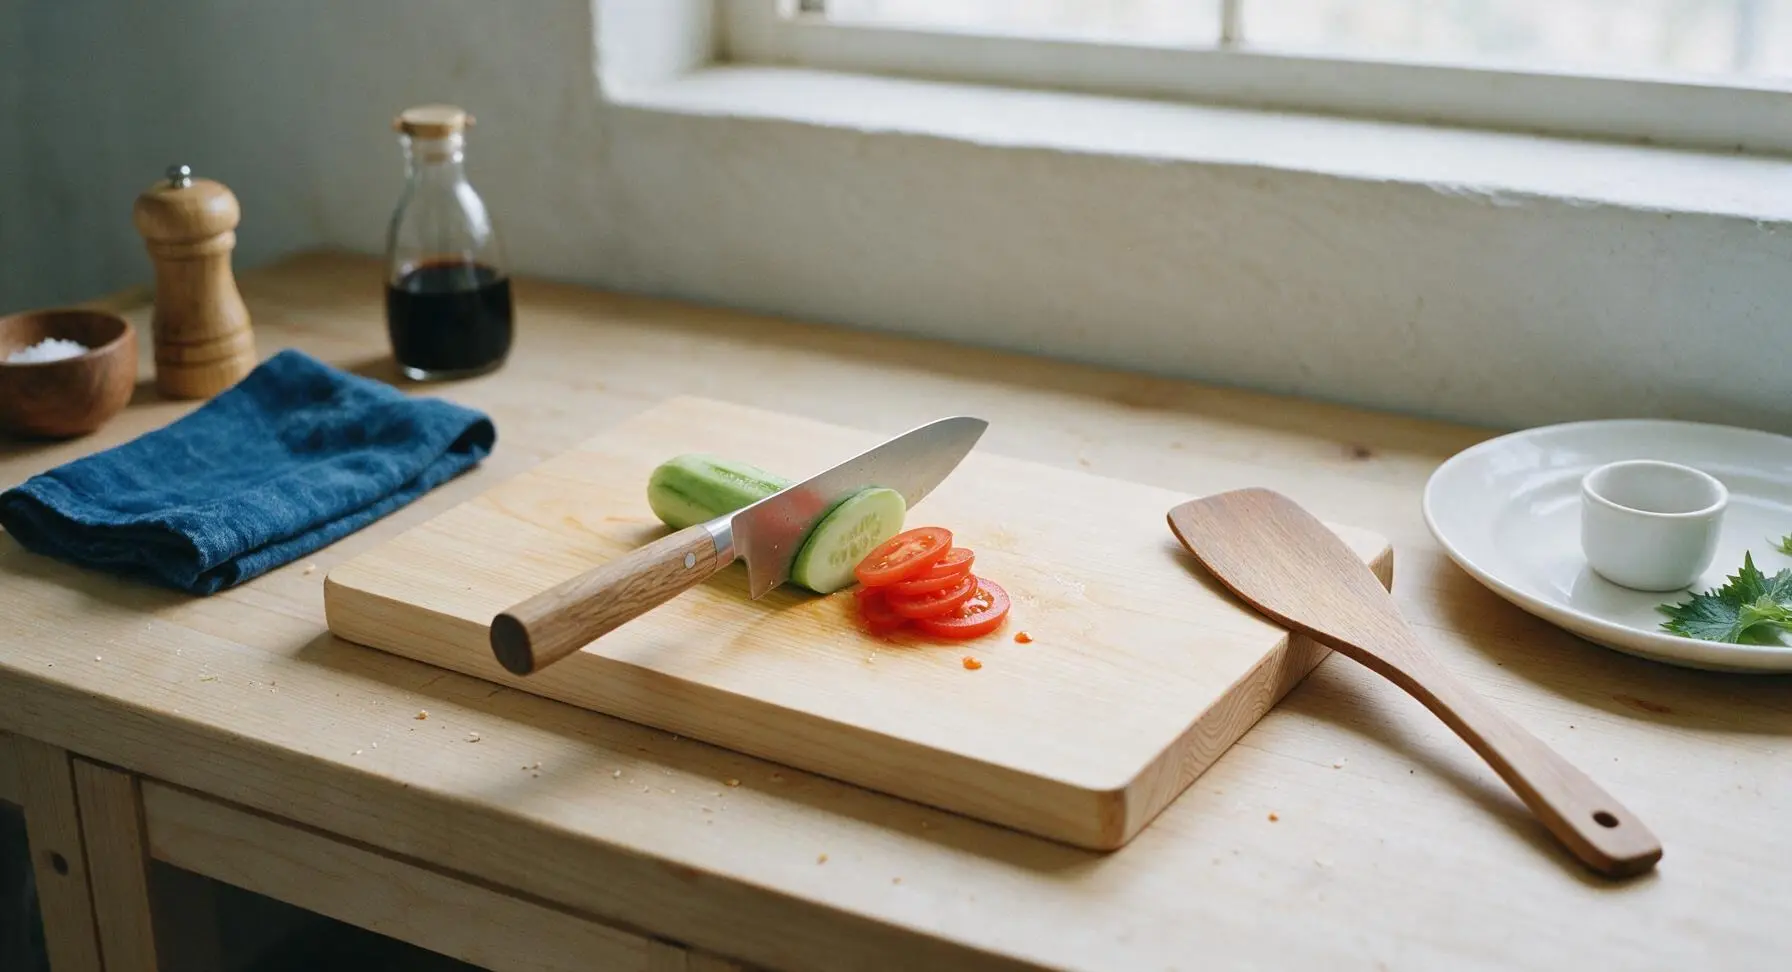
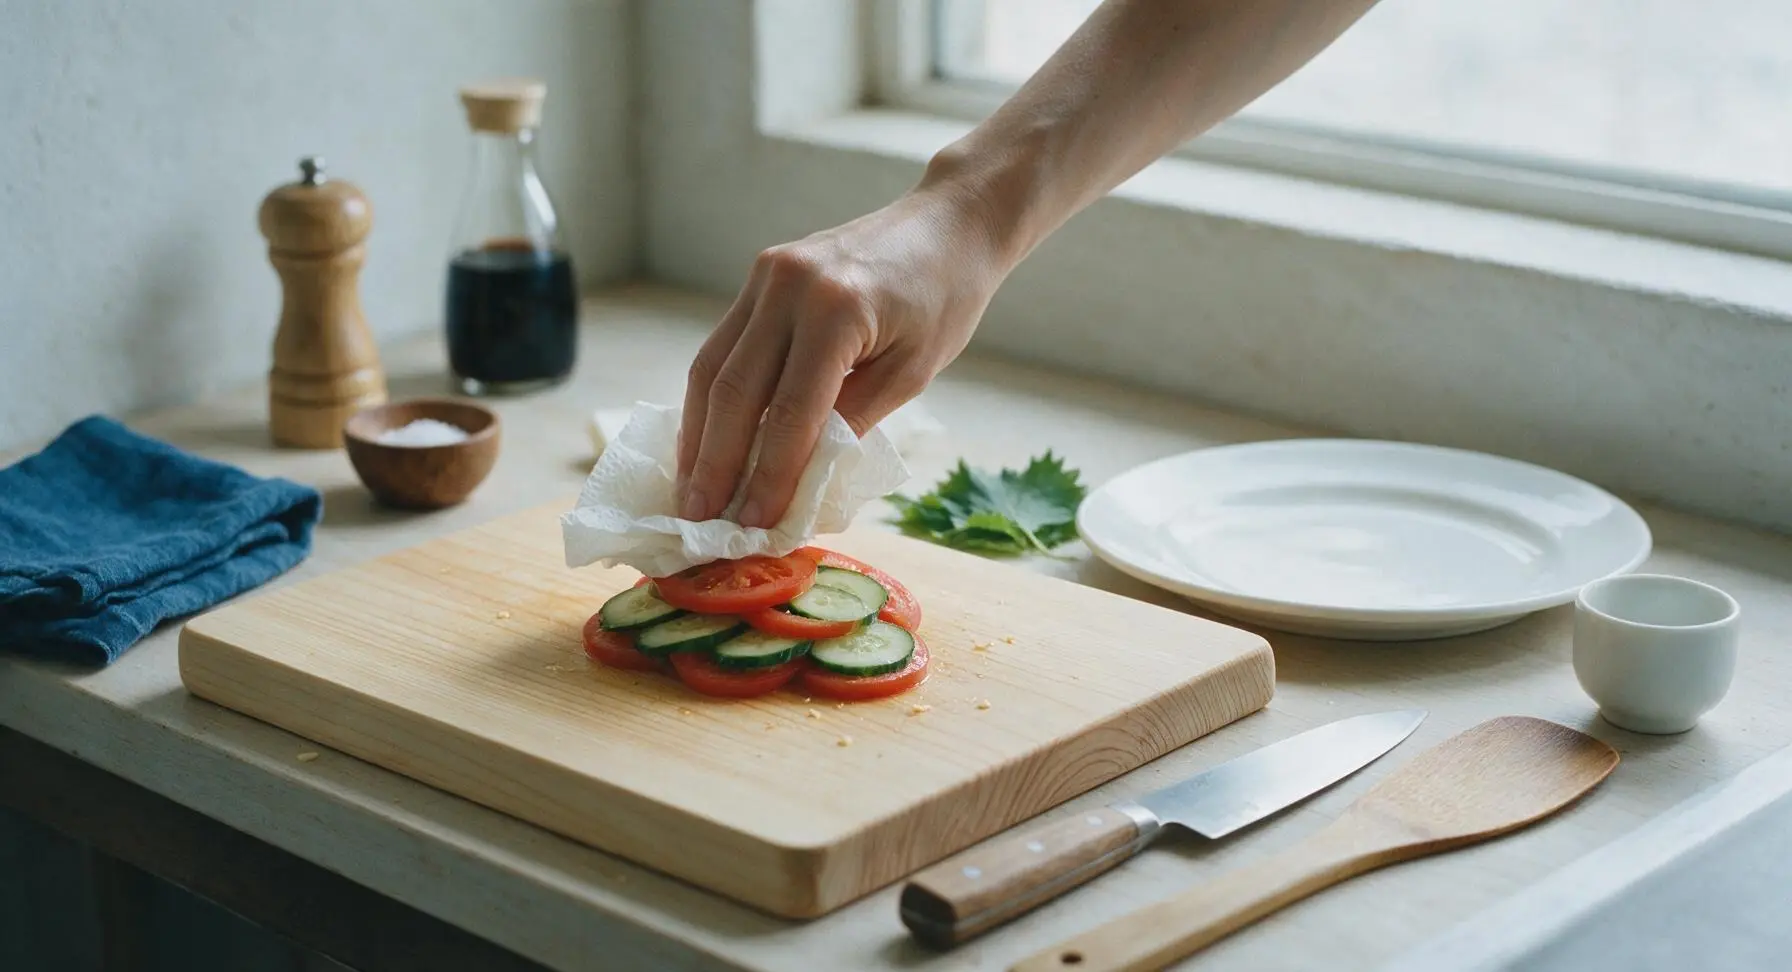
Layer Sandwich Components
Lay all 8 slices of whole-grain bread out in a single row on the clean section of the beech cutting board. Use the butter spreader to scoop an equal 1/4 cup portion of the creamy vegetable filling onto 4 of the bread slices, spreading it right to the edges to create a moisture barrier. Top the creamy filling with a thin even layer of shredded iceberg lettuce, followed by 2-3 cucumber slices and 2 tomato slices per sandwich base.
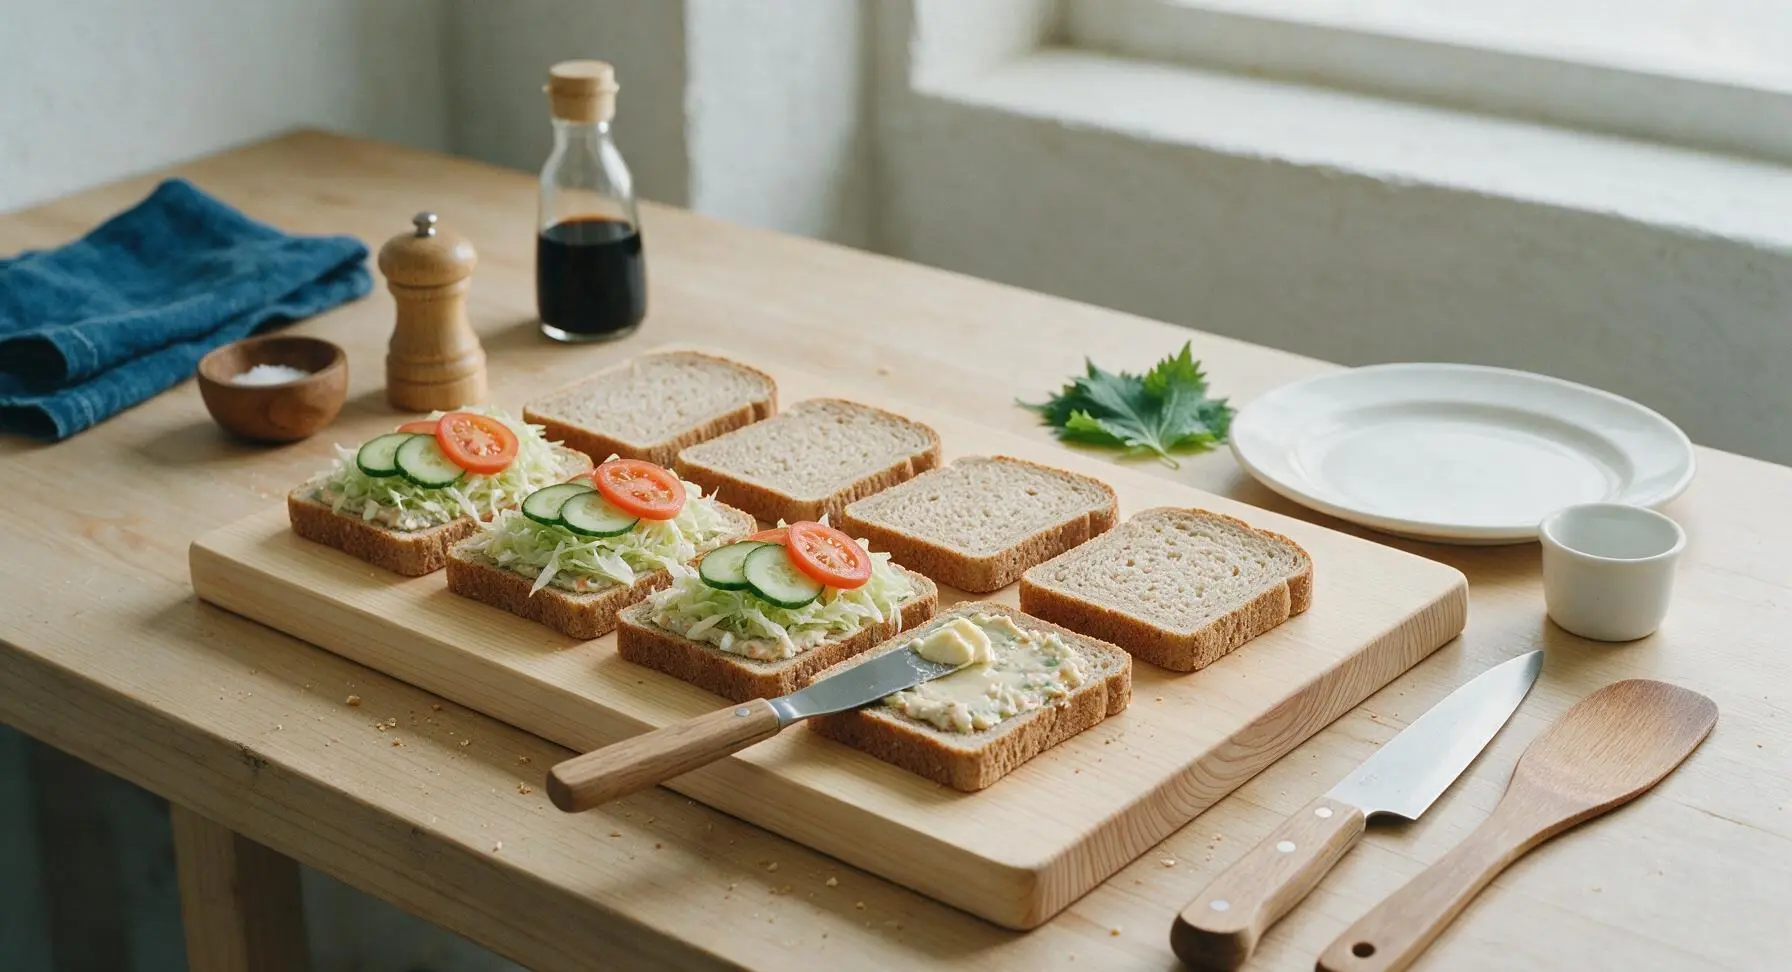
Top and Slice Sandwiches
Place the remaining 4 empty bread slices on top of each filled stack to form 4 whole sandwiches. Press down very gently on each sandwich top to help layers adhere, taking care not to squeeze filling out the sides. Use the chef's knife to cut each sandwich diagonally from corner to corner, creating two neat triangular halves per sandwich.
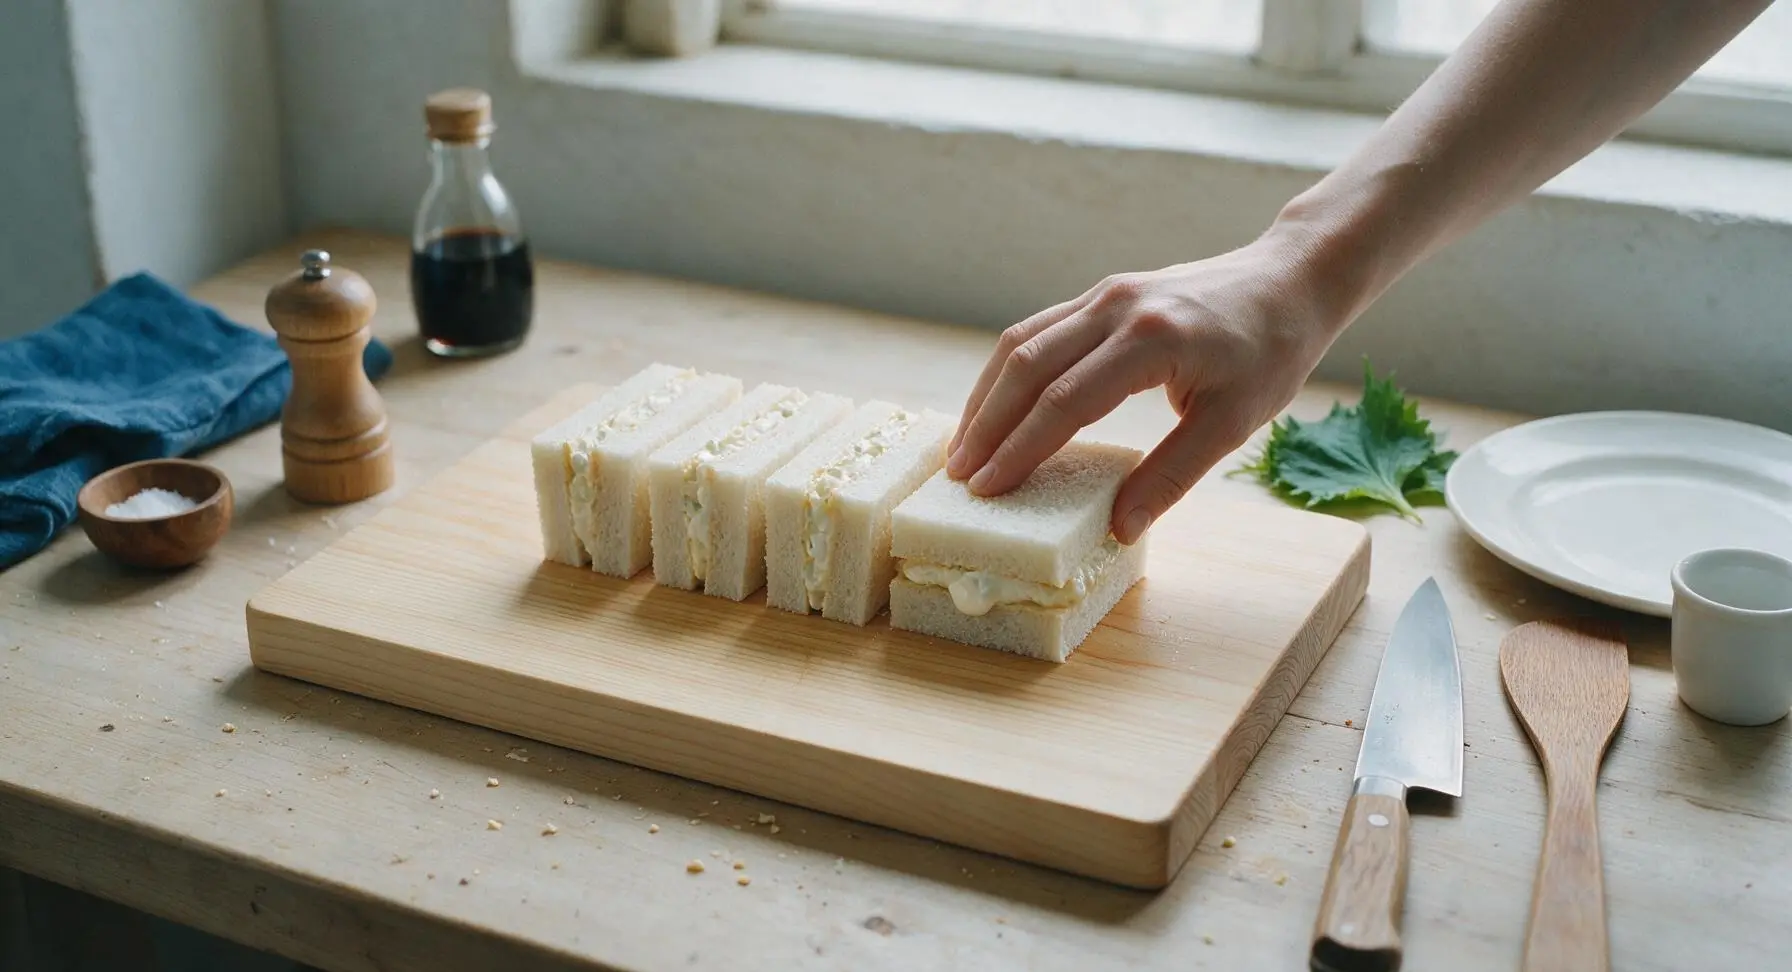
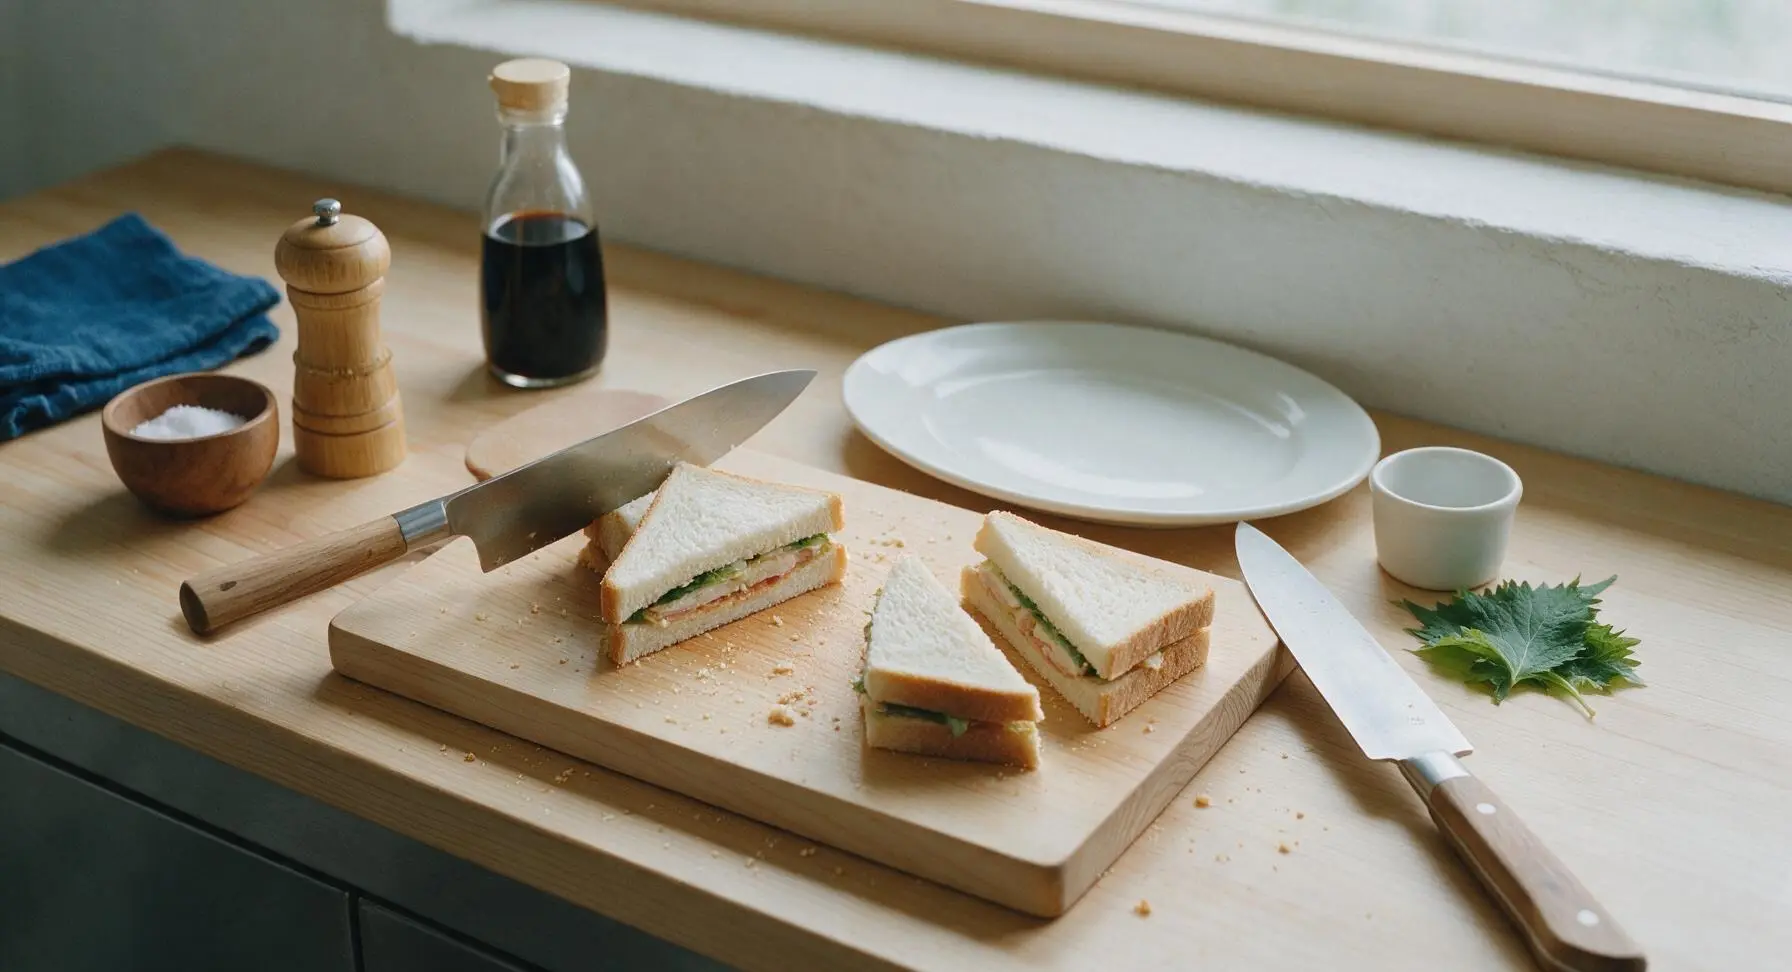
Plate and Garnish
Transfer all 8 triangular sandwich halves to the matte cream white ceramic serving platter, arranging them in a loose overlapping fan. Tuck one fresh basil leaf next to the front-most sandwich for a subtle, aromatic garnish. Serve immediately, or wrap tightly in parchment paper for easy picnic transport.
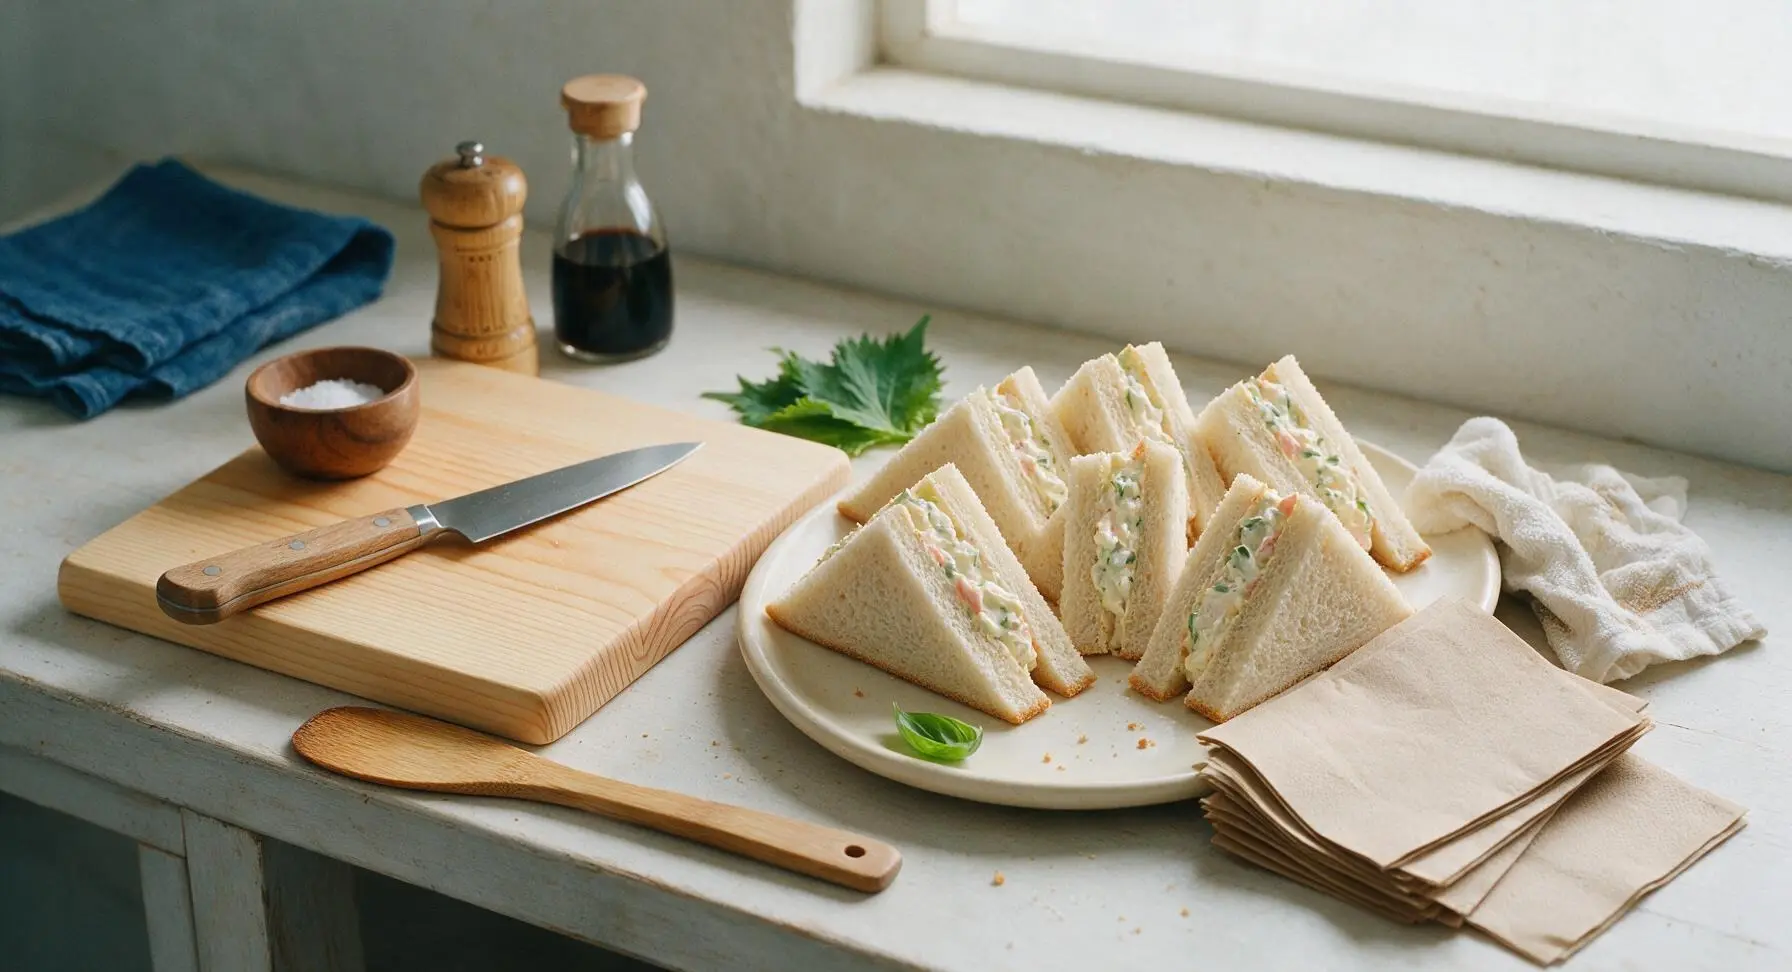
Tips
2.Spread creamy filling all the way to the bread edges: this creates a protective moisture barrier between juicy vegetable toppings and the bread, further preventing sogginess while ensuring every bite has a balanced mix of flavors.
3.Use a 3:1 ratio of mayonnaise to Greek yogurt for the filling: this cuts the heavy richness of all-mayo dressing while keeping the texture creamy, and adds a subtle bright tang that pairs perfectly with crisp, fresh vegetables.






OMG this is SO good! I threw this together for my kids’ after school snack yesterday and they begged me to make it again for their lunch boxes today. No cook, zero mess, perfect for busy school nights when I don’t feel like turning on the stove. I added a little extra dill because my family goes crazy for dill, chef’s kiss!
Game changer for summer potlucks! I brought a big batch of these sandwiches to our neighborhood block party last weekend and every single one was gone in 10 minutes. People kept coming up to ask for the recipe, I felt like a celebrity. I used whole grain bread instead of white for a little extra nuttiness, highly recommend.
Dude this is perfect for my dorm. No stove, no fancy equipment, just a bowl and a spoon to mix everything. Way cheaper and better than the sad sandwich options at the campus dining hall. Already made it twice this week.
I’ve been looking for a no-cook lunch option that holds up all week for meal prep and this hits different. I make a big batch of the filling on Sunday, keep it in an airtight container, and just assemble sandwiches each morning before work. Saves me so much time during the week!
My granddaughter is a super picky eater and she ate two whole sandwiches when I made these last Sunday! I didn’t have any celery on hand so I used a little finely chopped apple instead for that crunch, it worked out beautifully. Reminds me of the sandwich my own mom used to make for our family picnics.
Made this with gluten free sourdough and it was chef’s kiss! I was worried the creamy filling would be too heavy but it’s perfectly balanced, not gloopy at all like some store-bought salad sandwich fillings. 10/10 will be in my regular rotation.
Zero cook time? Sign me up. Got home late from my kid’s soccer practice, threw this together in 5 minutes, no complaints from anyone at the dinner table. Even added a little bacon bits I had in the pantry for extra savoriness, no regrets.
We took these on our recent camping trip and they were the perfect easy trail lunch! No need to keep anything fancy cold for too long, mixed the filling ahead at home, kept it in the cooler, and assembled sandwiches at our picnic stop. No mess, no fuss, everyone was full and happy.
Okay I was skeptical at first because creamy sandwiches can be so hit or miss for me, but this is perfect. The ratio of creamy dressing to crunchy veggies is exactly right, not too much mayo which I really appreciate. I served mine with a side of pickles and potato chips, classic summer lunch vibe.
Made these for my husband for his work lunch this week and he texted me halfway through the day saying it was the best sandwich he’s ever had. Win for me! I’m still learning my way around the kitchen so the easy difficulty level was perfect, no confusing steps at all.
Grew up eating these kind of sandwiches at family reunions in the Midwest and this recipe tastes exactly like I remember. The only thing I added was a sprinkle of old bay on top, just like my aunt used to do. Total nostalgia bite.
Swapped the regular mayo for vegan mayo and it turned out absolutely perfect! I brought these to my office vegan potluck and even my non-vegan coworkers were raving about how creamy and tasty they were. So happy to have an easy vegan lunch option now.
Added a heaping spoonful of diced jalapeños and a squeeze of lime to the filling and WOW, that little kick takes it to the next level. If you like a little heat, don’t sleep on that addition. I’ve made it three times in the last two weeks, no shame.
This recipe is so affordable! I already had most of the ingredients in my fridge, no fancy expensive grocery run needed. As someone on a tight grocery budget right now, this is going to be a staple. Tastes way better than any fast food sandwich I could buy for way more money.
Made these for a casual girls’ brunch last weekend and served them cut into little triangles with fruit on the side, they were such a hit! Super light but filling, perfect for a mid-morning get together. I used sourdough bread which added such a nice tang.
Added a scoop of chopped chicken breast to the filling for some extra protein and it’s the perfect post-gym lunch. Light enough that I don’t feel sluggish after eating, but has enough protein to keep me full through my afternoon meetings. Super easy to throw together after my morning workout too.
I run a small little cafe in my town and I tested this recipe as a lunch special last week and it was our top selling item! Customers kept coming back to order it again the next day, I think I’m going to have to add it to the permanent menu. Thank you for such a solid, reliable recipe!
Packed these for our beach day last weekend and they were perfect! No messy drips, didn’t get soggy even in the cooler, tasted so good after a few hours of swimming in the ocean. We ate them with a bag of salt and vinegar chips and it was the ideal beach lunch. Can’t wait to make them again for our next trip.