
Salsa Mac and Cheese

title 1
Salsa Mac and Cheese
⏱️ cook time 20 minutes
🍽️ servings 4
⚡ Difficulty easy

intro

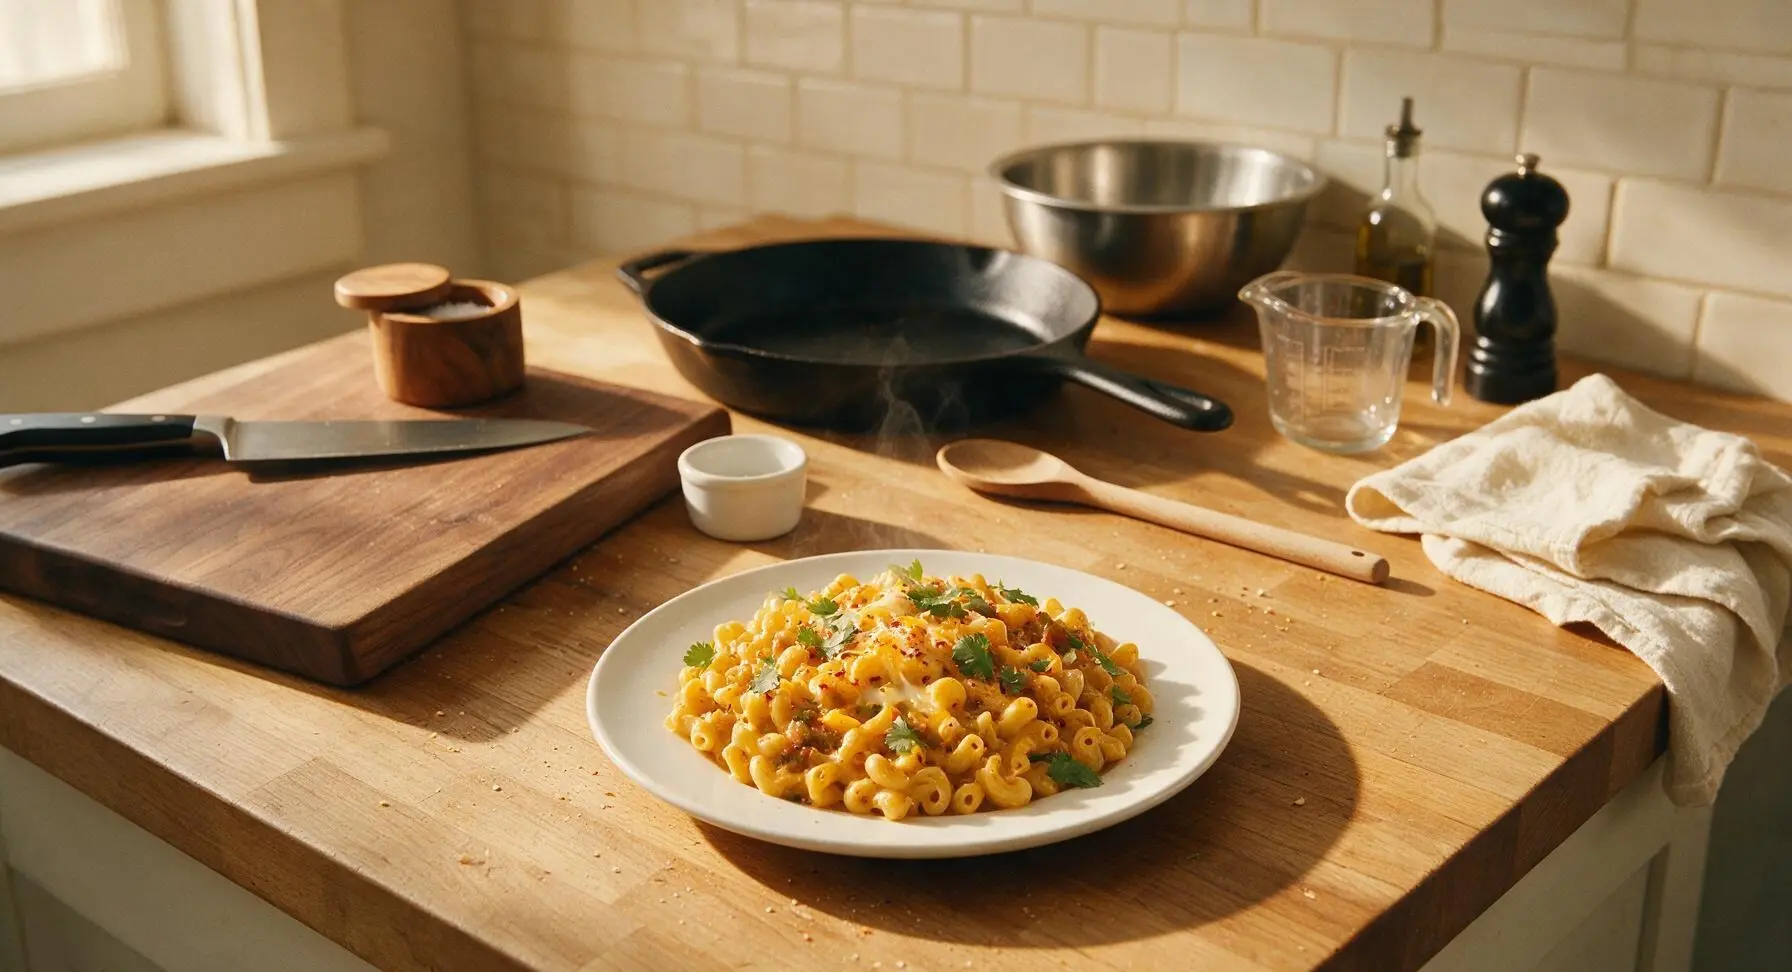
Creamy, zesty Tex-Mex twist on classic mac and cheese, blending sharp melted cheddar, smooth Monterey Jack, and chunky roasted salsa for a cozy, flavor-packed 30-minute comfort meal.

Ingredients
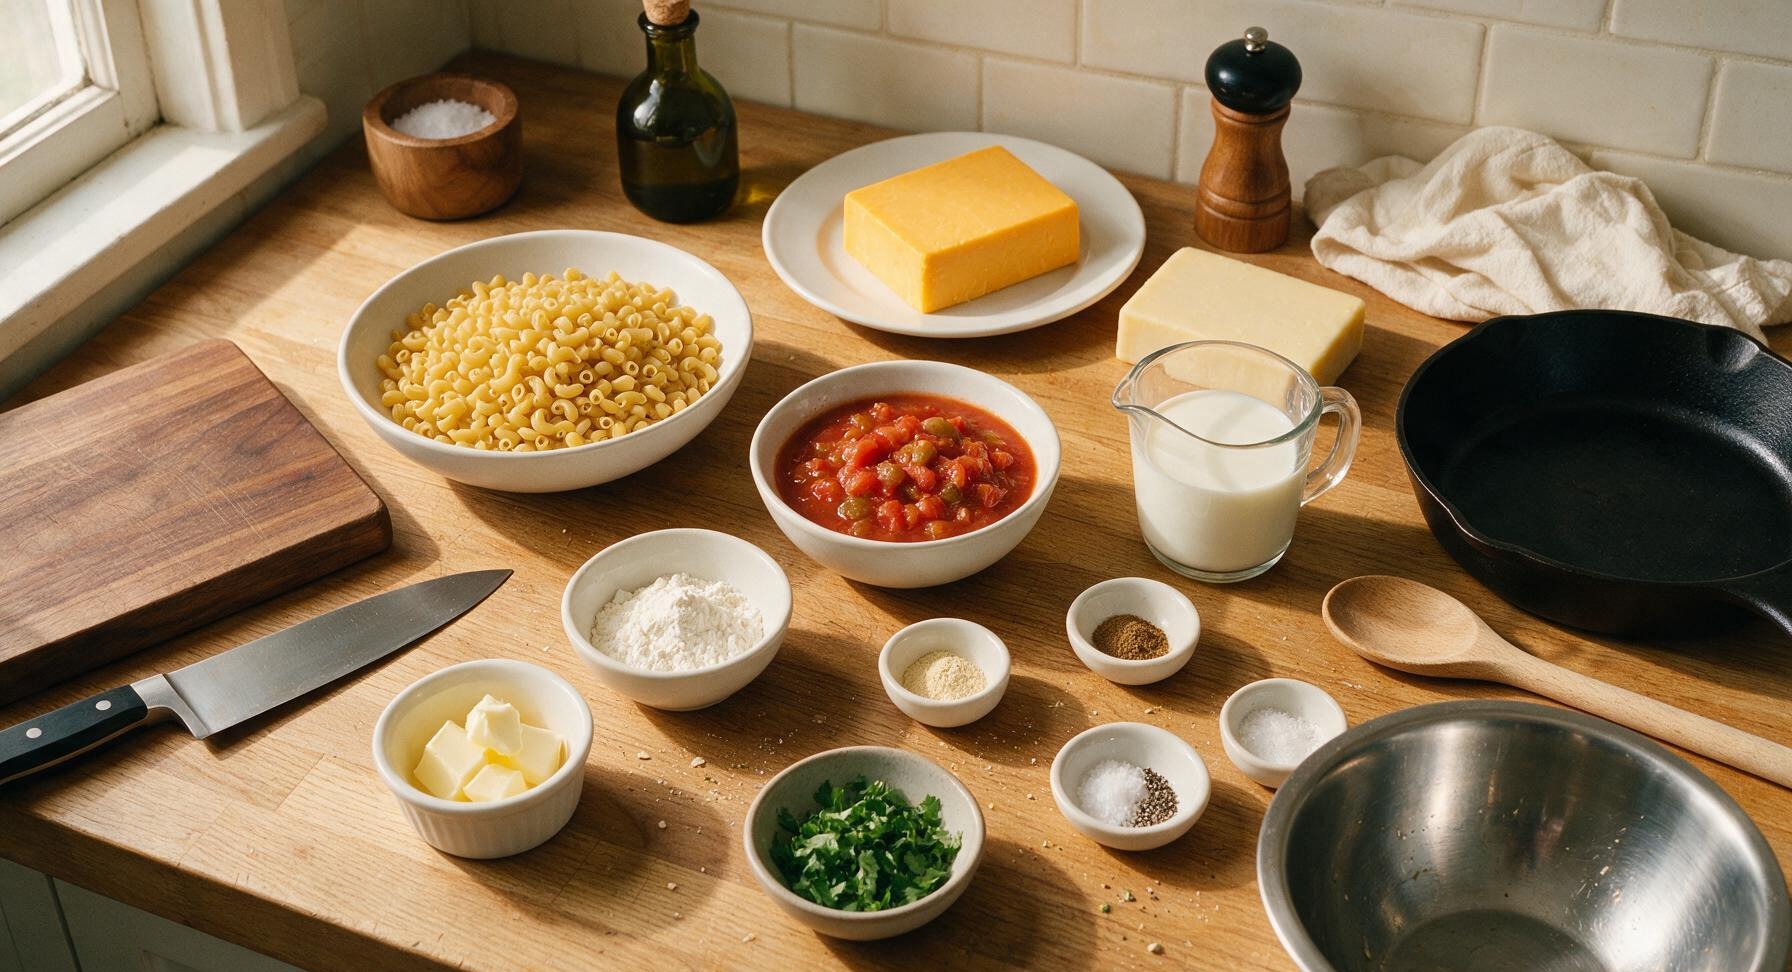
Dry elbow macaroni 225g (8oz)
Sharp yellow cheddar cheese (block) 200g
Monterey Jack cheese (block) 100g
Chunky medium roasted tomato salsa 200g (1 cup)
Whole milk 240ml (1 cup)
Unsalted butter 2 tbsp (28g)
All-purpose flour 2 tbsp (16g)
Garlic powder 1 tsp
Ground cumin 1/2 tsp
Kosher salt 1 tsp
Freshly ground black pepper 1/4 tsp
Fresh cilantro 2 tbsp, chopped

Steps

1

Cook Pasta Al Dente

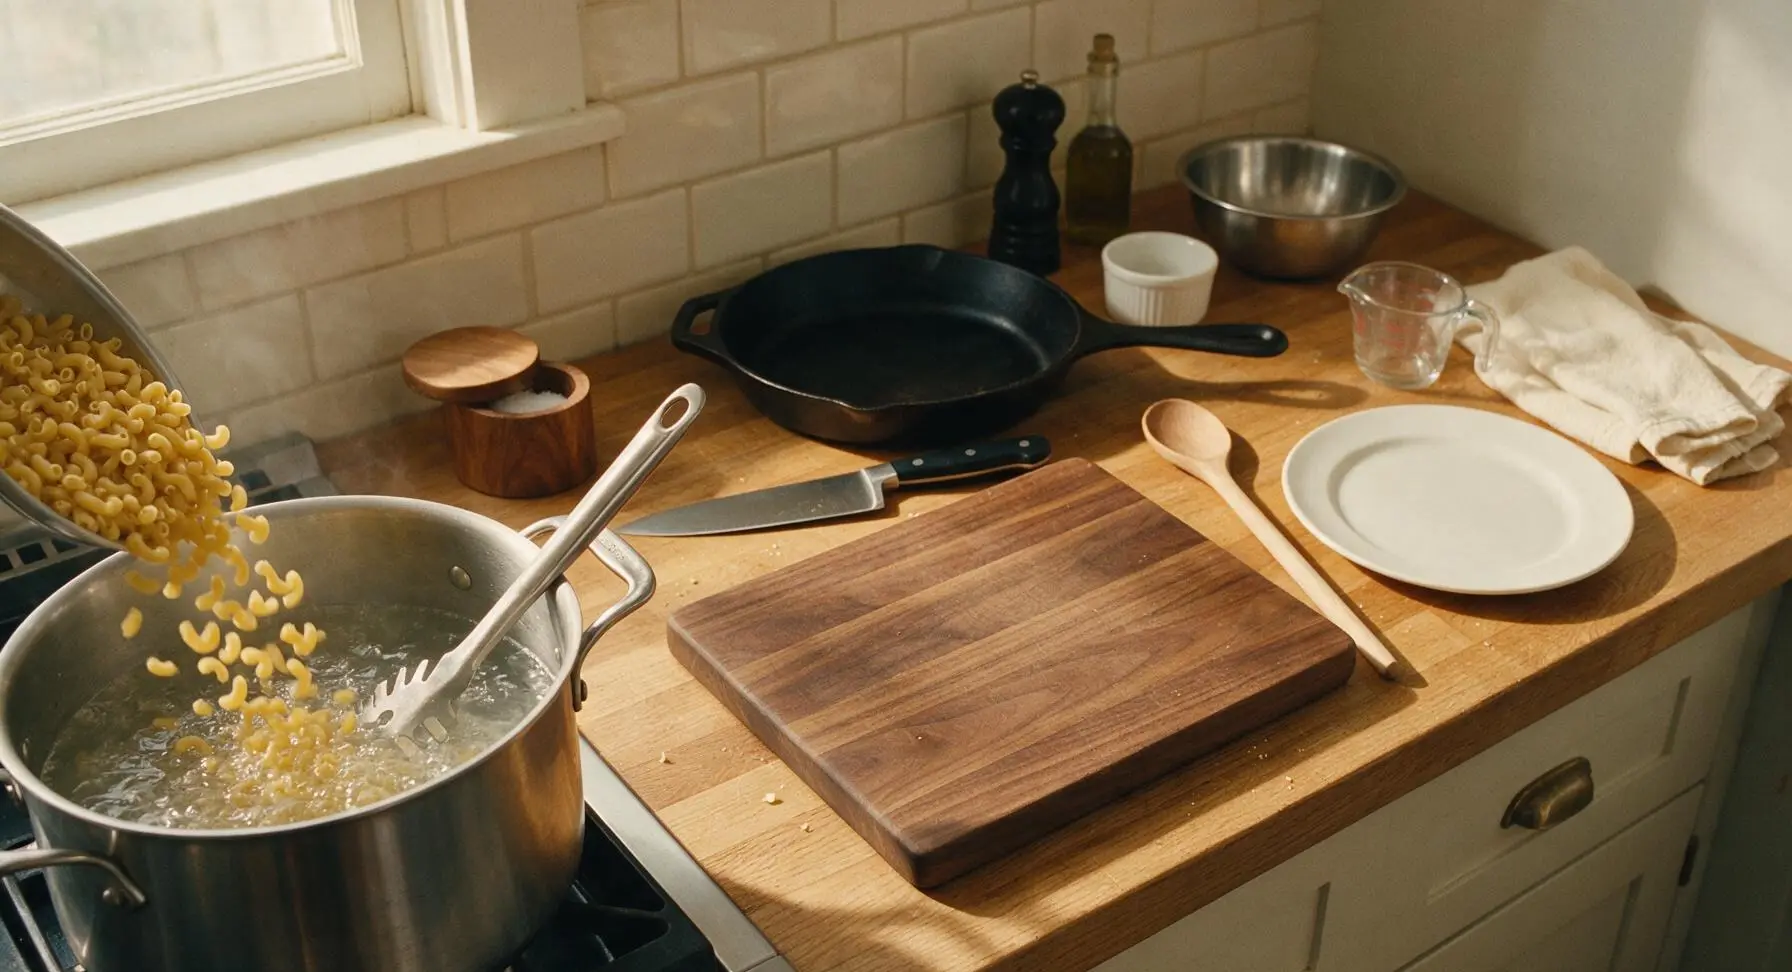
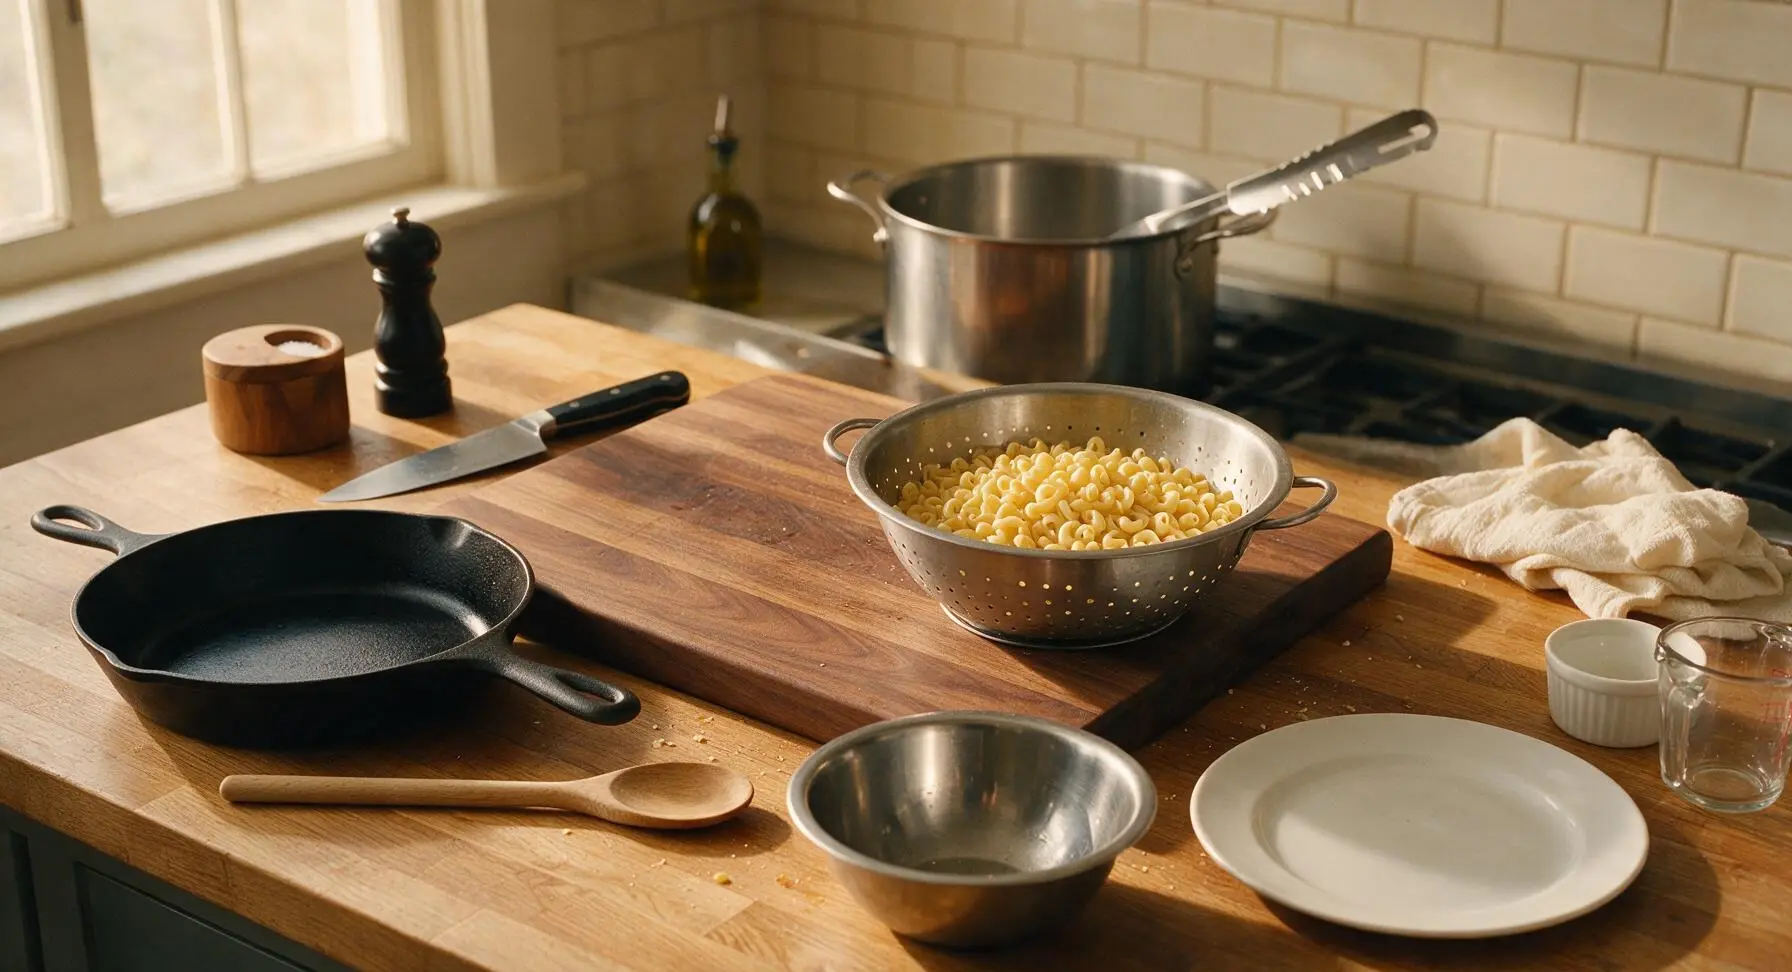
Fill the 4L stainless steel stock pot with 3L of water, add 1 tsp kosher salt, and bring to a rolling boil over high heat. Add 225g elbow macaroni, stir once with the stainless steel pasta fork, and cook for 8 minutes (2 minutes less than package directions) until just firm to the bite, with a tiny white core at the center of each noodle. Reserve 1/4 cup of starchy pasta water, then drain pasta completely in the stainless steel colander and set aside; do not rinse.
Step 1
step1:Cook Pasta Al Dente
Step 1
step1:Cook Pasta Al Dente
2

Grate Block Cheeses

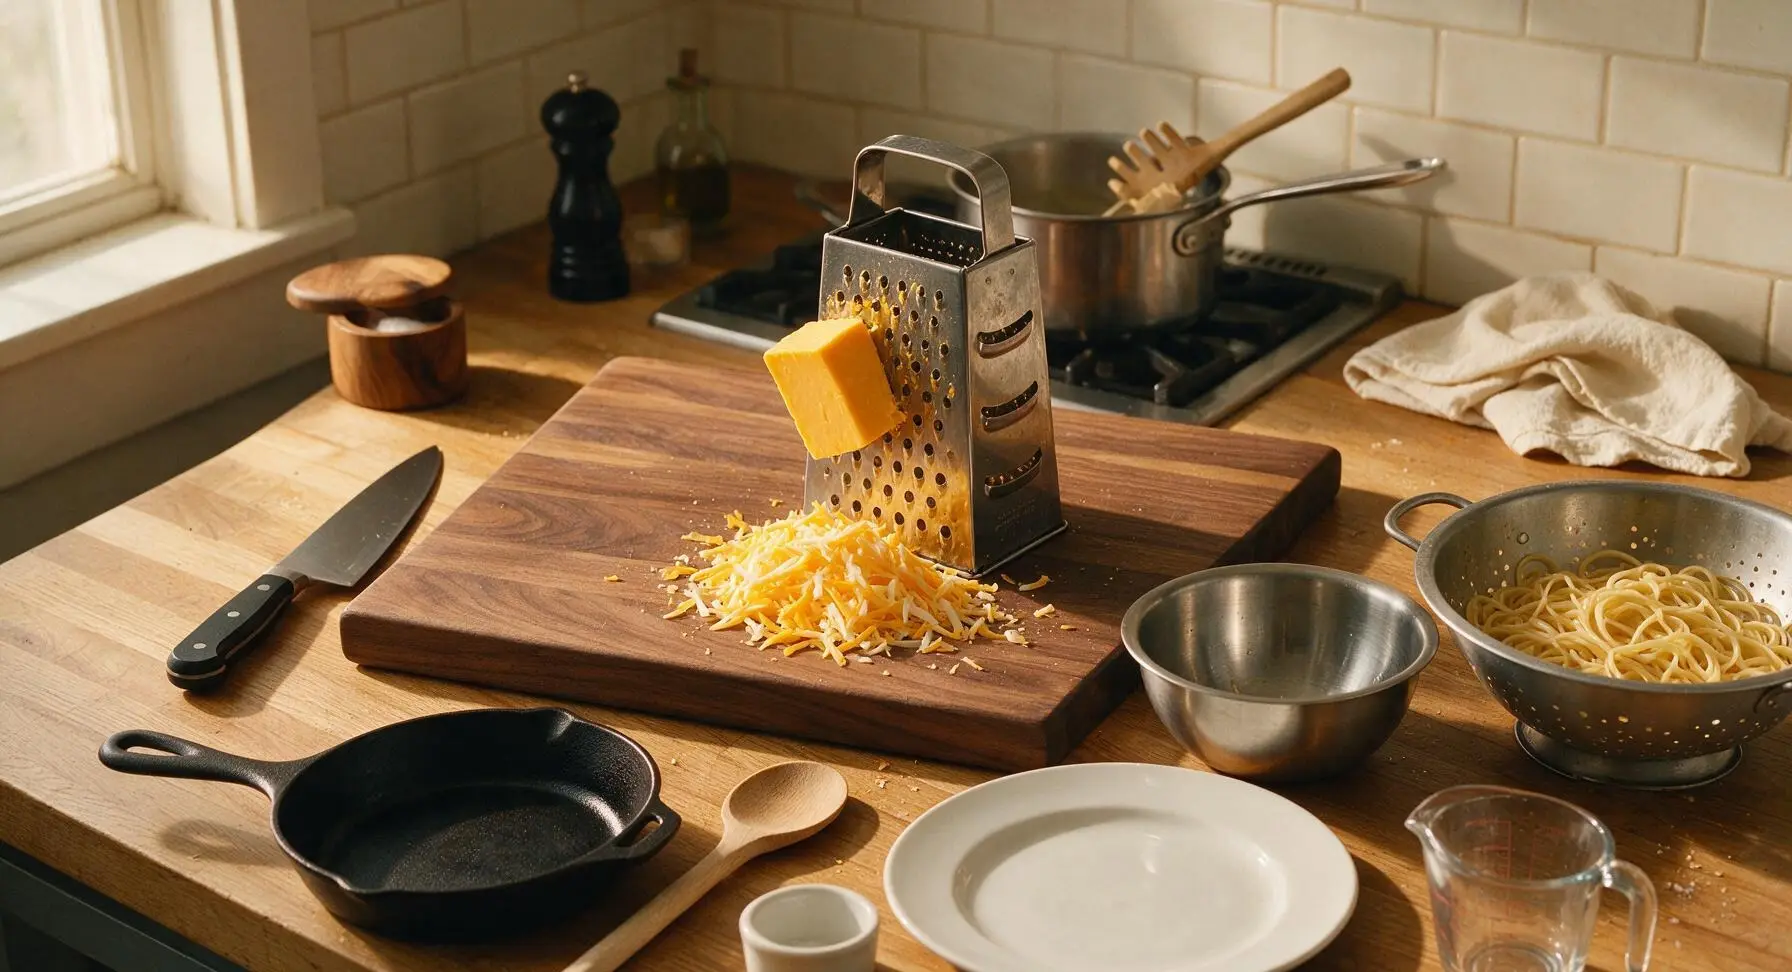
Place the four-sided stainless steel box grater on the acacia wood cutting board. Grate 200g sharp yellow cheddar and 100g Monterey Jack cheese on the large holes of the grater, mixing the shreds into a loose pile as you work. Discard any hard cheese rinds; you will end up with approximately 3 cups of loosely packed shredded cheese. Set aside 1/3 of the shredded cheese for topping.
Step 2
step2:Grate Block Cheeses
3

Make Golden Roux

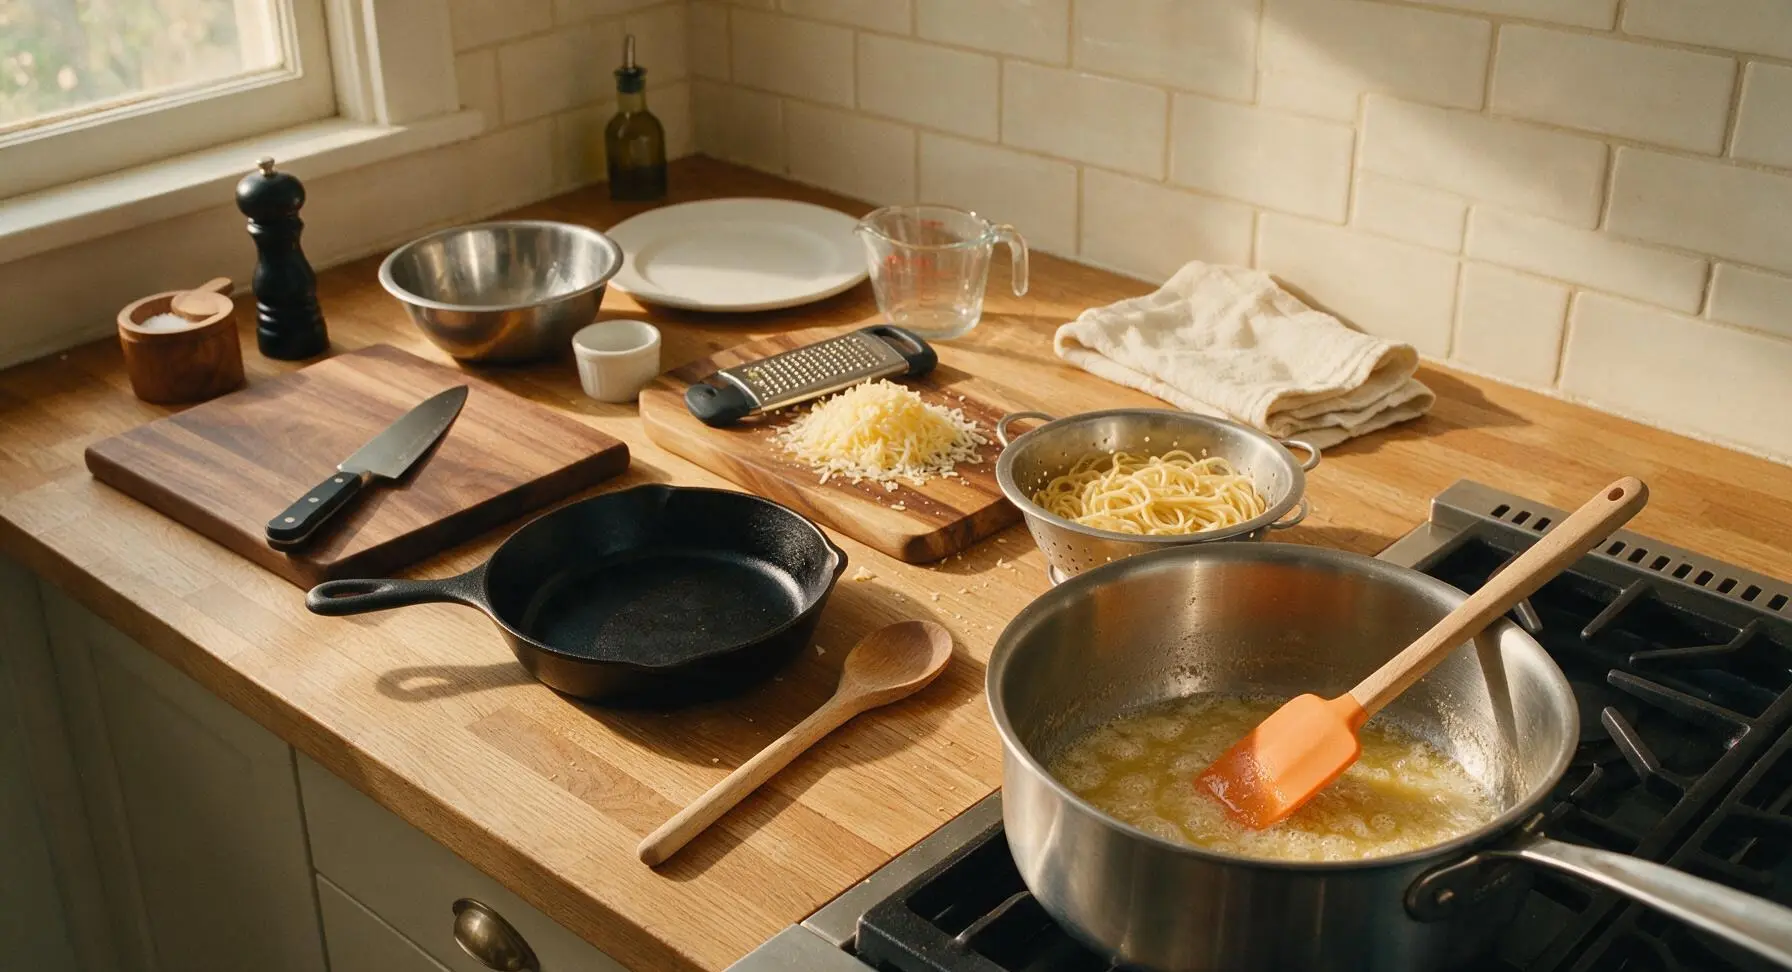
Place the 2L heavy-bottomed stainless steel saucepan on the stovetop next to the stock pot over medium heat. Add 2 tbsp unsalted butter, melting until foamy but not browned, about 1 minute. Add 2 tbsp all-purpose flour, 1 tsp garlic powder, and 1/2 tsp ground cumin, stirring constantly with the matte tangerine silicone spatula for 2 minutes until the mixture turns pale golden and smells nutty, with no raw flour aftertaste.
Step 3
step3:Make Golden Roux
4

Build Cheese Sauce

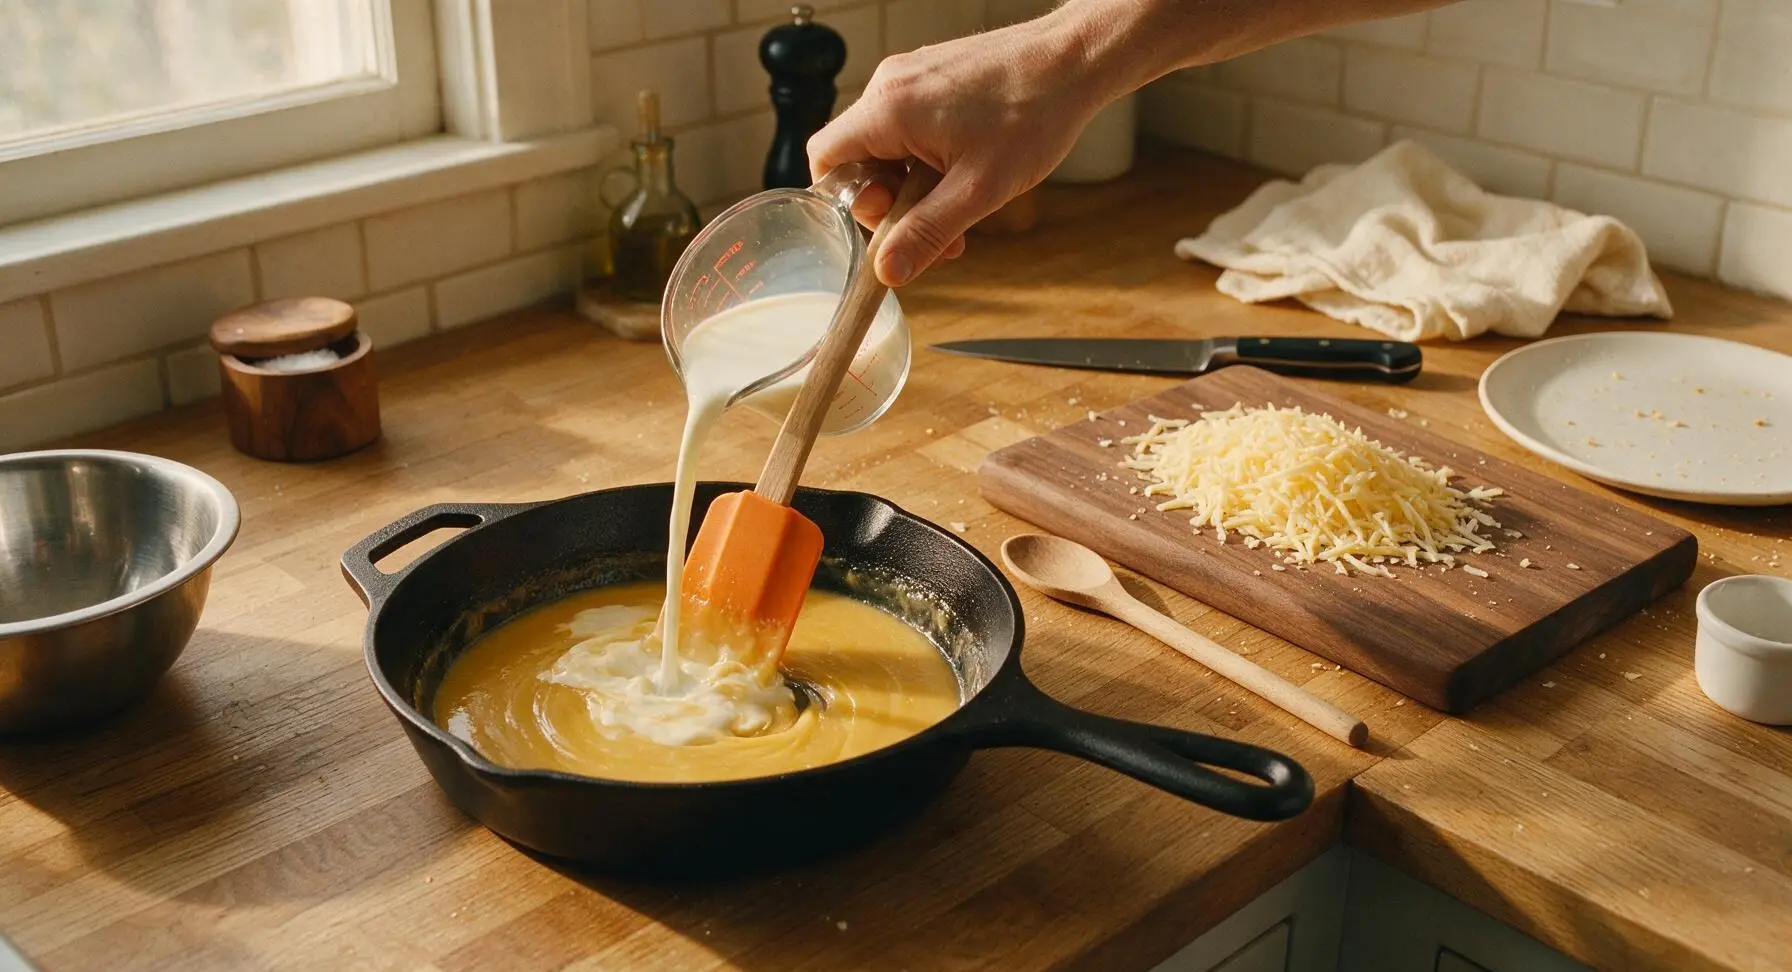
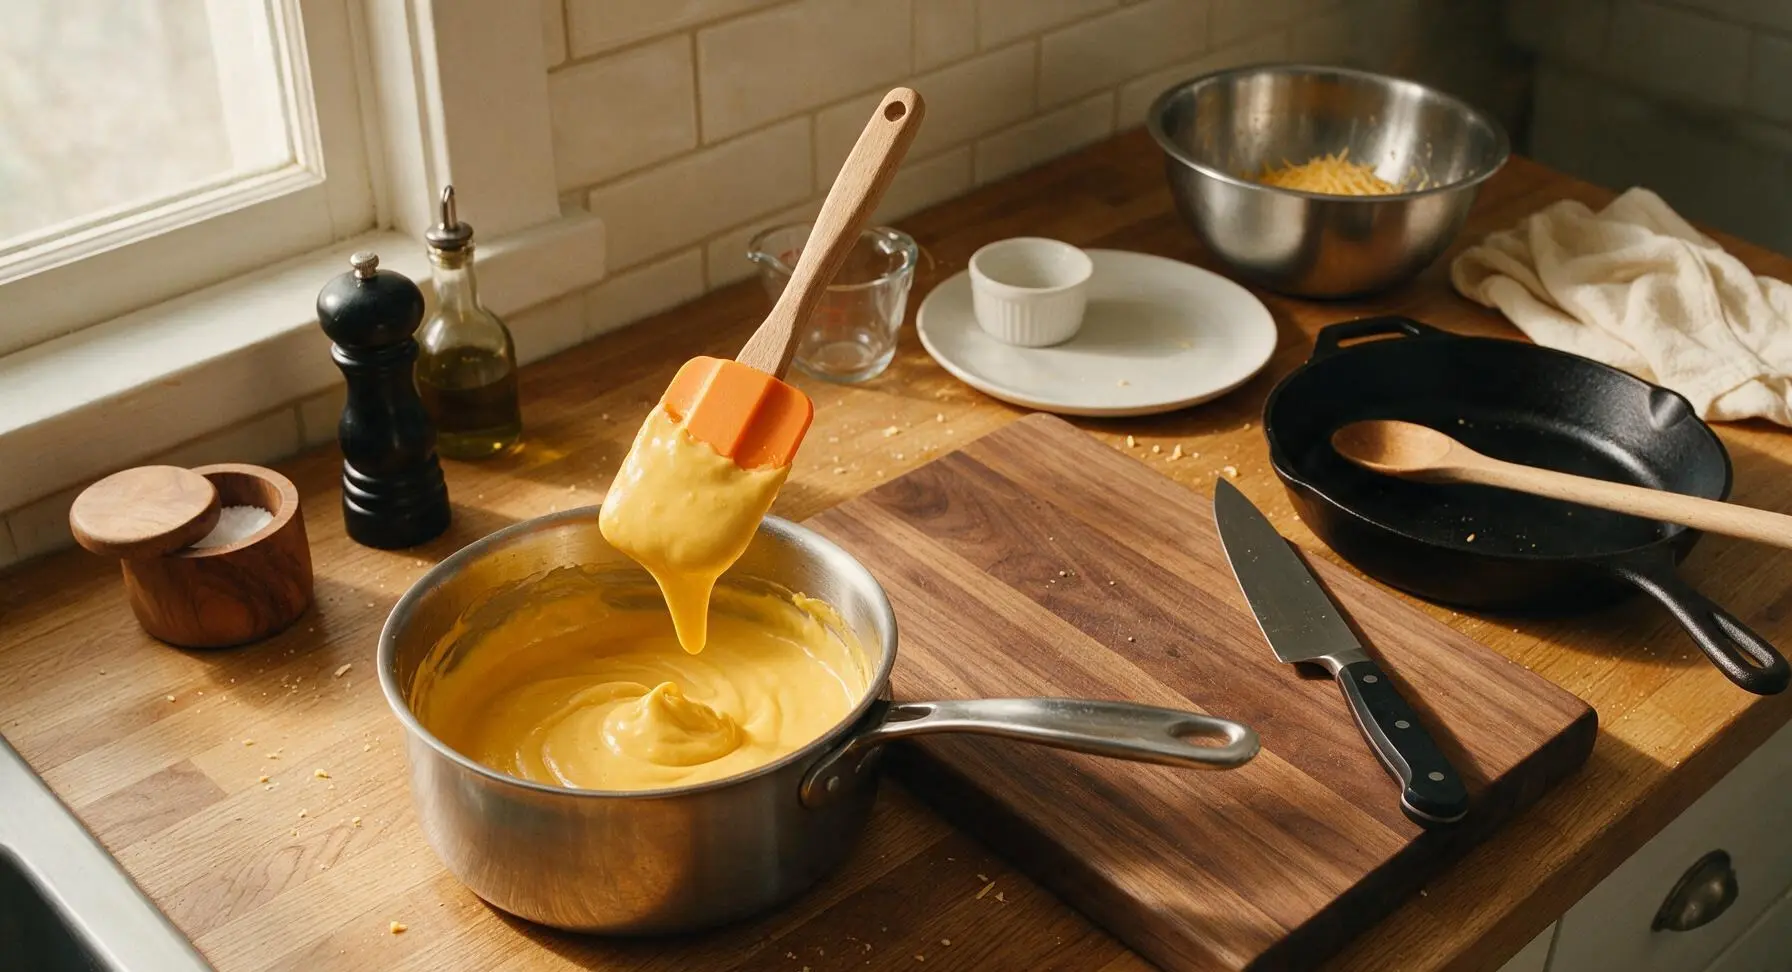
Slowly pour 240ml whole milk from the clear glass measuring cup into the roux, stirring constantly with the silicone spatula to eliminate lumps. Bring the sauce to a gentle simmer, stirring continuously, for 3 minutes until it thickens enough to coat the back of the spatula – a finger drawn across the coated spatula will leave a clean line that does not run. Turn heat to the lowest setting, add 2/3 of the shredded cheese in three small batches, stirring until fully melted and smooth between additions. Season with 1/4 tsp freshly ground black pepper.
Step 4
step4:Build Cheese Sauce
Step 4
step4:Build Cheese Sauce
5

Fold in Salsa and Pasta

Remove the cheese sauce from heat. Stir in 200g chunky medium roasted tomato salsa until evenly distributed, creating a pale orange sauce dotted with visible flecks of red tomato and green chile. Add the drained elbow macaroni to the saucepan, stirring gently with the silicone spatula to coat every noodle evenly. If the sauce feels too thick, stir in 1-2 tbsp of reserved starchy pasta water to reach a creamy, clingy consistency that coats each noodle without pooling at the bottom of the pan.
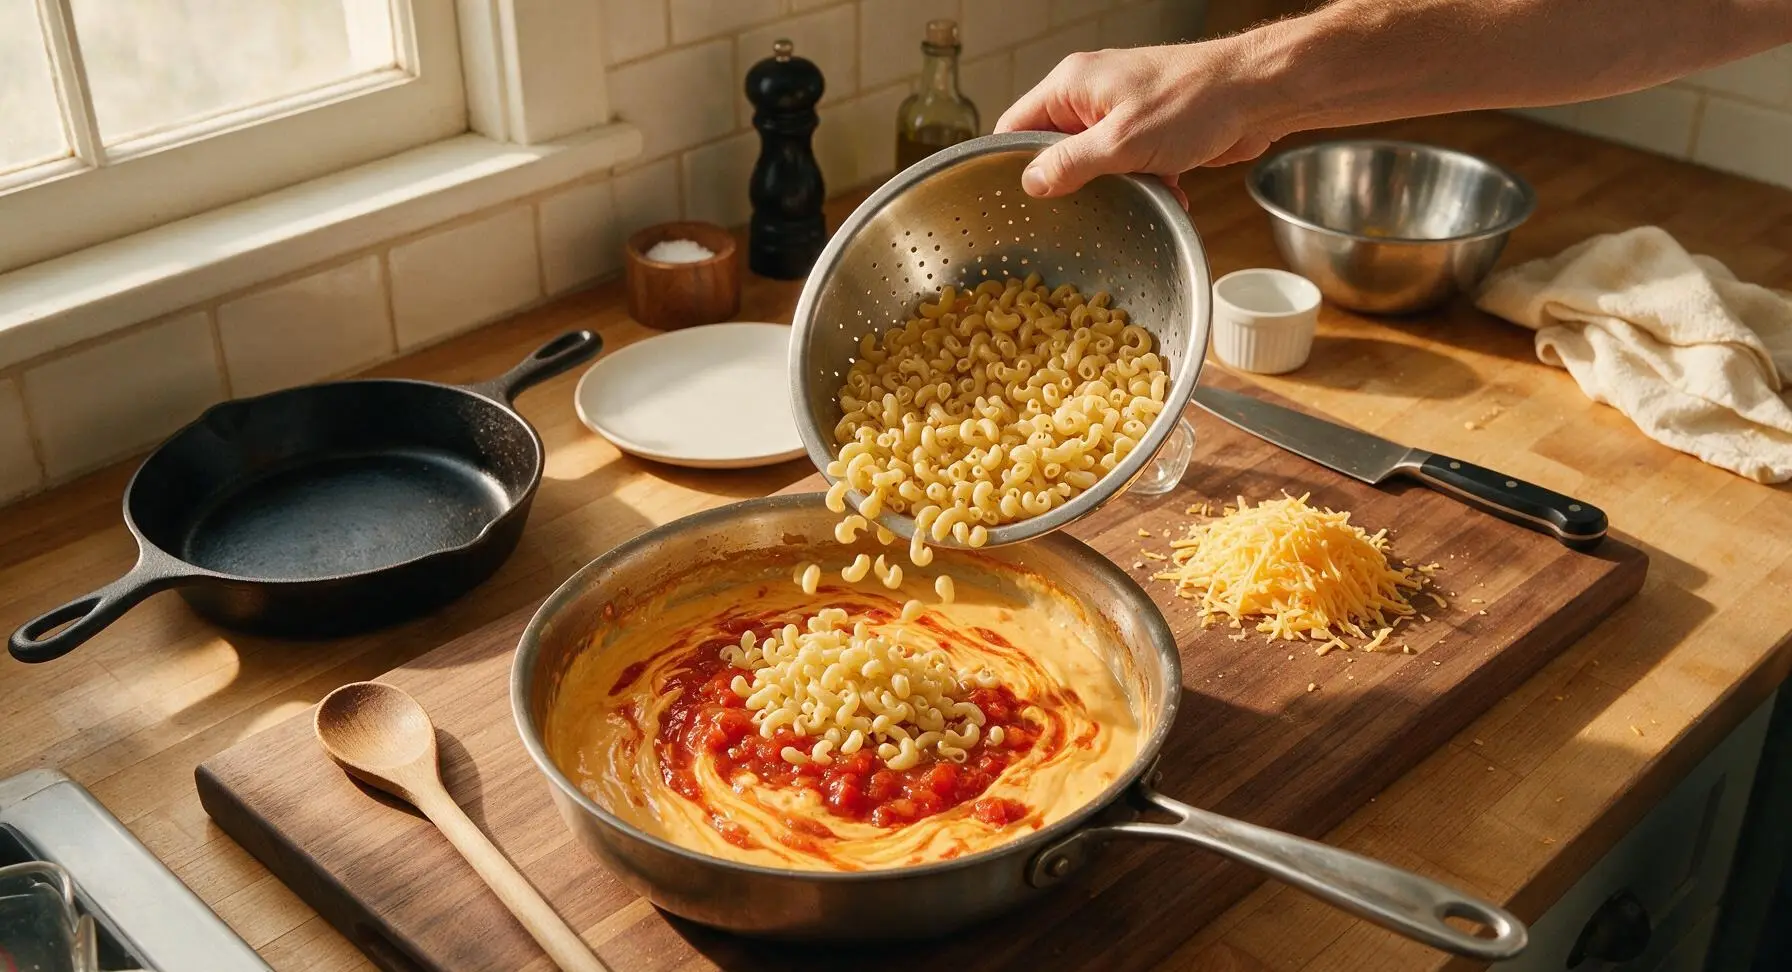
Step 5
step5:Fold in Salsa and Pasta
6

Broil to Bubbly Golden

Transfer the sauced pasta mixture into the 9-inch square matte cream ceramic baking dish, spreading it into an even layer with the silicone spatula. Sprinkle the reserved 1/3 shredded cheese evenly across the top. Place the baking dish 15cm (6 inches) under a preheated high broiler for 2-3 minutes, watching closely, until the top cheese is bubbly and dotted with deep golden brown spots. Do not leave the broiler unattended, as cheese can burn in as little as 30 seconds once browning begins.
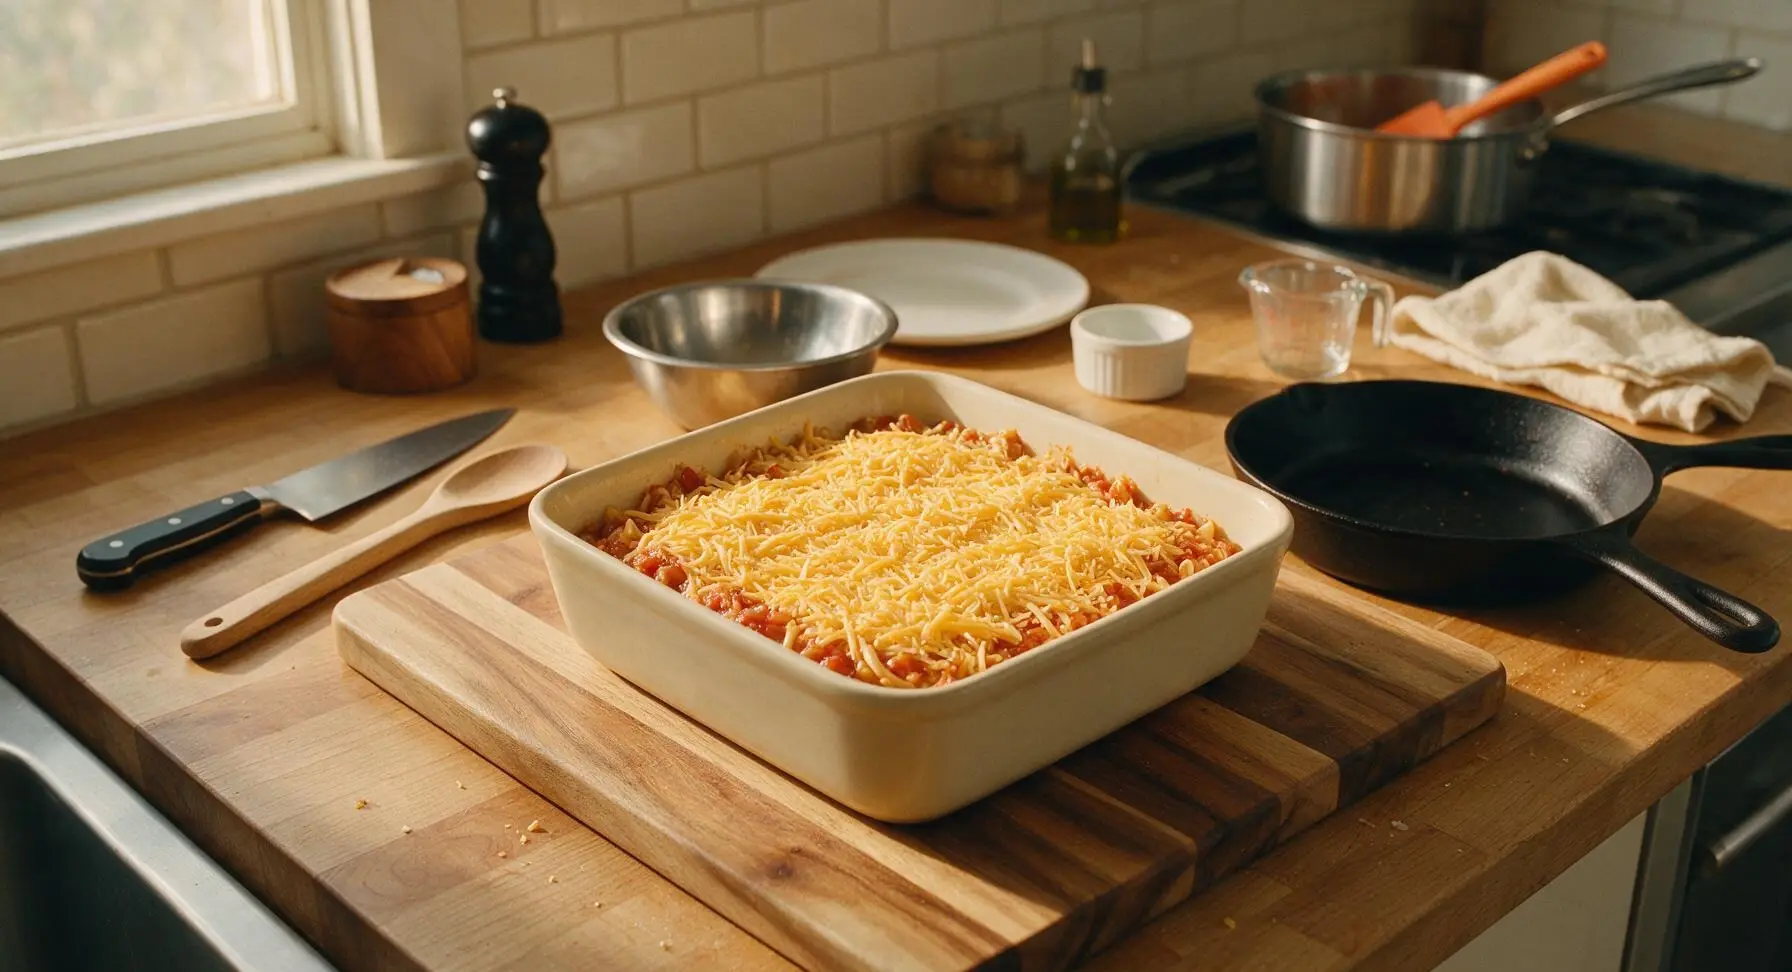
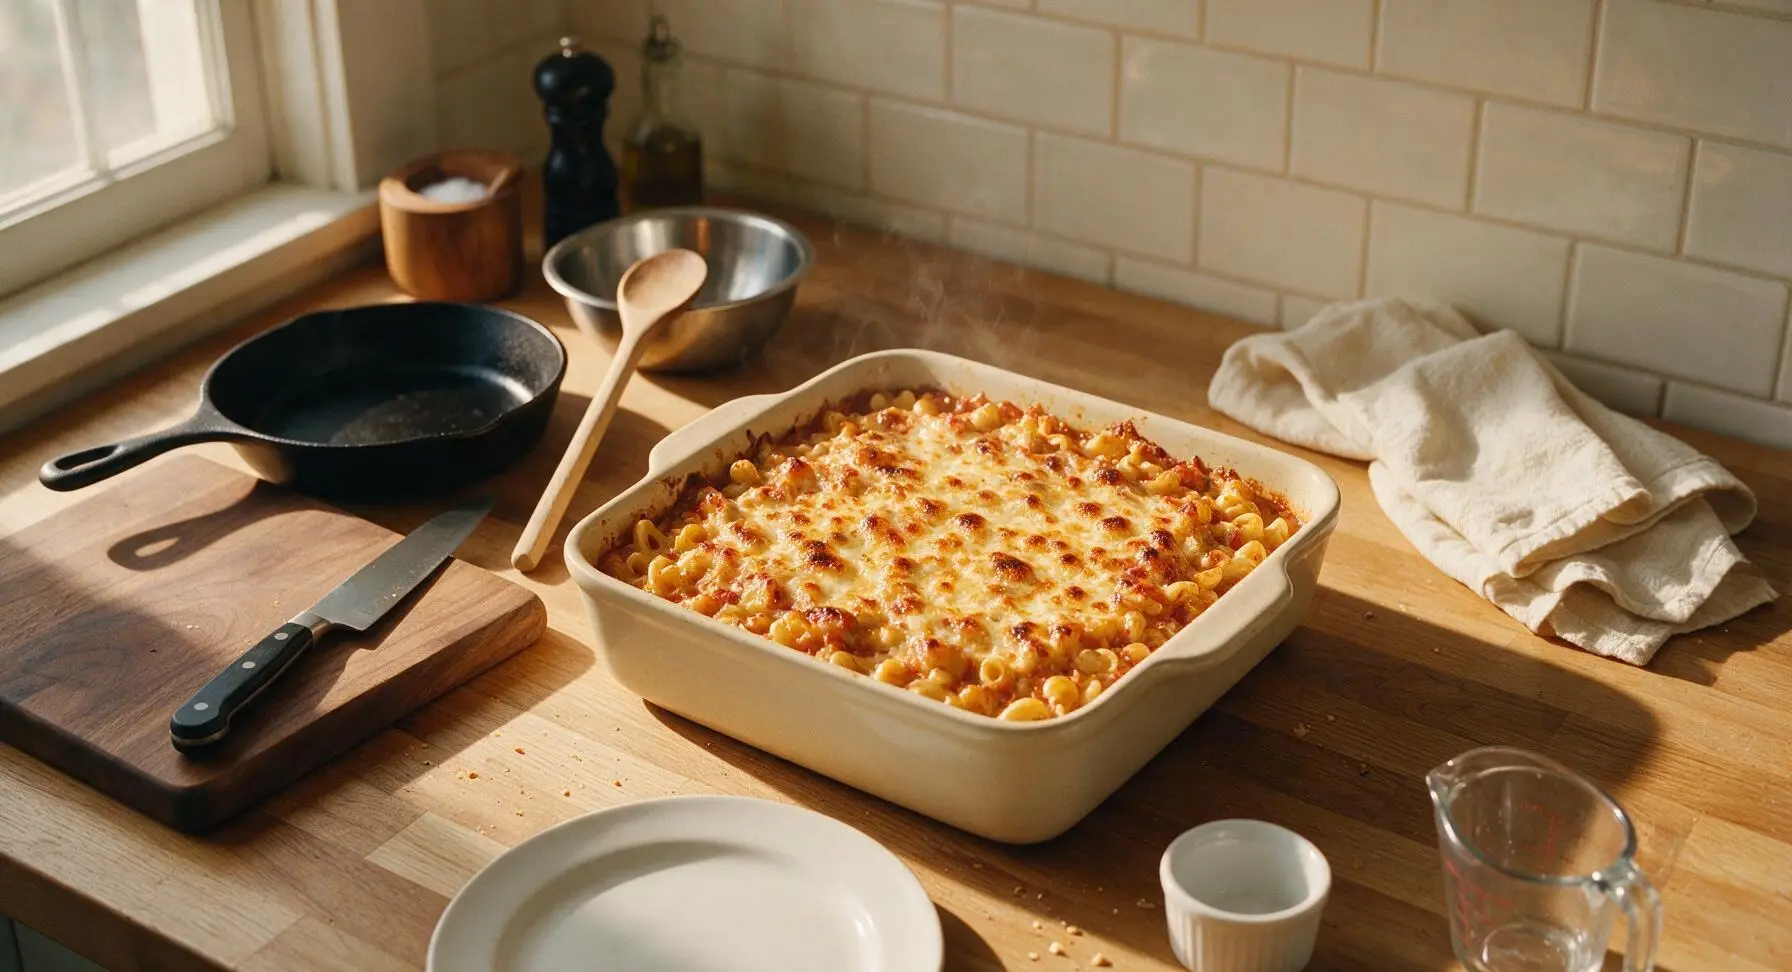
Step 6
step6:Broil to Bubbly Golden
Step 6
step6:Broil to Bubbly Golden
7

Garnish and Plate

Let the baked mac and cheese rest for 3 minutes to allow the sauce to set. Chop 2 tbsp fresh cilantro from the counter bunch, and sprinkle it evenly across the top of the dish. Scoop a generous 1.5 cup serving onto the matte off-white ceramic dinner plate, making sure to include a portion of the crispy broiled cheese top. Serve immediately while hot.
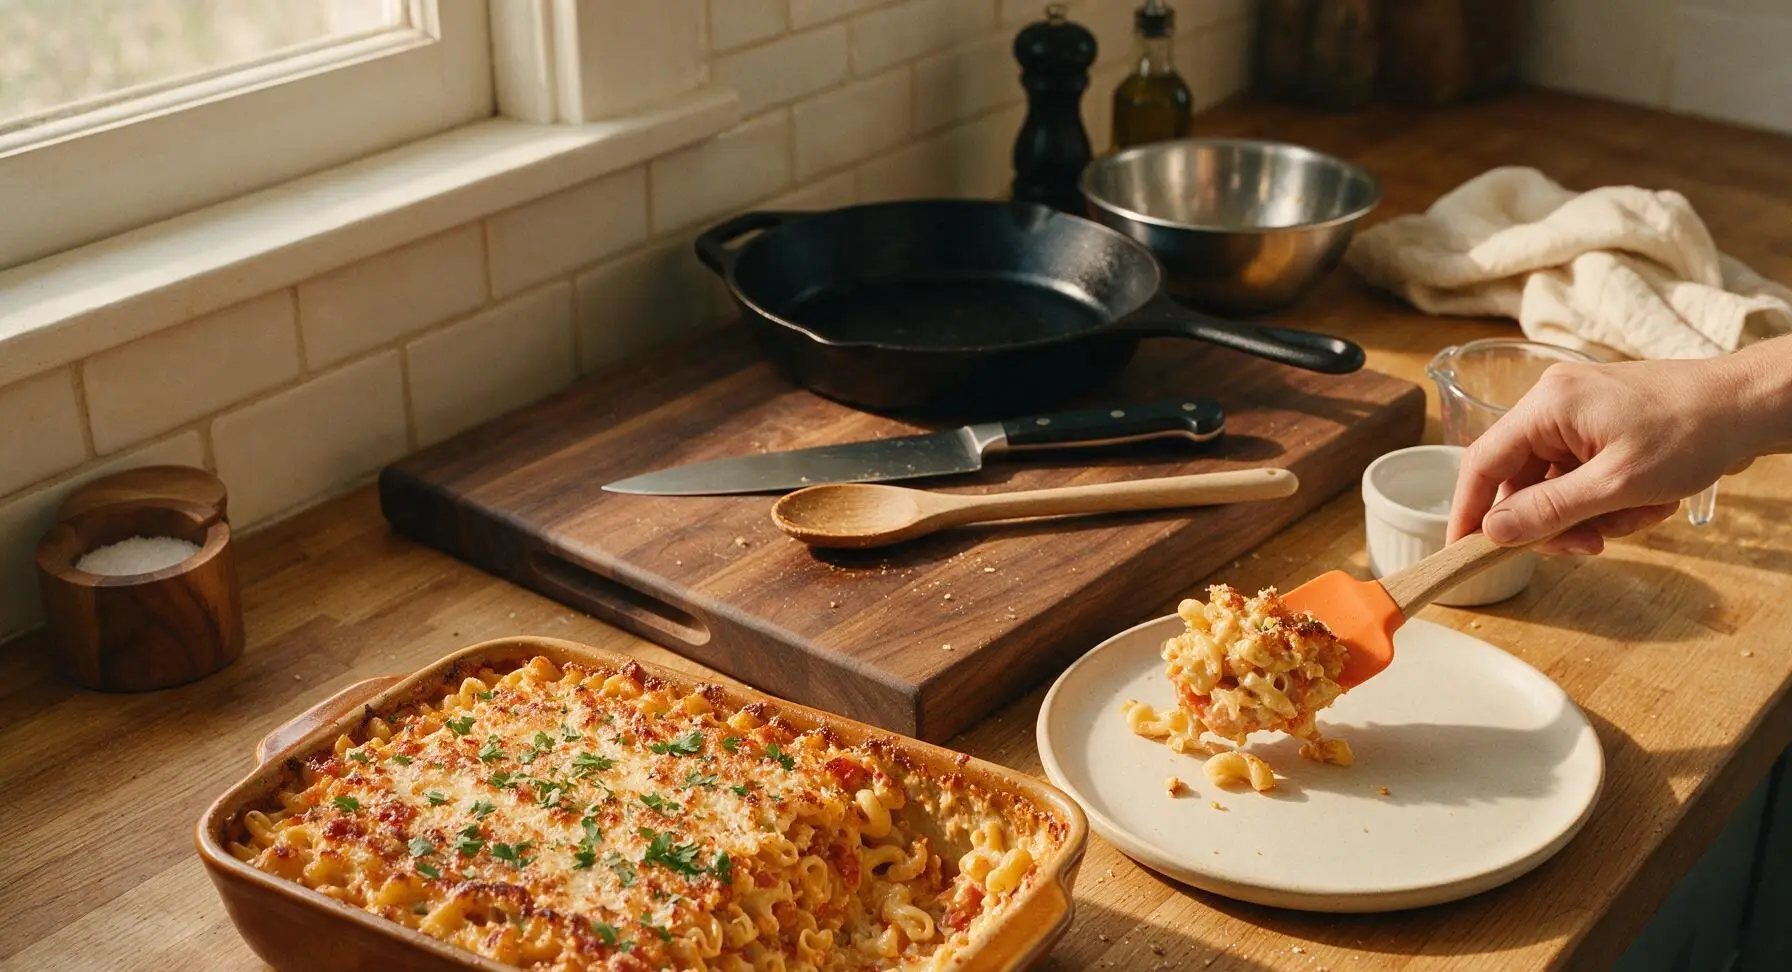
Step 7
step7:Garnish and Plate

Tips

1.Grate cheese from a block instead of using pre-shredded cheese: pre-shredded cheese is coated in anti-caking potato starch that prevents smooth melting, leading to a grainy, separated cheese sauce instead of the desired silky texture.
2.Never rinse pasta after draining: the starchy coating on cooked noodles helps the cheese sauce cling evenly to every piece, and reserved starchy pasta water creates a silkier sauce consistency than plain milk when thinning.
3.Stay directly in front of the broiler while the top browns: the high, direct heat can turn perfectly golden bubbly cheese burnt and bitter in as little as 30 seconds, so pull the dish as soon as you see evenly distributed light brown spots across the top.


✨ You May Also Like

Main Course
🍜 United Kingdom

A showstopping classic of tender seared beef, savory mushroom duxelles, and crisp prosciutto wrapped in flaky golden puff pastry, baked to juicy perfection.

⏱️ 2 hours 1Main Course ★ 4.7
Main Course
🍜 India

Tender charred marinated chicken simmered in a rich, spiced creamy tomato sauce, this iconic Anglo-Indian curry pairs perfectly with basmati rice or warm naan.

⏱️ 50 minuteMain Course ★ 4.6
Main Course
🍜 Thailand

Classic tangy, sweet, and savory Thai stir-fried rice noodles with shrimp, tofu, and crunchy garnishes, balancing all five core Thai flavor profiles.

⏱️ 30 minuteMain Course ★ 4.5
Main Course
🍜 United Kingdom

Crispy golden beer-battered cod and fluffy double-fried chips, served with tangy tartar sauce and malt vinegar: the timeless, beloved British pub comfort classic.

⏱️ 45 minuteMain Course ★ 4.7
Main Course
🍜 Mexico

Smoky, chile-marinated pork tacos with caramelized pineapple, fresh cilantro, and lime: a beloved classic Mexican street food perfect for casual summer gatherings.

⏱️ 1 hour 45Main Course ★ 4.8
Main Course
🍜 United States

Crunchy Fritos corn chips layered with savory beef chili and melted cheddar, topped with cool, zesty fixings for a beloved, cozy Tex-Mex comfort food.

⏱️ 35 minuteMain Course ★ 4.8

Salsa Mac and Cheese:Frequently Asked Questions

1.Can I use pre-shredded cheese instead of shredding my own from blocks? ▾
I always recommend shredding your own block cheese for the creamiest results! Pre-shredded cheese is coated in anti-caking agents like potato starch that can make your sauce grainy and keep it from melting smoothly. If you’re in a total time crunch, use pre-shredded, but toss it with ¼ teaspoon of cornstarch first to help it melt more evenly.
2.Can I use a different heat level or type of salsa instead of medium roasted chunky salsa? ▾
Absolutely! Swap in mild salsa if you’re serving kids or anyone sensitive to spice, or hot salsa for an extra zesty kick. Just stick to thick, chunky salsa, and drain off any excess watery jar liquid first—watery salsa will thin out your creamy cheese sauce. Non-roasted salsa works too, you’ll just miss that subtle smoky depth.
3.Why did my cheese sauce turn out grainy instead of smooth? ▾
Grainy sauce almost always comes from too much heat! If you boil the sauce after adding cheese, or dump all the cheese in at once over high heat, the milk proteins can curdle and the cheese can seize. Fix this by pulling your pan off the stovetop before adding cheese, then stir in small handfuls at a time, never letting the sauce boil once cheese is added.
4.Can I make this salsa mac and cheese ahead for meal prep? ▾
Definitely! Let the finished dish cool completely, then portion it into airtight containers and store it in the fridge for up to 3 days. When you’re ready to reheat, warm it on the stovetop over low heat with a splash of extra whole milk, stirring frequently, to bring the creamy sauce back together. Avoid high-heat microwaving, as that can cause cheese to separate and turn greasy.
5.What easy add-ins can I use to make this a more filling meal? ▾
There are tons of quick, Tex-Mex aligned add-ins to bulk this up into a heartier meal! Stir in cooked, crumbled chorizo or ground beef, rinsed black beans, roasted corn, or diced pickled jalapeños when you mix the pasta and sauce. For a fun crunchy topping, sprinkle crushed tortilla strips and a pinch of cumin over servings right before eating.

Comments (3)

2 days ago

OMG this Salsa Mac and Cheese was a total game changer for our weeknight dinner rotation! I was so sick of the same old boxed mac, threw this together in 20 minutes flat and my two super picky toddlers ate two full servings each. I used medium salsa because our family likes a little kick, and topped it with crushed tortilla chips for extra crunch. Will absolutely be making this on repeat for meal prep too!

yesterday

Wait the crushed tortilla chip topping is such a chef’s kiss call! I made this last night for my work potluck and forgot to add a crunchy element, everyone still raved about how cheesy and zesty it was but I’m definitely throwing those chips on next time I make it!

yesterday

So happy you and the toddlers loved it! The medium salsa + tortilla crunch combo is one of our all-time favorite easy hacks too—pro tip, a dollop of sour cream on top cuts the heat perfectly if you ever accidentally grab a spicier salsa than you planned for!

2 hours ago

As someone who barely knows how to boil water without burning it, this easy recipe was made for people like me. The cook time actually was 20 minutes like the recipe said, no fancy ingredients required—I just used the jarred salsa I already had sitting in my fridge and leftover shredded cheddar from taco night last week. SO good, way better than the sad mac they serve in the dining hall. Already sent the recipe link to all three of my roommates.

30 minutes ago

Love that this works for busy college students too! No fancy tools, minimal cleanup, and totally customizable—you can even toss in some leftover cooked ground beef or rinsed black beans to bulk it up for super cheap, filling meals between classes and study sessions!

1 week ago

Made this gluten free last night by swapping regular elbow pasta for brown rice pasta, and it turned out perfectly! I used mild salsa so my spice-hating husband wouldn’t complain, and we both went back for seconds. It’s the ideal quick meal for nights we get home late from my kid’s soccer practice—no fuss, just that perfect cheesy, tangy salsa flavor. 10/10, will be in our regular dinner rotation for sure.



