
salted caramel crown
intro
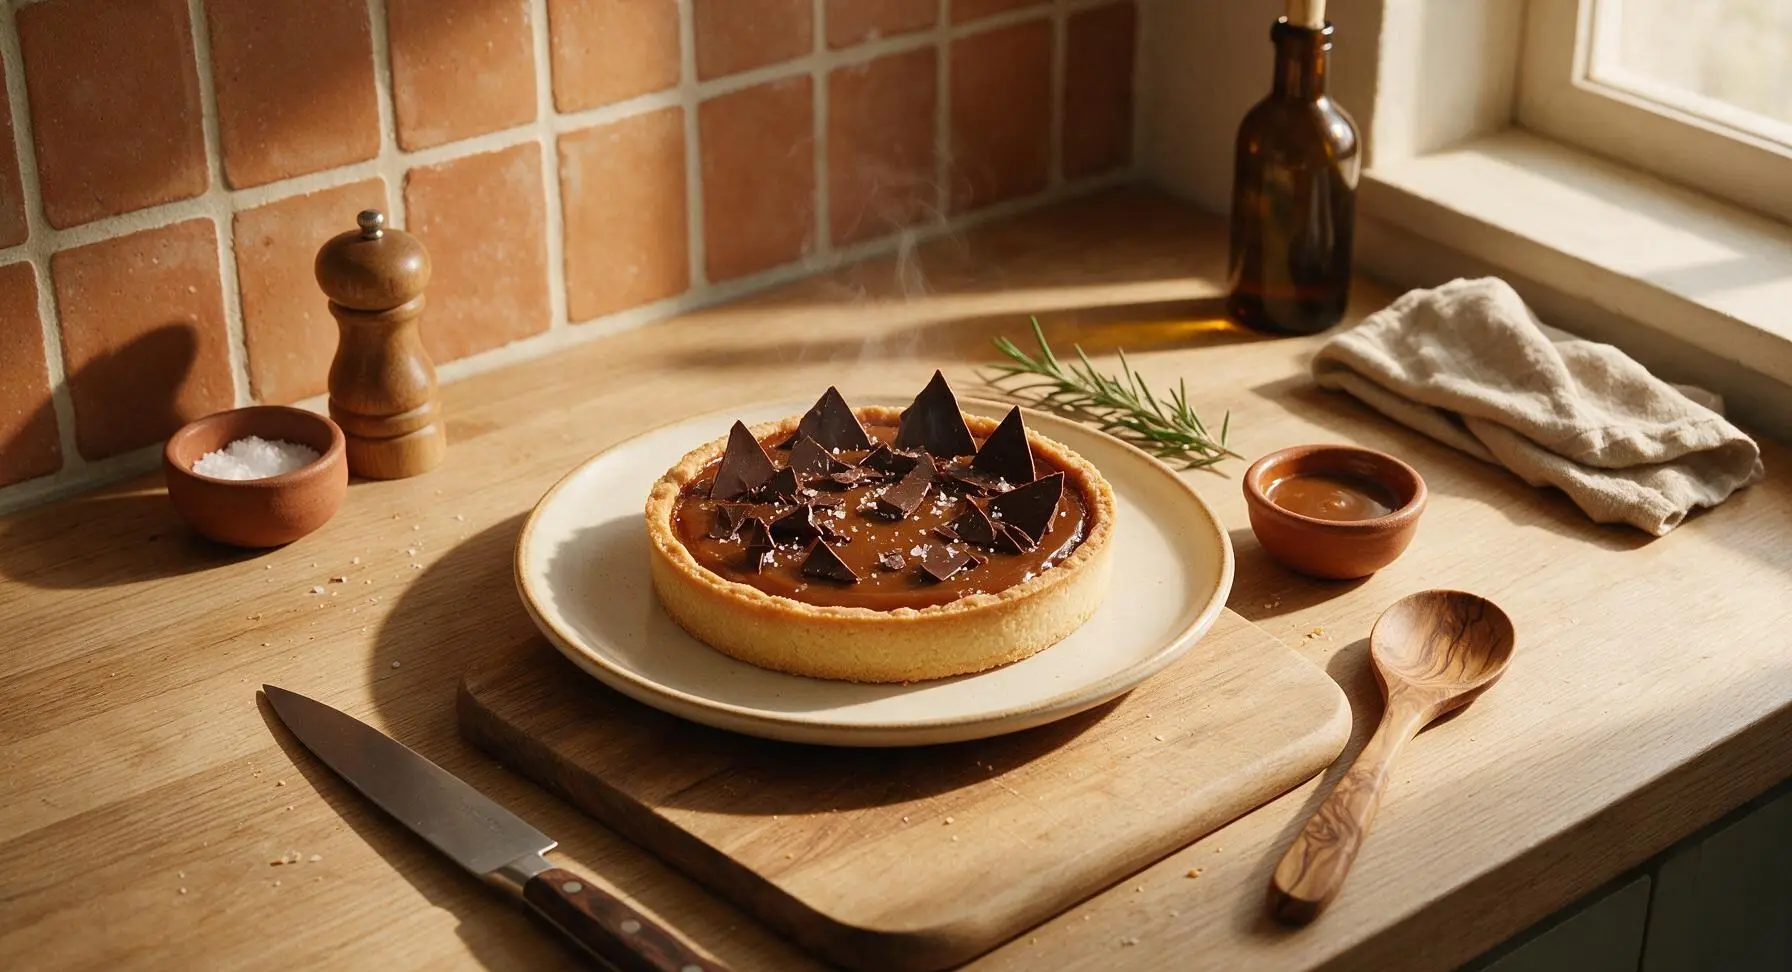
Velvety deep-amber salted caramel set in a buttery shortbread crust, crowned with jagged dark chocolate shards and flaky sea salt: a rich, perfectly balanced showstopper for holiday dessert spreads.
Ingredients
Steps
Mix Shortbread Crust
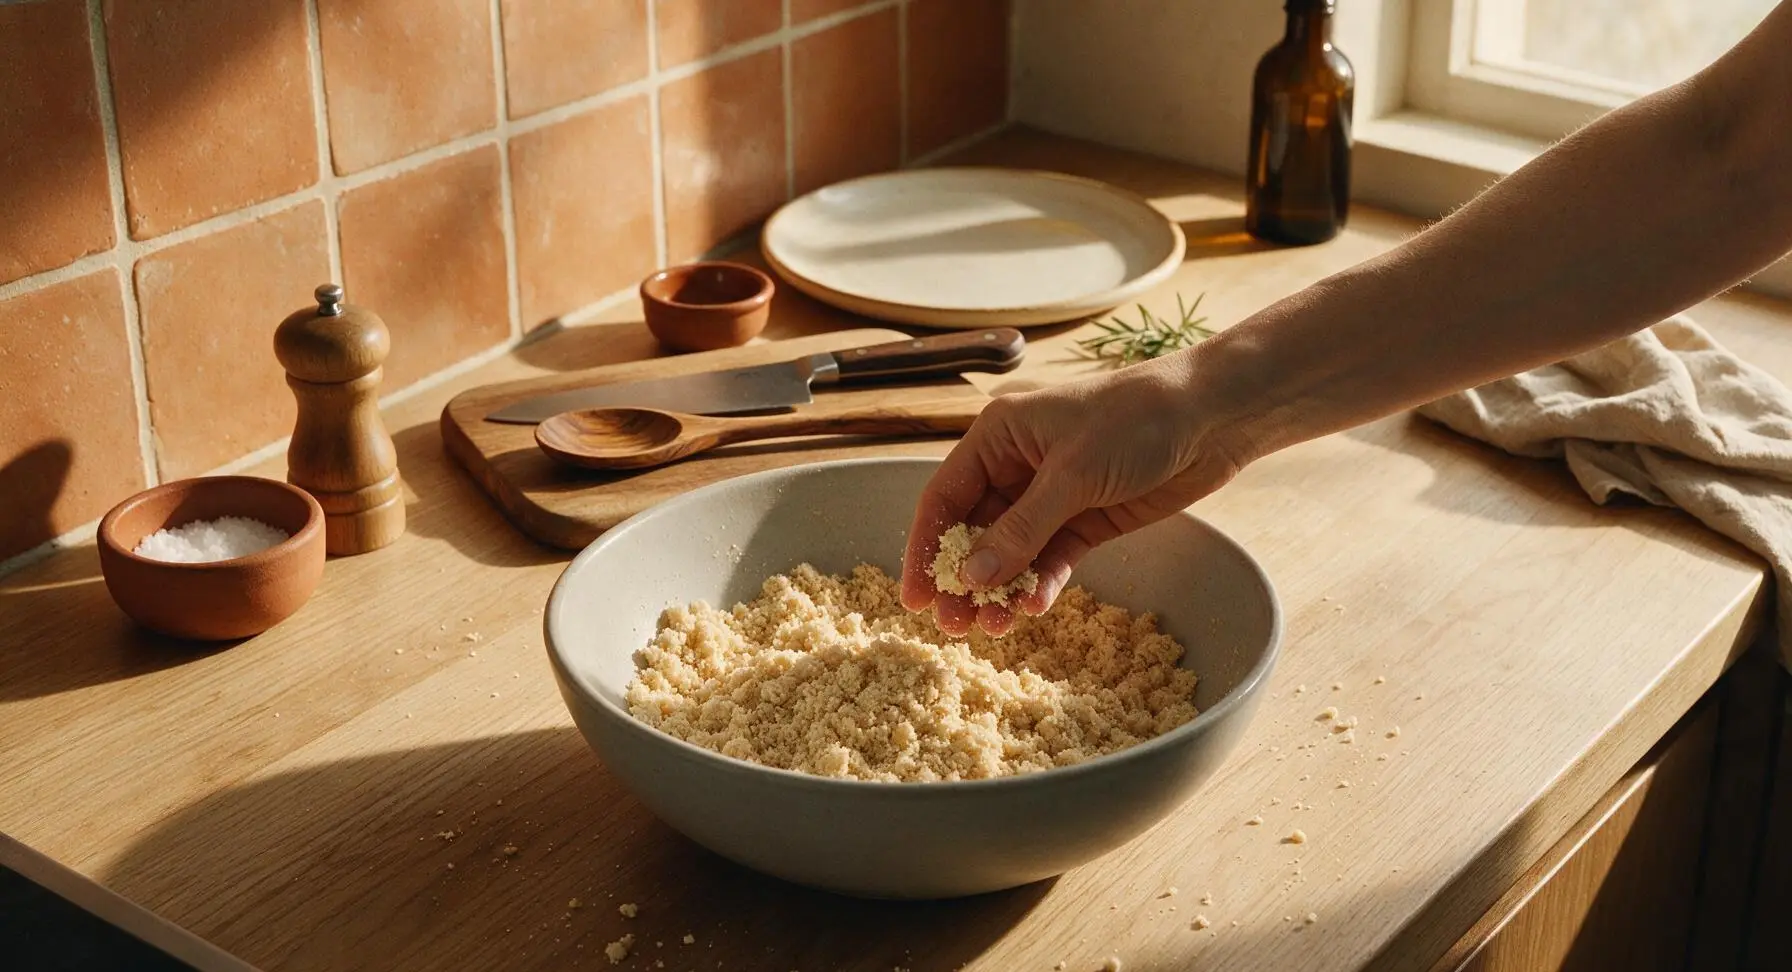
Combine 180g all-purpose flour, 60g powdered sugar, and 1/4 tsp fine sea salt in the large matte light grey ceramic mixing bowl. Add 113g cold cubed unsalted butter, and use your fingertips to rub the butter into the dry ingredients until the mixture resembles coarse damp sand, with no butter pieces larger than a pea. Test the consistency by squeezing a handful of crumbs: it should hold together firmly without crumbling when released, with no dry powdery patches remaining.
Press and Bake Crust
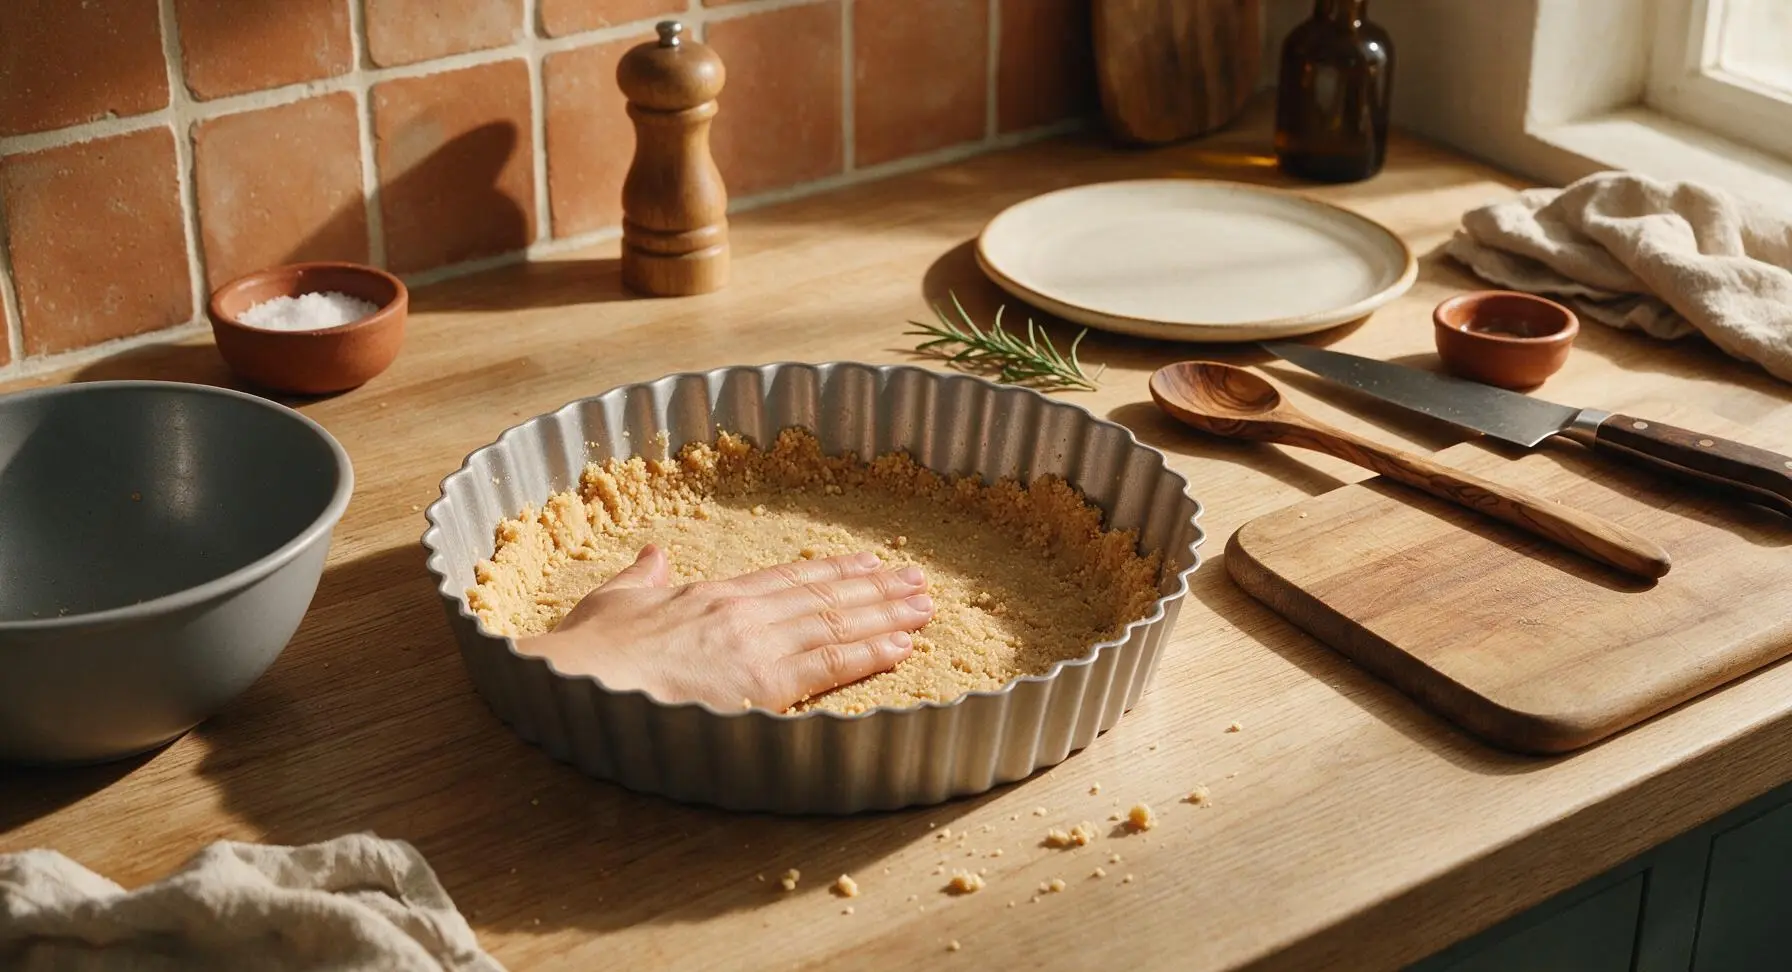
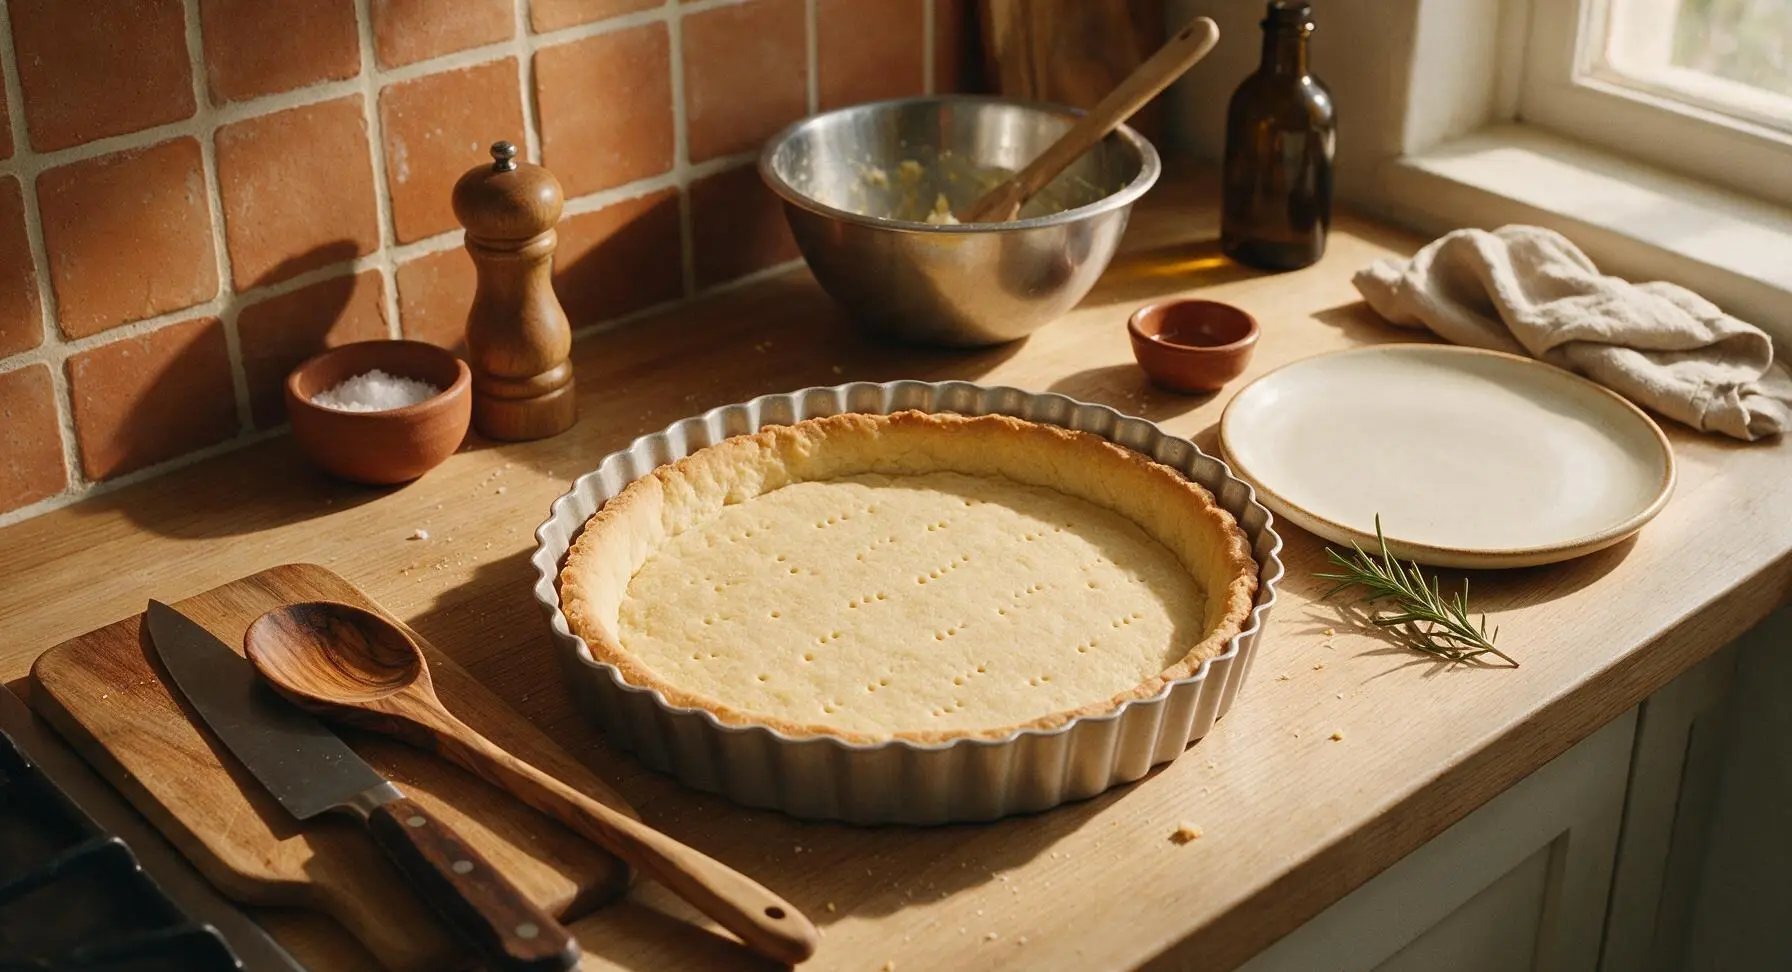
Tip the shortbread crumbs into the 9-inch fluted silver non-stick tart tin. Press the crumbs firmly and evenly across the tin base and 2cm up the fluted sides, using the flat base of a dry measuring cup to compact the crumbs into a smooth, even layer with no thin spots. Prick the crust base all over with a fork to prevent puffing, then bake at 180C (350F) for 12-14 minutes until the crust is pale golden and firm to the touch. Remove from the oven and set the tin on the counter to cool completely to room temperature, approximately 20 minutes, before adding filling.
Cook Caramel Base
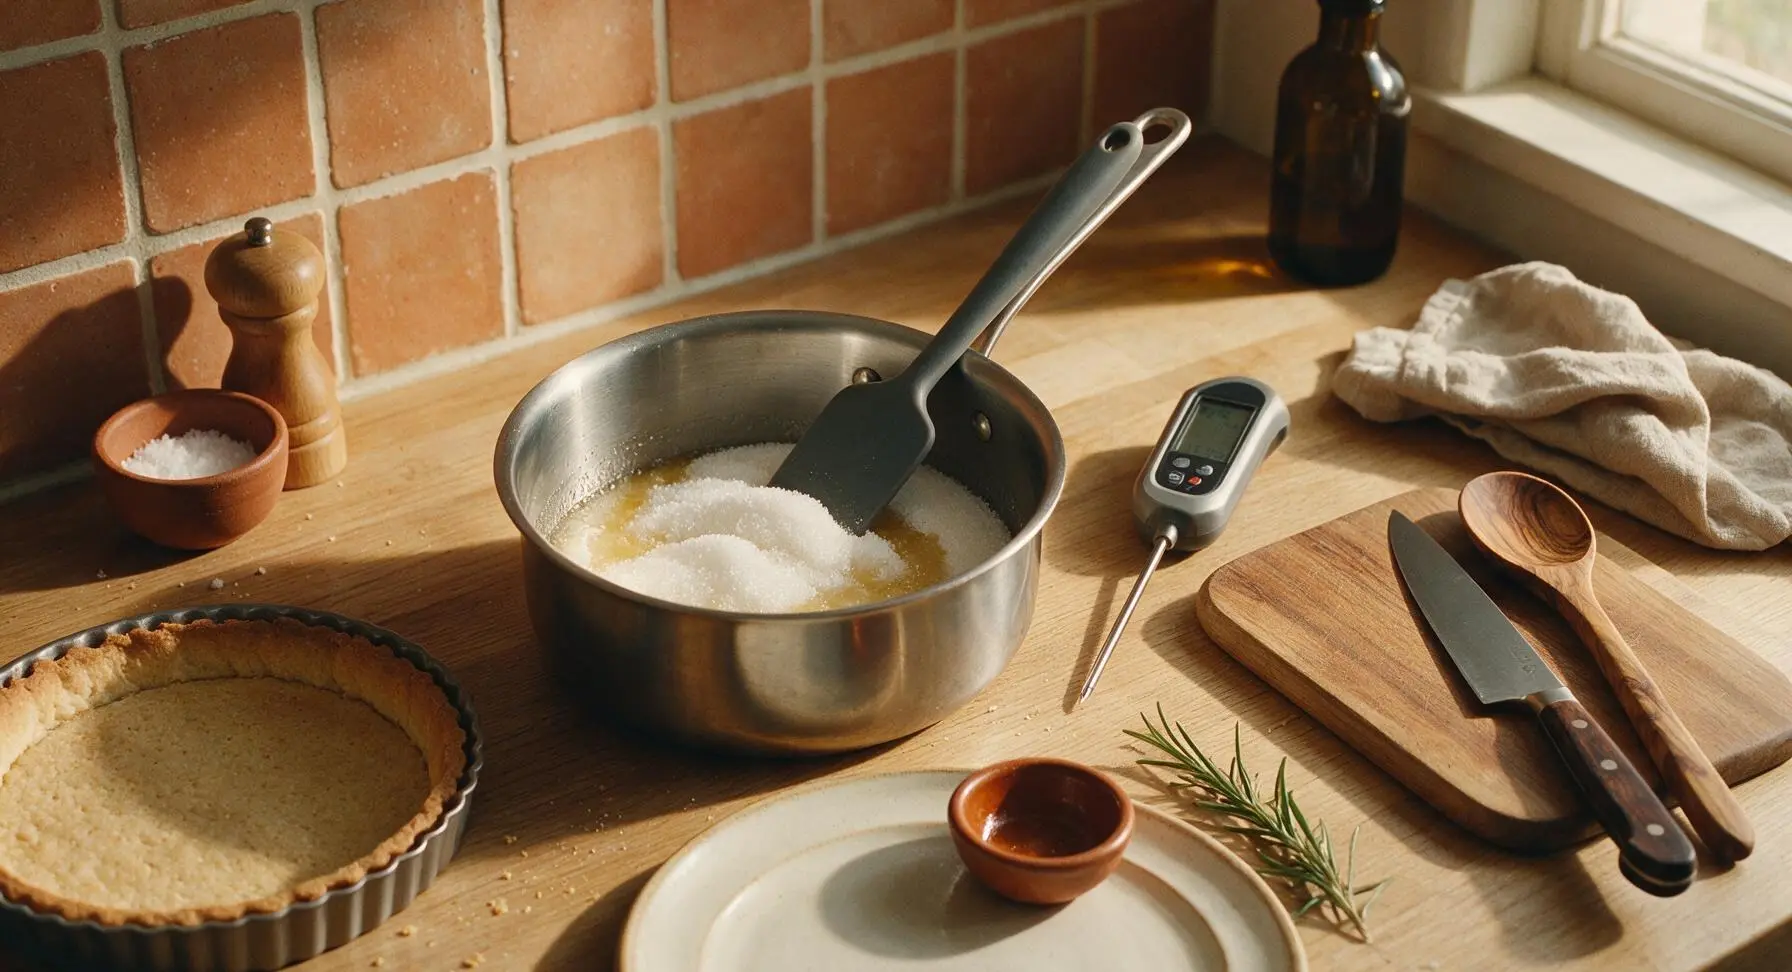
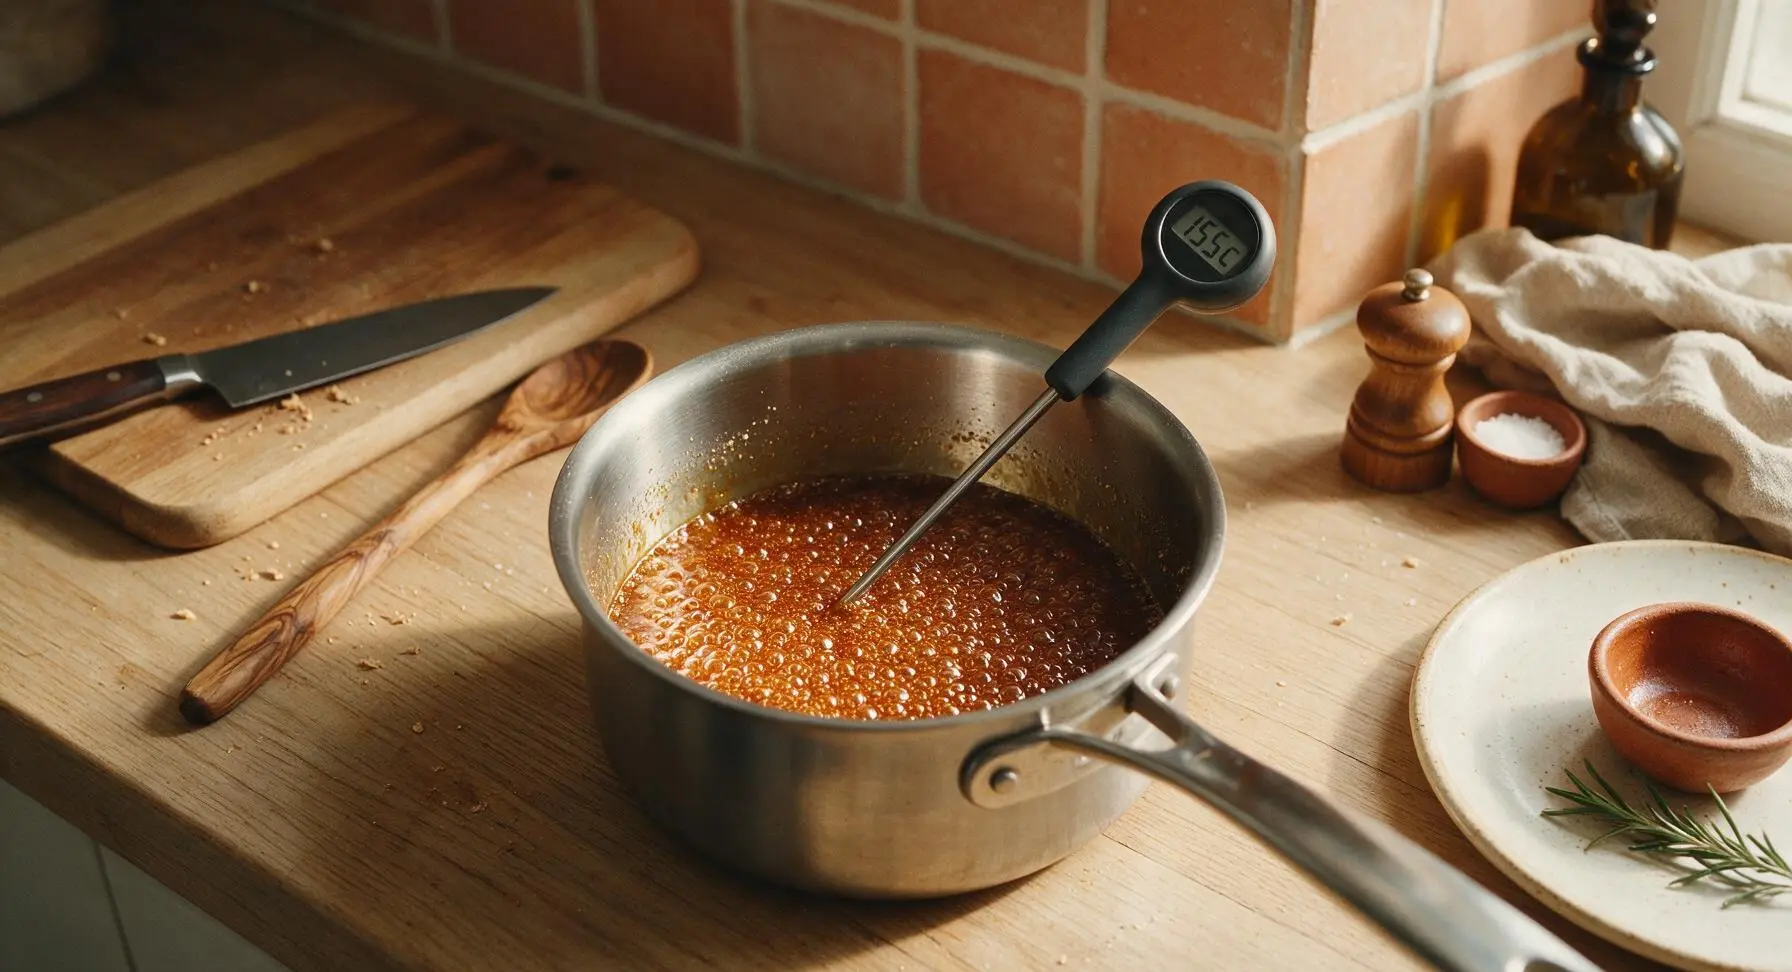
Place 200g granulated sugar in the 18cm heavy-bottomed stainless steel saucepan set over medium heat. Stir gently with the matte charcoal grey silicone spatula as the sugar melts, breaking up any large clumps, until it melts completely into a deep amber liquid reaching 155C (310F) on the digital kitchen thermometer. Watch closely once the sugar starts to color, as caramel can burn in as little as 30 seconds once it reaches temperature.
Finish Caramel Filling
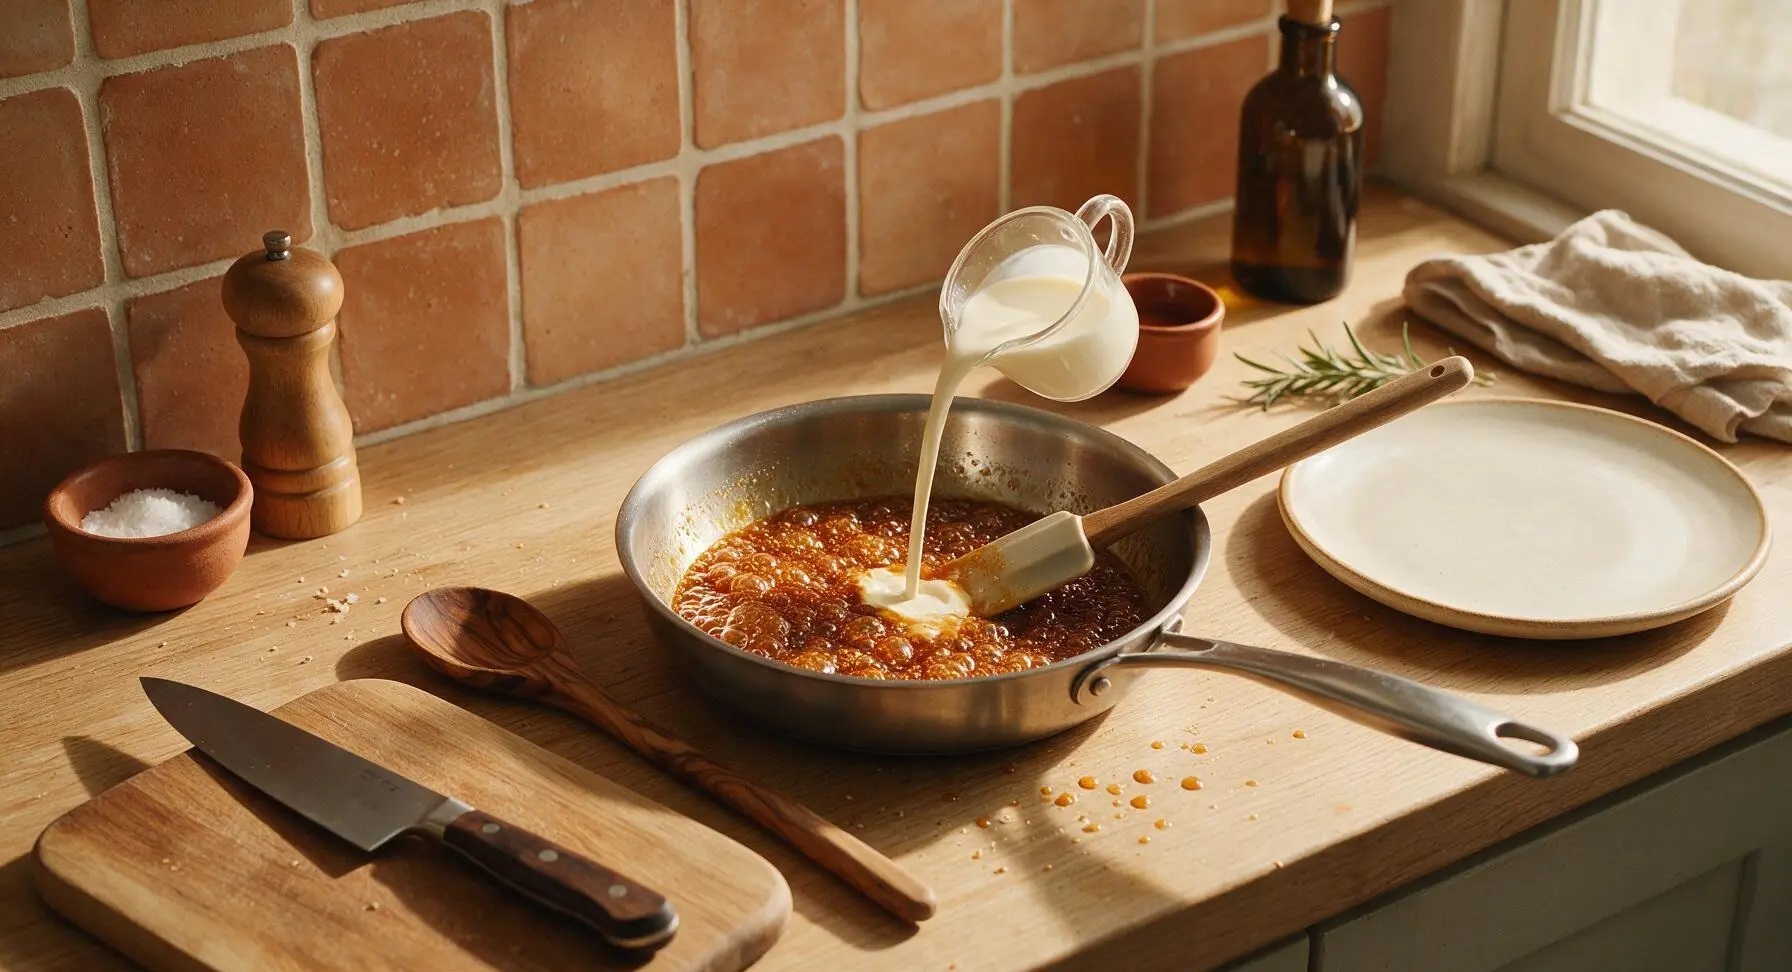
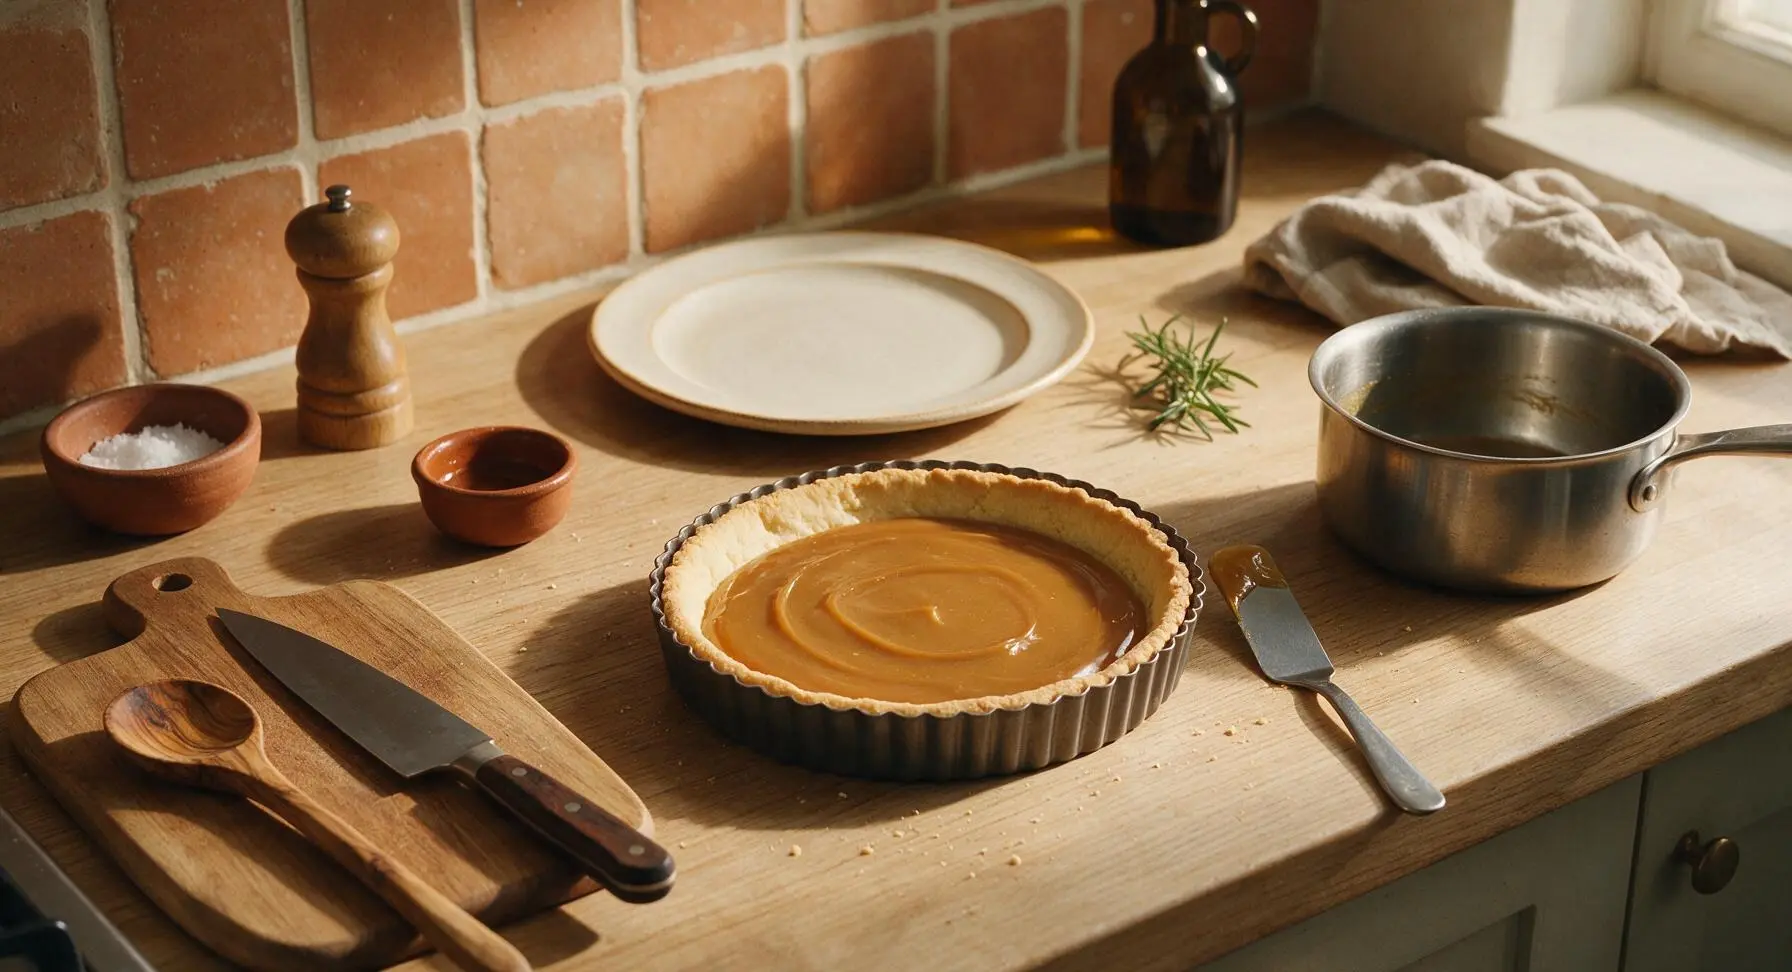
Remove the caramel pan from heat immediately once it reaches 155C. Slowly and carefully pour in the 120ml warmed heavy cream, stirring constantly with the silicone spatula— the mixture will bubble vigorously, so stand back slightly to avoid hot splatters. Once the bubbling subsides and the cream is fully incorporated, stir in 56g room temperature cubed unsalted butter, 1 tsp flaky sea salt, and 5ml vanilla extract, stirring until completely smooth with no lumps. Let the caramel cool for 10 minutes, then pour it into the fully cooled shortbread crust, spreading it to a smooth even layer with the small offset metal spatula. Transfer the tart to the fridge to chill for 2 hours until the caramel is firm to the touch.
Temper Chocolate Shards
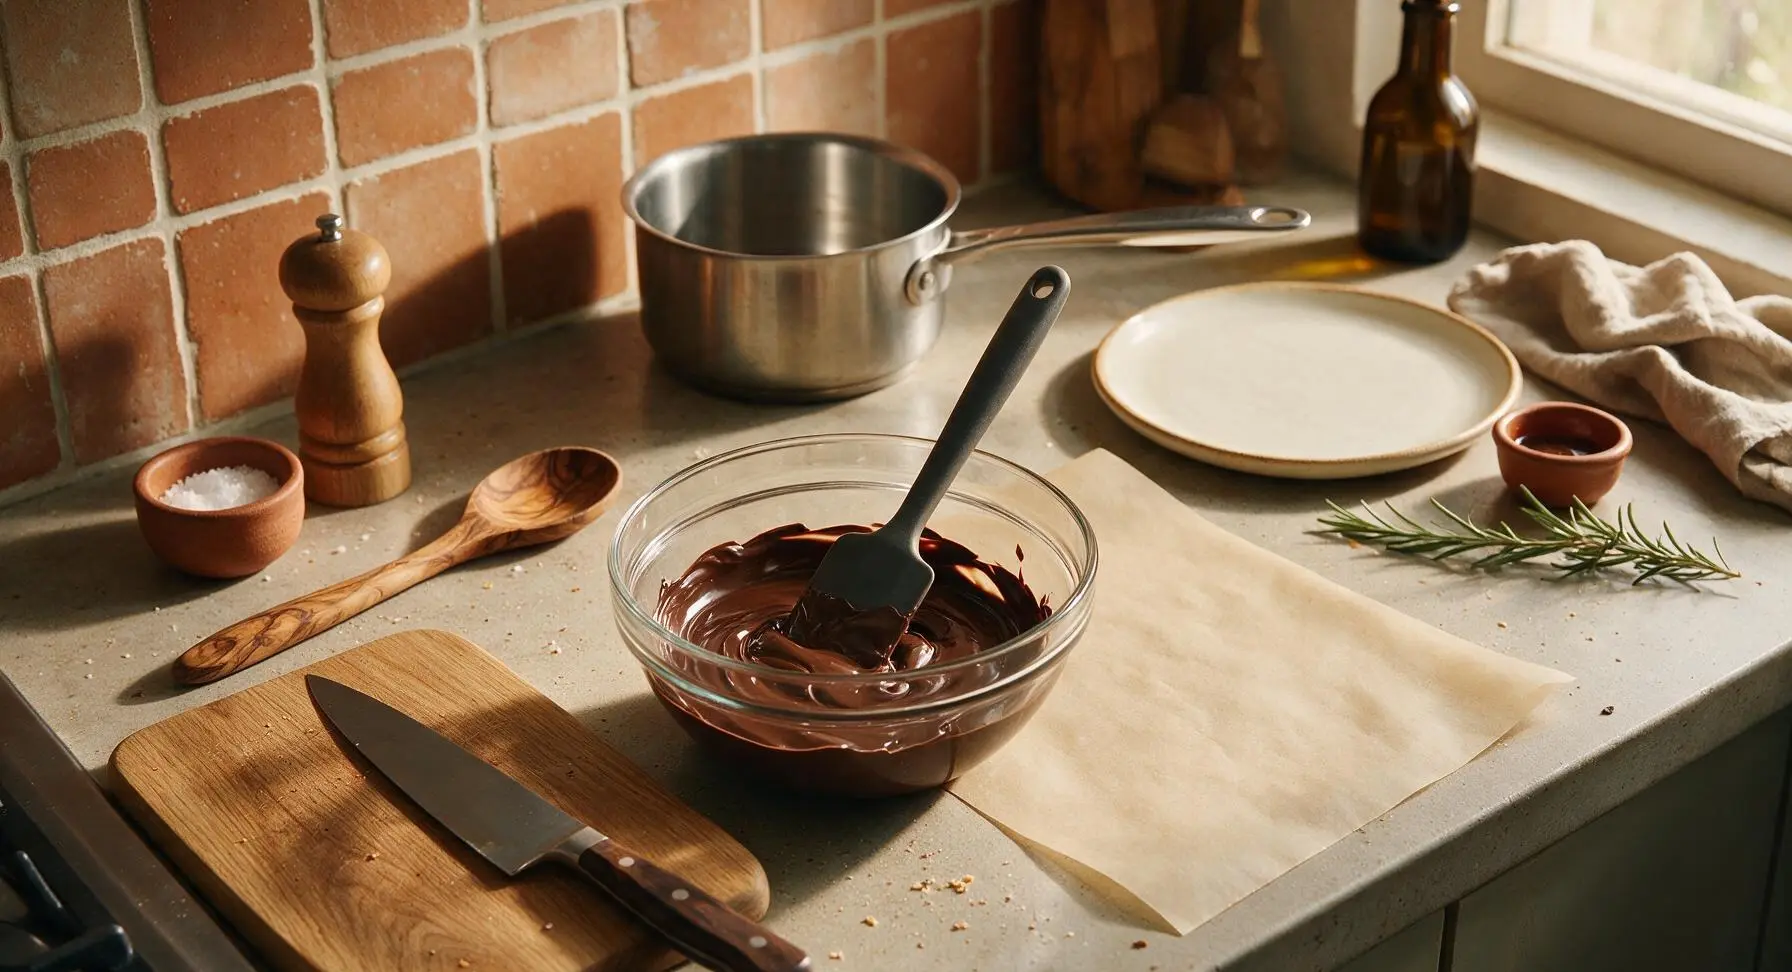
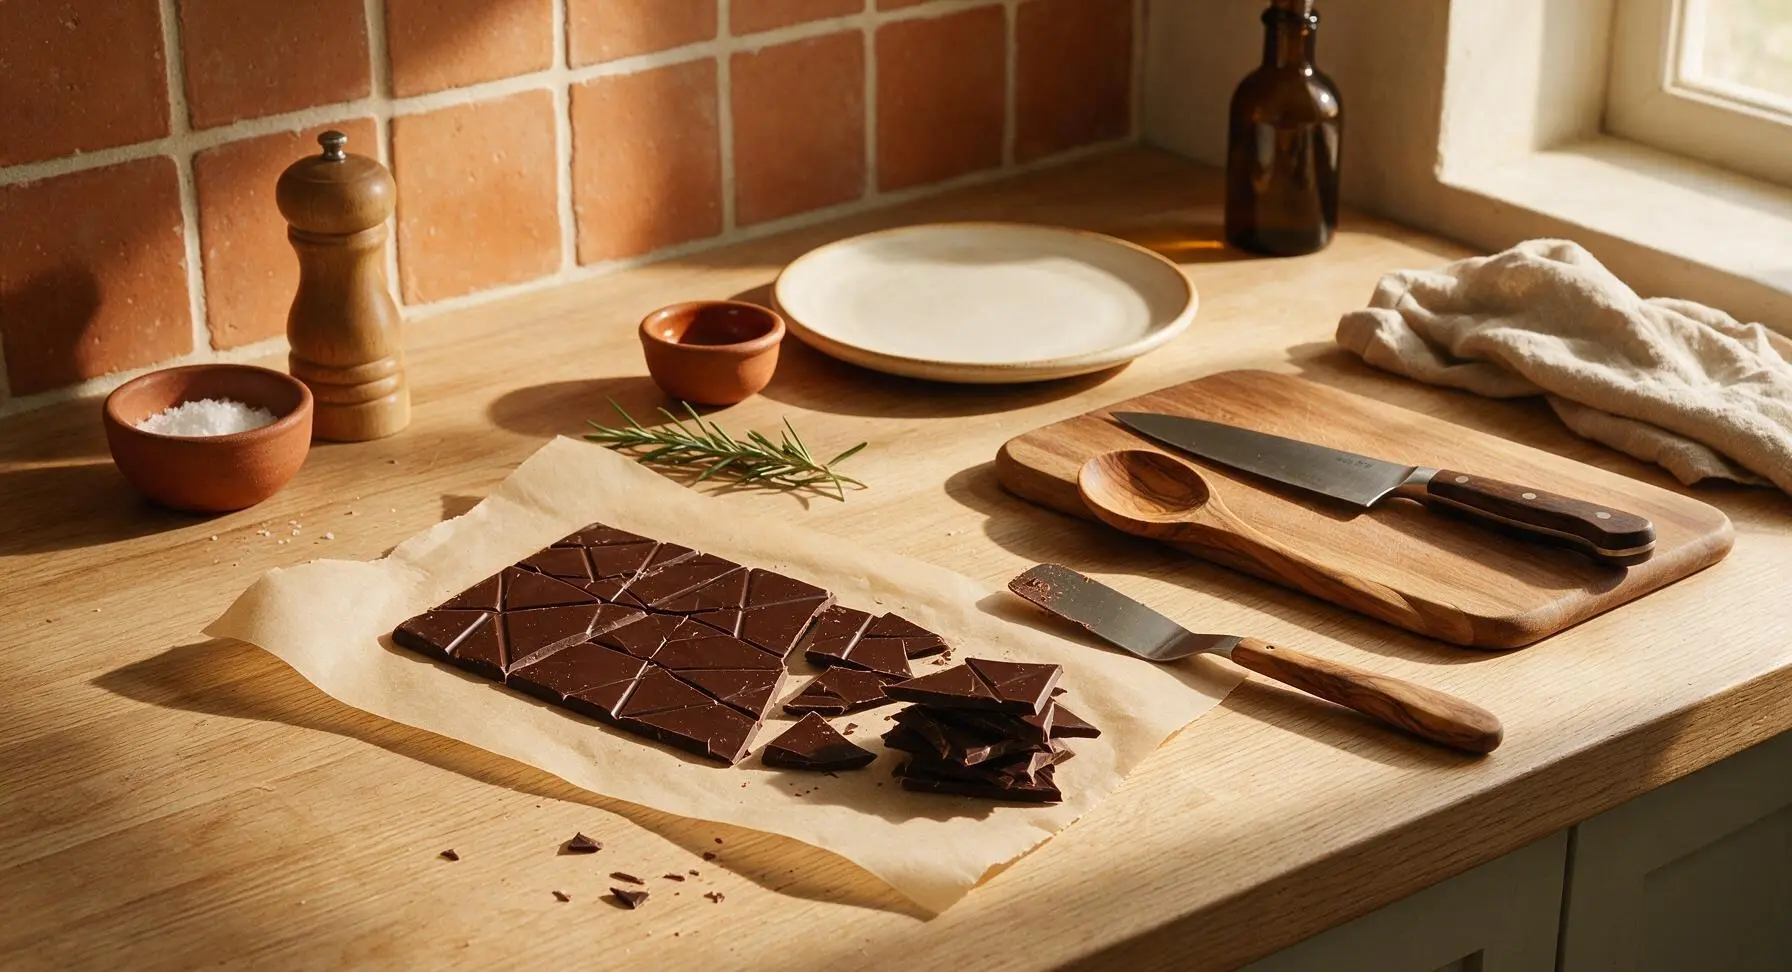
While the caramel chills, place 113g chopped 70% dark chocolate in the 12cm clear tempered glass heatproof bowl. Melt in 30-second bursts in the microwave, stirring between each burst, until 75% of the chocolate is melted. Stir continuously off heat until the remaining solid chocolate melts completely, bringing the chocolate to 31C (88F) for proper tempering (this ensures the shards are crisp and glossy at room temperature). Pour the melted chocolate onto an unbleached parchment paper sheet in a thin, even 2mm layer, and let it set for 10 minutes until firm but still flexible, then break into 5cm tall pointed triangular shards for the crown.
Arrange Chocolate Crown
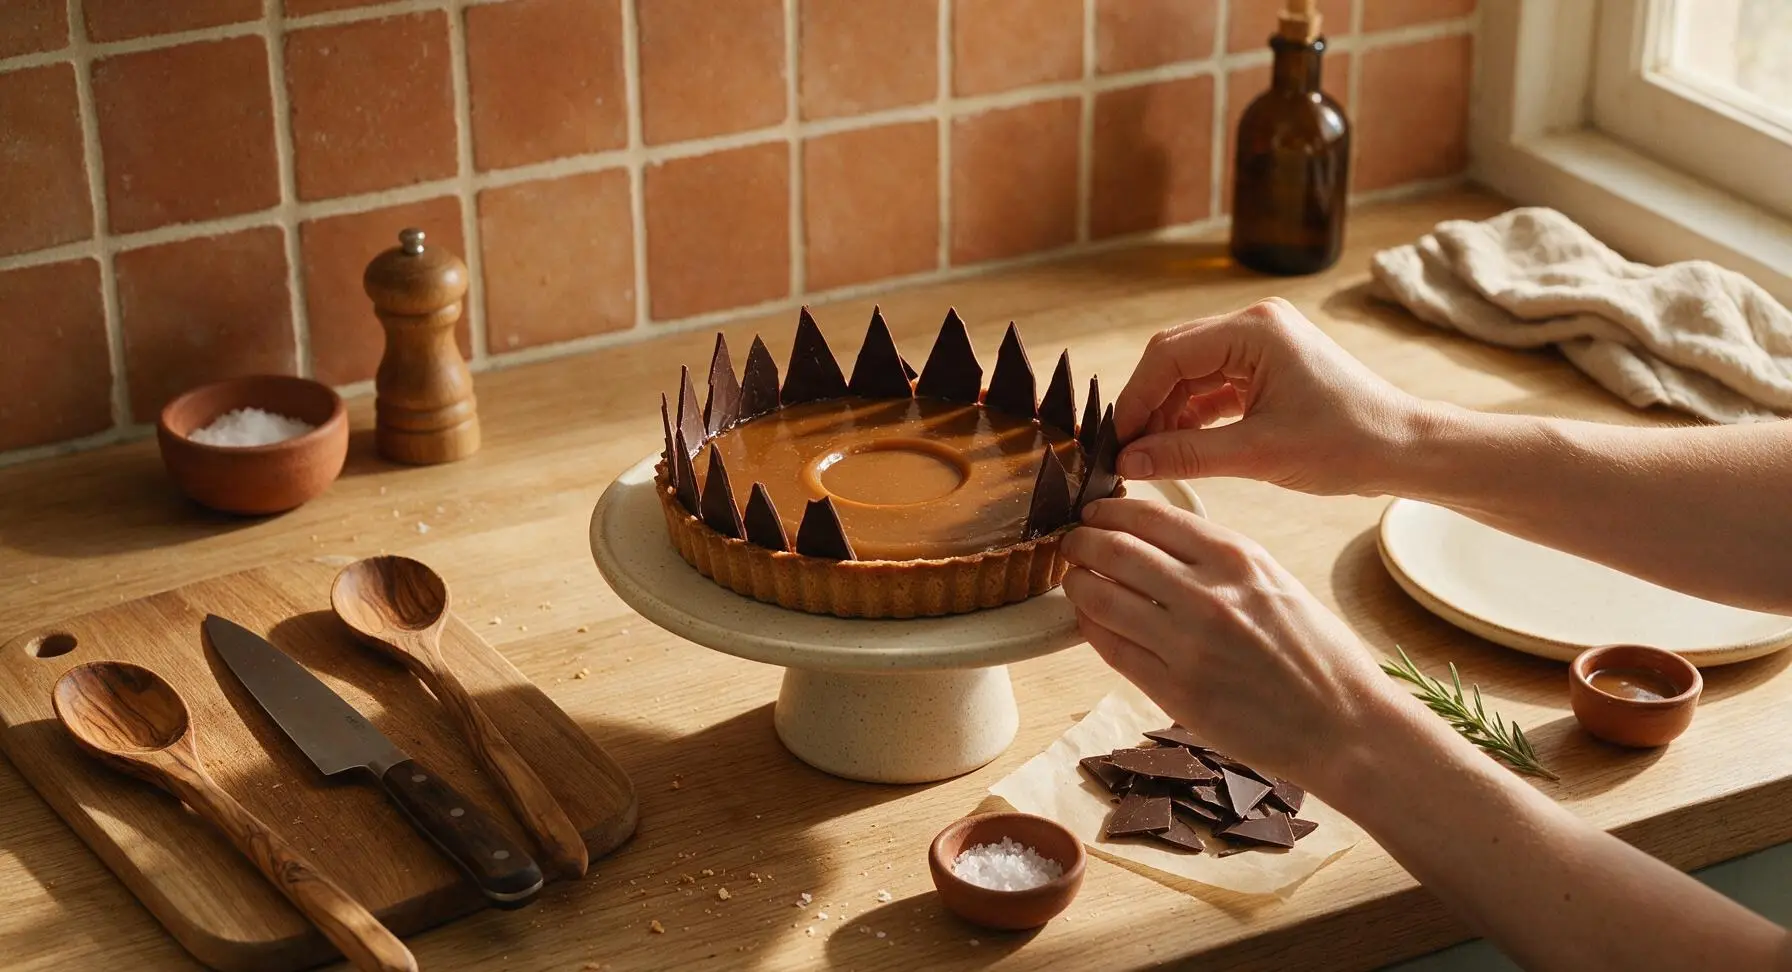
Remove the chilled caramel tart from the fridge, and lift it carefully out of the fluted tart tin onto the matte cream speckled stoneware tart stand. Arrange the tempered chocolate shards in a circular, slightly overlapping pattern around the outer edge of the caramel surface, pressing the base of each shard 5mm into the firm caramel to hold it upright, creating a jagged, crown-like ring. Leave a 5cm wide circle of smooth exposed caramel in the center. Sprinkle the entire tart with the remaining 1 tsp flaky sea salt, focusing lightly on the exposed caramel center. Chill for 10 more minutes to set the shards firmly in place before serving.
Tips
2.Avoid stirring melting sugar too vigorously as it caramelizes: aggressive stirring can fling sugar crystals onto the pan sides, which can fall back into the caramel and cause graininess. If you see crystals forming on the pan sides, brush them down with a wet pastry brush to dissolve them.
3.Ensure the caramel is fully firm (no indentation when pressed lightly with a finger) before adding chocolate shards: soft caramel will not hold the shards upright, causing the crown to slip and collapse. For clean, neat slices, dip your knife in hot water and wipe it dry between each cut.






OMG this Salted Caramel Crown was the star of my neighborhood potluck last weekend! Everyone was begging for the recipe, I can’t believe it only took 30 minutes to throw together even with the medium skill level. SO good, the salt cuts the caramel sweetness perfectly.
My kids went absolutely crazy for this! I was worried the medium difficulty would mean I messed it up, but the steps were super straightforward. We had it after our Sunday family dinner and even my picky 7 year old asked for a second slice.
Took this to my office happy hour and it was gone in 10 minutes flat. The salted caramel layer is chef’s kiss, not too cloying, the crumble on top has the perfect crunch. Will absolutely be making this again for our next team gathering.
Wait, has anyone tried making this with homemade caramel instead of store-bought? I usually make my own caramel for desserts and curious if the ratios hold up. The recipe as written is amazing, just want to tweak for my weekend bake.
Game. Changer. I’ve made so many salted caramel desserts that come out too sweet or too soggy, but this crown holds its texture perfectly even the day after baking. Brought it to a friend’s birthday brunch and everyone raved.
I was skeptical a medium-difficulty dessert would come out right on my first try, but wow. The caramel sets perfectly, the crust is buttery, the flaky salt on top hits every single time. Made it for my partner’s birthday and he said it’s better than the bakery version we paid $40 for last year.
This tasted amazing, but I will say I struggled a little with getting the caramel to spread evenly over the base, it kept clumping up on me. Ended up with a slightly lumpy top but the flavor was still 10/10, just wish I had an extra tip for that part!
Made this for my church potluck last Sunday and I swear three people asked me to make it for their holiday parties this year. It’s so pretty when it comes out of the pan, looks like you spent hours on it even though it’s only 30 minutes of cook time. Absolute win.
My dorm friends and I made this for our floor’s dessert night and it was such a hit! We didn’t have fancy flaky sea salt so we used regular table salt and it still slapped, 10/10 would make again even with our tiny dorm kitchen setup.
I cut the sugar a tiny bit to fit my lower-sugar diet and it still came out incredible! The buttery crust and salty caramel balance is so good I didn’t even miss the extra sugar. Great recipe to tweak for different dietary needs without ruining the whole thing, and it holds up so well it’s perfect for meal prep dessert portions all week!
Took me a couple extra minutes to get the layers right because I’m a total chaos cook, but man, this Salted Caramel Crown is worth every second. The crust is crumbly but not too dry, the caramel is chewy but not sticky, the salt on top is the perfect finish.
I added a tiny splash of cold brew to the caramel layer because I love coffee with caramel, and it was *chef’s kiss*. The base recipe is so solid it’s easy to add little tweaks without messing it up, I’ll be experimenting with different add-ins for months.
Made this after our weekend brisket cookout and it was the perfect sweet finish to all the savory food. Even my husband who ‘doesn’t like sweet stuff’ ate two slices. The salt level is exactly right to cut through all the rich caramel, no cloying aftertaste at all.
I was worried the medium difficulty meant I’d have a kitchen disaster, but the instructions are so clear I pulled it off on the first try! The crown shape came out so pretty I almost didn’t want to cut into it, but once I did the whole pan was gone in 15 minutes at my book club.