
Scones

intro
Buttery, flaky traditional British scones with crisp golden edges and soft pillowy centers, perfect served warm with clotted cream and jam for afternoon tea.
Ingredients
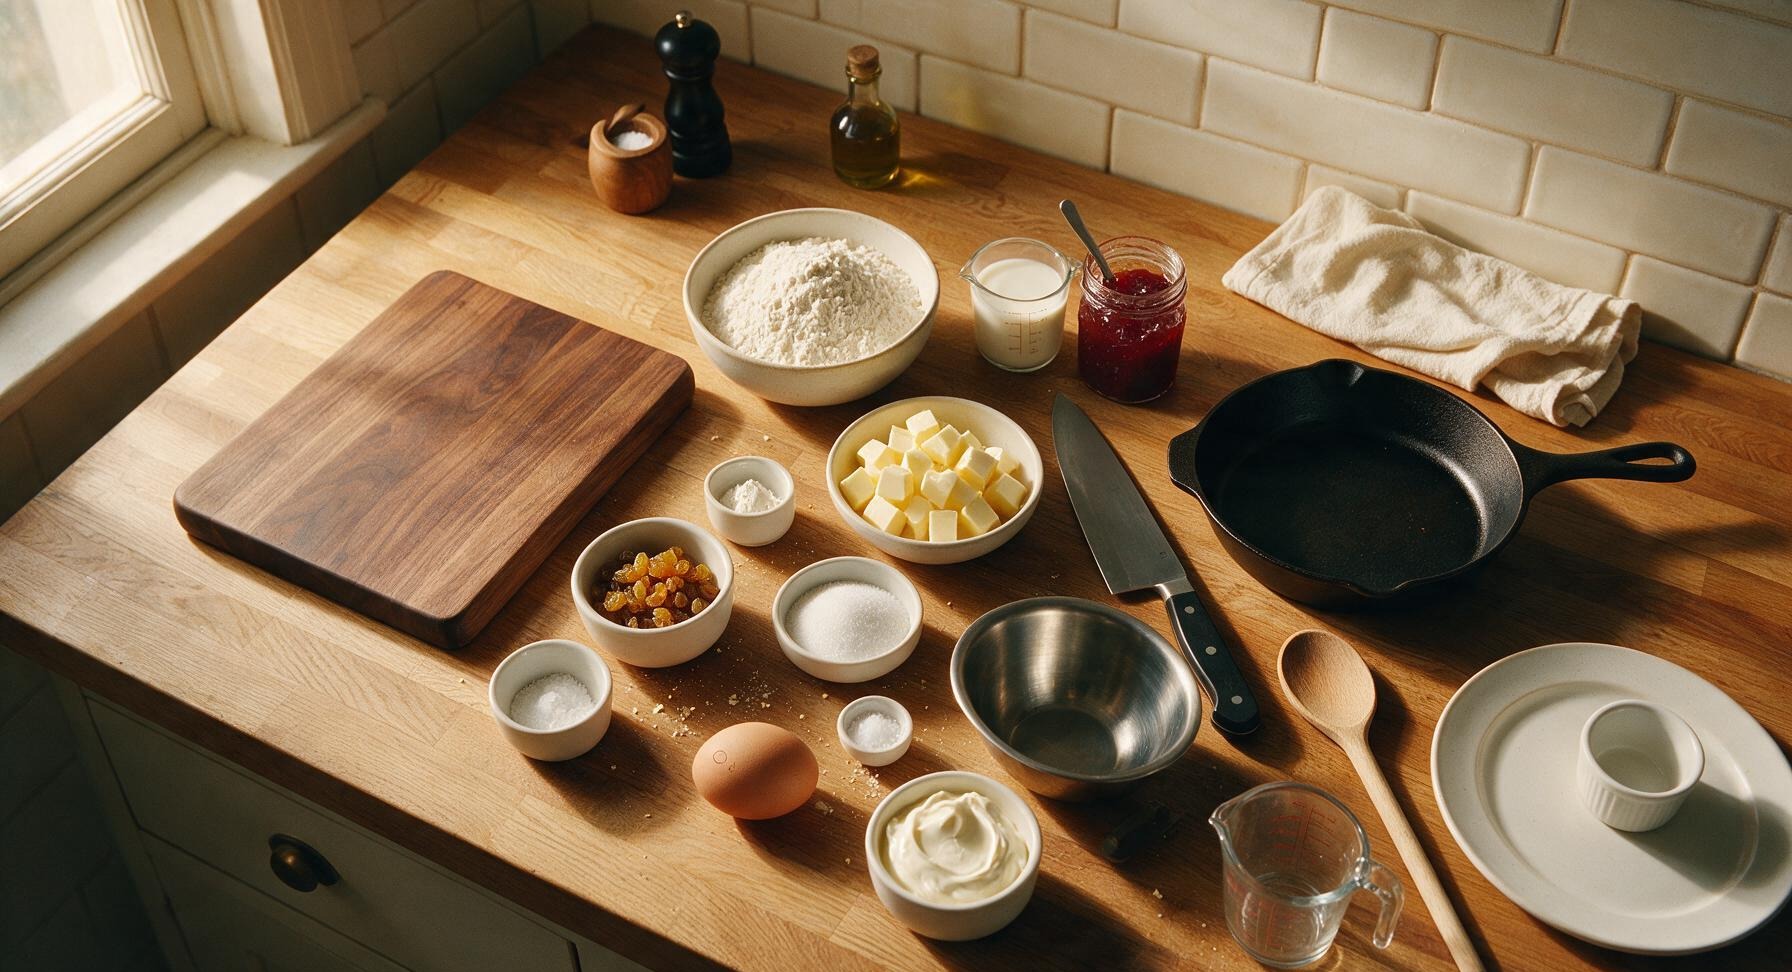
Steps
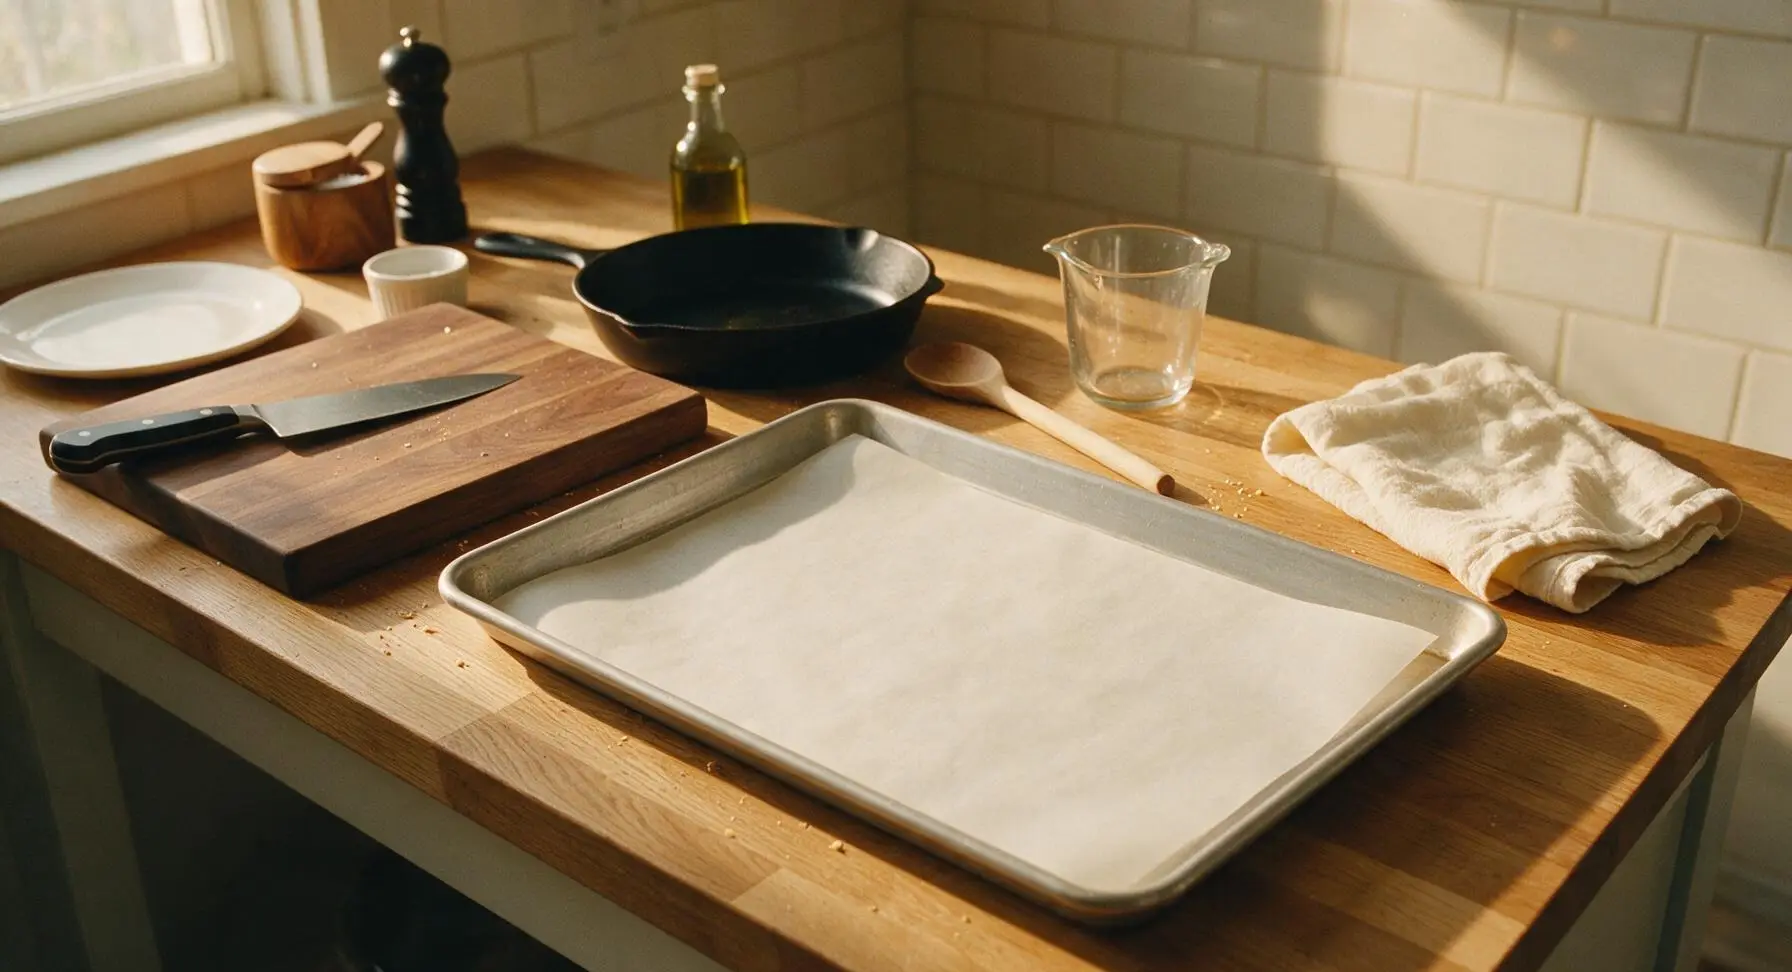
Preheat Oven and Prep Pan
Preheat your oven to 220°C (425°F) with a rack positioned in the center. Line the heavy-gauge aluminum baking sheet with the unbleached parchment paper, smoothing out any wrinkles so the paper lies flat against the pan. Set the prepared pan aside near the back of the counter, leaving the central work space clear for mixing.
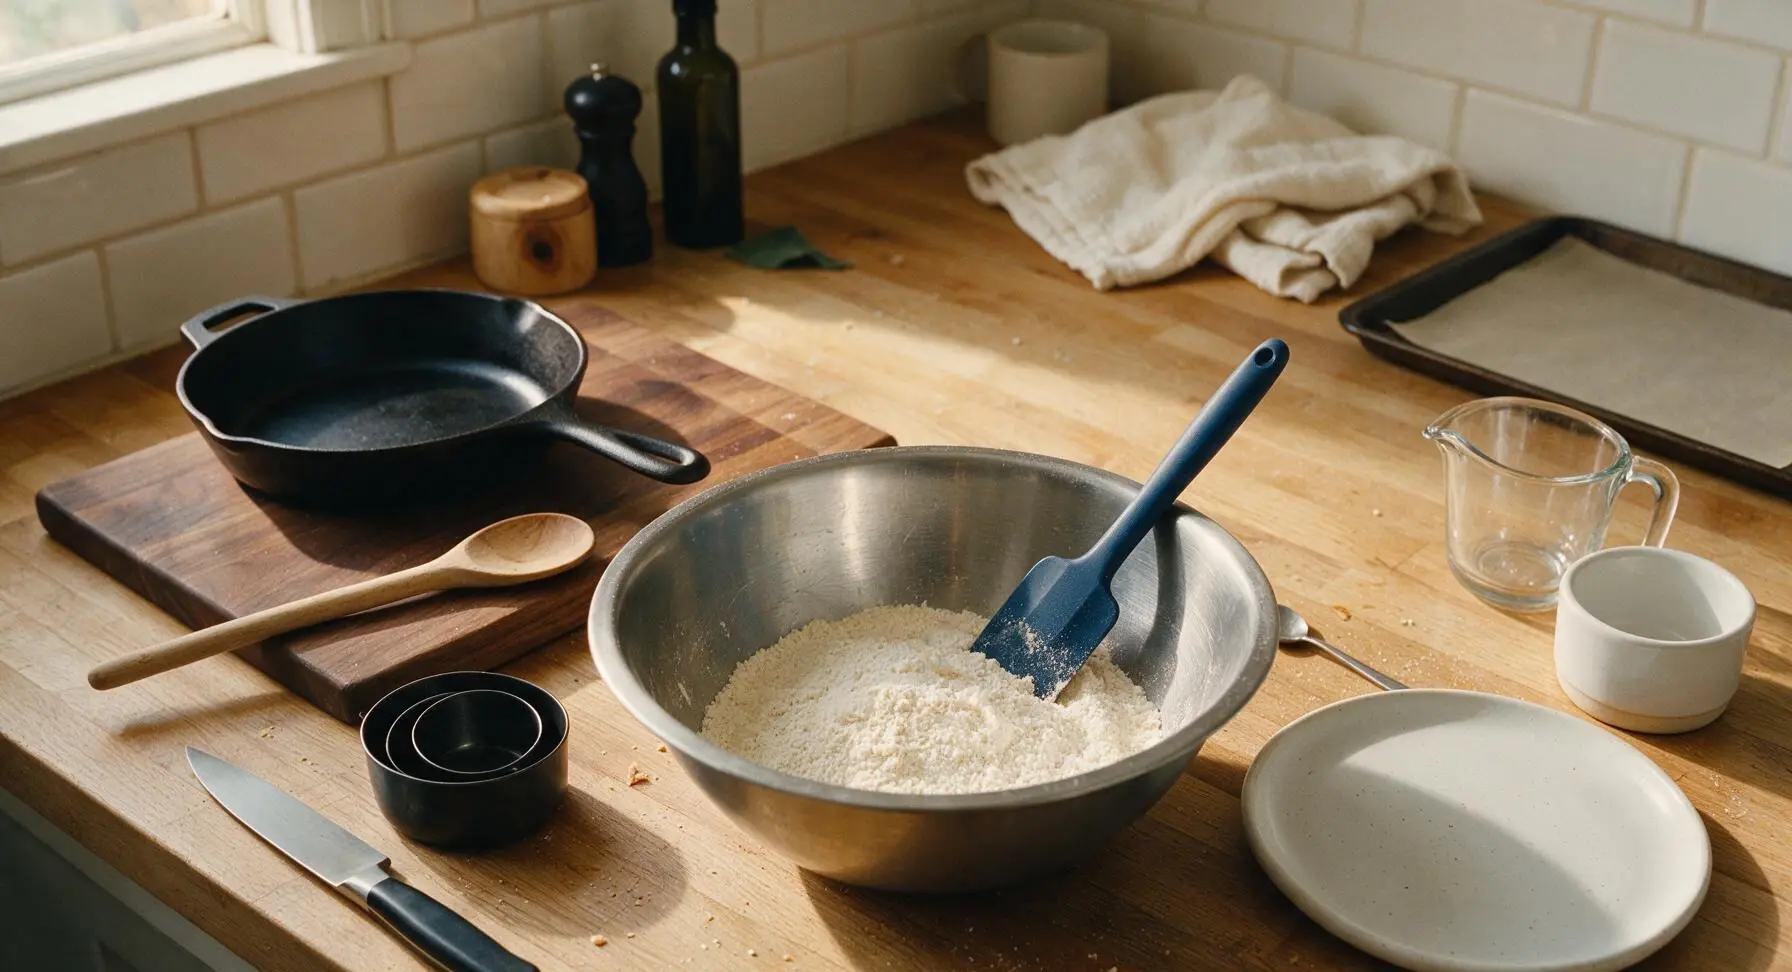
Combine Dry Ingredients
Add 350g all-purpose flour, 3 tsp baking powder, 1/2 tsp fine sea salt, and 50g caster sugar to the large brushed stainless steel mixing bowl. Use the matte navy silicone spatula to stir the ingredients for 30 seconds until fully combined, with no visible clumps of baking powder. If using golden raisins, stir them into the dry mix now to ensure even distribution.
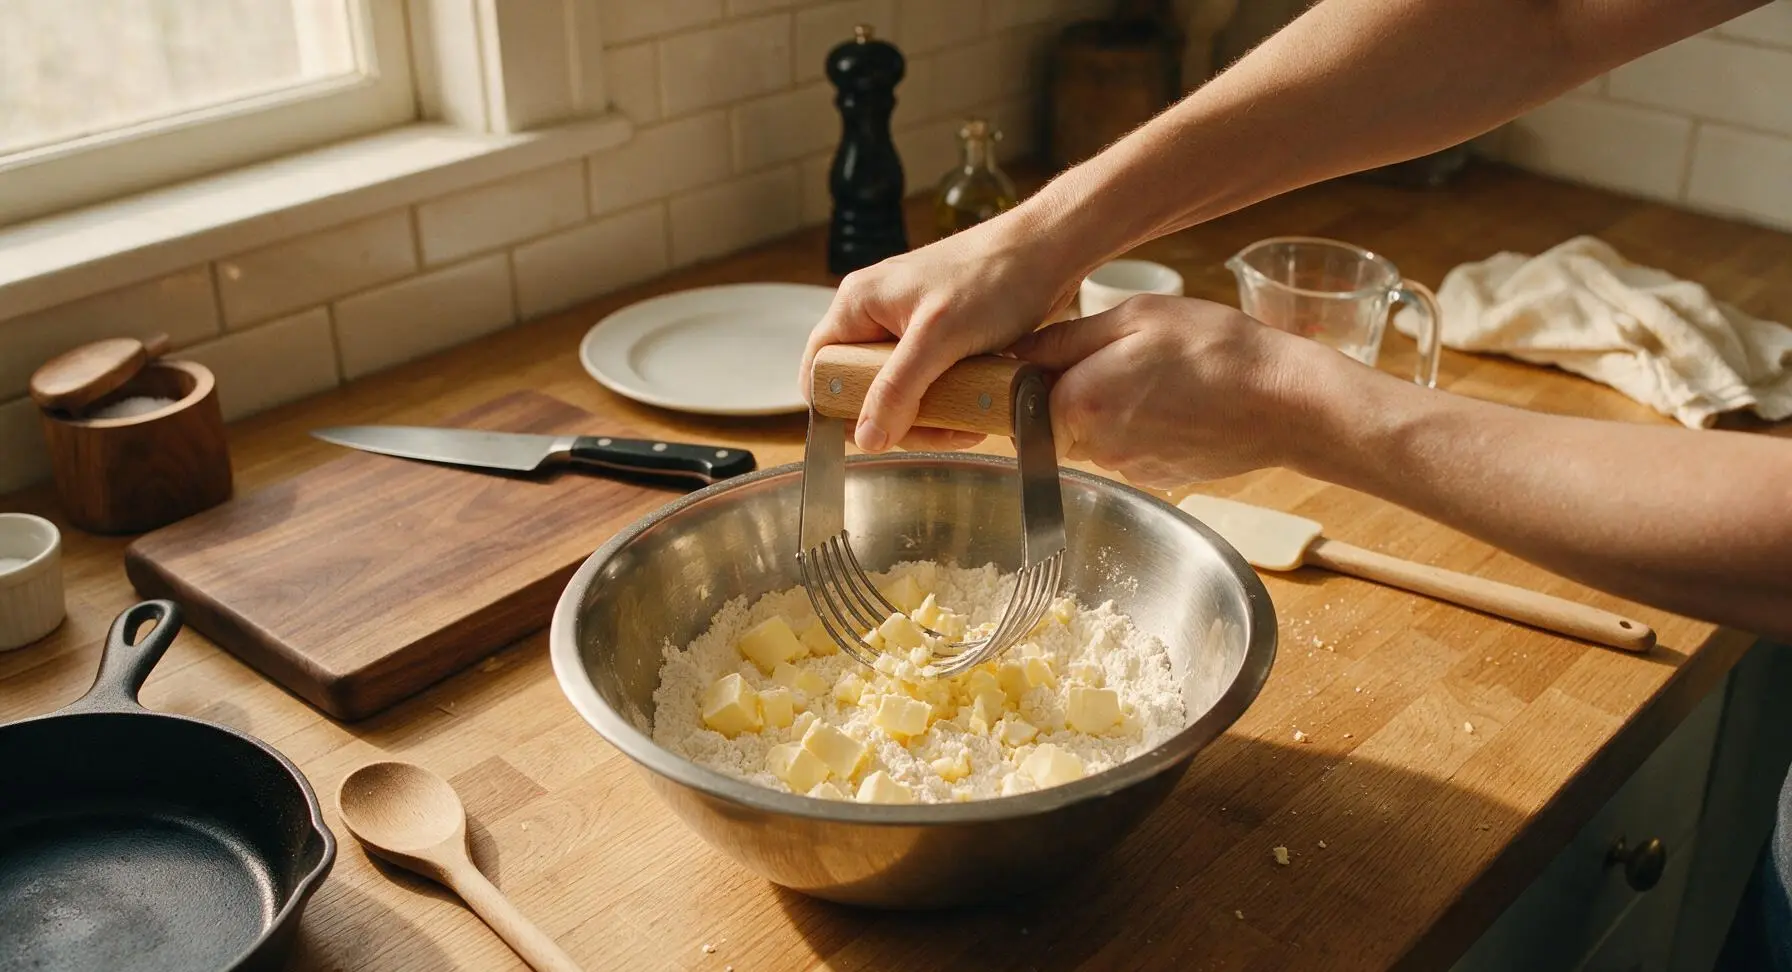
Cut in Cold Butter
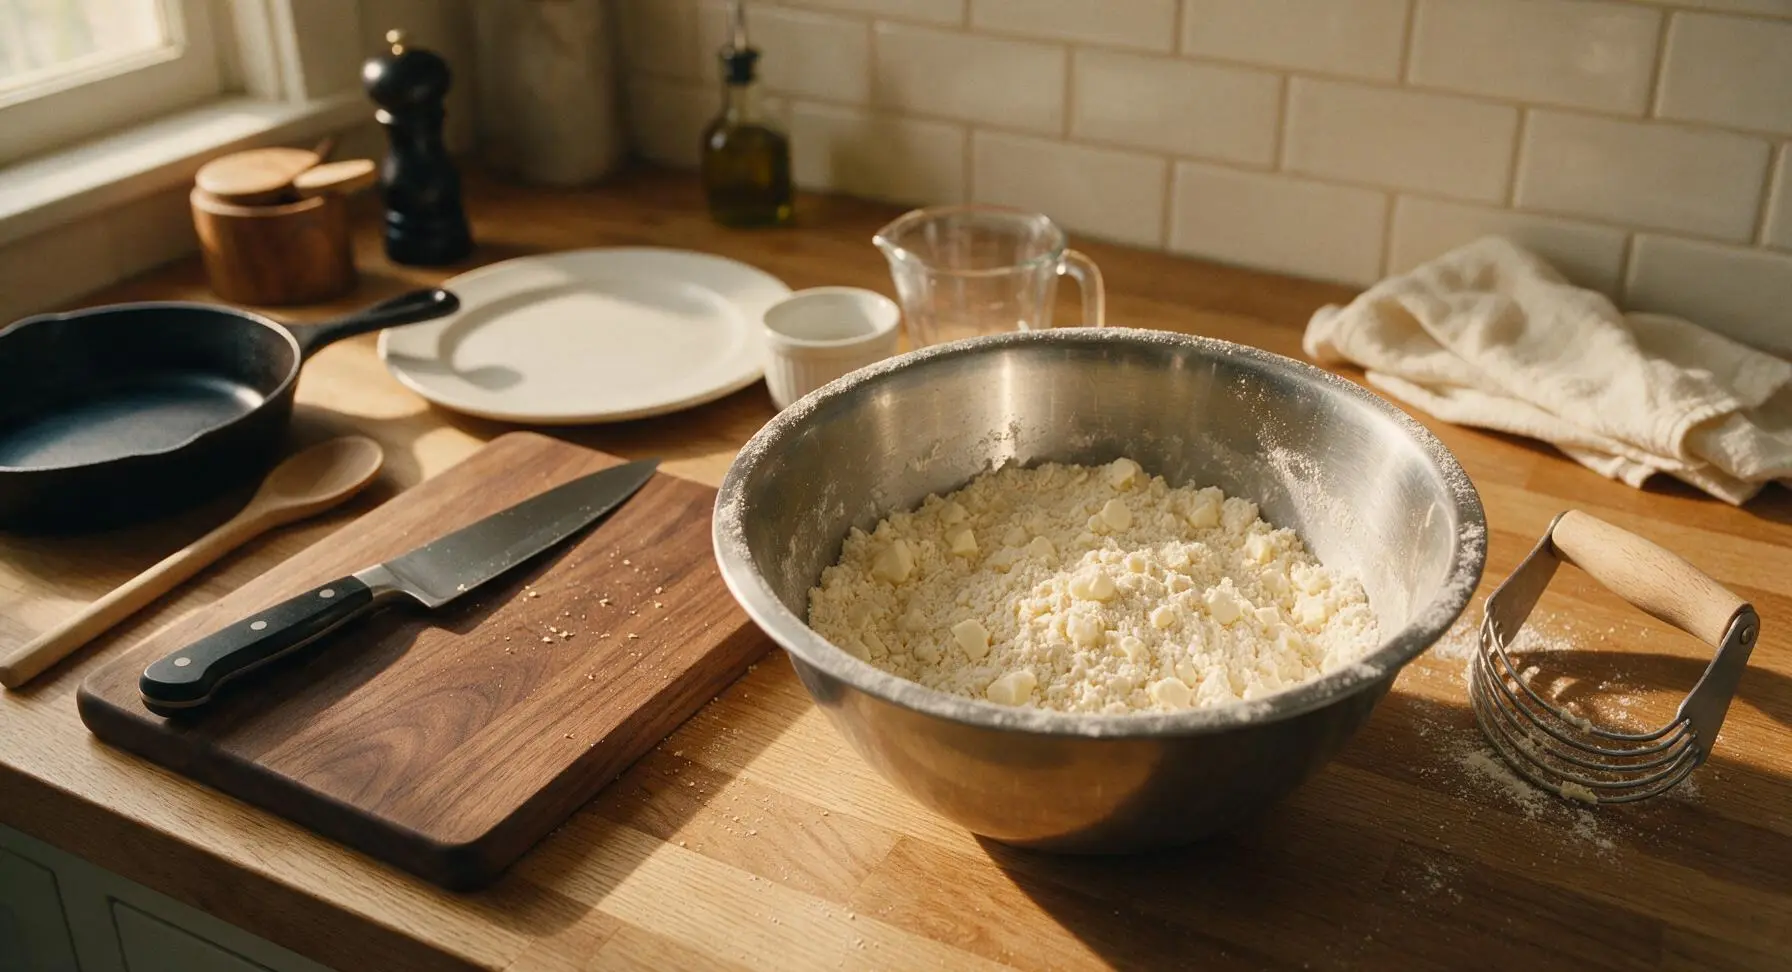
Add the 100g of cold, 1cm-cubed unsalted butter to the dry ingredient mix. Grip the beech-handle pastry blender, pressing the wire blades down through the butter and flour repeatedly to cut the butter into smaller pieces. Continue for 2-3 minutes until the mixture resembles coarse breadcrumbs, with a few pea-sized butter pieces remaining – these larger pieces create flaky layers, so do not overmix into a smooth paste.
Mix to Form Dough
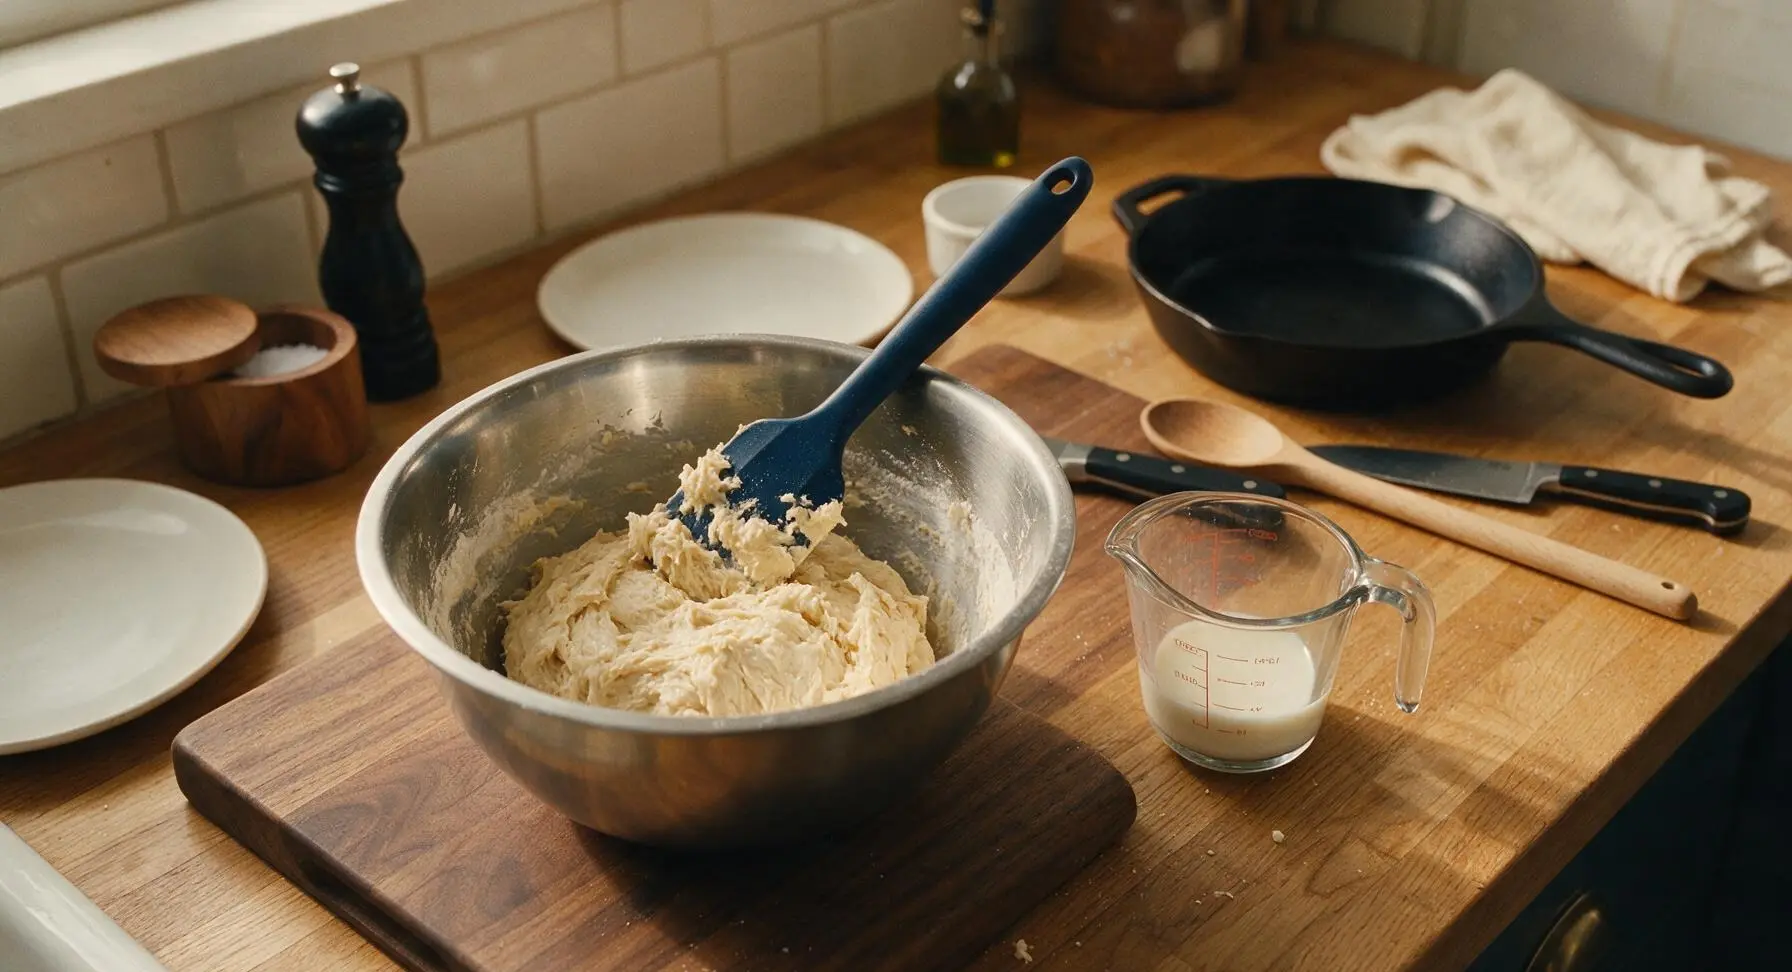
Make a small well in the center of the flour-butter crumb mix. Pour 150ml cold whole milk into the well, reserving 1 tbsp of milk to mix with the egg for wash. Use the navy silicone spatula to gently stir the milk into the dry ingredients, folding from the bottom of the bowl upward, until just combined. Stop stirring as soon as no dry flour remains at the bottom of the bowl – overmixing will develop gluten and create tough scones. The finished dough will be shaggy and slightly sticky, not smooth.
Roll and Cut Dough
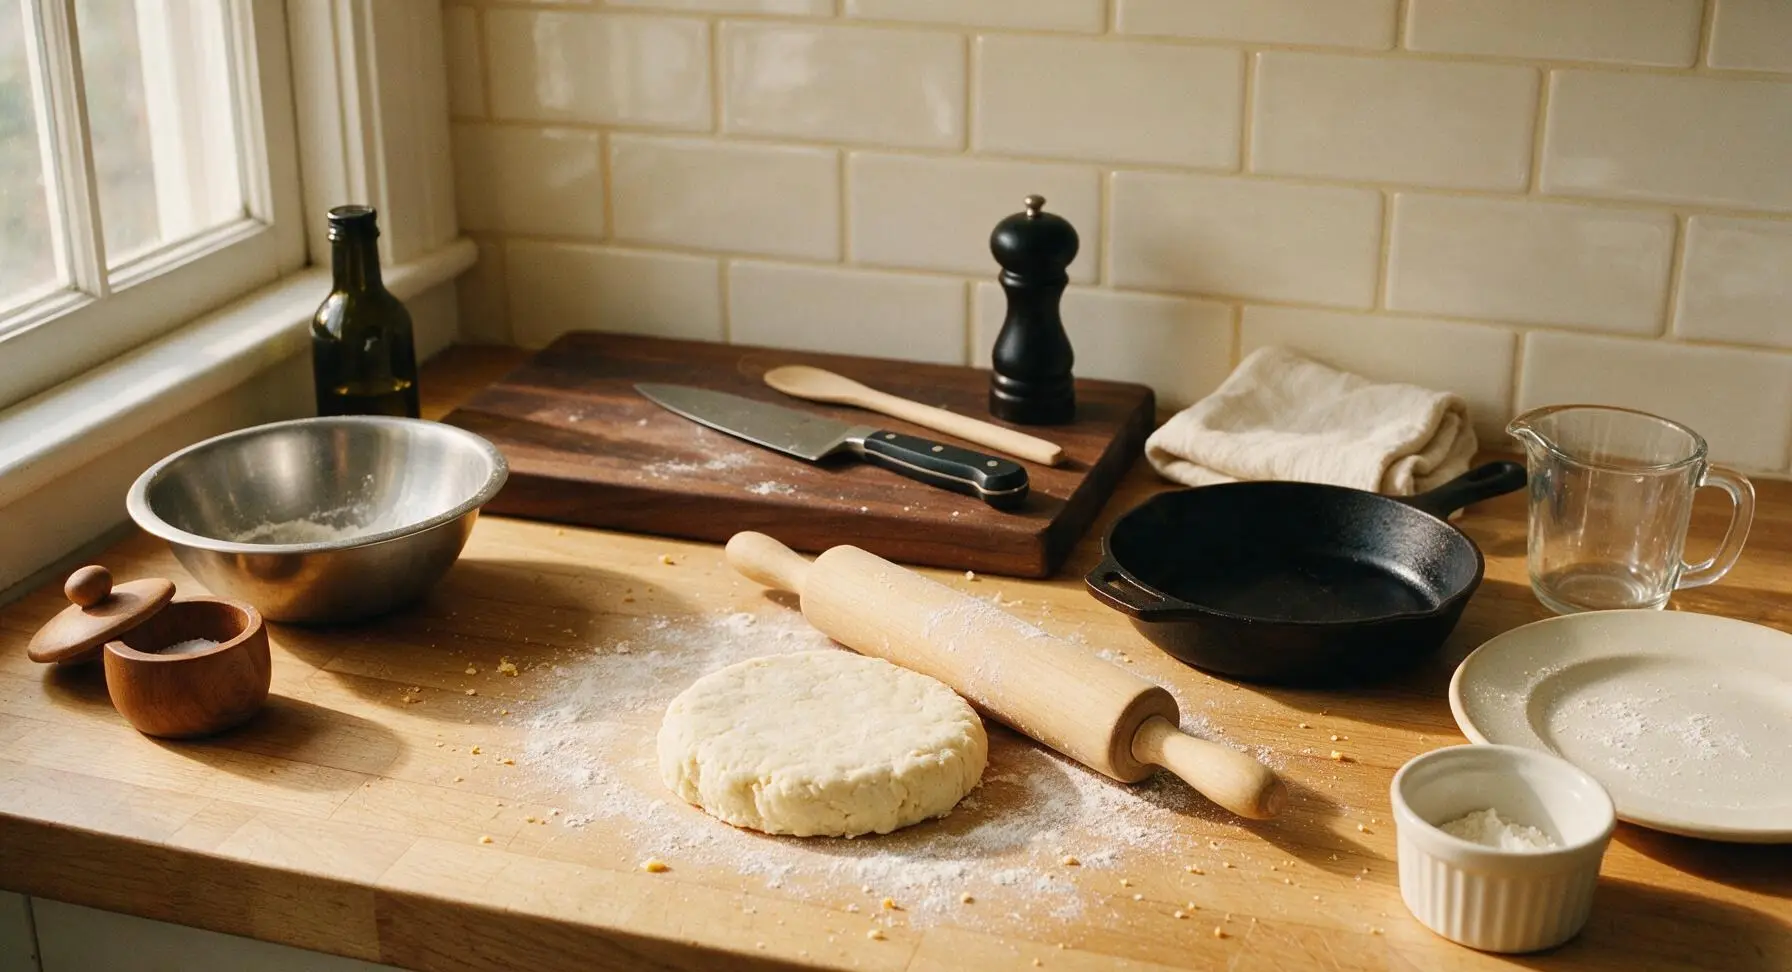
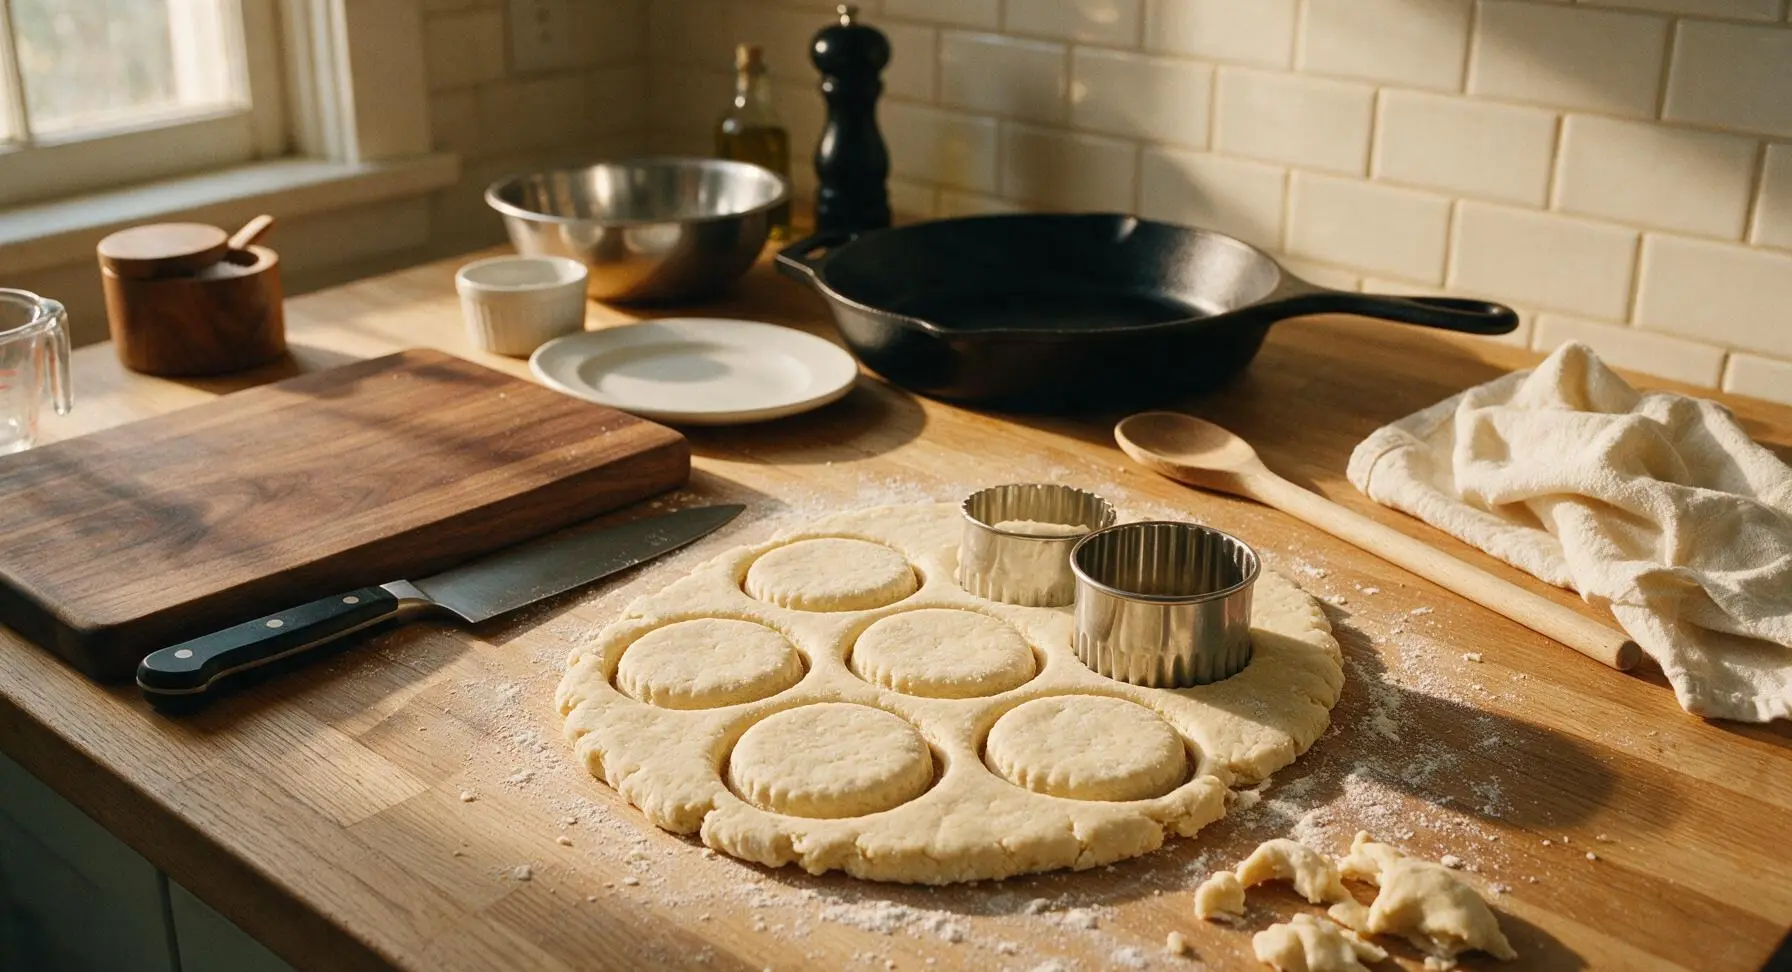
Lightly dust a small section of the clean central countertop with a pinch of flour. Turn the shaggy dough out onto the floured surface, and use your hands to gently pat it into a 2.5cm thick round disc – do not knead the dough. Use the large light oak rolling pin to very gently roll the disc to an even 2.5cm thickness, applying minimal pressure to avoid compressing the butter layers. Dip the 6cm fluted stainless steel biscuit cutter in flour, then press straight down through the dough without twisting to cut out round scones. Gather leftover dough scraps, pat gently back to 2.5cm thickness, and cut additional scones until all dough is used, yielding 8 total scones.
Brush with Egg Wash
Arrange the cut scones 2cm apart on the parchment-lined baking sheet. In the small 10cm off-white ceramic dish, beat the 1 whole egg together with the reserved 1 tbsp of cold milk until smooth. Use the boar-bristle pastry brush to lightly brush the top surface of each scone with the egg wash, taking care not to let the wash drip down the sides (this can prevent even rising). Do not brush the cut edges of the scones, as this will seal them and reduce lift during baking.
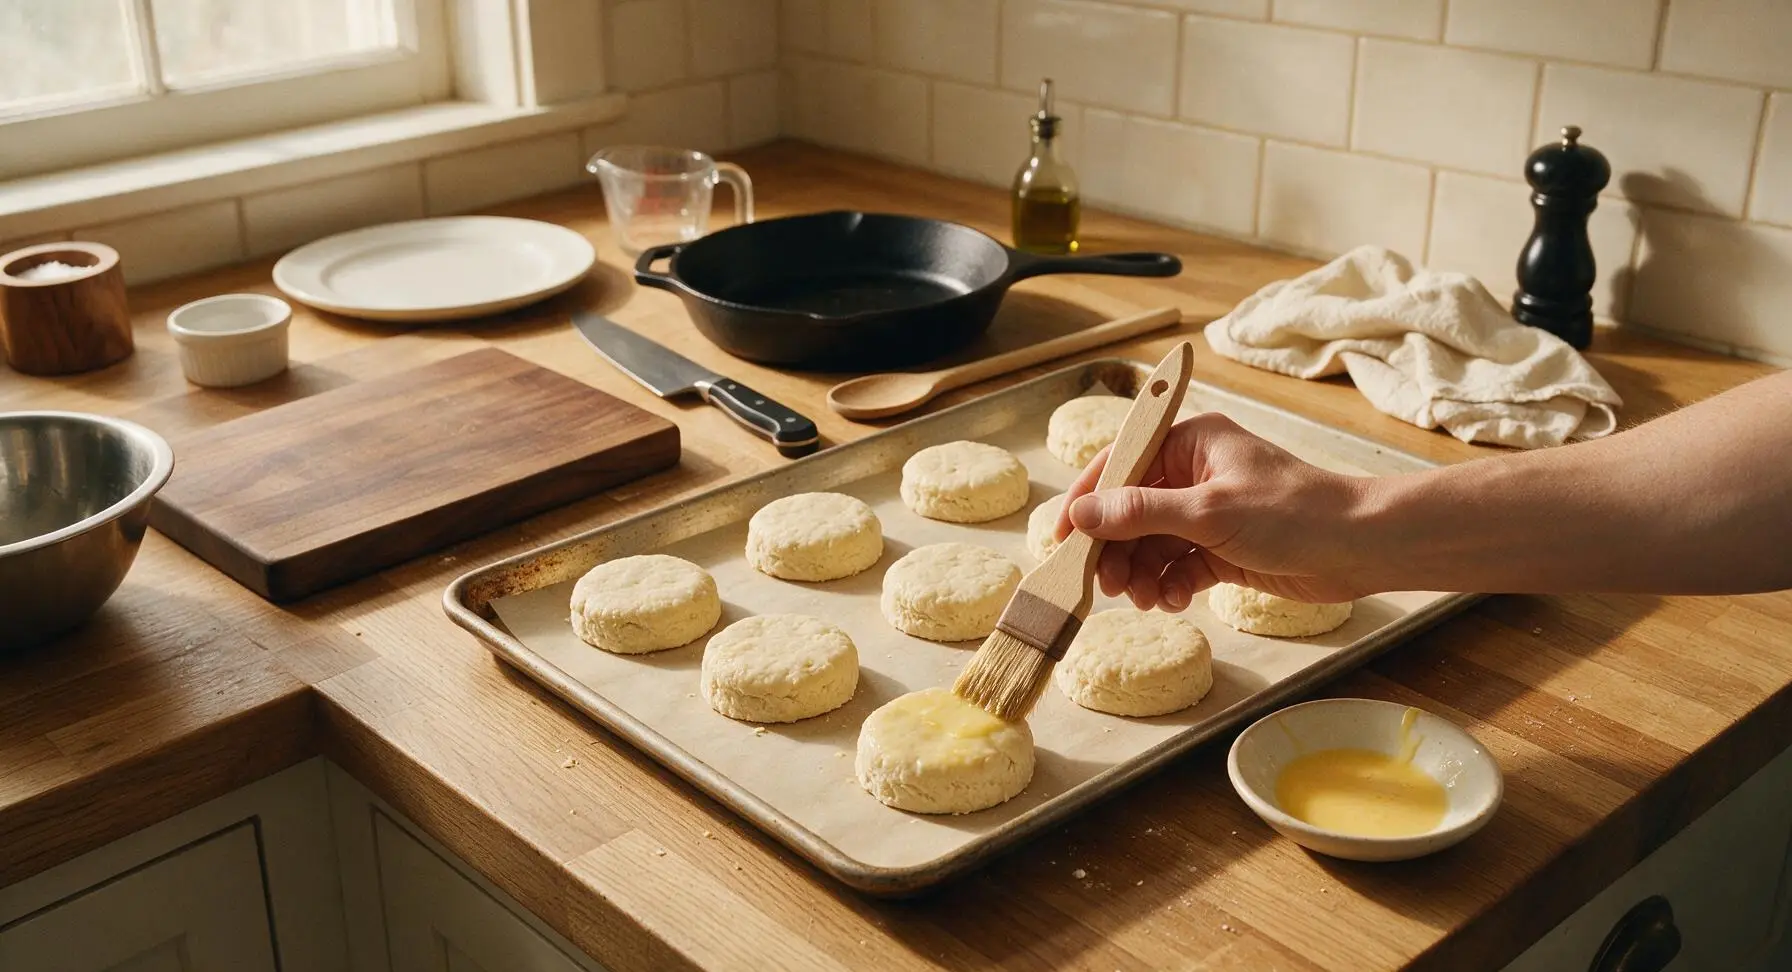
Bake Until Golden
Place the baking sheet on the center rack of the preheated 220°C (425°F) oven. Bake for 10-12 minutes, until the scones are deep golden brown on top, with crisp edges, and have doubled in height. Avoid opening the oven door for the first 8 minutes of baking, as sudden temperature drops can cause scones to collapse. Fully baked scones will sound slightly hollow when tapped gently on the bottom.
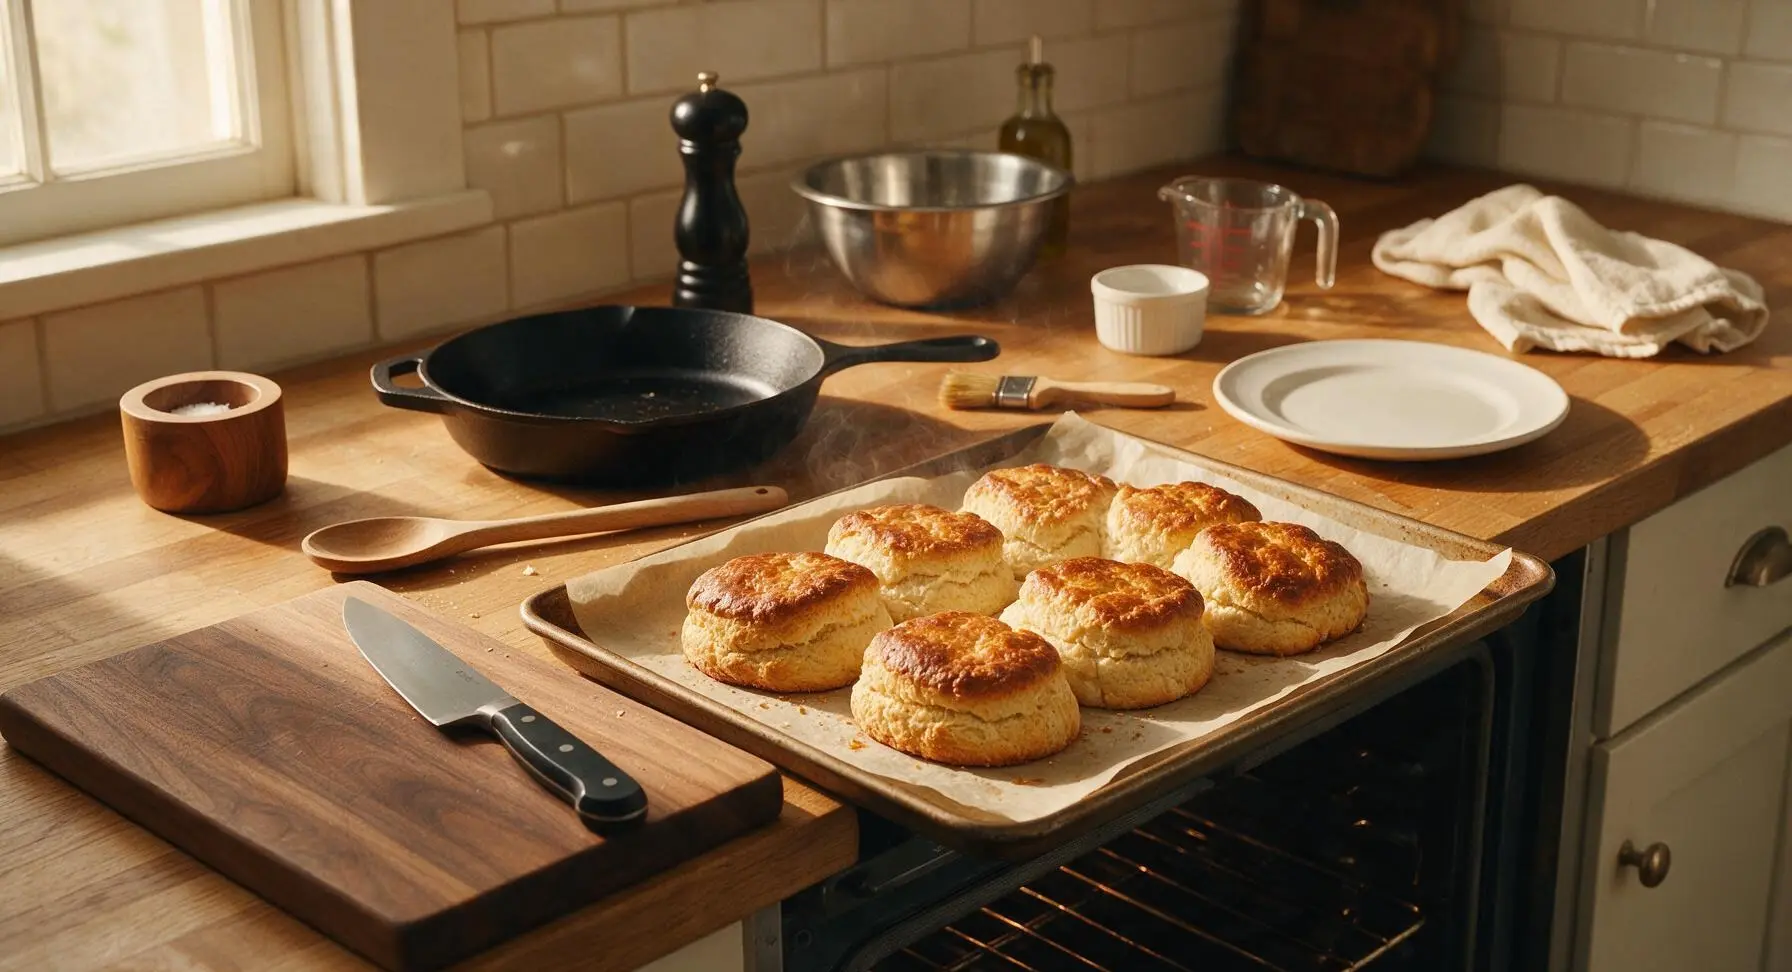
Cool Scones Before Serving
Use the silicone spatula to transfer the hot baked scones from the baking sheet to the chrome wire cooling rack. Let them cool for 3-5 minutes – scones are best served warm, not piping hot, so clotted cream does not melt completely when spread. Do not let them cool fully, as the soft, tender interior will firm up as they sit.
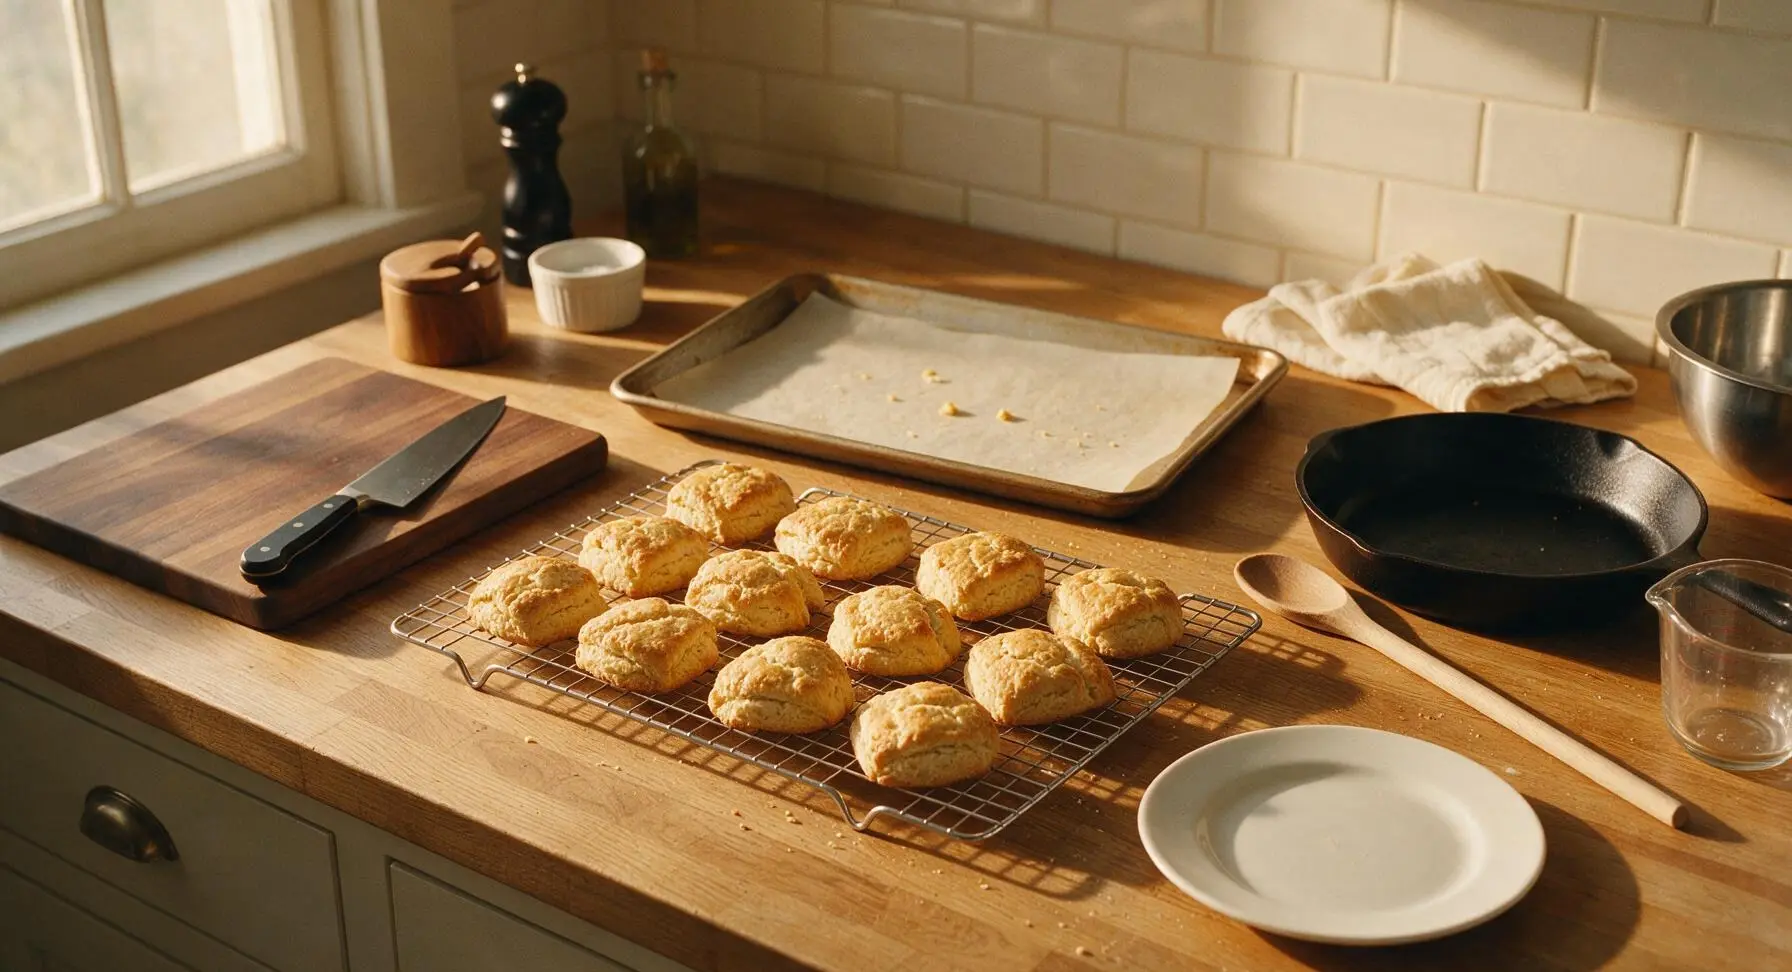
Tips
2.Never twist the biscuit cutter when pressing down to cut scones. Twisting seals the soft cut edges of the dough, preventing the scones from rising straight up in the oven, leading to lopsided, short scones instead of tall, evenly puffed ones with crisp sides.
3.Resist the urge to overmix or knead the scone dough. Overworking the dough develops gluten in the flour, which creates tough, bread-like scones instead of the tender, crumbly, melt-in-your-mouth texture classic to British scones; stop mixing as soon as no dry flour remains visible.






OMG these came out SO flaky and perfect! I made them for my book club potluck yesterday and everyone asked for the recipe. I added a handful of raisins like my grandma used to and they were chef’s kiss. 12 minute cook time is no joke, I was shocked how fast they were done!
Tried these for Sunday brunch with the kids, they went nuts for them slathered in strawberry jam and clotted cream. Only reason I knocked a star is I overworked the dough the first batch so they came out a little tough, second batch was perfect though. Super easy recipe even for a guy who mostly grills!
Game changer for my weekly meal prep! I make a batch on Sunday, split them and freeze them, then pop one in the toaster on busy weekday mornings. Way better than the overpriced scones at the campus coffee shop, and so cheap to make!
I love the base of this recipe, but when I tried making it with random gluten free flour I had in my pantry they turned out super dense, so 3 stars for my first go. Has anyone tried making these with a good 1:1 gluten free flour blend? I want to make them for my sister who has celiac when she visits next weekend, and I don’t want to mess it up again!
Brought these to my office potluck last week and they were gone in 10 minutes! People kept saying they tasted just like the scones we had on our London trip a couple years ago. I served them with lemon curd and it was *chef’s kiss*.
Okay full transparency, I forgot to add sugar the first time I made these (total user error, I know) so they were a little less sweet than I expected, hence 4 stars! But they were still really good? How is that possible? The texture was perfect, I just ate them with extra jam and didn’t even miss the sugar lmao. Definitely making these again, this time with the sugar though, promise.
SO good. I’ve tried like 4 different scone recipes over the last year and this is the only one that doesn’t come out dry or too dense. The tip about using frozen grated butter is a total game changer, I’ll never go back to cutting butter in with a pastry cutter again.
Hmm, mine spread way too much in the oven and came out flat, almost like cookies? I followed the recipe exactly, what did I do wrong? I used room temp butter like I do for cookies, maybe that was it?
Made these last weekend with fresh blueberries folded in and they were insane! My whole family devoured them before I even got a chance to take a photo for Instagram. Has anyone tried adding chocolate chips? I bet that would be amazing for the kids’ after school snack.
Made a batch of these to take on our day hike last weekend and they were the perfect trail snack! Not too sweet, super filling, held up great in my backpack even when it was 80 degrees out. Way better than packing granola bars for once.
These scones are absolutely delicious, 9/10! Only knocking a star because I wish the recipe included a quick mock clotted cream recipe for those of us who can never find it at our local grocery store down here in Georgia! What do you all serve yours with if you can’t find clotted cream? I’ve been using whipped cream but it’s just not the same.
My kids loved it! I was worried they’d turn their noses up at something that wasn’t covered in sprinkles but they ate two each after school yesterday, asked if we can have them every weekend. Easy enough to make even on a busy Friday night after work, 12 minute cook time is a total win for our chaotic schedule.
I’m literally 19 and have never baked anything from scratch before in my life, and these came out perfect first try! I was so nervous I’d mess them up but the instructions are so straightforward and easy to follow. Served them with jam for my roommate’s birthday brunch and she thought I bought them from a fancy bakery!
Been making scones for 60 years and this recipe is as close to perfect as it gets! One little tip I’ve picked up over the decades: brush the tops with a little heavy cream and sprinkle with coarse sugar before baking, it gives the top that perfect crispy sweet crust everyone loves.
Made these for a coffee date with my neighbor this morning and they were great! I added a teaspoon of cinnamon to the dough because I love warm spices, and it paired so nicely with our vanilla lattes. Only thing is I wish they were a little sweeter, but that’s just my personal preference, I’ll add an extra tablespoon of sugar next time.
I cater small weddings and bridal showers for a living, and I tested this recipe last week for an upcoming British-themed tea party shower. It’s going on the menu for sure! It scales up perfectly, stays tender even when I make a big batch ahead of time, and all my taste testers gave it 10/10.
Can I cut the scones out the night before and keep them in the fridge to bake first thing in the morning? I want to make these for my wife’s birthday breakfast but I don’t want to wake up at 6am to make the dough from scratch while she’s still asleep!
Just got back from a trip to London where I ate my weight in scones, and these taste EXACTLY like the ones I had at that little tea room in Covent Garden. I was worried I wouldn’t be able to replicate them at home but this recipe is spot on. No more $12 tea room scones for me, I can make them at home for pennies!
These are super solid! I’m giving 4 stars only because I prefer a touch more salt in my baked goods, but that’s totally personal preference. Tried adding a half cup of discard sourdough starter to these last week and they were amazing! Gave them a little extra tang that cut through the butter and jam so nicely. Just cut back a tiny bit on the heavy cream to account for the extra moisture in the starter, worked like a charm.
I signed up for my first ever work potluck next week and was panicking because I can’t cook to save my life, but this recipe is so easy I know I won’t mess it up. I did a test batch last night and my roommate said they’re better than the ones at our local bakery. I feel so much less stressed about the potluck now, thank you!