
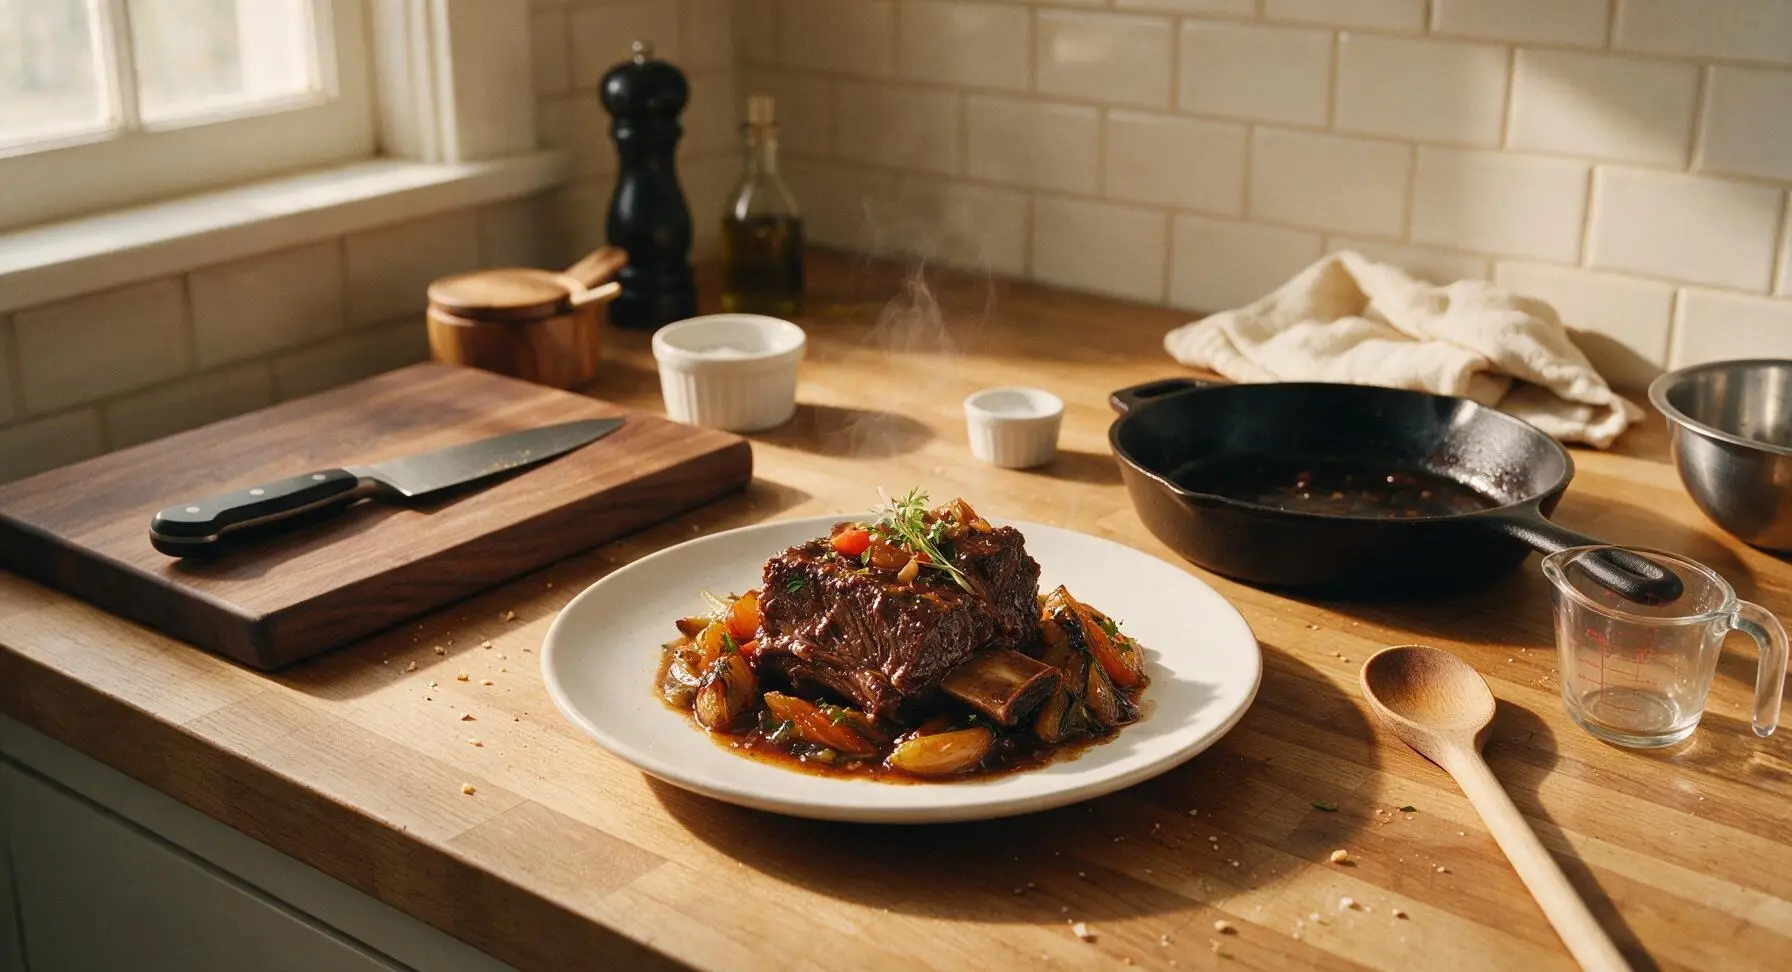
Short Ribs

title 1
Short Ribs
⏱️ cook time 3 hours
🍽️ servings 4
⚡ Difficulty medium

intro

Fall-off-the-bone red wine braised short ribs, rich with deep umami, tender vegetables, and a glossy savory sauce—pure cold-weather comfort for gathering around the table.

Ingredients
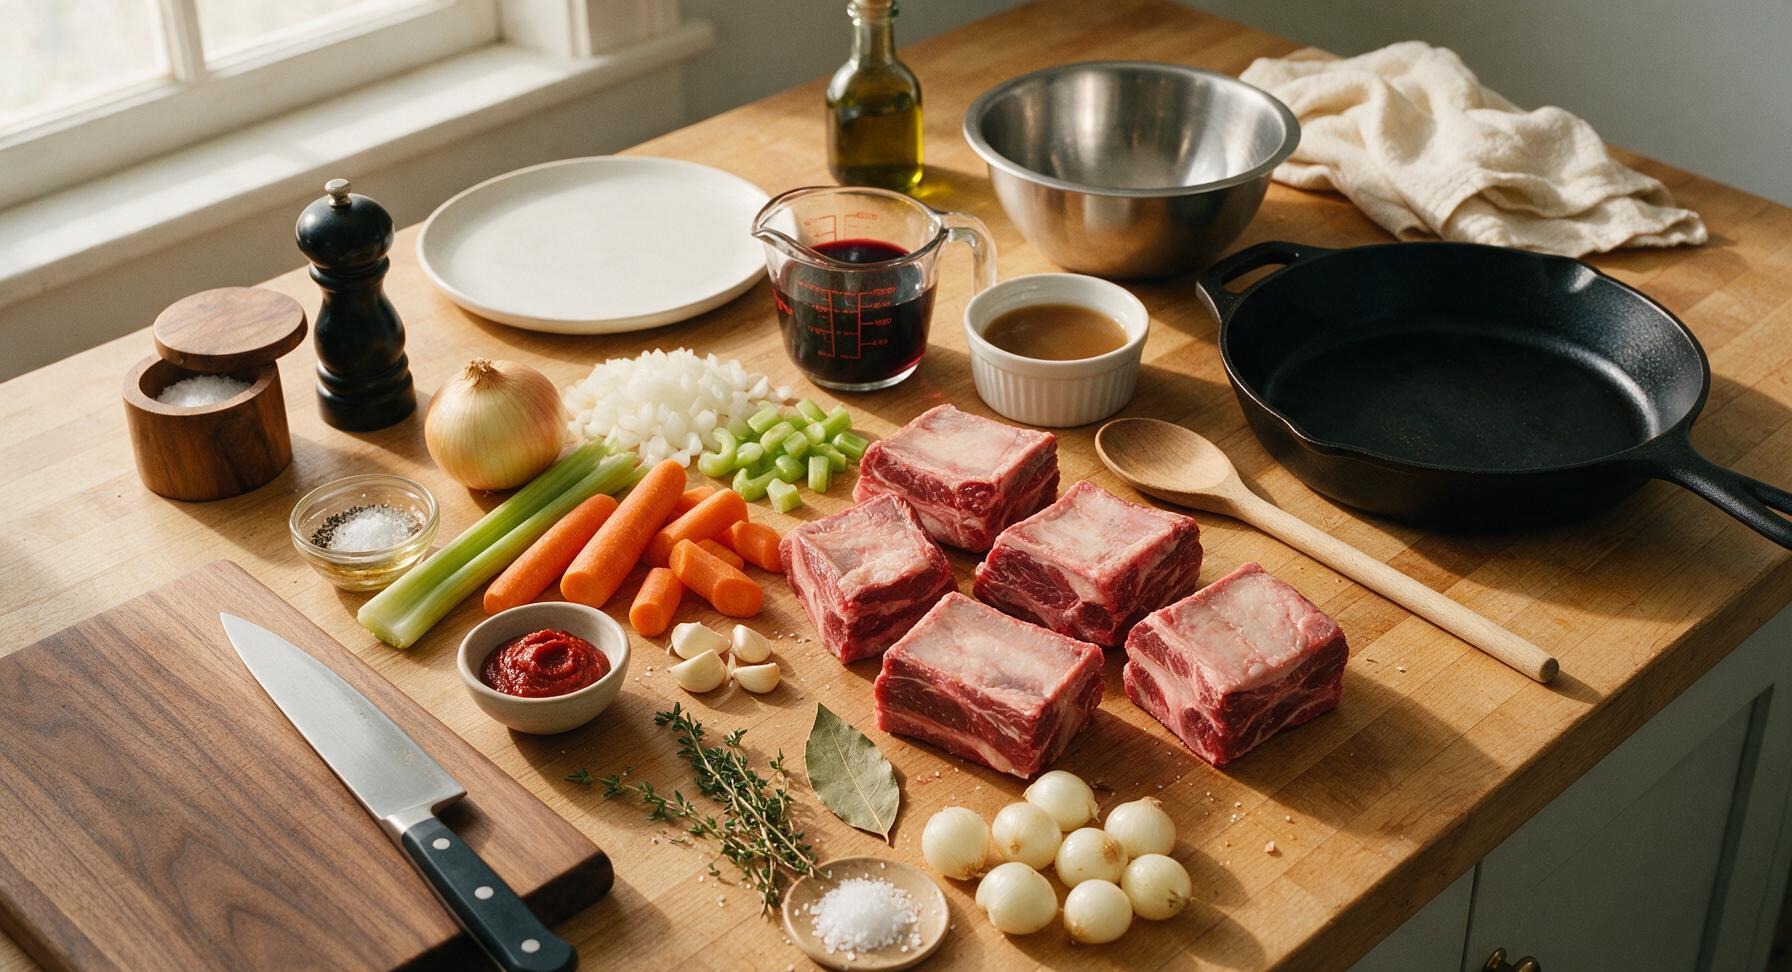
Bone-in beef short ribs 1.8kg (4 large pieces)
Kosher salt 2 tsp
Freshly ground black pepper 1 tsp
Extra-virgin olive oil 2 tbsp
Yellow onion 1 large (200g, diced)
Celery stalks 2 (120g, chopped)
Carrots 3 large (250g, cut into 4cm chunks)
Garlic cloves 4 (crushed)
Tomato paste 2 tbsp
Dry red wine (Cabernet Sauvignon or Burgundy) 240ml (1 cup)
Low-sodium beef broth 480ml (2 cups)
Fresh thyme 3 sprigs
Bay leaf 1
Pearl onions 12 (100g, peeled)
Flaky sea salt 1/4 tsp (for finishing)

Steps

1

Pat Ribs Fully Dry

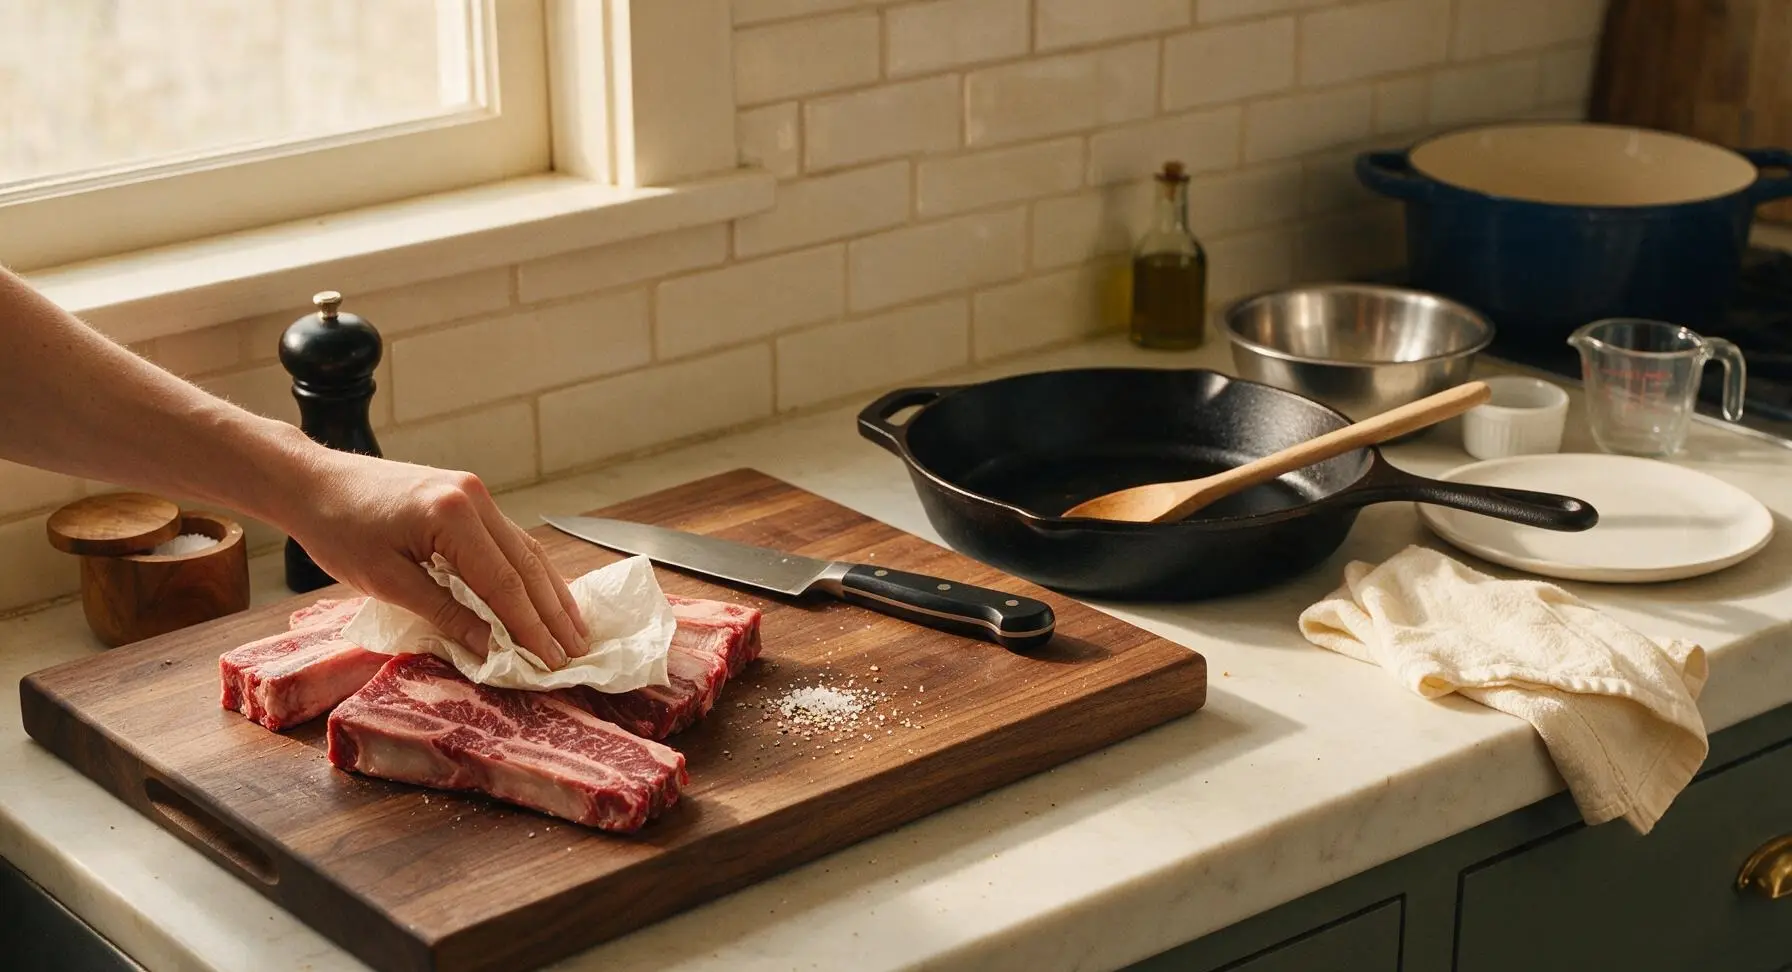
Remove short ribs from packaging, place on the walnut cutting board. Pat every surface thoroughly dry with unbleached paper towels, paying extra attention to crevices between meat and bone. Season all sides evenly with 2 teaspoons kosher salt and 1 teaspoon black pepper, pressing seasoning gently to adhere. Let rest 10 minutes at room temperature while you prep vegetables.
Step 1
step1:Pat Ribs Fully Dry
2

Sear Ribs Until Crisp

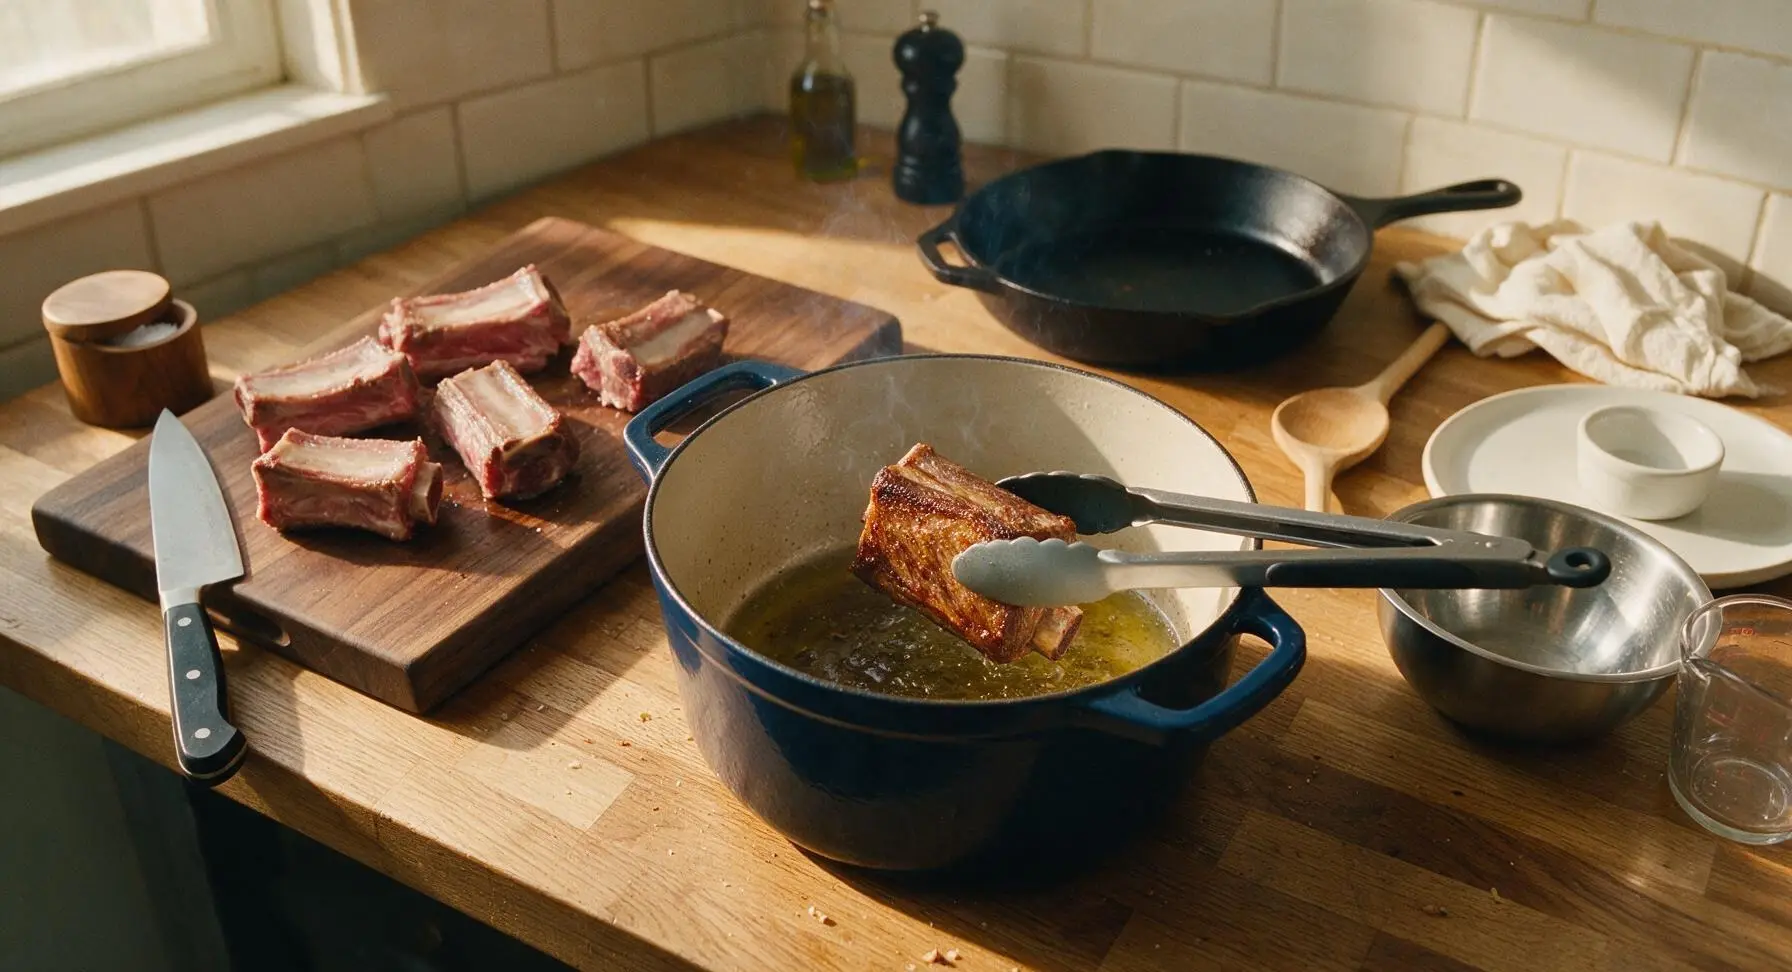
Heat 2 tablespoons olive oil in the navy enameled Dutch oven over medium-high heat until oil shimmers (around 180C/350F). Working in 2 batches to avoid crowding the pan, use silicone-tipped tongs to place ribs in the pan, searing all 4 sides for 3-4 minutes per side, until a deep, crispy mahogany crust forms on every surface. Transfer seared ribs to the medium stainless steel mixing bowl to rest.
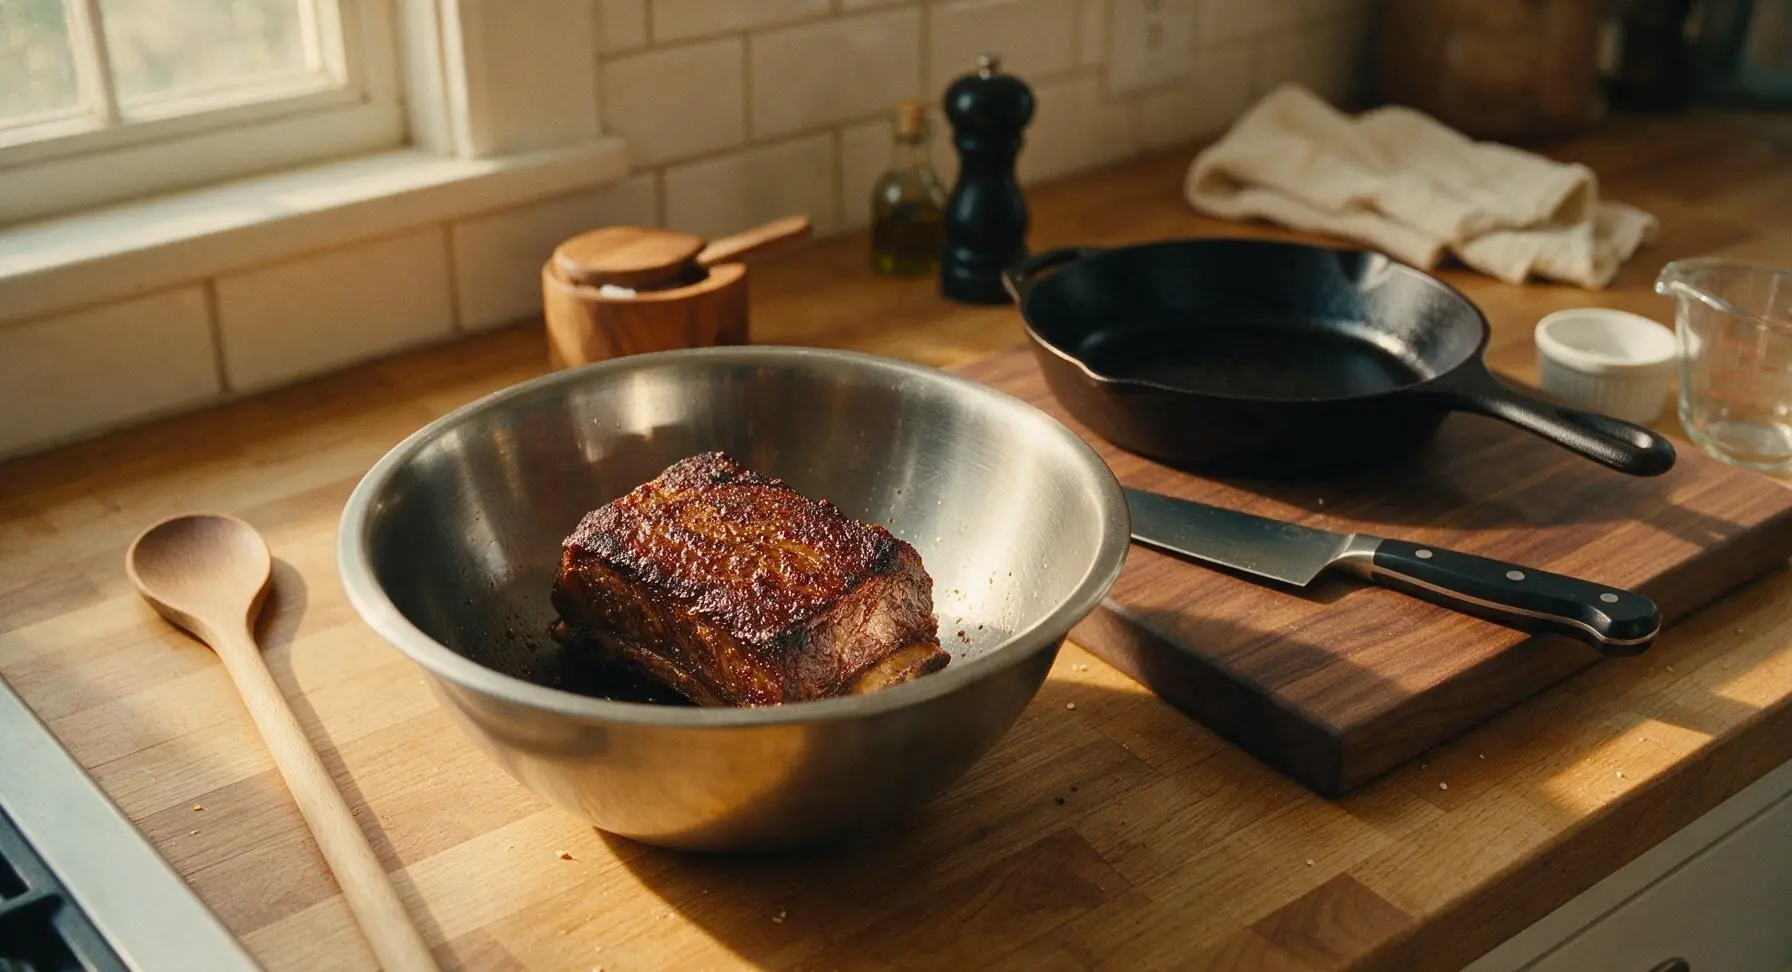
Step 2
step2:Sear Ribs Until Crisp
Step 2
step2:Sear Ribs Until Crisp
3

Sauté Mirepoix Base

Reduce heat to medium, leaving 2 tablespoons of rendered beef fat in the Dutch oven (drain excess if needed). Add diced onion, chopped celery, and carrot chunks to the pan, stirring with the beech wood spoon for 6-7 minutes until vegetables soften and turn light golden at the edges. Add crushed garlic and 2 tablespoons tomato paste, stirring constantly for 1 minute until tomato paste darkens to a deep rust color and smells fragrant.
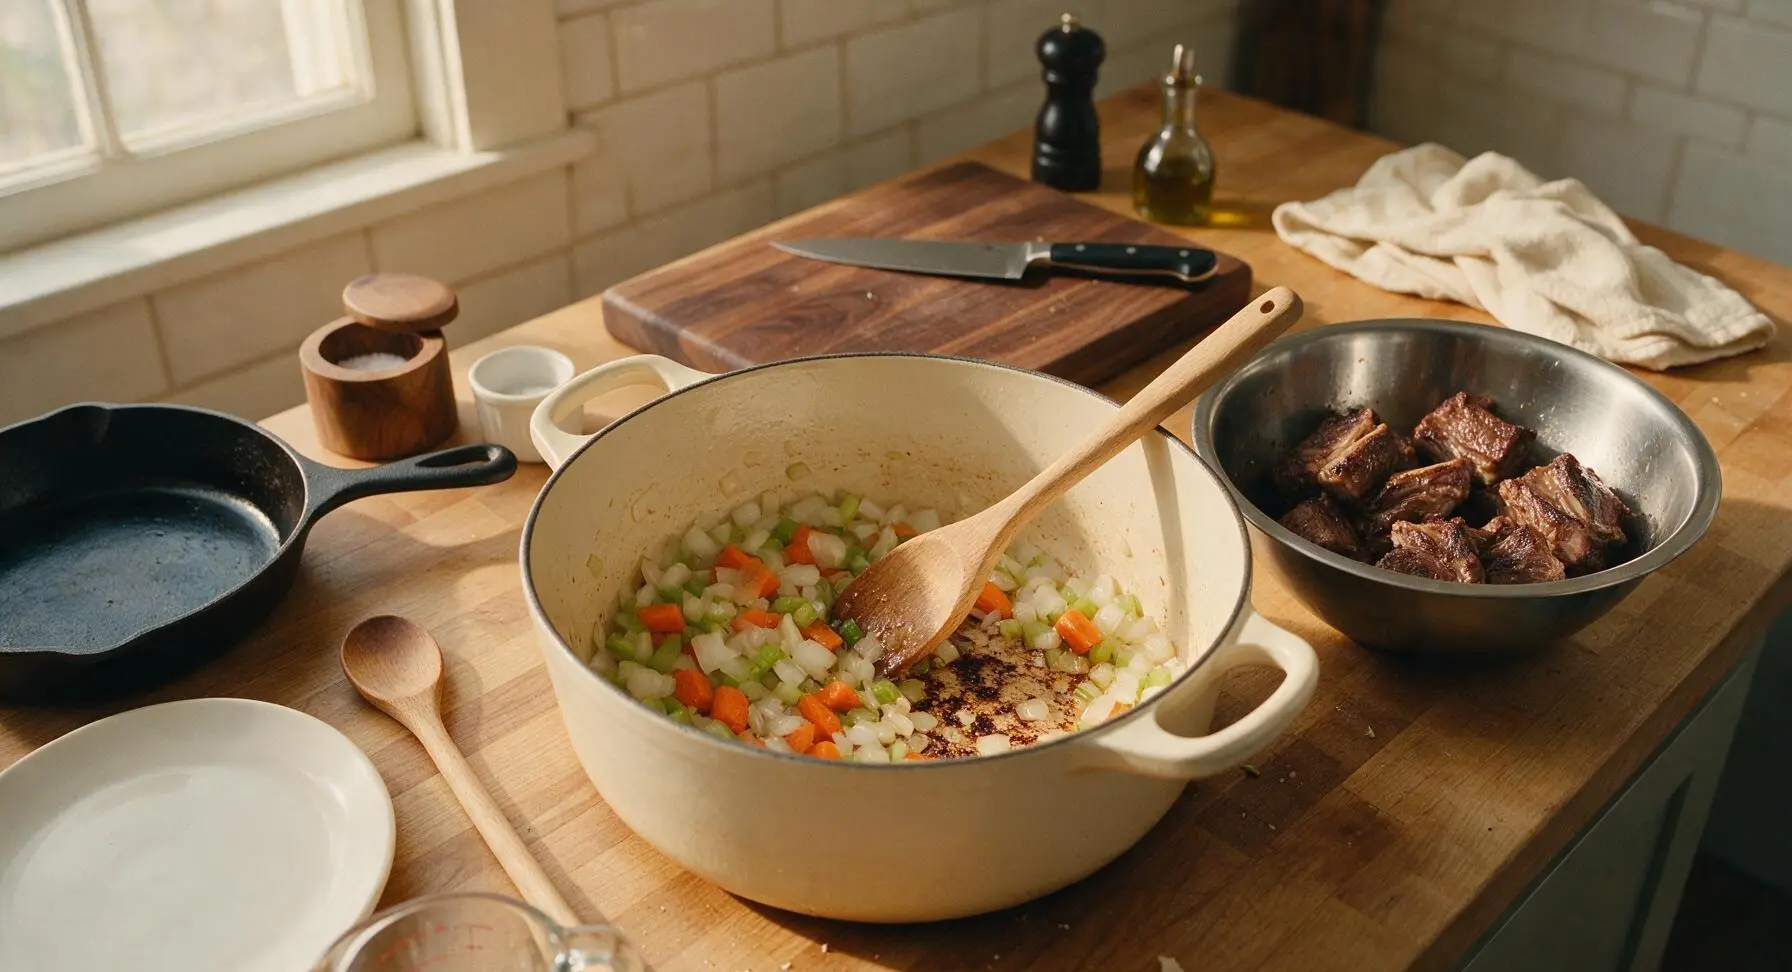
Step 3
step3:Sauté Mirepoix Base
4

Deglaze with Red Wine

Pour 1 cup dry red wine into the Dutch oven, scraping the bottom of the pan firmly with the wooden spoon to lift all browned fond bits. Bring to a gentle simmer, cooking for 4-5 minutes until wine is reduced by half, with a thick, syrupy consistency that coats the back of the spoon.
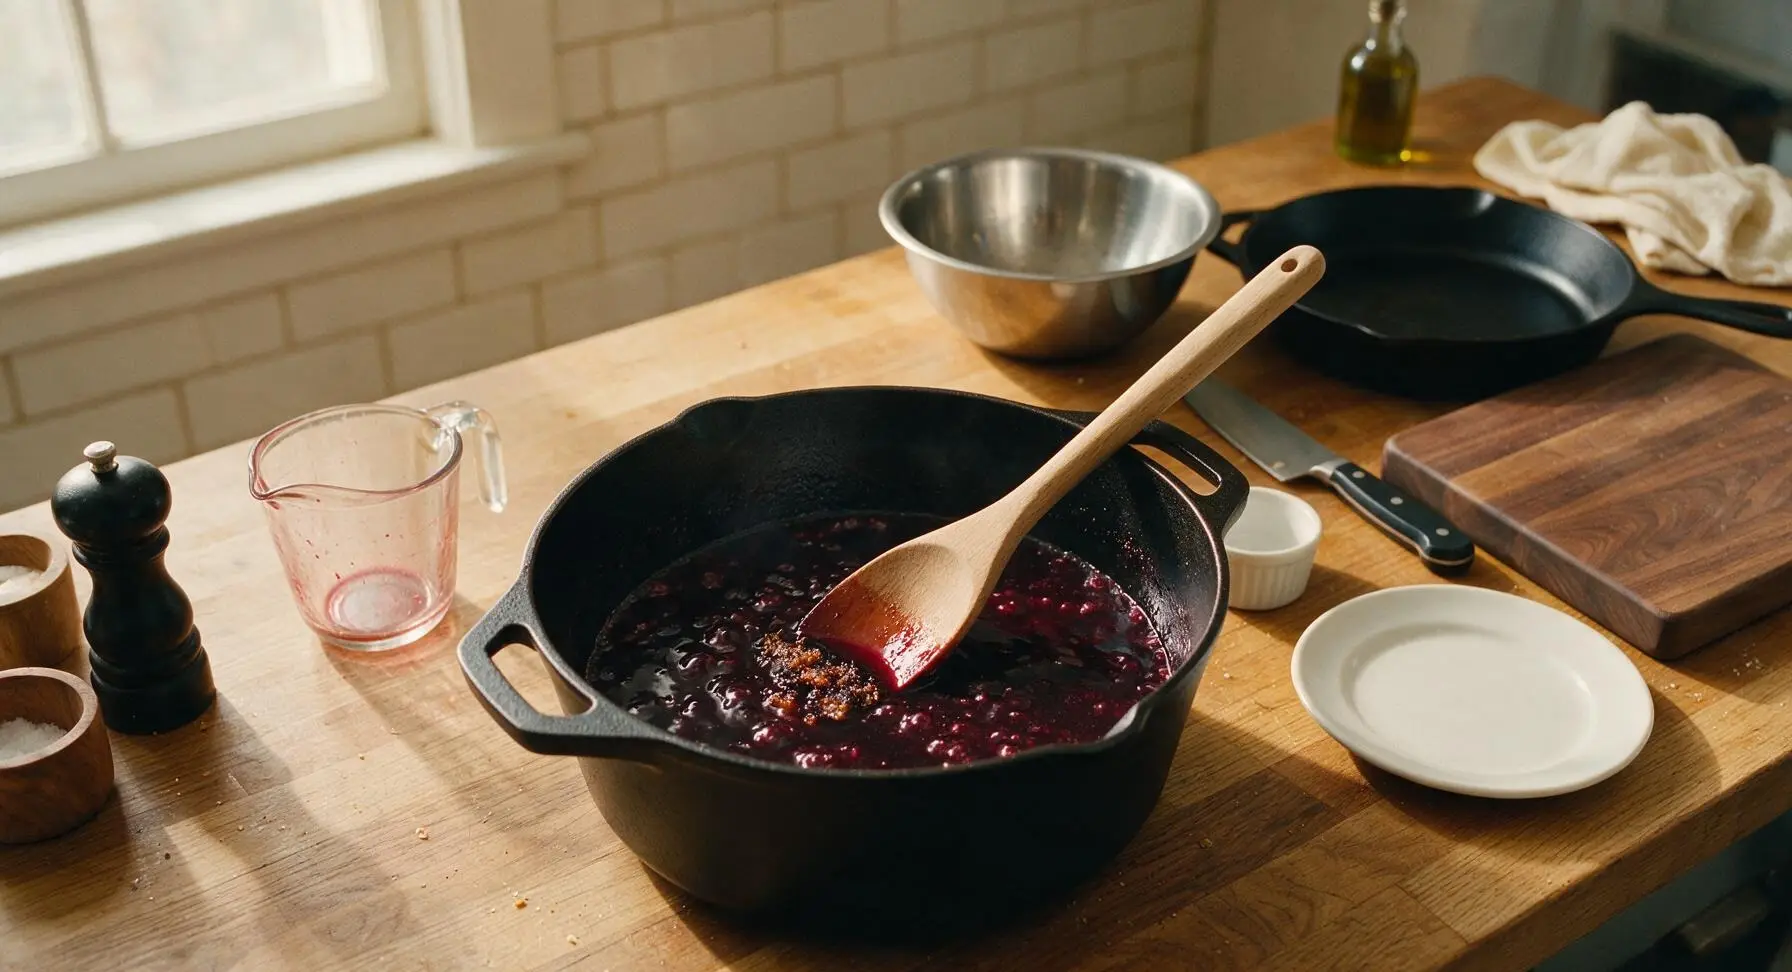
Step 4
step4:Deglaze with Red Wine
5

Slow Braise Ribs

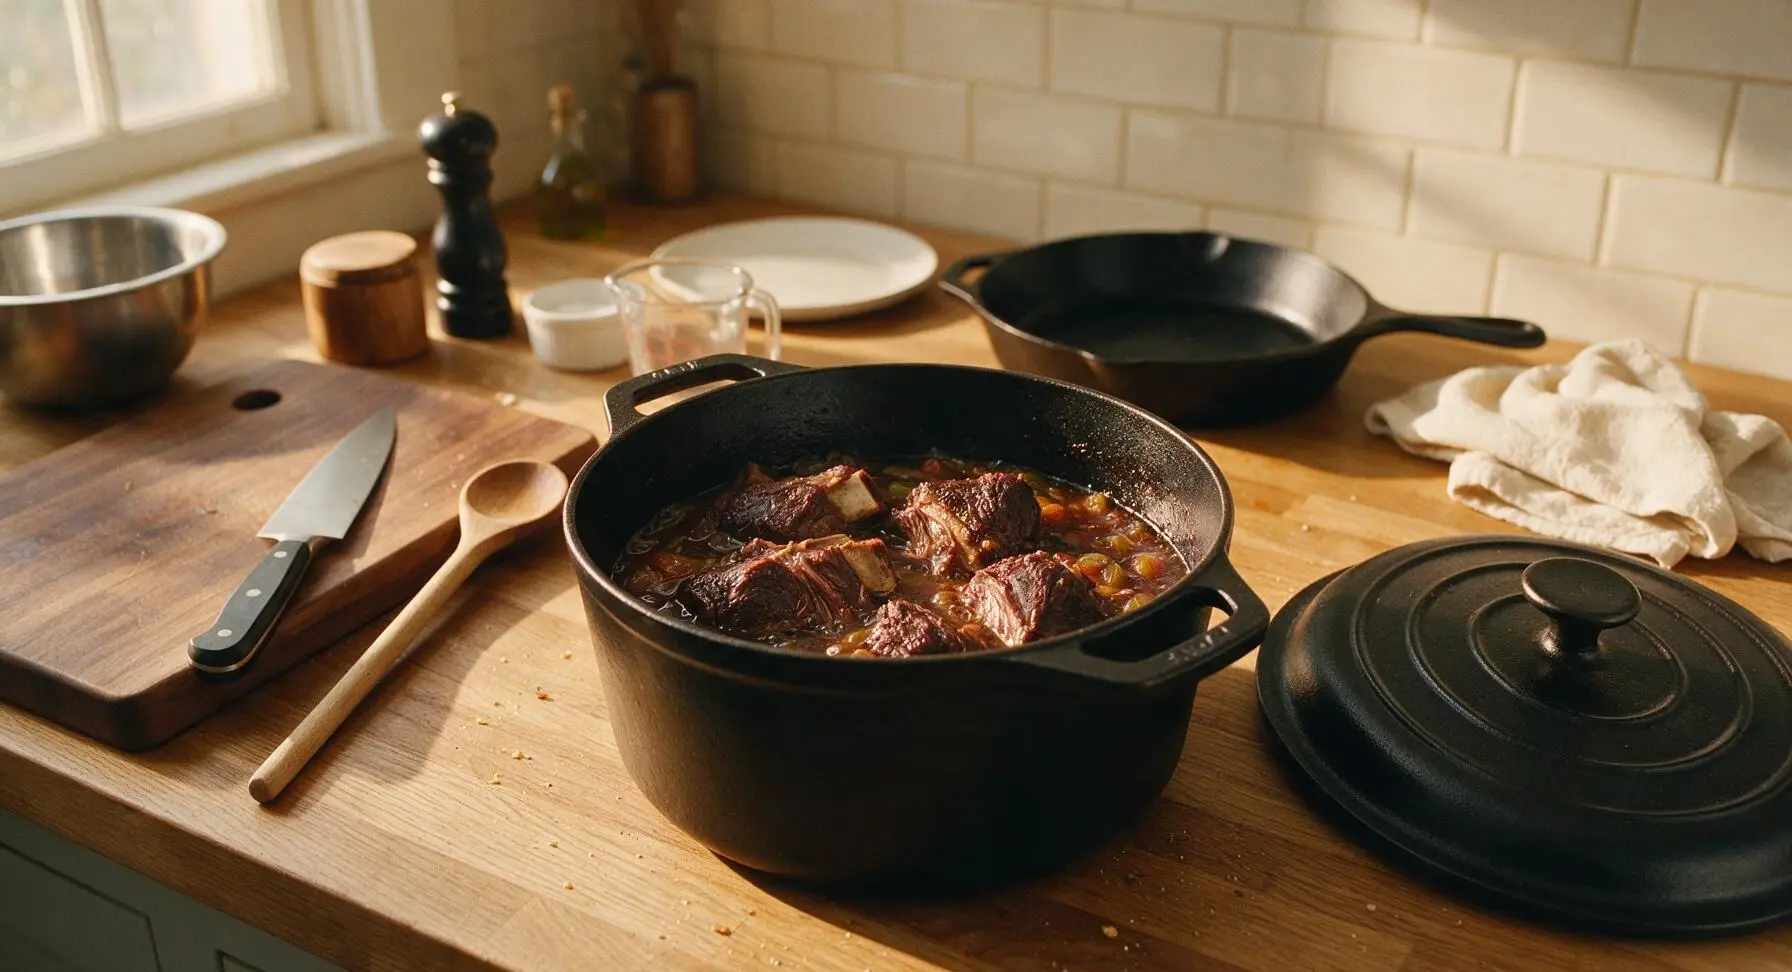
Return seared short ribs and any accumulated juices from the mixing bowl to the Dutch oven, nestling them into the wine and vegetable mixture. Add beef broth, fresh thyme sprigs, bay leaf, and peeled pearl onions, ensuring liquid comes 2/3 of the way up the ribs (add extra broth if needed). Bring to a gentle simmer, then cover with the tight-fitting lid, transfer to a preheated 160C/325F oven, and cook for 2 hours 30 minutes, until meat is fork-tender and pulls easily away from the bone.
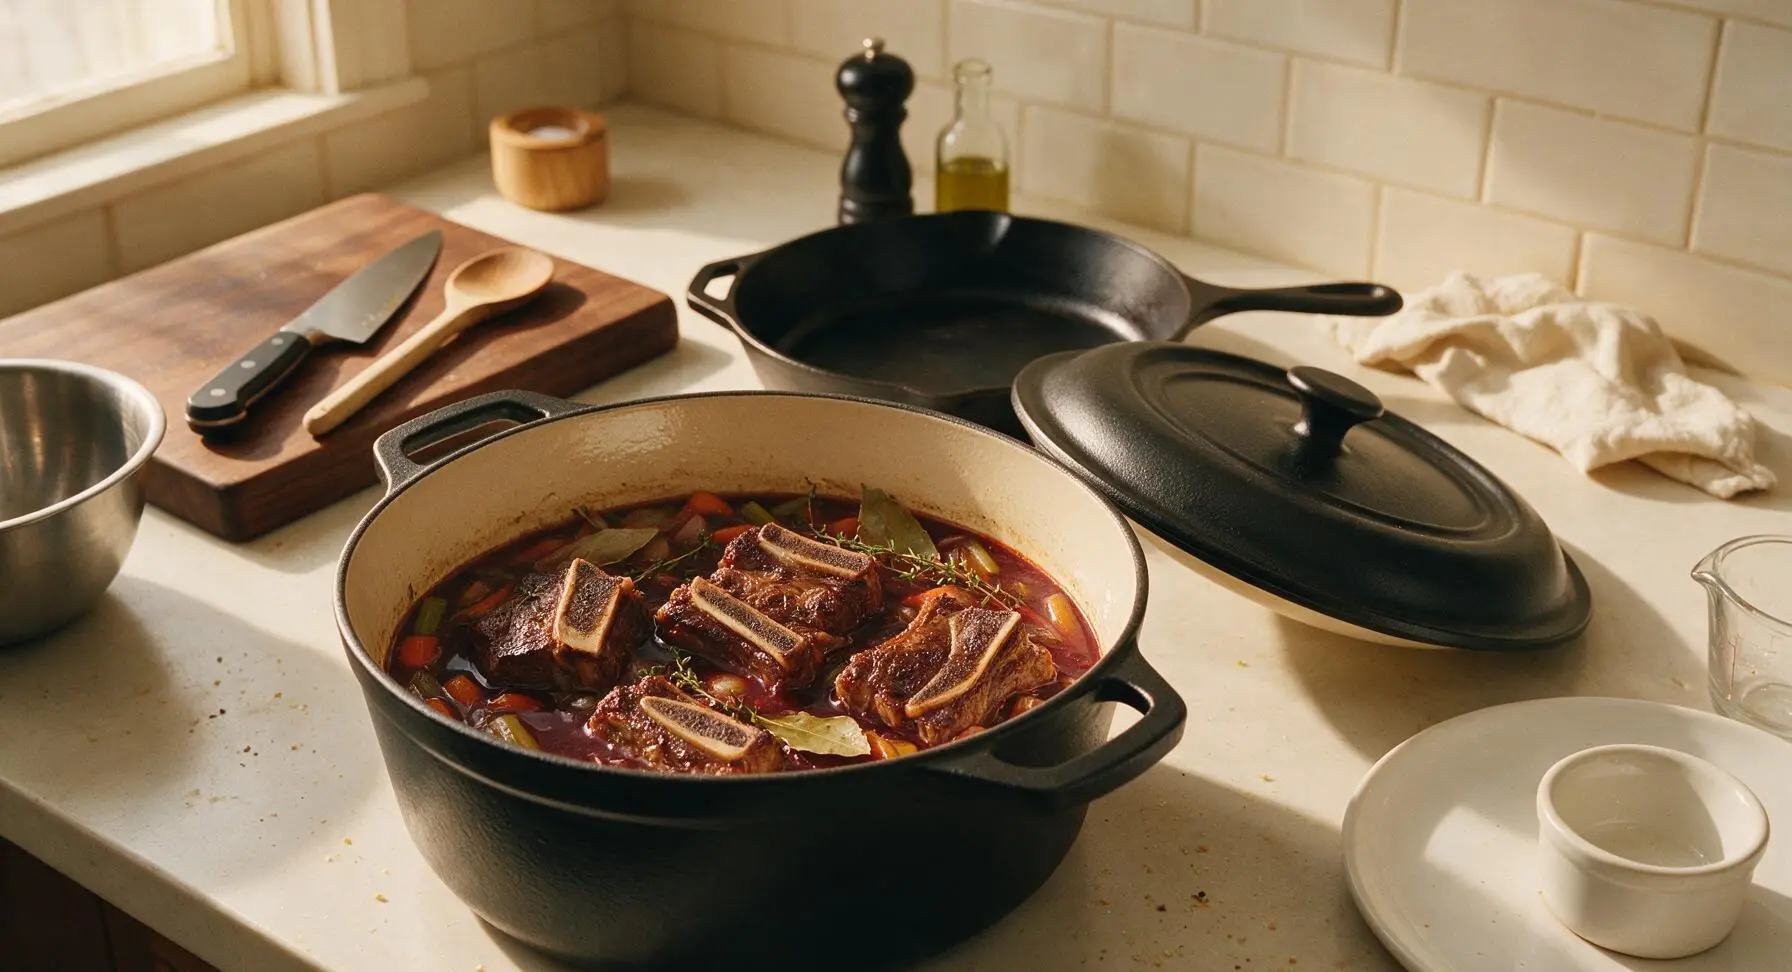
Step 5
step5:Slow Braise Ribs
Step 5
step5:Slow Braise Ribs
6

Strain Braising Liquid

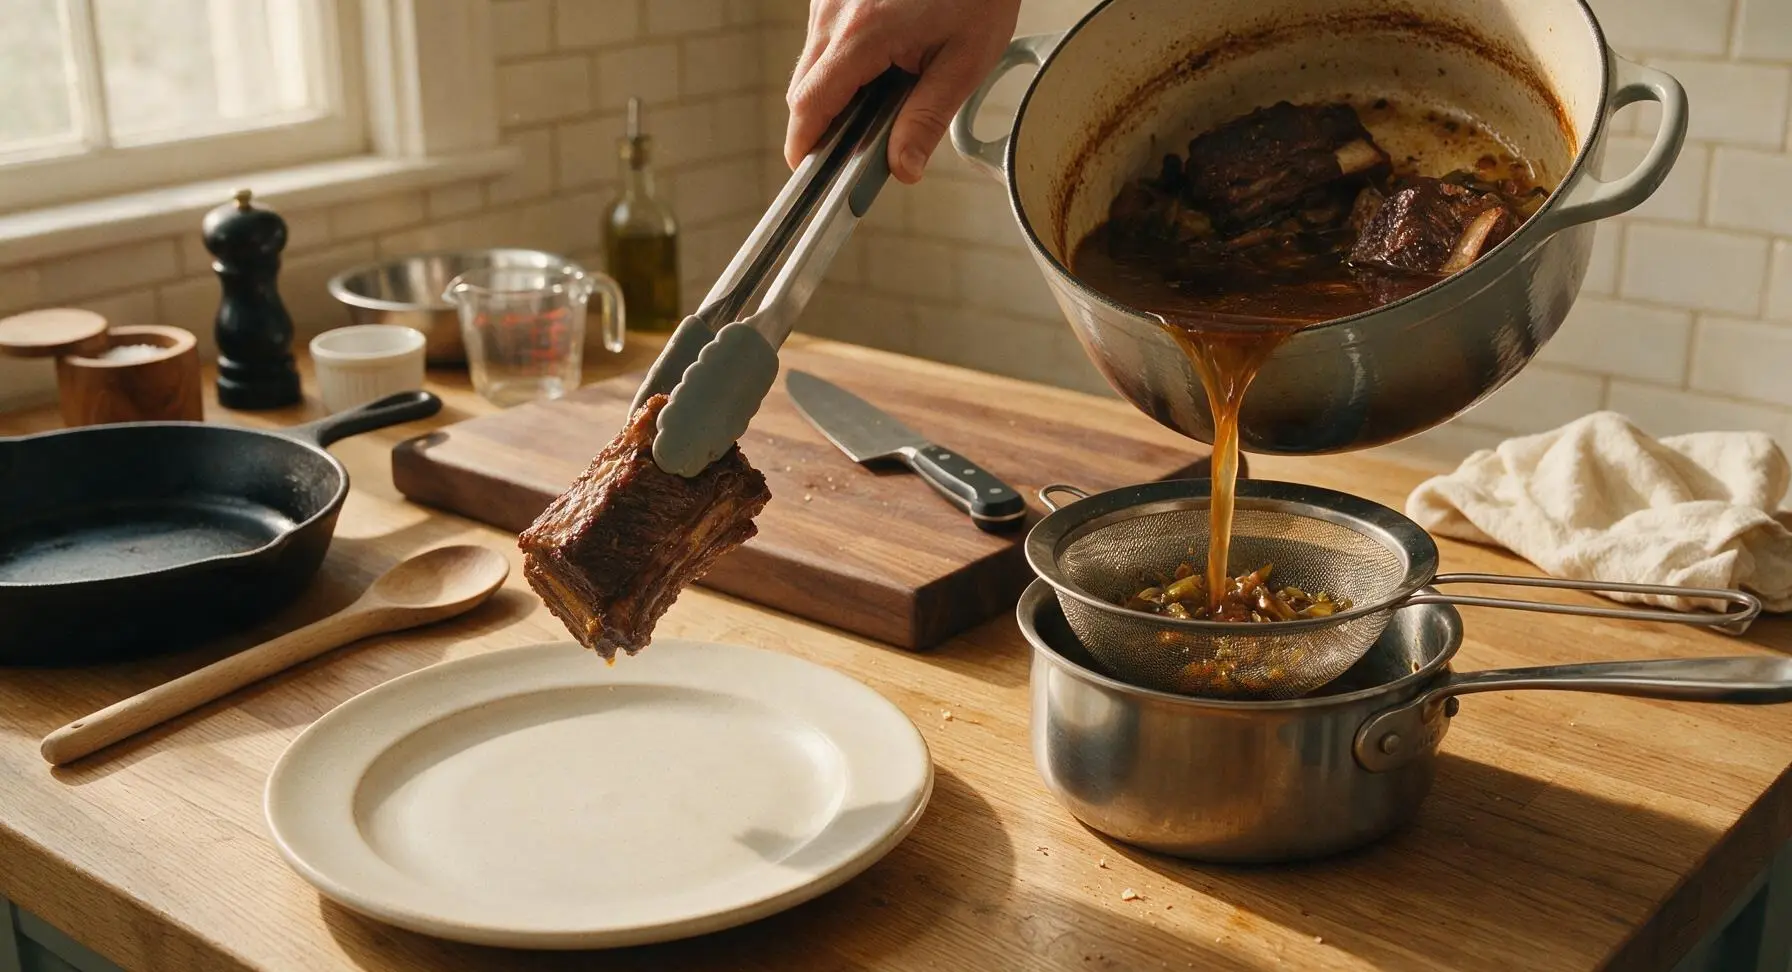
Use tongs to carefully transfer cooked short ribs to a clean off-white ceramic plate, tent loosely with aluminum foil to rest for 15 minutes. Use a slotted spoon to fish out 12 tender pearl onions and 8 carrot chunks from the braising liquid, set aside on a small plate for serving. Pour the remaining braising liquid and leftover vegetables through the fine-mesh stainless steel strainer into the 1-quart small saucepan, pressing gently on the vegetable solids with the back of a spoon to extract all flavorful liquid; discard the spent solids.
Step 6
step6:Strain Braising Liquid
7

Reduce Sauce to Glossy

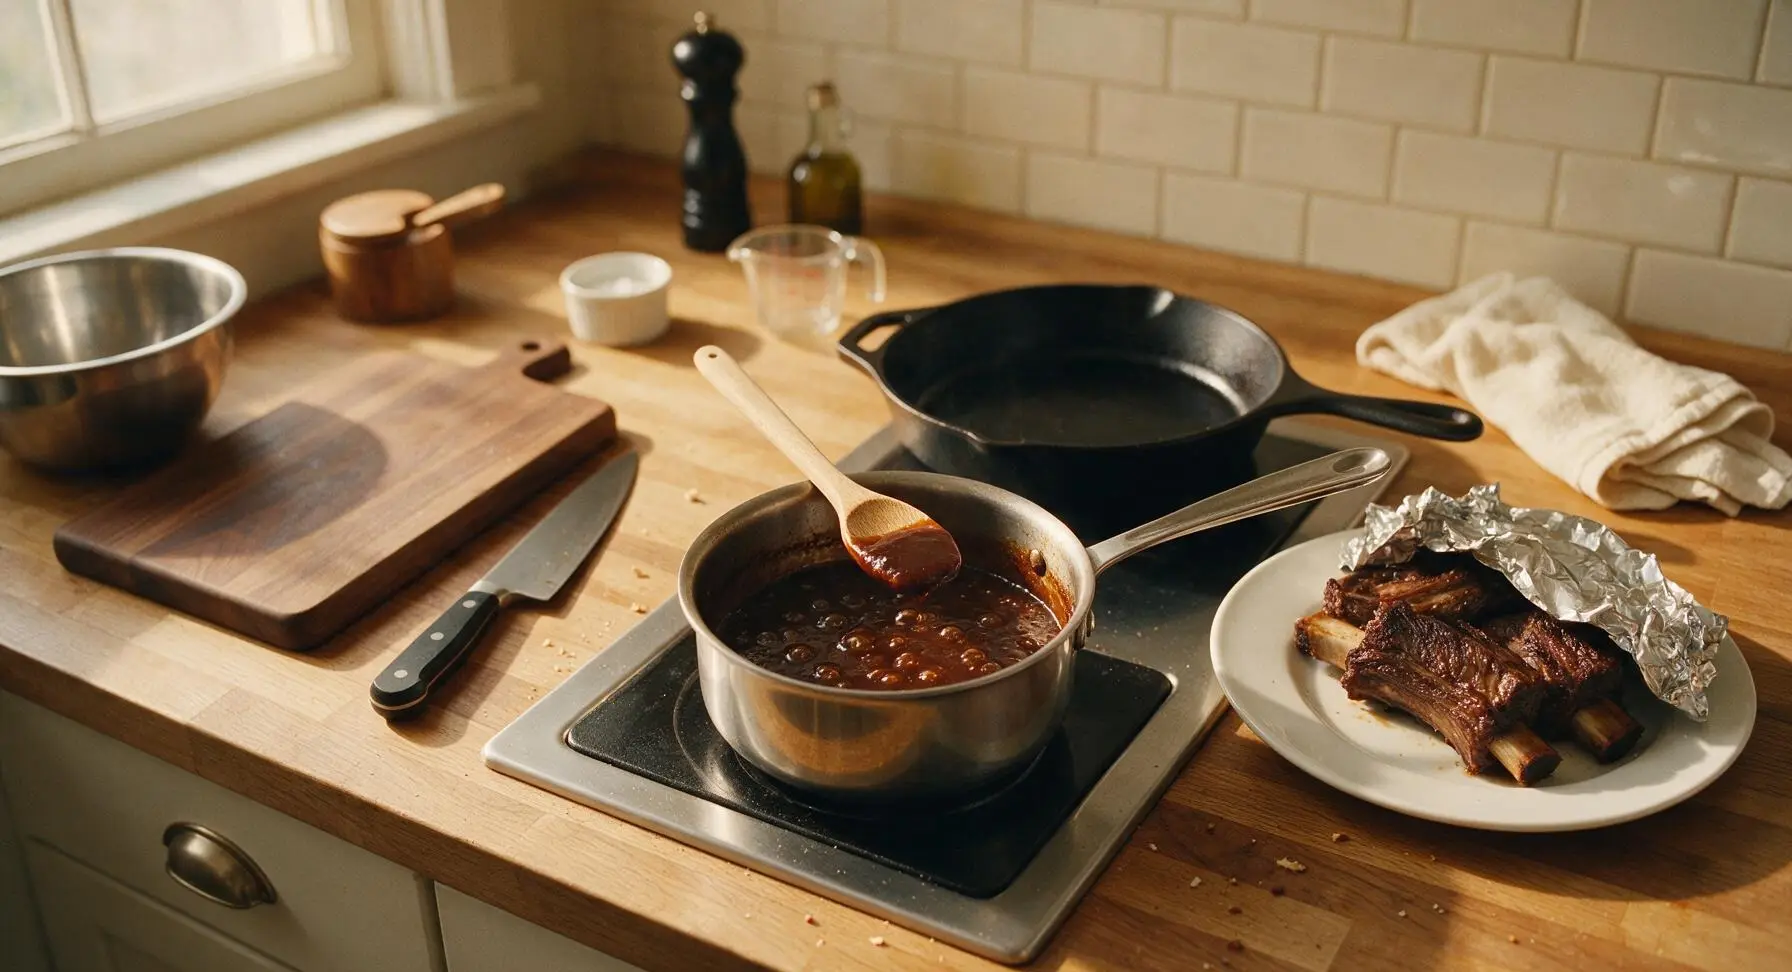
Place the small saucepan with strained braising liquid over medium heat, simmering for 8-10 minutes until liquid reduces by half, thickening to a glossy, sauce-like consistency that coats the back of a spoon. Skim any excess fat from the surface with a spoon if desired, season lightly with extra salt and pepper to taste.
Step 7
step7:Reduce Sauce to Glossy
8

Plate and Garnish Ribs

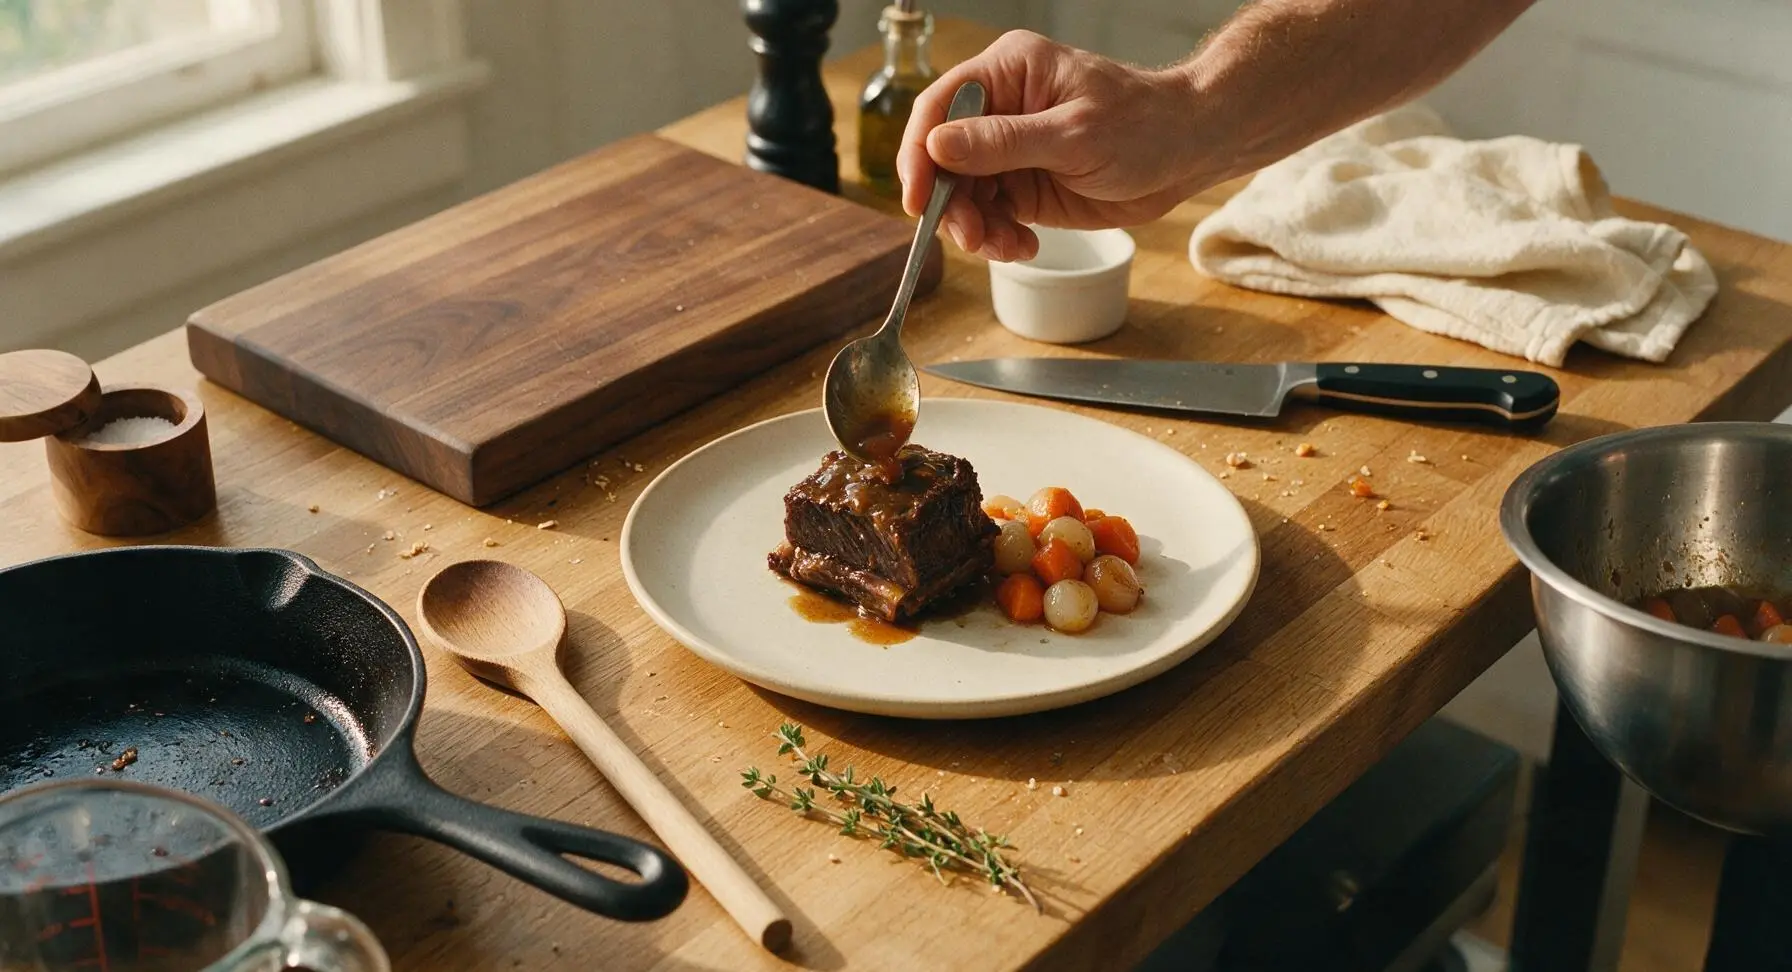
Place 1 short rib per off-white ceramic dinner plate, spoon 2-3 tablespoons of reduced sauce over each rib, allowing it to drip down the sides. Arrange a few reserved braised carrot chunks and pearl onions beside the rib, garnish with a fresh thyme sprig and a light pinch of flaky sea salt. Serve immediately while hot.
Step 8
step8:Plate and Garnish Ribs

Tips

1.Always pat short ribs completely dry with paper towels before searing: any residual surface moisture will steam the meat instead of creating a crispy, flavor-packed Maillard reaction crust, which forms the deep, savory foundation of the braising sauce.
2.Resist the urge to turn up the oven temperature to speed up braising: cooking at a steady 160C/325F allows the tough connective tissue in the ribs to slowly break down into silky, rich gelatin, resulting in fall-off-the-bone texture without making the meat stringy, tough, or dry.
3.Wait to skim excess fat from the braising sauce until after it has finished reducing: the thin layer of rendered beef fat carries concentrated, meaty flavor, and skimming too early will leave your sauce tasting thin, flat, and lacking depth.


✨ You May Also Like

Main Course
🍜 United Kingdom

A showstopping classic of tender seared beef, savory mushroom duxelles, and crisp prosciutto wrapped in flaky golden puff pastry, baked to juicy perfection.

⏱️ 2 hours 1Main Course ★ 4.7
Main Course
🍜 India

Tender charred marinated chicken simmered in a rich, spiced creamy tomato sauce, this iconic Anglo-Indian curry pairs perfectly with basmati rice or warm naan.

⏱️ 50 minuteMain Course ★ 4.6
Main Course
🍜 Thailand

Classic tangy, sweet, and savory Thai stir-fried rice noodles with shrimp, tofu, and crunchy garnishes, balancing all five core Thai flavor profiles.

⏱️ 30 minuteMain Course ★ 4.5
Main Course
🍜 United Kingdom

Crispy golden beer-battered cod and fluffy double-fried chips, served with tangy tartar sauce and malt vinegar: the timeless, beloved British pub comfort classic.

⏱️ 45 minuteMain Course ★ 4.7
Main Course
🍜 Mexico

Smoky, chile-marinated pork tacos with caramelized pineapple, fresh cilantro, and lime: a beloved classic Mexican street food perfect for casual summer gatherings.

⏱️ 1 hour 45Main Course ★ 4.8
Main Course
🍜 United States

Crunchy Fritos corn chips layered with savory beef chili and melted cheddar, topped with cool, zesty fixings for a beloved, cozy Tex-Mex comfort food.

⏱️ 35 minuteMain Course ★ 4.8

Short Ribs:Frequently Asked Questions

1.What type of short ribs should I use for the best results? ▾
Always pick bone-in beef short ribs, ideally 2 to 3 inches thick with even white marbling throughout. The bone adds deep, meaty savoriness to the braising liquid as it cooks, and marbling melts slowly to keep meat tender instead of drying out during the long, slow cook. Skip boneless cuts if you can, as they lack that extra layer of rich flavor.
2.How far in advance should I season my short ribs before cooking? ▾
For the deepest, most even flavor, season short ribs generously with kosher salt and freshly ground black pepper 12 to 24 hours before cooking, letting them rest uncovered in the fridge. If you’re crunched for time, season them right before searing—just don’t skimp on seasoning, as the long braise needs that salt to balance bold wine and beef flavors.
3.Why do I need to sear the short ribs before braising them? ▾
Searing over medium-high heat with a splash of extra-virgin olive oil builds a deep, caramelized crust on the ribs, creating those nutty, savory umami flavors that make the dish taste so rich. The browned bits left in the pan also form the flavor base for your braising sauce and soft vegetables, so don’t rush this key step.
4.What kind of red wine works best for this braise? ▾
Stick with dry, full-bodied reds with moderate tannins, like Cabernet Sauvignon, Merlot, or Zinfandel—skip sweet dessert wines or overly pricey collector bottles you’d save for a special meal. The wine should be something you’d happily drink a glass of, since its flavor concentrates as it cooks; grocery store cooking wine will give your sauce a flat, metallic off-taste.
5.Can I substitute yellow onion if I don’t have any on hand? ▾
Yellow onion is ideal here because its mild, sweet-savory flavor caramelizes beautifully to balance bold wine and beef, but you can swap in a sweet white onion in a pinch. Avoid sharp red onions or super mild shallots as a 1:1 replacement—red onions add too much sharp bite, and shallots get lost among the other rich flavors.
6.How do I tell when the short ribs are perfectly done? ▾
Short ribs are finished when you can pierce the thickest part of the meat with a fork with zero resistance, and the meat pulls cleanly away from the bone without tugging—this usually takes 2.5 to 3 hours at 325°F in the oven. If the meat feels tough or springs back when poked, cover the pot and cook 20 to 30 more minutes before checking again.
7.My braising sauce turned out greasy—what’s the easiest fix? ▾
Short ribs render a fair amount of fat as they cook, so greasy sauce is a super common, easy fix. For the best results, let cooked ribs and liquid rest in the fridge for 4 to 6 hours (or overnight), then skim the solidified fat off the top before reheating. If you’re short on time, use a fat separator to pour off excess grease from warm braising liquid.
8.Can I make this recipe ahead for a dinner party? ▾
This dish actually tastes better made 1 to 2 days ahead! Let the braised ribs and vegetables cool completely in their sauce, then store covered in the fridge. Flavors meld and deepen as it rests, and it’s much easier to skim excess fat from the chilled surface before you gently reheat, covered, in a 300°F oven until warmed through.
9.How do I get that glossy, thick sauce instead of a thin, watery one? ▾
After you remove cooked ribs and vegetables from the pot, simmer the braising liquid over medium heat for 10 to 15 minutes to reduce it until it coats the back of a spoon. Skip thickeners like cornstarch or flour if you can—slow reduction concentrates flavors naturally for that shiny, rich glaze that clings perfectly to tender ribs.
10.Do I need a Dutch oven to make these short ribs? ▾
A heavy-bottomed, lidded Dutch oven is ideal because it distributes heat evenly and holds a steady temperature during the long braise, but you can use any oven-safe, heavy lidded pot you own. Just make sure the lid fits tightly to trap steam, otherwise liquid will evaporate too fast and meat may dry out before it turns tender.
11.Can I freeze leftover braised short ribs? ▾
Absolutely—cooled short ribs stored in an airtight container with their sauce will keep well in the freezer for up to 3 months. Thaw them in the fridge overnight, then reheat gently, covered, over low stovetop heat or in a low oven until warmed all the way through. The meat will stay tender as long as you avoid reheating it at too high a temperature.

Comments (5)

2 days ago

OMG these short ribs were an absolute game changer for our Sunday family dinner! I followed the recipe exactly except I added a sprig of fresh rosemary from my garden, and the meat was so fall-off-the-bone tender even my super picky 10 year old asked for seconds. My husband said it’s better than the short ribs we get at our favorite steakhouse downtown. SO good, will absolutely be making this for our next potluck with neighbors!

yesterday

Wait did you use bone-in short ribs like the recipe says? I grabbed boneless by accident last time I tried short ribs and they came out dry, wondering if I need to run back to the store!

2 hours ago

Great question! Bone-in short ribs are definitely recommended here — the marrow adds so much depth of flavor and keeps the meat juicy during the long braise. If you only have boneless, just reduce the cook time by about 20 minutes so they don't dry out!

3 days ago

Really solid recipe! The flavor was spot on, though I will say 3 hours felt like forever on a weeknight so I prepped everything the night before and let it braise in the oven while I answered work emails. Only thing I’d adjust next time is a tiny bit less salt — the red wine I used was a pretty bold cab sauv so maybe that amped up the savoriness more than expected. Perfect for meal prep too, the leftovers taste even better after sitting in the fridge for a day!

2 days ago

Thanks so much for the feedback! So glad you loved the flavor — great call prepping ahead, that’s one of our favorite tricks for this recipe since the cook time is longer. If you’re using a bolder, higher-tannin wine, cutting the salt by 1/4 tsp is a great adjustment, thanks for sharing that tip!

1 week ago

Made this for my partner’s birthday dinner last weekend and he literally proposed again, lmao. The sauce reduced down to this rich, glossy perfection and I served it over creamy polenta like the recipe suggested. 10/10, no notes. Already sent the link to my entire group chat because everyone needs this recipe in their back pocket for special occasions.

5 days ago

I was a little intimidated because I’ve never braised anything before and thought this medium difficulty rating meant I’d mess it up, but the steps were so straightforward! I used a cheap merlot I had lying around (didn’t want to waste my good bottle on cooking) and it still turned out incredible. Served with roasted root veggies and my whole family cleaned their plates. Can’t wait to mess around with different herb combinations next time!

3 days ago

Pro tip: freeze leftover wine in ice cube trays so you don’t have to open a new bottle for recipes like this! I did that with a half bottle of pinot noir last month and it worked perfectly for these short ribs.

yesterday

Wanted to love these, but my short ribs came out a little tough even after cooking for the full 3 hours. I think my oven might run a little low? The flavor of the braising liquid was amazing though, so I’m definitely going to give it another go next weekend, just bump the temp up 25 degrees and give it an extra 30 minutes. Fingers crossed round two goes better!

2 hours ago

Oh I had the exact same issue the first time I made these! Turns out I didn’t seal my Dutch oven tight enough, so all the steam was escaping and the liquid wasn’t getting hot enough. Wrapped the lid in foil for a tighter seal on my second try and they were perfect!

30 minutes ago

So sorry to hear the first batch was tough! Oven temperature inconsistencies are such a common culprit here — using an oven thermometer to check your actual temp is a great hack, and Henry’s tip about sealing the Dutch oven lid with foil works wonders to lock in moisture. Can’t wait to hear how your next batch turns out!



