
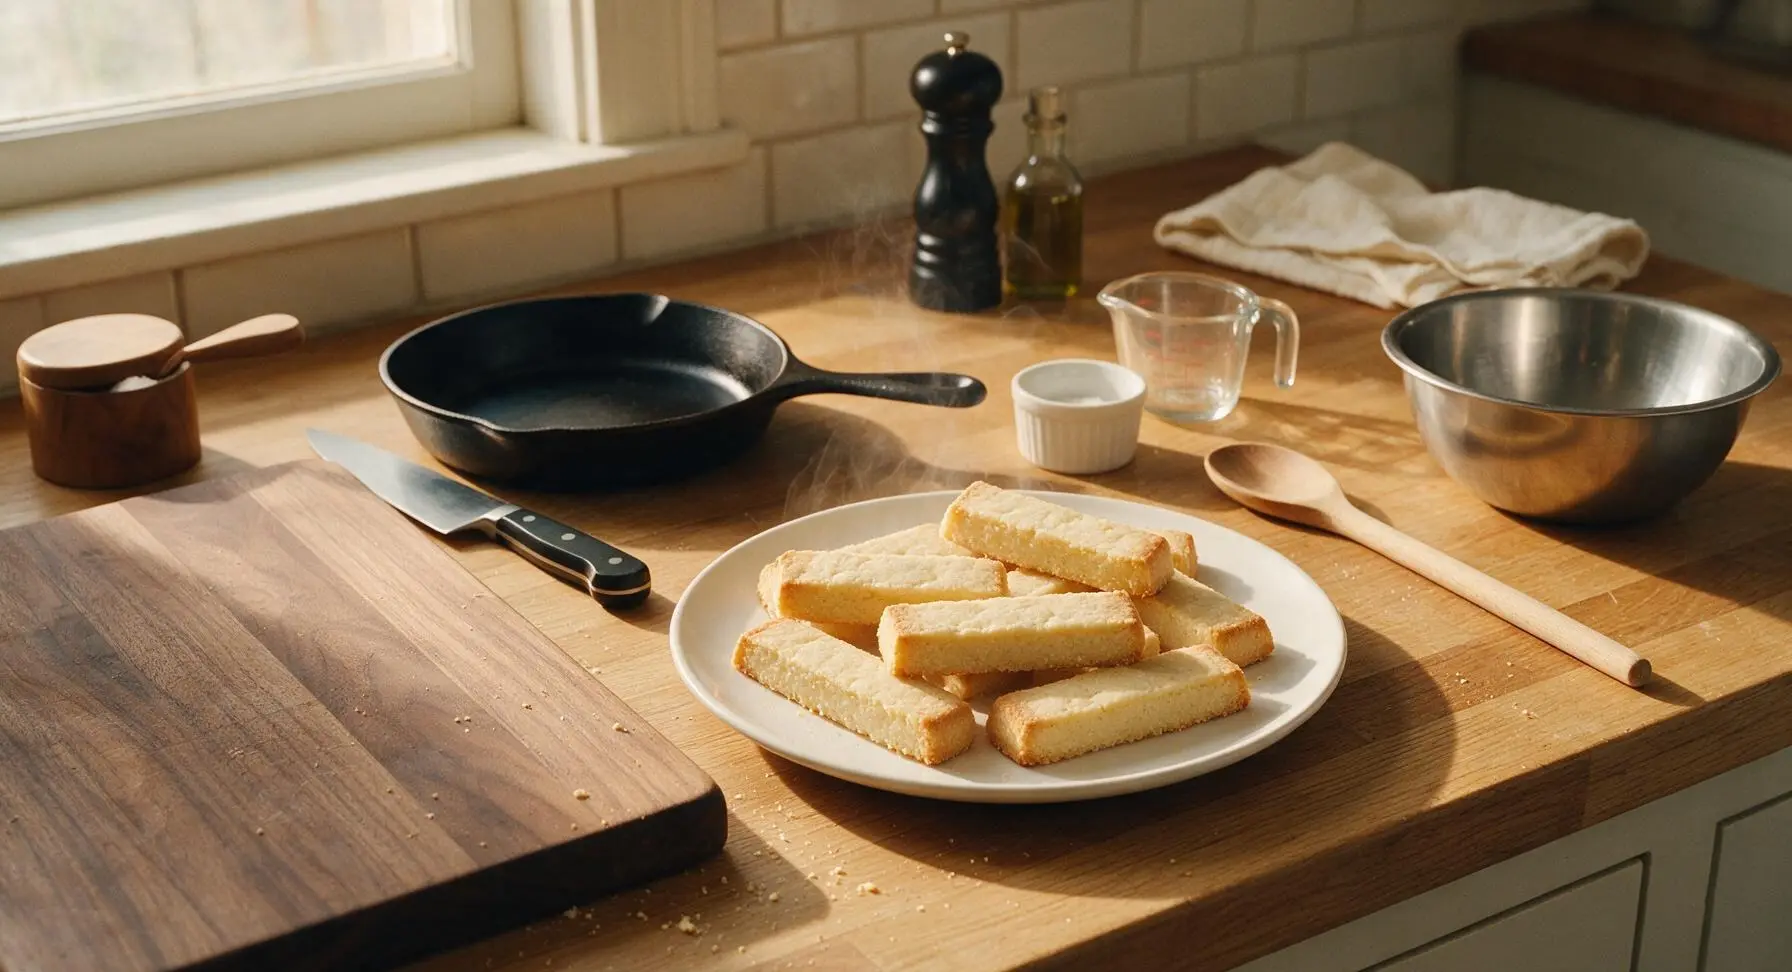
Shortbread Fingers

title 1
Shortbread Fingers
⏱️ cook time 25 minutes
🍽️ servings 16
⚡ Difficulty easy

intro

Buttery, melt-in-your-mouth classic shortbread fingers, lightly sweetened with crisp golden edges, perfect for holiday gifting or pairing with afternoon tea.

Ingredients
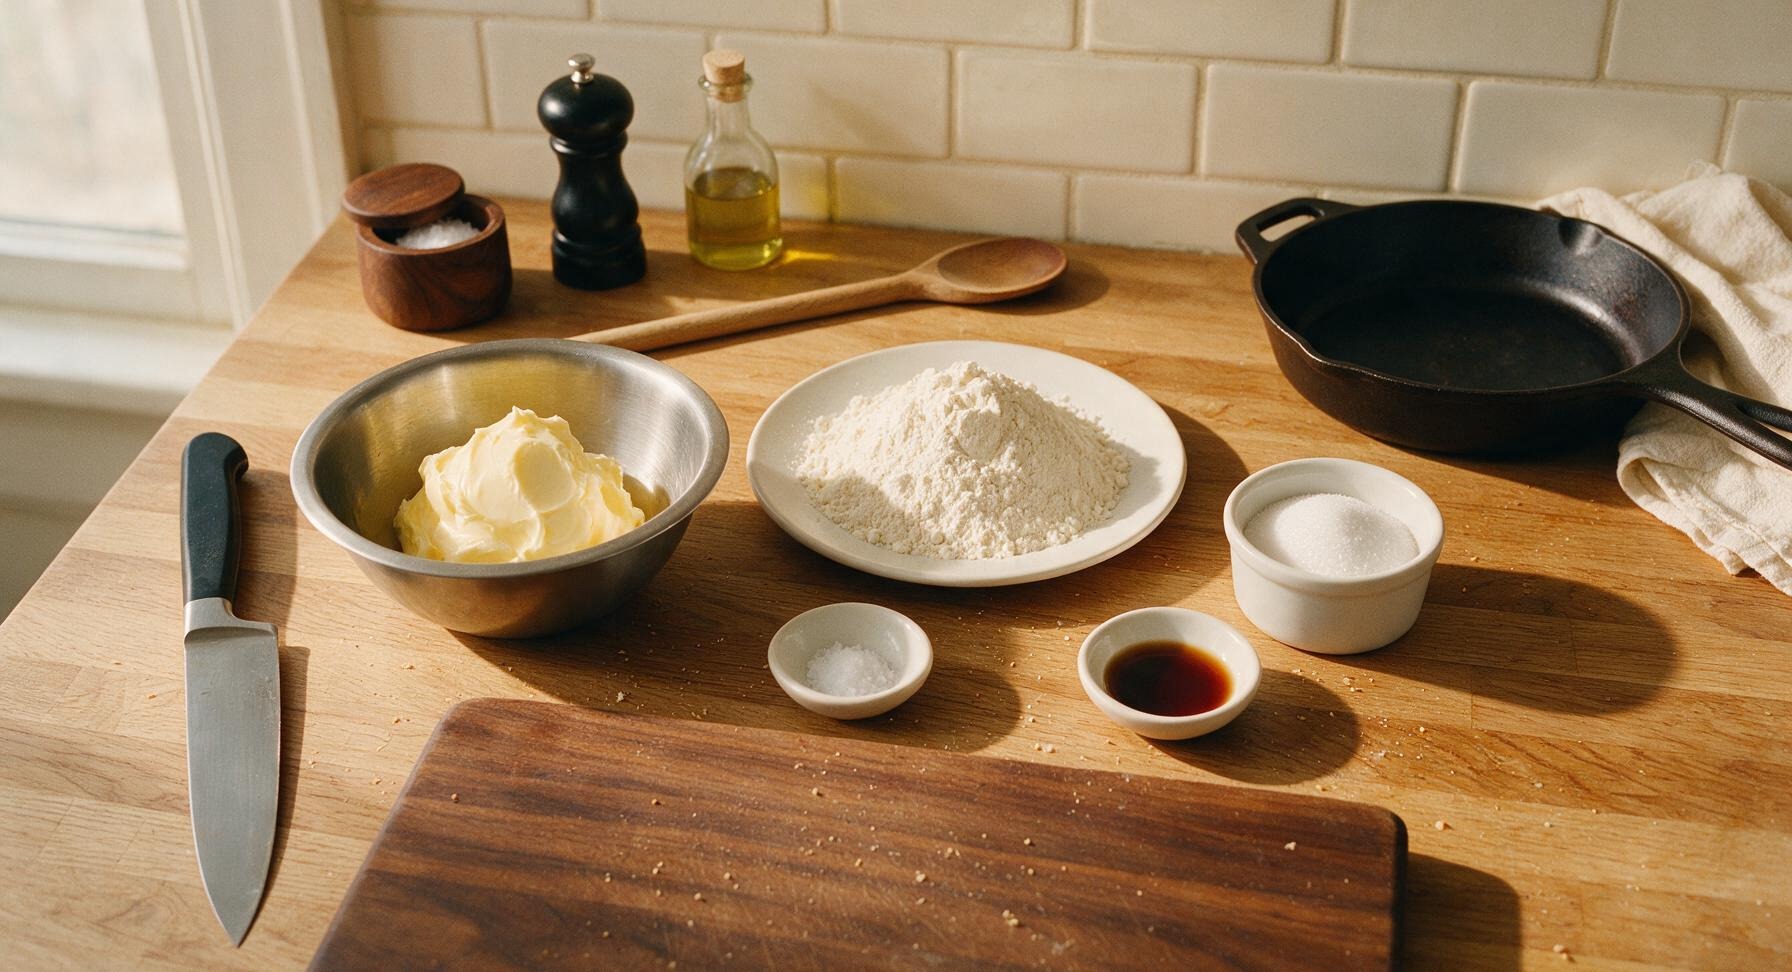
Unsalted butter (softened to room temperature) 225g
Caster sugar (plus 1 tbsp extra for dusting) 115g
Plain (all-purpose) flour 340g
Fine sea salt 1/4 tsp
Pure vanilla extract 1 tsp

Steps

1

Prep Baking Tin

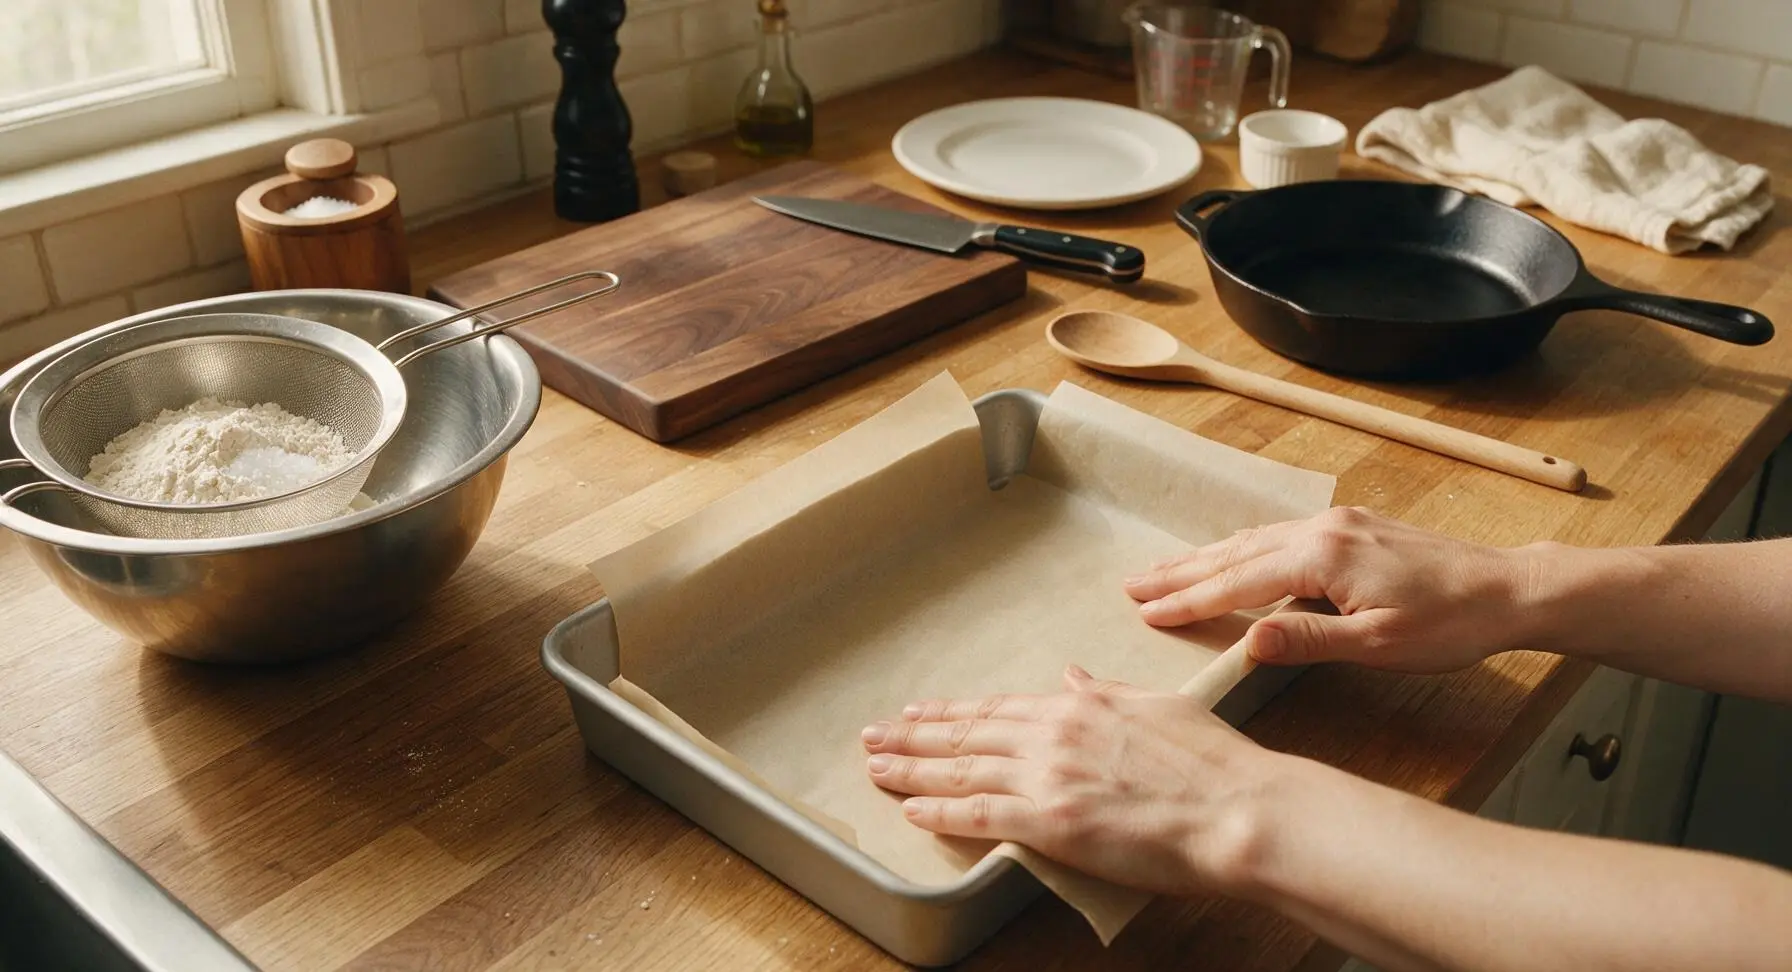
Line the base and 1cm up the sides of the light gray 20x30cm metal baking tin with the pre-cut unbleached parchment paper, leaving a small 2cm overhang on the two long sides to help lift the shortbread out later. Place the fine-mesh sieve over the large stainless steel mixing bowl, add the 340g plain flour and 1/4 tsp fine sea salt, and sift into the bowl to remove any lumps, creating a light, airy flour mixture. Set aside.
Step 1
step1:Prep Baking Tin
2

Cream Butter and Sugar

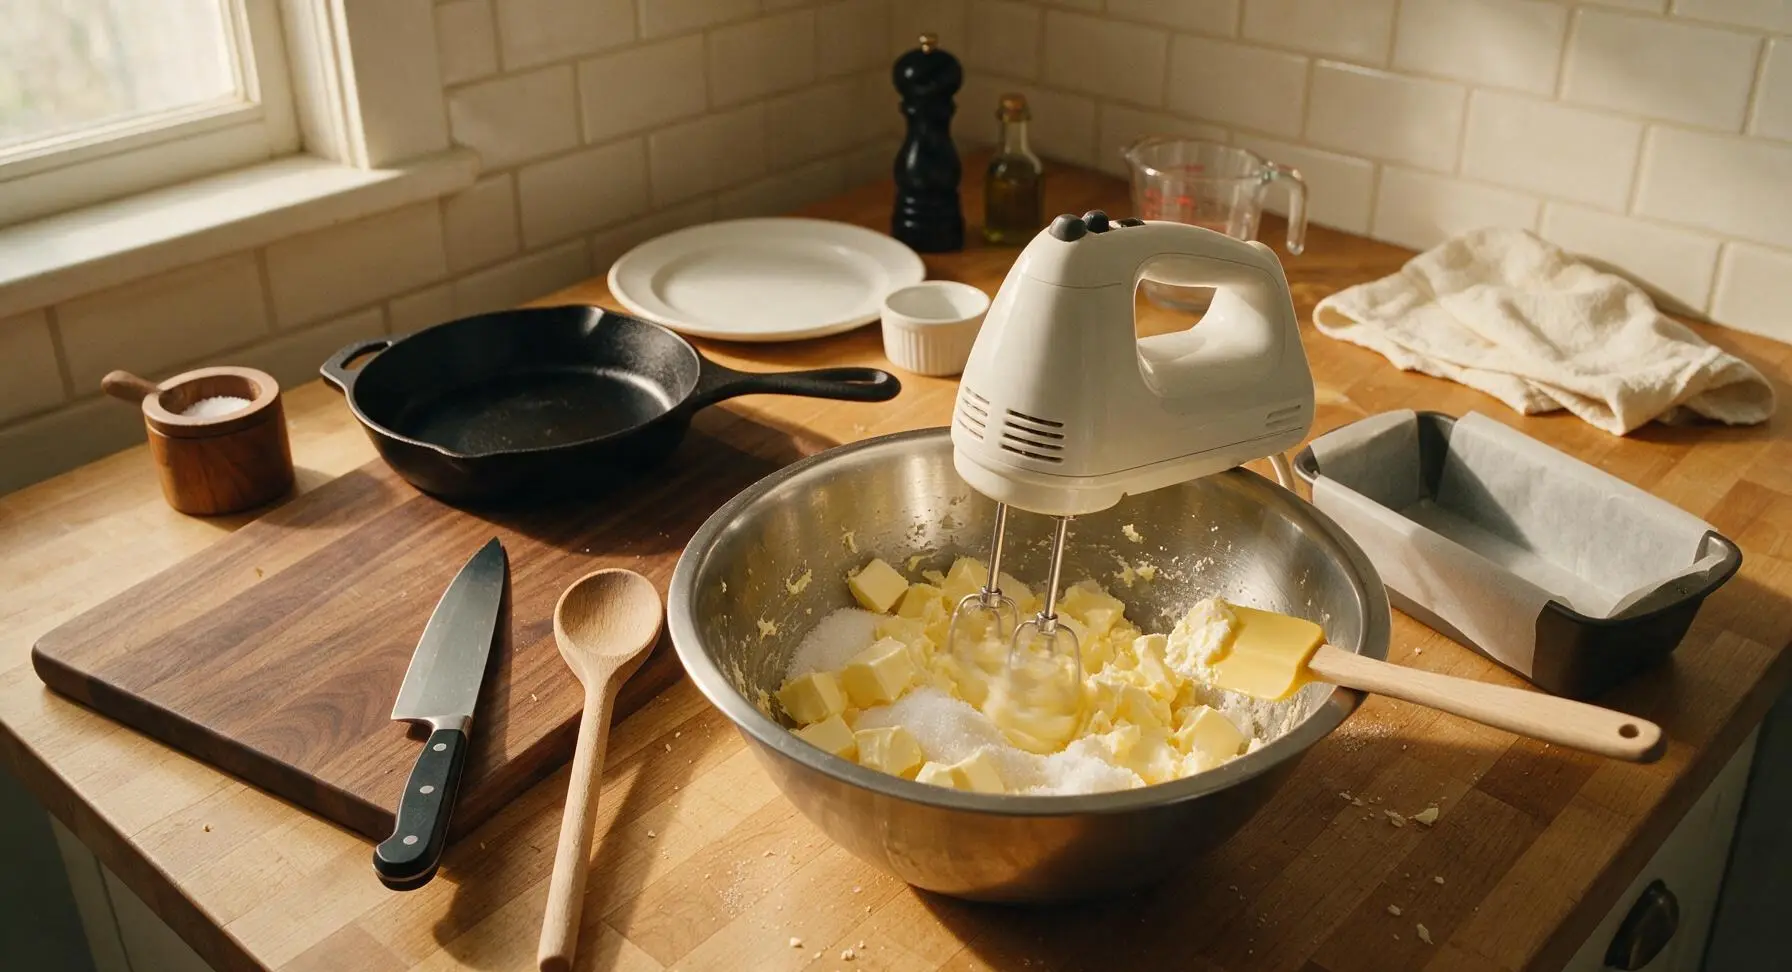
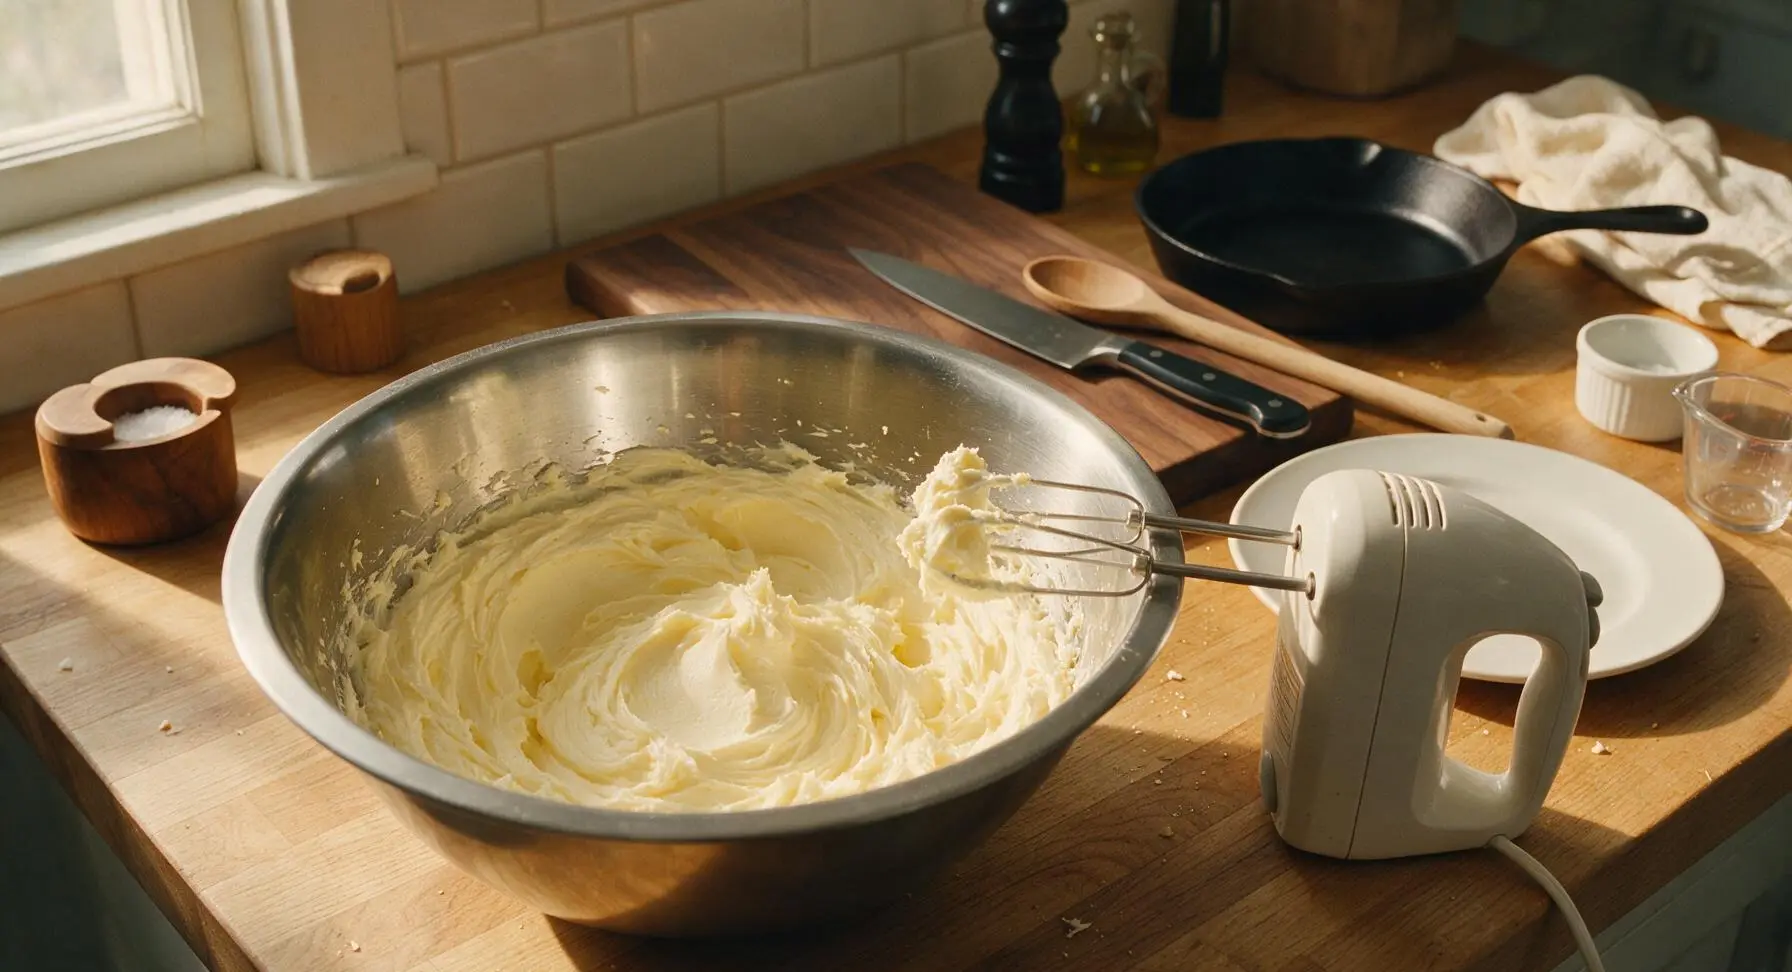
Place the 225g room-temperature softened butter and 115g caster sugar into the large stainless steel mixing bowl. Using the matte white electric hand mixer on medium speed, beat the butter and sugar together for 2-3 minutes until the mixture is pale, fluffy, and light creamy yellow, with no gritty sugar texture remaining when you rub a small amount between your fingers. Scrape down the sides of the bowl with the butter-yellow silicone spatula halfway through mixing to ensure even incorporation.
Step 2
step2:Cream Butter and Sugar
Step 2
step2:Cream Butter and Sugar
3

Combine Flour and Butter

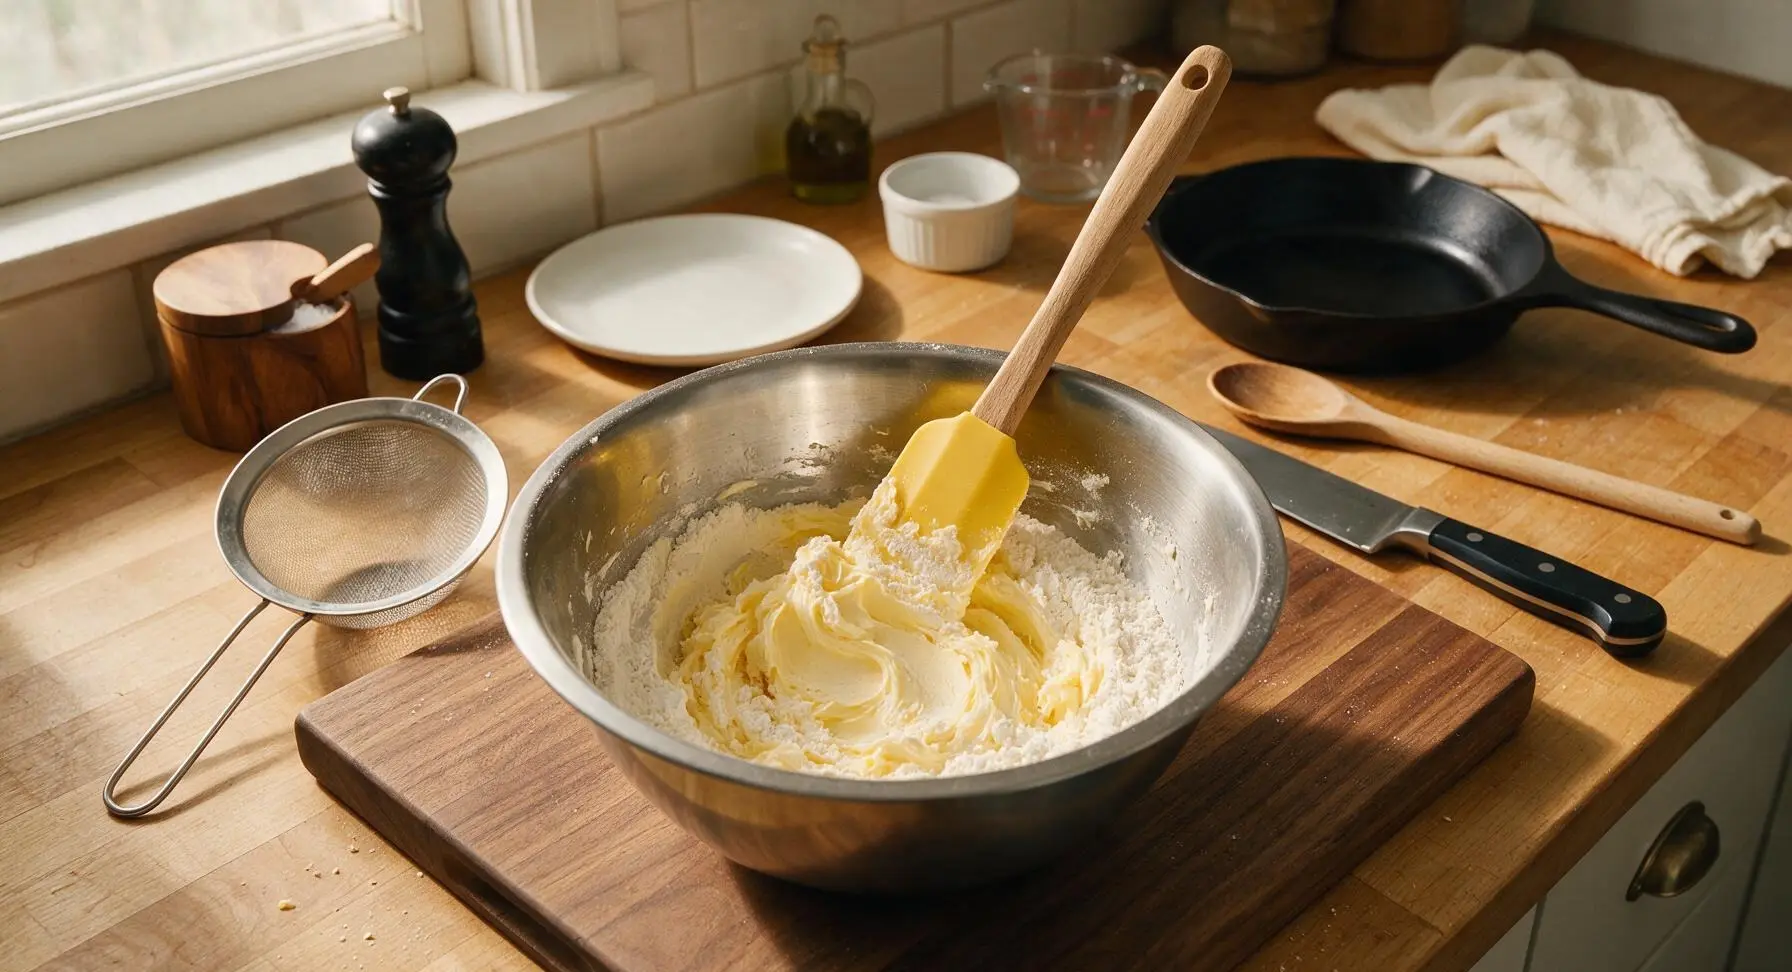
Add the 1 tsp vanilla extract to the creamed butter mixture and stir briefly with the silicone spatula to combine. Gradually add the sifted flour and salt mixture to the bowl, folding gently with the spatula just until no dry flour remains, and a soft, crumbly, uniform dough forms. Do not overmix, as this will make the shortbread tough rather than tender and crumbly — the dough should hold together when squeezed in your hand, but not be sticky.
Step 3
step3:Combine Flour and Butter
4

Press Dough Evenly

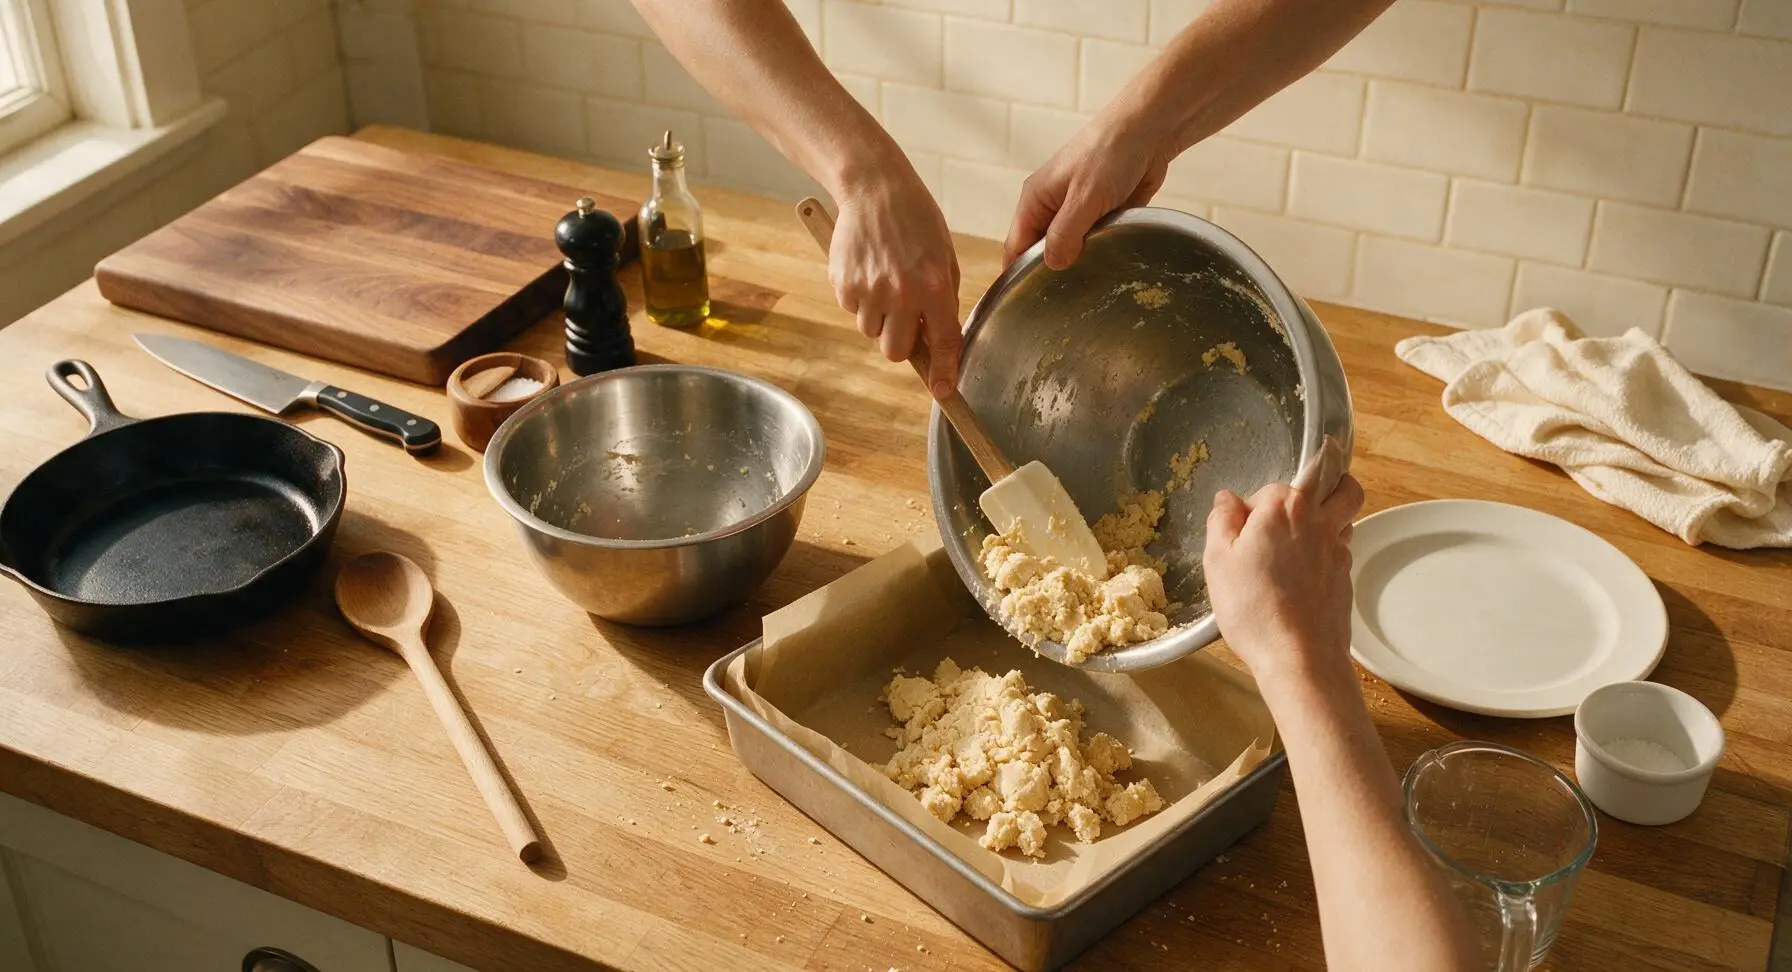
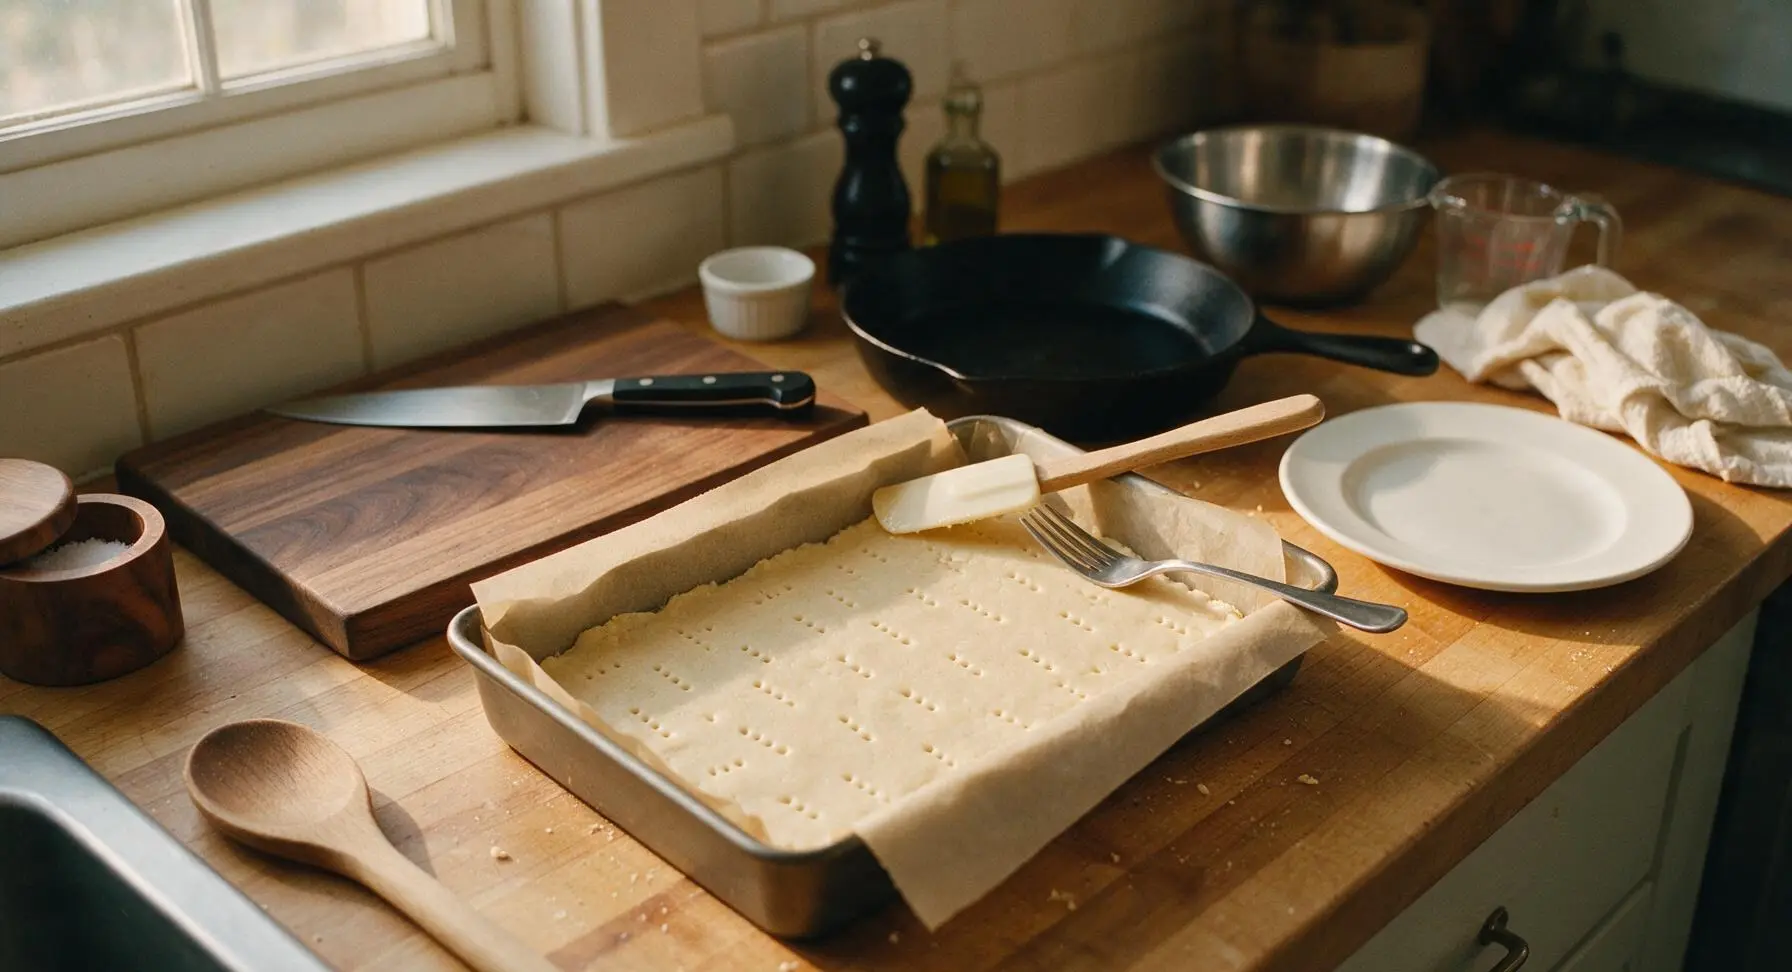
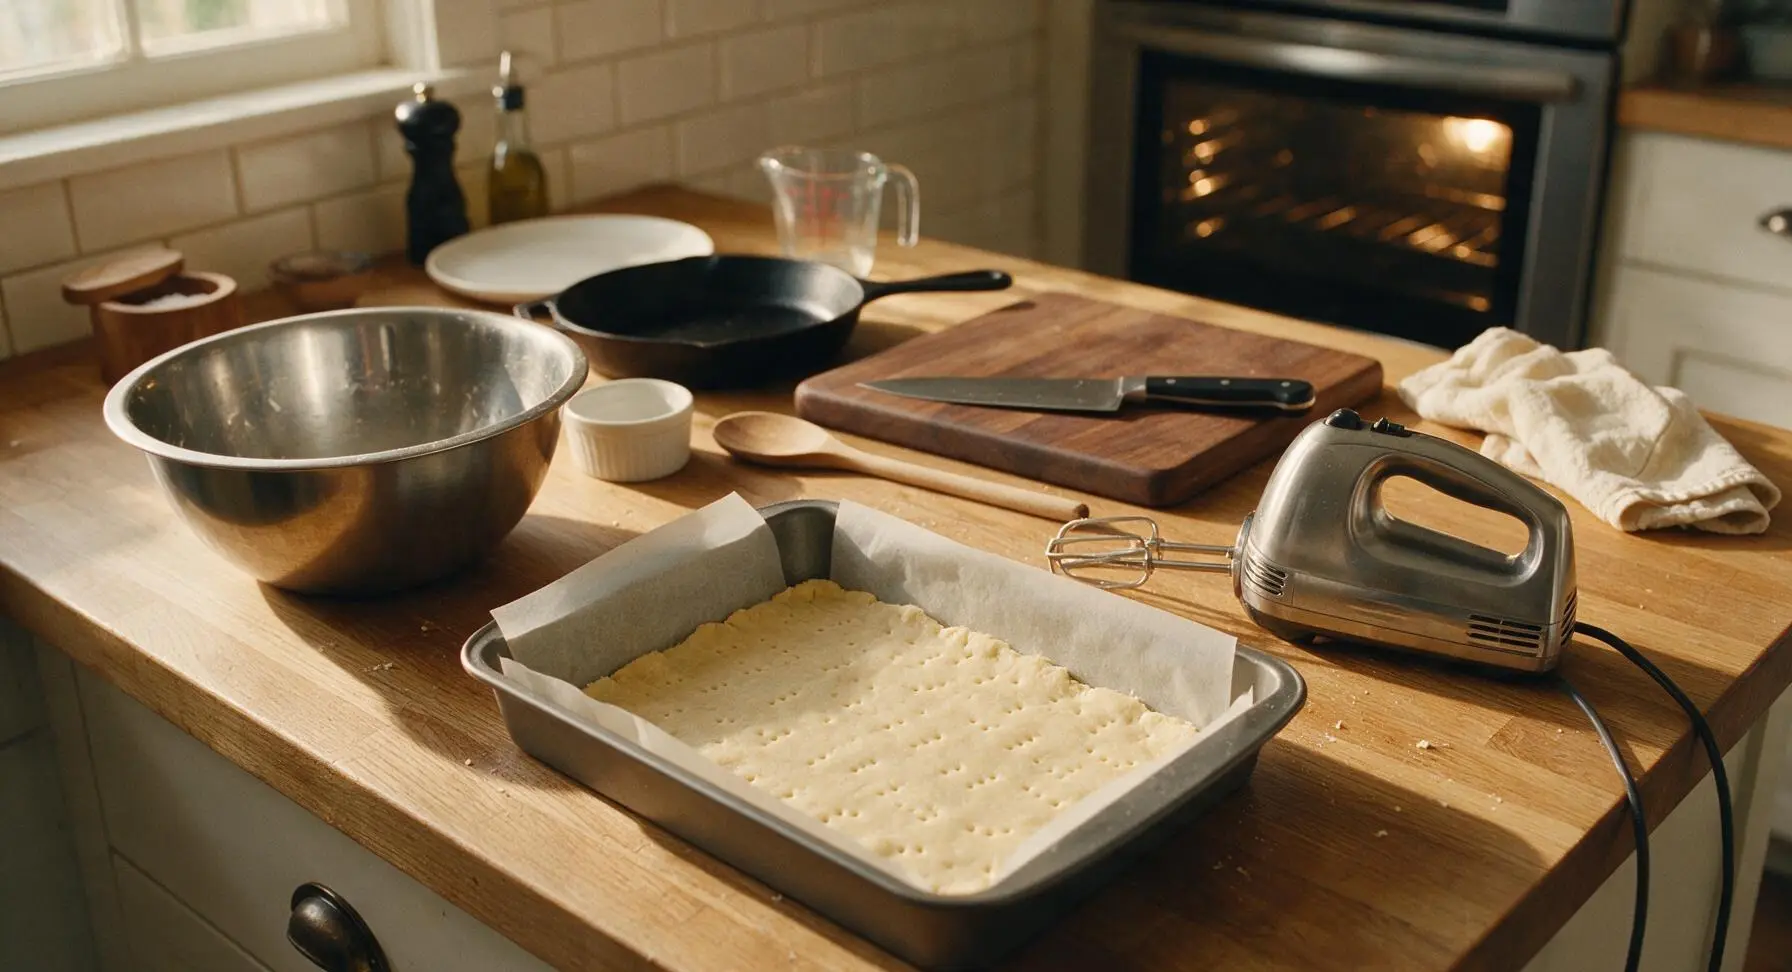
Tip the crumbly shortbread dough into the parchment-lined baking tin. Use the back of the silicone spatula (or clean, dry fingers) to press the dough firmly and evenly across the entire base of the tin, creating a smooth, level surface exactly 1cm thick. Take extra care to press the dough into the corners of the tin so there are no gaps or uneven edges. Prick the entire surface of the dough all over with the tines of the stainless steel dinner fork to prevent air bubbles from forming while baking.
Step 4
step4:Press Dough Evenly
Step 4
step4:Press Dough Evenly
5

Chill Dough Briefly

Place the tin with the pressed dough in the refrigerator to chill for 15 minutes. Chilling the dough prevents the shortbread from spreading too much in the oven and helps it hold its clean finger shape. While the dough chills, preheat the oven to 160C (325F, gas mark 3), with the oven rack positioned in the center of the oven.
Step 5
step5:Chill Dough Briefly
6

Bake to Pale Golden

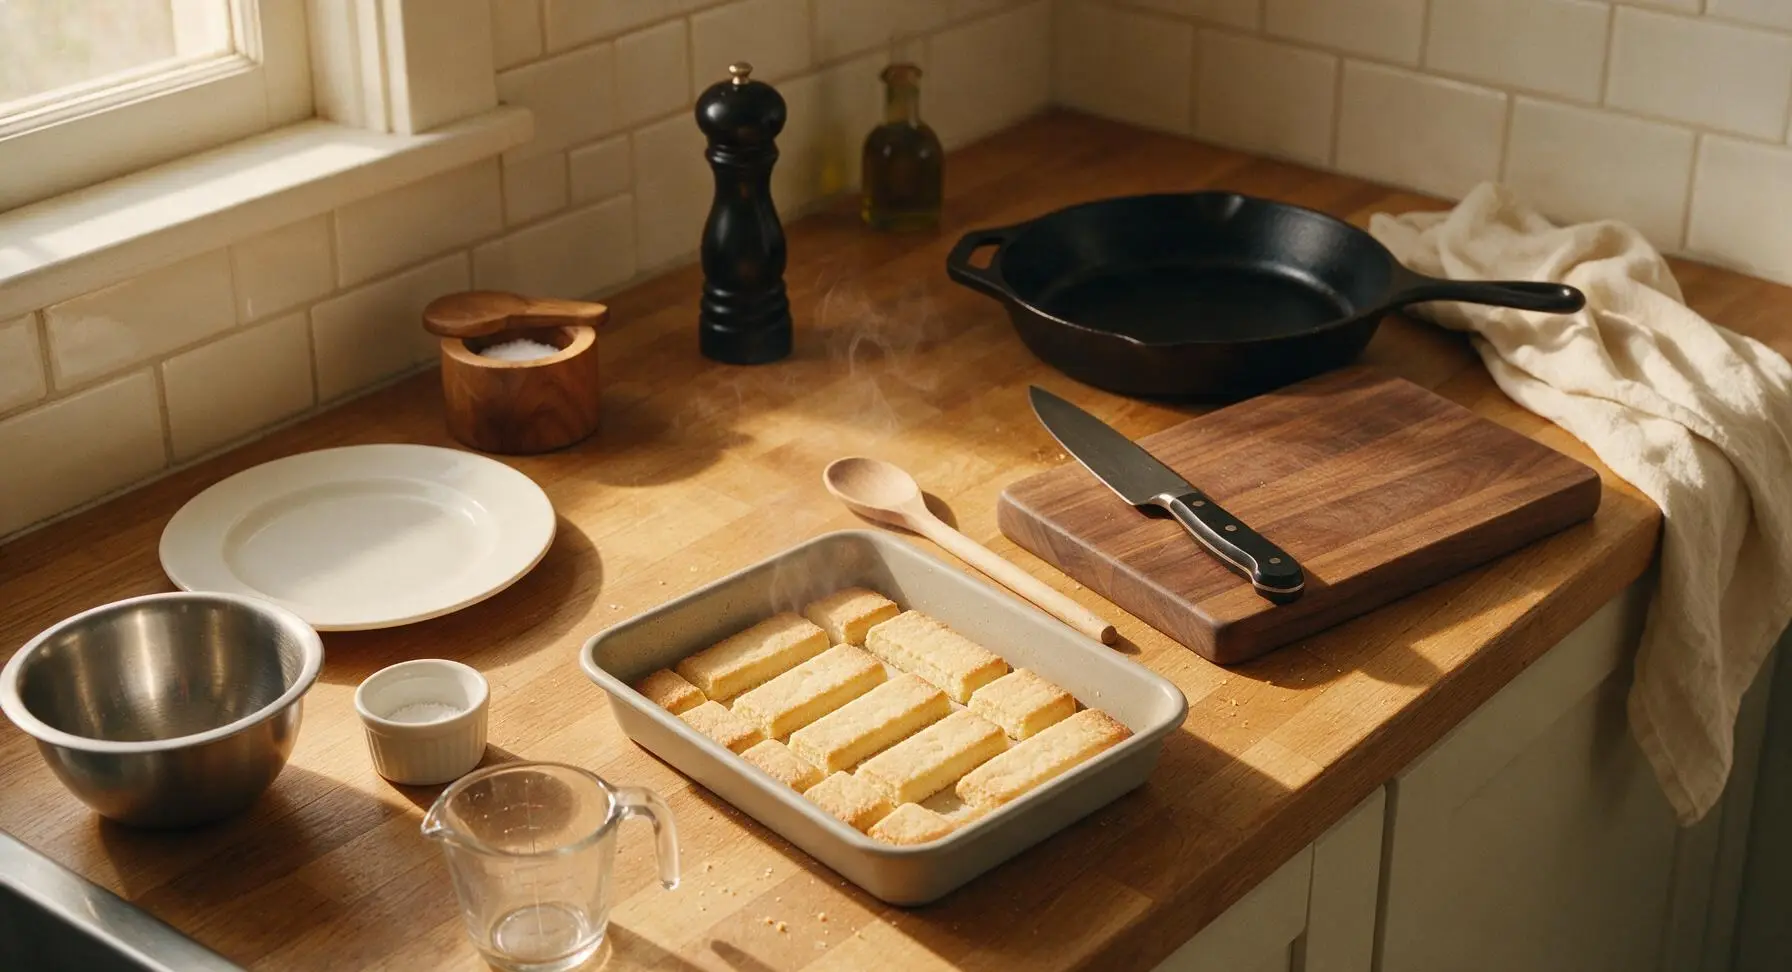
Once chilled, remove the tin from the fridge and place it directly on the center oven rack. Bake for 22-25 minutes, until the shortbread is a pale, even golden color, with slightly darker edges — it will still feel slightly soft to the touch in the center when done, as it will firm up as it cools. Do not overbake, as this will make the shortbread dry and hard rather than melt-in-your-mouth tender.
Step 6
step6:Bake to Pale Golden
7

Cut and Cool Completely

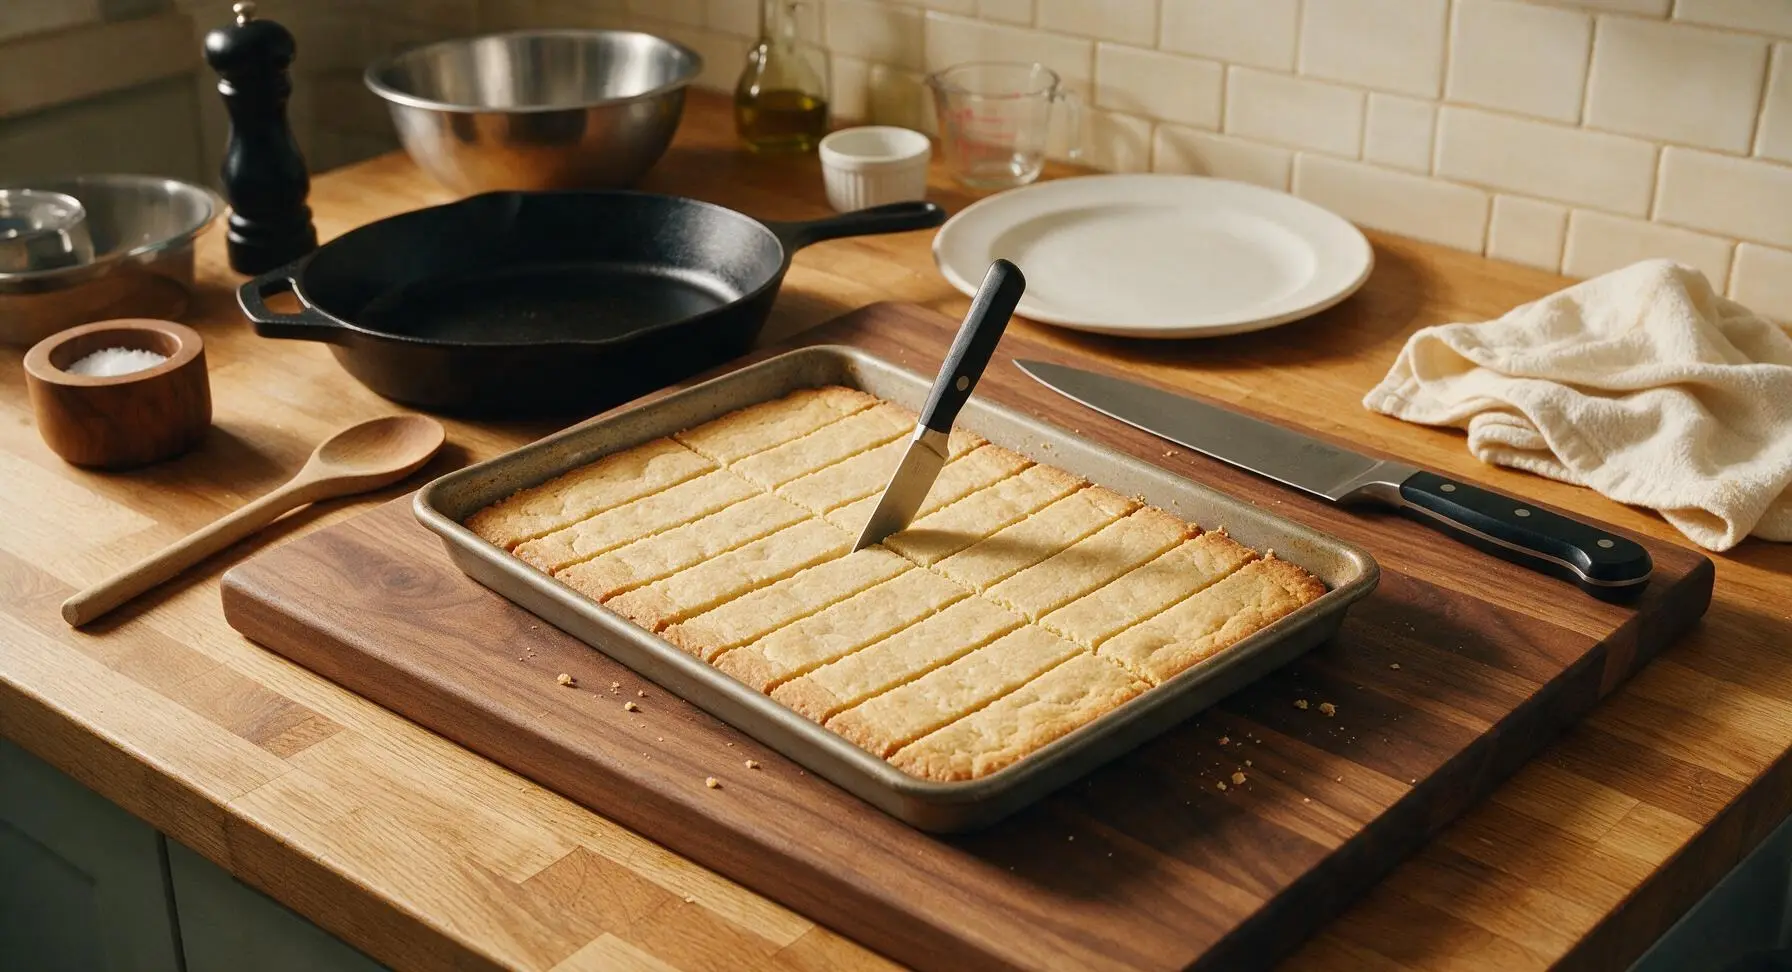
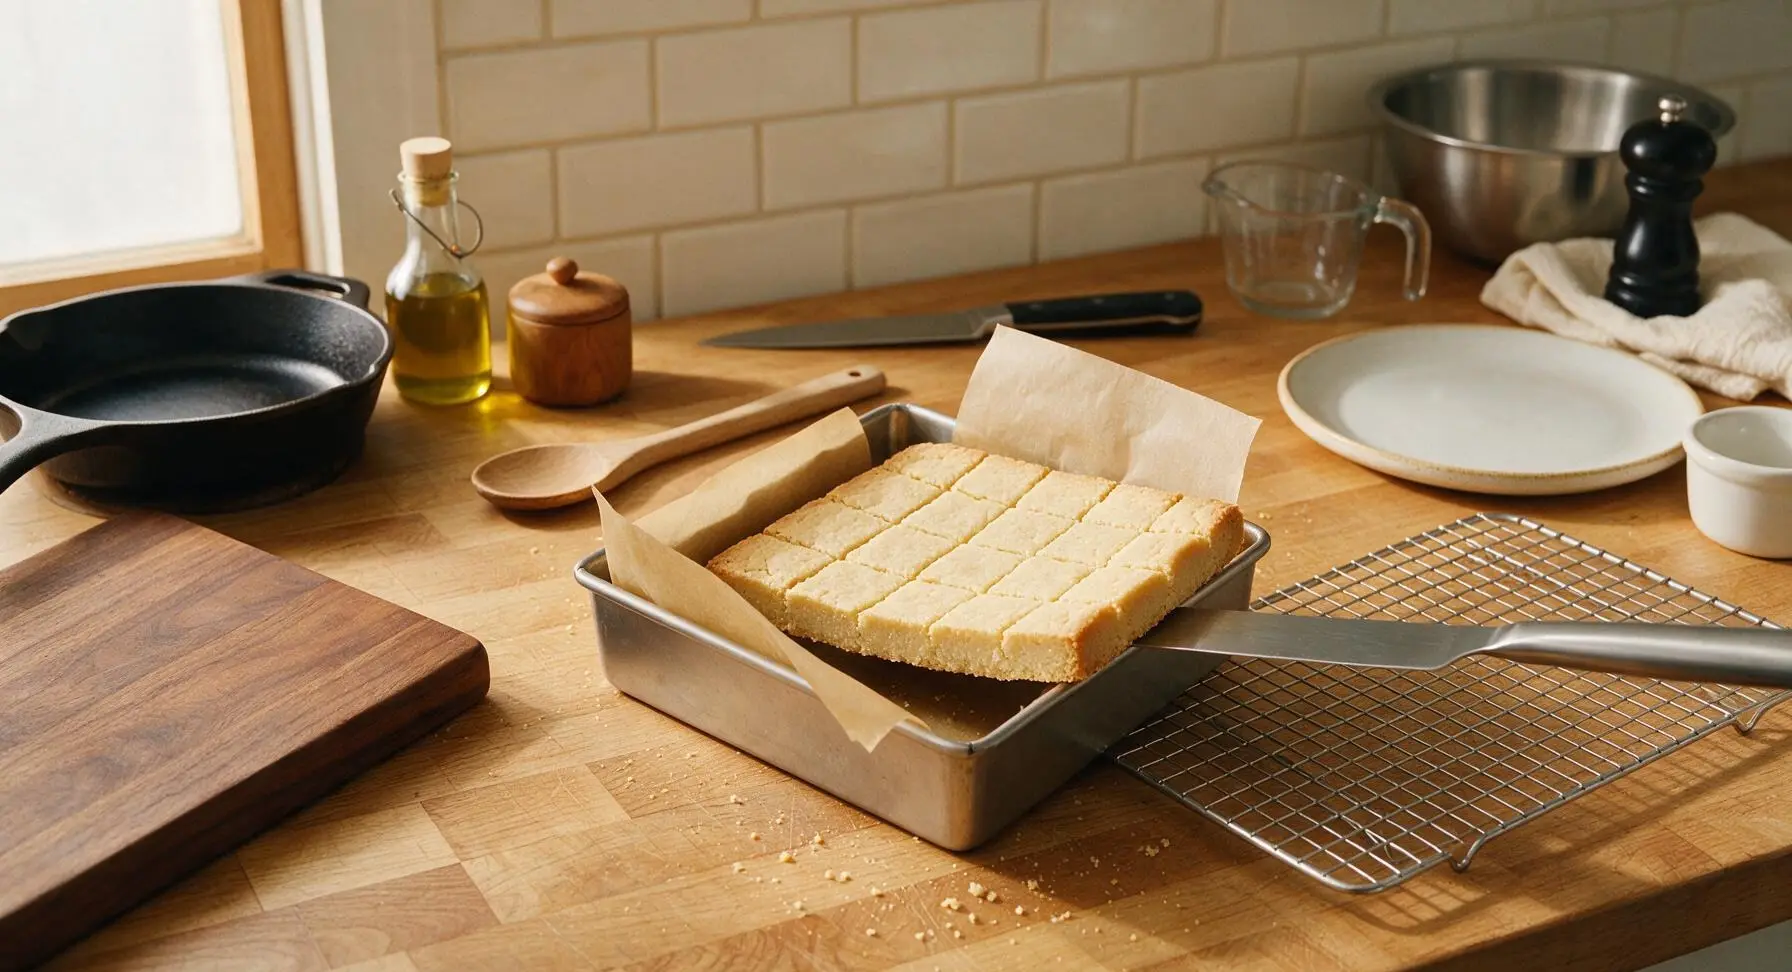
As soon as the shortbread comes out of the oven, use the sharp paring knife to cut it into 16 even 2.5cm (1-inch) wide fingers directly in the tin, cutting all the way through but not moving the pieces yet. Let the shortbread cool in the tin for 10 minutes, then use the parchment overhang to lift the entire slab out of the tin and transfer it to the matte chrome wire cooling rack to cool completely for another 20 minutes. Cutting while warm ensures clean edges without the shortbread cracking.
Step 7
step7:Cut and Cool Completely
Step 7
step7:Cut and Cool Completely
8

Dust and Plate Fingers

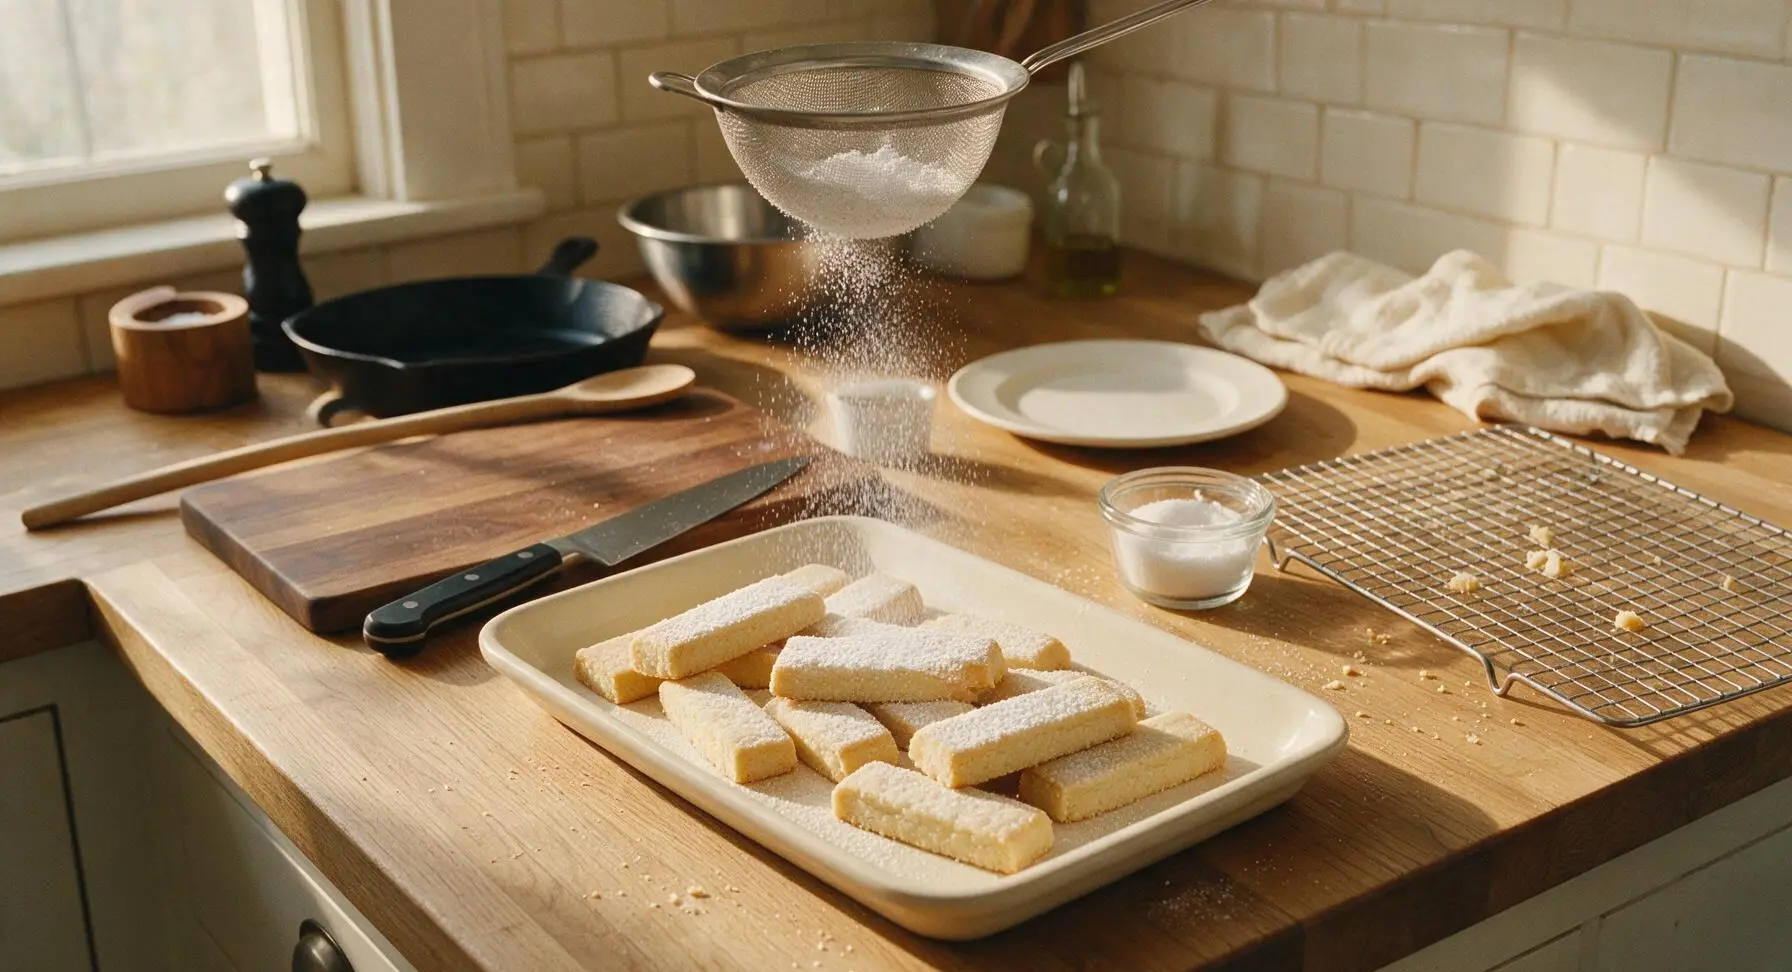
Once the shortbread fingers are completely cool, transfer them to the rectangular cream ceramic serving platter. Place the extra 1 tbsp caster sugar in the small clear glass ramekin, and use the fine-mesh sieve to dust a light, even layer of sugar over the top of the fingers. Serve immediately, or store in an airtight tin for up to 2 weeks.
Step 8
step8:Dust and Plate Fingers

Tips

1.Use butter softened to room temperature (65°F/18°C) — not melted or cold: Properly softened butter creams evenly with sugar to create the light, crumbly texture shortbread is known for, while cold butter won’t incorporate smoothly and melted butter leads to flat, greasy finished fingers.
2.Stop mixing the dough as soon as no dry flour remains: Overmixing after adding flour develops gluten, which results in tough, dense shortbread instead of the signature melt-in-your-mouth, sandy texture. The dough should be soft and crumbly, not smooth and elastic like bread dough.
3.Cut the shortbread into fingers immediately after taking it out of the oven: Once shortbread cools fully it becomes crisp and brittle, so cutting while warm creates clean, even edges without ragged cracks or broken pieces.


✨ You May Also Like

Desserts & Baking
🍜 Italy

Creamy, coffee-kissed classic Northern Italian no-bake dessert, with layers of rum-spiked mascarpone cream, soft ladyfingers, and a rich cocoa dusting.

⏱️ 4 hours 3Desserts & Baking ★ 4.7
Desserts & Baking
🍜 France

Flaky, shatteringly crisp, buttery French croissants with golden exteriors and soft, airy layered interiors, perfect for pairing with coffee for a special morning treat.

⏱️ 12 hours Desserts & Baking ★ 4.5
Desserts & Baking
🍜 United States

Warm, spiced baked apples topped with a fluffy golden biscuit crust, this cozy dessert pairs perfectly with vanilla ice cream for cool-weather comfort.

⏱️ 55 minuteDesserts & Baking ★ 4.6
Desserts & Baking
🍜 United States

A star-spangled classic American blueberry pie with buttery flaky crust and bright sweet-tart filling, perfect for summer patriotic gatherings.

⏱️ 1 hour 25Desserts & Baking ★ 4.7
Desserts & Baking
🍜 United States

A beloved no-bake regional Maine candy with a chewy coconut-potato center coated in rich dark chocolate, a New England holiday staple since the 1870s.

⏱️ 2 hours 3Desserts & Baking ★ 4.8
Desserts & Baking
🍜 France

Luxuriously creamy, floral frozen custard made with aromatic Tahitian vanilla beans, boasting a smooth, rich texture that melts slowly on the tongue.

⏱️ 3 hours 3Desserts & Baking ★ 4.5

Shortbread Fingers:Frequently Asked Questions

1.Why do my shortbread fingers turn out tough instead of that signature melt-in-your-mouth texture? ▾
The most common culprit is overworking the dough, which develops too much gluten in the flour and leads to a tough bite. Mix just until the dough comes together in a crumbly mass that holds when pressed, and avoid kneading it. Also, don’t pack your flour when measuring—spoon it into the measuring cup and level it off for a light, tender crumb.
2.Can I use regular granulated sugar instead of caster sugar for this recipe? ▾
Caster sugar’s fine grain dissolves seamlessly into softened butter for that perfectly smooth, non-gritty shortbread texture, but you can make a quick substitute if you don’t have it on hand. Just pulse regular granulated sugar in a clean food processor for 10 seconds to break down the grains slightly, and avoid swapping in powdered sugar, which has added cornstarch that changes the delicate crumb.
3.How do I prevent my shortbread fingers from spreading and losing their clean, even shape in the oven? ▾
Two easy steps will fix this: first, don’t over-soften your butter—it should give slightly when pressed with a finger, not be greasy or partially melted. Second, after you cut the dough into fingers, chill the tray of cut dough in the fridge for 25 to 30 minutes before baking to help the butter set, so it doesn’t melt too fast and cause uneven spreading.
4.How long do these shortbread fingers stay fresh, and are they good for advance holiday gifting? ▾
They’re ideal for gifting, actually! Once fully cooled to room temperature, stack the fingers between sheets of parchment paper in an airtight container, and they’ll stay crisp and buttery for up to 2 weeks at cool room temperature. Many bakers think they taste even better 1 to 2 days after baking, once the rich butter flavor fully mellows and deepens.
5.Can I customize this base recipe with mix-ins like chocolate or citrus zest? ▾
Absolutely, this simple classic base is incredibly versatile. Stir in 2 to 3 tablespoons of small, evenly sized add-ins—think finely grated lemon zest, mini semi-sweet chocolate chips, or finely chopped toasted pecans—right as the dough comes together. Just avoid large, heavy mix-ins, which can distort the neat shape of the fingers as they bake.
6.I only have salted butter in my fridge—can I use that instead of unsalted butter? ▾
You can absolutely swap in salted butter, just adjust the recipe’s added salt to keep the flavor balanced. Skip the fine sea salt the recipe calls for entirely if using salted butter, and double check that your butter is 100% pure dairy with no added vegetable oil spreads, which will ruin the tender, melt-in-your-mouth buttery texture.

Comments (11)

2 days ago

OMG these shortbread fingers are SO good! I made them for my kid’s after-school snack this week and they begged for seconds before they even finished the first one. Buttery, not too sweet, perfect with a glass of milk. Total game changer for my weekly meal prep of snacks!

yesterday

Wait did you add any extra vanilla? I’m thinking of tossing in a little lemon zest for our neighborhood potluck next weekend!

yesterday

So glad your kids loved them! A little lemon zest is a fantastic add-in — it pairs beautifully with the buttery shortbread base. Let us know how the potluck batch turns out!

1 week ago

Brought these to our church potluck last Sunday and the platter was empty in 10 minutes flat! Everyone was asking for the recipe, I can’t believe how easy they are for how fancy they taste. I sprinkled a little coarse sugar on top before baking and *chef’s kiss*.

5 days ago

Oh the coarse sugar top is such a good call! I tried making these last week and they were a little plain, I’m definitely stealing that tip for my next batch.

5 days ago

Love the coarse sugar hack! It adds the perfect little crunch and makes them look extra special for a crowd. So happy they were a hit at the potluck!

3 days ago

These are great! I baked them for 25 minutes exactly like the recipe said, but the edges got a little darker than I wanted on my first batch. Flavor is perfect though, super buttery and crumbly just like shortbread should be.

2 days ago

Thanks for the feedback! Oven temps can vary a lot, so next time try checking them at the 20 minute mark — they’re done when the edges are just lightly golden. Glad you loved the flavor!

yesterday

As someone who burns 90% of the baked goods I attempt, these were foolproof! 25 minute cook time, super simple ingredients, no fancy equipment needed. My 7 year old helped me mix the dough and we had a blast. 10/10 will make again.

2 hours ago

Same here! I’m terrible at baking and these came out perfectly on my first try. My hiking group loved them as trail snacks last weekend!

5 days ago

I swapped the regular all purpose flour for a 1:1 gluten free flour blend and these turned out AMAZING. I was worried the texture would be off but they were just as buttery and crumbly as regular shortbread. My gluten intolerant sister-in-law was over the moon when she tried them.

3 days ago

That’s such a helpful swap for gluten free bakers! We’re so glad the 1:1 blend worked well for you, thanks for sharing that tip with the community.

2 weeks ago

I’ve been making shortbread for 40 years and this recipe is just as good as the one my own mom passed down! No weird extra ingredients, just simple, classic flavor. I cut mine a little thicker than the recipe suggested and they were perfect.

1 week ago

Thicker cuts sound dreamy! I’ve been making mine thin and crispy but I need to try them thicker next time for that extra melt-in-your-mouth vibe.

3 days ago

Made a test batch of these for my annual Christmas cookie swap and they are going to be the star of the plate! I dipped half of each finger in dark chocolate after they cooled and added a sprinkle of sea salt. *Chef’s kiss* no notes.

2 days ago

The dark chocolate and sea salt addition sounds absolutely decadent! We love that you’re testing recipes ahead for cookie swap season — that’s such a smart move. Thanks for sharing!

30 minutes ago

Just pulled these out of the oven and my whole apartment smells like butter and heaven. I’ve been craving shortbread for weeks and this recipe hit every single note. Not too sweet, perfectly crumbly, so easy to throw together after work. No notes, will be making these every other week from now on.

5 minutes ago

Made these in my tiny dorm kitchen with just a mixing bowl and a baking sheet, no fancy mixer needed! Only reason I’m not giving 5 stars is I accidentally over-salted mine a little because I used salted butter instead of unsalted. My bad, not the recipe’s fault! Will definitely make again with unsalted butter next time.

just now

These shortbread fingers are the exact perfect pairing for my afternoon earl grey. I keep a tin of them on my counter now for when friends pop over for tea, and everyone always comments on how good they are. Way better than any store-bought shortbread I’ve ever bought.

2 days ago

Hmm, mine came out a little more crumbly than I expected? Like they fell apart when I tried to pick them up after cutting. Flavor was great but the texture was off for me. Did I do something wrong?

yesterday

Oh no! I had that happen the first time I made shortbread too — I didn’t press the dough firmly enough into the pan before baking! Try really compacting it next time, it makes a huge difference.

yesterday

Great tip from BakingMom92! Firmly pressing the dough into the pan and letting it chill for 10 minutes before baking will help it hold its shape better after cutting. The crumbliness means the flavor was spot on, so you’re already most of the way there!



