
shrimp fried rice recipe authentic
intro
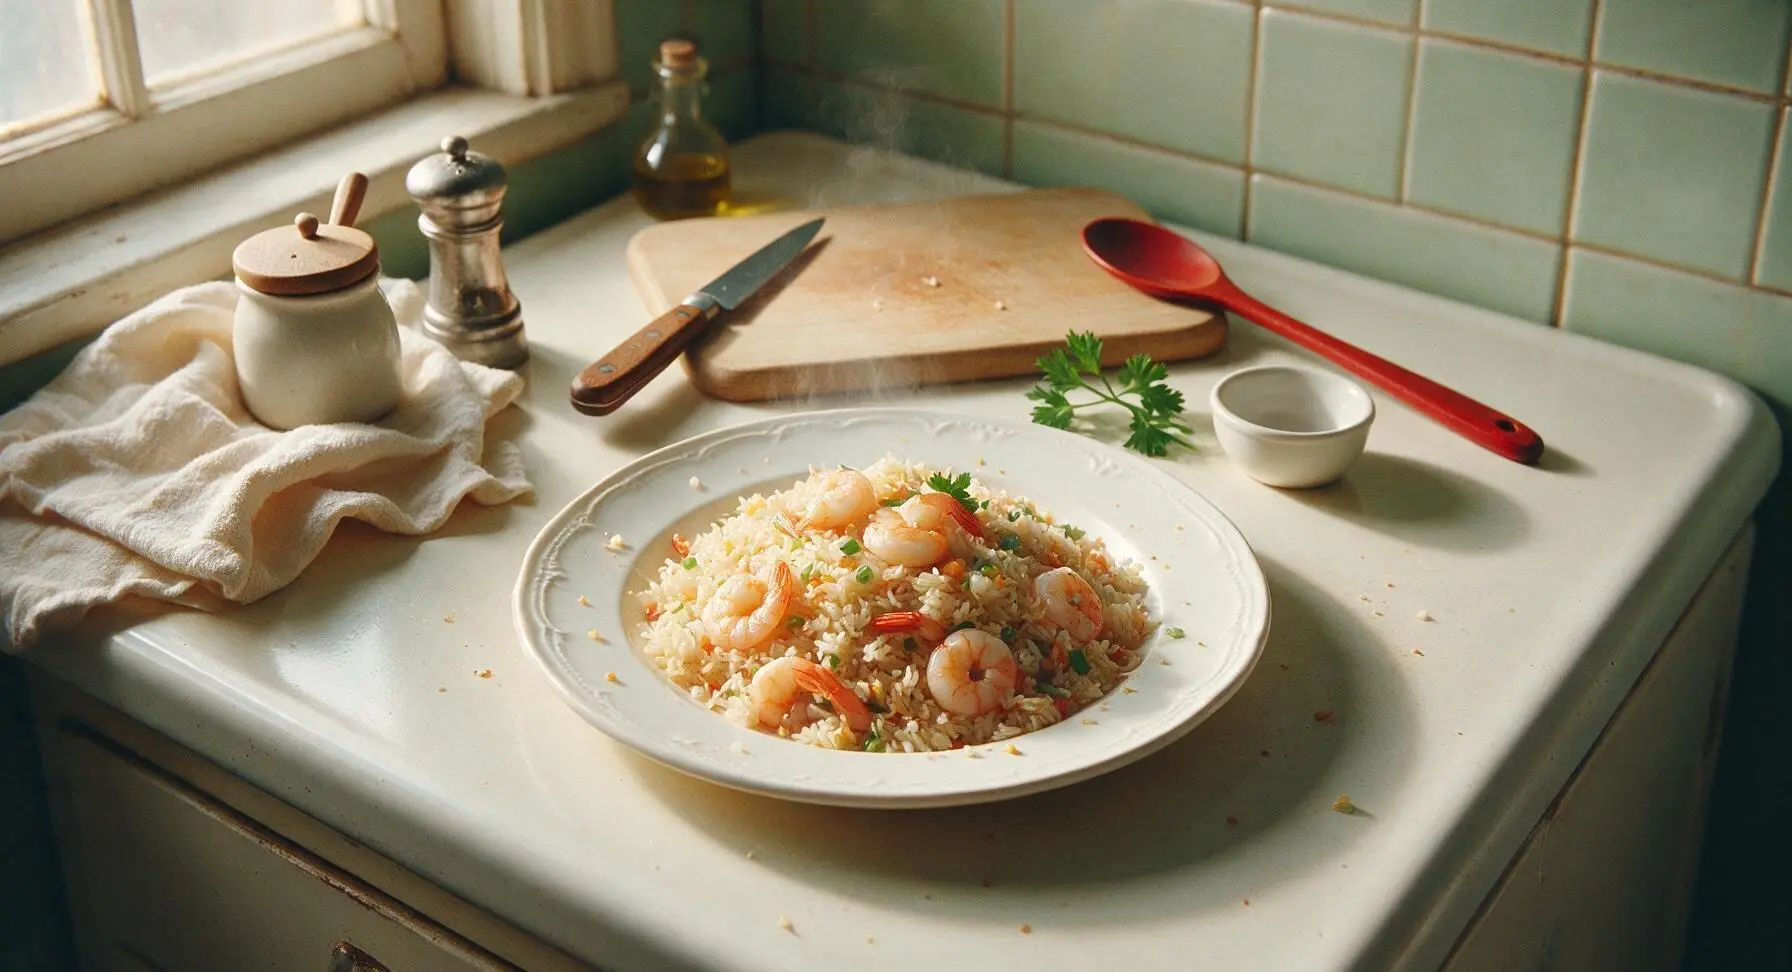
Classic Cantonese shrimp fried rice with fluffy separate grains, plump tender shrimp, subtle wok hei, and balanced savory flavor, ready in under 25 minutes.
Ingredients
Steps
Prep All Ingredients
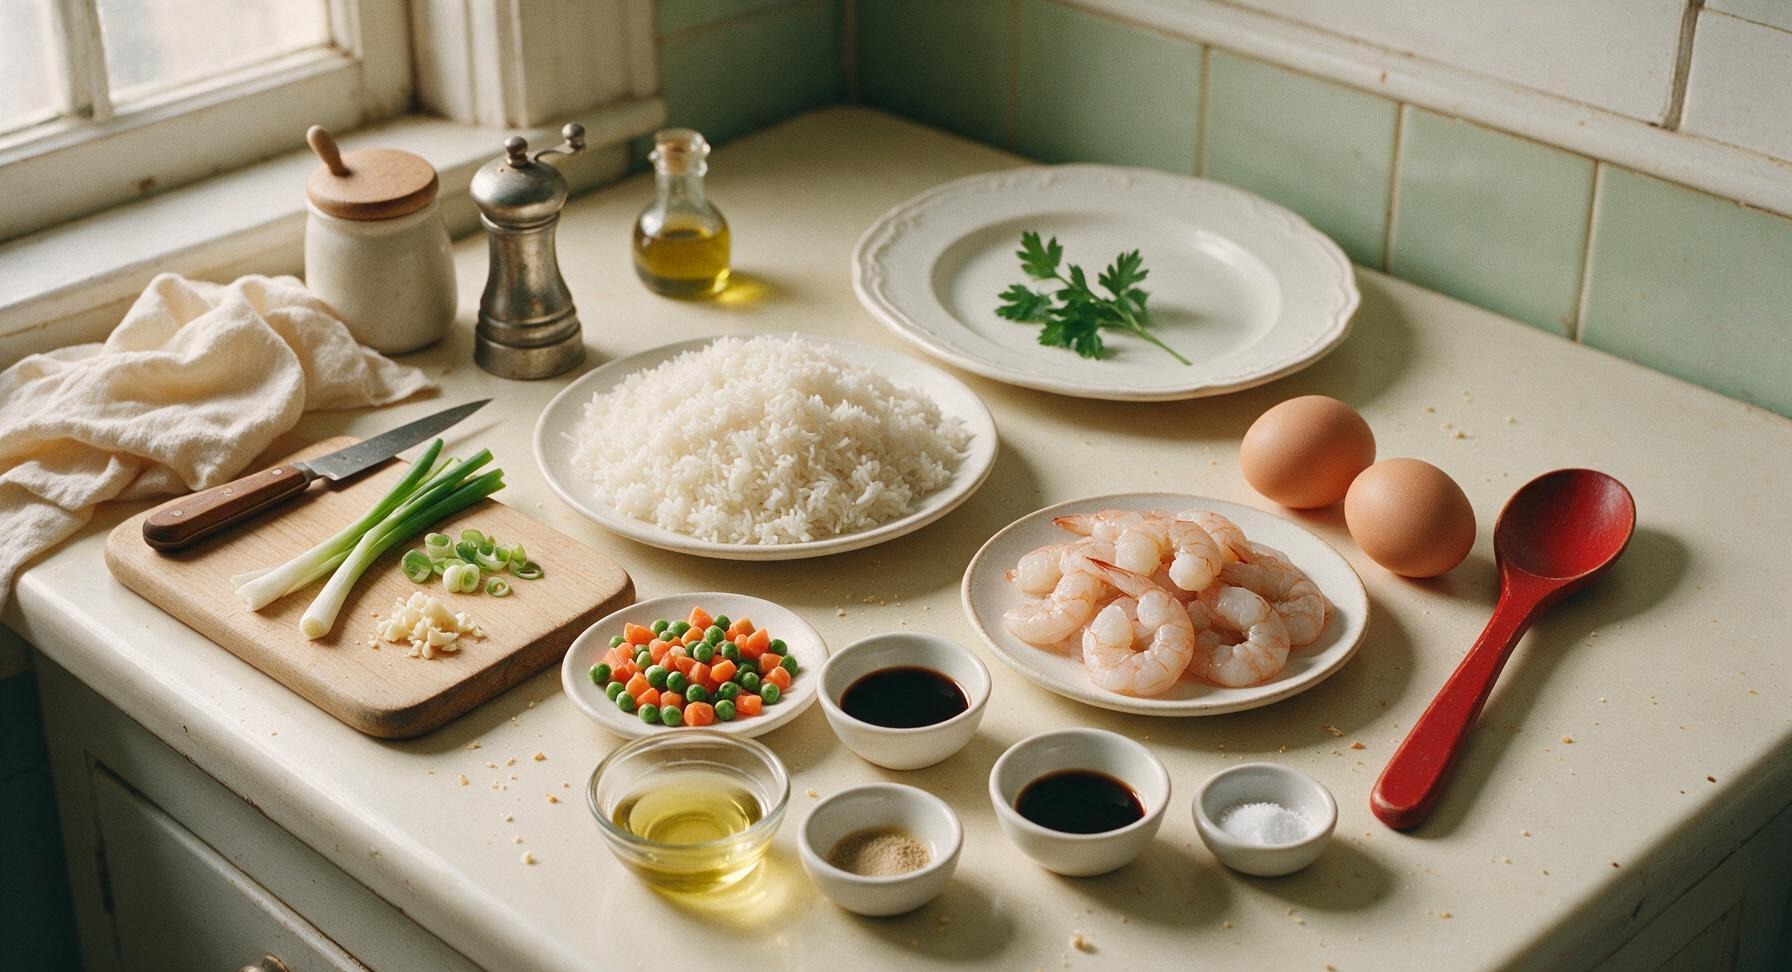
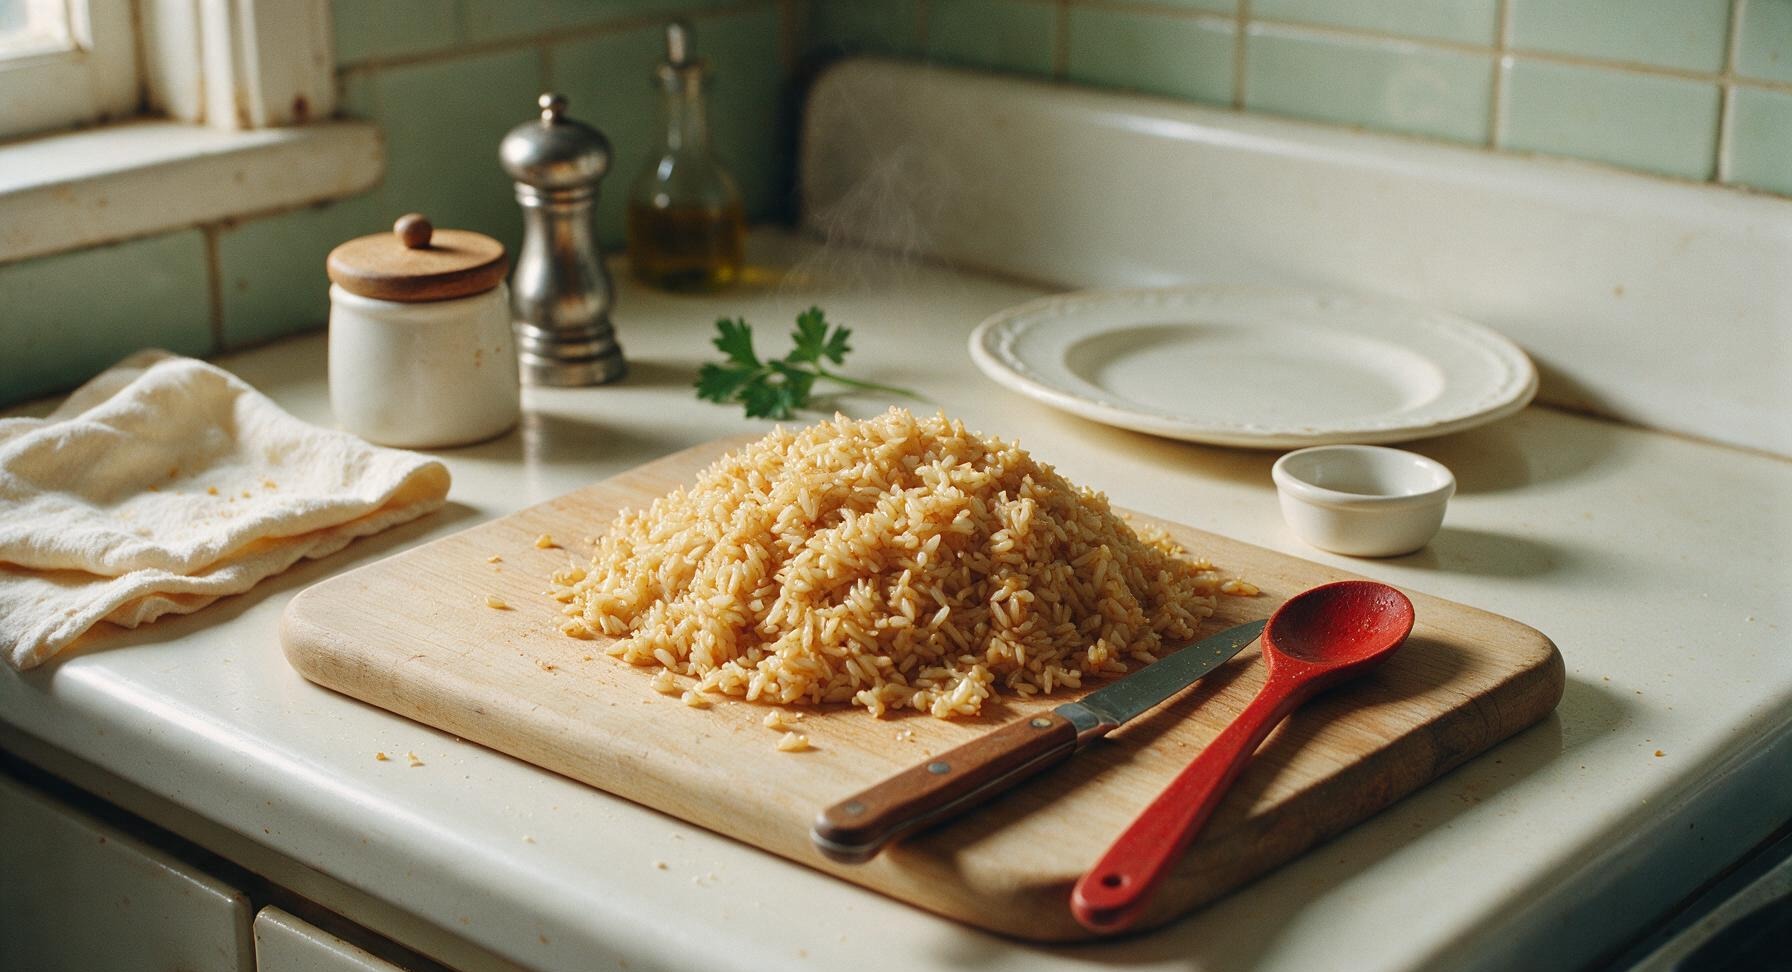
Pat peeled, deveined shrimp completely dry with paper towel, season with 1/8 teaspoon kosher salt and a pinch of white pepper, then set aside in the small ceramic shrimp dish. Crack 2 large eggs into the 10cm white ceramic bowl, whisk with the small wire whisk until fully combined with no streaks of separate egg white remaining, set aside. Separate chopped scallions into firm white parts (for early sautéing) and tender green parts (for final garnish). Pat thawed peas and carrots dry to remove all excess melted ice moisture. Gently break up any large clumps in the cold day-old rice with clean fingers until all grains are separate, with no hard lumps remaining. Total prep time is 10 minutes.
Sear Seasoned Shrimp
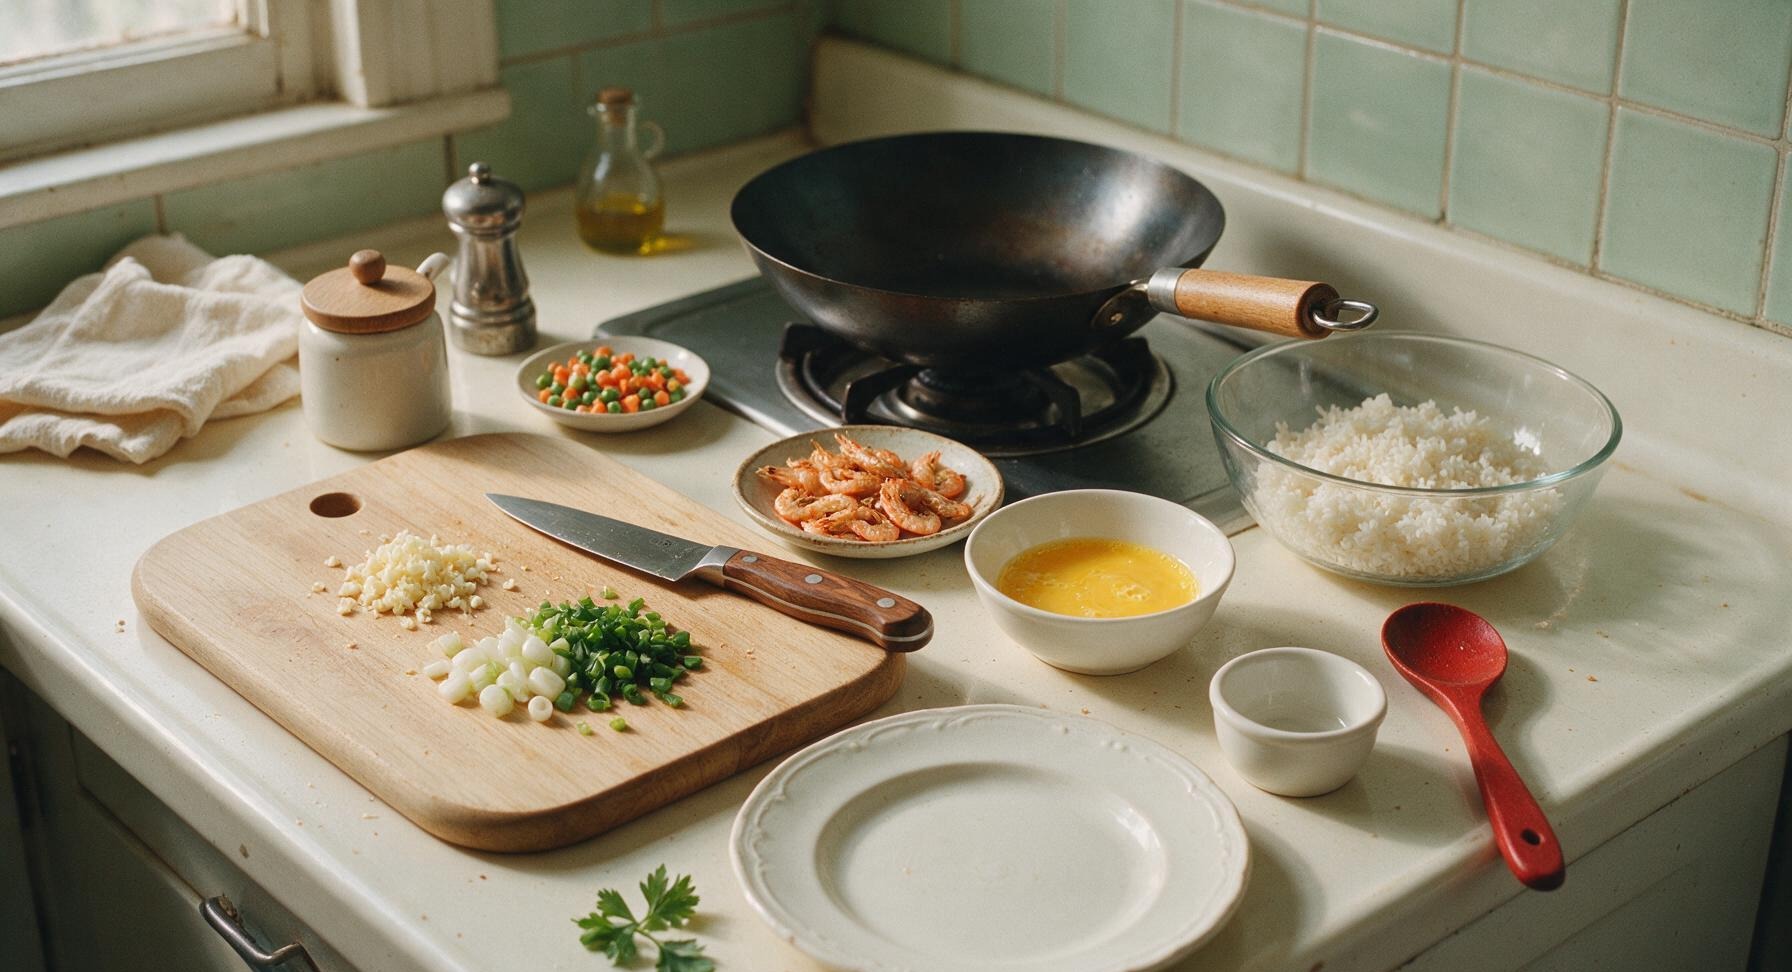
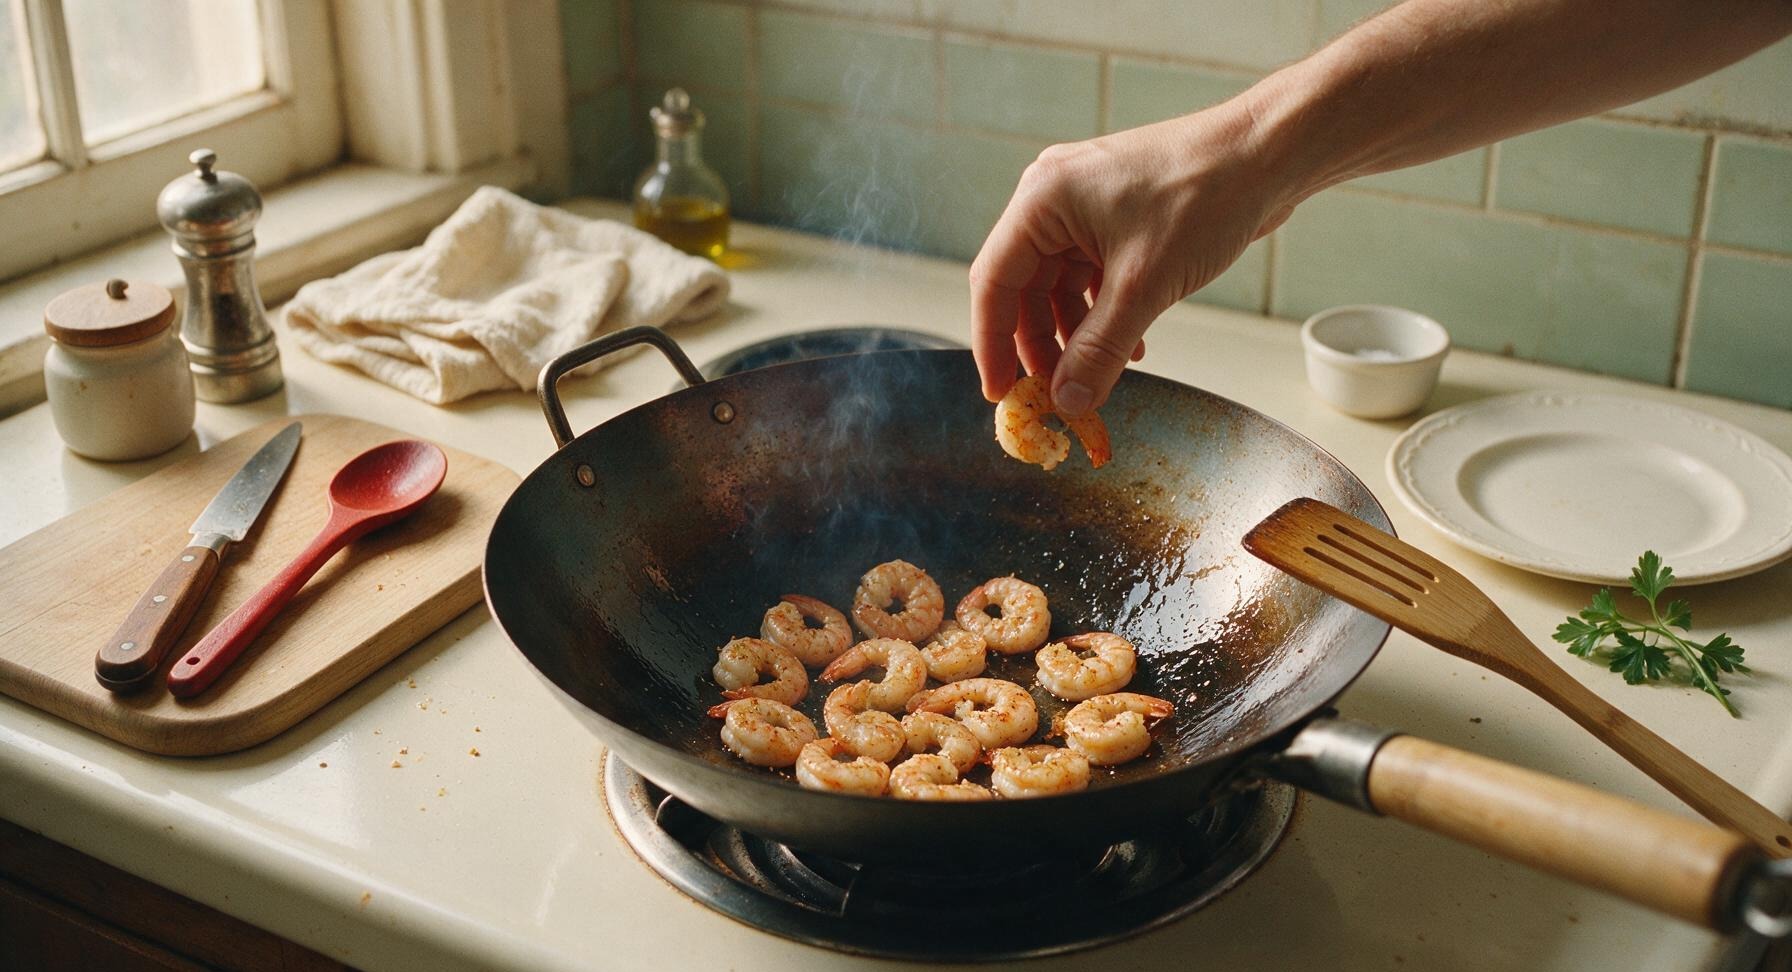
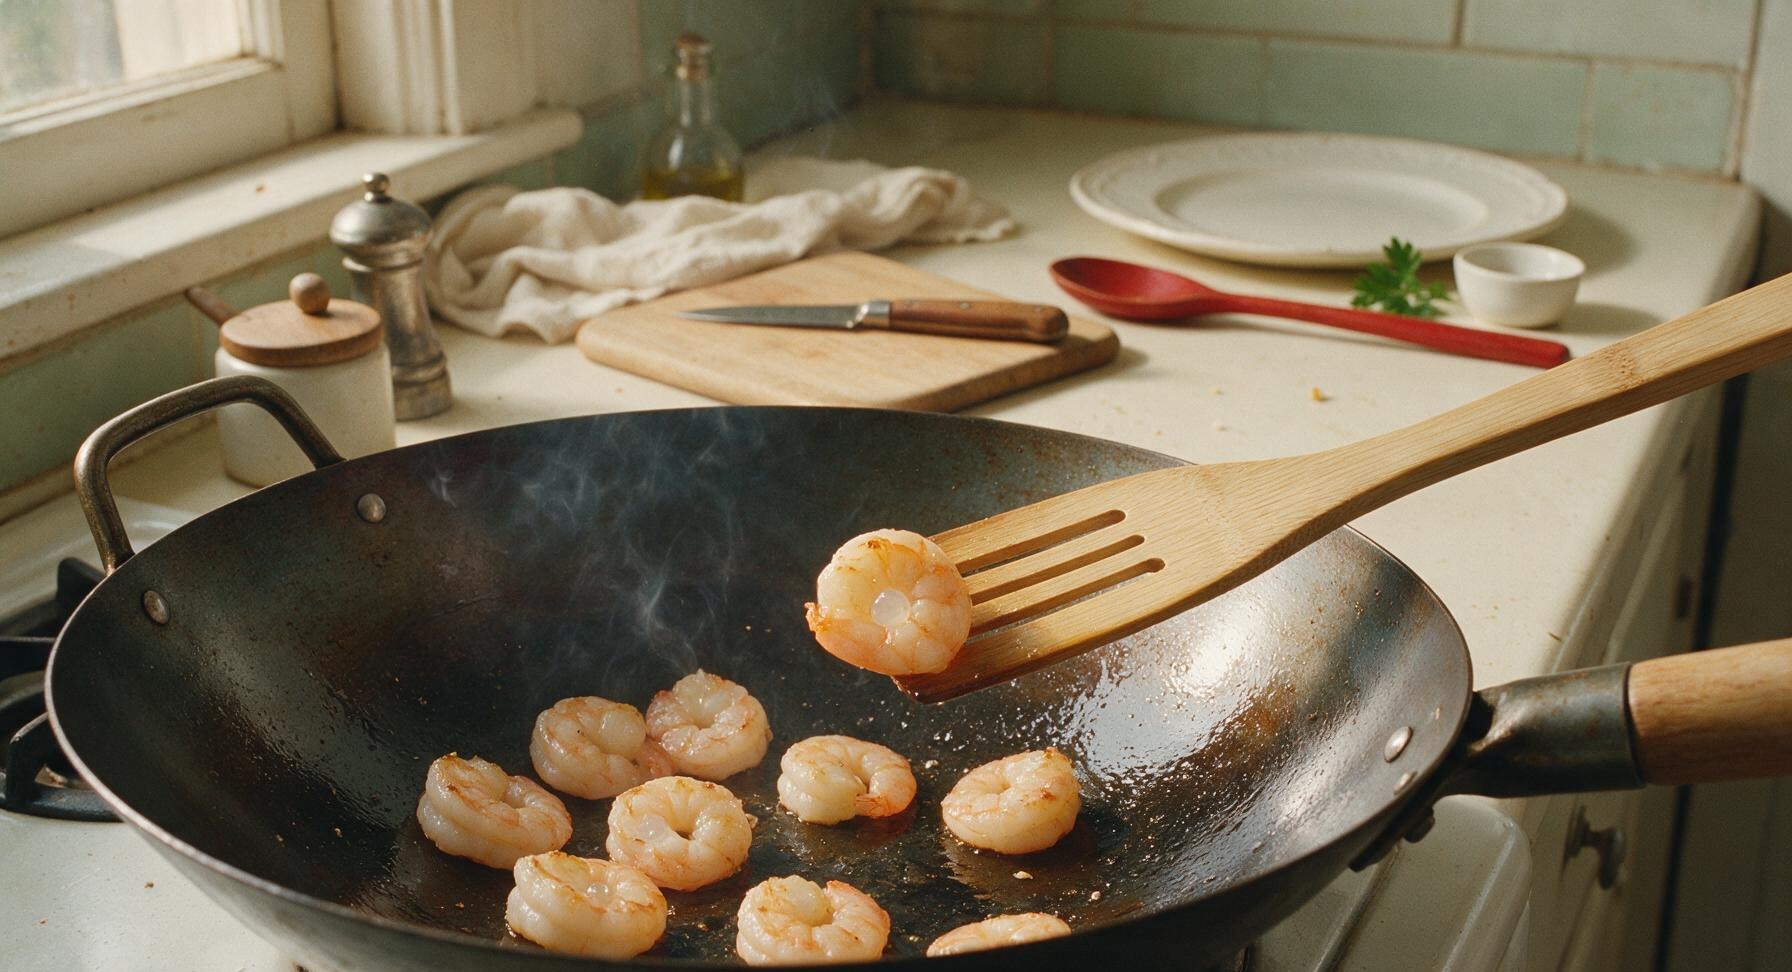
Place the 14-inch seasoned carbon steel wok on the center burner, turn heat to high, and heat for 2 minutes until the wok surface glows faintly and releases a thin wisp of smoke. Add 1 tablespoon of canola oil, swirling quickly to coat the entire inner wok surface. Carefully add the seasoned shrimp in a single even layer, searing undisturbed for 45 seconds on the first side until pale pink and opaque at the edges, then flip each shrimp with the slotted bamboo turner and sear 30 seconds on the second side. Shrimp should be only 70% cooked, with a small spot of translucent flesh in the very center — they will finish cooking when tossed with the rice, so overcooking now will result in tough, rubbery shrimp. Transfer seared shrimp back to their ceramic dish and set aside.
Scramble Fluffy Eggs
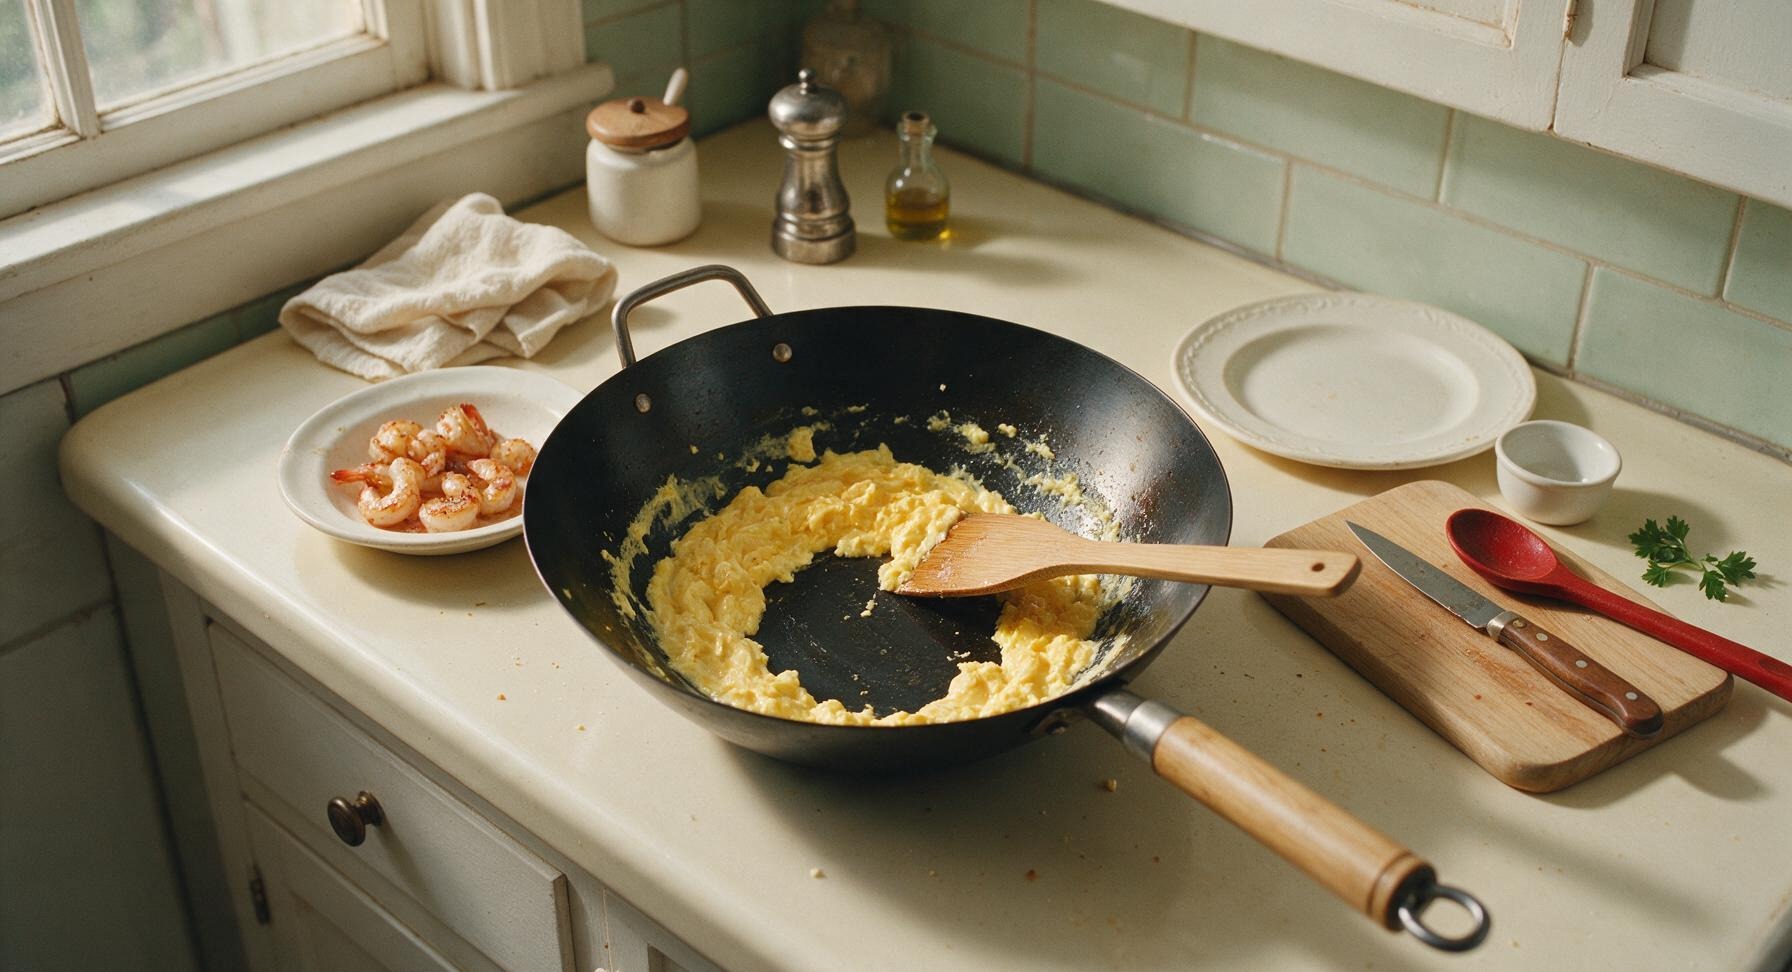
Reduce burner heat to medium-high, add the remaining 1 tablespoon of canola oil to the wok. Pour in the whisked eggs, letting them set undisturbed for 10 seconds until the edges turn opaque pale yellow, then gently push and fold the eggs with the bamboo turner into small, bite-sized fluffy curds. Cook for only 30 seconds total — eggs should be soft and pale yellow, not browned or rubbery. Push all scrambled egg curds to the sloped side of the wok, leaving the hot center open for aromatics.
Sauté Aromatics and Veggies
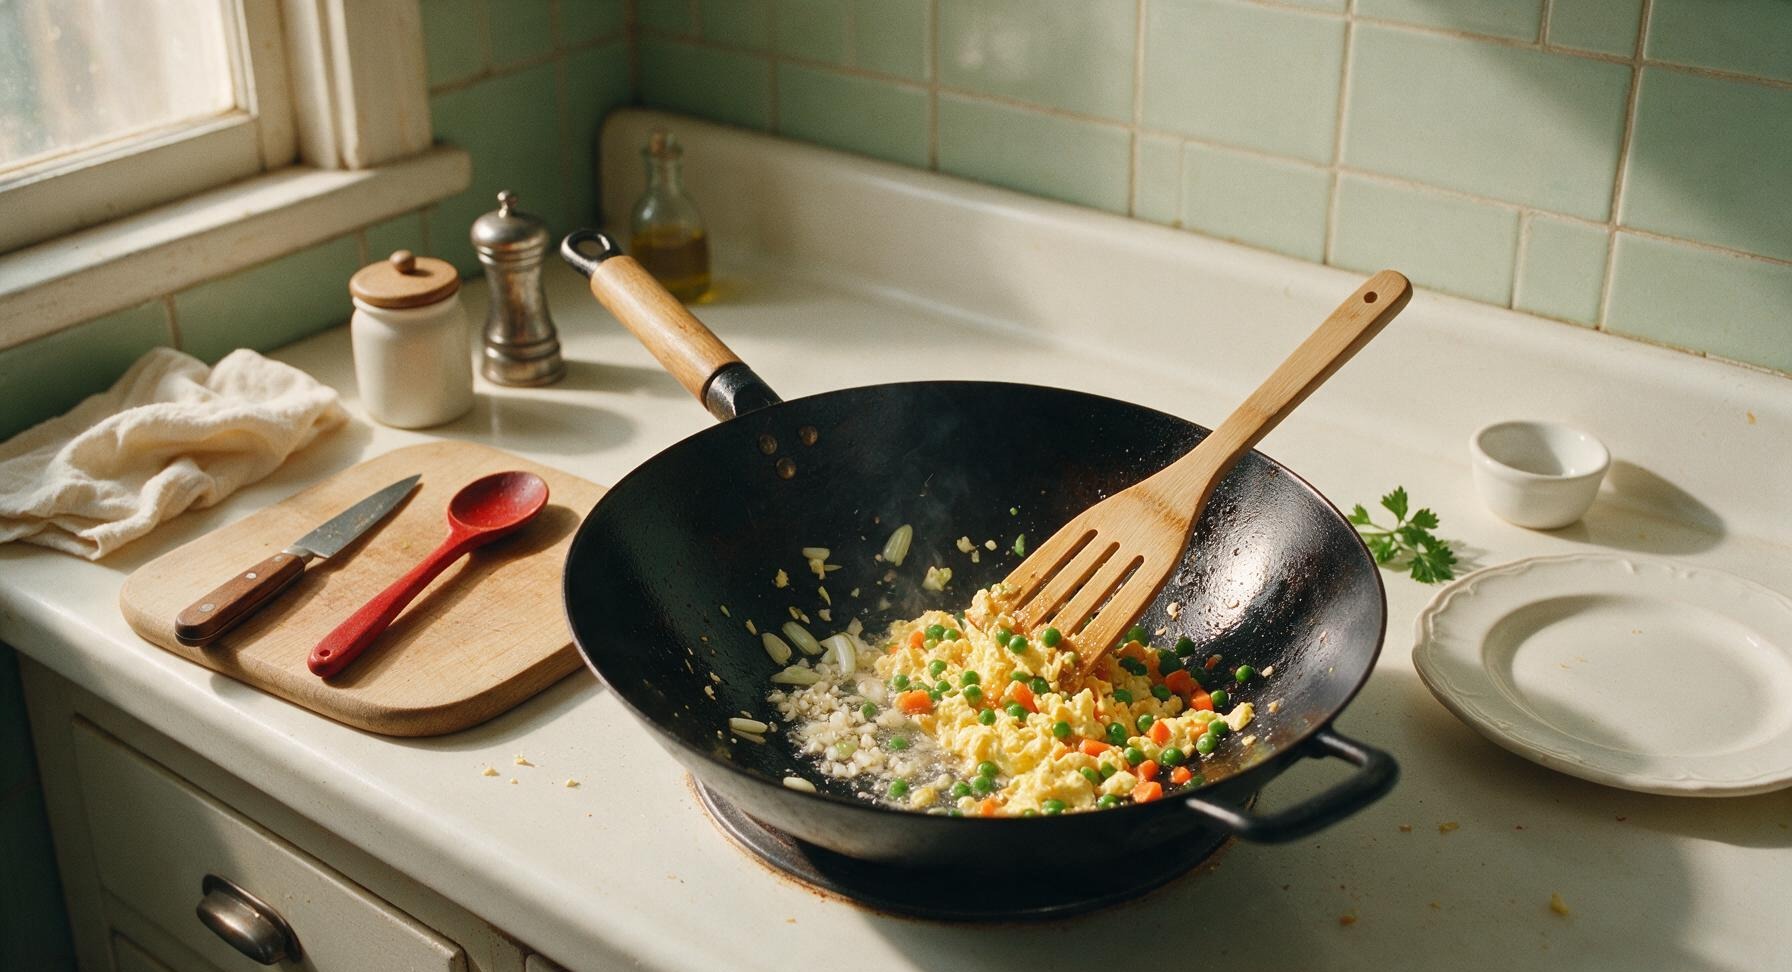
Add the chopped scallion whites and minced garlic to the open hot center of the wok, stir-frying continuously for 15 seconds until fragrant, taking extreme care not to burn the garlic (browned garlic turns bitter and will ruin the dish's flavor). Add the patted-dry peas and carrots, stir-frying for 1 full minute until heated through, with no remaining frozen crunchy texture.
Stir-Fry Rice with Seasonings
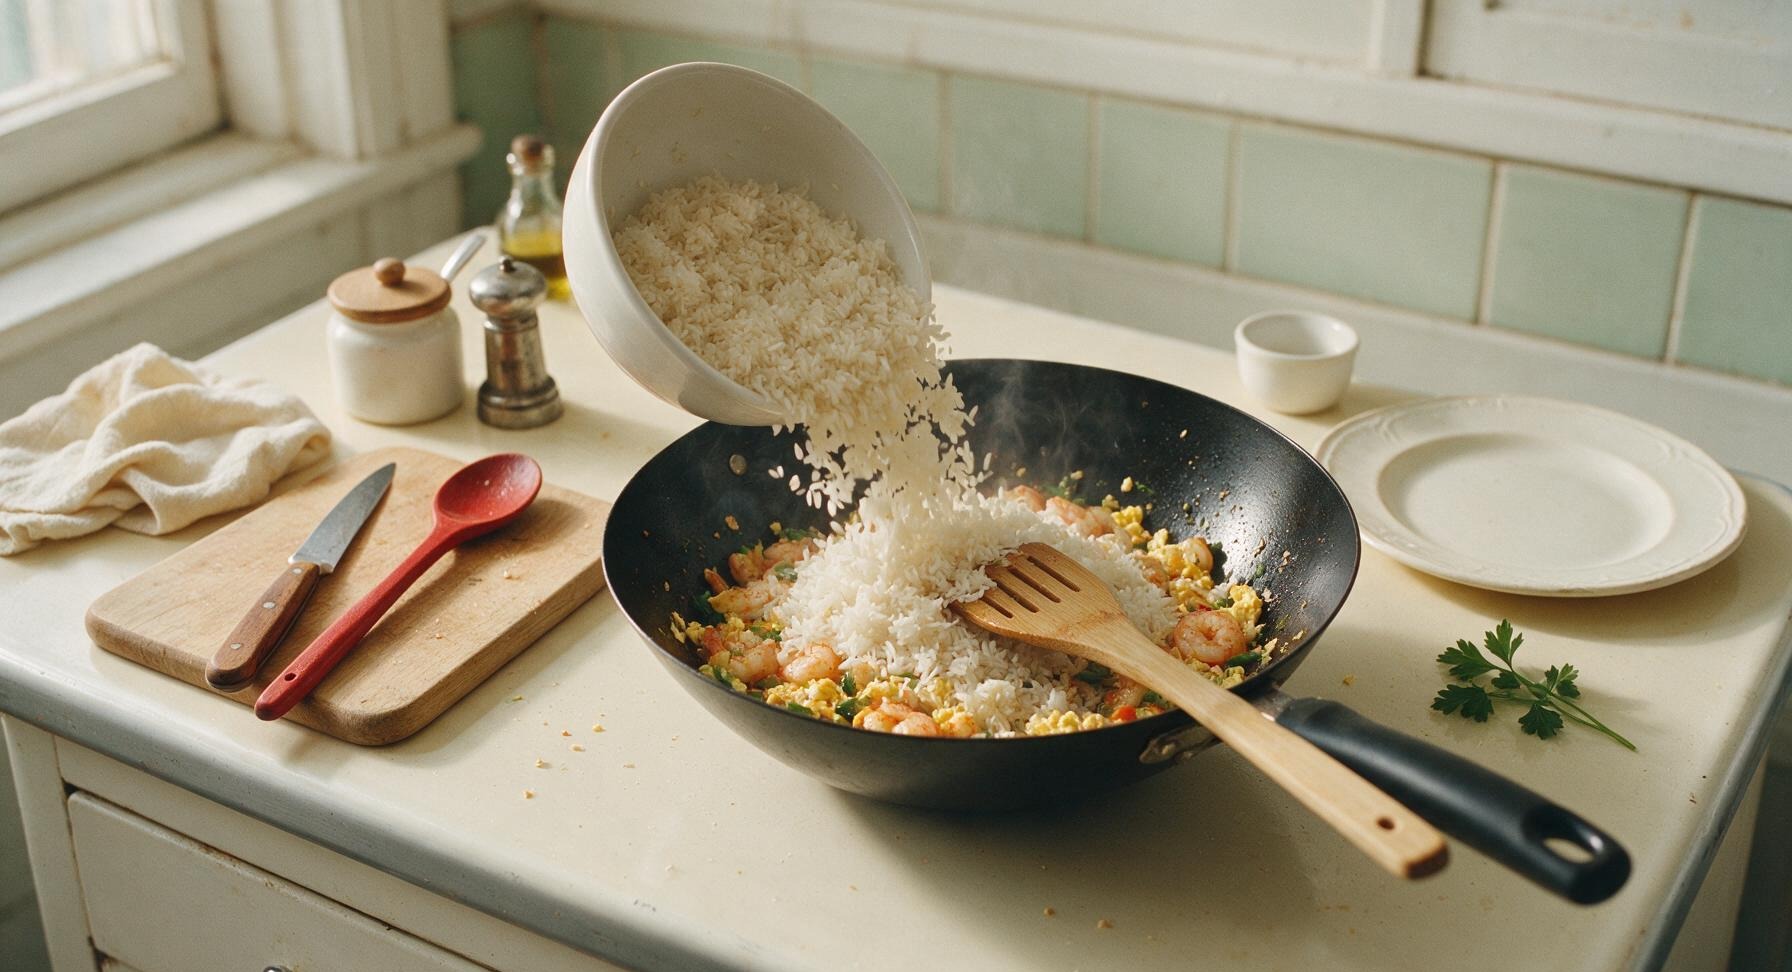
Turn burner heat back up to high, add all of the clump-free cold rice to the wok. Use the slotted bamboo turner to toss and break up any remaining tiny rice clumps, stir-frying continuously for 3 minutes until the rice is fully heated through and makes a faint light popping sound, with subtle toasty edges on some grains. Drizzle 2 tablespoons light soy sauce and 1 teaspoon dark soy sauce evenly over the rice surface (do not pour all sauce in one spot, which creates salty patches), then add 1/4 teaspoon ground white pepper. Toss continuously for another 2 minutes, until every rice grain is evenly coated in sauce, turning a uniform pale golden tan color with no visible unseasoned white grains.
Combine Shrimp and Finish
Add the partially seared shrimp back into the wok, tossing continuously over high heat for 1 minute to fully combine, until shrimp are completely opaque with no translucent flesh (internal temperature 145°F/63°C). Turn off the burner heat, drizzle 1/2 teaspoon toasted sesame oil over the rice, and toss once more to evenly distribute. Taste a small bite, and add a tiny pinch of kosher salt only if needed — the light soy sauce usually provides enough salt.
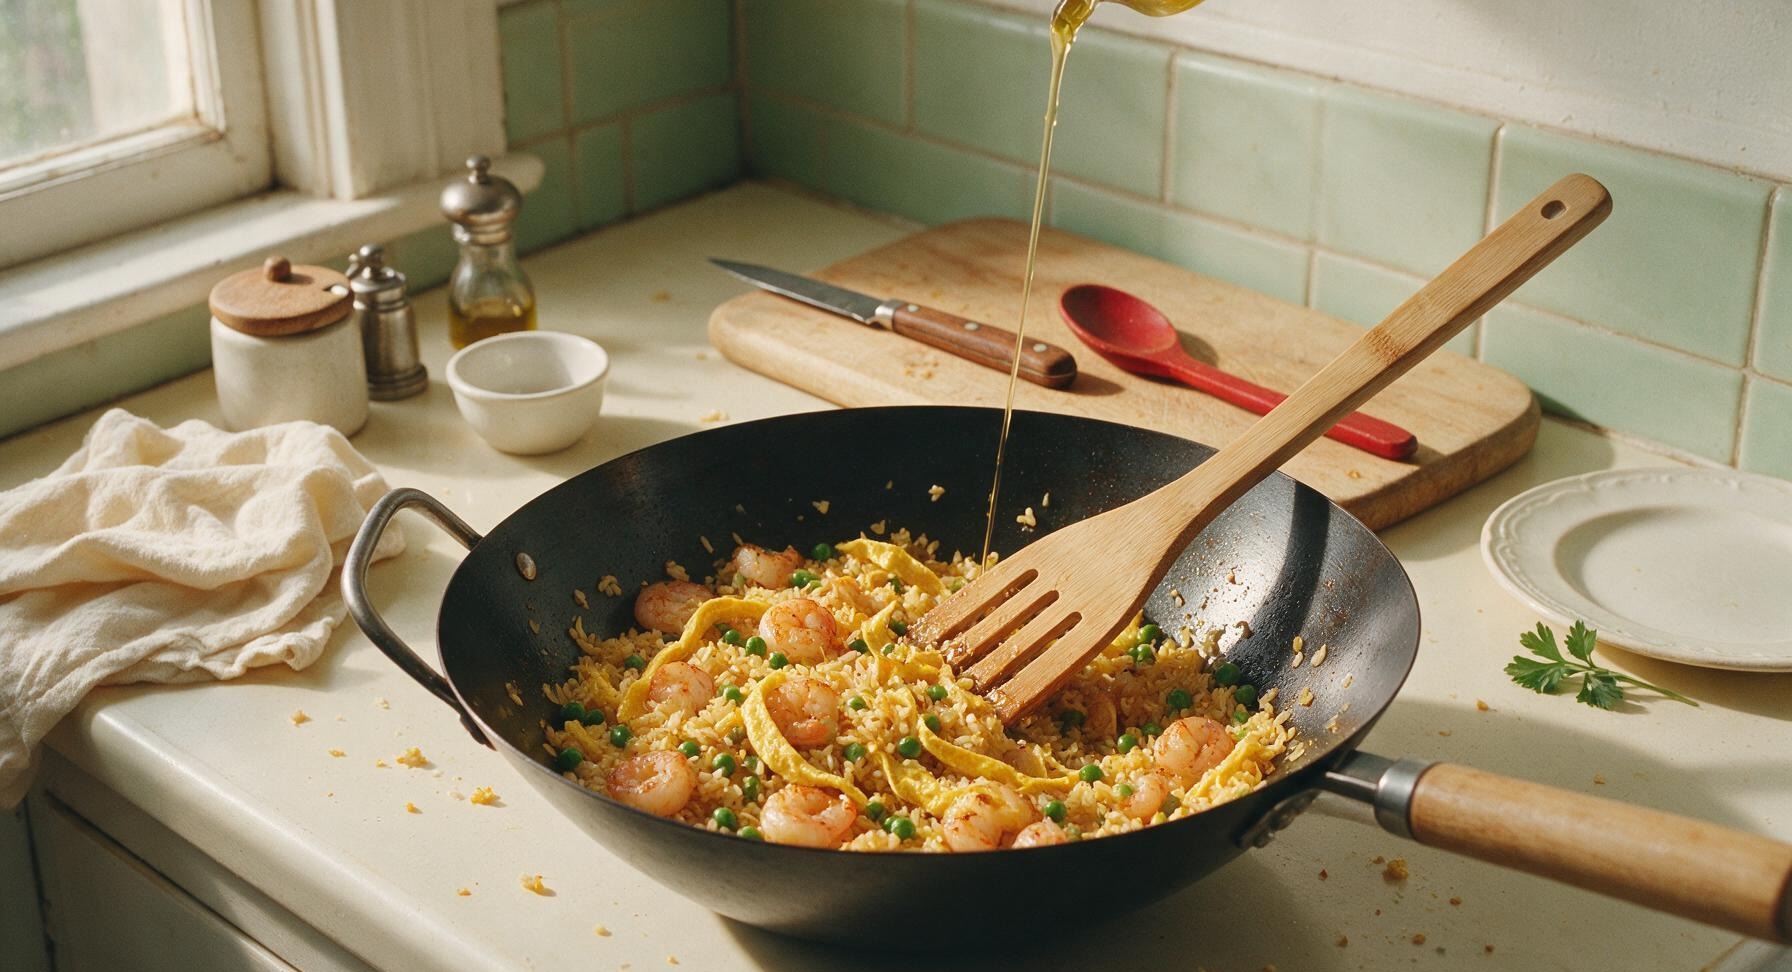
Plate and Garnish
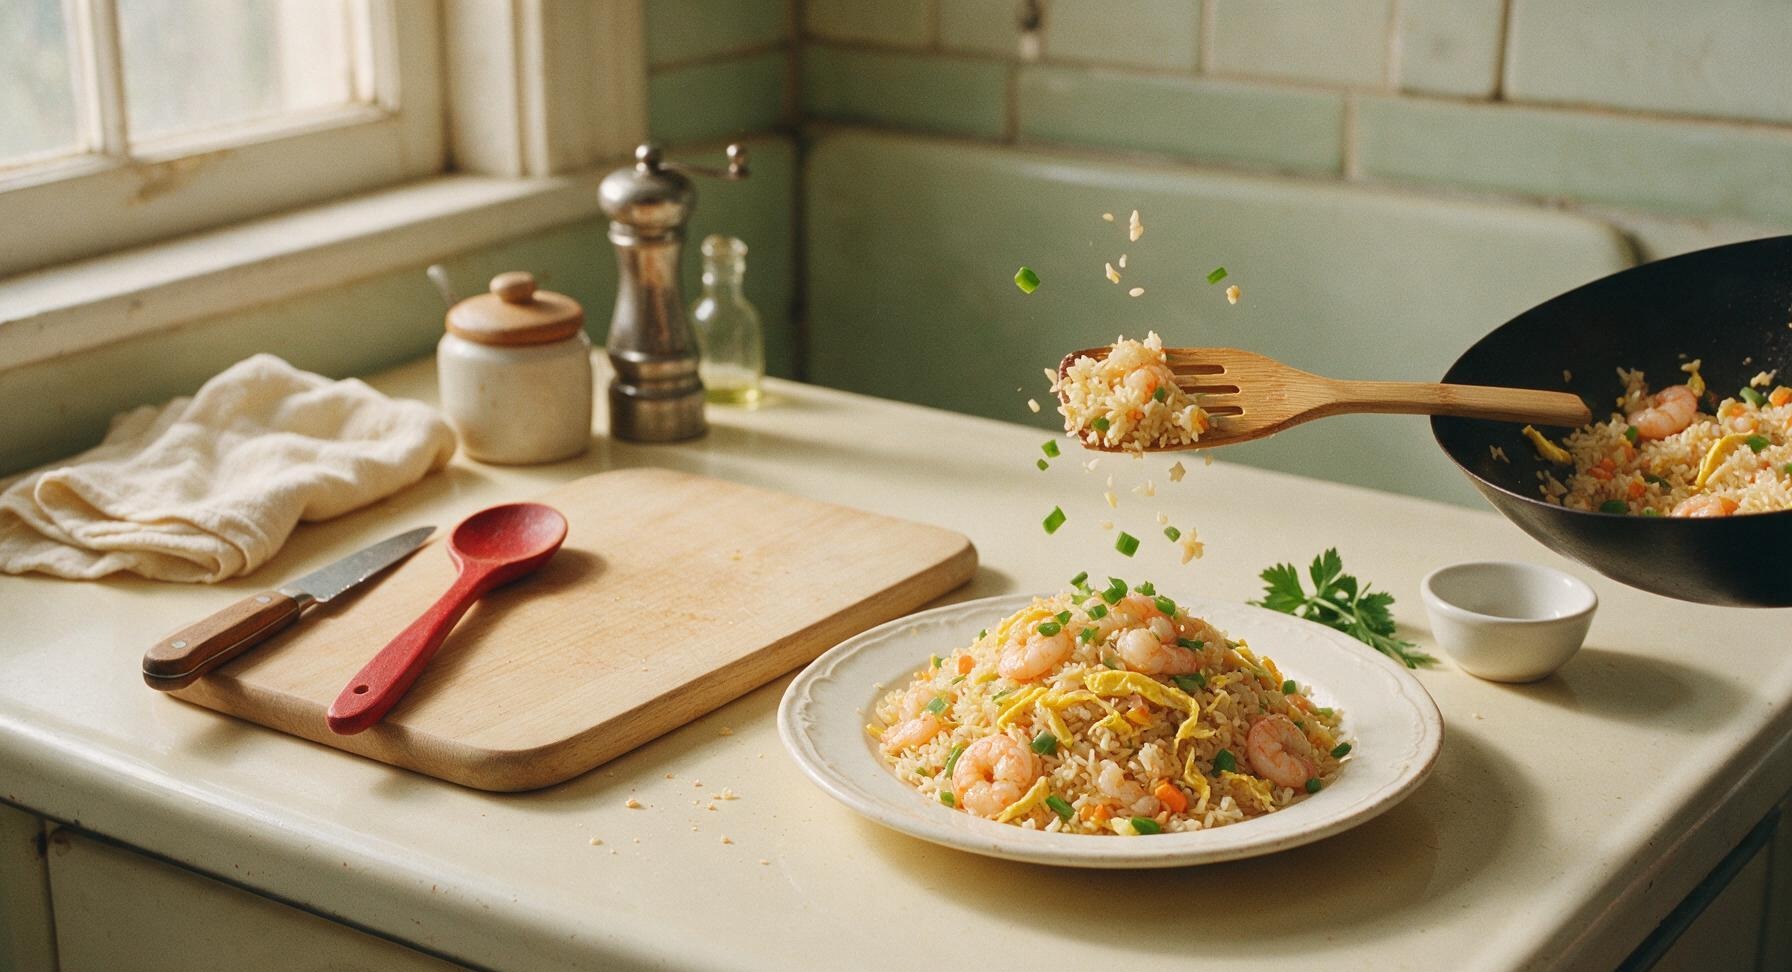
Scoop the finished fried rice from the wok onto the waiting ivory hand-thrown ceramic dinner plate, mounding it lightly in the center without packing the grains down (packing crushes the rice and ruins the fluffy texture). Sprinkle the reserved bright green scallion tops evenly over the top of the rice before serving.
Tips
2.Pat all wet ingredients (shrimp, thawed veggies) completely dry before adding to the wok: excess moisture will steam rather than stir-fry the rice, preventing the light smoky 'wok hei' flavor that defines authentic Cantonese fried rice, and resulting in a soggy final dish.
3.Drizzle soy sauce high over the rice instead of pouring it directly onto one spot: this distributes the sauce evenly across all grains, and lets the hot wok surface lightly caramelize the soy sauce for deeper umami flavor, rather than creating soggy, over-salted patches of rice.






OMG this is SO good!! I’ve been chasing the takeout shrimp fried rice taste for years and this nailed it in 12 minutes flat? Total game changer for weeknight dinners. My husband went back for thirds no joke.
Really solid recipe! I added a little extra white pepper like my Cantonese grandma used to and it hit the spot. Only reason it’s not 5 stars is I overcooked the shrimp my first go, oops. Super easy to follow even for a guy who mostly grills.
My kids loved it!!! I needed a quick dinner for soccer practice nights and this 12 minute cook time is a literal lifesaver. I tossed in some frozen peas and carrots I had in the freezer and it worked perfectly. Will be adding this to our weekly meal prep rotation for sure.
Brought this to our neighborhood potluck last weekend and people were begging for the recipe! I doubled the batch and it was completely gone in 10 minutes. The subtle sesame oil flavor is exactly what makes it taste like authentic dim sum fried rice, not the greasy takeout version.
Made this after a long day hike and it came together so fast I didn’t even have time to change out of my trail shoes first. Shrimp was tender, rice was flavorful, not too salty. Way better than stopping for fast food on the way home.
Worked in a Cantonese takeout spot in Queens for 3 years in college, and this is pretty darn close to the real deal. Only note I’d add is make sure your wok is smoking hot before you add the rice, that’s the secret to that wok hei flavor everyone chases.
Just made this for lunch and wow. I added a tiny squirt of sriracha on top for a little kick and it was chef’s kiss. 12 minutes? I spent longer waiting for my rice to cool down than I did actually cooking, lmao. So easy.
As a broke college student with barely any cooking skills, this was so easy to make! I used frozen pre-cooked shrimp and microwavable rice and it still turned out amazing. Saved me so much money on takeout this week.
So happy this recipe uses tamari instead of regular soy sauce as an option! I have celiac and so many fried rice recipes are impossible to adapt, but this was perfect as written with gluten free tamari. Didn’t taste “diet” or anything, just that perfect savory fried rice flavor.
Tasted good, but my rice came out really clumpy? I followed the directions exactly but it was all stuck together, not fluffy like the photos. Not sure what I did wrong here.
The shrimp came out so perfectly tender! I always overcook shrimp until it’s rubbery, but the tip to cook them first then set them aside while you make the rice is genius. No more chewy shrimp in my fried rice, ever.
Made this for my roommate’s birthday dinner alongside some orange chicken and it was the star of the show! Everyone kept saying it tasted better than our local Cantonese spot. 10/10, will make again and again.
Great macro-friendly option for post-gym meals! I swapped the regular oil for avocado oil, added extra shrimp for more protein, and it came together in no time. Only thing is I wish it had a little more veggie volume, so next time I’ll add more broccoli and edamame.
I’ve been making fried rice for 20 years and I can’t believe I never thought to add a little oyster sauce to the seasoning mix like this recipe says. It adds such a deep umami flavor that makes it taste exactly like the fried rice I had on my trip to Hong Kong years ago. Total game changer!
Great base recipe! I don’t eat shrimp so I swapped it for pan-fried tofu and it worked beautifully. The seasoning is perfectly balanced so it doesn’t overpower whatever protein you add. Would recommend to any vegetarian friends looking for a solid fried rice recipe.
Wait who knew fried rice was this easy to make for brunch? I made this this morning with a side of fried eggs on top and it was better than any brunch spot fried rice I’ve paid $18 for. Absolute new weekend staple.
Added this to my Sunday meal prep lineup and it’s been a game changer for my work lunches. Doesn’t get soggy when I reheat it in the office microwave, the shrimp stays tender, and the flavor holds up perfectly for 4 days in the fridge. 10/10.
This is the first real recipe I’ve ever made by myself and it turned out perfect!!! I was so nervous I’d mess it up but the steps were so simple and easy to follow, I didn’t even burn anything. My mom was so impressed when she tried a bite, she asked for the recipe too!
Solid base recipe, super quick to make. I added a teaspoon of chili flakes and a handful of chopped scallions at the end for extra flavor and heat, which took it up a notch for me. Will definitely make this again on busy nights.
Ordered Cantonese shrimp fried rice from three different restaurants in Chicago last month trying to find a good one, and none of them hold a candle to this homemade version. The cook time is so fast I don’t even have an excuse to order takeout anymore. SO good.