
shrimp piccata pasta

title 1
shrimp piccata pasta
⏱️ cook time 20 minutes
🍽️ servings 4
⚡ Difficulty easy

intro

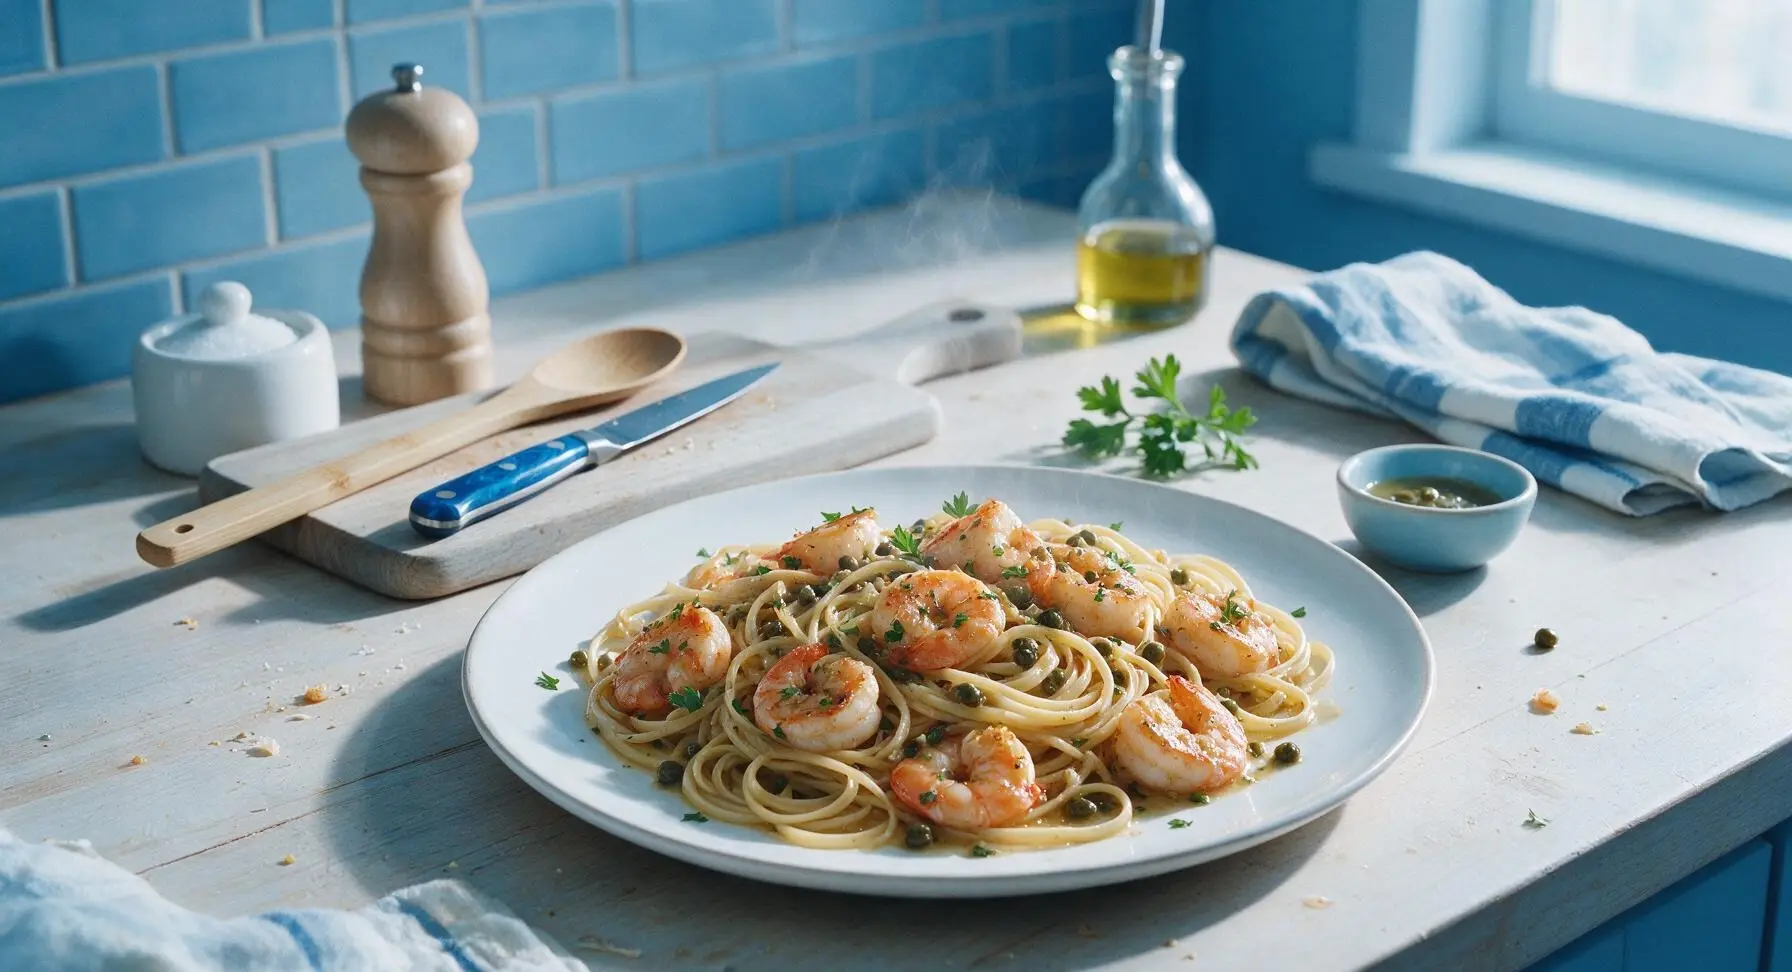
Bright, briny, and buttery, this shrimp piccata pasta pairs plump seared shrimp and al dente linguine in a tangy lemon-caper sauce for a fast, elegant weeknight meal.

Ingredients
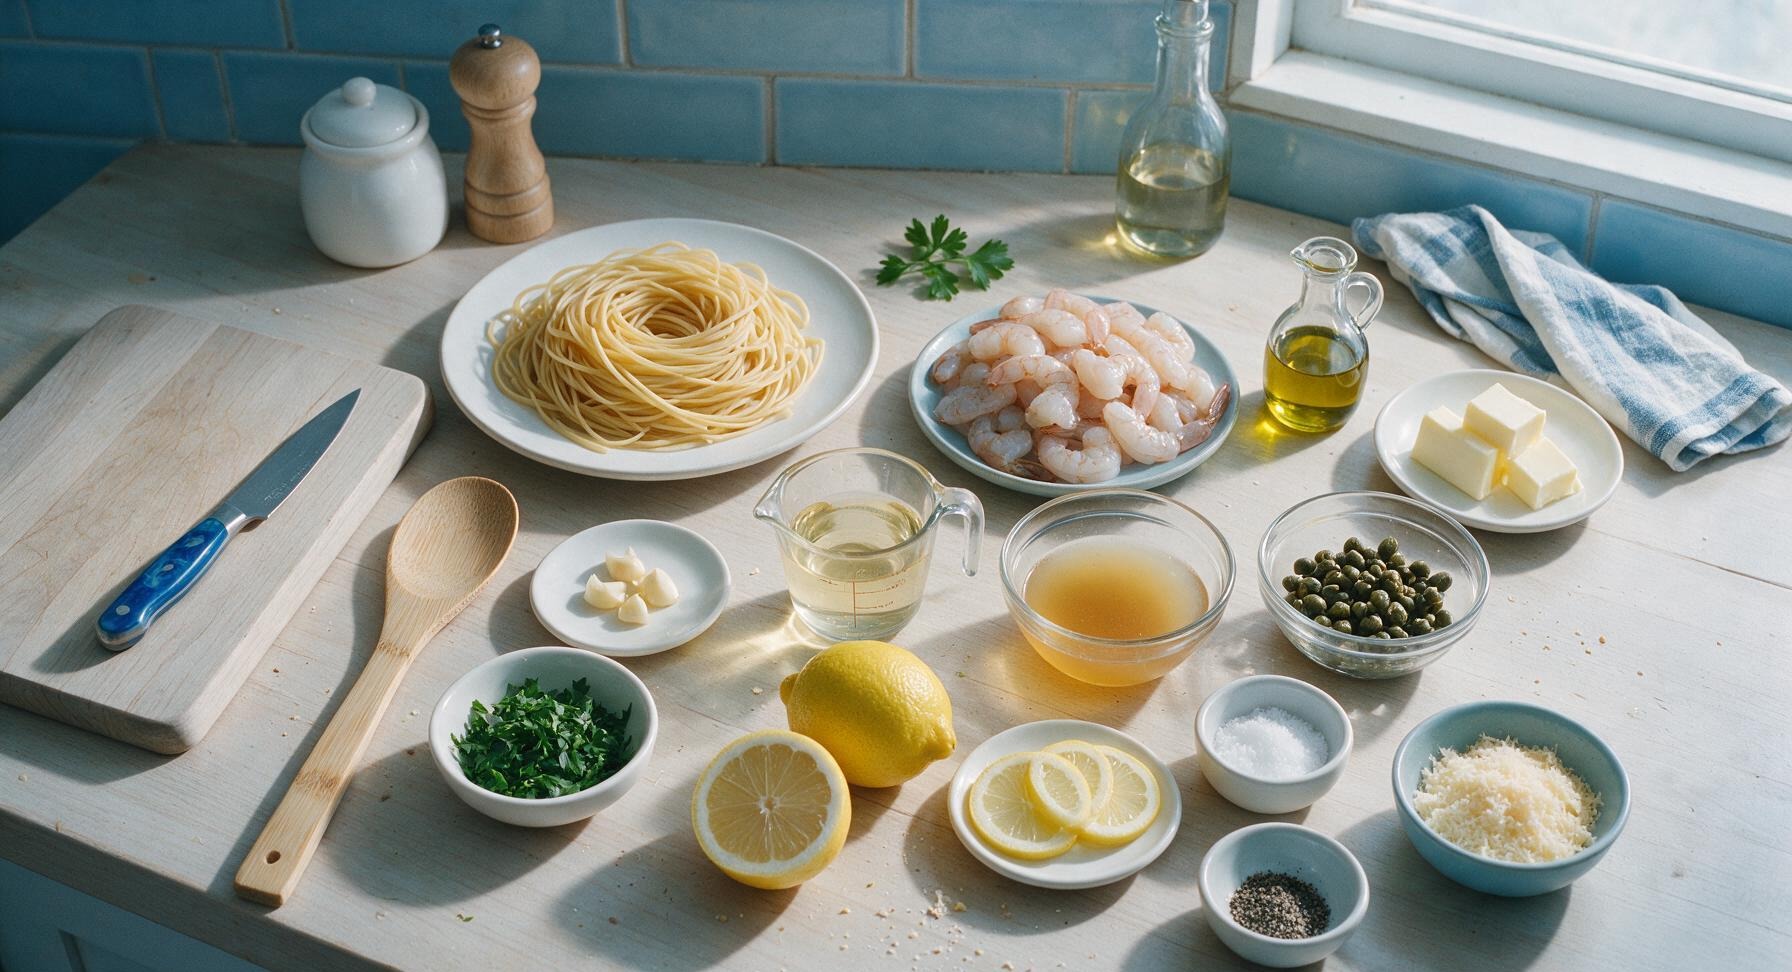
Dry linguine pasta 280g (10oz)
Large raw shrimp (peeled, deveined, tails on optional) 450g (1lb)
Extra-virgin olive oil 1 tbsp
Unsalted butter 3 tbsp, divided
Garlic cloves 3, minced
Dry white wine (Pinot Grigio or Sauvignon Blanc) 1/2 cup
Low-sodium chicken broth 1/3 cup
Fresh lemons 2, juiced (≈1/4 cup juice), plus 4 thin slices for garnish
Capers, rinsed 3 tbsp
Fresh flat-leaf parsley 1/4 cup chopped, divided
Kosher salt 1 tbsp (for pasta water) + 1 tsp (for seasoning), divided
Freshly ground black pepper 1/2 tsp
Grated Parmigiano-Reggiano cheese 1/4 cup

Steps

1

Prep Shrimp and Aromatics

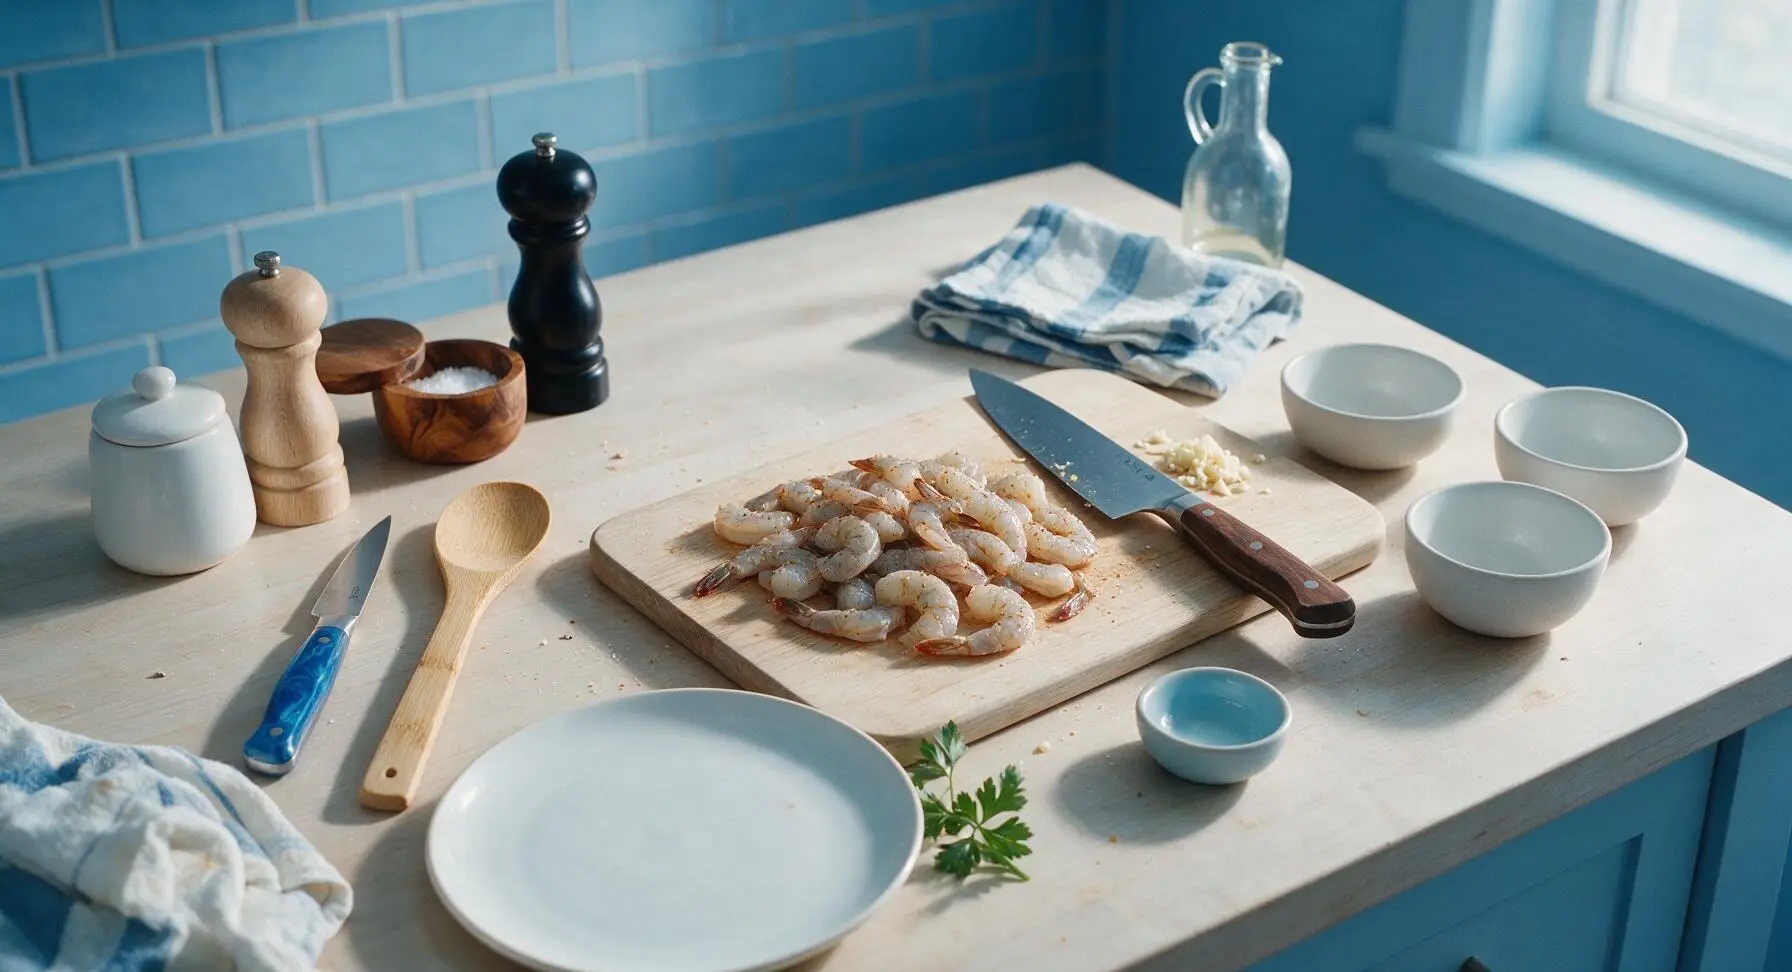
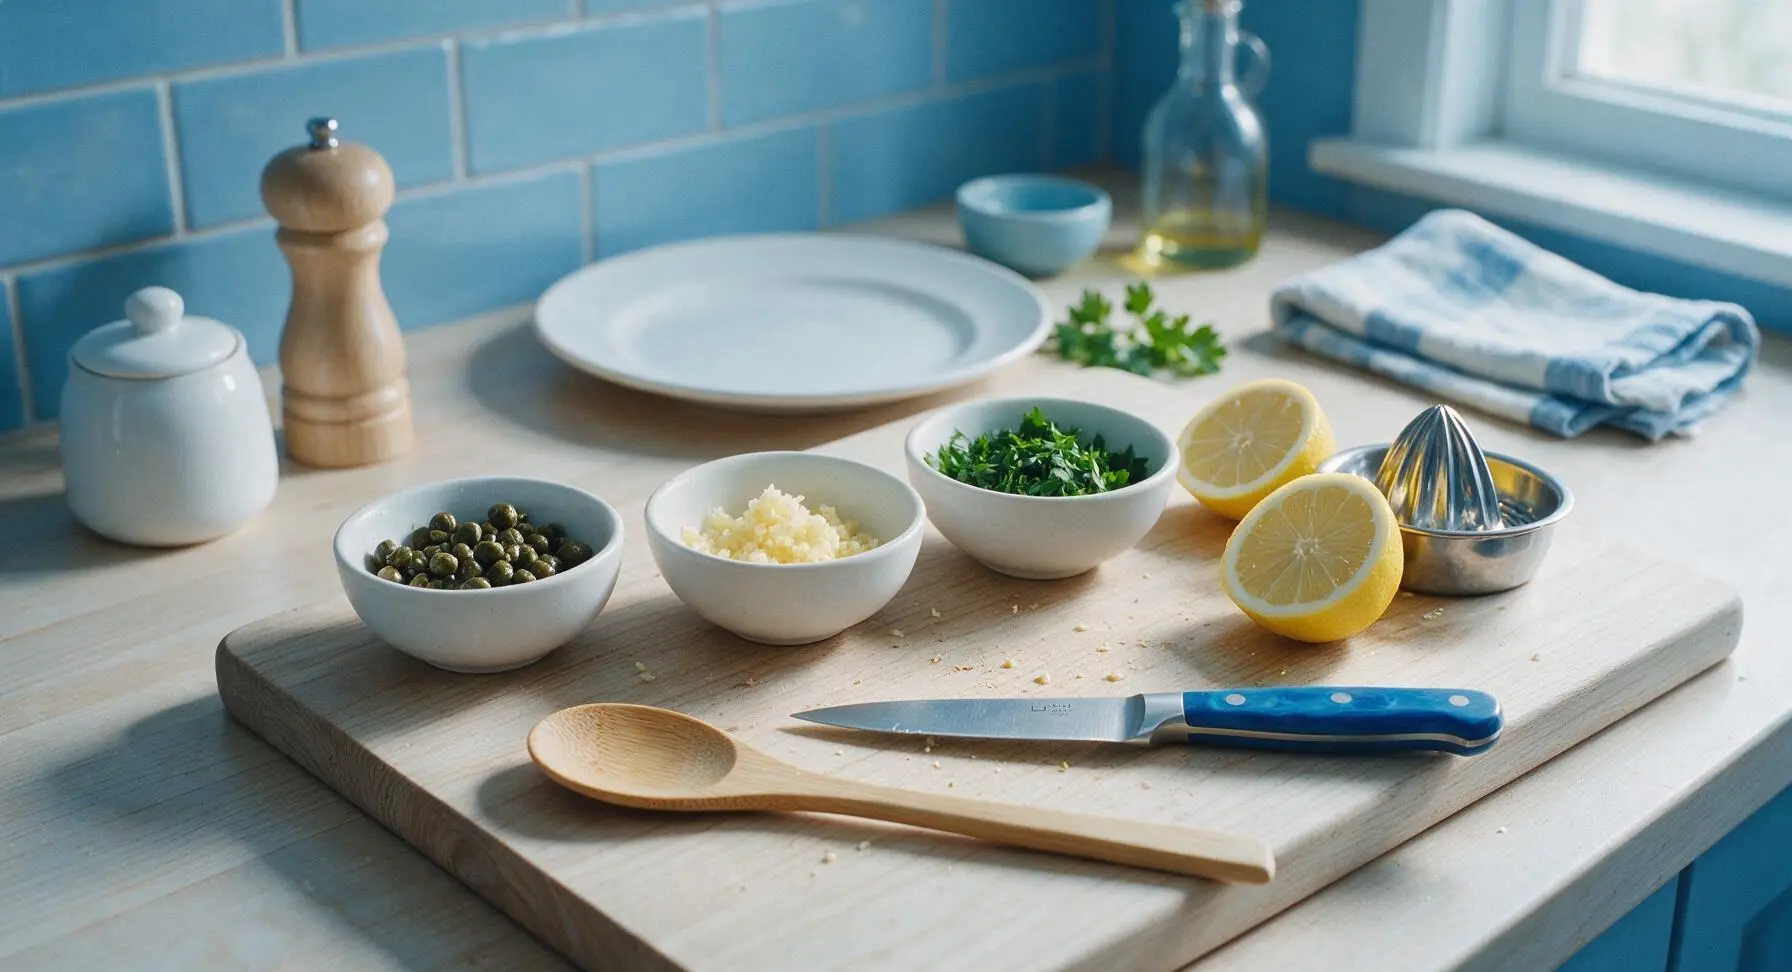
Pat 450g of peeled, deveined large shrimp completely dry with paper towels, season all sides with ½ teaspoon kosher salt and ¼ teaspoon black pepper. On the maple cutting board, use the 8-inch chef’s knife to mince 3 garlic cloves, chop ¼ cup flat-leaf parsley, and halve 2 lemons for juicing. Place prepped garlic, parsley, and rinsed 3 tablespoons capers into the three separate small matte white prep bowls.
Step 1
step1:Prep Shrimp and Aromatics
Step 1
step1:Prep Shrimp and Aromatics
2

Cook Linguine Al Dente

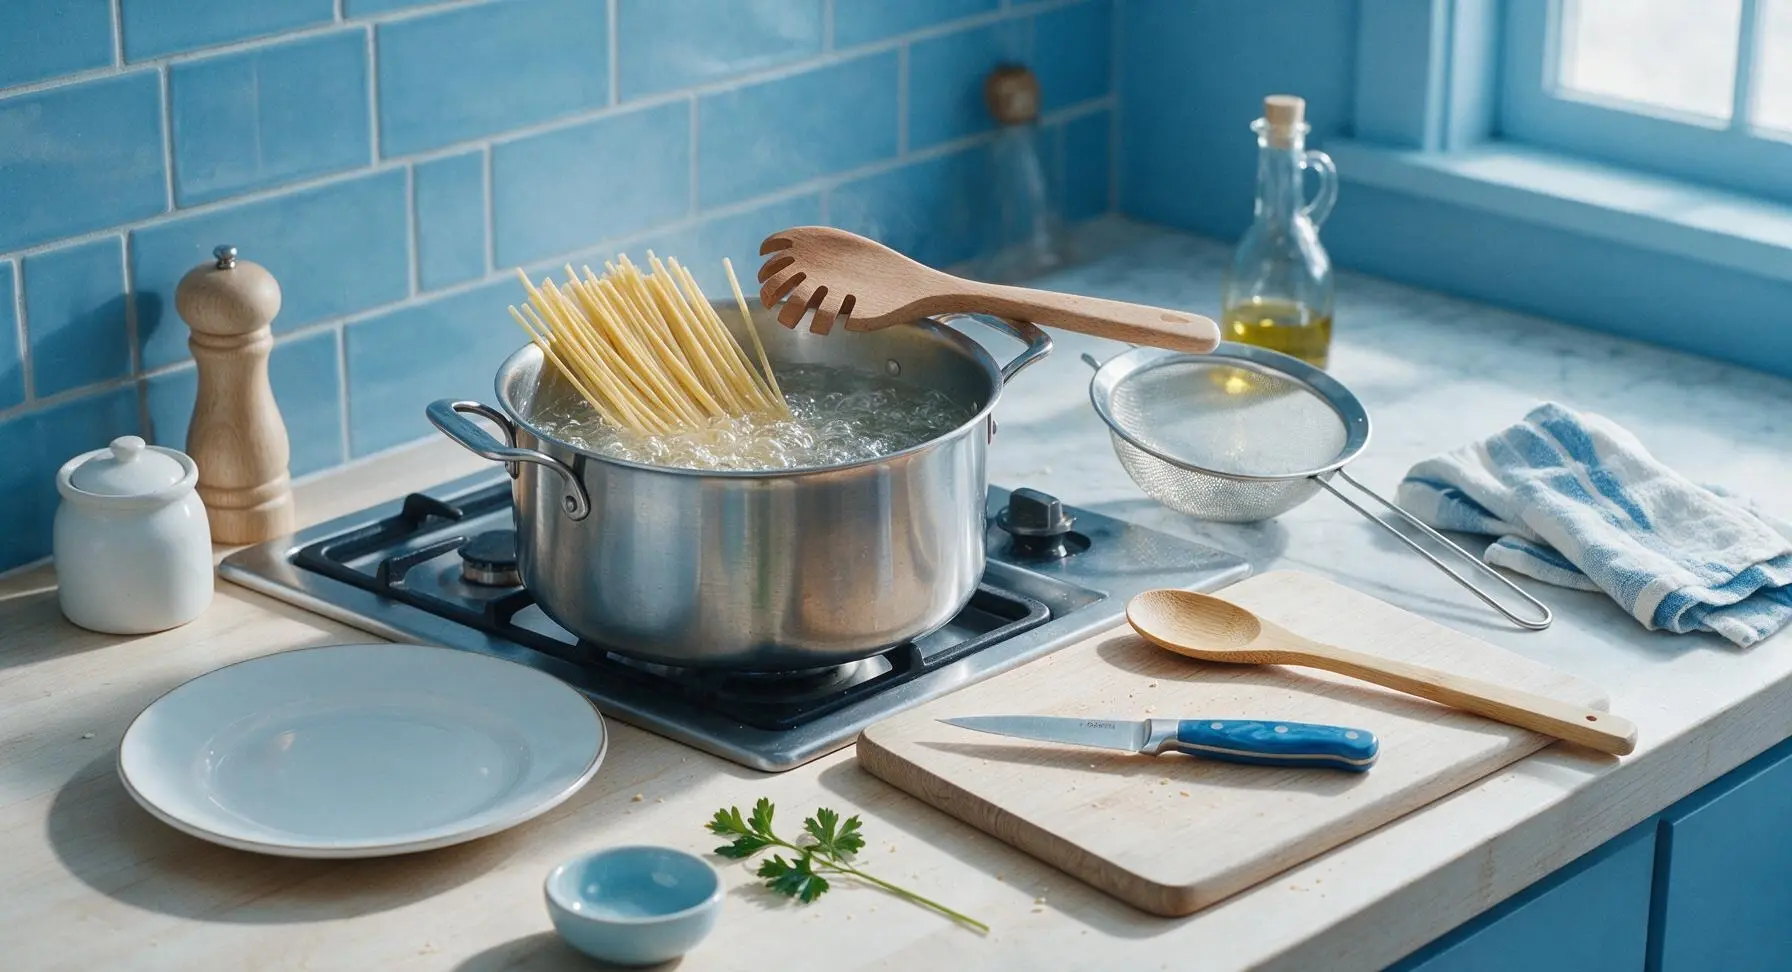
Fill the 5-quart stainless steel stock pot with 4 liters of cold water, add 1 tablespoon of kosher salt (water should taste as salty as seawater), cover, and bring to a rolling boil over high heat. Add 280g dry linguine, stirring immediately with the beech wood pasta fork to prevent sticking. Cook per package instructions minus 1 minute (approximately 7 minutes) until pasta is very al dente, with a slight firm white core at the center. Reserve ½ cup of starchy pasta water before draining the linguine in the fine-mesh stainless steel strainer; do not rinse the pasta.
Step 2
step2:Cook Linguine Al Dente
3

Sear Seasoned Shrimp

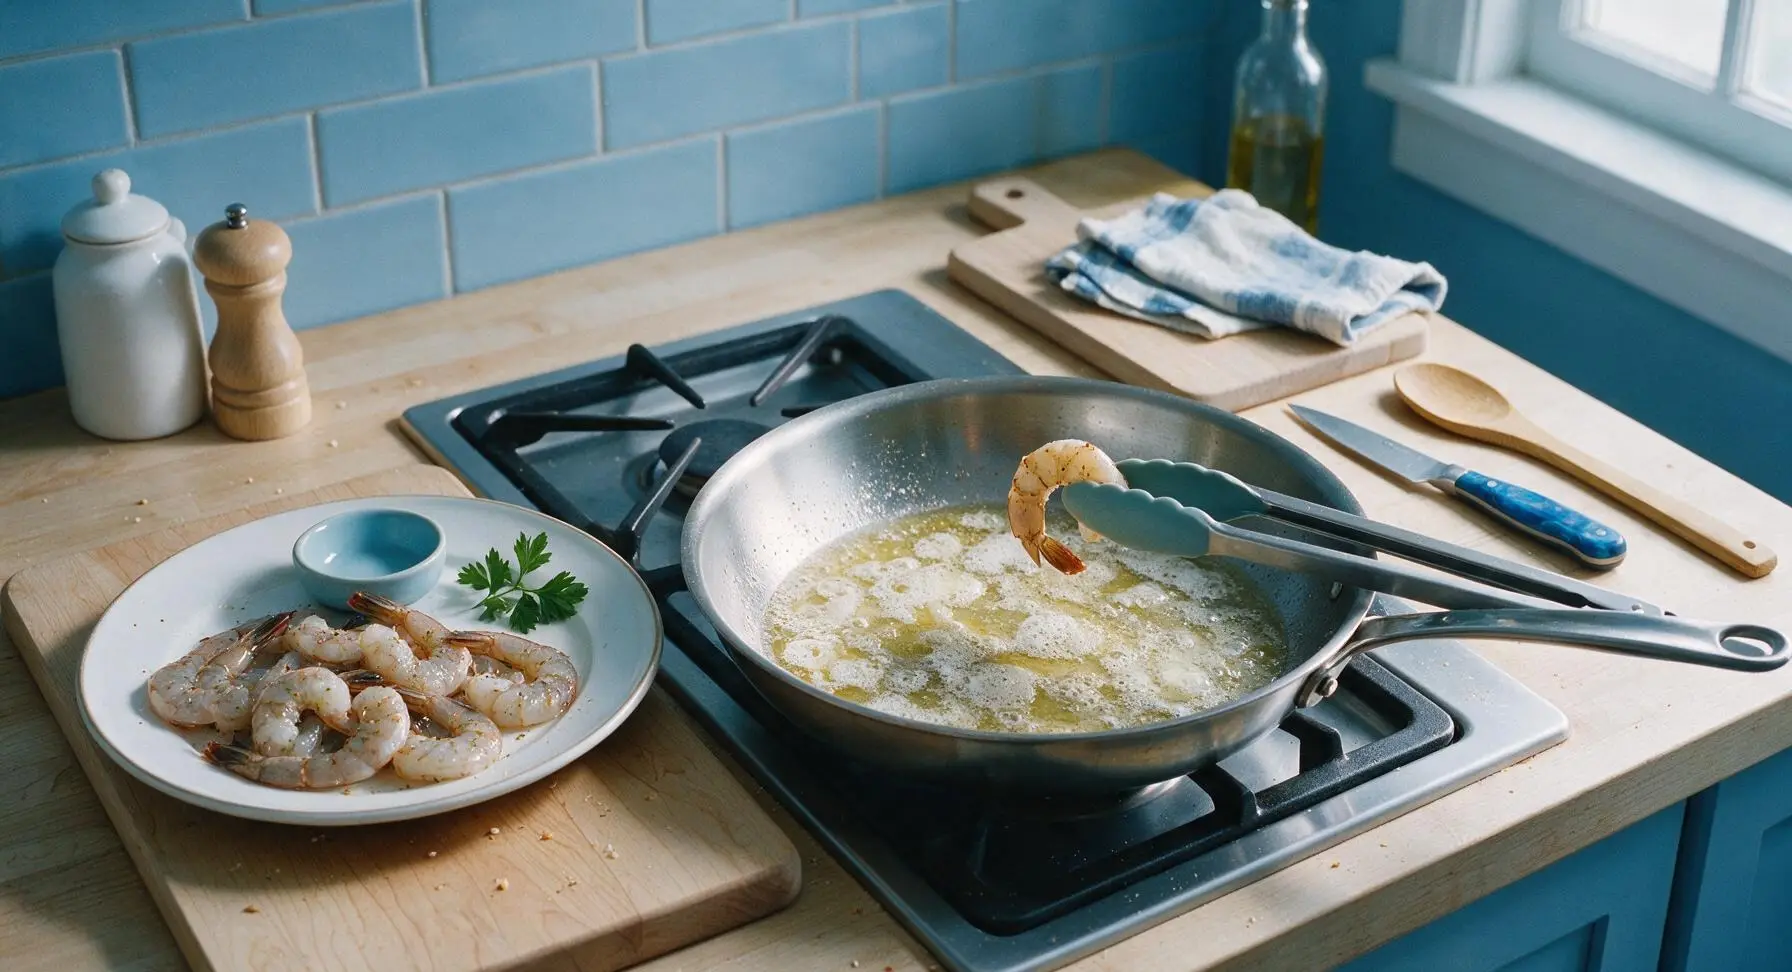
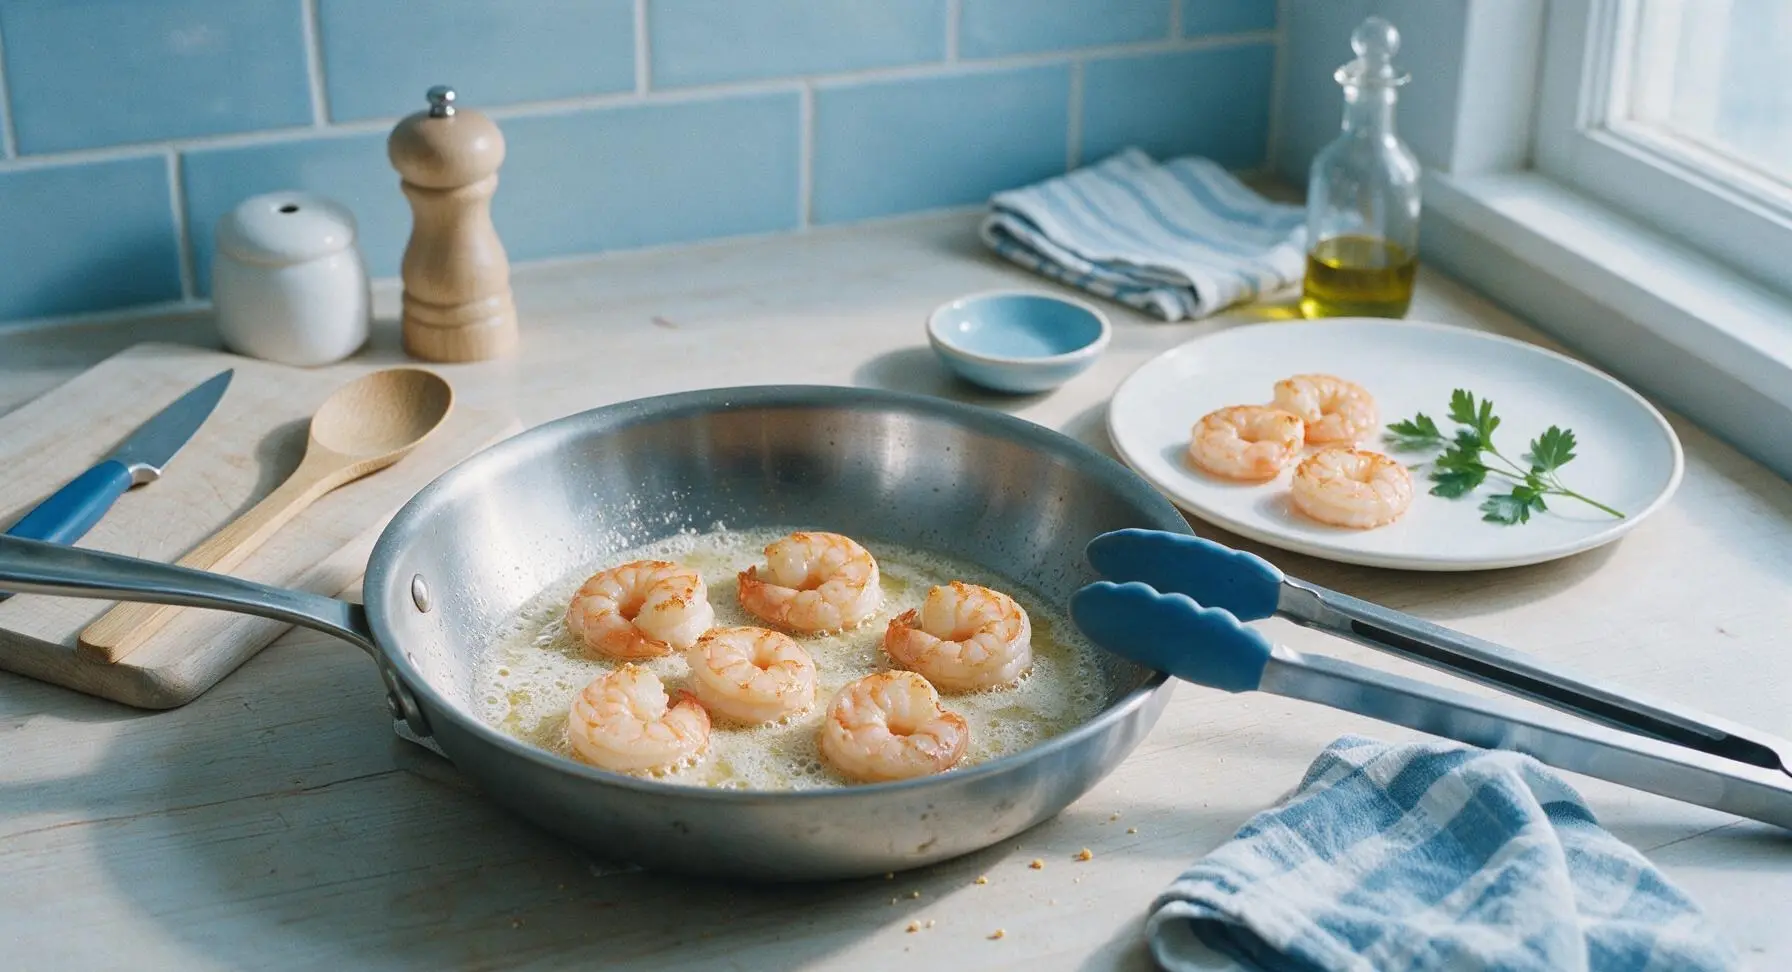
While pasta cooks, heat 1 tablespoon extra-virgin olive oil and 1 tablespoon unsalted butter in the 12-inch stainless steel skillet over medium-high heat until butter foams and just starts to turn pale golden. Add seasoned shrimp in a single layer, working in batches if needed to avoid crowding the pan. Sear 1.5 minutes per side until shrimp turn opaque pink with a light golden sear on the edges, then transfer shrimp to a clean plate and set aside. Do not wipe out the skillet.
Step 3
step3:Sear Seasoned Shrimp
Step 3
step3:Sear Seasoned Shrimp
4

Saute Garlic Base

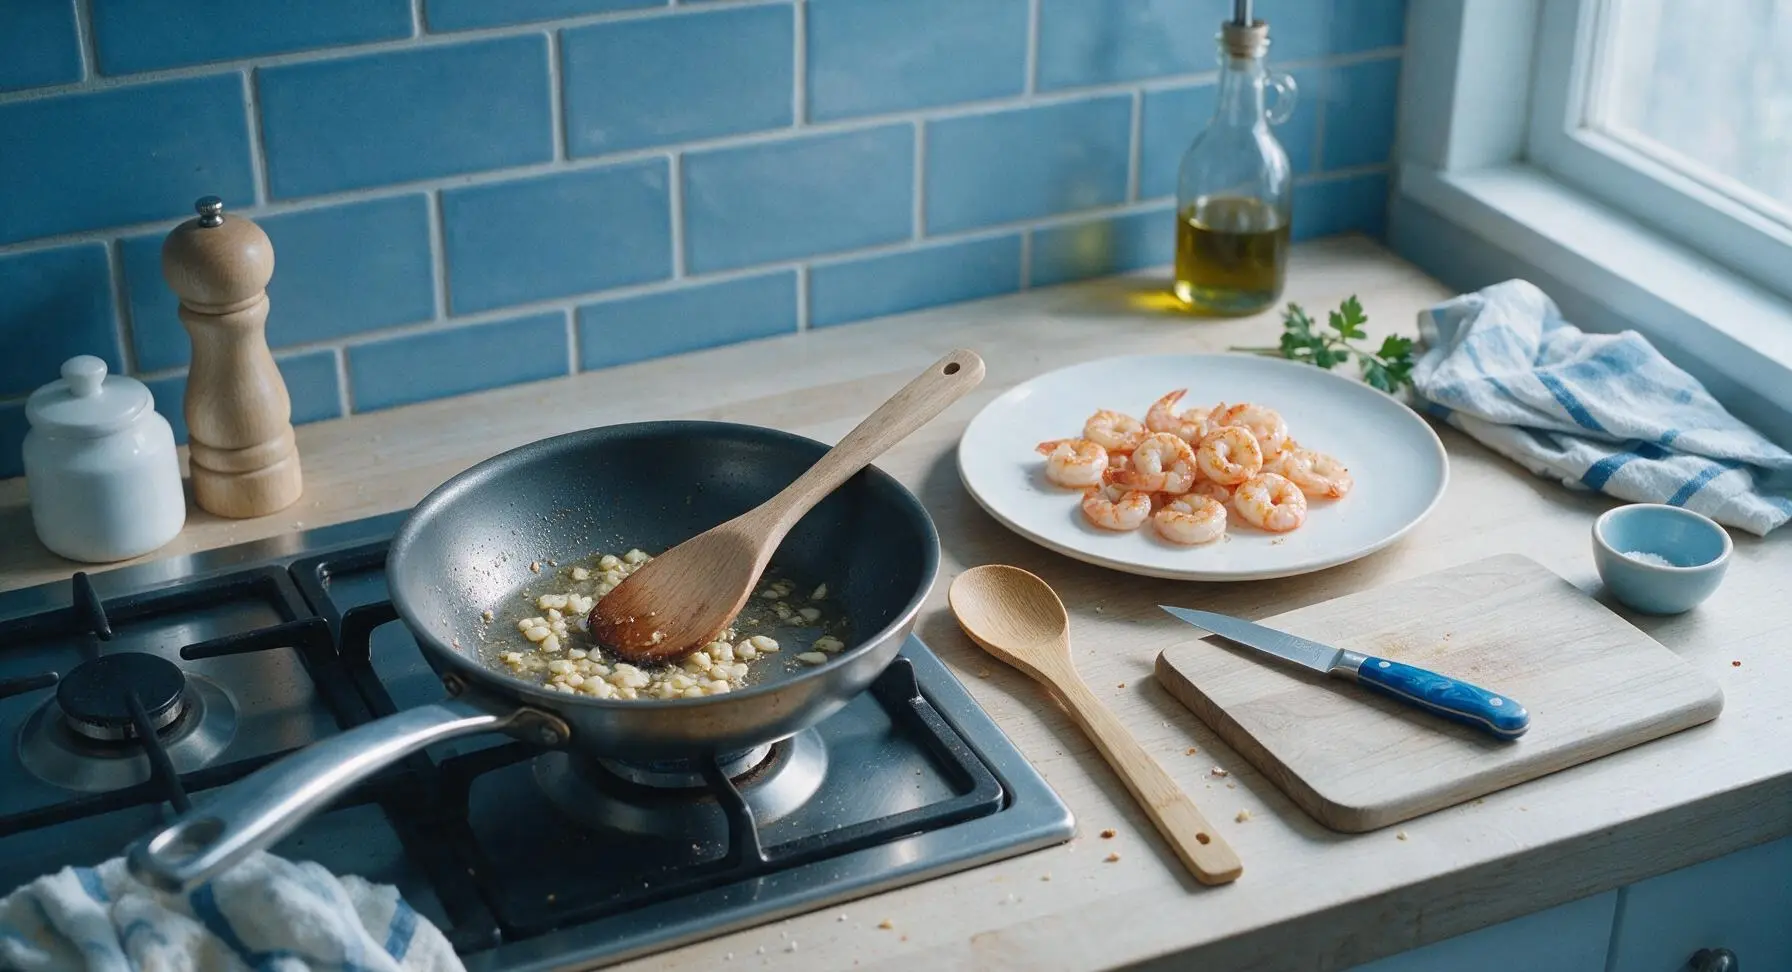
Reduce heat under the skillet to medium, add minced garlic to the remaining butter and shrimp drippings, and sauté for 30 seconds until fragrant, stirring constantly with the beech wood stirring spoon to avoid burning. Garlic should be pale golden, not browned, as burnt garlic will add a bitter flavor to the sauce.
Step 4
step4:Saute Garlic Base
5

Build Piccata Sauce

Pour ½ cup dry white wine into the skillet, scraping up any browned fond bits from the pan bottom with the stirring spoon. Simmer for 2 minutes until wine is reduced by half, then add ⅓ cup low-sodium chicken broth, ¼ cup fresh lemon juice, and 3 tablespoons rinsed capers. Bring to a gentle simmer and cook for 3 minutes to meld flavors.
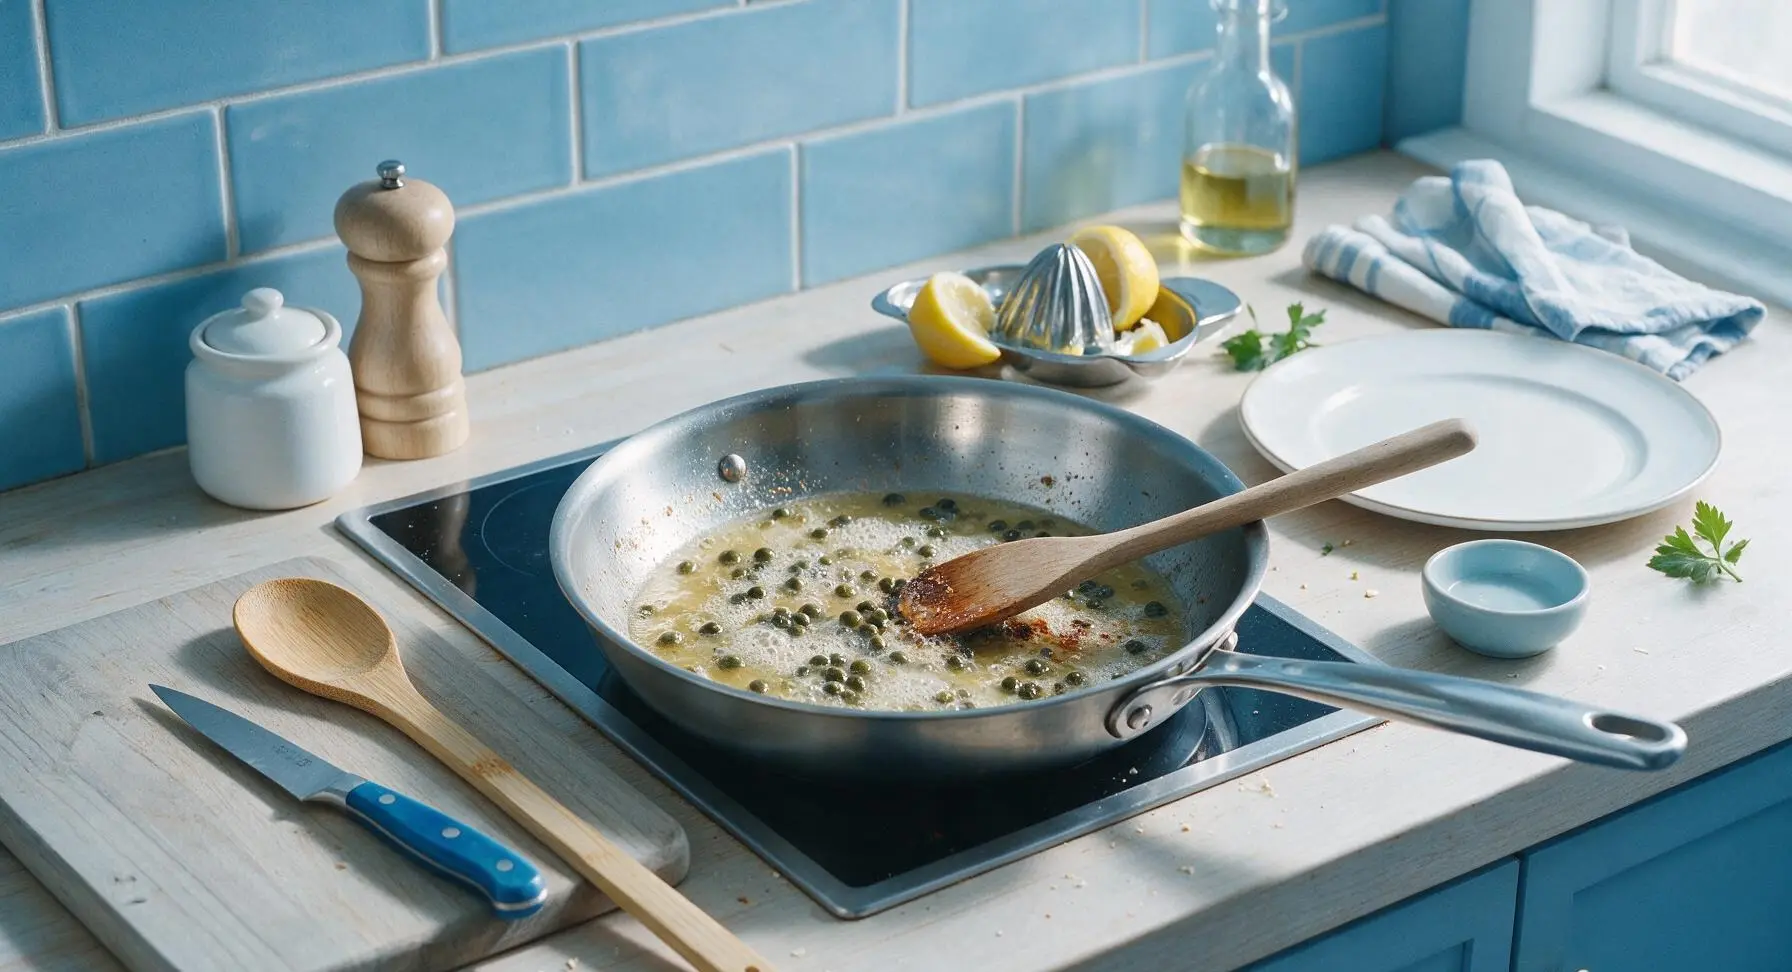
Step 5
step5:Build Piccata Sauce
6

Combine Pasta and Sauce

Add the drained al dente linguine to the skillet with the sauce, along with ¼ cup of reserved starchy pasta water and remaining 2 tablespoons unsalted butter cut into small pieces. Toss continuously with the beech wood pasta fork for 1 minute until butter melts, sauce emulsifies, and coats every strand of pasta. Add more reserved pasta water 1 tablespoon at a time if sauce feels too thick to cling to noodles.
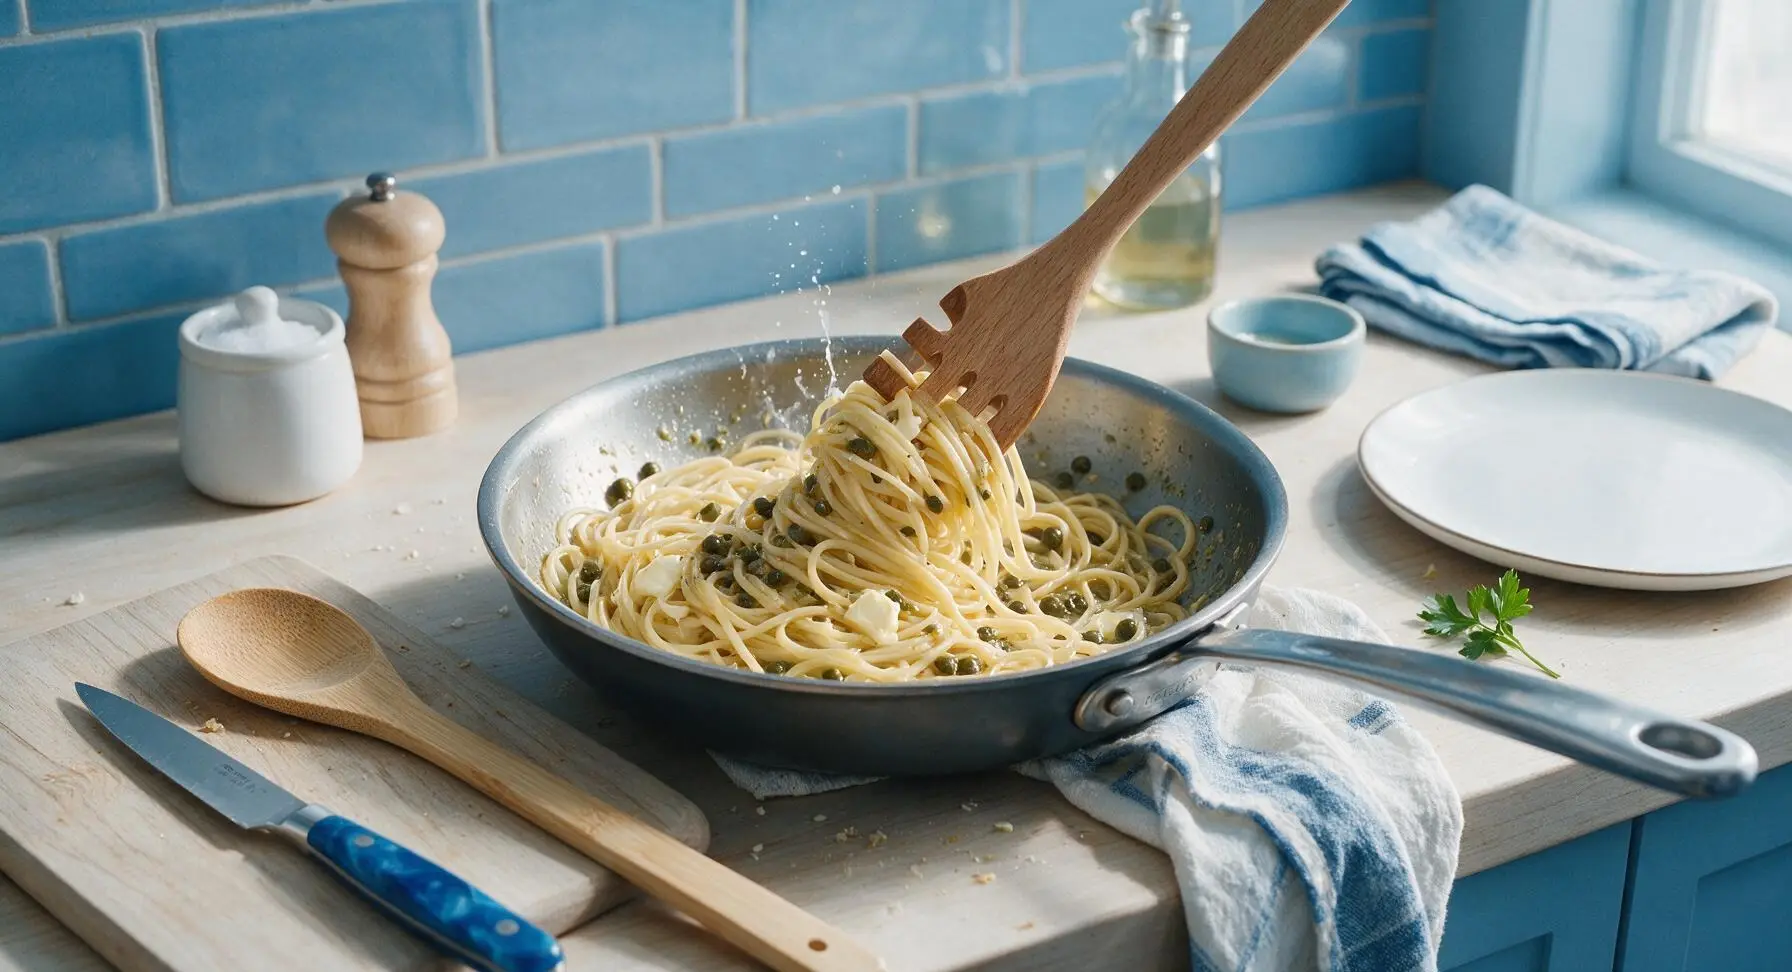
Step 6
step6:Combine Pasta and Sauce
7

Toss Shrimp and Parsley

Return the seared shrimp to the skillet, add 2 tablespoons of chopped fresh parsley, and toss gently with the tongs for 30 seconds to warm shrimp through. Taste and adjust seasoning with remaining ½ teaspoon kosher salt and ¼ teaspoon black pepper as needed, then turn off heat.
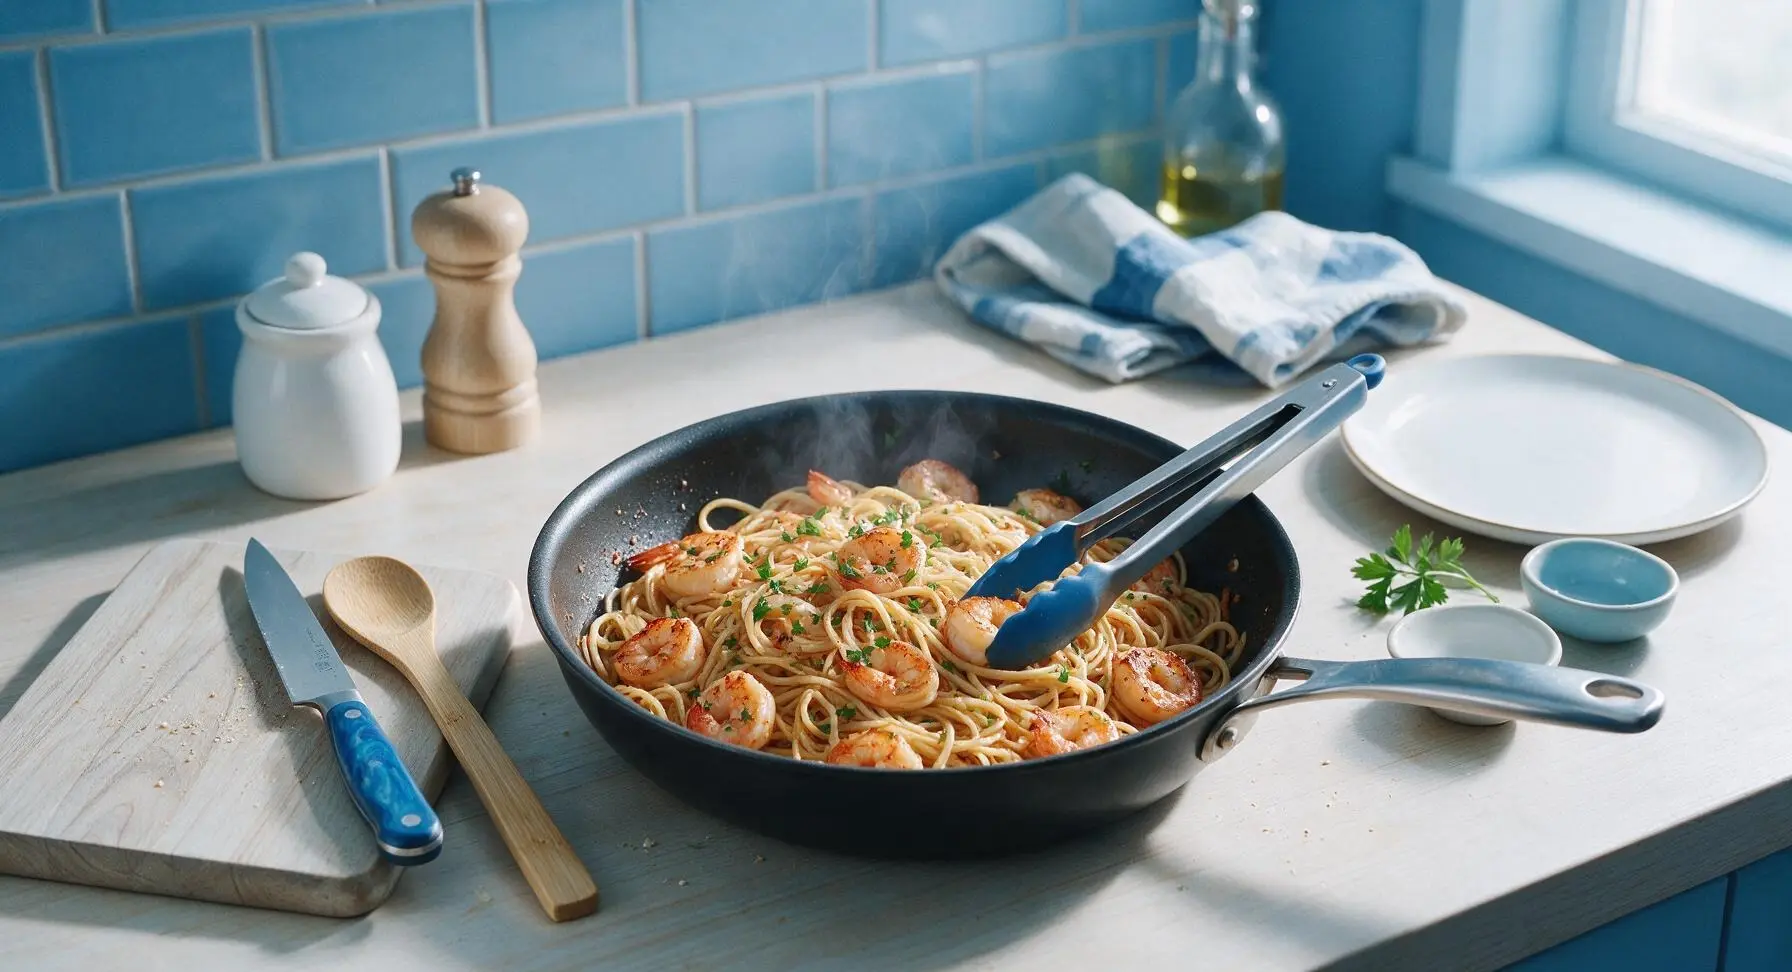
Step 7
step7:Toss Shrimp and Parsley
8

Plate and Serve

Twirl pasta into neat nests using the pasta fork and tongs, dividing evenly between 4 warm matte warm white stoneware dinner plates. Top each portion with 4-5 shrimp, a spoonful of extra sauce and capers from the pan, a sprinkle of remaining parsley, 1 tablespoon grated parmesan cheese, and a thin lemon slice for garnish. Serve immediately while warm.
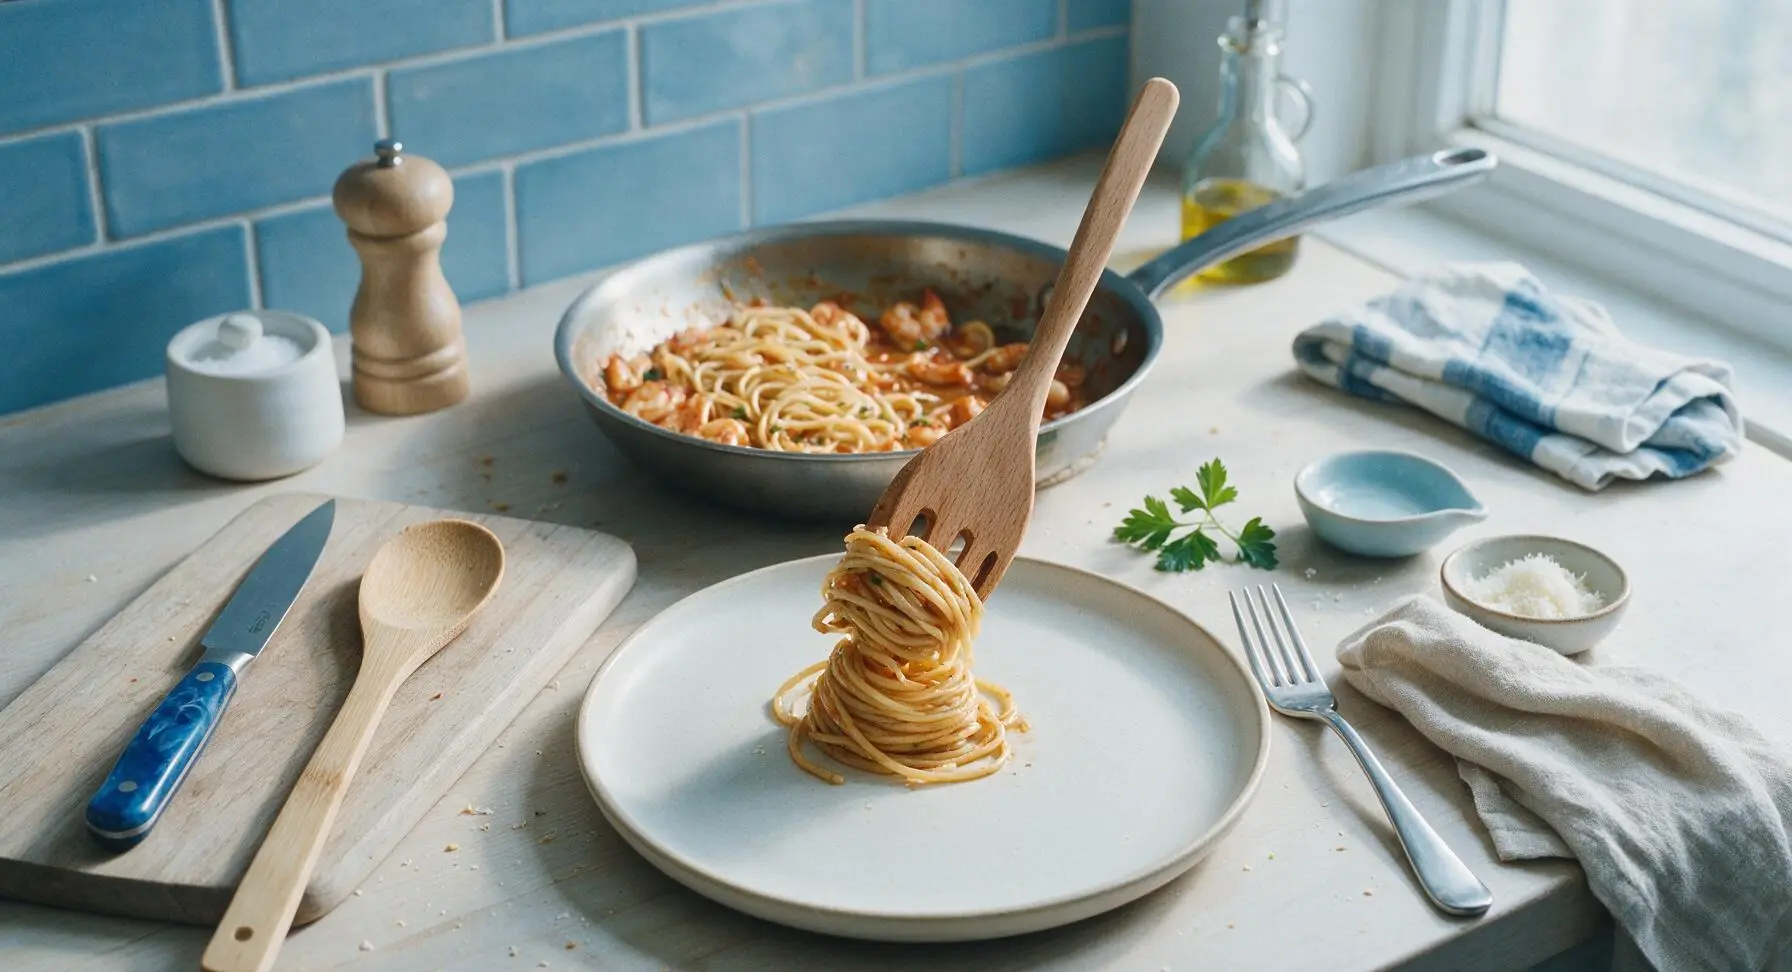
Step 8
step8:Plate and Serve

Tips

1.Pat shrimp completely dry with paper towels before searing: excess surface moisture causes shrimp to steam instead of developing a light golden crust, and the browned pan bits (fond) left behind create the rich, savory base of the piccata sauce.
2.Skip rinsing drained pasta and reserve ½ cup of starchy cooking water: the starch on the noodle surface helps the butter and lemon sauce emulsify into a glossy, clinging coating, and splashes of pasta water thin the sauce to the perfect consistency without making it watery. Cook pasta 1 minute less than package directions, as it will finish cooking in the hot sauce.
3.Avoid overcooking shrimp: sear only 1.5 minutes per side until just opaque pink, as shrimp will continue to cook when tossed back into the hot pasta and sauce; overcooked shrimp becomes tough, rubbery, and loses its sweet, briny flavor.


✨ You May Also Like

Main Course
🍜 United Kingdom

A showstopping classic of tender seared beef, savory mushroom duxelles, and crisp prosciutto wrapped in flaky golden puff pastry, baked to juicy perfection.

⏱️ 2 hours 1Main Course ★ 4.7
Main Course
🍜 India

Tender charred marinated chicken simmered in a rich, spiced creamy tomato sauce, this iconic Anglo-Indian curry pairs perfectly with basmati rice or warm naan.

⏱️ 50 minuteMain Course ★ 4.6
Main Course
🍜 Thailand

Classic tangy, sweet, and savory Thai stir-fried rice noodles with shrimp, tofu, and crunchy garnishes, balancing all five core Thai flavor profiles.

⏱️ 30 minuteMain Course ★ 4.5
Main Course
🍜 United Kingdom

Crispy golden beer-battered cod and fluffy double-fried chips, served with tangy tartar sauce and malt vinegar: the timeless, beloved British pub comfort classic.

⏱️ 45 minuteMain Course ★ 4.7
Main Course
🍜 Mexico

Smoky, chile-marinated pork tacos with caramelized pineapple, fresh cilantro, and lime: a beloved classic Mexican street food perfect for casual summer gatherings.

⏱️ 1 hour 45Main Course ★ 4.8
Main Course
🍜 United States

Crunchy Fritos corn chips layered with savory beef chili and melted cheddar, topped with cool, zesty fixings for a beloved, cozy Tex-Mex comfort food.

⏱️ 35 minuteMain Course ★ 4.8

shrimp piccata pasta:Frequently Asked Questions

1.Can I use a different type of pasta if I don’t have linguine on hand? ▾
Absolutely! Linguine’s flat, narrow shape is perfect for catching the thin lemon-butter sauce, but spaghetti, fettuccine, or even short shapes like penne or rotini work great. Cook any pasta you choose to al dente per package directions, and reserve ½ cup of starchy pasta water to thin the sauce as needed, no matter the shape.
2.Do I have to leave the tails on the shrimp for this recipe? ▾
Nope, tails are totally optional! Leaving them on adds a subtle extra layer of seafood flavor and makes for a prettier plated dish, but they can be messy to pick around while eating. If you’re serving kids or want neater, easier eating, peel the tails off entirely before searing—you won’t lose any core piccata flavor.
3.How do I keep my shrimp from turning out rubbery? ▾
The number one rule for tender, non-rubbery shrimp is to avoid overcooking them! Sear them over medium-high heat for just 1 to 2 minutes per side, until they turn opaque pink with a faint golden edge. They’ll keep cooking slightly once tossed in the warm sauce, so pull them off the heat right as they firm up.
4.Can I adjust this recipe to be gluten-free? ▾
Definitely! To make this fully gluten-free, swap regular dry linguine for your favorite gluten-free long pasta—brown rice or chickpea linguine holds up exceptionally well here. Double check that your capers are packed in plain brine with no hidden gluten-containing additives, as all other core ingredients are naturally gluten-free.
5.What should I do if my lemon-caper sauce turns out too tart? ▾
If your sauce is sharper than you’d like from extra lemon, balance it out easily! Whisk in 1 to 2 extra tablespoons of cold unsalted butter a tiny pat at a time to mellow the acidity, or stir in a pinch (less than ¼ teaspoon) of granulated sugar to round out the tang without making the sauce taste sweet.
6.Do I need to rinse my capers before adding them to the sauce? ▾
I recommend giving capers a quick 10-second rinse under cold water and patting them dry if you’re sensitive to very salty flavors. If you love that bold, briny kick, you can skip the rinse entirely—just hold off on adding extra salt to the sauce until you taste it first, to avoid over-salting the whole dish.
7.Can I add vegetables to this pasta to make it a more filling meal? ▾
Absolutely! This bright, light sauce pairs beautifully with quick-cooking vegetables. Toss in a few handfuls of baby spinach right when you combine pasta and sauce, or add sautéed asparagus, roasted cherry tomatoes, or thinly sliced artichoke hearts. Keep additions light so they don’t overpower the delicate lemon, butter, and shrimp flavors.
8.How do I get that perfect golden sear on my shrimp? ▾
For a crisp, golden sear, make sure your shrimp are completely patted dry with paper towels before they hit the pan! Heat your olive oil over medium-high heat until it shimmers, then add the shrimp in a single layer without crowding—if the pan is too packed, shrimp will steam instead of sear. Once seared, pull them out to sauté garlic over lower heat so it doesn’t burn. Work in batches if making a larger serving.
9.Can I use frozen shrimp instead of fresh for this recipe? ▾
Frozen shrimp works perfectly here, and it’s often just as high quality as fresh! Thaw it completely in the fridge overnight, or in a bowl of cold water for 15 minutes if you’re crunched for time. Be extra thorough patting thawed shrimp dry, as it holds extra moisture that can ruin a good sear and water down the sauce.
10.How long do leftovers last, and what’s the best way to reheat them? ▾
Store cooled leftovers in an airtight container in the fridge for up to 3 days. To reheat without making shrimp rubbery, warm the pasta gently in a skillet over low heat with a small splash of water or chicken broth, tossing often, until just heated through. Skip high-heat microwaving, as that will overcook shrimp and make the sauce separate.
11.What’s a good dairy-free swap for the butter in this recipe? ▾
If you need to avoid dairy, swap the unsalted butter for a high-quality vegan butter formulated to melt and emulsify like regular dairy butter—skip watery, low-fat vegan spreads, which won’t create a silky sauce. The swap will give you the same rich texture, and the bright lemon and caper flavors will shine just like the classic version.

Comments (4)

2 hours ago

OMG this Shrimp Piccata Pasta was such a win for weeknight dinner! I threw it together after soccer practice with the kids in literally 20 minutes flat, and even my pickiest 7 year old asked for seconds. The lemon butter caper sauce is SO good, I didn’t even have to run to the store for weird ingredients. Total game changer for my meal prep rotation too!

30 minutes ago

Wait, quick question! I don’t have capers on hand right now — would chopped green olives work as a substitute, or will that throw the whole flavor off? I’m dying to make this tonight for date night!

5 minutes ago

Great question! Chopped green olives make a fantastic caper substitute here — just rinse them first to cut down on extra brininess, and use about the same amount the recipe calls for. Hope you and your date love it!

2 days ago

Made this last night for my roommates and we all devoured it. I added a little extra red pepper flakes for a tiny kick, and tossed in some roasted asparagus I had left over in the fridge. 10/10, way easier than I thought it would be for how fancy it tastes!

yesterday

Oh the red pepper flakes idea is genius! I’m definitely trying that next time I make this — I love a little heat with the bright lemon flavor. Did you use a full teaspoon or just a pinch?

1 week ago

I brought this to my neighborhood potluck this past weekend and people were begging me for the recipe! The only thing I did differently was use angel hair pasta instead of linguine because that’s what I had in the pantry. Will 100% be making this again for my next girls’ night.

5 days ago

Did anyone try this with gluten free pasta? I have a wheat sensitivity but this looks too good to pass up!

3 days ago

Hi there! Gluten free pasta works perfectly here — just make sure to salt your pasta water really well and reserve a little extra starchy pasta water to help the sauce cling to the noodles, since GF pasta can be a little trickier that way. Enjoy!



