
simple burrito
intro
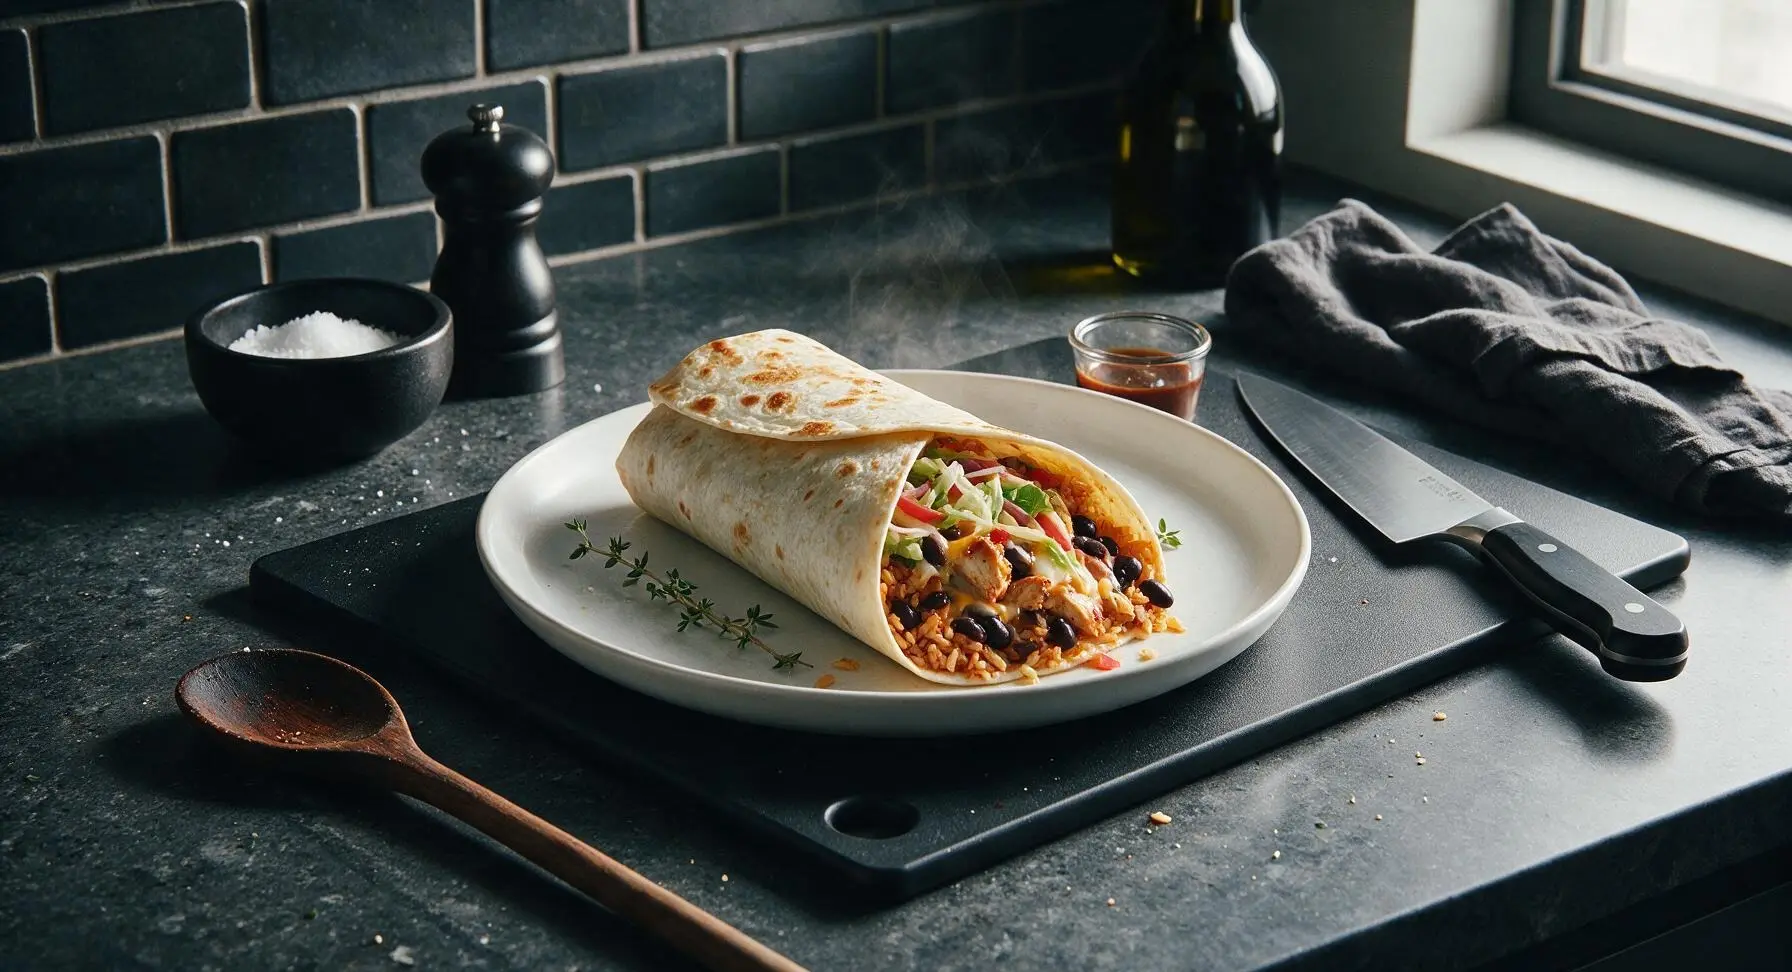
Warm, pliable flour tortillas stuffed with seasoned rice, savory chicken and black beans, melted cheese, and crisp fresh toppings, toasted to a light golden crisp. A fast, customizable weeknight staple the whole family will love.
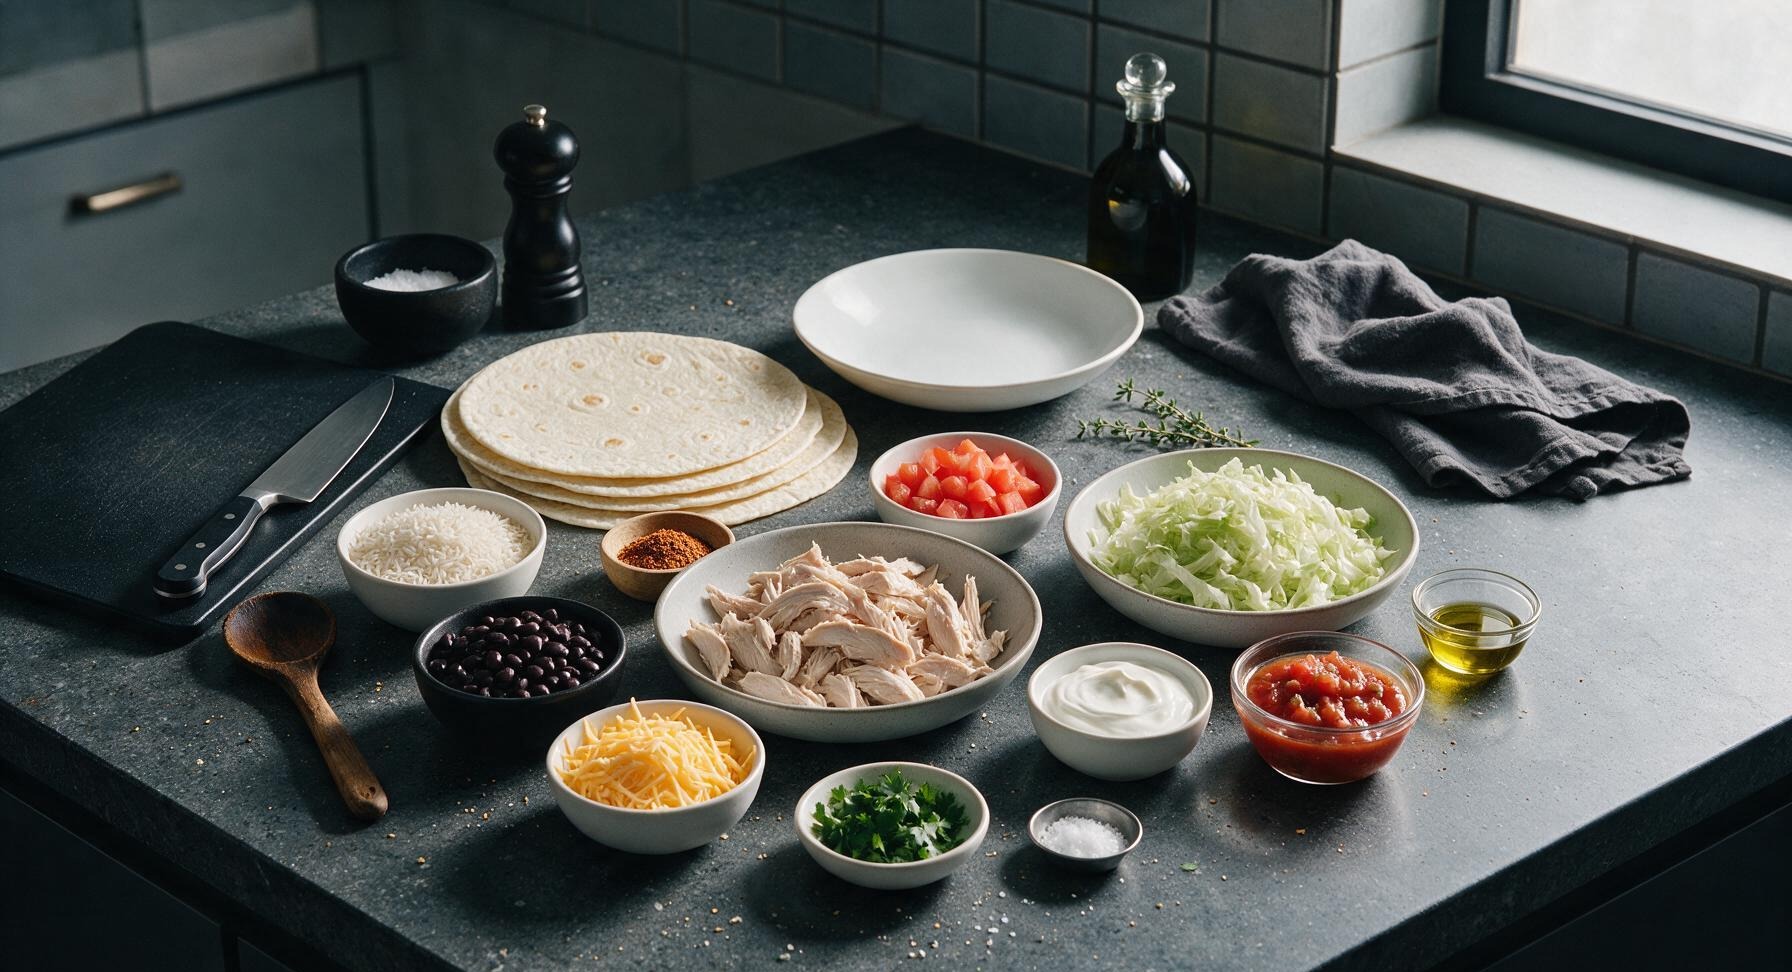
Ingredients
Steps
Cook Seasoned Rice
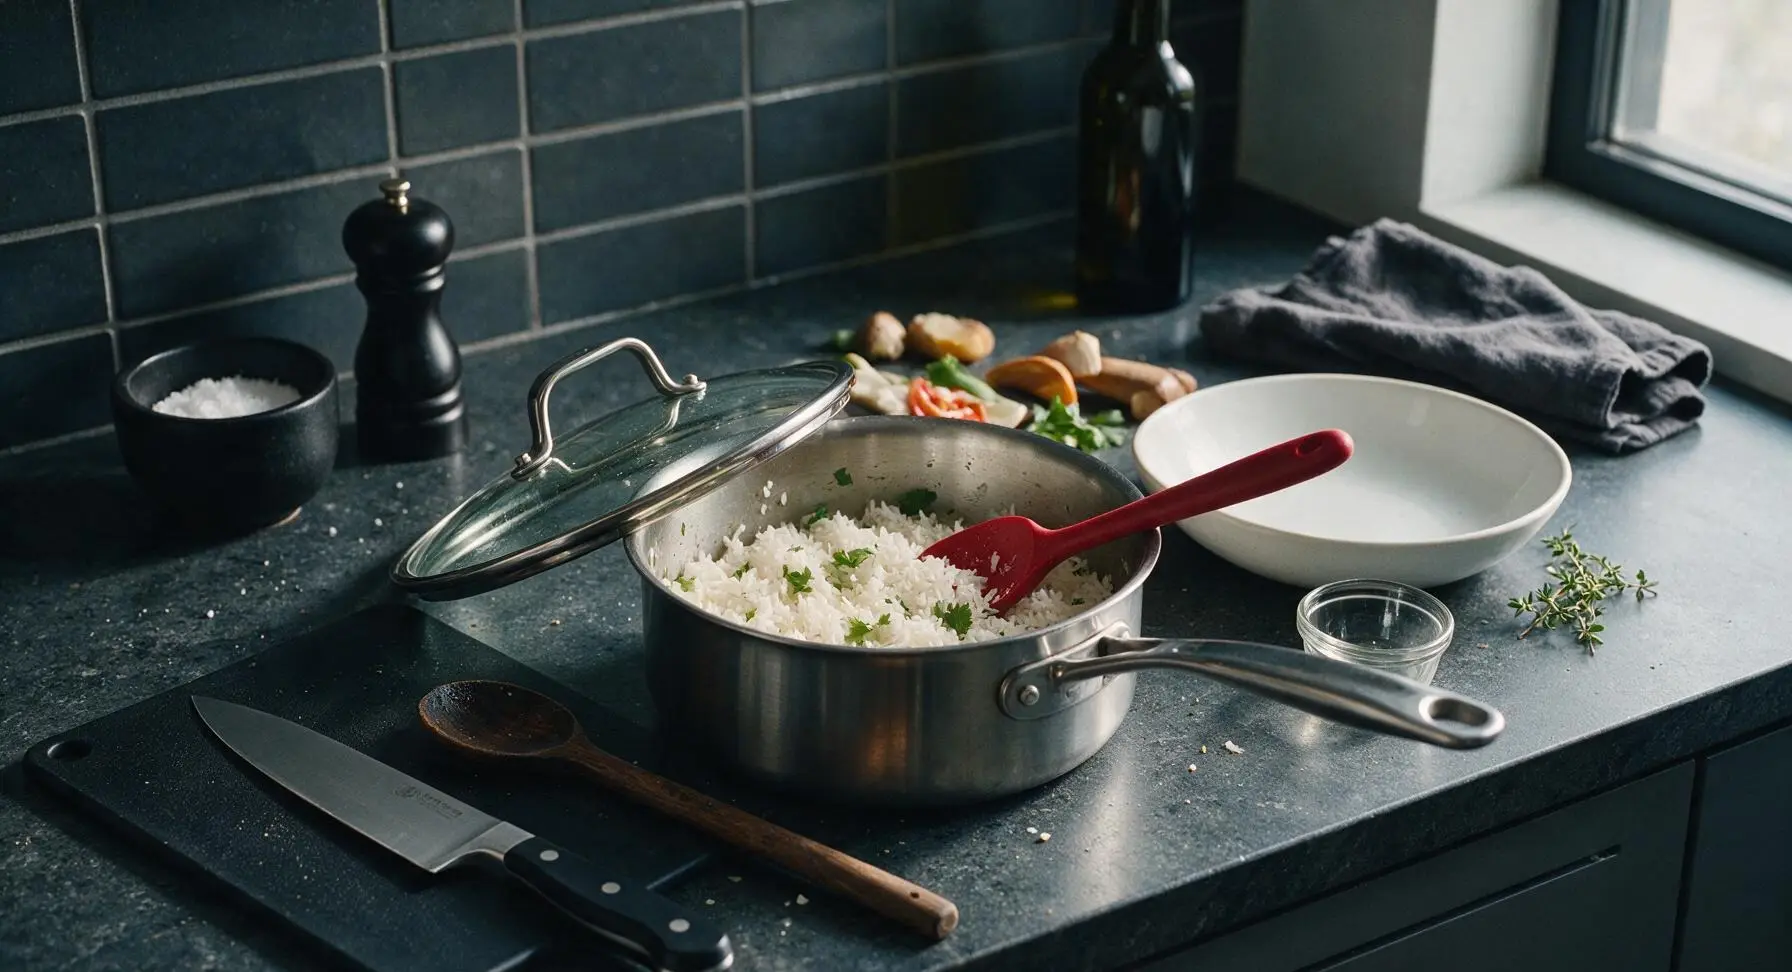
Place the stainless steel saucepan on the stovetop over medium-high heat, add 2 cups cold water and bring to a rolling boil. Stir in 1 cup uncooked long-grain white rice and ½ tsp kosher salt with the deep red silicone mixing spoon, reduce heat to the lowest setting, cover tightly with the glass lid, and cook for 15 minutes without lifting the lid. When done, all water will be fully absorbed, rice grains will be tender and separate with no mushy texture. Fluff gently, stir in 1 tbsp chopped fresh cilantro, and set the pan on a heat-resistant trivet on the counter to keep warm.
Warm Savory Filling
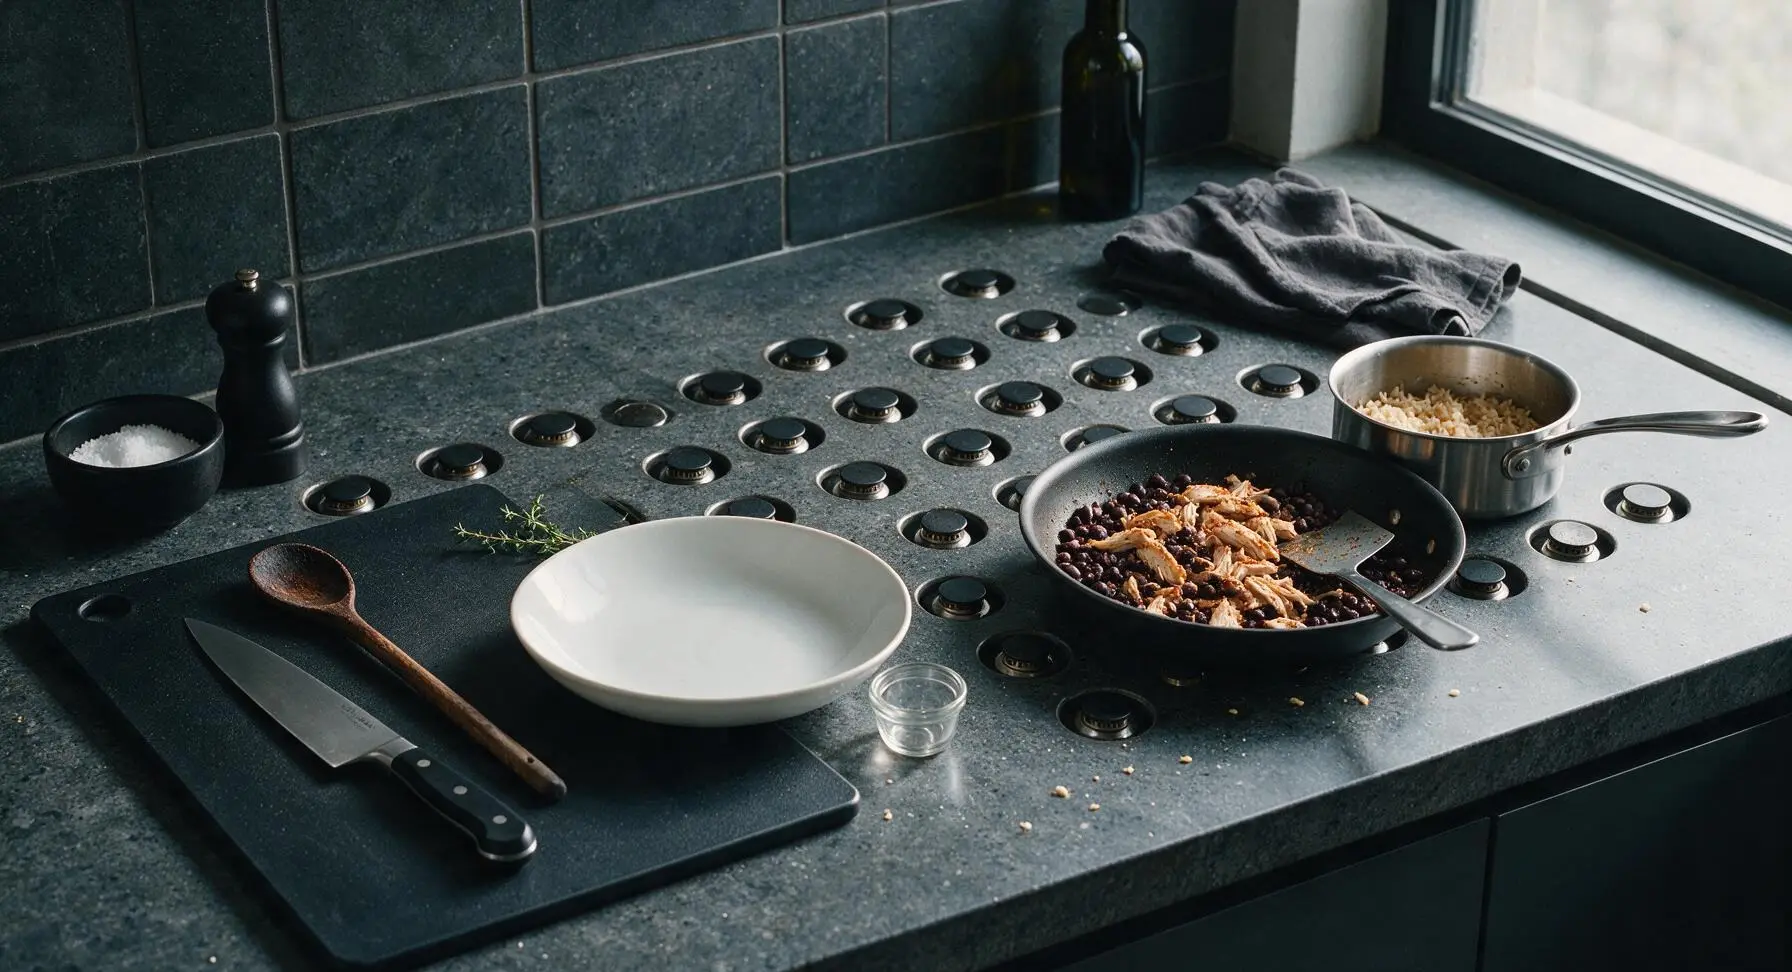
Place the matte black non-stick skillet on the stovetop over medium heat, add 1 tsp extra-virgin olive oil. Once the oil shimmers (about 30 seconds), add rinsed, drained black beans, shredded cooked chicken breast, and 2 tbsp taco seasoning. Stir with the stainless steel turner spatula to coat everything evenly, cooking for 3-4 minutes until the mixture is heated through and fragrant, with no dry spice powder visible on the beans or chicken. Transfer the skillet to the counter next to the rice saucepan to keep warm.
Prep Fresh Toppings
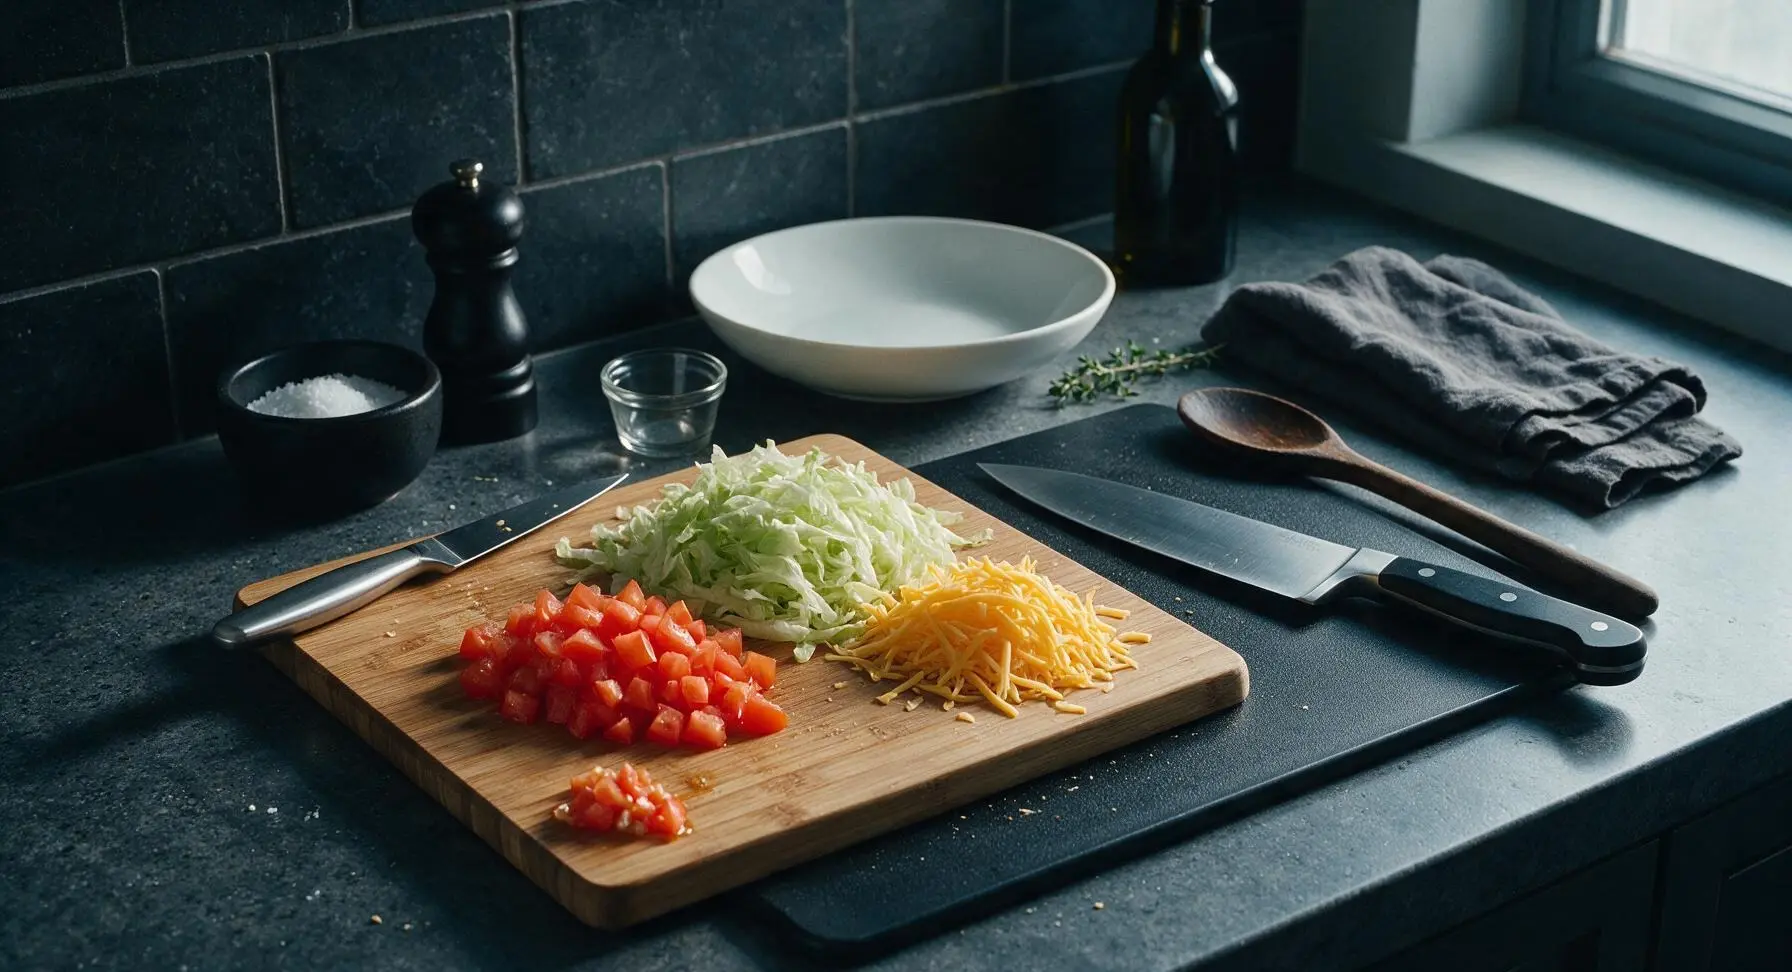
Place the honey-toned bamboo cutting board on the center-left counter position. Use the stainless steel paring knife to dice the Roma tomato into 1cm pieces, discarding the tough core. Pile shredded iceberg lettuce and shredded mild cheddar cheese in separate neat piles on the board, so all fillings are within easy reach for assembly. Leave a small pile of tomato trimmings at the corner of the board for natural realism.
Warm Flour Tortillas
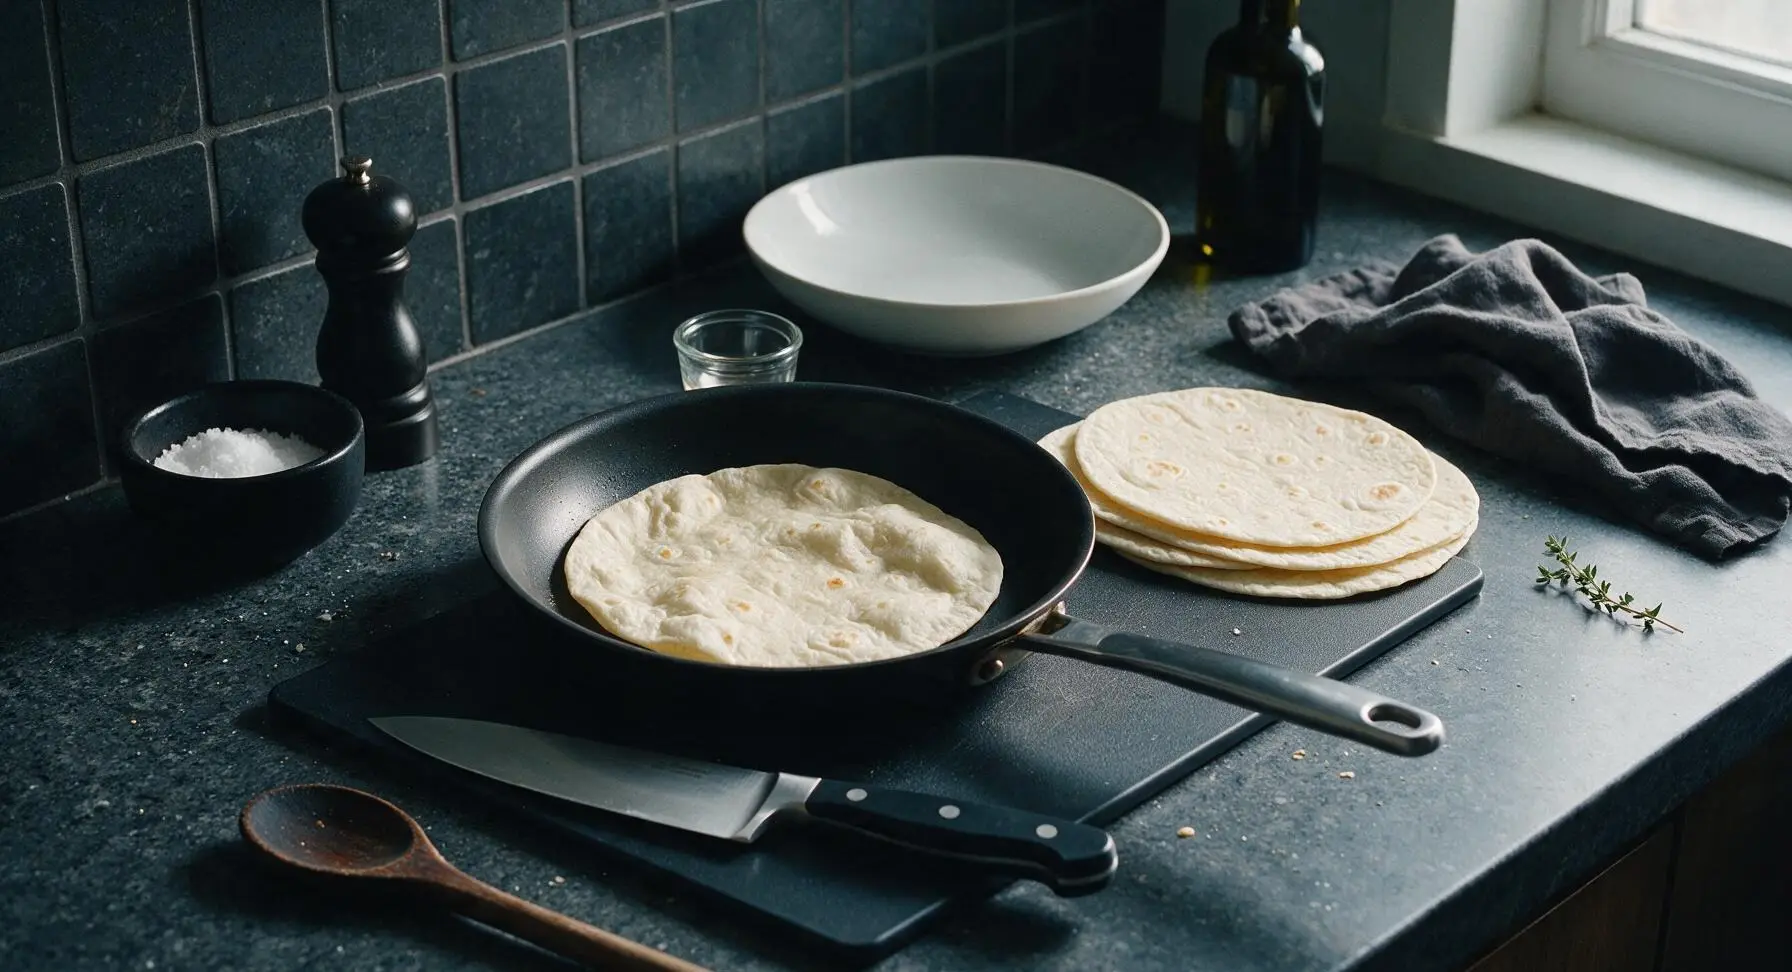
Wipe the non-stick skillet clean with a paper towel, return to medium-low heat. Warm each flour tortilla for 15 seconds per side, until soft and pliable with faint light golden spots on the surface. Do not overcook, as tortillas will turn crispy and crack when folded. Stack warmed tortillas on a small clean spot on the counter next to the cutting board as you work.
Layer Burrito Fillings
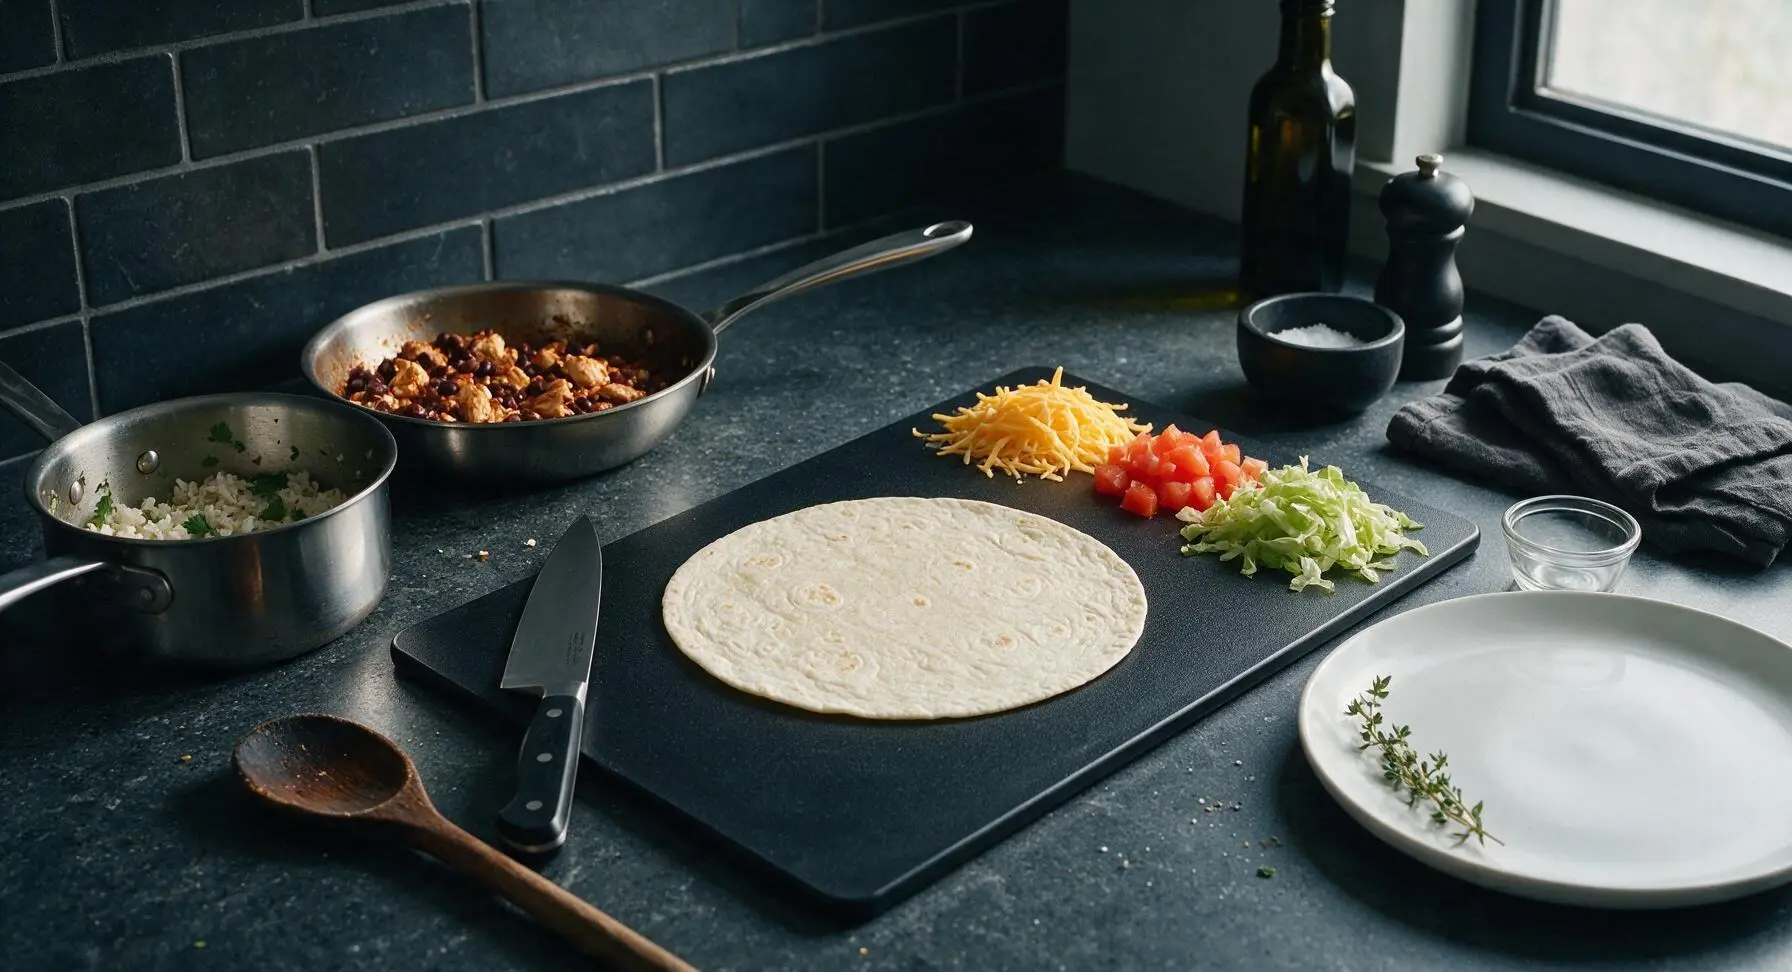
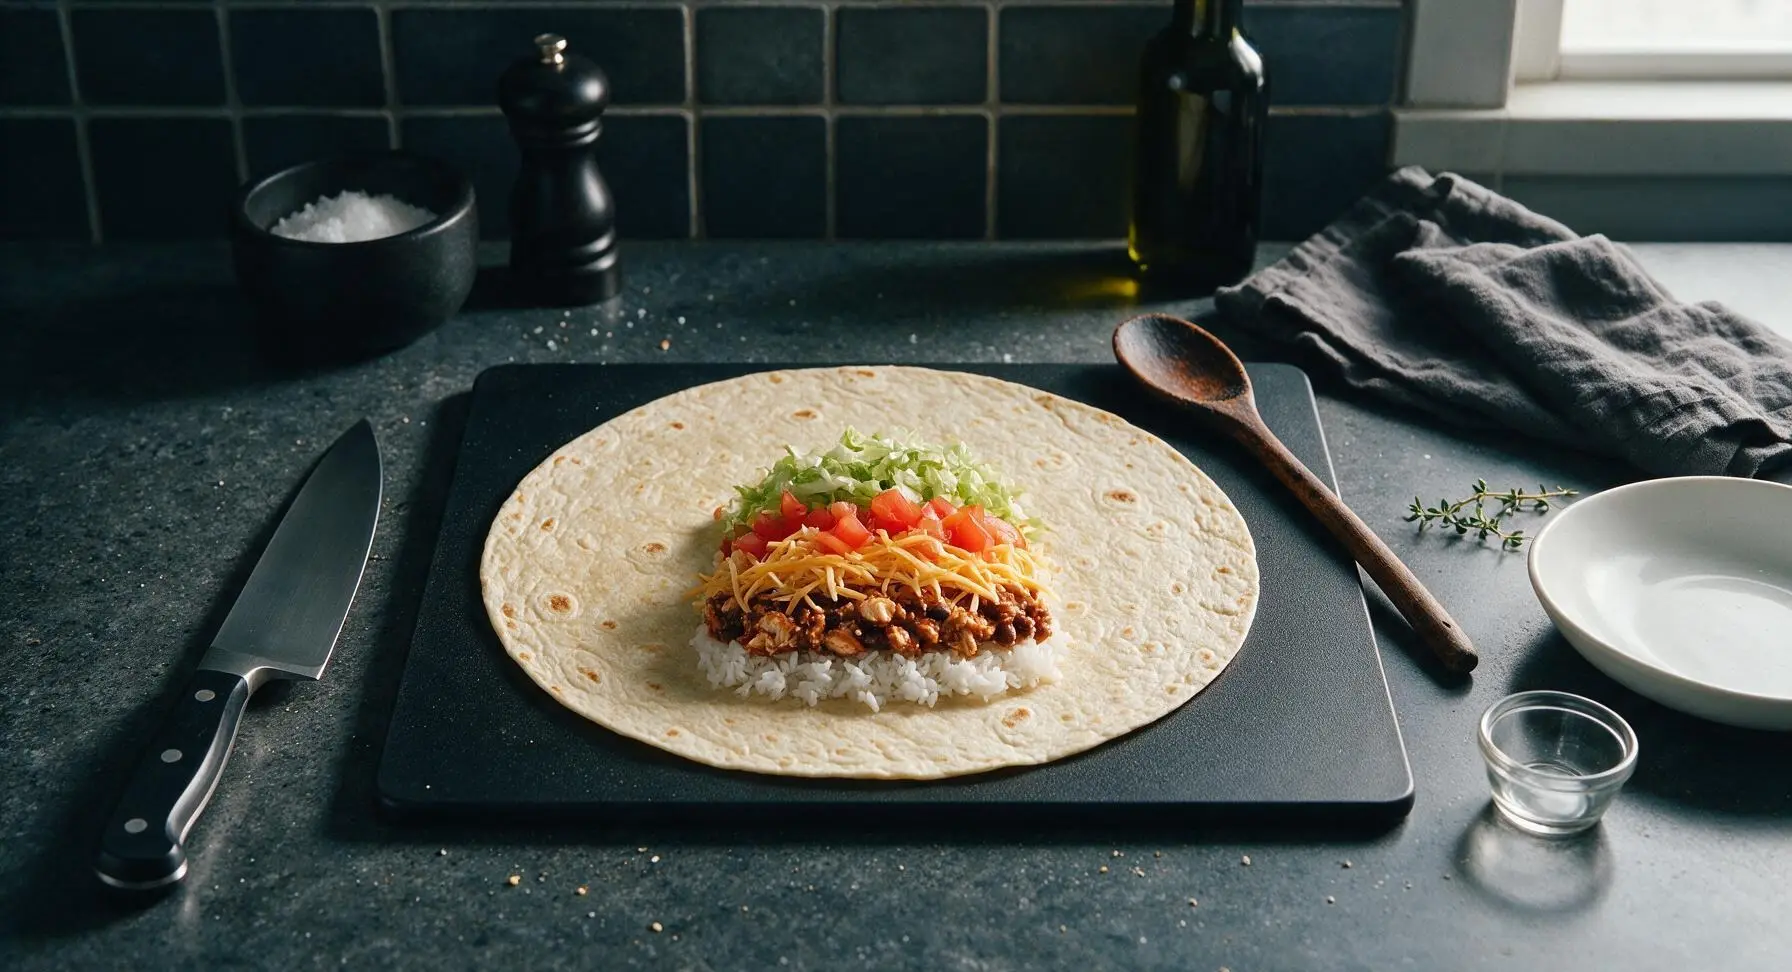
Lay one warm tortilla flat on the bamboo cutting board. Spoon ¼ of the cilantro rice down the center third of the tortilla, leaving a clear 5cm border at the top and bottom edges. Top the rice with ¼ of the bean and chicken filling, followed by ¼ of the shredded cheddar, a spoonful of diced tomato, and a small handful of shredded lettuce. Do not overfill, as this will cause leaks and make rolling impossible.
Roll Tight Burritos
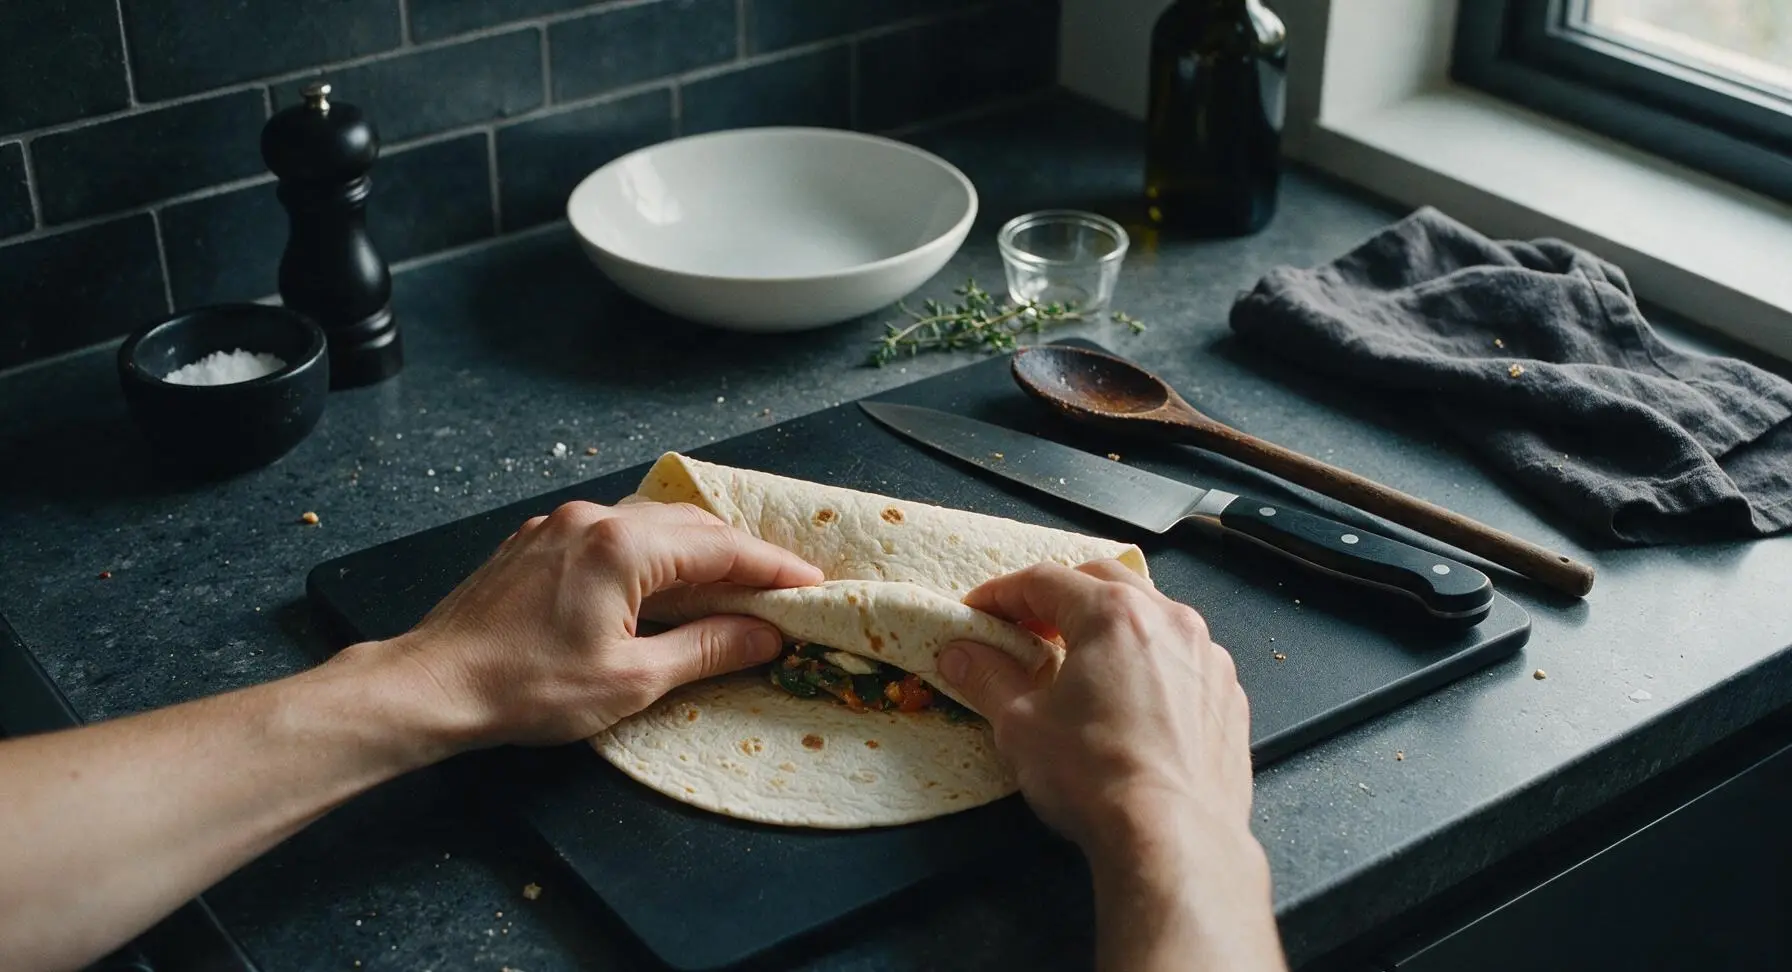
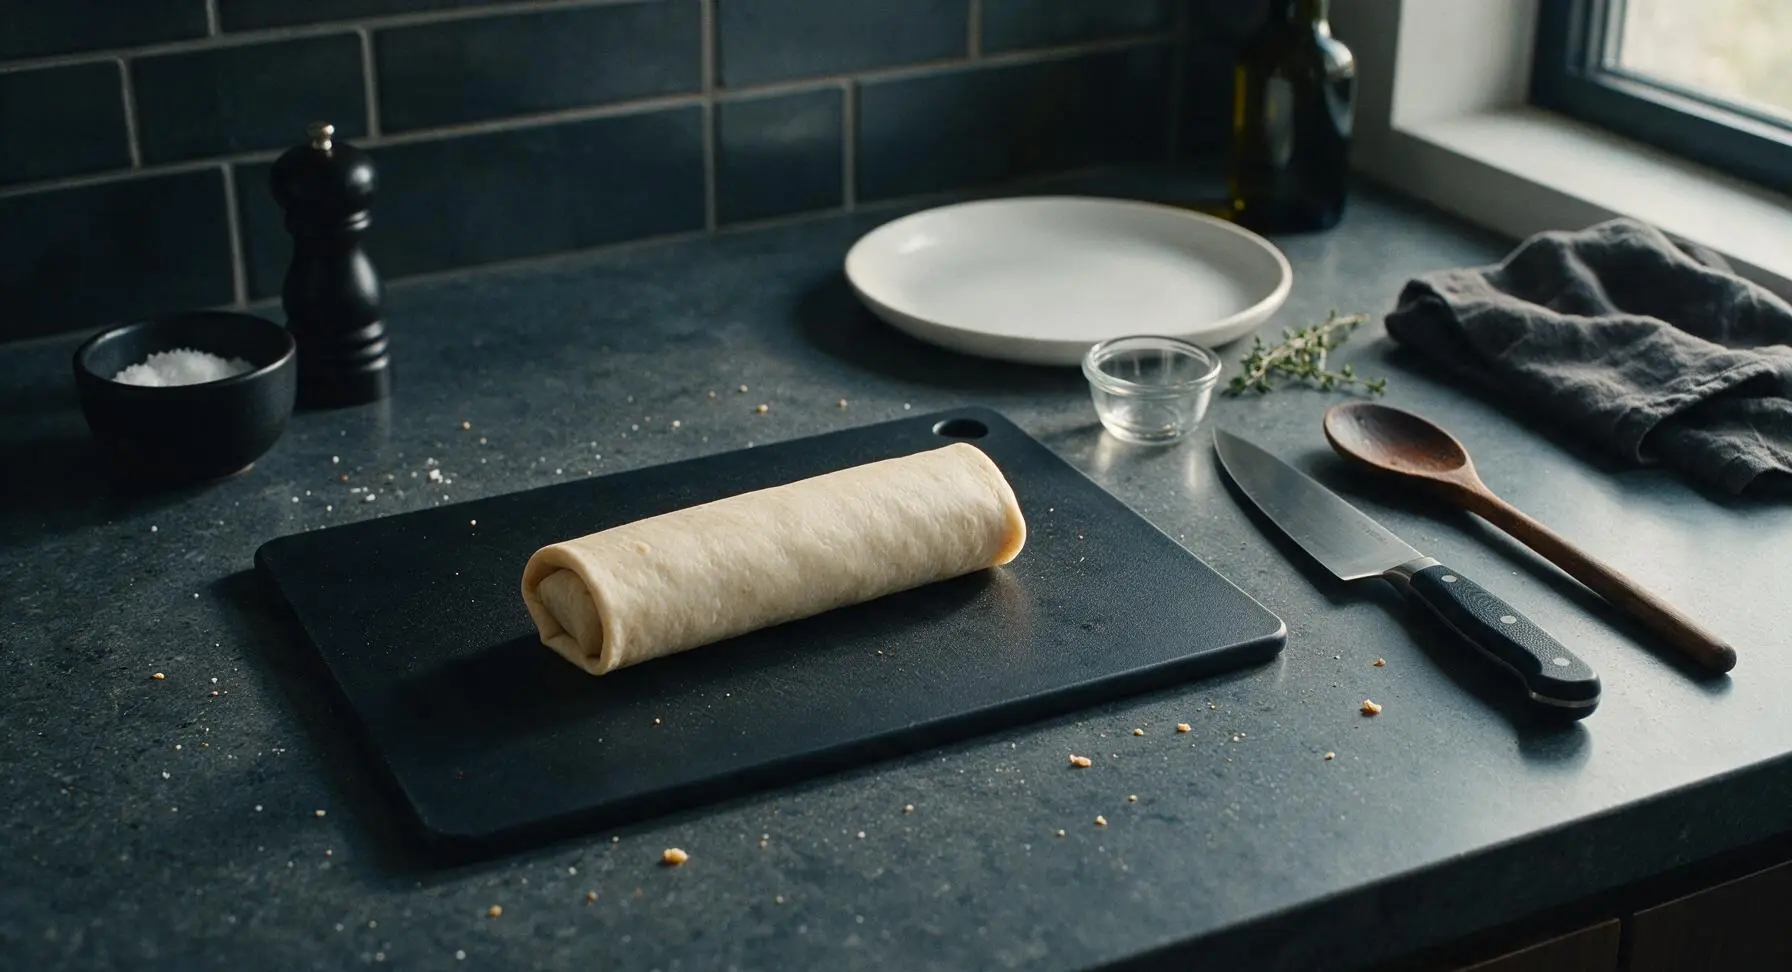
Fold the top and bottom 5cm borders of the tortilla in over the ends of the filling, holding them in place with one hand. Pull the right edge of the tortilla tight over the filling, tucking it under the ingredients to eliminate air gaps, then roll the burrito firmly toward the left edge until fully sealed, with the seam side facing down. Repeat for all 4 tortillas.
Toast Wrapped Burritos
Return the rolled burritos to the non-stick skillet over medium-low heat, starting seam-side down. Cook for 1 minute per side, turning gently with the turner spatula, until the tortilla is lightly golden and crisp on all sides, and the shredded cheese inside is fully melted. Press gently on the burritos with the spatula to ensure even contact with the pan surface.
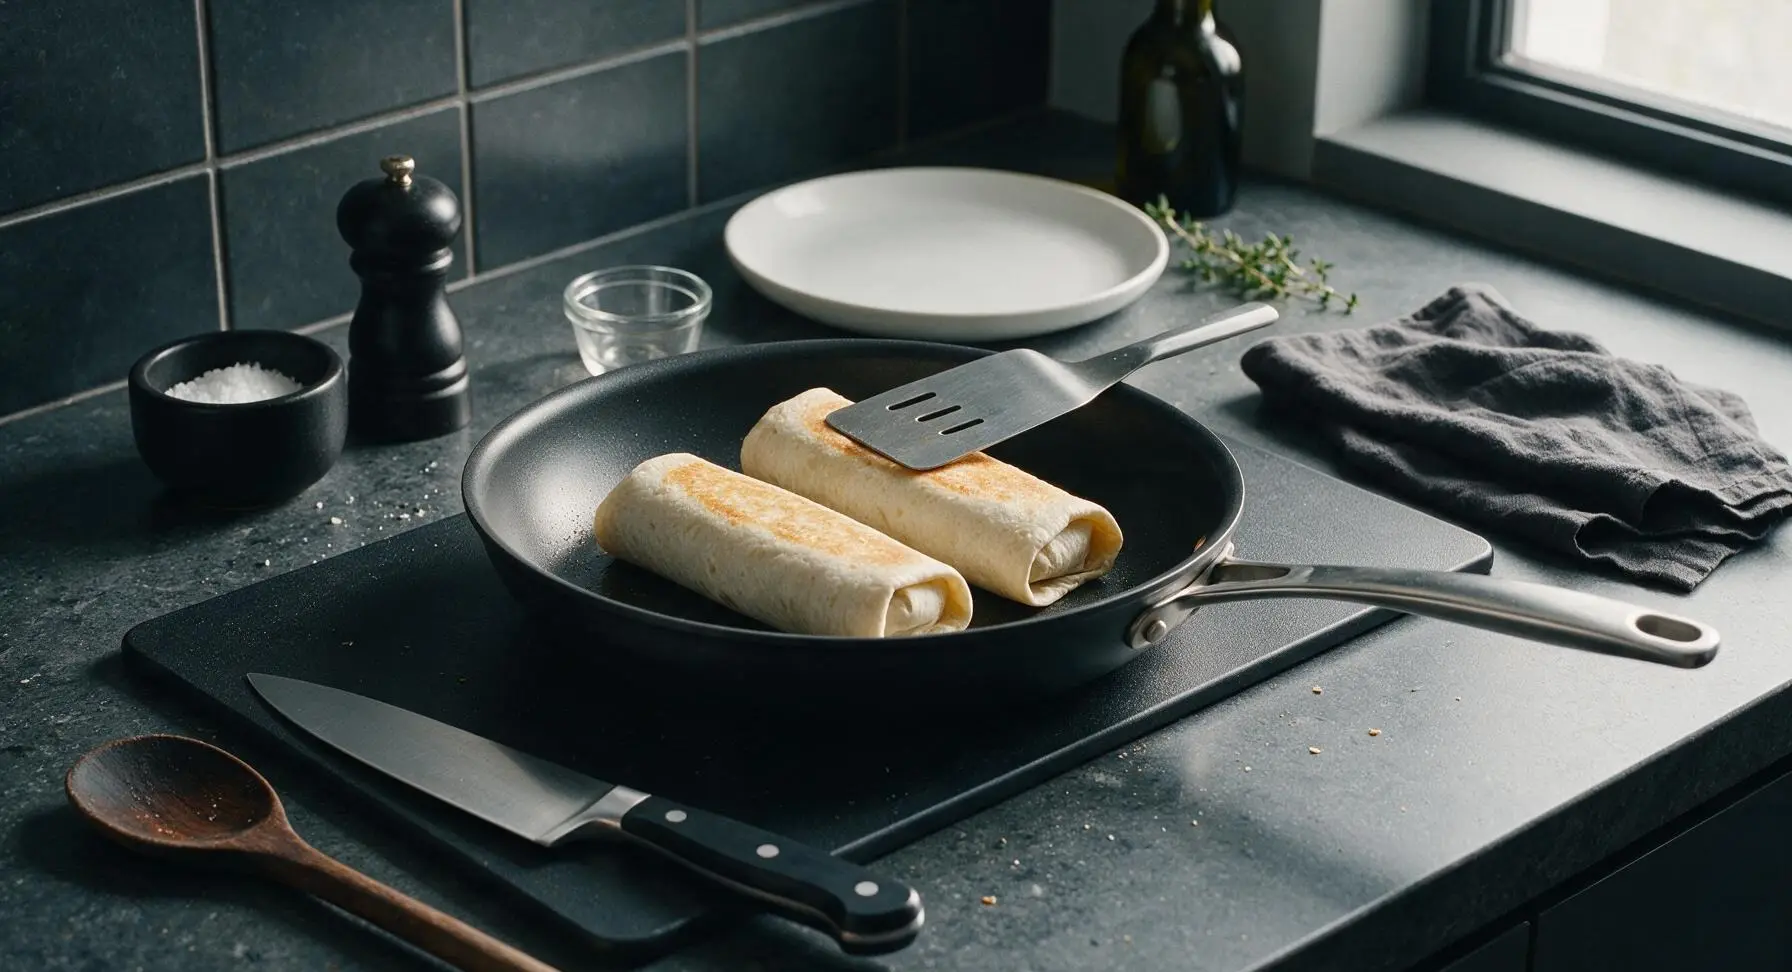
Plate and Serve Burritos
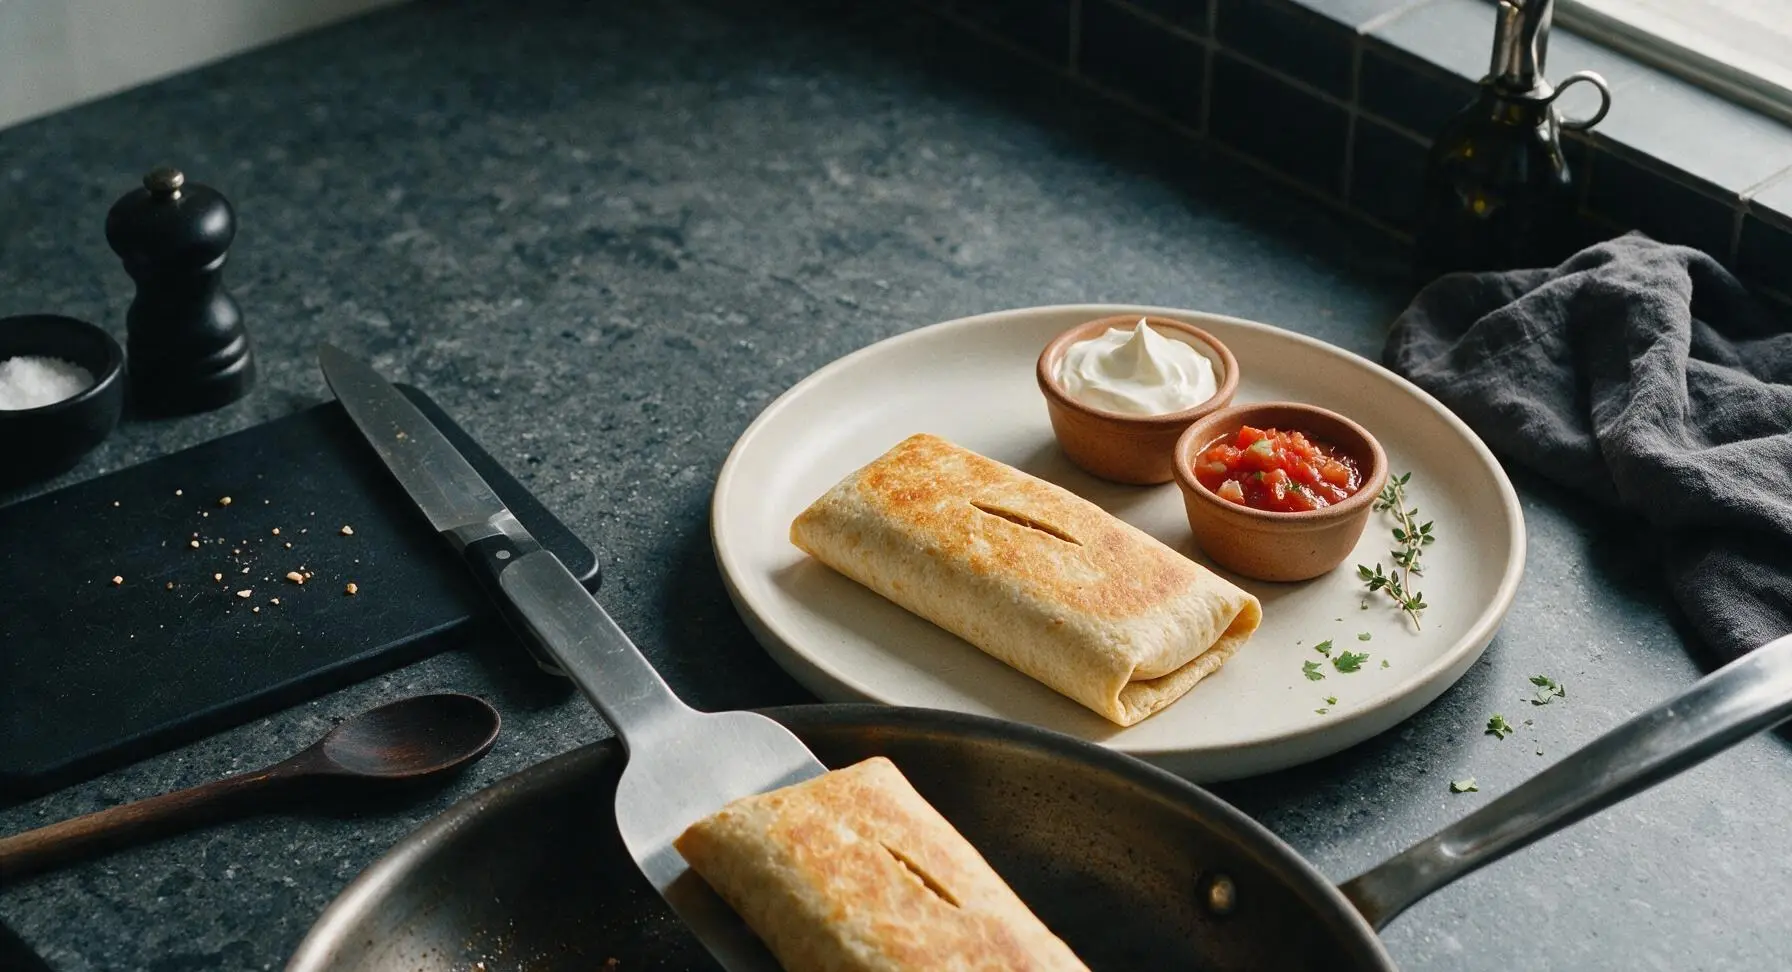
Transfer 2 toasted burritos to each matte warm white ceramic dinner plate. Cut a 2cm shallow slit across the top of each burrito to vent steam, spoon salsa and sour cream into the small terracotta ramekins, and place one ramekin of each on every plate. Garnish with a light sprinkle of remaining chopped cilantro.
Tips
2.Avoid overfilling: It can be tempting to pack extra fillings into each tortilla, but more than ½ cup of total filling per 10-inch tortilla makes rolling impossible and causes burritos to burst open while toasting. Leaving 5cm borders at the top and bottom ensures a tight, leak-proof seal.
3.Toast seam-side down first: Placing burritos seam-side down in the hot skillet first melts the tortilla layers at the seam to create a natural seal, preventing burritos from unrolling while you toast the remaining sides, and adding a satisfying crisp texture to the wrap.






OMG this recipe is a total game changer for our chaotic weeknights! I got home late from soccer practice with the kids last night, threw this together in 18 minutes flat, no fancy ingredients needed. My 7 and 9 year old devoured theirs and asked for seconds, which never happens with veggie-heavy meals. 10/10 will be on our regular rotation.
Made a big batch of these on Sunday for meal prep this week! They hold up so well in the fridge for 4 days, and I just pop them in the microwave for 90 seconds at lunch. I added a little extra lime juice and cilantro to the filling, chef’s kiss. SO good, way better than the sad frozen burritos I used to buy.
As someone who can barely boil pasta without messing it up, this was so easy to make in my tiny dorm kitchen! No weird equipment, all ingredients I could grab at the campus grocery store for under $10 total. Filled me up for hours after my evening lecture, will be making this nonstop.
Quick question – can I make these with gluten free tortillas? I have celiac so regular flour tortillas are a no-go for me, but this recipe looks too good to pass up for our next taco night.
Brought these to our neighborhood potluck last weekend and everyone was asking for the recipe! I set out a little toppings bar with guac, salsa, pickled jalapeños so people could customize theirs. Gone in 10 minutes flat, zero leftovers. Absolute win.
Made these last night for me and my husband after a long work day, added a little pinch of cajun seasoning to the beef filling for an extra kick. So simple, so flavorful, way faster than waiting for takeout. We paired it with a side of chips and queso, perfect weeknight dinner.
Wait I was skeptical because a lot of “20 minute” recipes lie about cook time, but this actually took me exactly 19 minutes from opening the fridge to sitting down to eat. I used pre-shredded cheese and jarred salsa to cut down on prep, no judgment, and it still tasted fresh and delicious. My teenager even said it’s better than the burritos from our local taco shop!
Swapped the ground beef for black beans and roasted corn to make this vegetarian, and it was chef’s kiss! Super filling, packed with flavor, and even my meat-loving brother didn’t complain when he stopped by for dinner unexpectedly. Easy to adapt for different diets, love that.