
sirloin tip

title 1
sirloin tip
⏱️ cook time 1 hour 10 minutes
🍽️ servings 4
⚡ Difficulty medium

intro

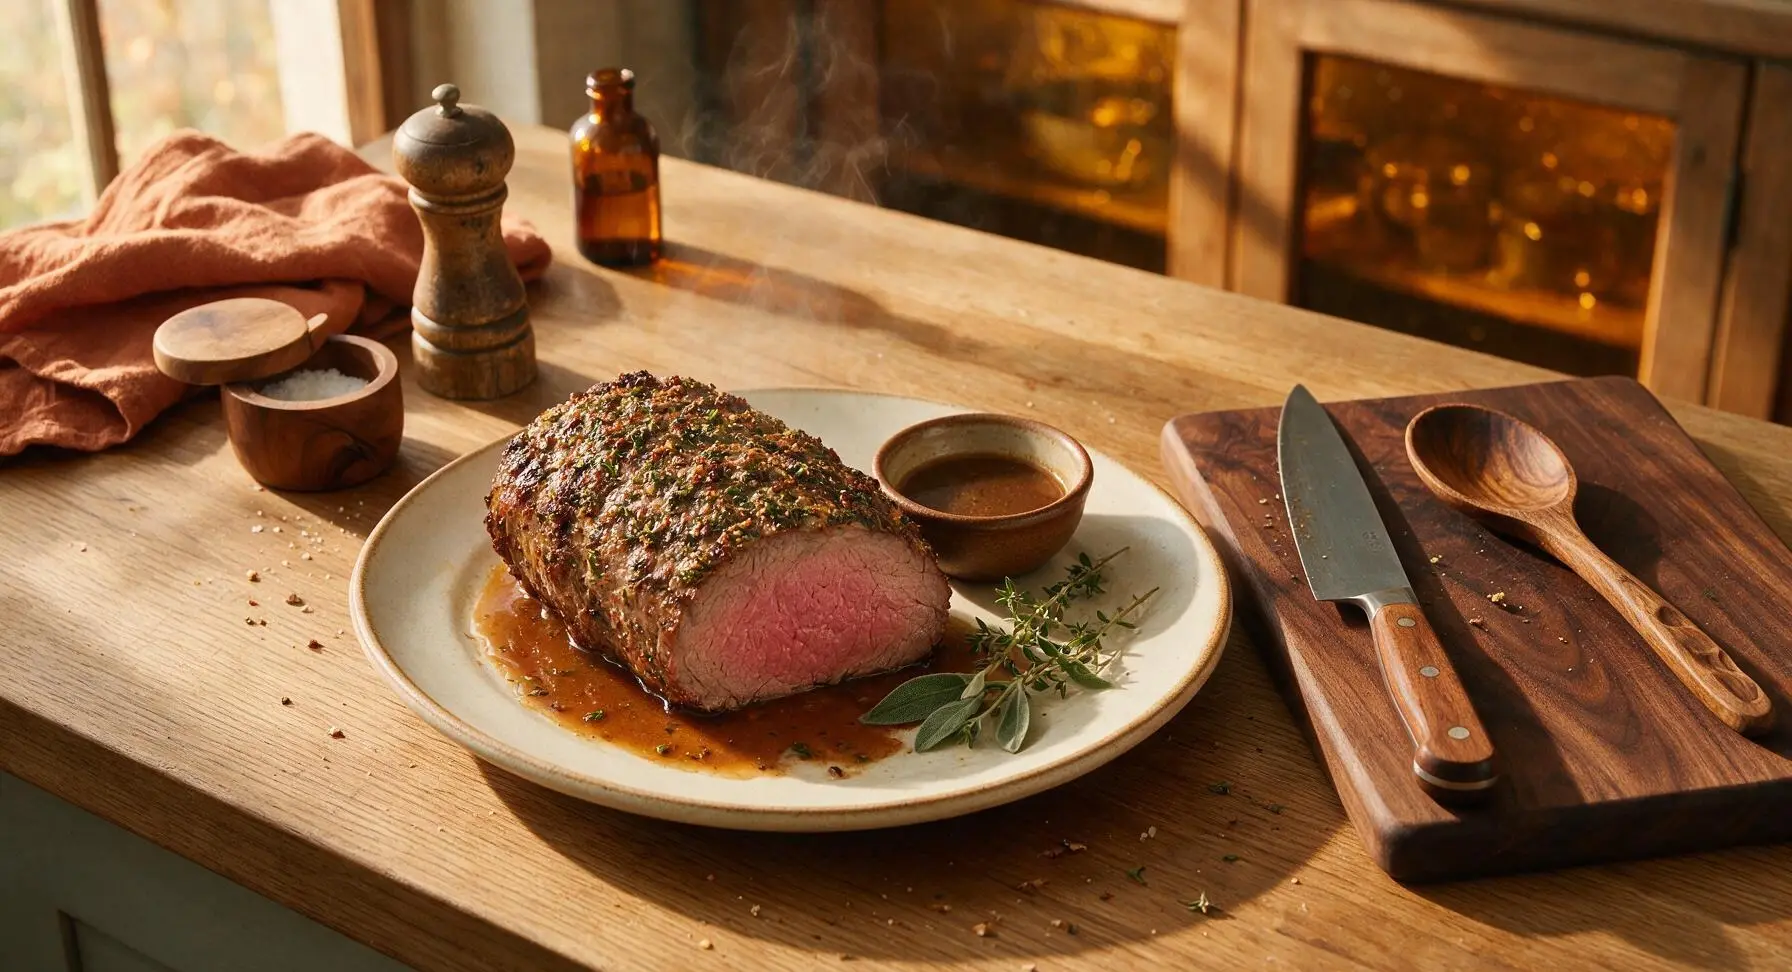
Juicy herb-crusted sirloin tip roast with caramelized edges, tender pink center, and rich pan jus—ideal for a cozy, low-fuss satisfying family meal.

Ingredients
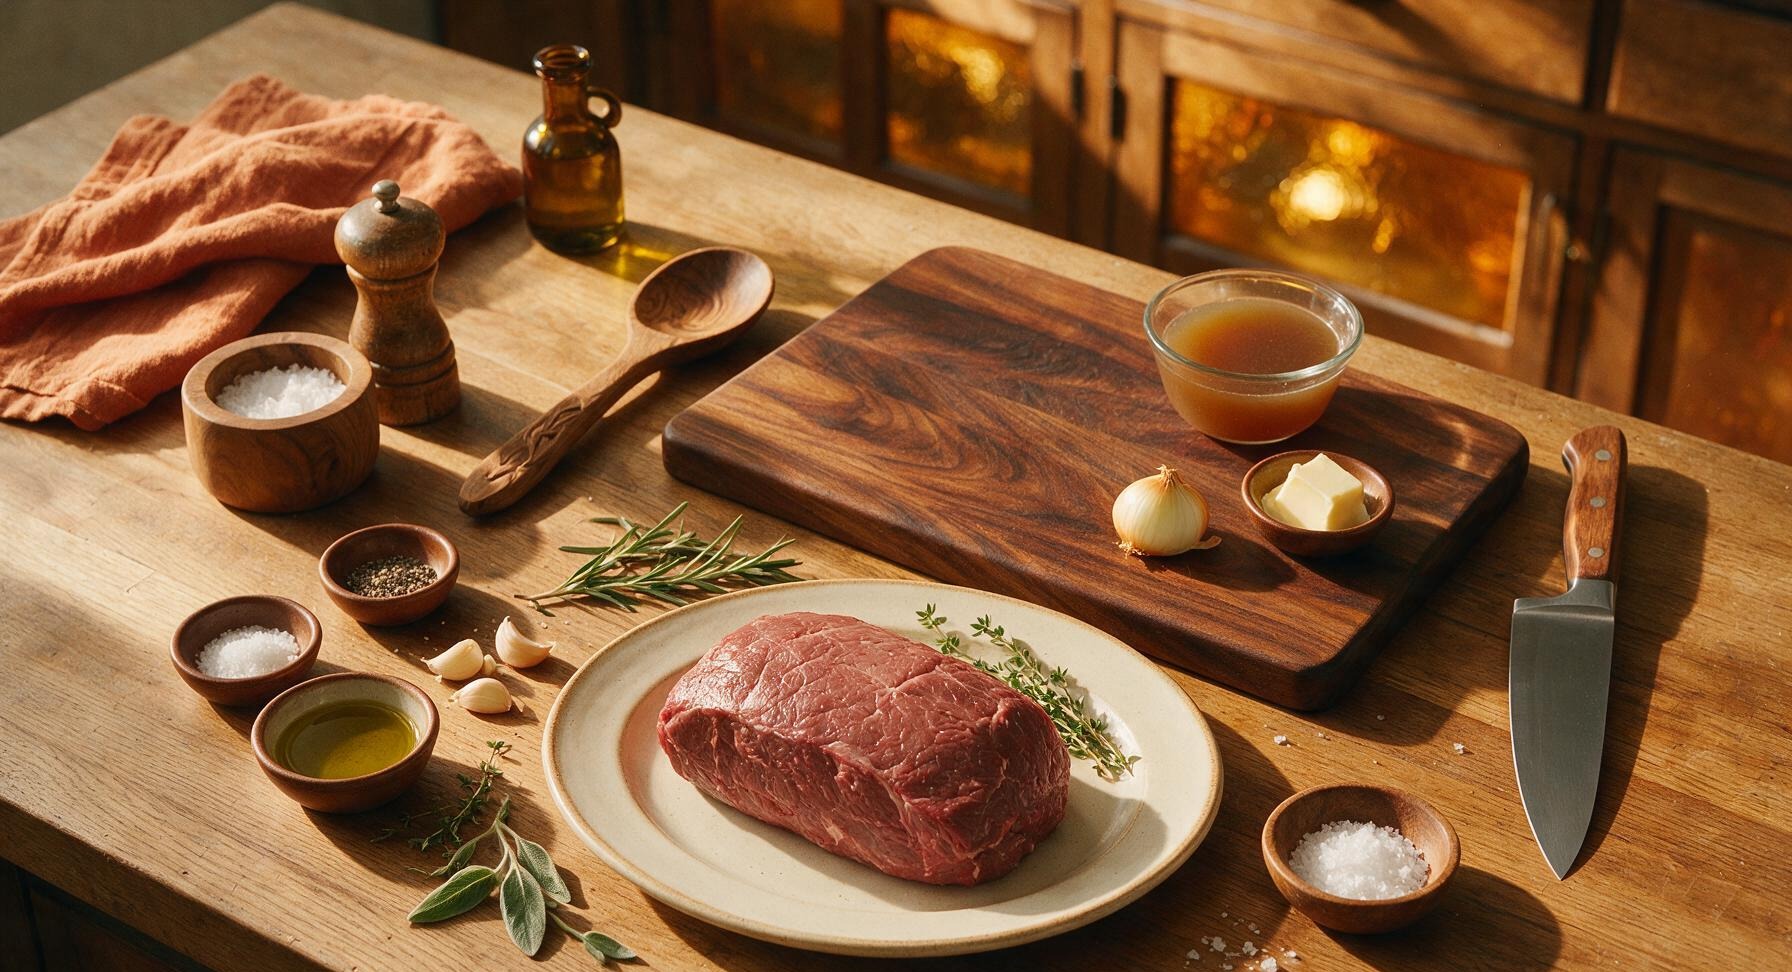
Sirloin tip roast 1kg (2.2 lbs)
Extra-virgin olive oil 2 tbsp
Kosher salt 1 tbsp
Freshly ground black pepper 1 tsp
Garlic cloves 3, crushed
Fresh rosemary 2 sprigs
Fresh thyme 4 sprigs
Yellow onion 1 small, quartered
Low-sodium beef broth 1 cup (240ml)
Unsalted butter 2 tbsp
Flaky sea salt for finishing

Steps

1

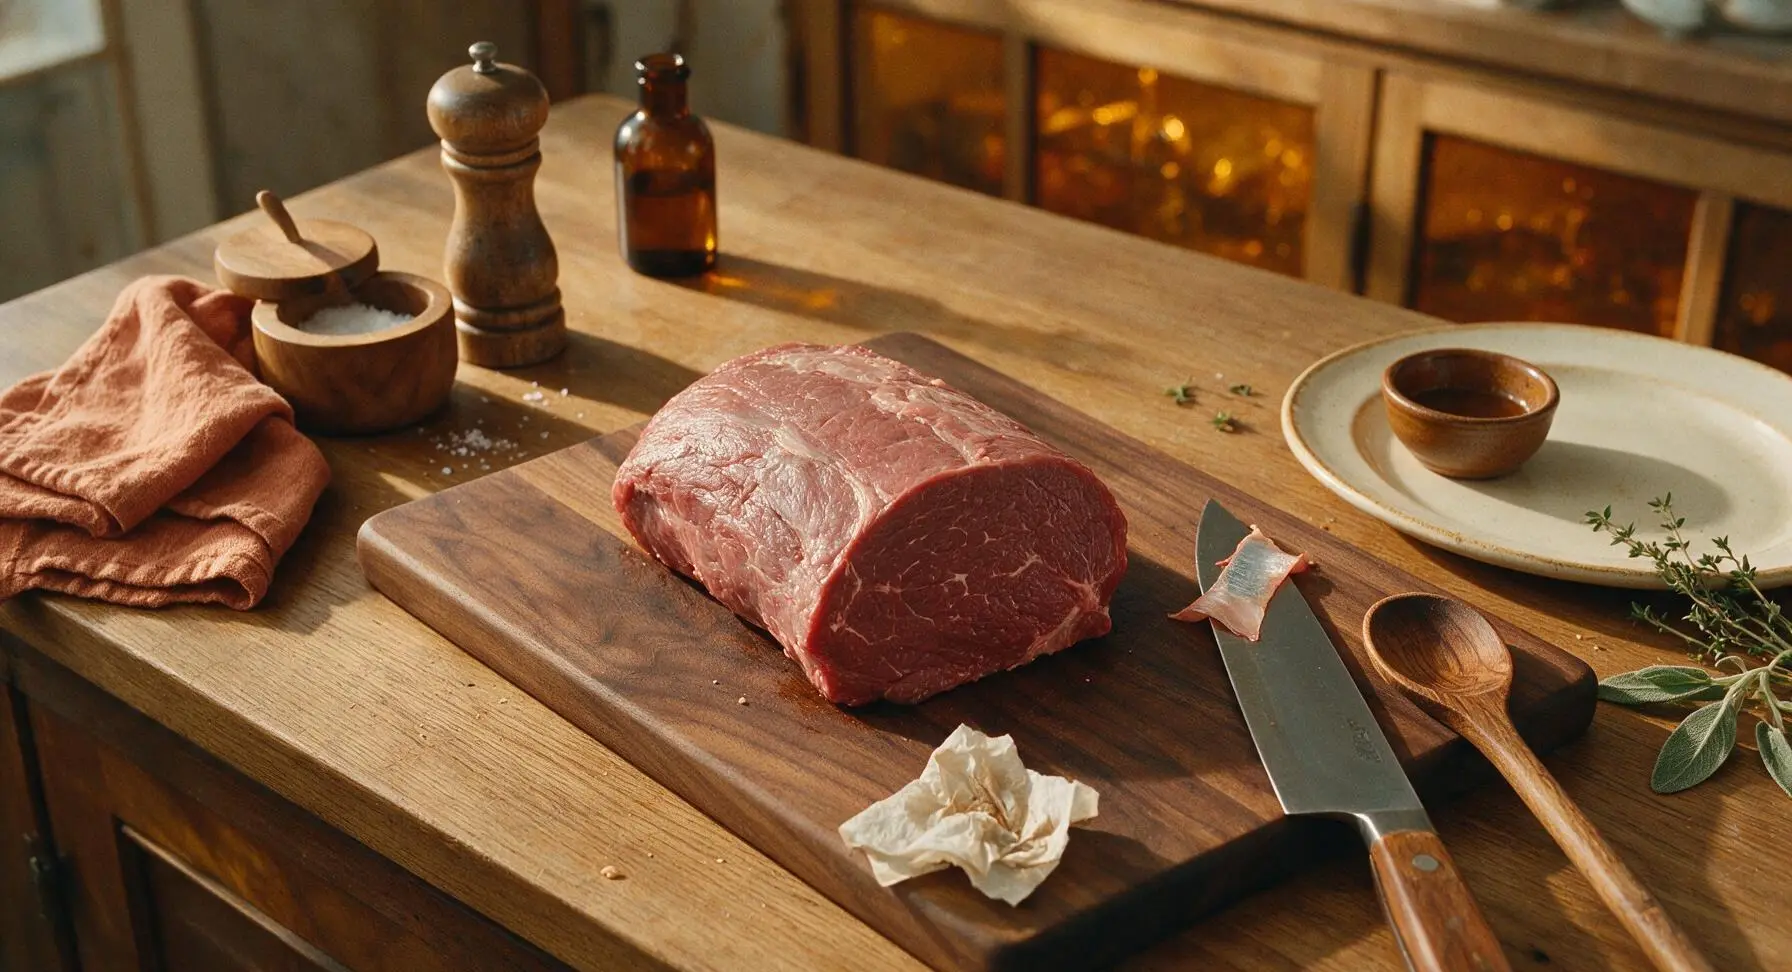
Pat Roast Completely Dry

Remove the 1kg sirloin tip roast from its packaging, place it on the large maple cutting board. Use disposable paper towels to pat every surface of the roast completely dry, removing all residual moisture which is critical for forming a crisp, caramelized crust. Use the 8-inch walnut-handled chef knife to trim any thick, hard silver skin or loose fat chunks from the roast surface, leaving no more than 3mm of thin fat cap intact. Let the roast sit uncovered on the board for 30 minutes at room temperature to take the chill off for even cooking.
Step 1
step1:Pat Roast Completely Dry
2

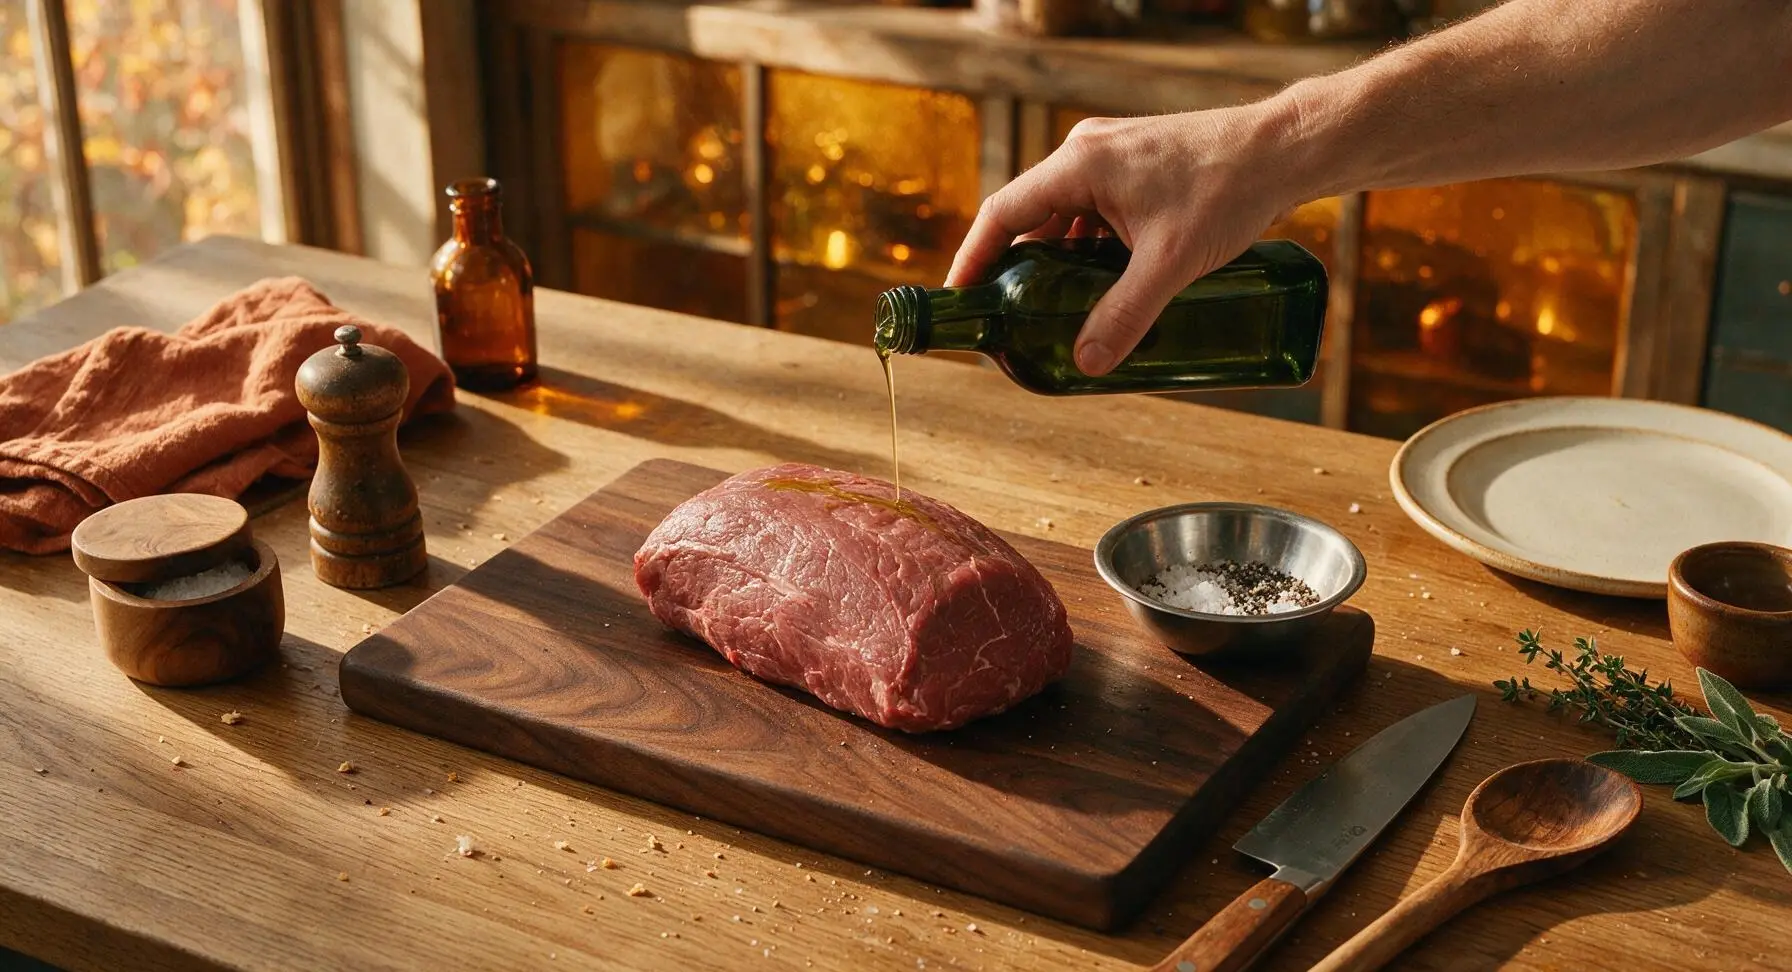
Season All Sides Generously

Drizzle 2 tablespoons of extra-virgin olive oil over the entire surface of the room-temperature roast, rubbing the oil evenly with clean hands to coat every side. Combine 1 tablespoon kosher salt and 1 teaspoon freshly ground black pepper in the small stainless steel mixing bowl, then sprinkle the seasoning mix evenly over all surfaces of the roast, pressing gently so the salt and pepper adhere firmly to the oiled meat. Tuck 1 crushed garlic clove and half the rosemary and thyme sprigs against the sides of the roast.
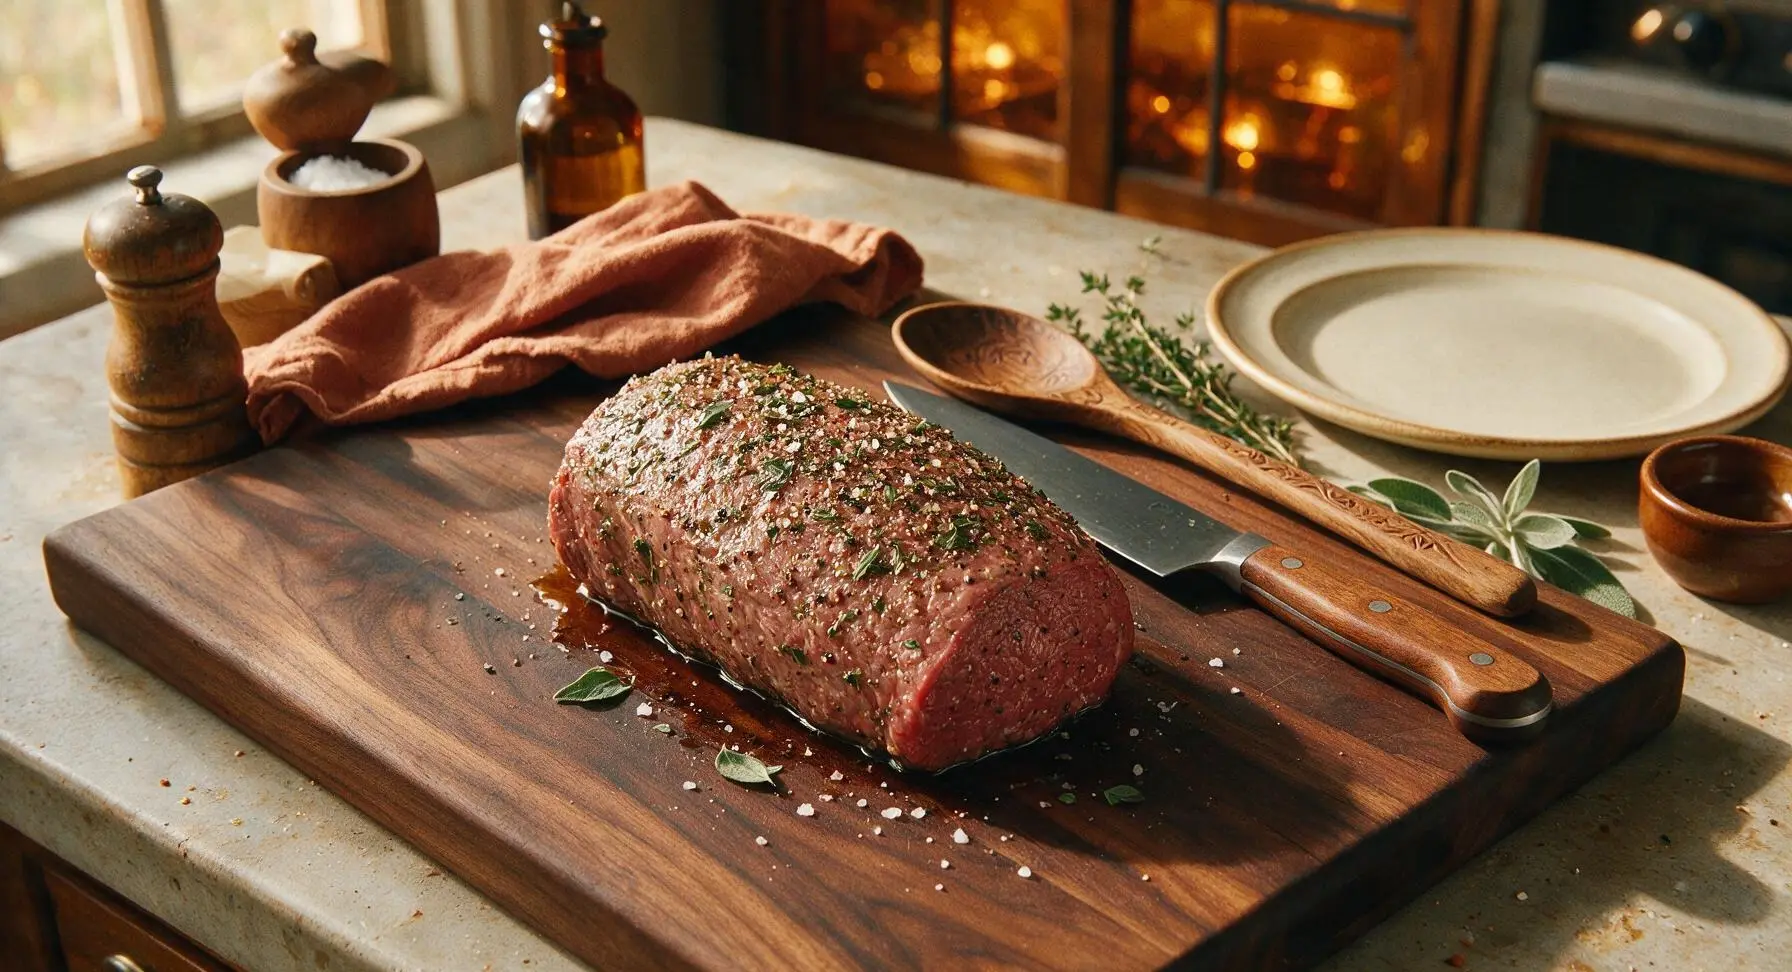
Step 2
step2:Season All Sides Generously
Step 2
step2:Season All Sides Generously
3

Prep Roasting Pan Setup

Adjust your oven rack to the middle position, and preheat the oven to 220C (425F). Retrieve the 12-inch carbon steel roasting pan and set its matching chrome wire rack inside. Scatter the quartered yellow onion, remaining 2 crushed garlic cloves, and remaining herb sprigs across the bottom of the pan, then pour 1 cup of low-sodium beef broth into the pan base. The liquid level should sit below the wire rack so it does not touch the roast as it cooks.
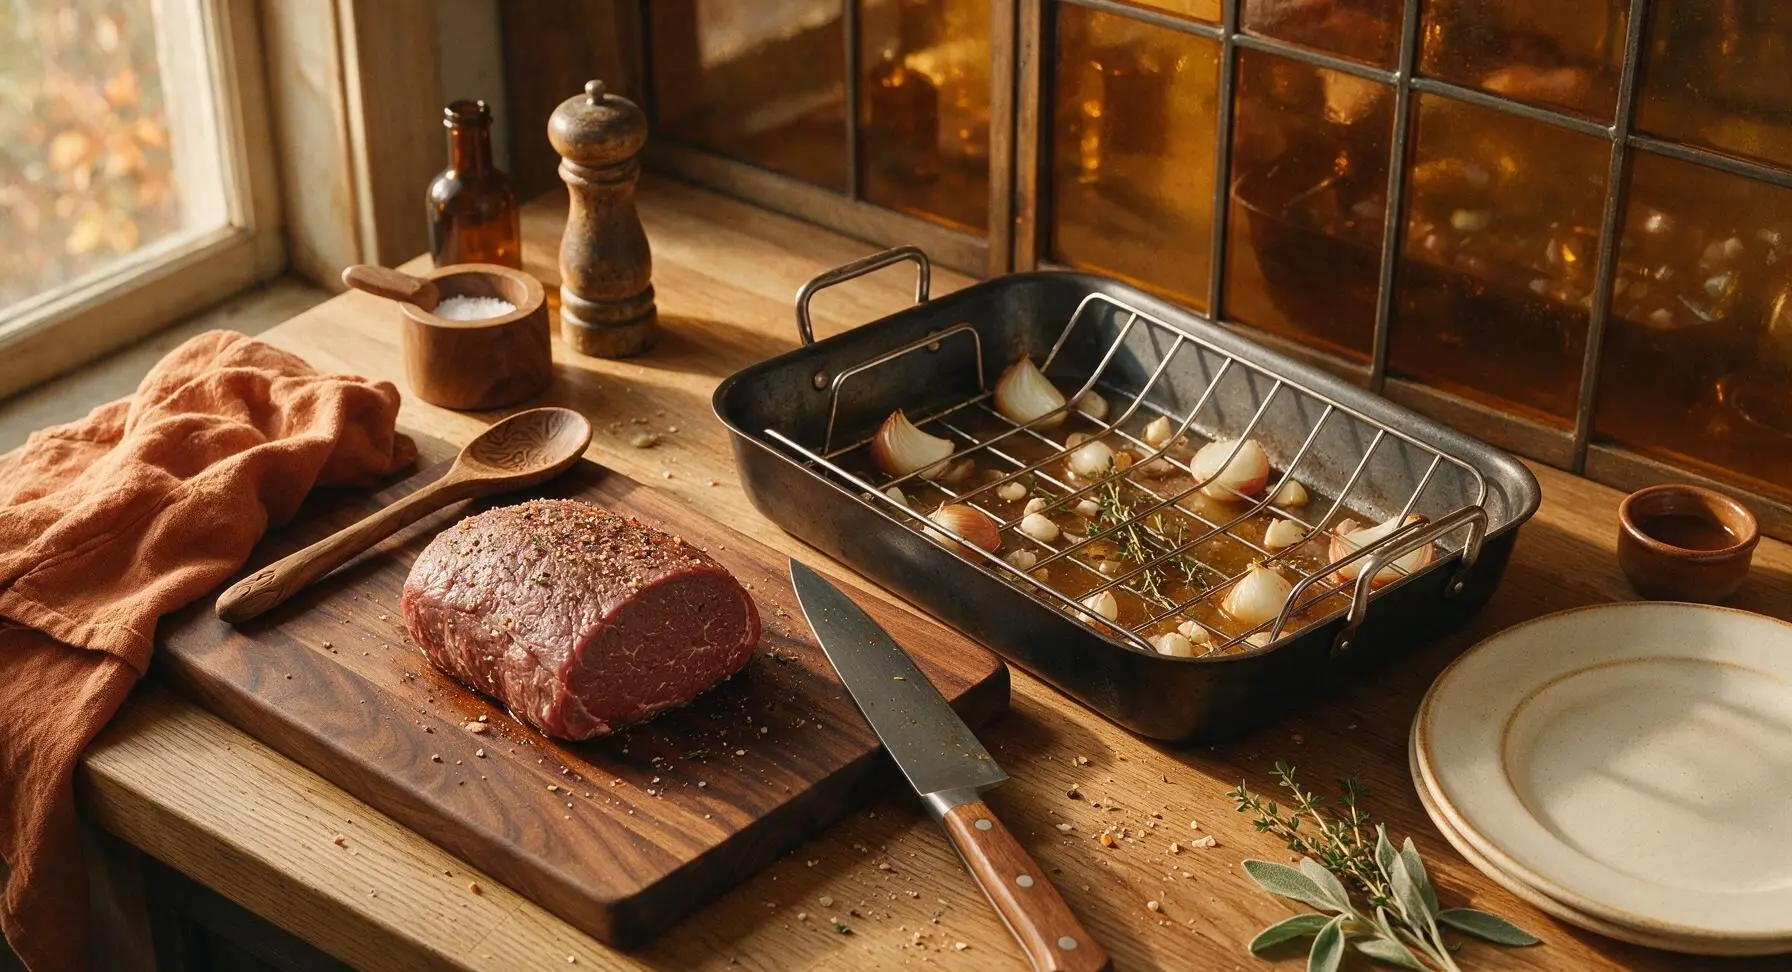
Step 3
step3:Prep Roasting Pan Setup
4

Sear for Caramelized Crust

Use the silicone-tipped stainless steel tongs to transfer the seasoned roast from the cutting board to the wire rack inside the roasting pan, positioning it fat-side up. Carefully slide the roasting pan onto the middle oven rack, and roast at 220C (425F) for 15 minutes to develop a deep, golden-brown caramelized outer crust without burning the herb seasoning.
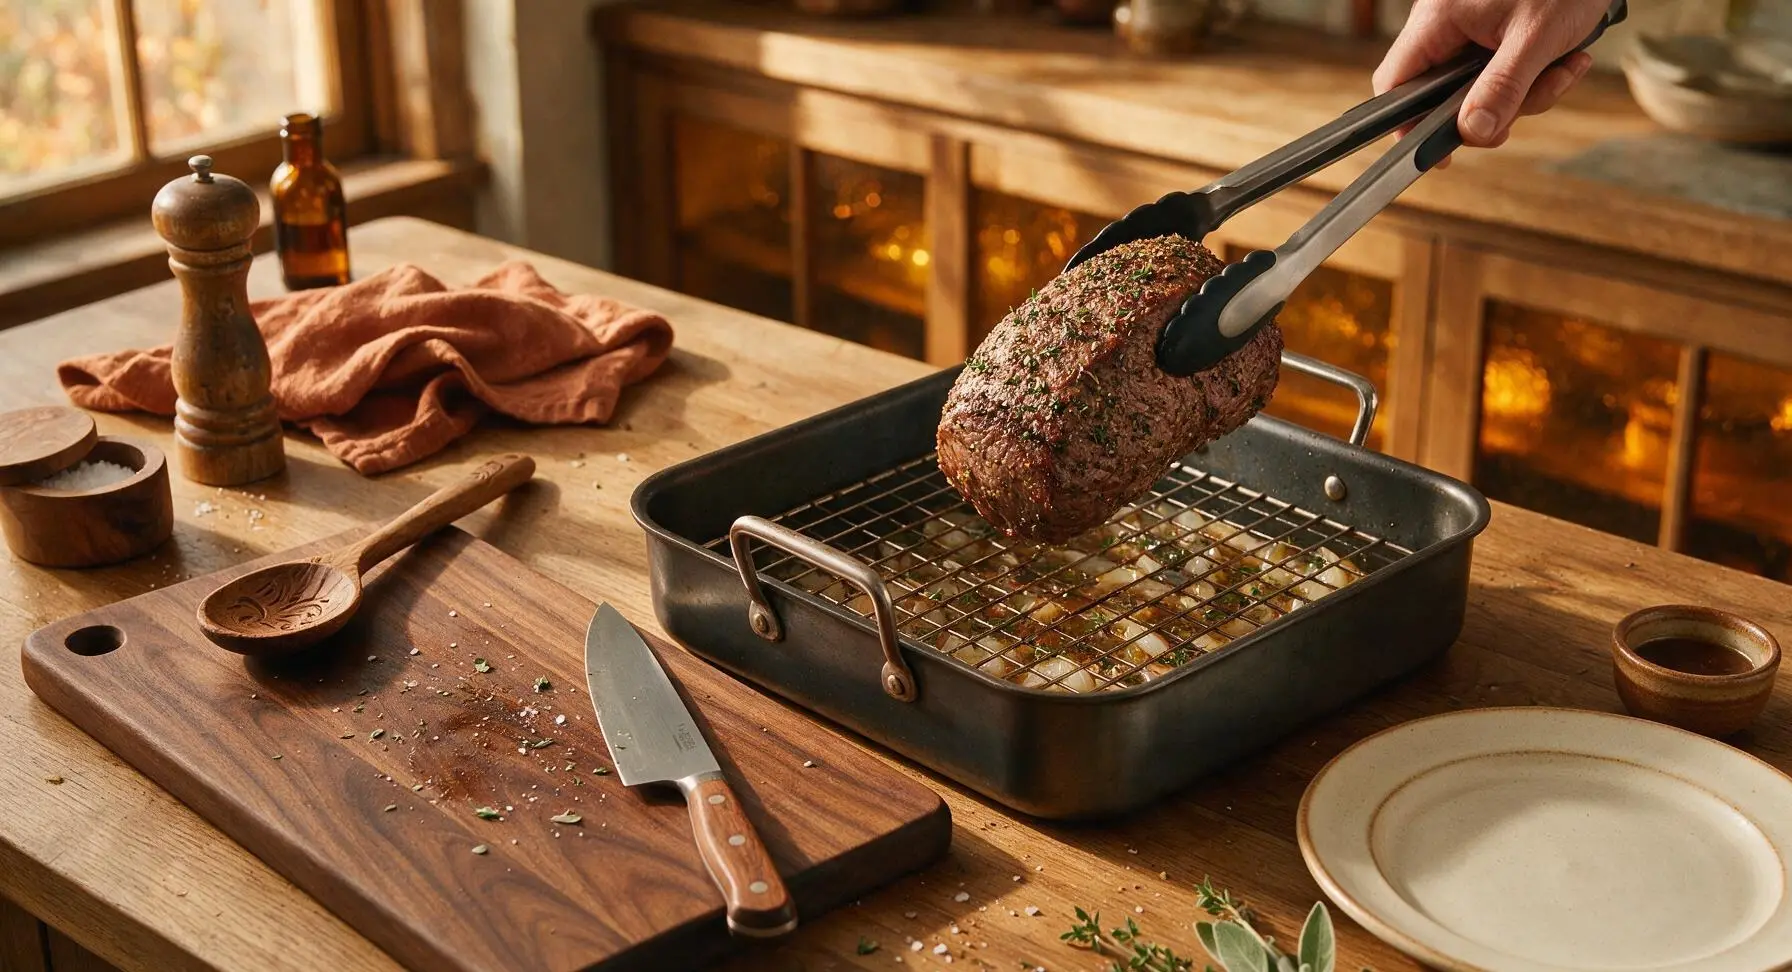
Step 4
step4:Sear for Caramelized Crust
5

Roast to Target Doneness

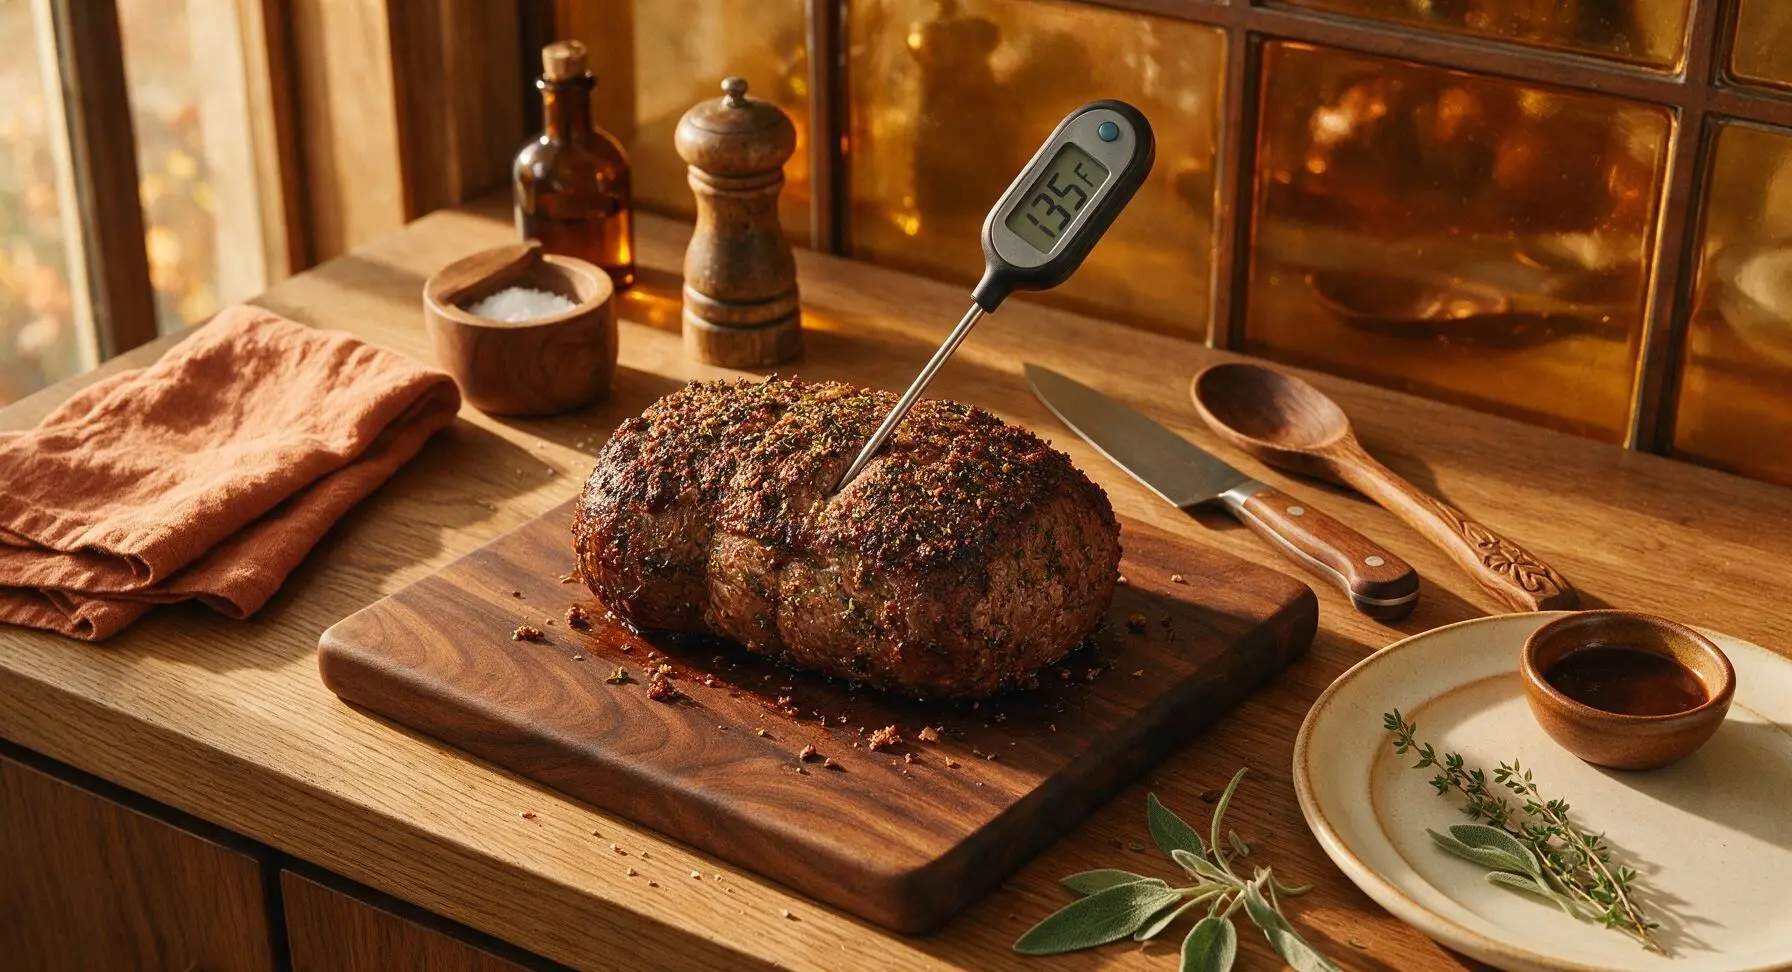
After the 15-minute high-heat sear, reduce the oven temperature to 175C (350F) without opening the oven door for longer than necessary. Continue roasting for 45-55 minutes, pulling the pan out partially every 20 minutes to baste the top of the roast with collected pan juices using the wooden basting brush. Check the roast’s internal temperature with the digital instant-read thermometer, inserting the probe into the thickest part of the meat (avoiding any fat or connective tissue) until it reads 57C (135F) for perfect medium-rare, or 63C (145F) for medium. Pull the roast out immediately once it hits target temperature, as lean sirloin tip will become tough if overcooked.
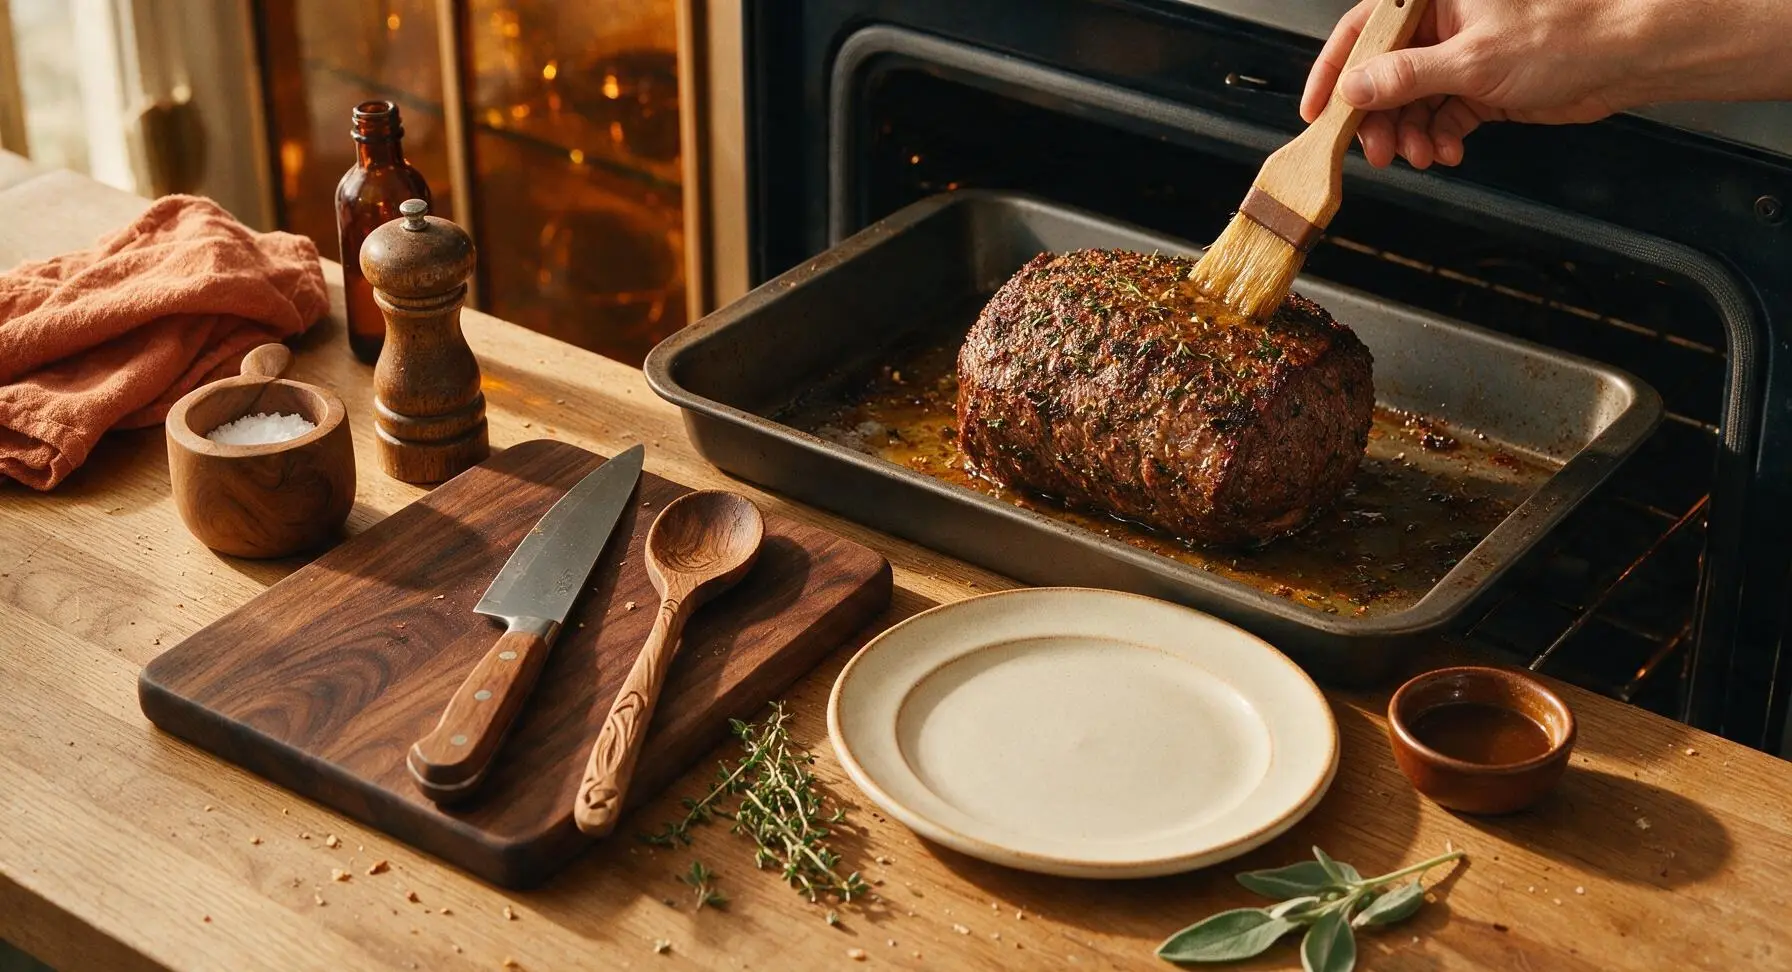
Step 5
step5:Roast to Target Doneness
Step 5
step5:Roast to Target Doneness
6

Rest Roast Before Slicing

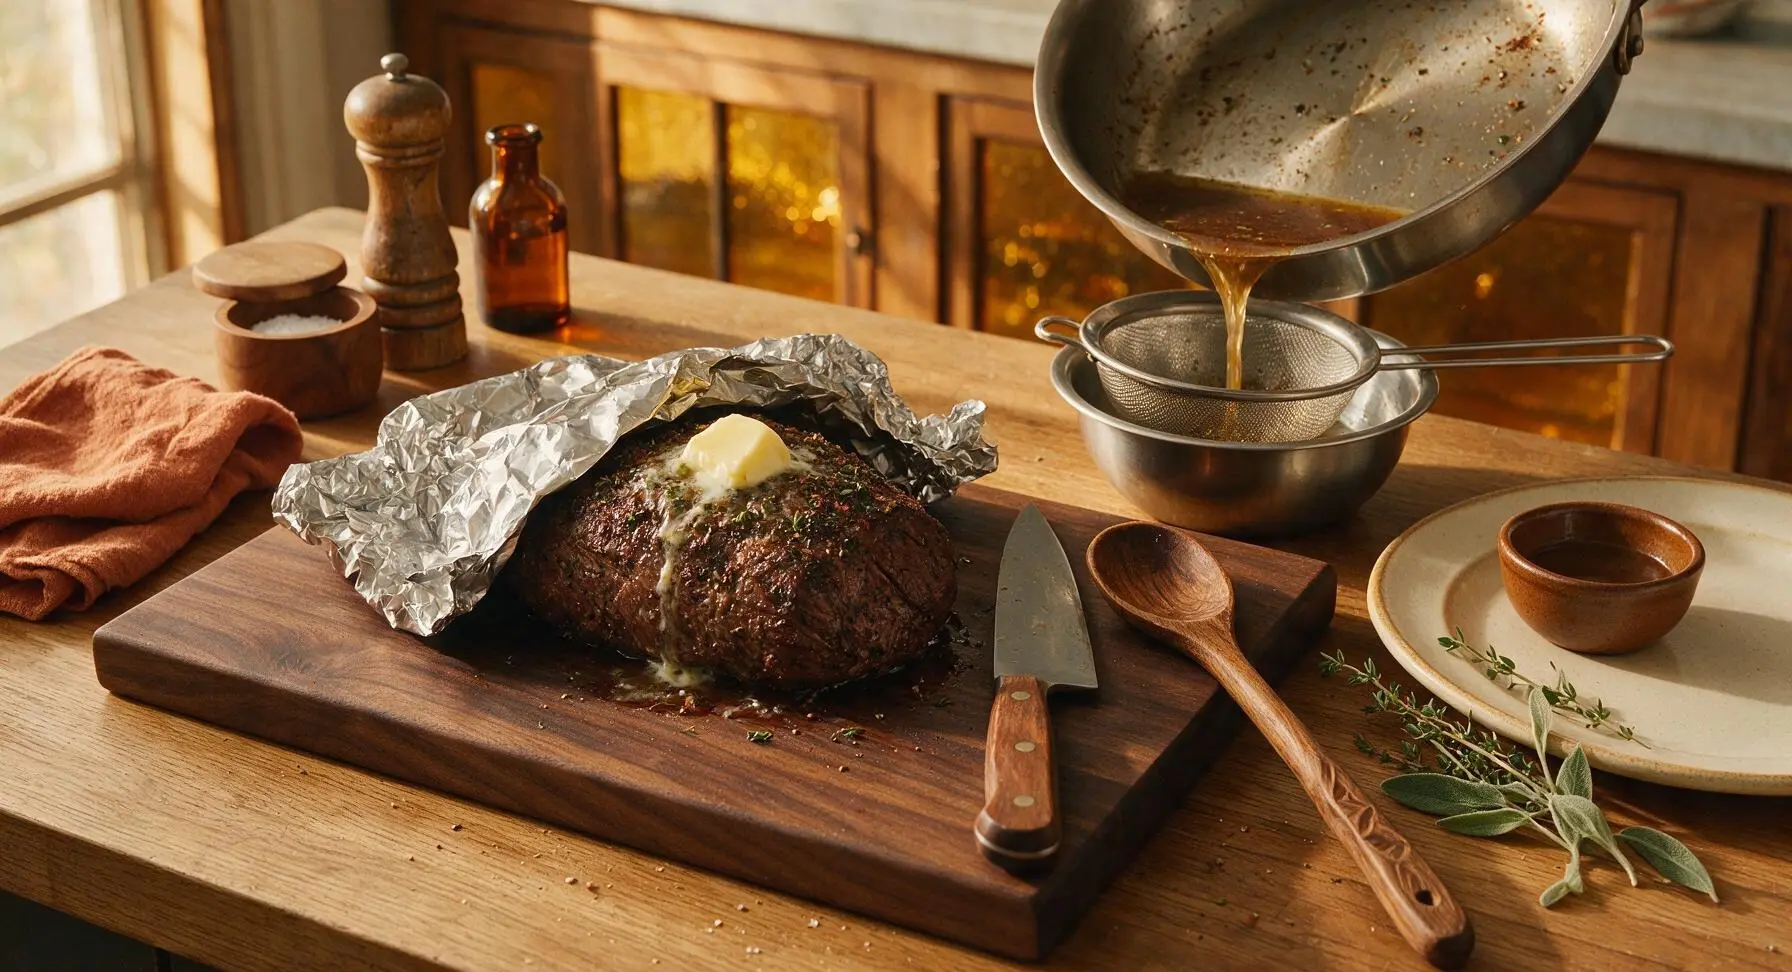
Use the silicone-tipped tongs to transfer the cooked roast from the wire rack back to the clean maple cutting board. Place 2 tablespoons of unsalted butter on top of the hot roast, letting it melt and run down the sides, then tent the roast loosely with a sheet of aluminum foil. Let the roast rest for a full 20 minutes to allow muscle fibers to relax and redistribute juices, which prevents juice runoff when slicing. While the roast rests, set the fine mesh stainless steel strainer over the small stainless steel mixing bowl, and pour the pan drippings and broth through the strainer to make smooth pan jus, discarding the cooked onion and herb solids.
Step 6
step6:Rest Roast Before Slicing
7

Slice Thinly Against Grain

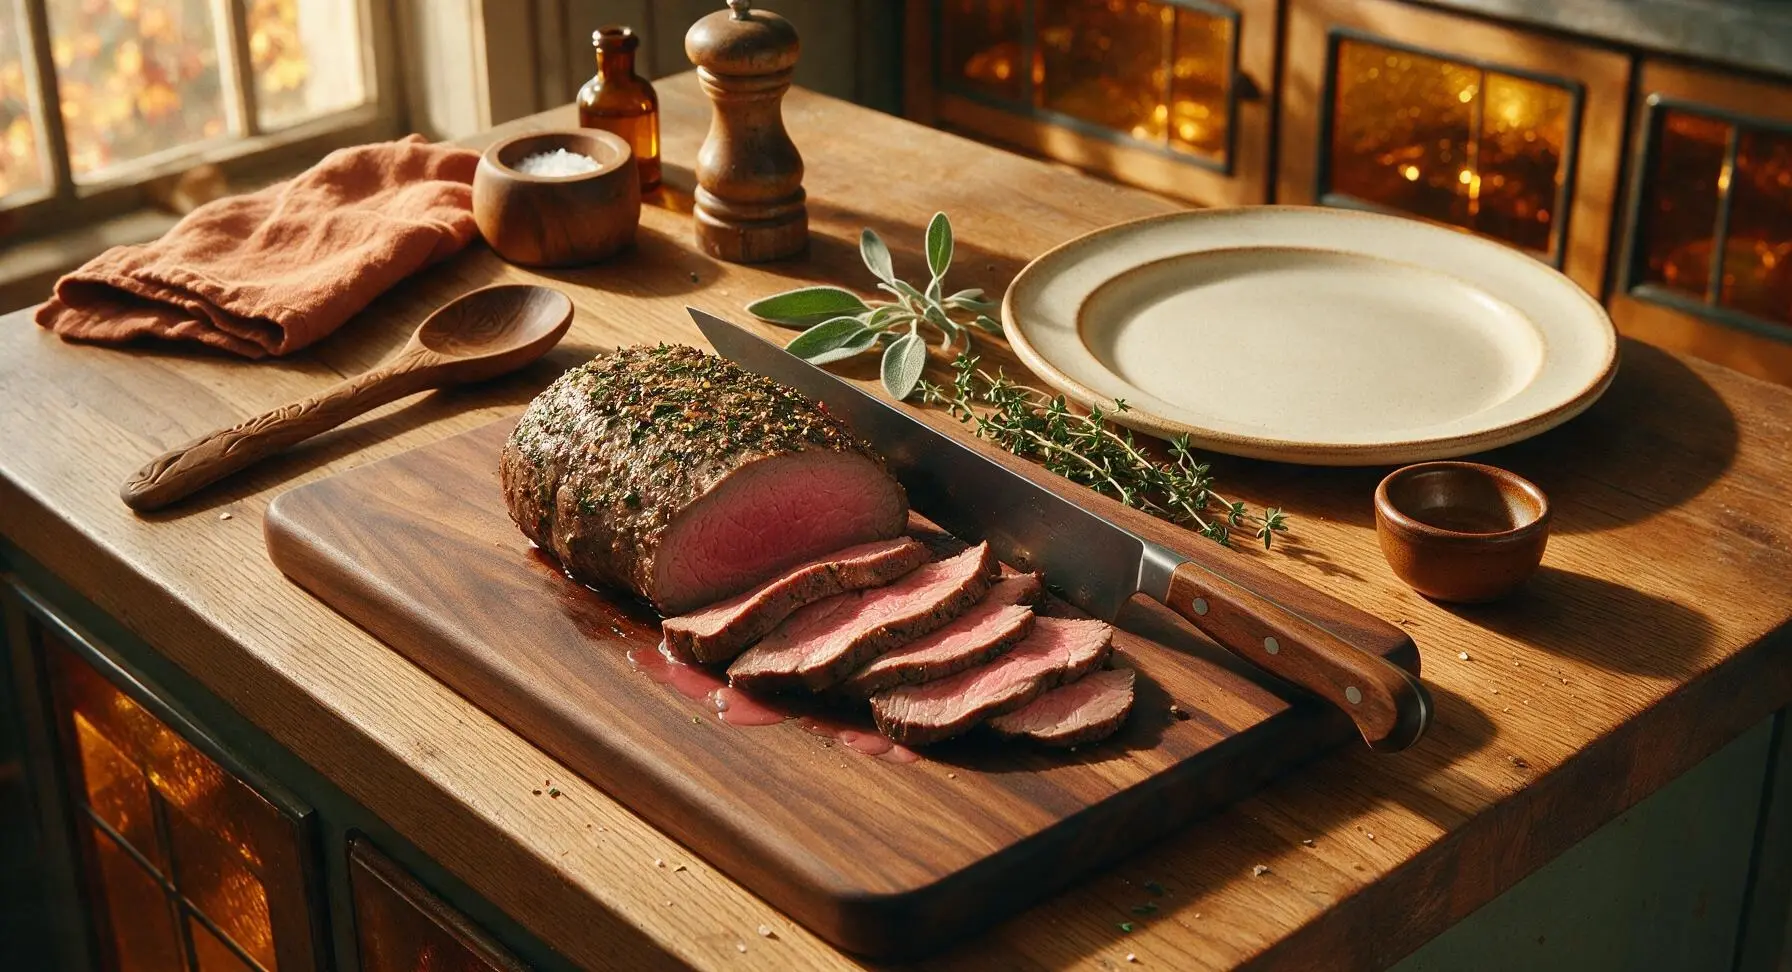
After the 20-minute rest, remove the aluminum foil from the roast. Identify the direction of the long muscle grain running across the roast, then use the 8-inch walnut-handled chef knife to slice the roast into uniform 5mm (1/4 inch) thick slices, cutting directly against the grain to shorten muscle fibers and maximize tenderness. Arrange the sliced roast on the 27cm matte off-white stoneware dinner plate, spoon a small amount of strained pan jus over the top, and finish with a light sprinkle of flaky sea salt before serving.
Step 7
step7:Slice Thinly Against Grain

Tips

1.Always bring sirloin tip to room temperature for 30 minutes before cooking: cold beef cooks unevenly, leading to overcooked, tough edges and an undercooked center, and will not form as crisp or even a caramelized crust during the high-heat sear.
2.Slice the rested roast as thinly as possible directly against the grain: sirloin tip is a lean, worked muscle with long, tight fibers, and cutting across the fibers shortens them to create tender, easy-to-chew bites instead of tough, stringy pieces.
3.Never skip the full 20-minute rest period: cutting into hot roast immediately causes all the trapped, liquid juices to flow out onto the cutting board, leaving the meat dry and bland, while resting lets juices reabsorb into the muscle for juicy, flavorful slices.


✨ You May Also Like

Main Course
🍜 United Kingdom

A showstopping classic of tender seared beef, savory mushroom duxelles, and crisp prosciutto wrapped in flaky golden puff pastry, baked to juicy perfection.

⏱️ 2 hours 1Main Course ★ 4.7
Main Course
🍜 India

Tender charred marinated chicken simmered in a rich, spiced creamy tomato sauce, this iconic Anglo-Indian curry pairs perfectly with basmati rice or warm naan.

⏱️ 50 minuteMain Course ★ 4.6
Main Course
🍜 Thailand

Classic tangy, sweet, and savory Thai stir-fried rice noodles with shrimp, tofu, and crunchy garnishes, balancing all five core Thai flavor profiles.

⏱️ 30 minuteMain Course ★ 4.5
Main Course
🍜 United Kingdom

Crispy golden beer-battered cod and fluffy double-fried chips, served with tangy tartar sauce and malt vinegar: the timeless, beloved British pub comfort classic.

⏱️ 45 minuteMain Course ★ 4.7
Main Course
🍜 Mexico

Smoky, chile-marinated pork tacos with caramelized pineapple, fresh cilantro, and lime: a beloved classic Mexican street food perfect for casual summer gatherings.

⏱️ 1 hour 45Main Course ★ 4.8
Main Course
🍜 United States

Crunchy Fritos corn chips layered with savory beef chili and melted cheddar, topped with cool, zesty fixings for a beloved, cozy Tex-Mex comfort food.

⏱️ 35 minuteMain Course ★ 4.8

sirloin tip:Frequently Asked Questions

1.What size sirloin tip roast should I buy to feed 4 to 6 people? ▾
For 4 to 6 eaters (with a little extra for next-day roast beef sandwiches), grab a 3 to 3.5 pound sirloin tip roast. Look for one with fine, even marbling through the meat, and trim any thick, tough silver skin off the surface before seasoning—this helps the herb crust adhere evenly and prevents chewy bites.
2.Do I really need to let the roast come to room temperature before cooking? ▾
Yes, absolutely—pull your roast out of the fridge 45 to 60 minutes before you plan to cook it. A room-temperature roast cooks far more evenly, so you won’t end up with a tough, overcooked outer ring before the center hits your ideal doneness. Pat it completely dry with paper towels right before applying the herb crust for the best caramelized edges.
3.What herbs work best for the crust if I don’t have a full assortment of fresh herbs? ▾
If you don’t have a full spread of fresh herbs, a blend of 1 tablespoon dried rosemary, 1 tablespoon dried thyme, and 1 teaspoon dried oregano works beautifully as a swap. Just crush the dried herbs between your fingers before mixing with minced garlic, oil, salt, and pepper to release their aromatic oils, and stick to a 3:1 fresh-to-dried ratio for partial swaps.
4.What internal temperature should I cook the roast to for that tender pink center? ▾
For that perfect juicy, medium-rare pink center, pull the roast when your instant-read thermometer hits 130°F in the thickest part, not touching any fat. It will carry over cook 5 to 10°F as it rests, landing you at a perfect 135–140°F medium-rare. If you prefer medium doneness, pull it at 140°F to land at 145–150°F after resting.
5.How long do I need to let the roast rest, and why does that step matter? ▾
Let your roast rest for a full 15 to 20 minutes, tented loosely with foil, before you slice it. As the meat cooks, all its juices pull toward the hot center; resting lets those juices redistribute evenly through every slice, so you don’t lose all that flavorful moisture onto your cutting board. Use that rest time to whip up your pan jus!
6.How do I make great pan jus if I don’t have homemade beef stock on hand? ▾
No homemade stock? No problem. Use low-sodium store-bought beef broth, and add a splash of dry red wine or a teaspoon of soy sauce to deepen savoriness if you have it. Scrape every browned bit (called fond) off the bottom of your roasting pan as you simmer the jus for 3 to 4 minutes—those bits pack huge roasty flavor.
7.Can I make this roast in a slow cooker instead of the oven? ▾
You can, but you won’t get that crisp, caramelized herb crust if you cook it entirely in the slow cooker. For the best results, sear the crusted roast on all sides in a hot skillet first, then cook it on low for 3 to 4 hours until it hits 130°F, then use the drippings to make jus as directed. Skip the high setting—it makes this lean roast tough.
8.Why is my roast tough even when I cook it to the correct temperature? ▾
The two most common culprits are incorrect slicing and a wet surface before searing. Sirloin tip has long, tight muscle fibers, so if you slice with the grain instead of perpendicular to it, every bite will be chewy even when perfectly cooked. A damp surface also steams instead of searing, leading to soft, tough outer edges instead of caramelized crust.
9.Do I need a special roasting rack to make this recipe? ▾
You don’t need a dedicated roasting rack at all. If you don’t have one, just prop the roast up on a bed of thick-cut onion, carrot, and celery chunks in the bottom of your roasting pan. This lifts the meat out of its drippings so hot air circulates evenly for a crisp crust all around, and the veggies add extra depth to your pan jus.
10.How should I store leftovers, and how long will they stay good? ▾
Let leftover roast cool completely, then wrap it tightly in plastic wrap or store it in an airtight container in the fridge for up to 4 days. Store leftover pan jus separately in a sealed jar; reheat thin slices of roast gently in simmering jus to keep them from drying out, instead of microwaving on high which can make the meat tough.
11.Can I prep the herb crust and season the roast the night before to save time? ▾
Absolutely—prepping the night before actually makes the roast more flavorful. Pat the roast dry, rub it all over with the herb, garlic, oil, salt, and pepper blend, then set it on a wire rack over a tray in the fridge uncovered overnight. This lets salt penetrate the meat and dries the surface for an extra-crisp, caramelized crust when roasted.

Comments (20)

2 days ago

OMG made this for our Sunday family dinner last night and every single person cleaned their plate! The herb crust was so crispy and flavorful, and that pan jus? Game changer. I didn’t even bother with store-bought au jus after this, it’s so easy to whip up right in the roasting pan. 10/10 will be making this for our next potluck too!

1 week ago

Solid recipe! Cook time was spot on for my 3lb roast, came out perfect medium rare like the instructions said. Only thing I messed up was forgetting to let the roast rest before slicing, oops, lost a little juice but it was still SO good. Definitely adding this to the regular rotation.

3 days ago

Made this for my post-hike meal prep for the week, paired it with roasted veggies and mashed cauliflower. The herb blend is chef’s kiss, no weird fancy ingredients required which I love. Held up great all week for lunches, didn’t get dry at all when I reheated slices gently in the microwave.

1 week ago

I’ve been making sirloin tip roasts for 40 years and this herb crust recipe is my new go-to! Used fresh rosemary and thyme from my windowsill garden, the whole house smelled amazing while it cooked. My grandkids kept asking for seconds, which almost never happens with roast beef!

5 minutes ago

First time ever making a roast and I was so nervous it would turn out tough, but this was so straightforward! The difficulty rating as medium felt totally fair, the steps were easy to follow even for a newbie. Mine came out a little more done than I wanted because my oven runs hot, but still tasty.

2 weeks ago

Brought this to our neighborhood block party last weekend and people were hovering around the platter asking for the recipe before I even set it down! The pan jus is so rich, I served it with little crusty bread dippers on the side and those were gone first. Total crowd pleaser.

30 minutes ago

Wait, has anyone tried this with dried herbs instead of fresh? I don’t have fresh rosemary or thyme on hand right now and don’t feel like running to the store.

5 minutes ago

Great question! You can absolutely use dried herbs here — just use 1/3 the amount called for fresh, since dried herbs are more concentrated. I’d recommend rubbing the dried herb mix into the roast 30 minutes before cooking to let the flavors sink in a bit more!

5 days ago

I smoked this instead of roasting it in the oven at 225 for a couple hours and that herb crust held up perfectly! The pan jus still worked great with the drippings in the foil pan, turned out unreal.

3 days ago

Oh that’s such a smart hack! I’ve been looking for a good smoked roast recipe to try this weekend, gonna steal that idea for sure.

yesterday

My kids loved it! I was worried the herb crust would be too “fancy” for their picky palates but they ate every bite, even asked to have the leftovers in sandwiches for school lunches the next day. Win in my book!

yesterday

That makes me so happy to hear! Leftover slices on crusty bread with a little of that leftover jus for dipping make the absolute best roast beef sandwiches, such a great call for school lunches.

2 hours ago

How long do you recommend letting the roast rest after pulling it out? I always second guess that step, don’t want all the juicy goodness running out when I slice it.

30 minutes ago

Great question! I recommend letting this roast rest tented loosely with foil for 15-20 minutes before slicing against the grain. That gives the muscle fibers time to reabsorb all the juices so every bite is tender and moist!

1 week ago

Made this for our game day watch party last weekend and it was a total hit! Served it with horseradish sauce on the side for people who wanted a little kick, paired perfectly with the herby crust and rich jus.

5 days ago

The horseradish side is such a good call! I made this for last year’s playoff party and forgot the horseradish, definitely adding that this time around.

3 days ago

How well do the leftovers freeze? I’m trying to stock my freezer with easy protein options for busy work weeks, would this hold up if I slice it and freeze individual portions?

2 days ago

It freezes really well! I recommend slicing it first, storing portions in airtight containers with a little splash of the pan jus to keep it moist, and freezing for up to 3 months. Thaw in the fridge overnight before reheating gently.

yesterday

Followed the recipe exactly except I added a little extra garlic to the herb crust because I’m a garlic fiend, and wow. That crust was crispy, savory, had the perfect bite of garlic, no notes.

yesterday

Extra garlic is never a bad call! I did the same thing last time I made this and my husband said it was the best roast he’s ever had.

2 weeks ago

I was worried this would be too much work for a weeknight meal, but the total cook time was just over an hour like it said, which was totally doable even after getting home from my evening walk. Tender, flavorful, no fuss.

2 weeks ago

So glad it worked for your weeknight schedule! I love making this on busy weeks too — you can prep the herb rub while the oven preheats, so it’s barely any active work before it goes in the oven.

2 hours ago

Wait, can I make this in a slow cooker instead of the oven? I don’t have a roasting pan that works for my oven right now, but my slow cooker is sitting empty on the counter.

30 minutes ago

I did this last week! I seared the roast on all sides first, rubbed the herb crust on, cooked it on low for 6 hours, then made the jus from the drippings at the bottom. Turned out super tender!

5 minutes ago

Love that slow cooker hack! Just a quick note — if you go the slow cooker route, you won’t get that super crispy herb crust like you would in the oven, but searing it first like Sara did will help build great depth of flavor for the jus.

yesterday

Made this last night and the flavor was incredible, but my roast came out a little tougher than I expected? Did I slice it wrong? I cut it pretty thick, maybe that was the issue?

yesterday

Oh you definitely have to slice it against the grain! I made that mistake the first time I made any kind of roast too, it makes such a huge difference in how tender it feels when you eat it.

2 hours ago

Jen is exactly right! Slicing thin against the grain cuts through the long muscle fibers so each bite is tender, even if your roast is cooked perfectly. If you saved any leftovers, try slicing it thinner against the grain and you’ll notice a big difference!

5 days ago

This is my go-to roast recipe for dinner parties now! I’ve made it three times in the last two months and every time my guests beg for the recipe. The pan jus is so rich you don’t even need extra gravy.

3 days ago

Wait what sides do you usually serve with this? I’m making it for my first ever dinner party next weekend and need ideas!

2 days ago

I usually do garlic mashed potatoes and roasted green beans! The jus is perfect for drizzling over the potatoes, it’s such a classic combo that never misses.

1 week ago

Sirloin tip is such an affordable cut compared to prime rib, I can’t believe how fancy this tastes for the price! Feeds my whole family of 5 for under $20, which is unheard of for a special weekend meal.

5 days ago

Right?! I stopped buying more expensive roasts after I found this recipe, no one can tell the difference when it’s crusted with those herbs and served with that jus. Total budget win.

3 days ago

That’s exactly why I love sirloin tip! It’s such an underrated, budget-friendly cut — with the right seasoning and cook method, it tastes just as special as pricier roast options, perfect for feeding a crowd without breaking the bank.

3 days ago

I added a little parmesan rind to the pan while the roast cooked and it made the jus taste next level! Highly recommend that little hack if you have a parm rind hanging out in your fridge.

2 days ago

OH that sounds insane! I save all my parm rinds in the freezer for soups and sauces, never thought to toss one in with the roast drippings. Gonna try that next time for sure.

yesterday

That is such a brilliant umami hack! The parmesan rind adds such a deep, salty, savory note to the pan jus — I’m definitely testing that out on my next roast and adding it as a pro tip in the recipe notes!

2 weeks ago

So happy this recipe is naturally gluten free! I have celiac and so many roast jus recipes use flour to thicken, but this one doesn’t and it’s still so rich and perfectly silky. No weird texture at all.

1 week ago

Thank you for mentioning this! My son has a gluten allergy and I’ve been searching for a good roast recipe that doesn’t require weird flour substitutes, this is perfect for our family dinner next Sunday.

1 week ago

So glad this works for your gluten-free needs! I don’t thicken this jus with flour on purpose — if you let the drippings simmer down a bit with the herbs and broth, it gets that perfect rich consistency without any added thickeners, which is a win for gluten-free folks and anyone who doesn’t want an extra step.



