
Sourdough Bread
intro
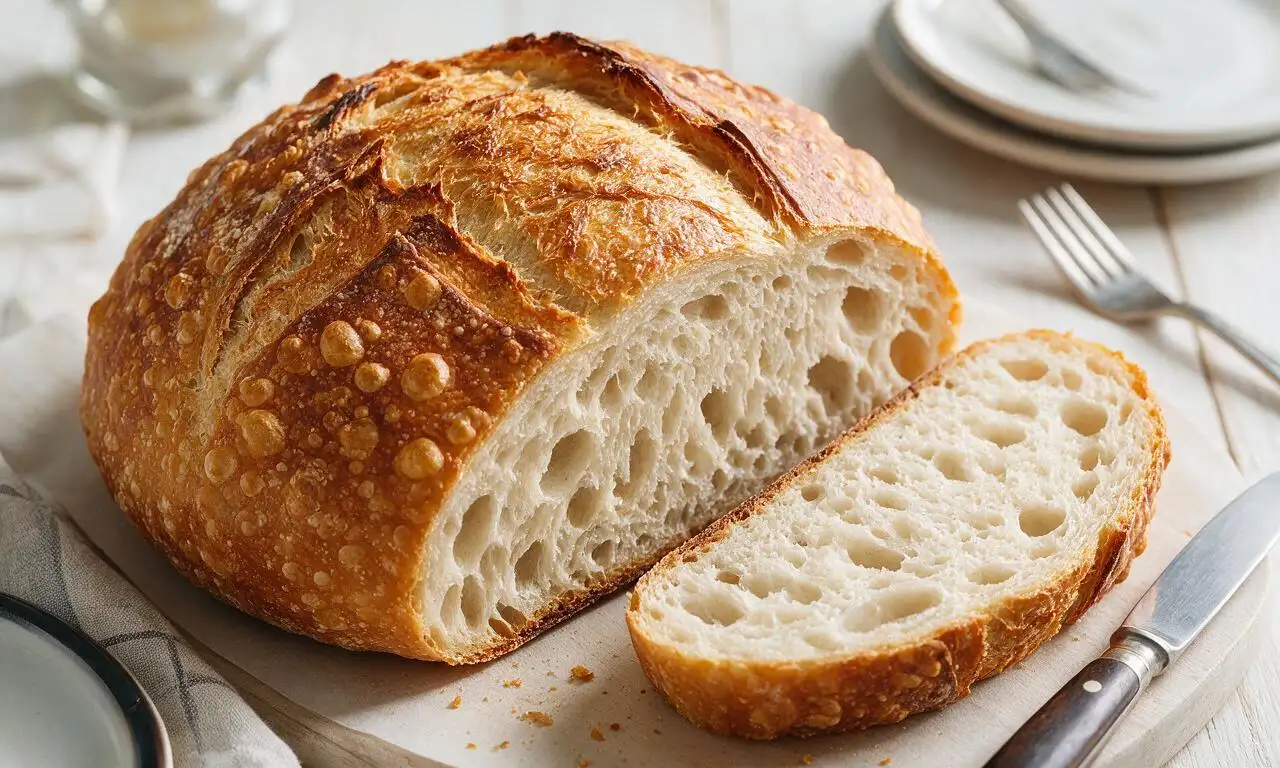
This classic sourdough boasts a crackly, blistered golden crust and tangy, chewy open crumb, perfect for toasting, sandwiches, or sopping up hearty soups and stews.
Ingredients
Steps
Mix the base dough
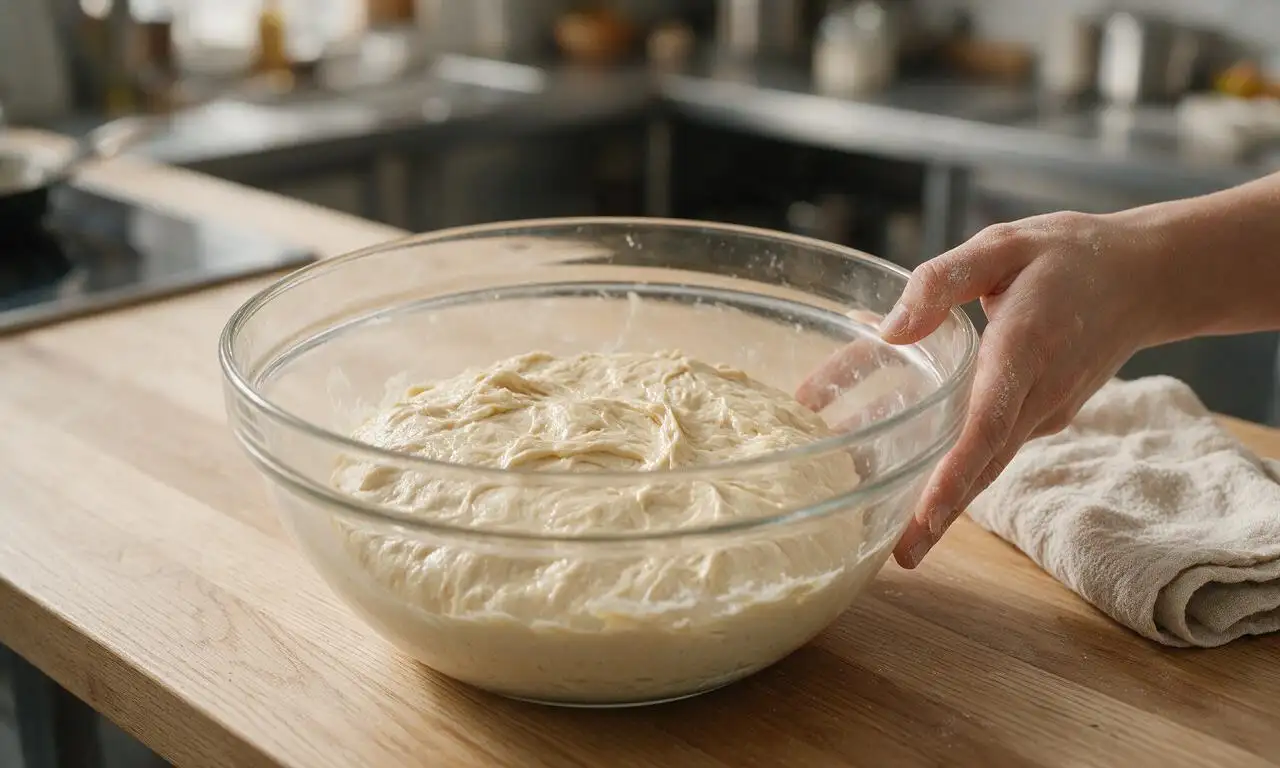
In a large non-reactive glass or plastic mixing bowl, combine 375ml lukewarm (32°C / 90°F) filtered water and 100g active, bubbly sourdough starter, stirring gently to disperse the starter evenly through the water. Add 500g unbleached bread flour, mixing with a clean hand until no dry flour pockets remain and a shaggy, sticky dough forms. Cover the bowl with a damp cotton kitchen towel and let rest for 30 minutes at room temperature (21°C / 70°F) to complete the autolyse (flour hydration) stage.
Add salt and fold dough
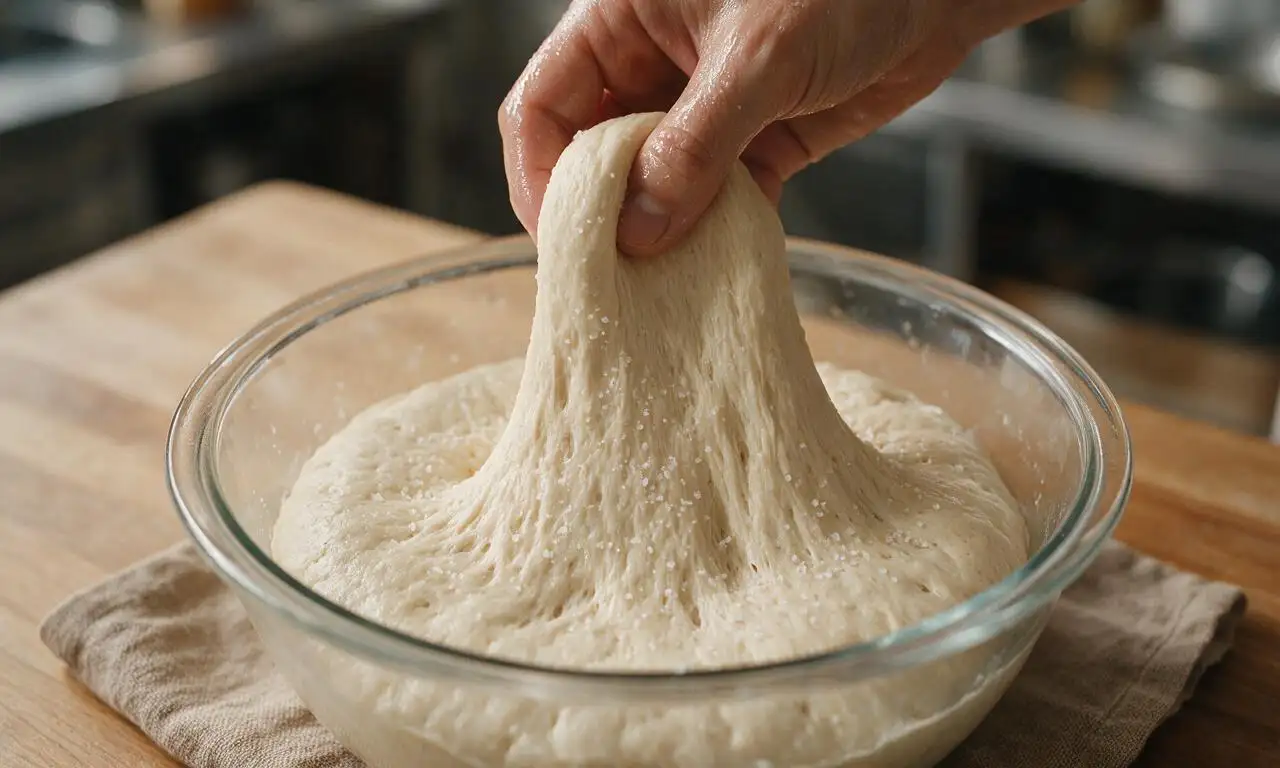
Sprinkle 10g fine sea salt evenly across the surface of the rested dough. Lightly wet your hand to prevent sticking, then grab one edge of the dough, stretch it straight up 15cm (6 inches), and fold it over the center of the dough mass. Rotate the bowl a quarter turn, repeating this stretch-and-fold motion 4 full times to evenly mix in the salt. Re-cover the bowl with the damp towel and let rest for 30 minutes at 21°C / 70°F.
Complete bulk ferment
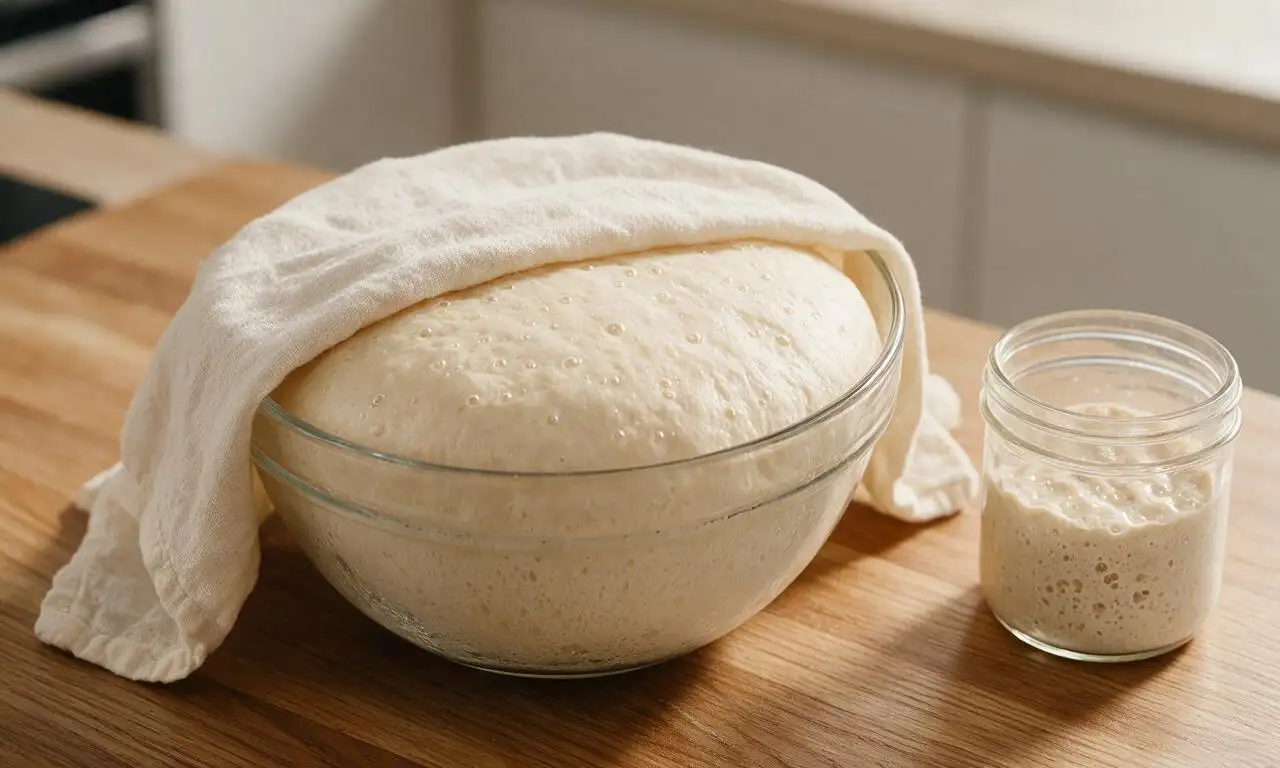
Over the next 2 hours, complete 4 total sets of stretch-and-folds (4 stretches per set, as done in step 2), performing one set every 30 minutes. After finishing the final fold set, re-cover the bowl tightly and let the dough rest undisturbed for 2.5 additional hours at a consistent 21°C / 70°F. The dough is ready for shaping when it has doubled in volume, jiggles slightly when the bowl is gently tapped, and shows small, visible air bubbles just under its surface.
Shape the sourdough loaf
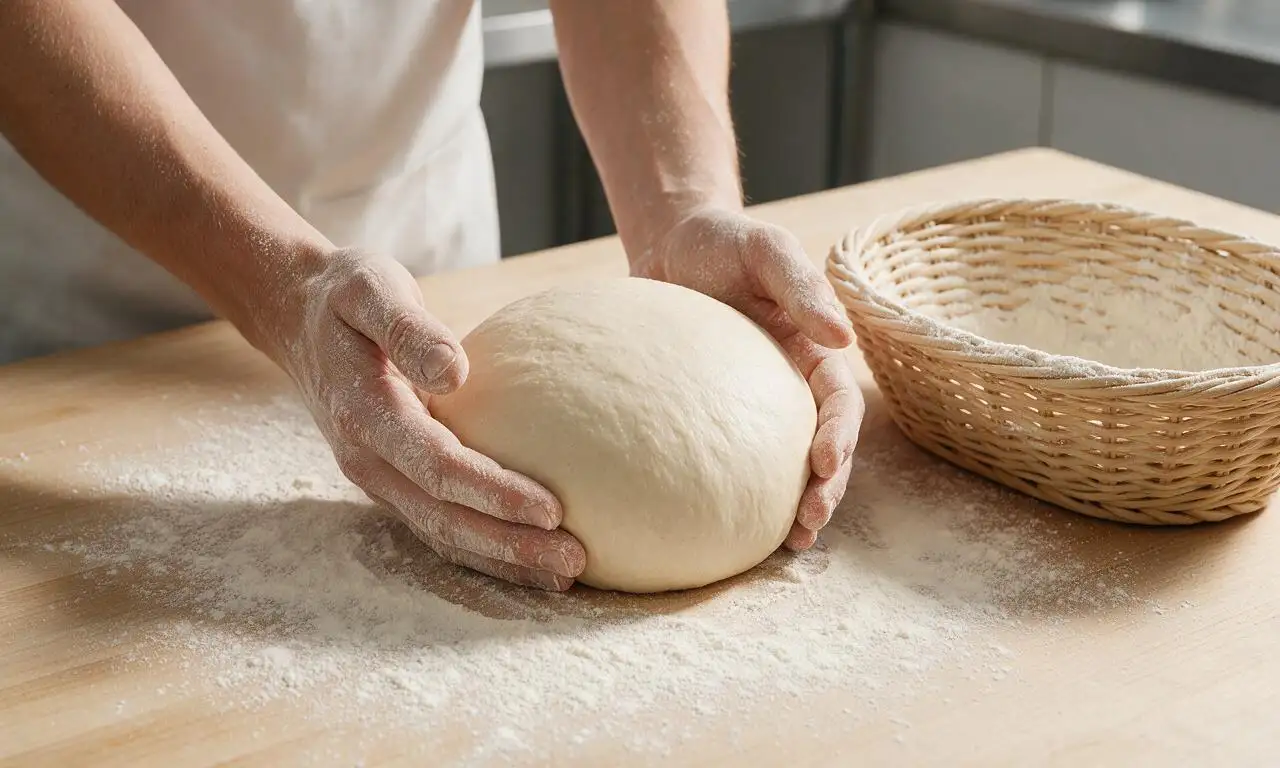
Lightly dust a clean work surface with 1 tablespoon of bread flour. Gently turn the risen dough out onto the floured surface, taking care not to deflate all trapped air bubbles. Fold the four outer edges of the dough in toward the center to form a loose round, then flip the dough so the seam side faces down. Cup your hands around the dough base and drag it gently across an unfloured section of the counter for 10 seconds to build a tight, smooth top surface. Evenly dust a 23cm (9-inch) round wicker banneton proofing basket with 2 tablespoons of white rice flour to prevent sticking.
Cold proof the dough
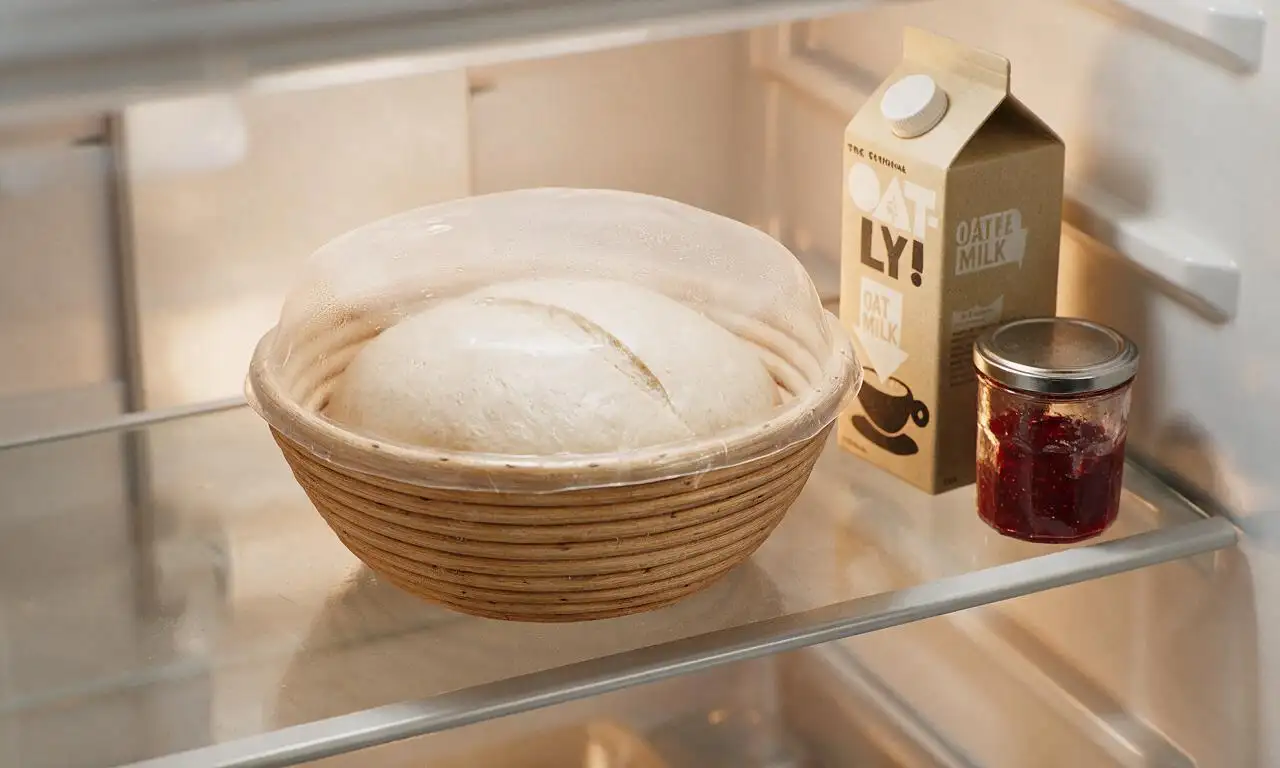
Place the shaped dough seam-side UP into the floured banneton. Cover the banneton tightly with a reusable plastic shower cap or sealed plastic wrap, then transfer it to the refrigerator to cold proof for 8-12 hours (overnight) at 4°C / 39°F. This slow, cold ferment develops the bread’s signature tangy flavor and firms the dough for easier scoring and better oven spring.
Bake the sourdough loaf
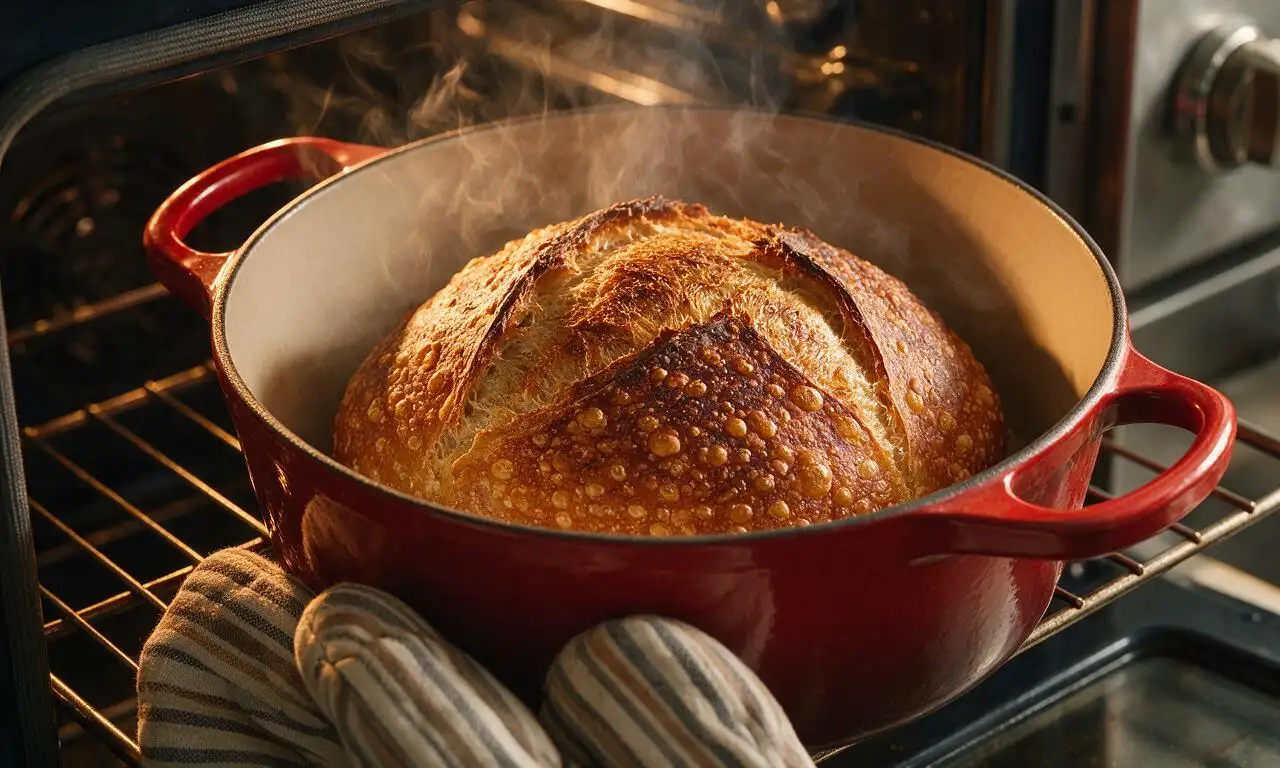
Thirty minutes before you plan to bake, place a 5.2L (5.5-quart) enameled cast iron Dutch oven with its lid on the middle rack of your oven, and preheat the oven to 245°C / 475°F. Once preheated, carefully pull the Dutch oven out, remove the lid, and gently tip the cold proofed dough seam-side DOWN into the pot. Score a 10cm (4-inch) shallow, diagonal slash across the dough top with a sharp bread lame for a controlled rise. Replace the lid, return the pot to the oven, and bake covered for 25 minutes. Remove the lid, reduce the oven temperature to 230°C / 450°F, and bake uncovered for 15-20 more minutes, until the crust is a deep, caramelized golden brown and the loaf’s internal temperature reaches 96°C / 205°F.
Cool loaf completely
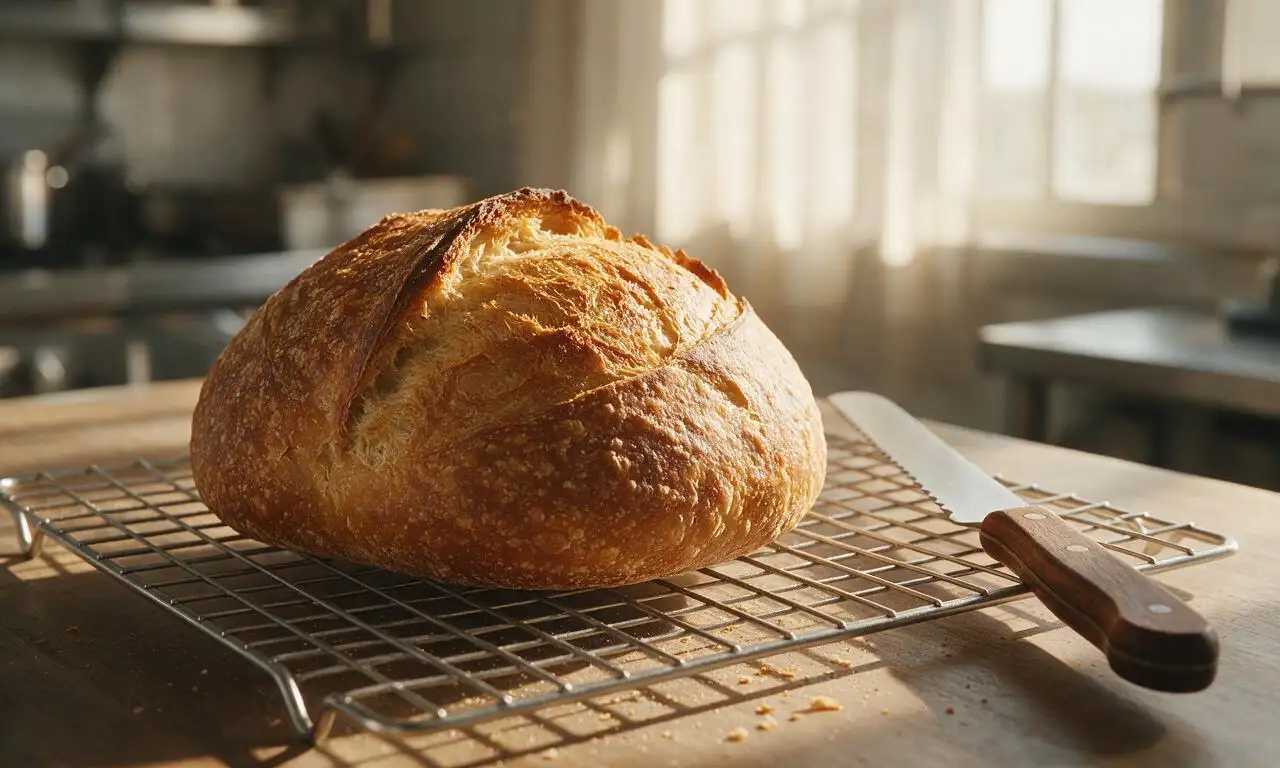
Carefully lift the baked loaf out of the Dutch oven using heat-resistant oven mitts, and transfer it to a metal wire cooling rack. Let the loaf cool undisturbed for a full 2 hours at room temperature before slicing. Cutting into the loaf while it is hot will cause the interior crumb to set incorrectly, resulting in a gummy, dense texture instead of the desired light, chewy open crumb.
Tips
2.Do not skip the 30-minute Dutch oven preheat step. The screaming-hot pot traps steam released from the dough in the first minutes of baking, which creates the signature crisp, blistered crust and helps the loaf achieve maximum rise (known as oven spring).
3.If you do not have a wicker banneton proofing basket, use a 23cm (9-inch) round mixing bowl lined with a well-floured cotton tea towel (dusted heavily with rice flour to prevent sticking) as a budget-friendly alternative.






OMG y’all, this sourdough recipe is a total game changer! I was so intimidated to try sourdough after messing up three loaves last month, but the step-by-step instructions here were so easy to follow. My kids devoured half the loaf warm with butter as soon as it cooled enough to slice, and my husband asked if I could make this every week for our Sunday family dinner. The crust was perfectly crispy and the inside had that perfect chewy crumb I’ve been chasing for months! 10/10, will be making this on repeat for meal prep too.
I brought this loaf to our neighborhood potluck last weekend and people were begging me for the recipe before I even set the platter down! It’s SO good, I paired it with a roasted garlic butter spread and it was gone in 10 minutes flat. Only note: I didn’t have a Dutch oven so I used a covered baking stone, and the crust still turned out amazing, no issues at all.
Took a stab at this for my backcountry camping trip meal prep, and it held up perfectly for 4 days in my pack! The crust stayed crunchy, the crumb didn’t get soggy, and it was perfect with peanut butter and honey for trail breakfasts. The 18 hour total time looked intimidating at first, but most of it is hands off so I was able to fit the prep around my work schedule no problem. Only ding is I wish I’d scored the loaf a little deeper, it spread a tiny bit more than I wanted on the bake, but that’s 100% user error.
Okay, I’ve tried 4 different sourdough recipes since I got my starter going 6 months ago, and this is the FIRST one that gave me that perfect open crumb I see all over TikTok! I was convinced my tiny New York apartment kitchen was too small and too temperature-variable to make good artisan bread, but this recipe’s timing notes for variable room temps were so helpful. I will say, the 35 minutes active prep is spot on, I didn’t spend all day in the kitchen which is a win for my tiny counter space.
I’ve been grilling all our family meals for years but never tried baking bread until this weekend, and let me tell you, I felt like a total pro when I pulled this loaf out of the oven. My teen kid who turns their nose up at literally everything I cook asked for a second slice, which is basically a Michelin star in my book. The only thing I messed up was forgetting to add the steam for the first 10 minutes of bake time, so my crust was a little less crispy than I wanted, but it still tasted incredible.
Made two loaves of this yesterday for the week ahead, and I’m already obsessed. One loaf is sliced up in the freezer for quick toast breakfasts, the other is for sandwiches and side portions for dinner this week. The crust is perfectly shattery, the crumb is soft but chewy, and it has that perfect tangy sourdough flavor without being too overpowering. I did add a little sprinkle of flaky sea salt on top before baking and I highly recommend that hack, it takes the flavor up like 10 notches.