
Sourdough Brioche Buns
intro
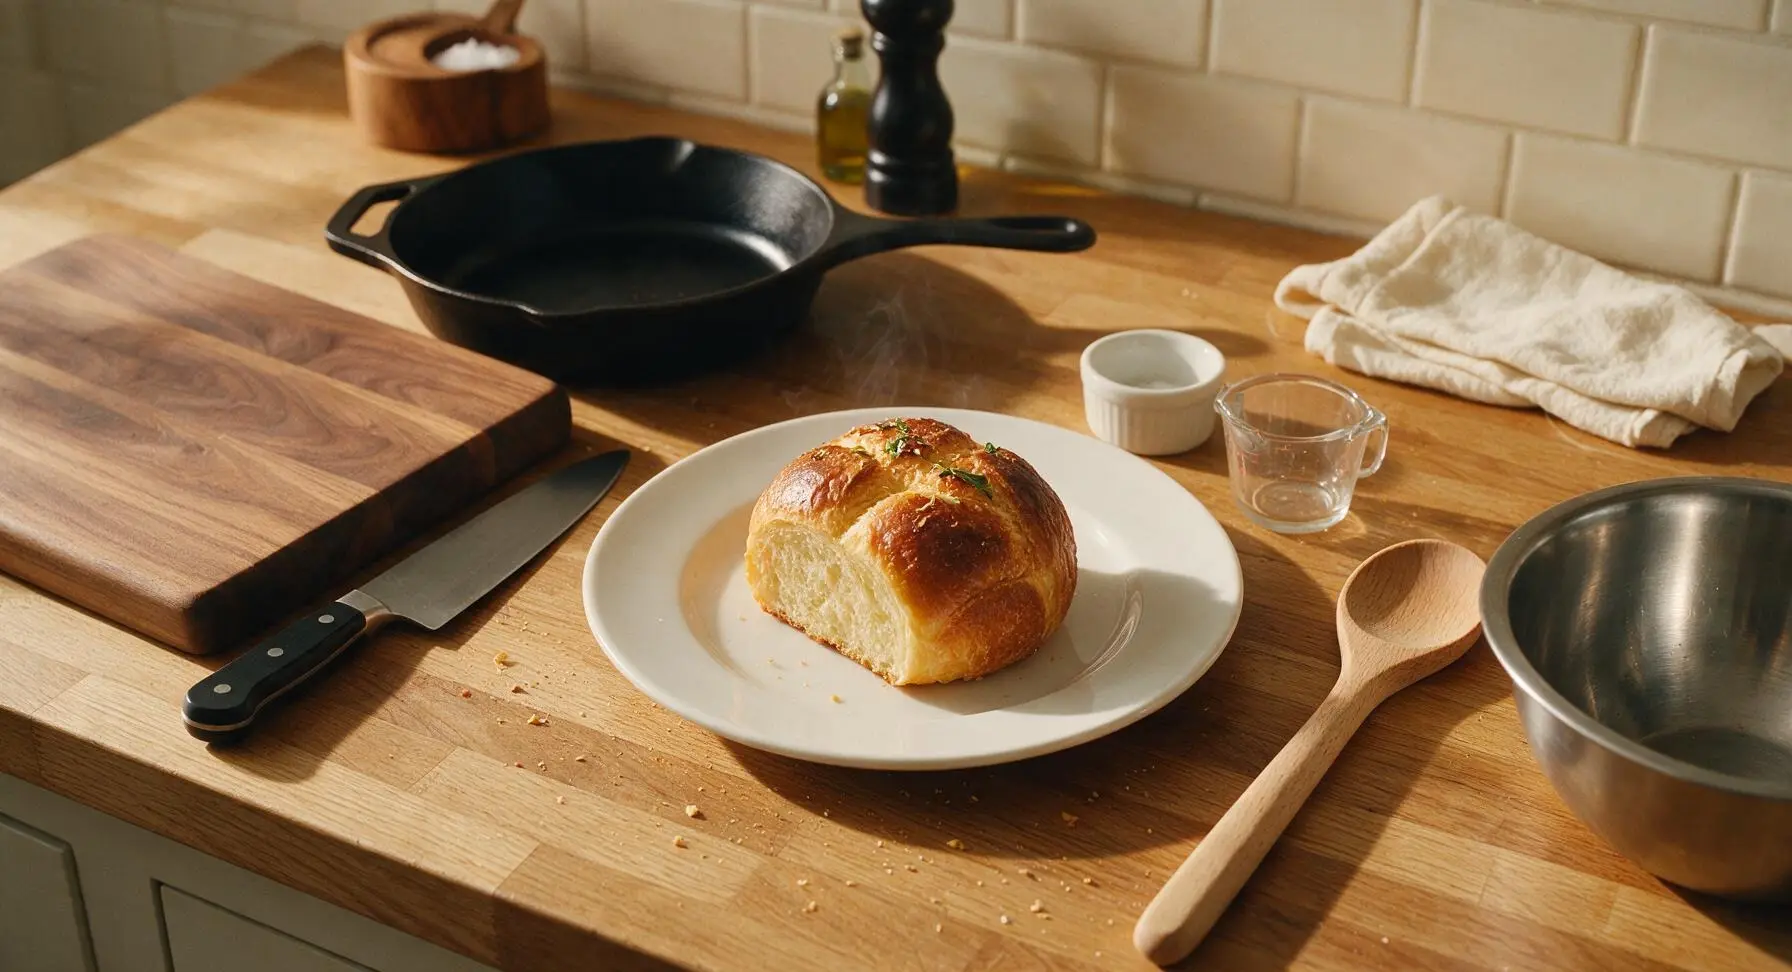
Buttery, soft, and subtly tangy from sourdough starter, these golden brioche buns boast a tender crumb and flaky crust, perfect for sandwiches, burgers, or enjoying warm with jam.
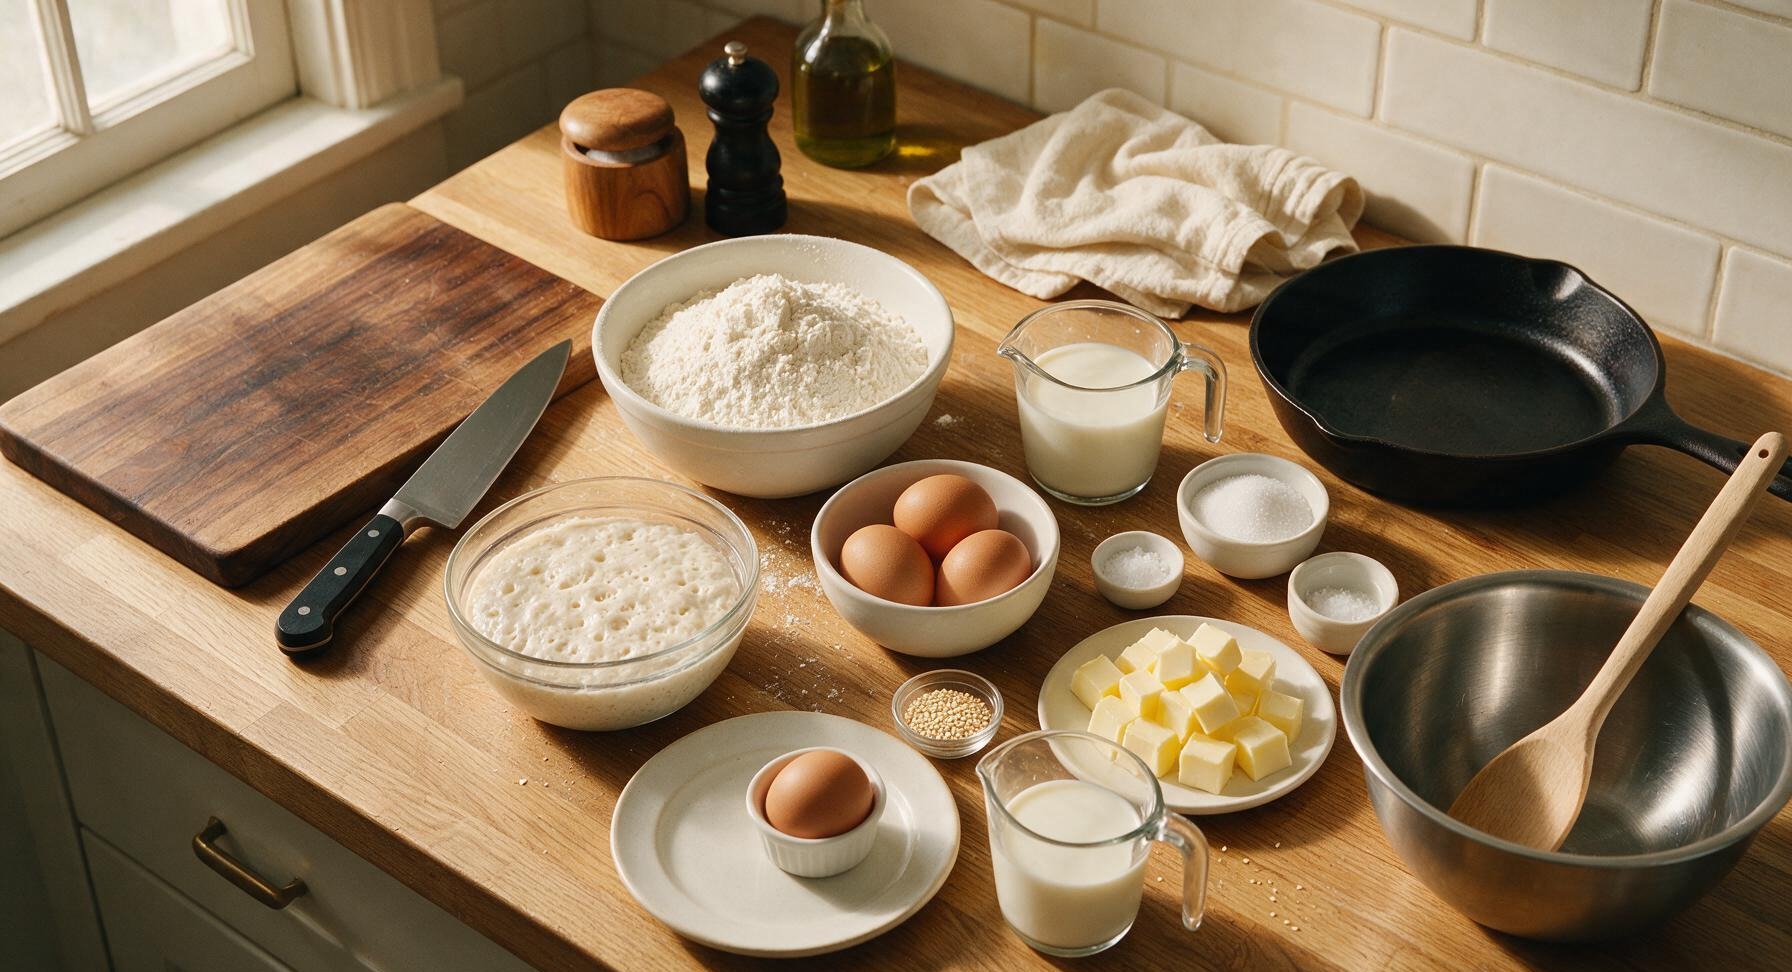
Ingredients
Steps
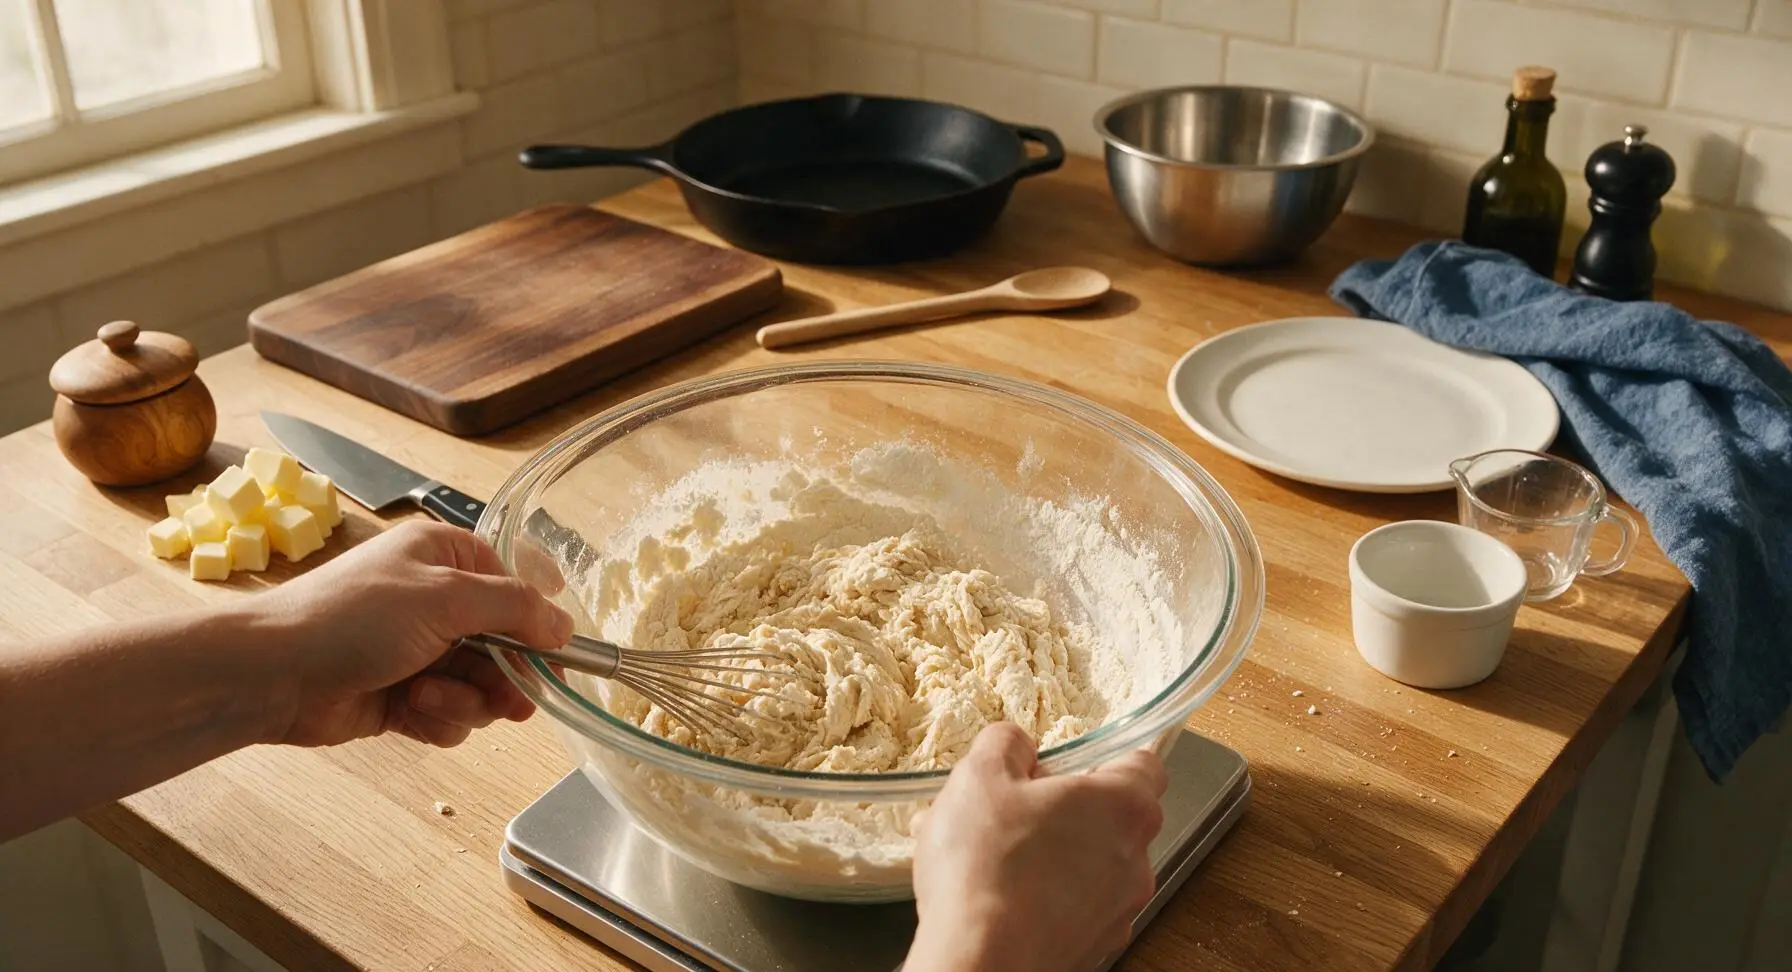
Mix Initial Dough Base
Place the large glass mixing bowl on the digital kitchen scale, taring between each ingredient. Add 100g active bubbly sourdough starter, 120ml room temperature whole milk, 3 large lightly beaten eggs, 50g granulated sugar, and 400g unbleached all-purpose flour. Use the small stainless steel whisk to combine until no dry flour remains, forming a shaggy, sticky mass. Cover loosely with a reusable plastic bowl cover and let rest for 30 minutes at room temperature (70F/21C) to allow the flour to fully hydrate.
Add Butter and Salt
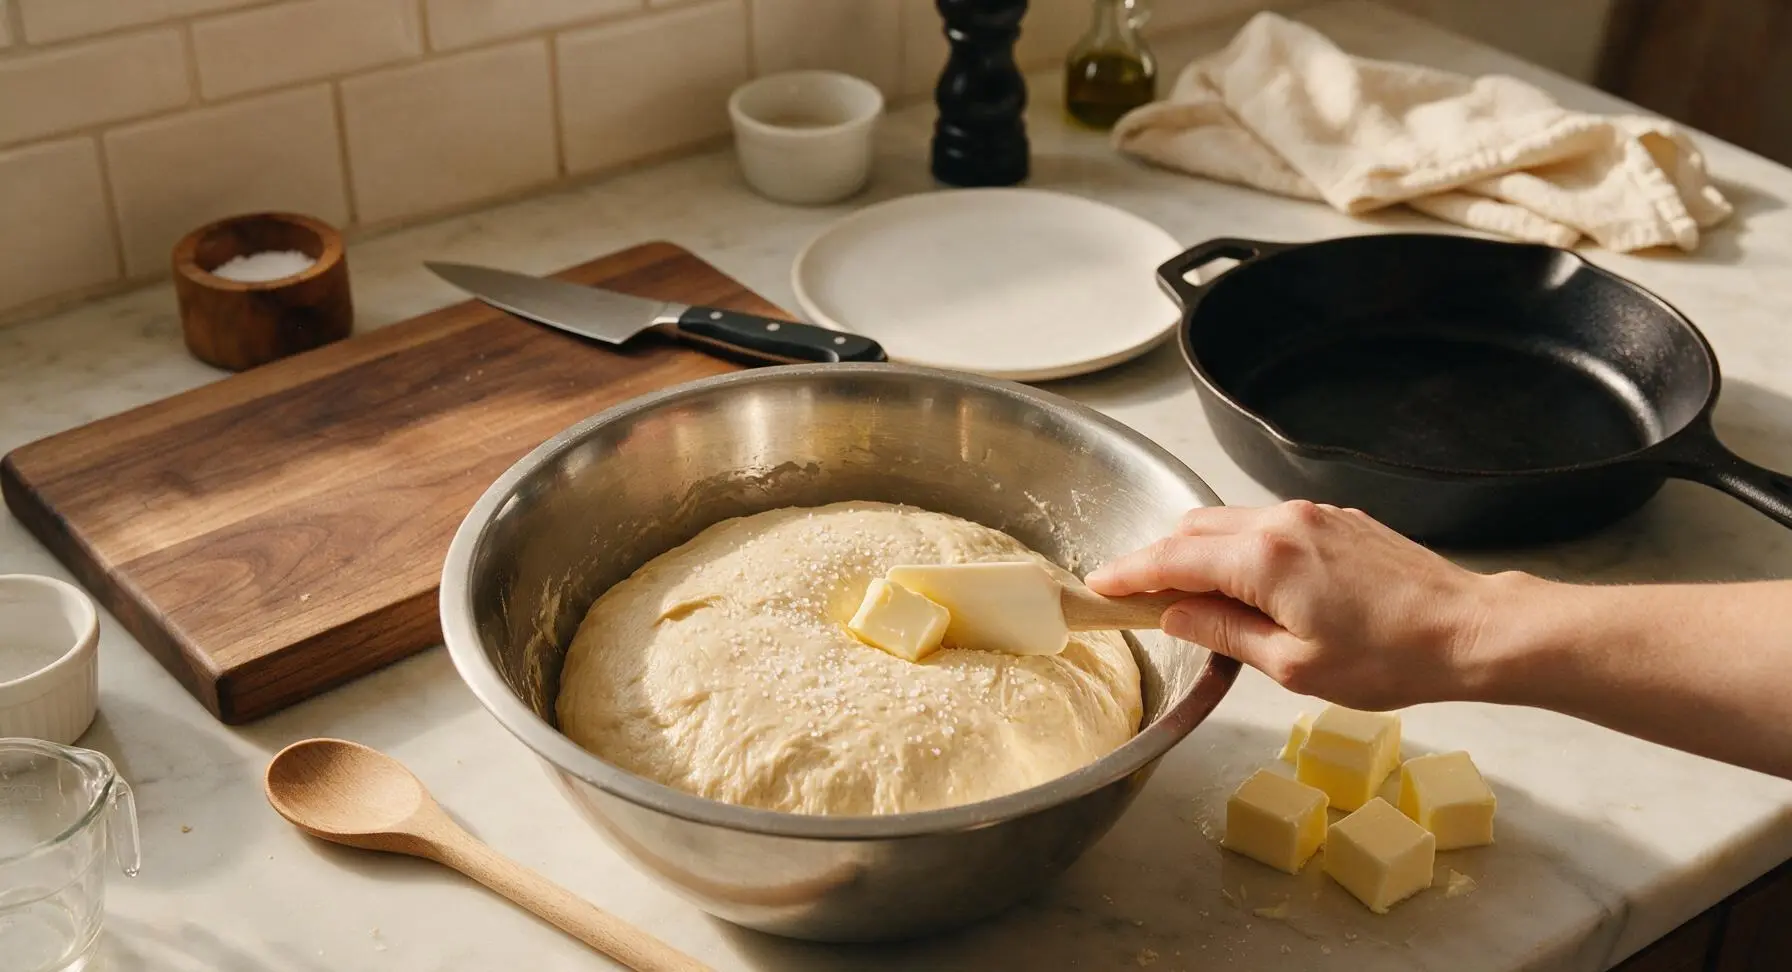
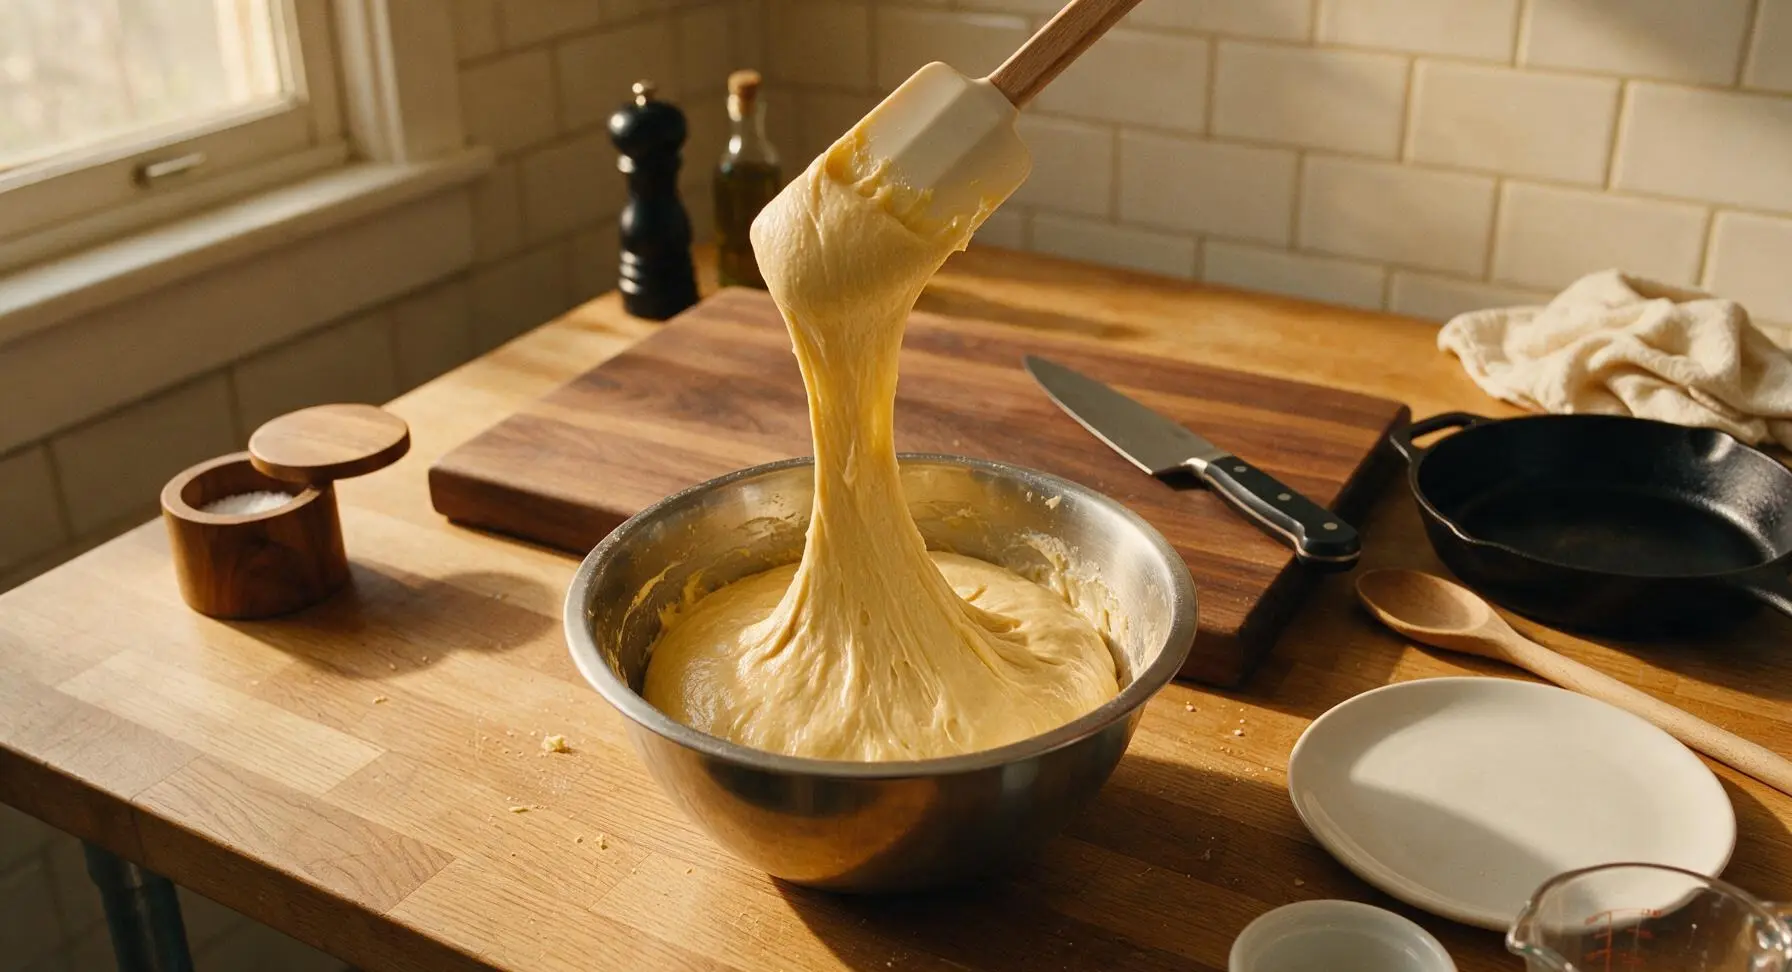
Uncover the rested dough, which will have smoothed slightly after hydration. Sprinkle 9g fine sea salt evenly over the dough surface. Add 2-3 cubes of softened butter at a time, using the flexible silicone dough scraper to fold and press the butter into the dough until fully incorporated before adding the next batch. This process takes 8-10 minutes; the final dough will be soft, smooth, and pull away from the bowl sides slightly, with no visible butter streaks.
Complete Bulk Ferment
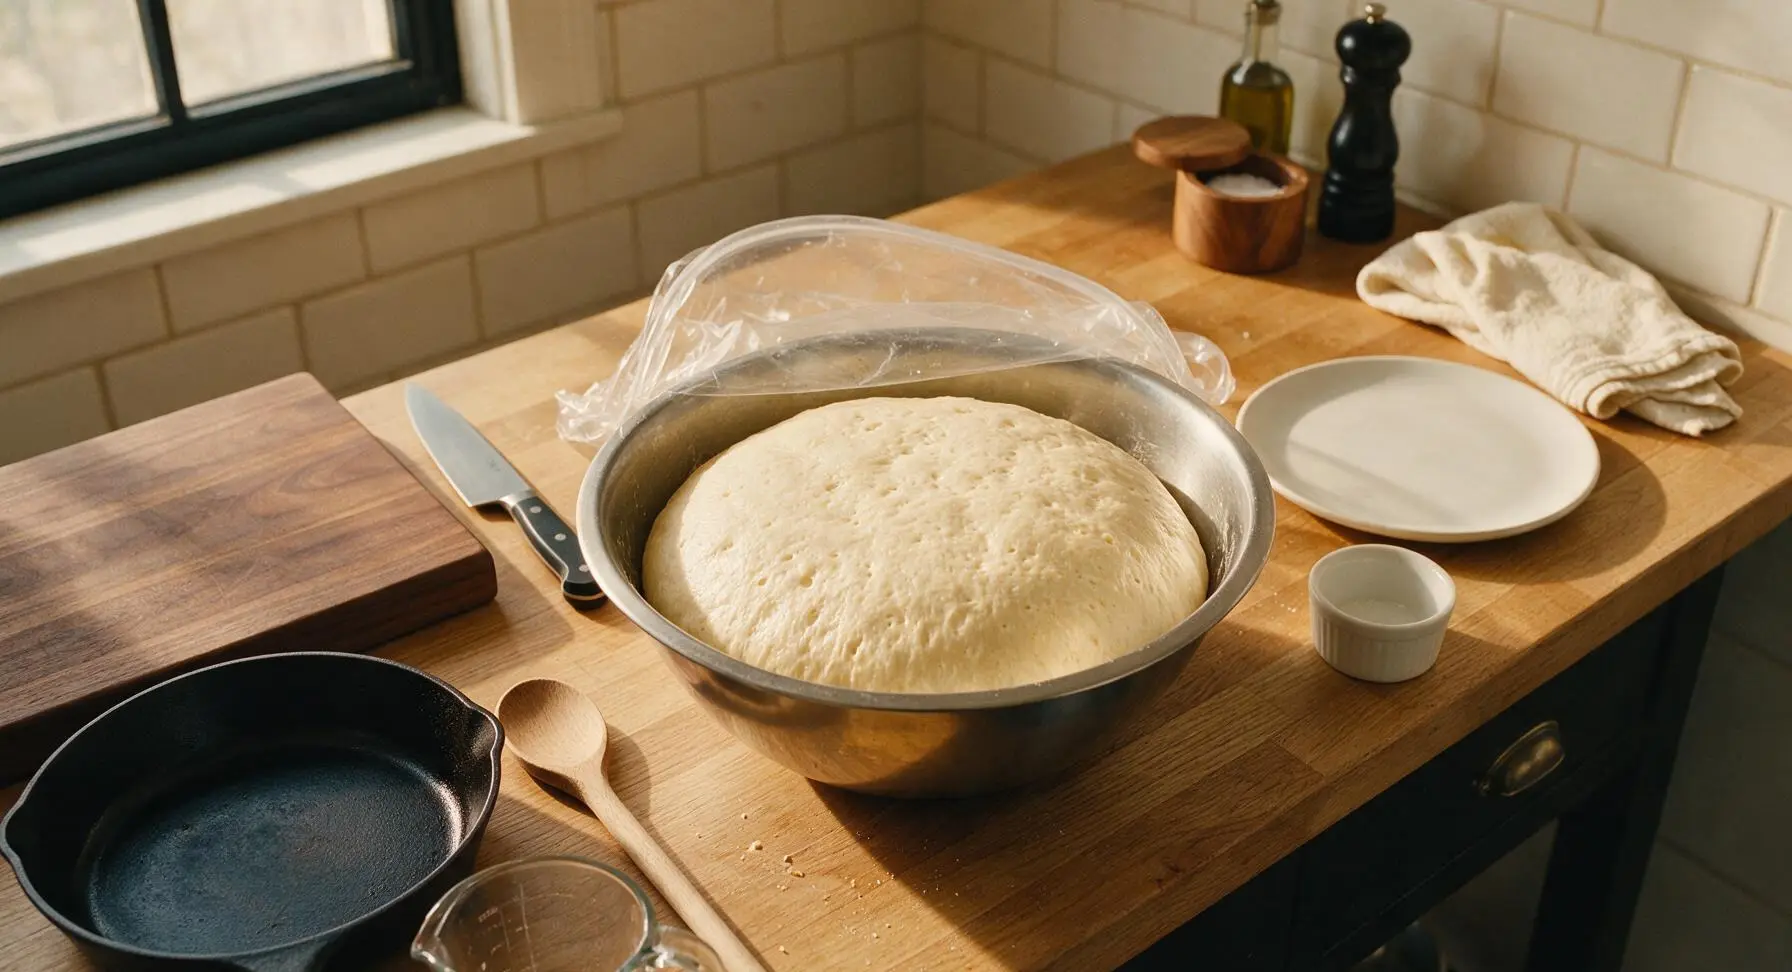
Cover the bowl tightly with a reusable plastic bowl cover. Let the dough rise at room temperature (70F/21C) for 4-5 hours, performing a set of stretch and folds every 30 minutes for the first 2 hours. To stretch and fold, grab a section of dough from the edge, pull it up gently until it resists, then fold it over the top of the dough mass, rotating the bowl a quarter turn each time until you have circled the bowl. The dough is ready when it has doubled in size, feels light and airy, and holds small gas bubbles when pulled gently.
Divide and Shape Dough
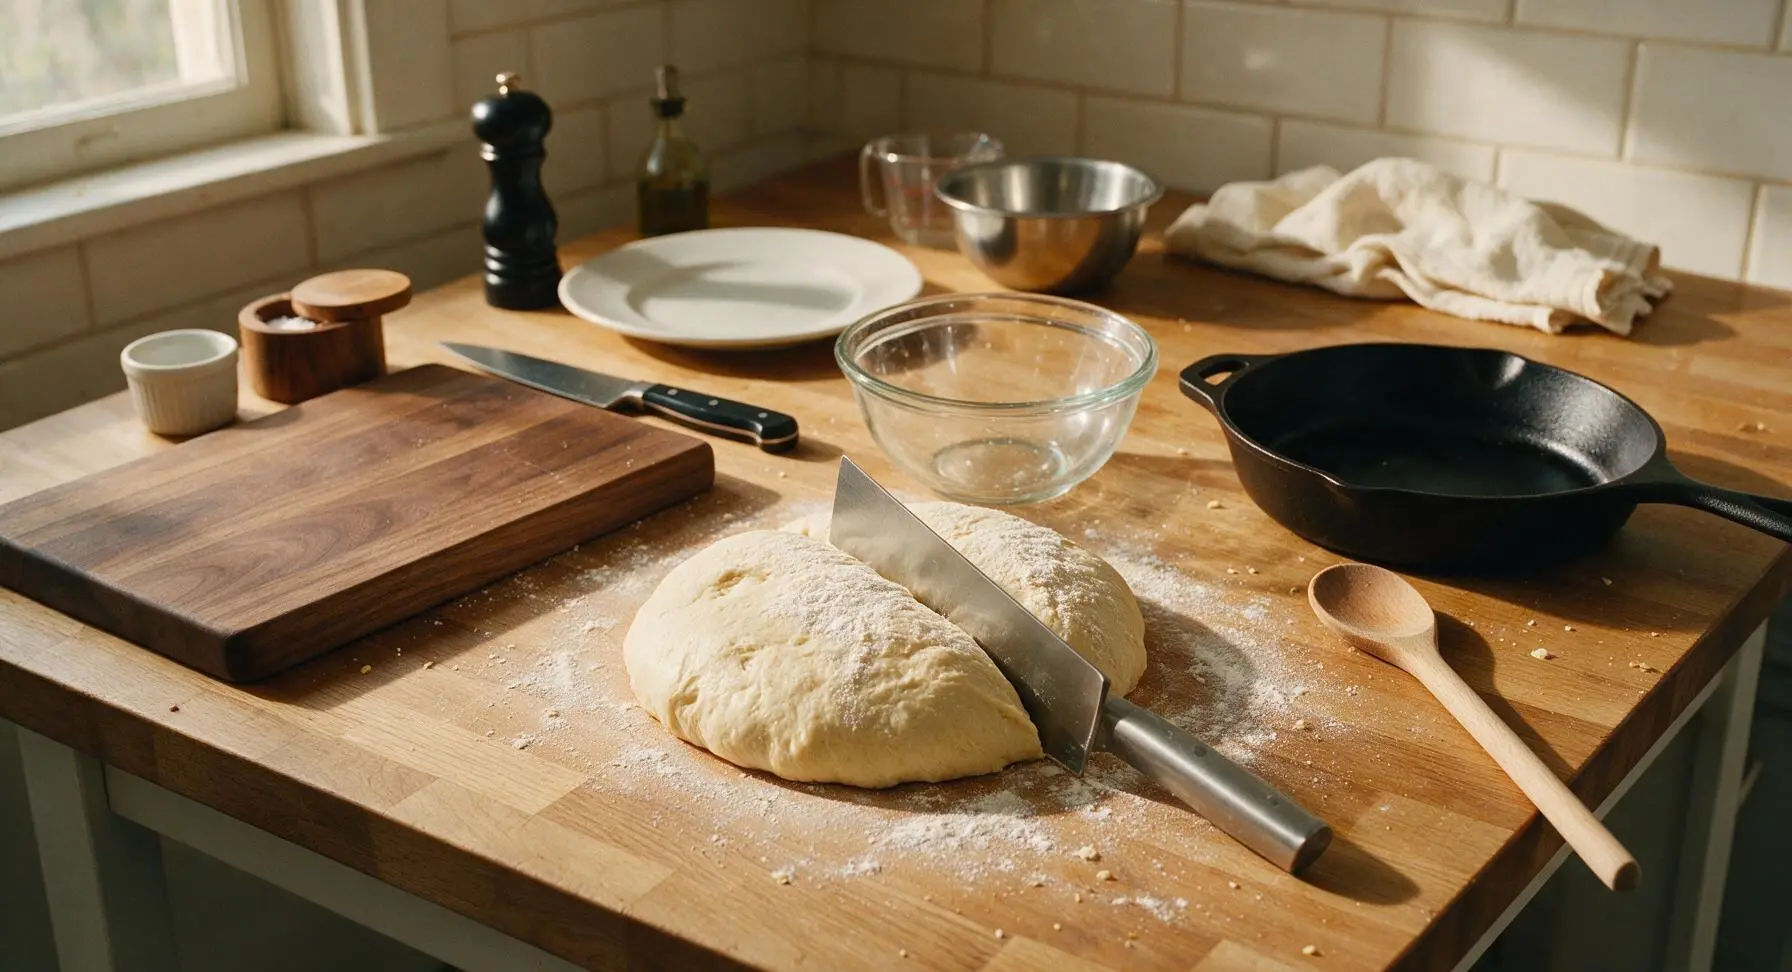
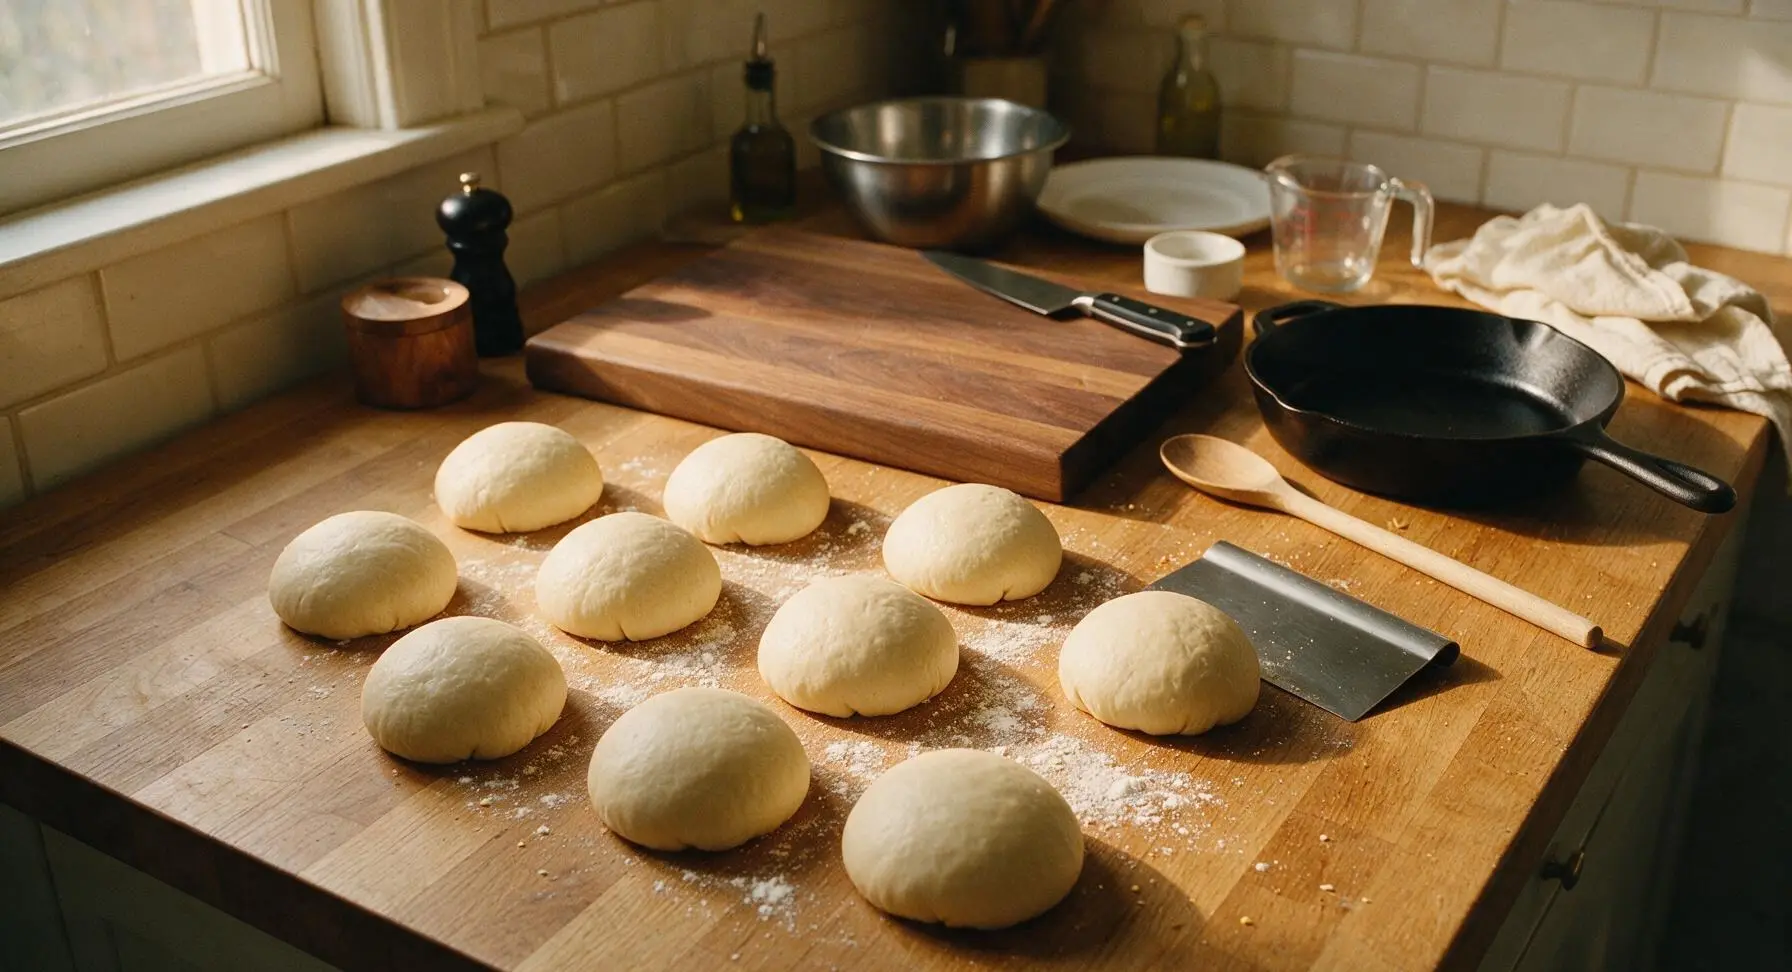
Lightly flour a small section of the marble countertop. Tip the risen dough out of the bowl using the silicone scraper, being careful not to deflate it too much. Use the stainless steel bench scraper to divide the dough evenly into 8 portions, each weighing approximately 95g. Shape each portion into a tight, smooth ball by pulling the edges of the dough down toward the base to create surface tension, tucking the seams tightly underneath.
Proof Shaped Buns
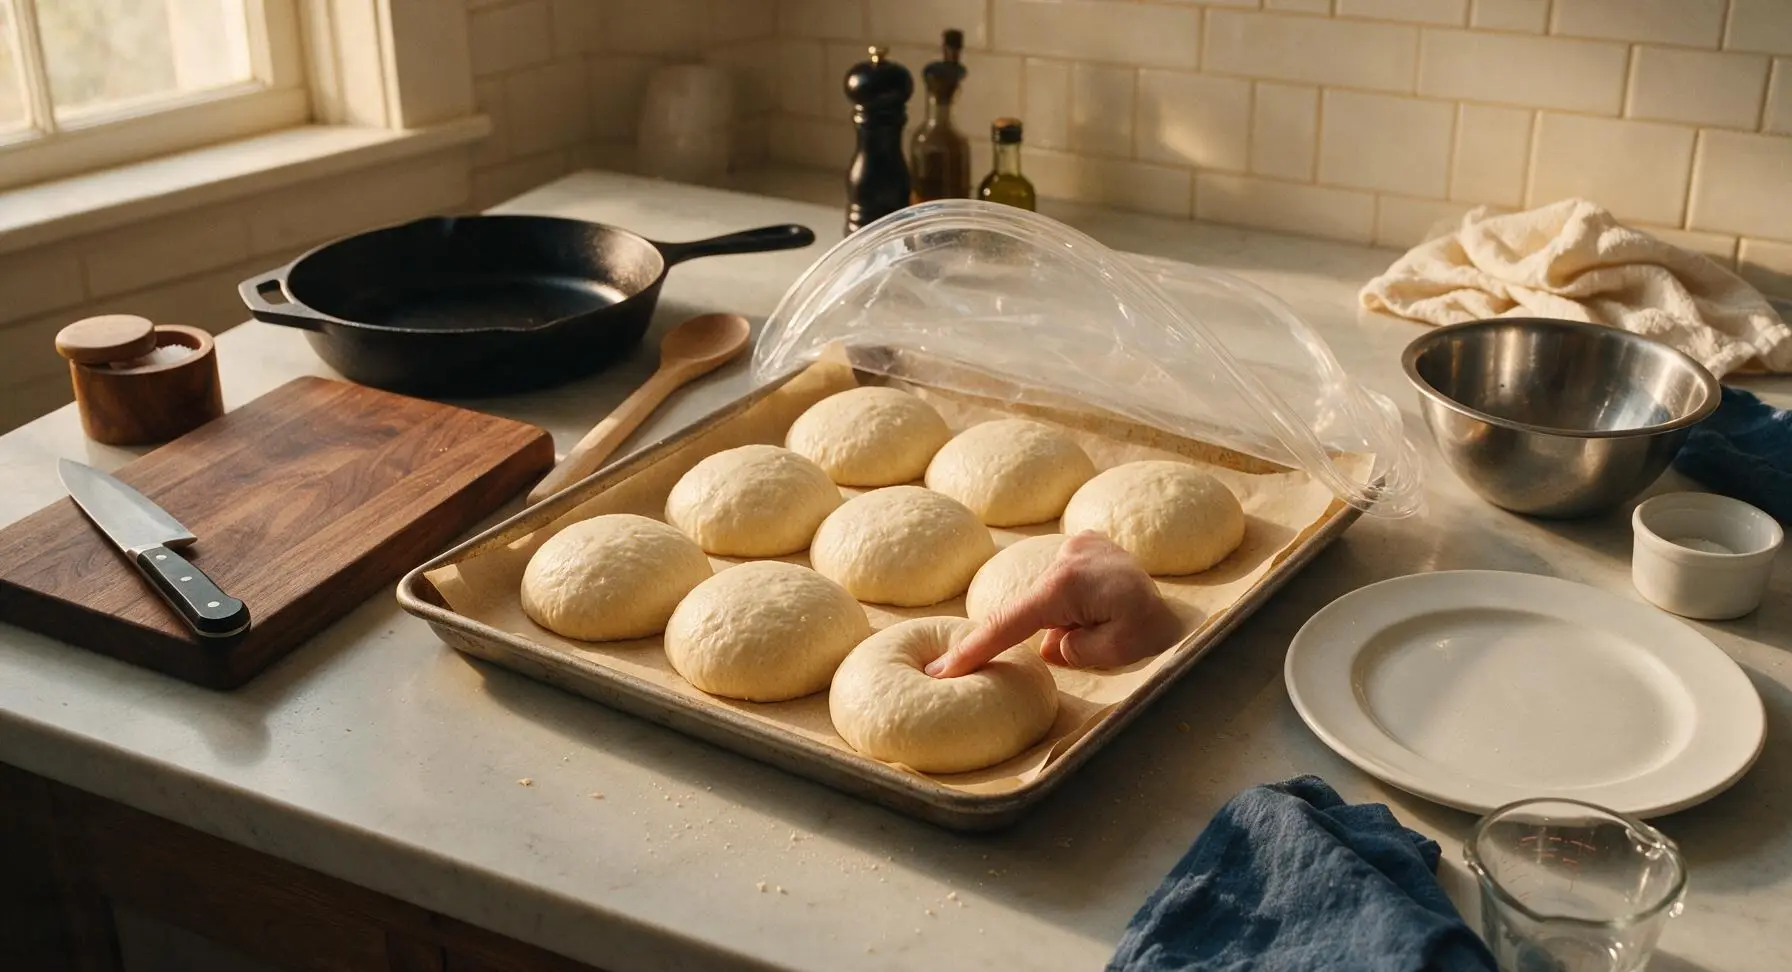
Line the half-sheet baking pan with the unbleached parchment paper. Arrange the shaped dough balls seam-side down on the pan, leaving 5cm of space between each to allow for expansion. Cover loosely with a second reusable plastic bowl cover and let proof at room temperature for 2-3 hours, or refrigerate for a 12-hour cold proof for deeper flavor. The buns are ready to bake when they are puffy, spring back slowly when poked gently with a finger, and leave a small indent that fills halfway back.
Egg Wash and Bake
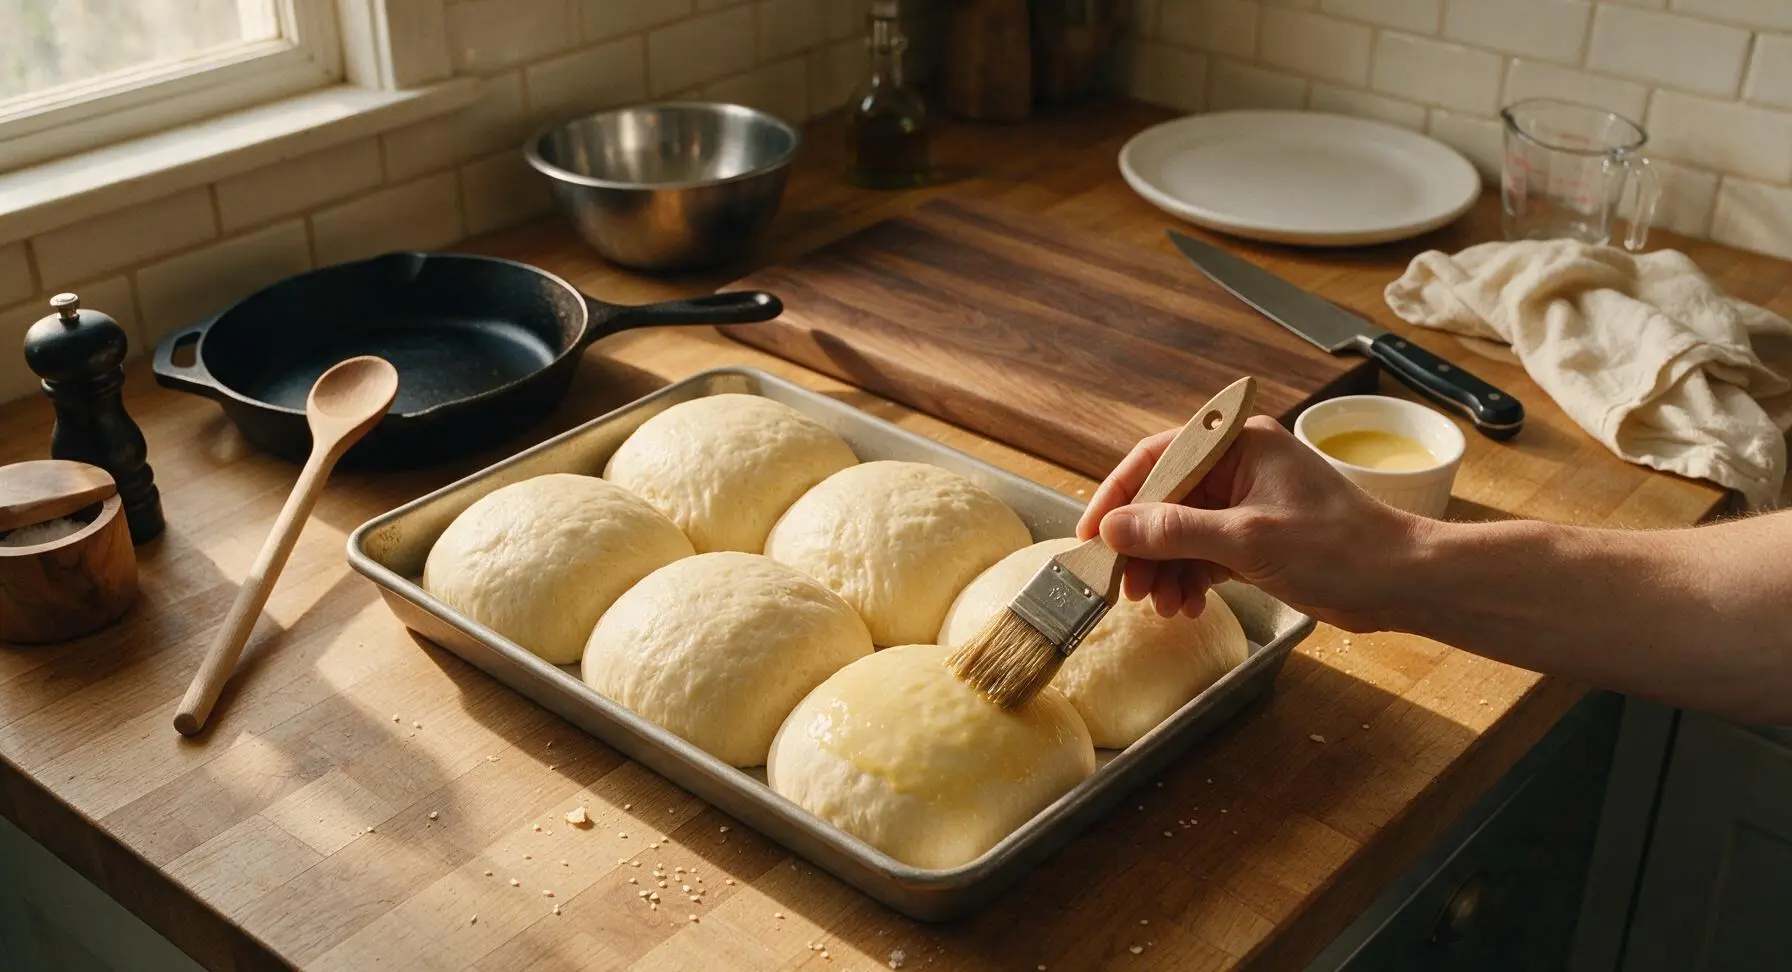
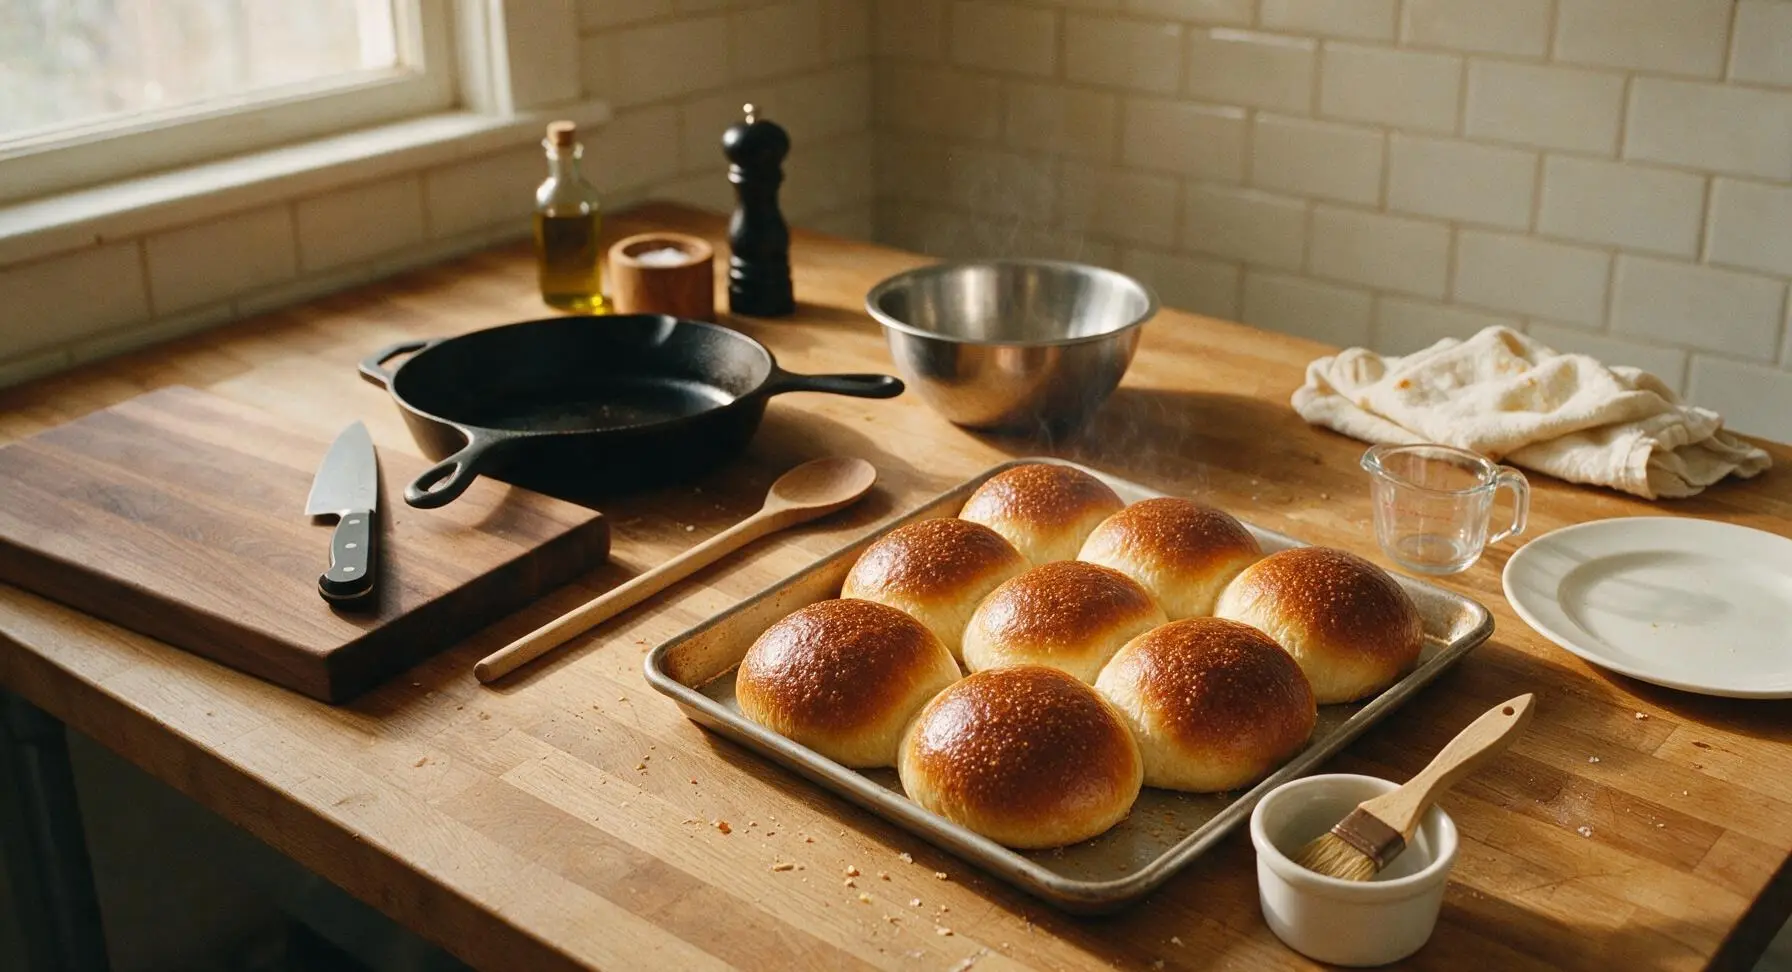
Preheat oven to 375F (190C) while the buns finish proofing. Whisk 1 large egg with 1 tablespoon of water in the small glass ramekin to make egg wash. Use the natural bristle pastry brush to gently coat the top of each proofed bun with a thin layer of egg wash, taking care not to deflate the puffy dough. Sprinkle with optional sesame seeds if desired. Bake for 18-22 minutes, rotating the pan halfway through, until the tops are a deep, even golden brown and the internal temperature of the buns reaches 190F (88C).
Cool Buns Before Serving
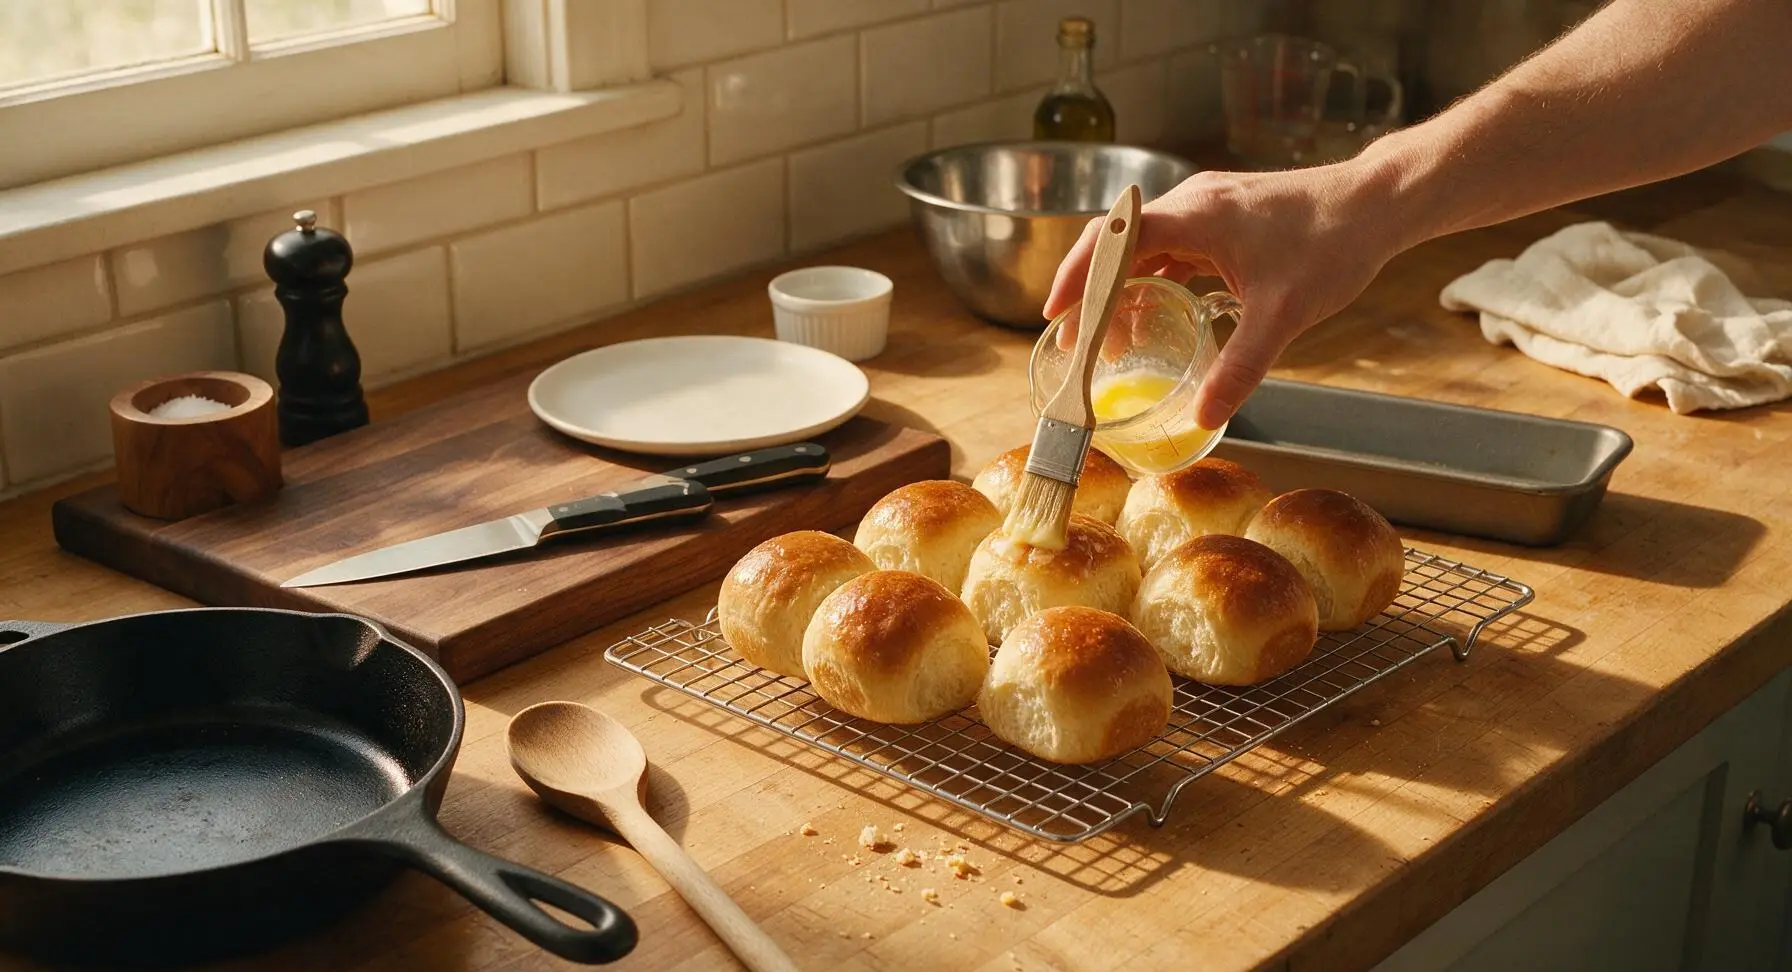
Remove the baked buns from the oven and immediately brush the tops with a thin layer of melted butter (held in the glass measuring cup) for a soft crust and extra richness. Use a spatula to transfer the buns from the baking pan to the chrome wire cooling rack, letting them cool for at least 15 minutes before transferring to the cream ceramic serving platter to serve. Cooling allows the crumb to set, so the buns do not turn gummy when cut.
Tips
2.Opt for the 12-hour cold proof in the refrigerator if your schedule allows: slow cold fermentation deepens the signature sourdough tang, firms up the butter in the dough for easier handling, and reduces the risk of deflating the puffy buns when applying egg wash.
3.Rely on internal temperature rather than crust color for doneness: the high sugar and egg content in brioche makes the tops brown quickly, often looking fully baked 5-7 minutes before the interior crumb sets. Baking to an internal temperature of 190F (88C) guarantees a fully cooked, soft crumb without raw, gummy centers.






OMG these sourdough brioche buns are a GAME CHANGER!!! I made them for my family’s burger night last weekend and everyone was raving—even my super picky 7 year old asked for seconds. They’re so buttery and soft, way better than the store-bought brioche buns I used to grab for cookouts. Difficulty was totally manageable as someone who’s only been working with sourdough for about 6 months, too! Already planning to make a double batch for our neighborhood potluck next week.
Tried these this afternoon and the flavor is incredible, but my buns came out a little denser than I expected? I followed the measurements exactly, let my starter get to that peak bubbly stage, and did the folds as instructed, but they didn’t puff up quite as much as the photos show. Wondering if my kitchen was too cold? It’s been around 65 degrees in here the past couple days.
SO good! I baked a batch on Sunday for meal prep and they held up perfectly all week for breakfast sandwiches, burger nights, even as a side with soup. The slight tang from the sourdough cuts through the richness so nicely, I don’t think I can ever go back to regular brioche. 10/10, will be in my regular rotation from now on.
Brought these to a work potluck yesterday and people were literally coming up to ask me for the recipe before they even finished their first bite! The only tweak I made was adding a little sprinkle of flaky sea salt on top before baking, *chef’s kiss*. I was worried the medium difficulty would be too much for my very amateur baking skills, but the step by step instructions were so clear I barely had to re-read anything.
These are delicious, but heads up for anyone short on time—don’t let the 20 minute cook time fool you! The total time from starter to finished buns is definitely a weekend project, which I should have expected with sourdough, but I almost tried to squeeze these in after work on a weeknight and would have been so stressed. Worth every minute of wait time, though!