
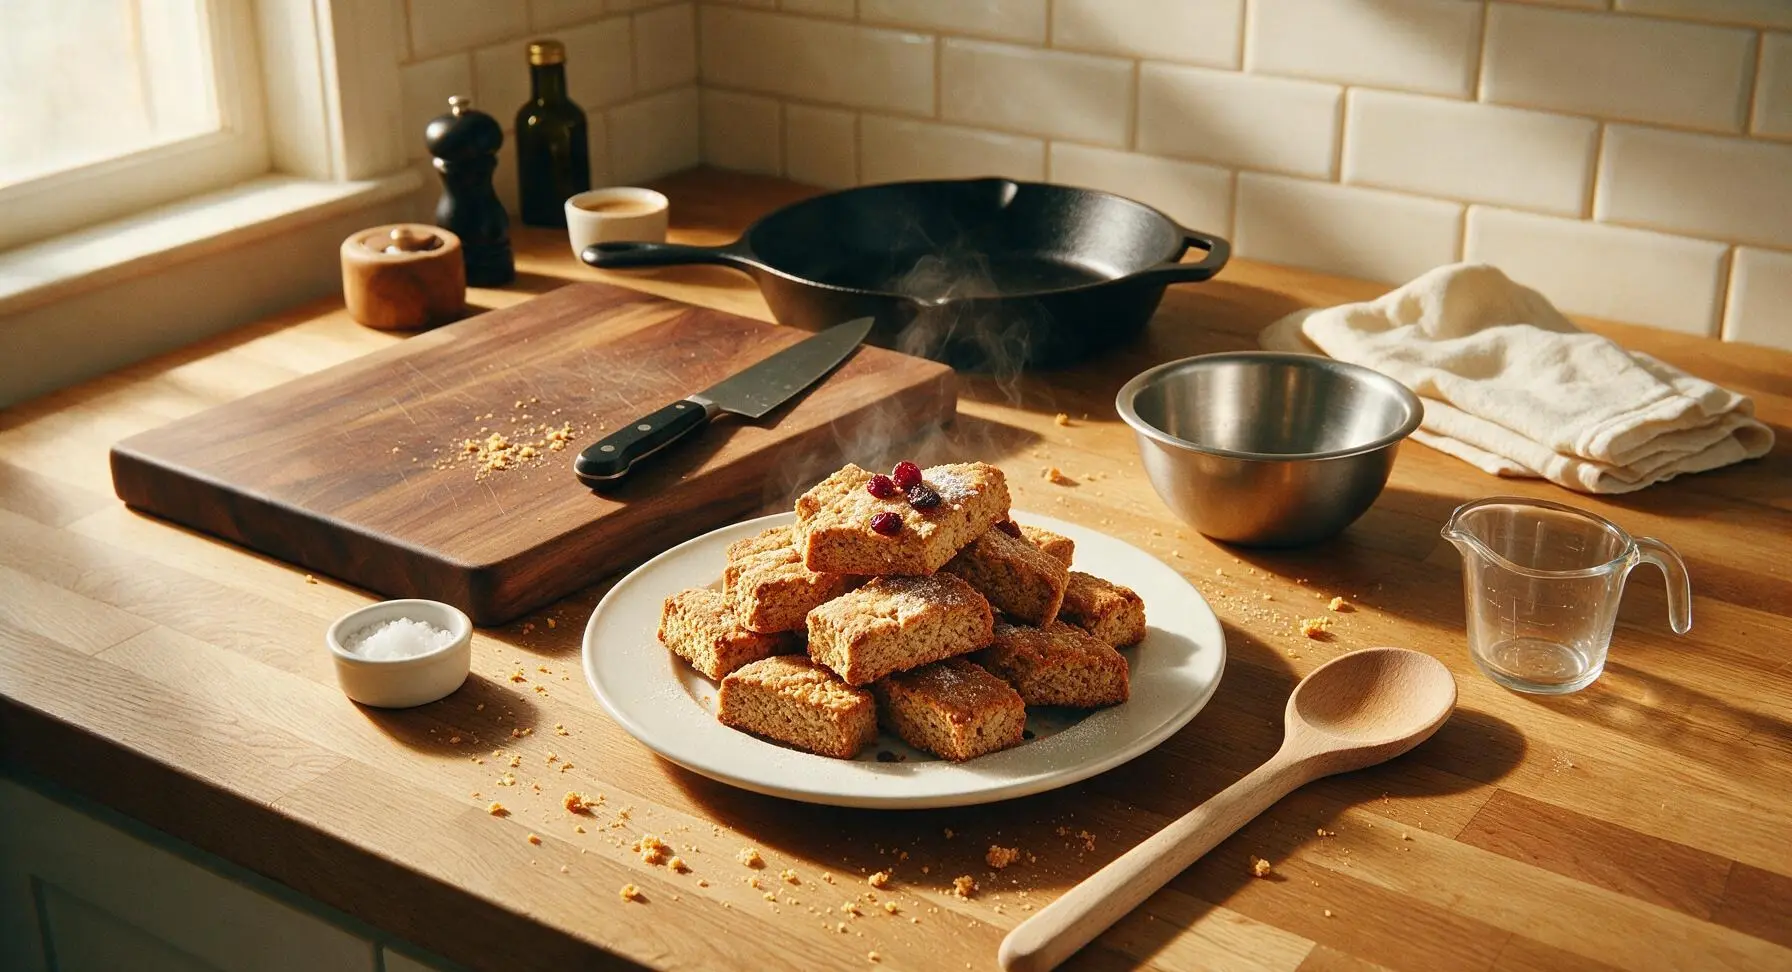
South African Rusks

title 1
South African Rusks
⏱️ cook time 3 hours 15 minutes
🍽️ servings 24
⚡ Difficulty medium

intro

Crunchy, buttery South African rusks (beskuit) are made for slow winter mornings—dunked in hot coffee or rooibos tea, they’re a beloved shelf-stable baked treat.

Ingredients
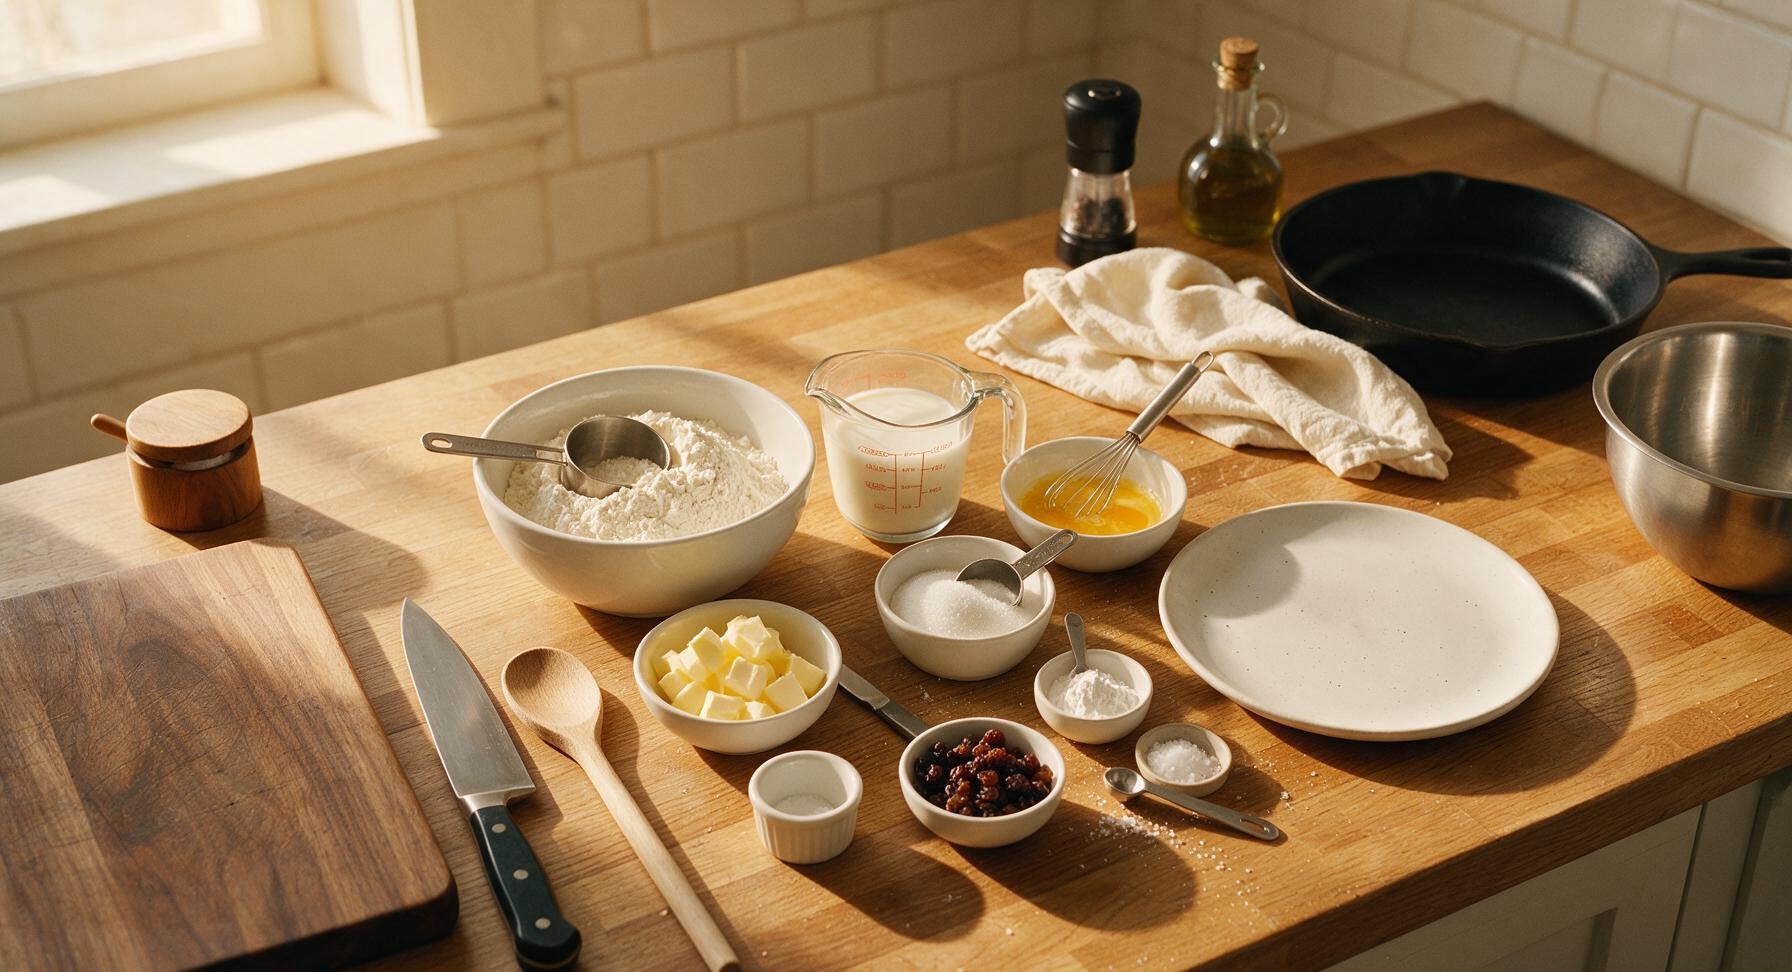
All-purpose flour 500g (4 cups, spooned and leveled)
Cold unsalted butter 125g (1/2 cup + 1 tbsp)
Full-fat buttermilk 250ml (1 cup)
Large eggs 2, room temperature, beaten
Granulated sugar 100g (1/2 cup)
Baking powder 15g (3 tsp)
Fine sea salt 5g (1 tsp)
Raisins (optional) 100g (2/3 cup)

Steps

1

Prep Pan, Preheat Oven

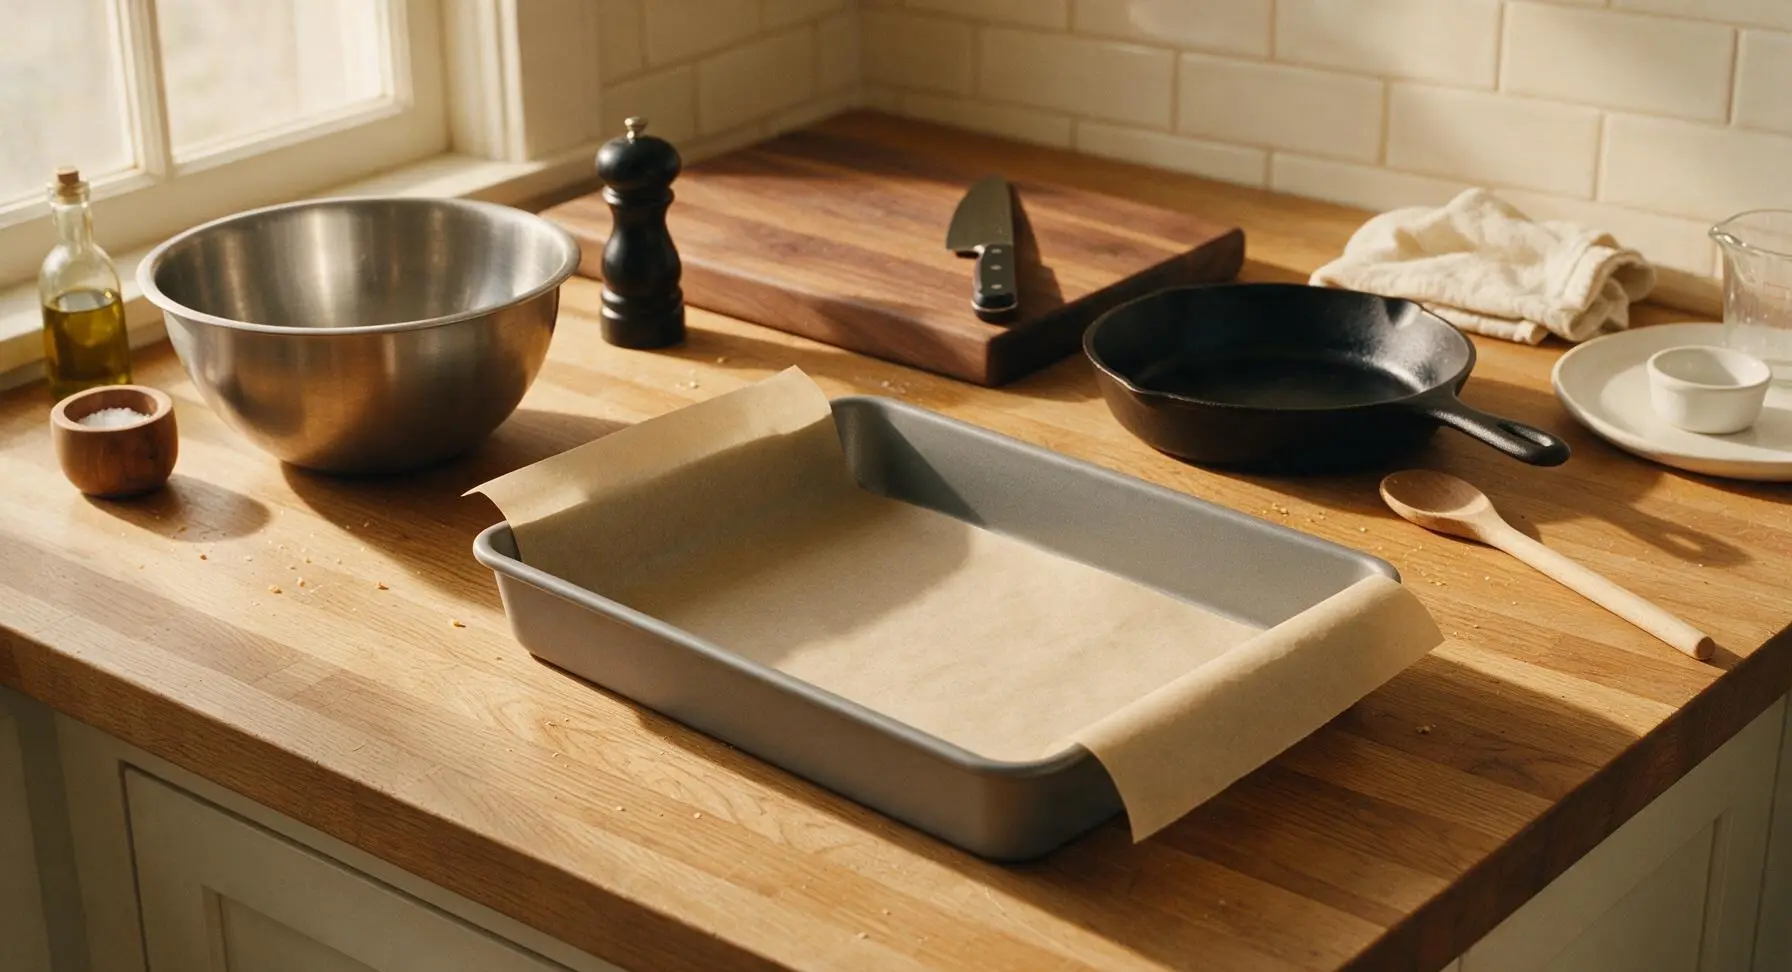
Preheat your oven to 180°C (350°F) with the rack positioned in the center. Line the 23x33cm matte gray rectangular baking pan with unbleached parchment paper, leaving 5cm of overhang on the two long sides to act as handles for lifting the baked loaf out later. Set the lined pan aside.
Step 1
step1:Prep Pan, Preheat Oven
2

Combine Dry Ingredients

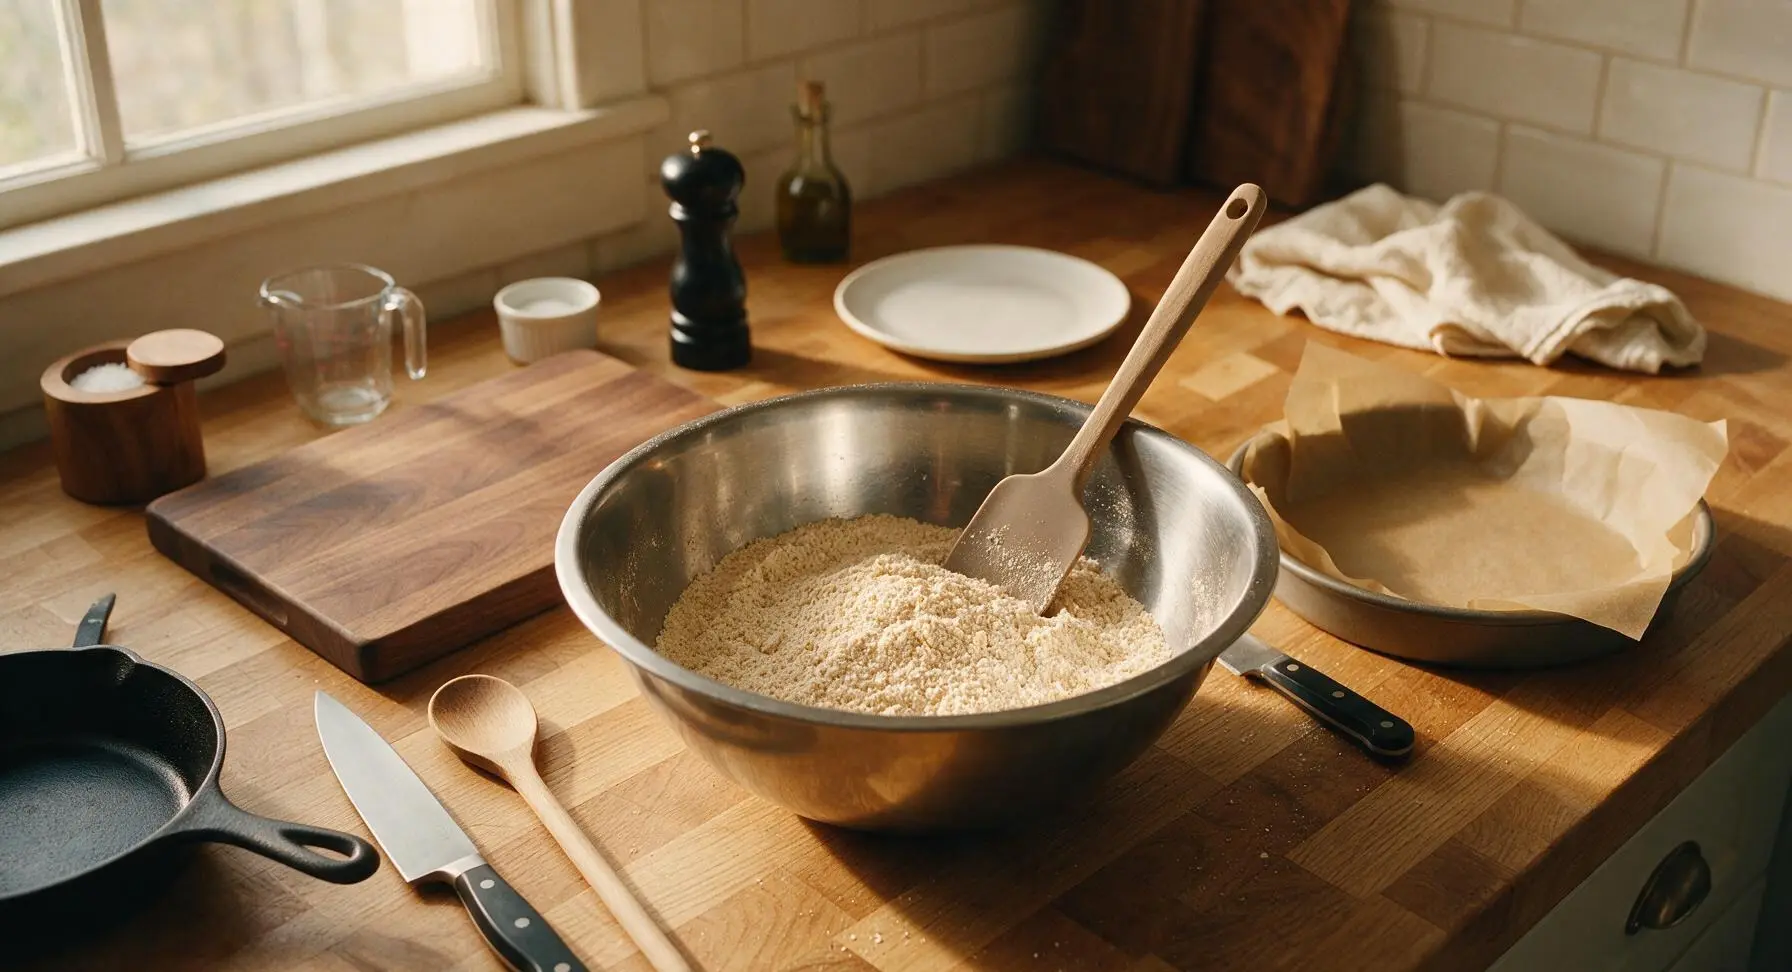
In the large stainless steel mixing bowl, add the measured all-purpose flour, granulated sugar, baking powder, and fine sea salt. Stir with the light taupe silicone spatula for 30 seconds until all dry ingredients are evenly combined, with no clumps of baking powder visible.
Step 2
step2:Combine Dry Ingredients
3

Grate in Cold Butter

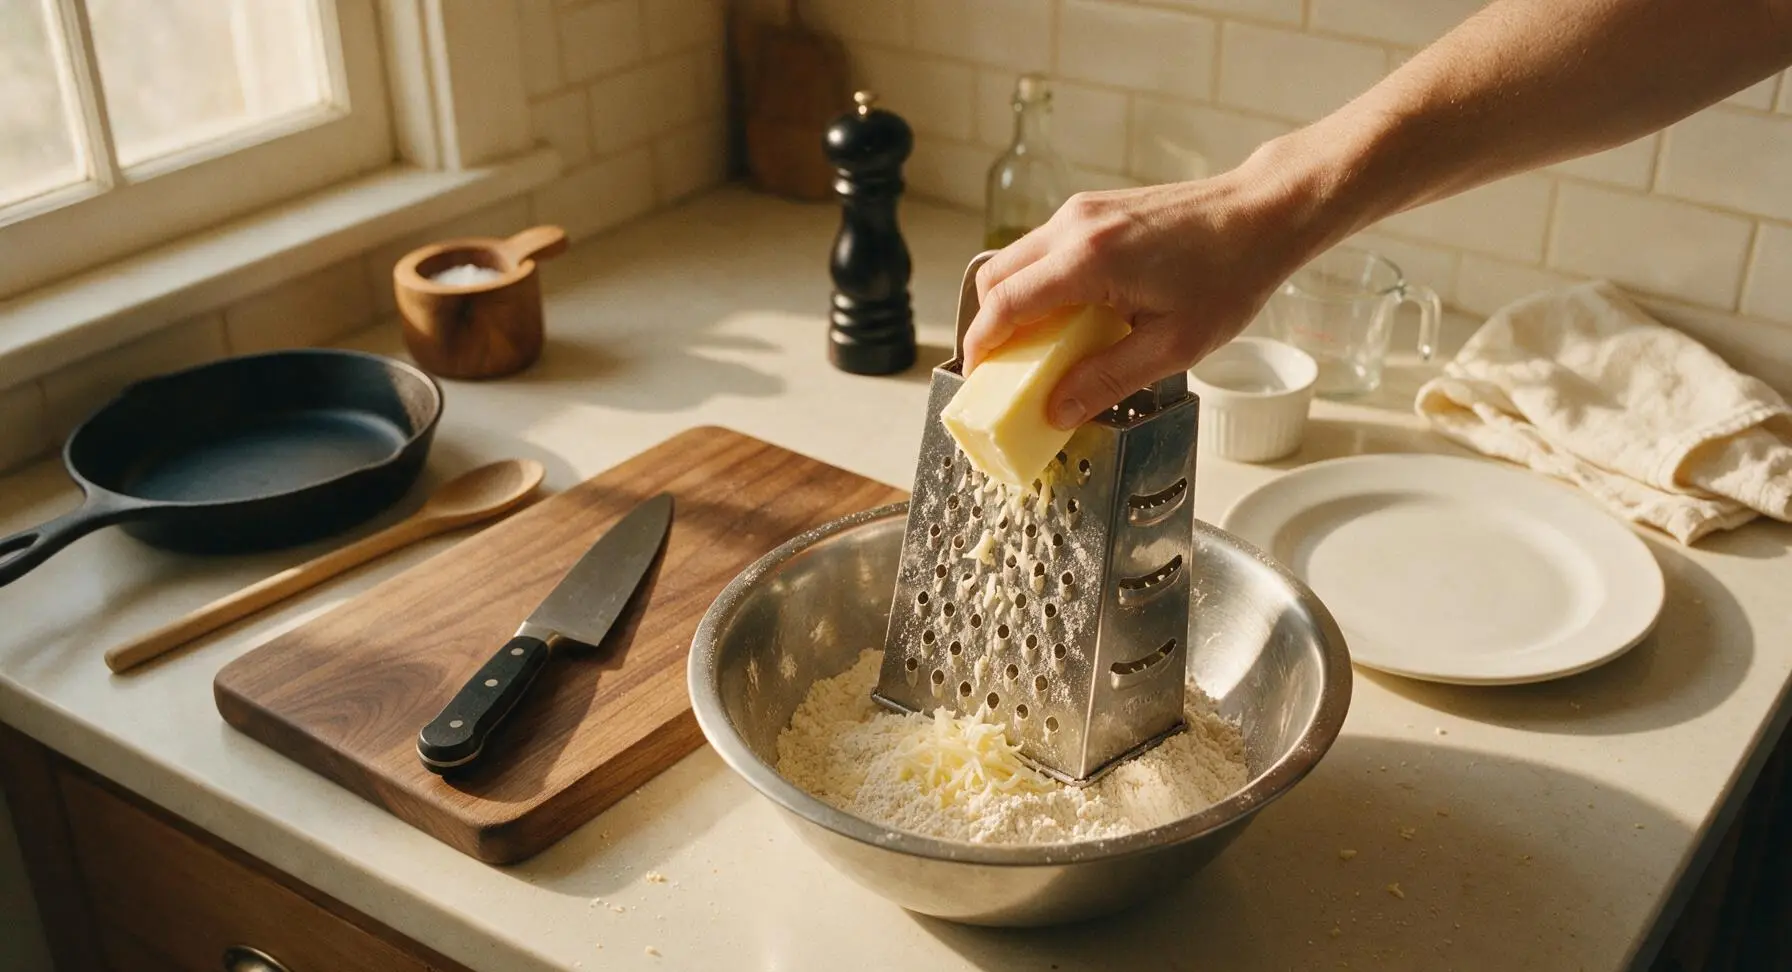
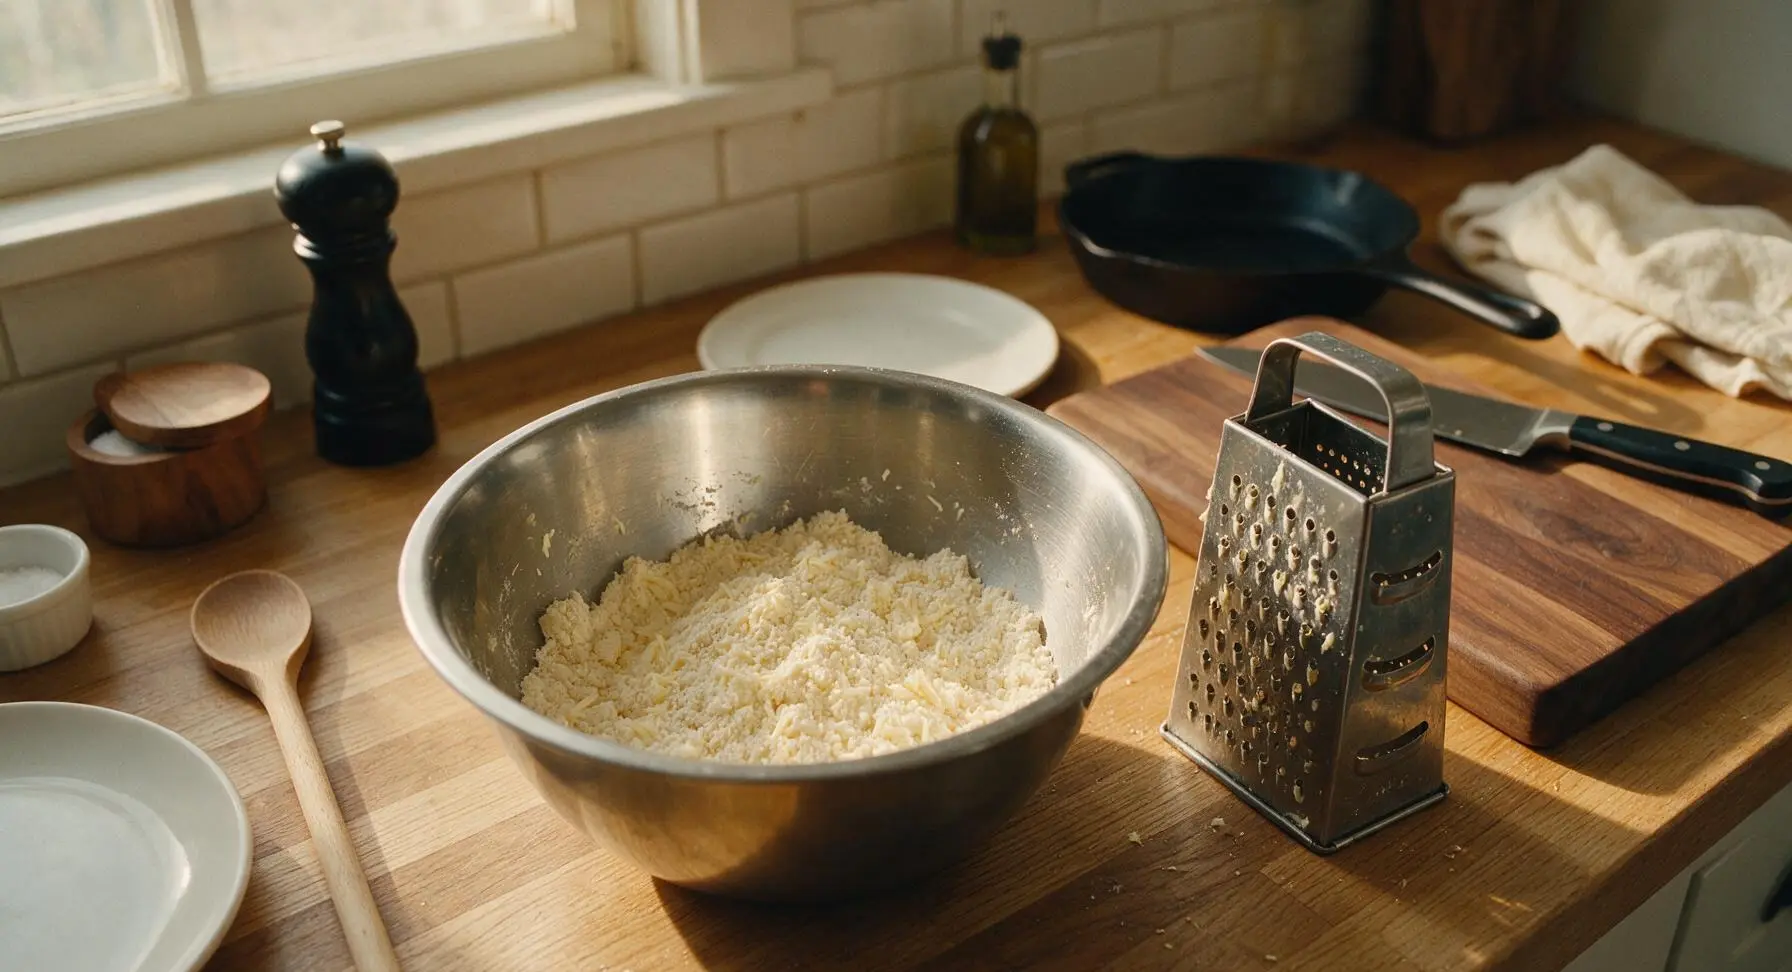
Hold the cold butter against the largest holes of the stainless steel box grater, and grate all of the butter directly into the bowl of dry ingredients. Toss the grated butter shreds with the flour mixture using your fingertips until the mixture resembles coarse, crumbly sand, with no large clumps of butter remaining. If using raisins, stir them in at this stage to coat evenly in flour.
Step 3
step3:Grate in Cold Butter
Step 3
step3:Grate in Cold Butter
4

Mix Wet Ingredients

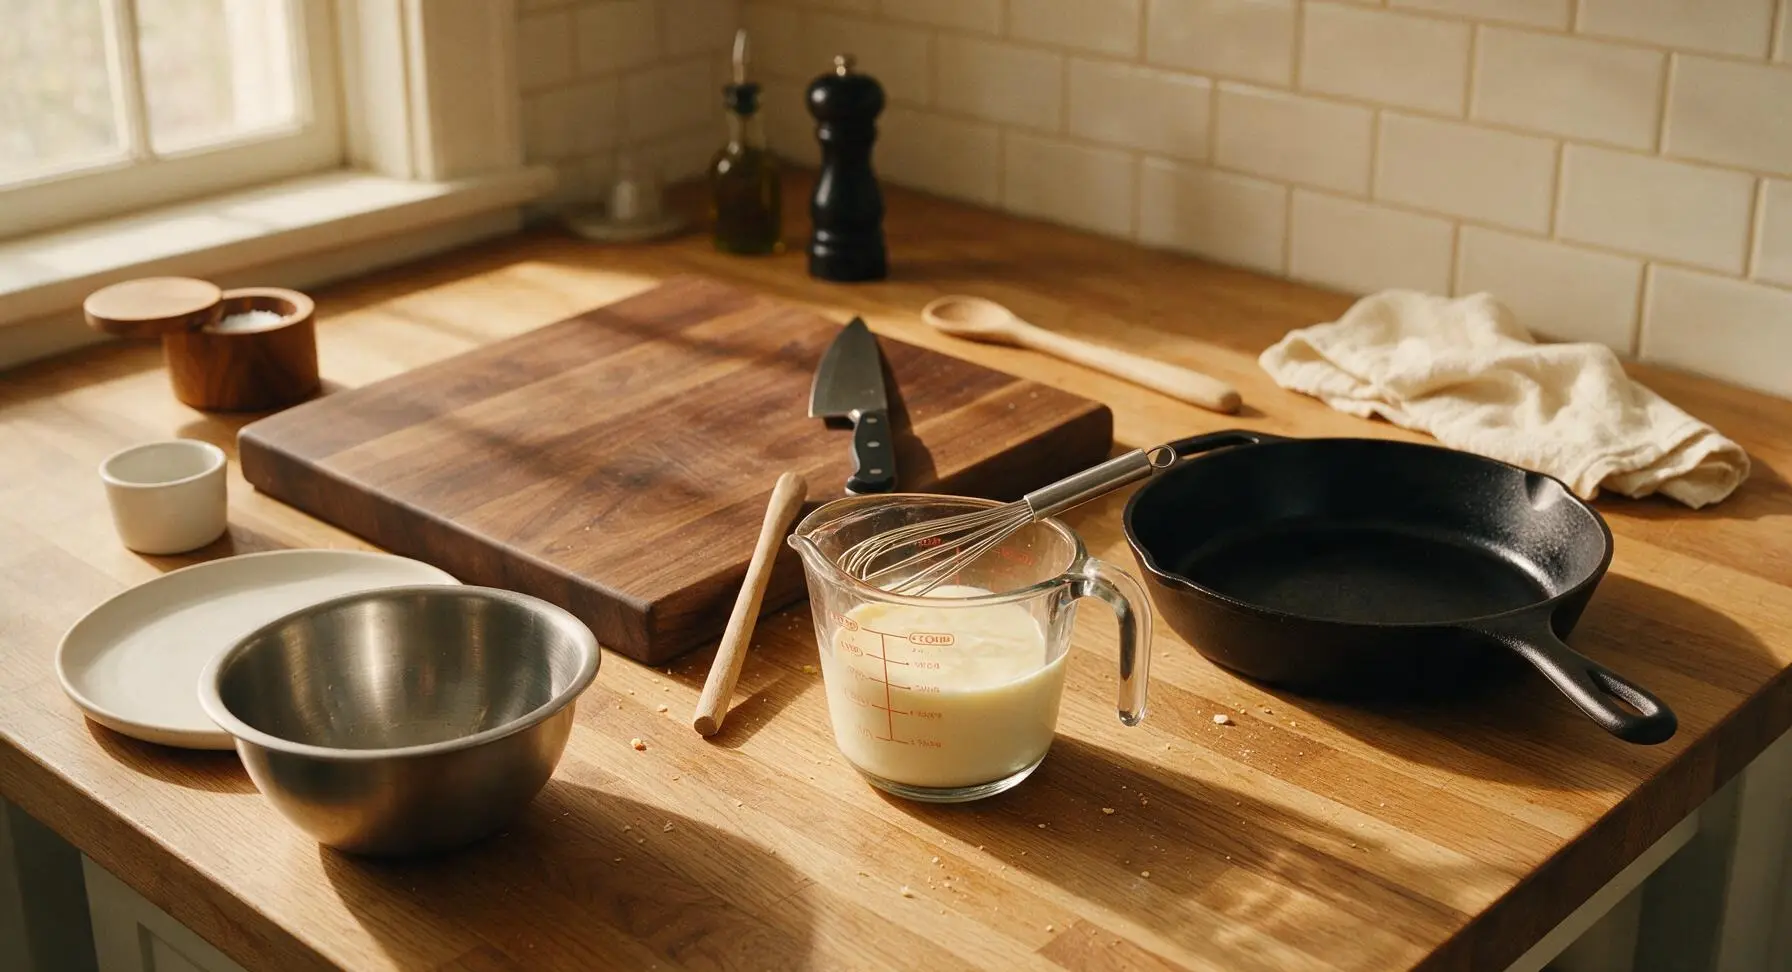
In the clear glass 500ml measuring cup, whisk together the beaten room-temperature eggs and full-fat buttermilk with the small stainless steel whisk until completely smooth, with no streaks of egg visible.
Step 4
step4:Mix Wet Ingredients
5

Form Shaggy Dough

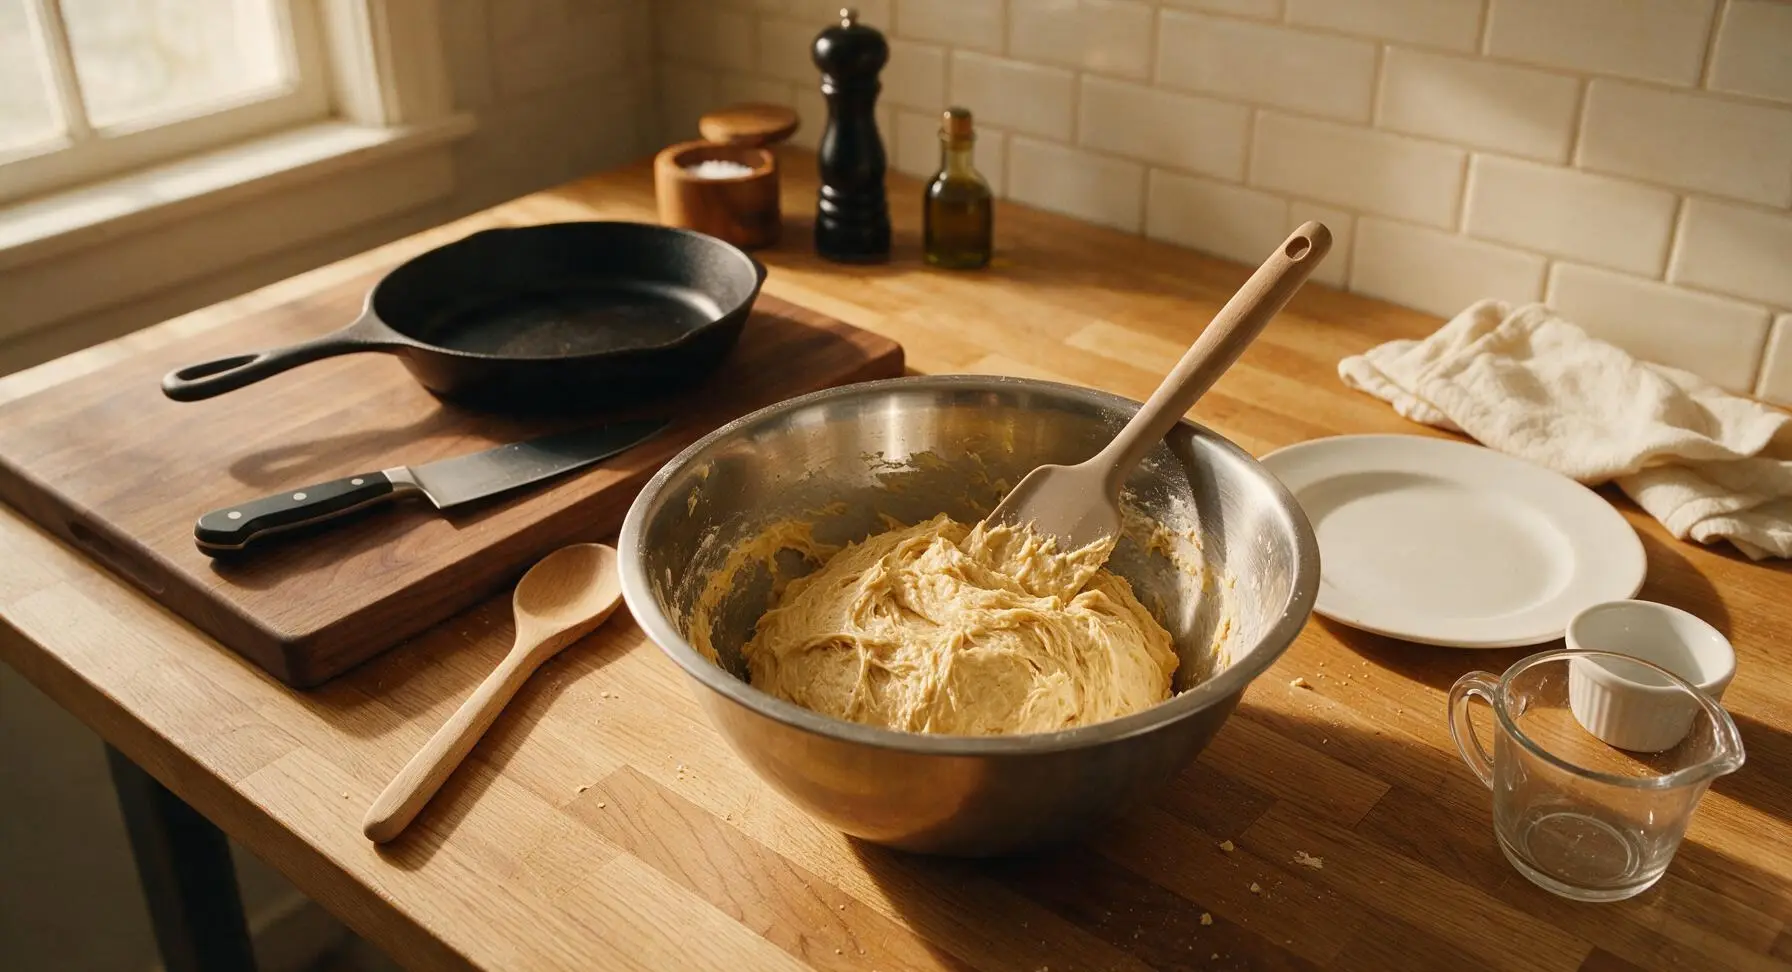
Pour the wet buttermilk-egg mixture into the bowl of dry ingredients and butter. Use the light taupe silicone spatula to fold gently, just until no dry flour remains at the bottom of the bowl. Do not overmix – the dough will be thick, shaggy, and slightly sticky, not smooth like bread dough.
Step 5
step5:Form Shaggy Dough
6

Bake Rusk Base Loaf

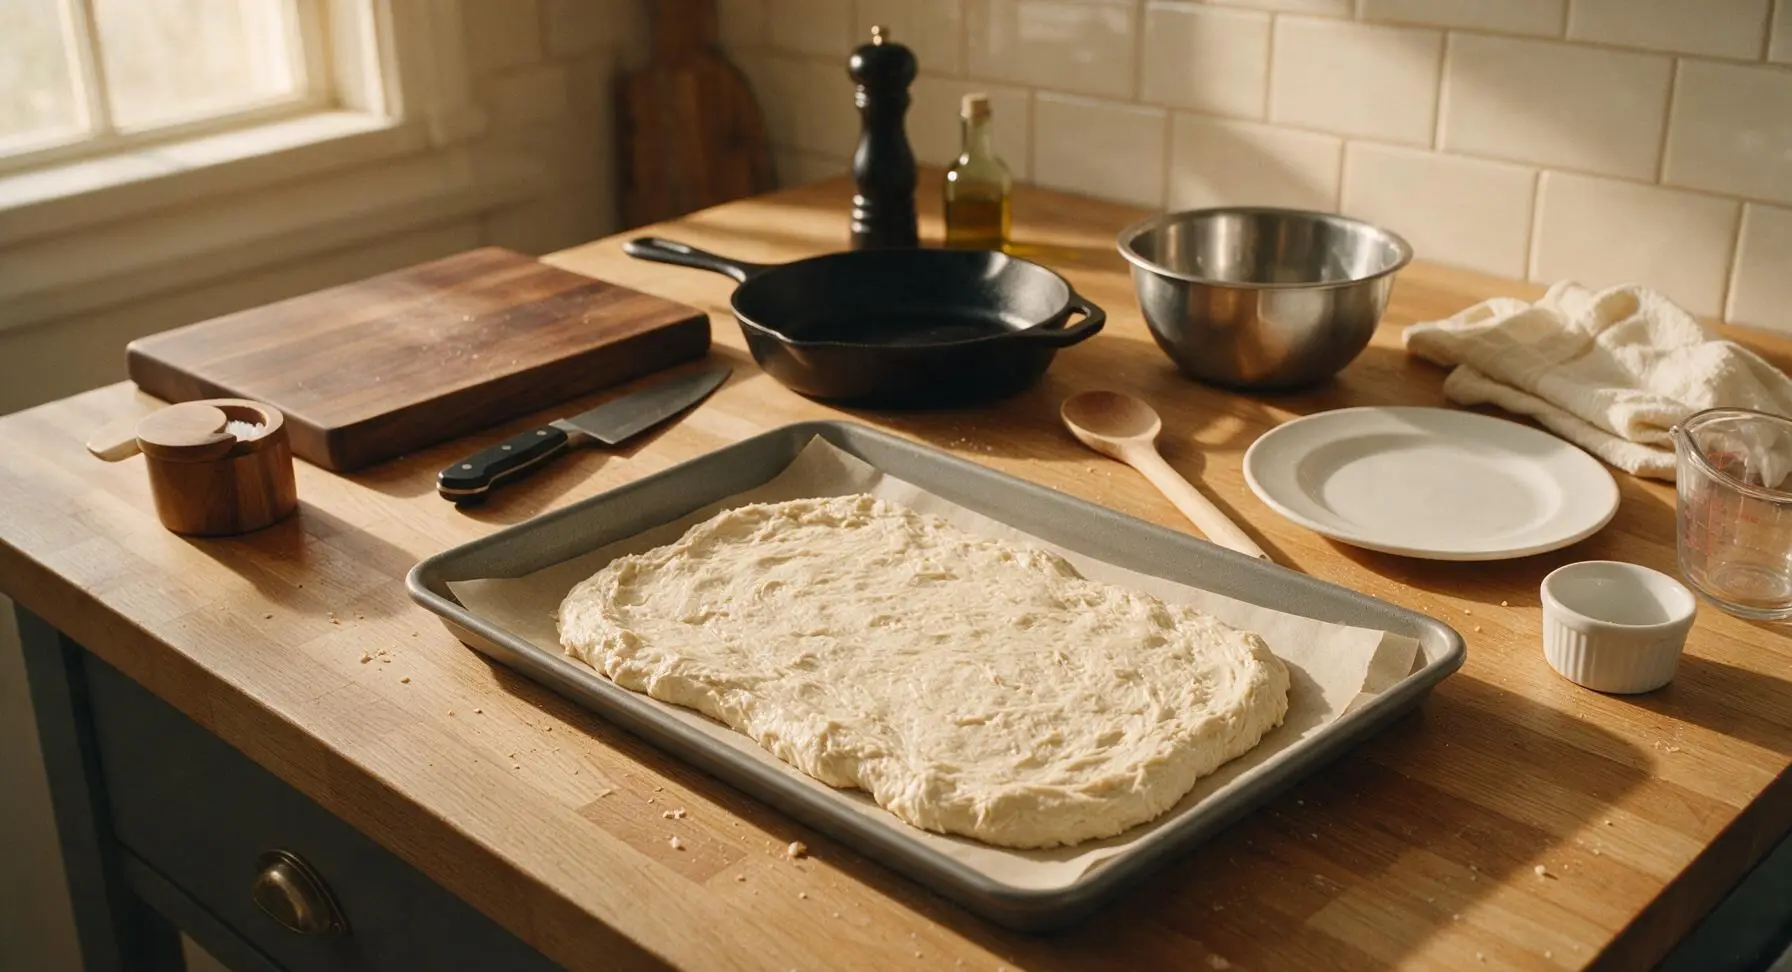
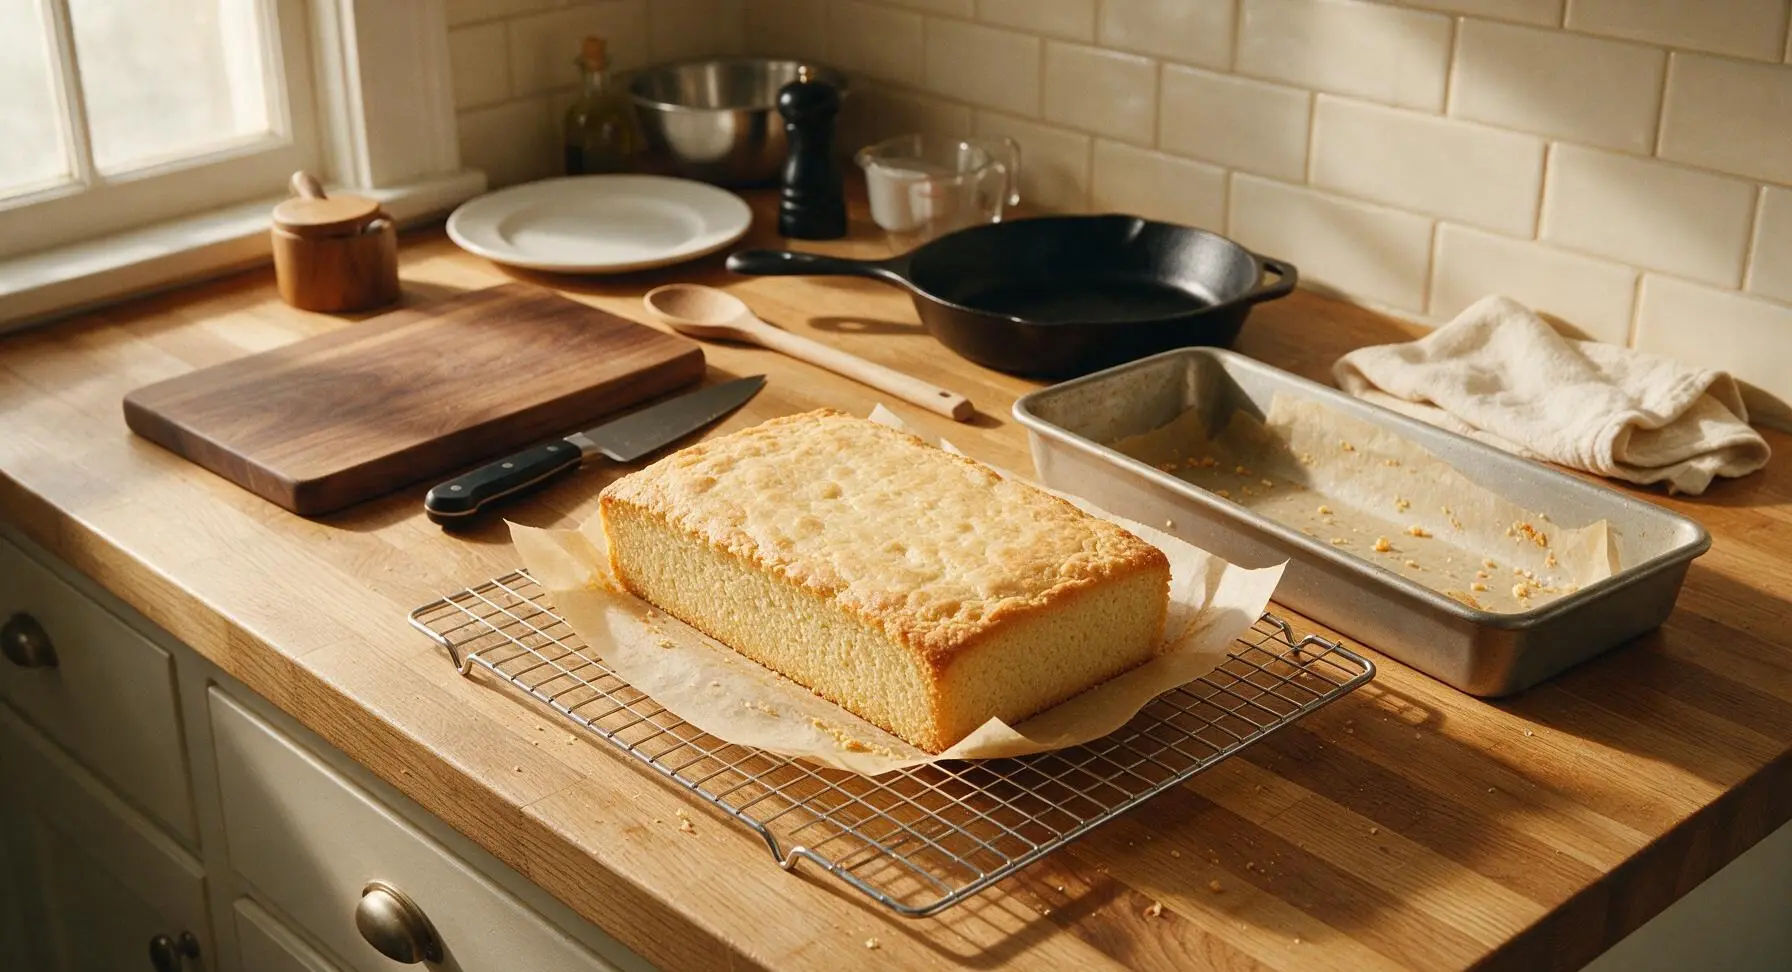
Transfer the shaggy dough to the parchment-lined baking pan, pressing it firmly into an even, flat layer across the entire pan with the back of the silicone spatula. Place the pan on the center oven rack and bake for 45 minutes at 180°C (350°F), until the top is pale golden brown and the tip of the serrated bread knife inserted into the center comes out clean with no wet dough attached. Once baked, lift the loaf out of the pan using the parchment overhang and transfer it to the chrome wire cooling rack to cool completely for 1 full hour – do not cut it while warm, as it will crumble.
Step 6
step6:Bake Rusk Base Loaf
Step 6
step6:Bake Rusk Base Loaf
7

Cut into Even Fingers

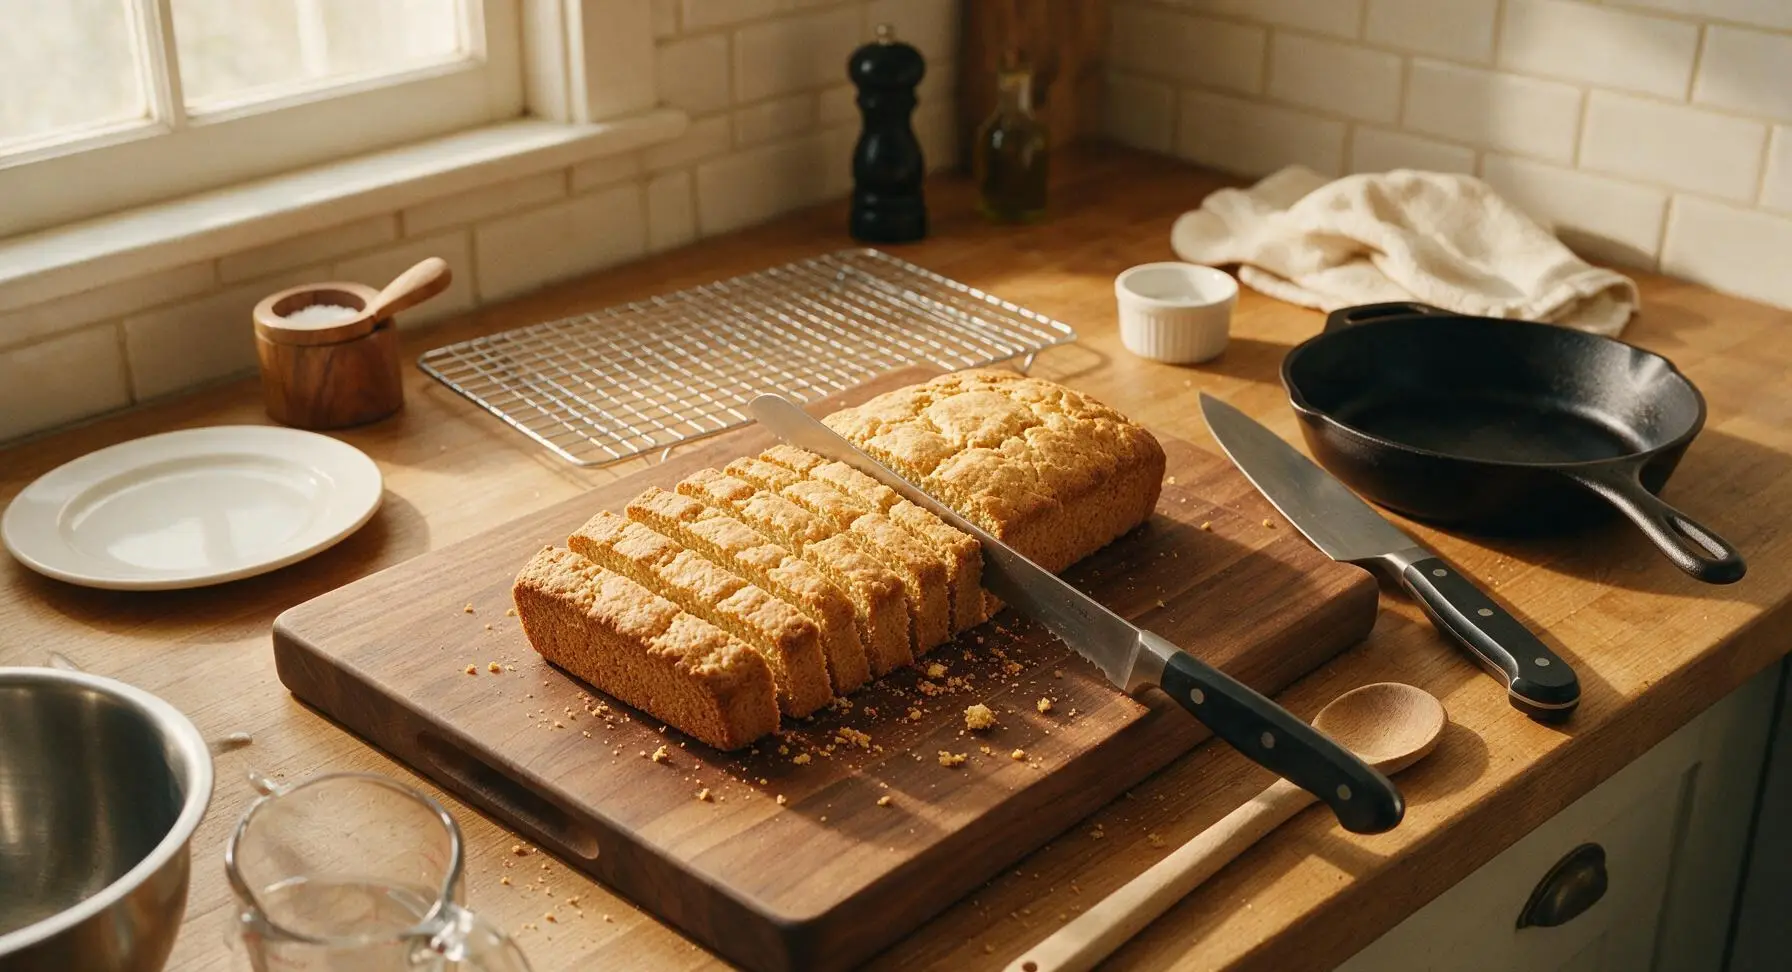
Once the loaf is completely cool to the touch, transfer it from the cooling rack to the light maple cutting board. Use the large serrated bread knife to cut the loaf in half lengthwise down the center, then cut crosswise into 2cm (3/4 inch) wide fingers, making 24 even pieces total. Saw gently with the serrated knife to avoid squishing the soft loaf.
Step 7
step7:Cut into Even Fingers
8

Dry Rusks Low and Slow

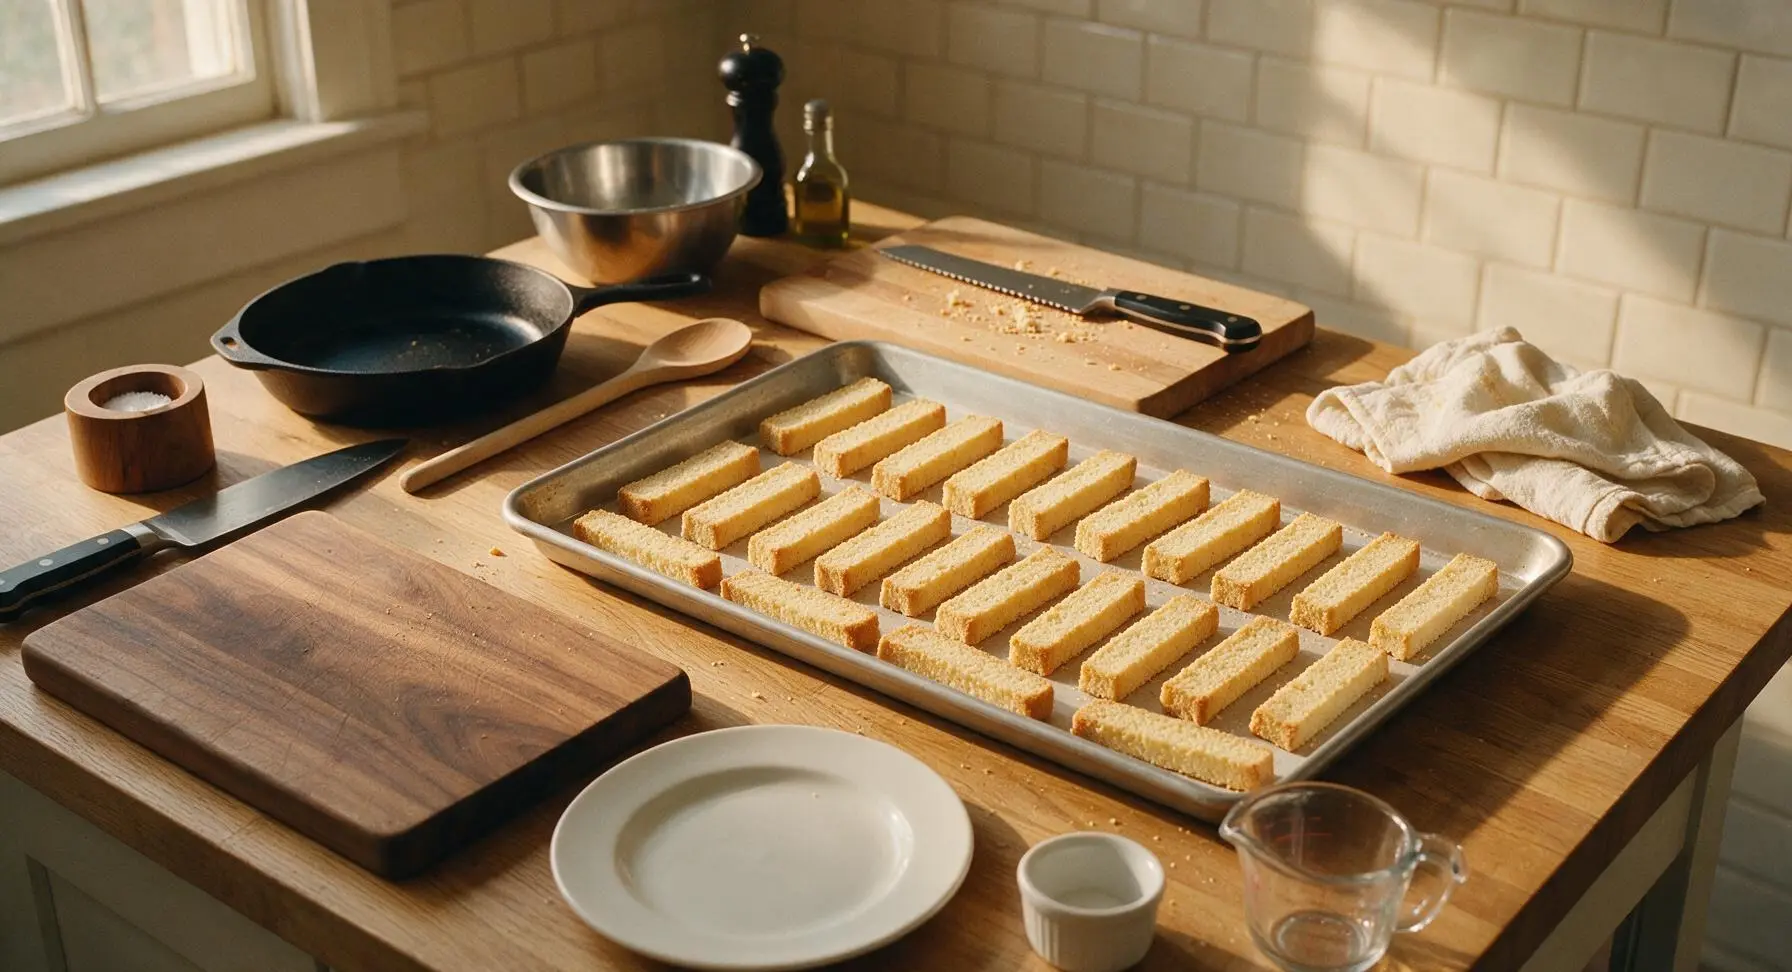
Arrange the cut rusk fingers in a single layer, cut-side up, across the large matte aluminum rimmed baking sheet, leaving small gaps between each piece for air flow. Reduce the oven temperature to 100°C (210°F). Place the baking sheet on the center rack, and prop the oven door open 2-3cm with the handle of the long beech wood spoon to allow moisture to escape. Dry the rusks for 2 hours 30 minutes, rotating the sheet halfway through, until the rusks are completely hard, dry, and crunchy all the way through, with no soft, moist center when broken open. Let them cool completely on the sheet before storing in an airtight container.
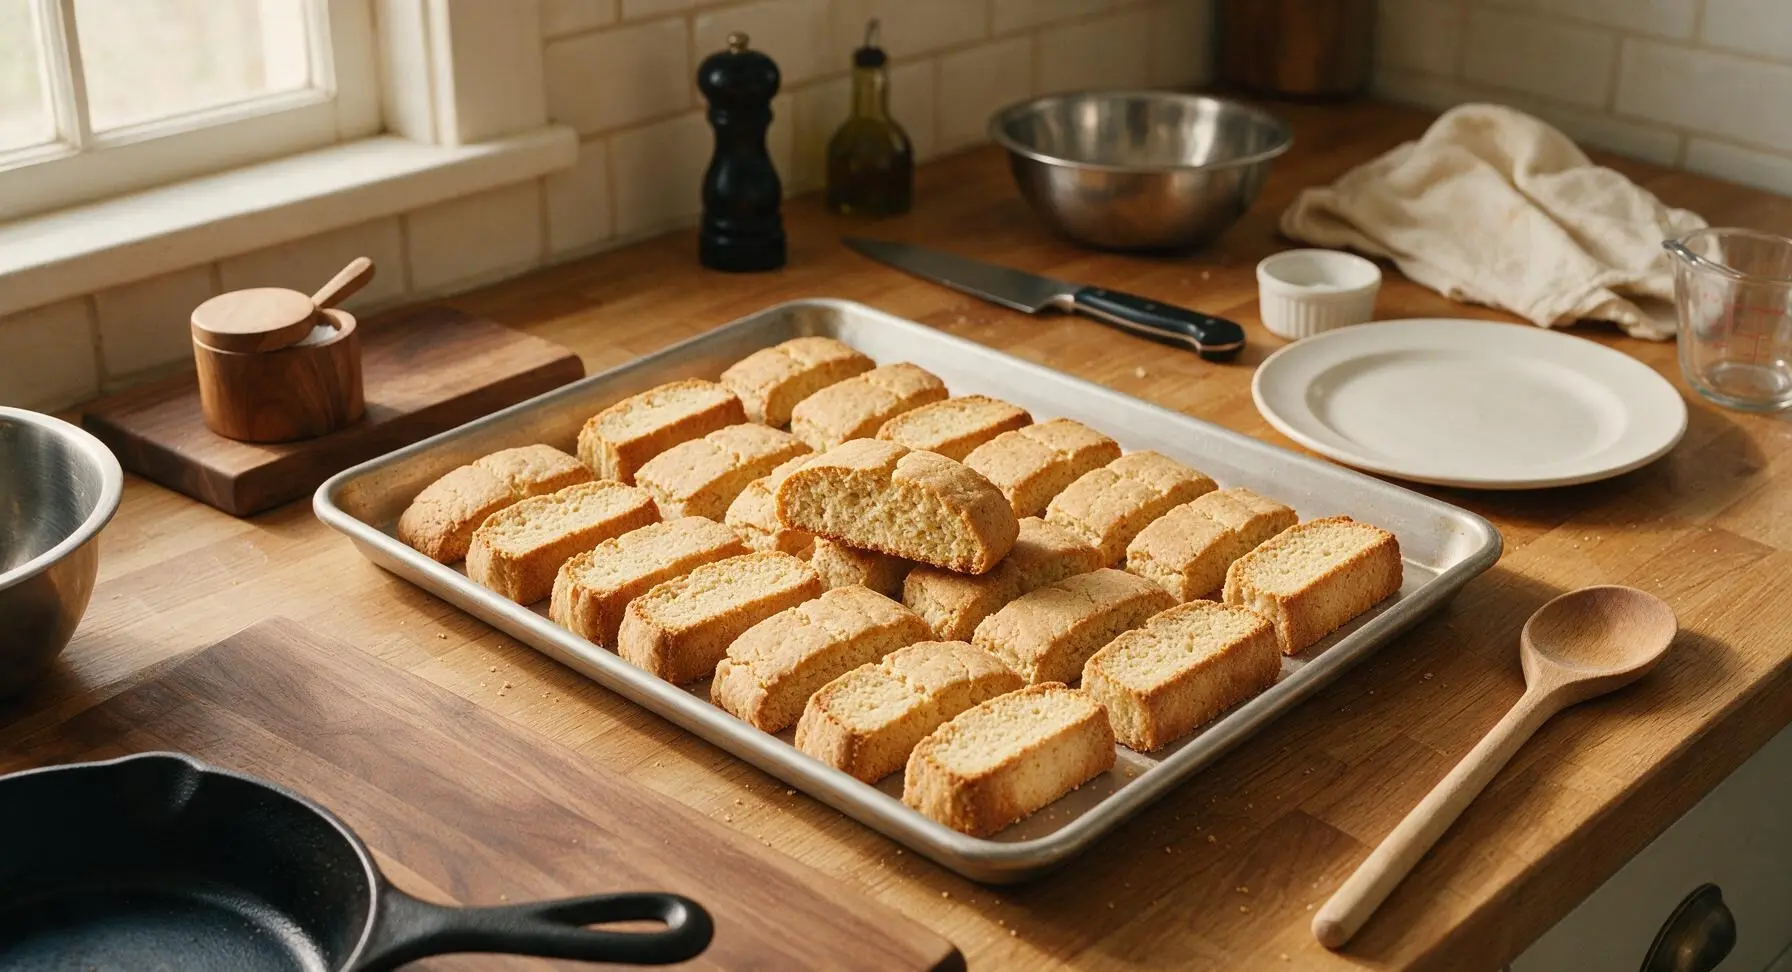
Step 8
step8:Dry Rusks Low and Slow
Step 8
step8:Dry Rusks Low and Slow

Tips

1.Wait the full 1 hour for the baked loaf to cool completely before cutting: a warm loaf will squish under the serrated knife and crumble into uneven pieces, rather than slicing into clean, uniform rusk fingers.
2.Prop the oven door 2-3cm open with the wooden spoon handle during the low-temperature drying step: this allows trapped moisture to escape, so rusks dry to a crisp, crunchy texture rather than steaming and staying soft in the center (which causes quick mold growth in storage).
3.Test rusk doneness by breaking one fully in half after the 2.5 hour drying time: if any soft, chewy crumb remains in the center, bake for 15 more minutes. Fully dried rusks will keep in an airtight container at room temperature for up to 3 weeks, no refrigeration required.


✨ You May Also Like

Desserts & Baking
🍜 Italy

Creamy, coffee-kissed classic Northern Italian no-bake dessert, with layers of rum-spiked mascarpone cream, soft ladyfingers, and a rich cocoa dusting.

⏱️ 4 hours 3Desserts & Baking ★ 4.7
Desserts & Baking
🍜 France

Flaky, shatteringly crisp, buttery French croissants with golden exteriors and soft, airy layered interiors, perfect for pairing with coffee for a special morning treat.

⏱️ 12 hours Desserts & Baking ★ 4.5
Desserts & Baking
🍜 United States

Warm, spiced baked apples topped with a fluffy golden biscuit crust, this cozy dessert pairs perfectly with vanilla ice cream for cool-weather comfort.

⏱️ 55 minuteDesserts & Baking ★ 4.6
Desserts & Baking
🍜 United States

A star-spangled classic American blueberry pie with buttery flaky crust and bright sweet-tart filling, perfect for summer patriotic gatherings.

⏱️ 1 hour 25Desserts & Baking ★ 4.7
Desserts & Baking
🍜 United States

A beloved no-bake regional Maine candy with a chewy coconut-potato center coated in rich dark chocolate, a New England holiday staple since the 1870s.

⏱️ 2 hours 3Desserts & Baking ★ 4.8
Desserts & Baking
🍜 France

Luxuriously creamy, floral frozen custard made with aromatic Tahitian vanilla beans, boasting a smooth, rich texture that melts slowly on the tongue.

⏱️ 3 hours 3Desserts & Baking ★ 4.5

South African Rusks:Frequently Asked Questions

1.What makes South African rusks different from Italian biscotti? ▾
Great question! Unlike crisp, almond-forward, twice-sliced biscotti, beskuit is buttery, slightly denser, and less overtly sweet. It’s formulated specifically to hold up to long dunks in hot coffee or rooibos tea without disintegrating, with a tender, melt-in-your-mouth crumb once soaked, rather than biscotti’s snappy, dry bite.
2.Can I use low-fat buttermilk instead of full-fat for this recipe? ▾
I strongly recommend sticking to full-fat buttermilk for the richest, most tender crumb and signature buttery flavor. Low-fat buttermilk will produce drier, less flavorful rusks that turn crumbly too fast when dunked. If you only have low-fat on hand, stir in 2 tablespoons of melted cooled butter per cup of low-fat buttermilk to mimic the proper fat content.
3.Why does the recipe call for cold unsalted butter instead of room temperature? ▾
Cold butter creates small, flaky pockets in the rusk dough as it bakes, leading to a lighter, less dense final texture rather than a tough, compact crumb. Using unsalted butter also lets you control the exact salt level in the recipe, so you don’t end up with overly salty rusks that clash with the subtle sweetness of coffee or tea.
4.How long do these rusks stay fresh after baking? ▾
When stored in an airtight container at cool room temperature, away from direct sunlight or stove heat, these rusks will stay perfectly crisp and fresh for up to 3 weeks. Their low moisture content from the second slow bake makes them incredibly shelf-stable, which is why they’re a longstanding popular travel and pantry staple in South African households.
5.Do I really need to do the second low-temperature bake for the rusks? ▾
Yes, that second slow, low-heat bake is non-negotiable for authentic beskuit. It draws out every last bit of moisture from the center of each rusk without burning the exterior, creating that signature dry, crunchy texture that won’t mold quickly and holds up perfectly to long dunks in hot drinks. Skipping it leaves soft, scone-like pieces that spoil fast.
6.Can I substitute all-purpose flour with whole wheat flour for a nuttier flavor? ▾
You can swap up to 1/3 of the all-purpose flour for whole wheat flour without ruining the texture, but I wouldn’t go higher than that. 100% whole wheat rusks will be overly dense, dry, and gritty, with a heavy wheat flavor that overpowers the classic buttery, sweet profile. A 1/3 swap adds a nice nutty note while keeping the crumb tender.
7.What size should I cut the rusks before the second bake? ▾
Aim for 1-inch thick, 3-inch long rectangular fingers, roughly the size of two fingers held together. This size is perfect for gripping while dunking, fits easily into standard mugs, and dries out evenly during the second bake without leaving a soft, moist center or getting so thin they snap easily when you pick them up.
8.My rusks came out soft in the middle even after the second bake—what went wrong? ▾
That almost always means your second bake temperature was too high, or you cut the rusks too thick, so the exterior dried out before moisture could escape the center. Next time, bake them at 200°F (93°C) for 2.5 to 3 hours, flipping halfway through, and test a rusk by breaking it open; bake 20 minutes longer if any soft crumb remains.
9.Can I add mix-ins like raisins, nuts, or chocolate chips to the dough? ▾
Absolutely! Traditional beskuit often features add-ins, so feel free to stir in up to 1 cup of total mix-ins after combining the wet and dry ingredients. Raisins, chopped almonds, aniseed, or dried apricot are classic choices; just note that chocolate chips may melt slightly during the second low bake, creating a marbled, sweeter rusk.
10.What if I don’t have buttermilk on hand? Can I make a substitute? ▾
You can make a quick buttermilk dupe by stirring 1 tablespoon of white vinegar or fresh lemon juice into 1 cup of full-fat whole milk, then letting it sit 5 minutes until it curdles slightly. For the closest match to real full-fat buttermilk, avoid using skim or 1% milk for this substitute, as it will be too thin and lead to dry rusks.
11.Do the large eggs in the recipe need to be at room temperature before mixing? ▾
Yes, room temperature large eggs mix more evenly into the cold butter and buttermilk, creating a smooth, uniform dough without lumps of egg that can cause uneven baking. If you forget to pull your eggs out ahead of time, submerge them in a bowl of warm tap water for 5 minutes to bring them up to temp quickly, no waiting required.
12.Are these rusks meant to be eaten plain, or only dunked in drinks? ▾
They’re totally enjoyable plain as a quick, crunchy snack, but they’re intentionally formulated for dunking! The dry, crisp crumb softens perfectly when soaked for 3 to 5 seconds in hot coffee, rooibos tea, or even hot cocoa, releasing that rich buttery, slightly sweet flavor without turning into a mushy mess at the bottom of your mug.
13.Can I freeze these rusks for longer storage? ▾
Yes, they freeze beautifully! Place fully cooled, dried rusks in a freezer-safe zip-top bag, press out all excess air, and freeze for up to 6 months. You don’t even need to thaw them to enjoy—just pull a rusk straight from the freezer and dunk it in your hot drink, where it will thaw in seconds as it soaks.
14.Why did my rusks spread and lose their shape during the first bake? ▾
That usually happens if your butter was too warm when you mixed the dough, or if you didn’t chill the shaped dough for 15 minutes before the first bake. Warm butter melts too fast in the oven, causing the dough to spread instead of holding its neat rectangular shape. Next time, keep butter ice cold and give shaped dough a quick chill first.
15.Can I reduce the amount of granulated sugar in the recipe to make them less sweet? ▾
You can cut the granulated sugar by up to 1/3 without negatively impacting texture, since the sugar here adds subtle sweetness rather than creating a chewy, cookie-like structure. Cutting more than that will leave you with bland, flat-tasting rusks that don’t balance the bitter notes of black coffee or strong rooibos tea very well.
16.Do I need a special pan to bake the initial rusk dough? ▾
No special pan is required! A standard 9x13 inch metal baking pan works perfectly for the first bake, as long as you line it with parchment paper to prevent sticking. Avoid using glass pans, which retain too much heat and can cause the bottom of the rusk loaf to burn before the center is fully set during the first bake.
17.How do I know when the initial loaf bake is done before I cut the rusks? ▾
Test the loaf the same way you’d test a quick bread: insert a wooden toothpick into the center, and it should come out with just a few dry crumbs attached, no wet batter. Don’t overbake the initial loaf, though—you don’t want it crispy at this stage, since you’ll slice and toast individual pieces low and slow later.
18.Is it normal for the rusks to feel slightly soft right after the second bake? ▾
Yes! They will firm up dramatically as they cool to room temperature, so don’t be tempted to crank up the oven or bake them longer just because they feel a little soft when you pull them out. Let them cool completely on a wire rack for 1 full hour after the second bake, and they’ll crisp up to that perfect crunchy texture as they lose residual heat.
19.What’s the best way to store rusks to keep them from getting stale or soft? ▾
Store fully cooled rusks in an airtight tin or plastic container with a tight-fitting lid, and tuck a small food-safe silica gel packet in the bottom if you live in a very humid climate. Avoid storing them near the stove, dishwasher, or open windows where moisture can seep in, which will make them lose their signature crunch fast.
20.Can I use salted butter instead of unsalted if that’s what I have in my fridge? ▾
You can, but you’ll need to cut any added salt in the recipe by 1/4 teaspoon per stick of salted butter you use to avoid overly salty rusks. Remember that salted butter has variable salt content between brands, so it’s always less consistent than unsalted, but it will still produce delicious, buttery rusks as long as you adjust added salt to compensate.

Comments (15)

2 days ago

OMG these rusks are SO good! I made them for our weekend camping trip and everyone was fighting over the last few. Perfect to dip in morning coffee around the campfire, they hold up so well no sogginess! Only note is I added a handful of raisins per my grandma’s old preference and it worked great.

1 day ago

So glad these worked for your camping trip, Liz! Raisins are such a classic add-in for beskuit, totally delicious choice. Happy baking!

1 week ago

Took me a minute to get the hang of cutting them evenly before the second bake, but wow, game changer for my morning meal prep. I keep a jar of these on my desk at work for when the 3pm slump hits, way better than granola bars.

5 days ago

Wait, has anyone tried making these with gluten free all purpose flour? My youngest has celiac and I’ve been hunting for a rusk recipe he can eat too, these look perfect!

3 days ago

I made them with Bob’s Red Mill 1:1 GF flour last week! Added an extra tablespoon of butter to keep them from getting too crumbly, turned out amazing, my GF roommate ate half the batch.

2 days ago

Great tip from Ben! We’ve tested this with 1:1 GF flour blends too, just be sure not to overbake them during the drying step or they can get overly hard. Hope your kiddo loves them!

3 days ago

My kids loved it! I was worried the anise seed would be too strong for their picky palates so I cut it in half, and they’ve been begging me to make another batch to take to their after school soccer snacks. Total win.

2 days ago

Thanks for the tip about cutting the anise! My kids hate anything that tastes like licorice, I would have used the full amount and had a whole batch go to waste.

2 weeks ago

Cook time is no joke, block off a whole afternoon if you’re making these! That said, the payoff is totally worth it. These taste exactly like the rusks my South African neighbor used to bring over when I was a kid, total nostalgia hit.

30 minutes ago

Help! My dough came out super crumbly when I was mixing it, I was scared I messed it up so I added an extra 1/4 cup of buttermilk. Did I do that right? They’re in the oven right now for the first bake, fingers crossed.

15 minutes ago

I had the same issue my first time! The dough is supposed to be pretty stiff, but a little extra buttermilk never hurts, mine turned out fine when I did that too.

5 minutes ago

Great call adjusting the buttermilk! Depending on the brand of flour you use, you might need a splash more liquid to get the dough to come together. Let us know how they turn out after the drying step!

1 week ago

Made these for our neighborhood potluck last weekend and people would NOT stop asking where I got the recipe. Multiple people said they preferred them over the regular shortbread cookies someone brought. 10/10 will make again, might even add some chopped macadamia nuts next time.

6 days ago

Macadamia nuts sound incredible in these, Ryan! So glad they were a potluck hit, that’s what we love to hear.

yesterday

Ugh, I burned the first batch I made because I forgot the second bake is super low temp! I cranked it to 350 like regular cookies and they were charred within 10 minutes. Don’t be like me, set a timer!

20 hours ago

Oh no, I did the exact same thing my first go around! The low and slow drying step is non-negotiable, I set three timers the second time and they came out perfect.

18 hours ago

We’ve all been there, Emily! The low drying temperature is key to getting that perfect crisp, dry rusk without burning. Give it another go, we promise it’s worth it!

2 weeks ago

I keep these stored in an airtight glass jar on my counter and they last for weeks! Perfect for quick breakfasts when I’m running out the door for work, just grab two and dip in my travel mug of coffee on the drive. So much cheaper than buying the imported ones at the specialty grocery store too.

2 hours ago

Wait, is this supposed to make a ton? I followed the recipe exactly and ended up with like 4 dozen rusks, I had to give half away to my coworkers because there’s no way my partner and I could eat all of them before they went stale.

1 hour ago

Yep! Traditional beskuit is made in big batches for exactly that reason, it’s meant to be shared. I freeze half of mine when I make a batch, they thaw in like 10 minutes and taste just as fresh.

5 days ago

I used whole wheat flour instead of white and added a tablespoon of chia seeds for extra fiber, and these turned out chef’s kiss. They’re not too sweet, which is perfect for my taste, I hate when breakfast snacks are loaded with sugar.

4 days ago

Love that healthy swap, Nina! Whole wheat flour adds such a nice nutty depth to the rusks, we’re going to have to try that chia seed addition ourselves soon.

3 days ago

Medium difficulty is fair, this isn’t a set it and forget it recipe for sure. But the steps are super straightforward even if it takes a while, I’m a total beginner baker and mine came out pretty great on the first try. Just be patient with the drying step!

5 minutes ago

I didn’t have buttermilk on hand so I used the regular milk + vinegar trick, did anyone else try that? Wondering if that’s why mine were a tiny bit more crumbly than I expected when I bit into them.

2 minutes ago

I use that buttermilk substitute all the time for these! I think the crumbliness is from not letting them cool fully before you store them, I made that mistake once too.

just now

Great catch from Jo! The milk + vinegar substitute works perfectly for this recipe, so that’s not the issue. Make sure your rusks are totally cool and dry before popping them in an airtight container to avoid excess moisture that can make them crumbly.

1 week ago

Brought these to my weekly book club meeting and everyone was obsessed. We ate almost the whole plate while we were discussing the book, dipped in spiced chai. 10/10, will be making these every month from now on.

5 minutes ago

I was skeptical about the 3+ hour cook time but honestly most of that is inactive baking/drying time! I folded laundry, watched an episode of my show, and got other stuff done while these were in the oven, it was way less hands on than I thought it would be.

2 minutes ago

Same! I thought I’d be stuck in the kitchen all afternoon but most of the time you don’t even have to pay attention to them, as long as you have your oven temp right.



