
sticky shrimp
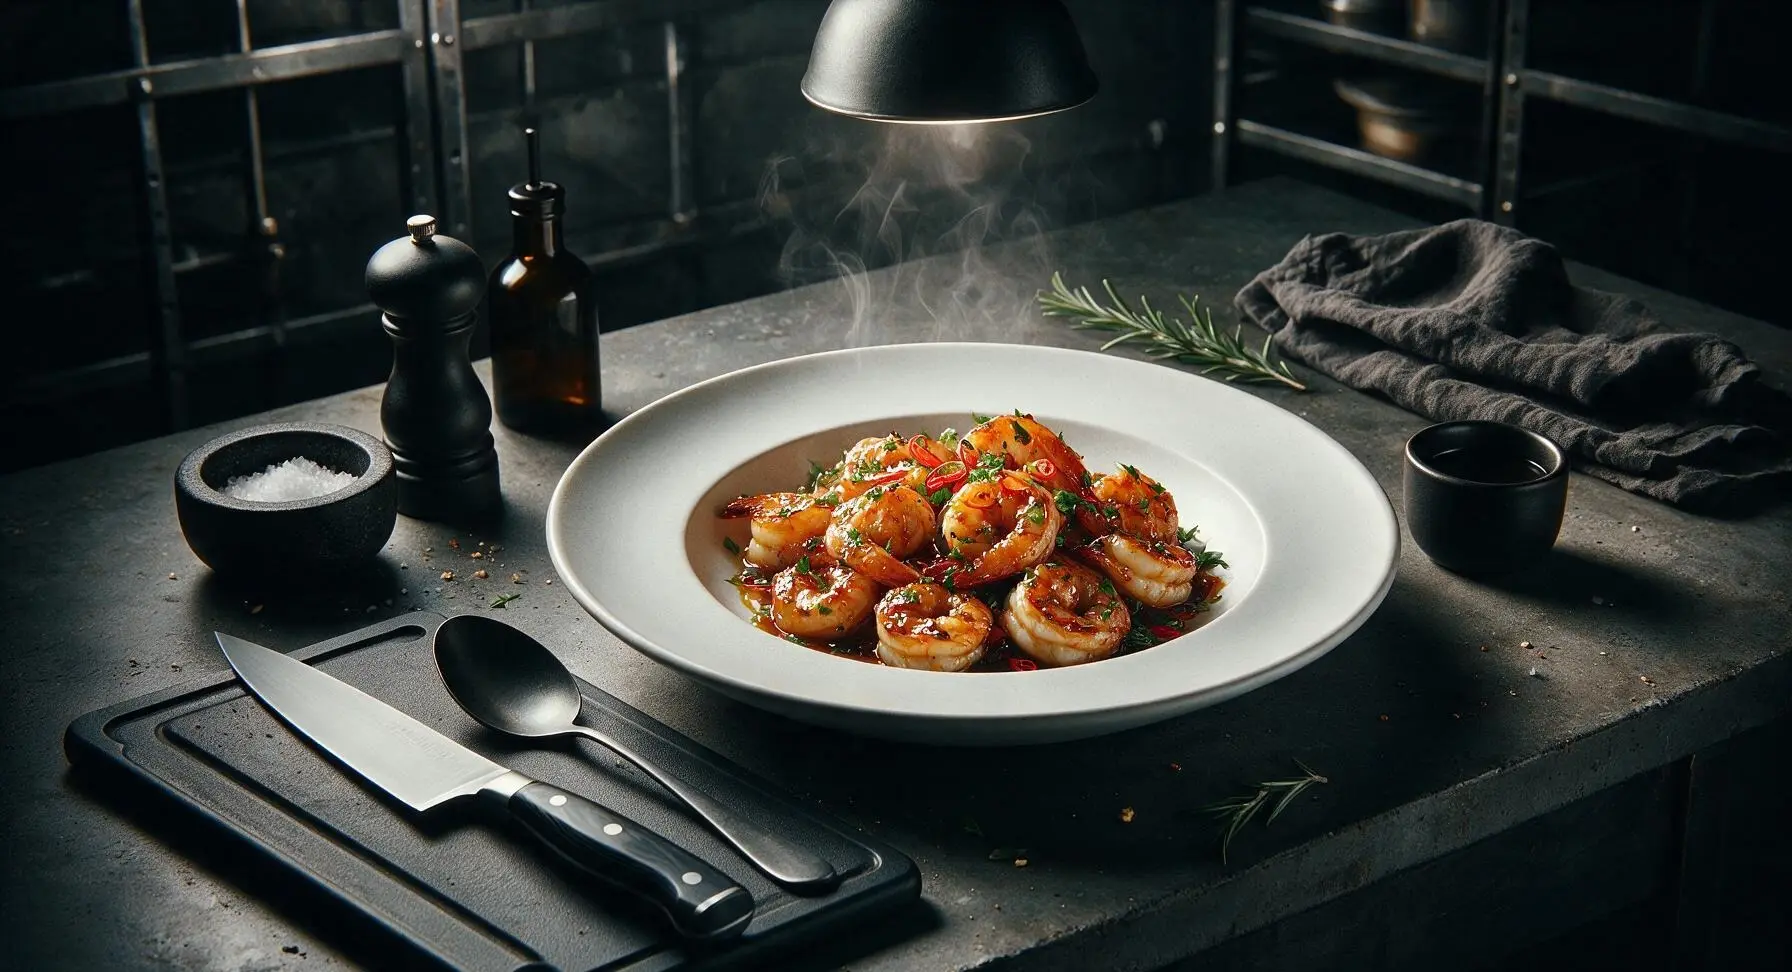
intro
Plump, juicy shrimp coated in a glossy, finger-licking honey-soy garlic glaze, with a subtle warm kick, ready in under 20 minutes for fast, satisfying weeknight meals.
Ingredients
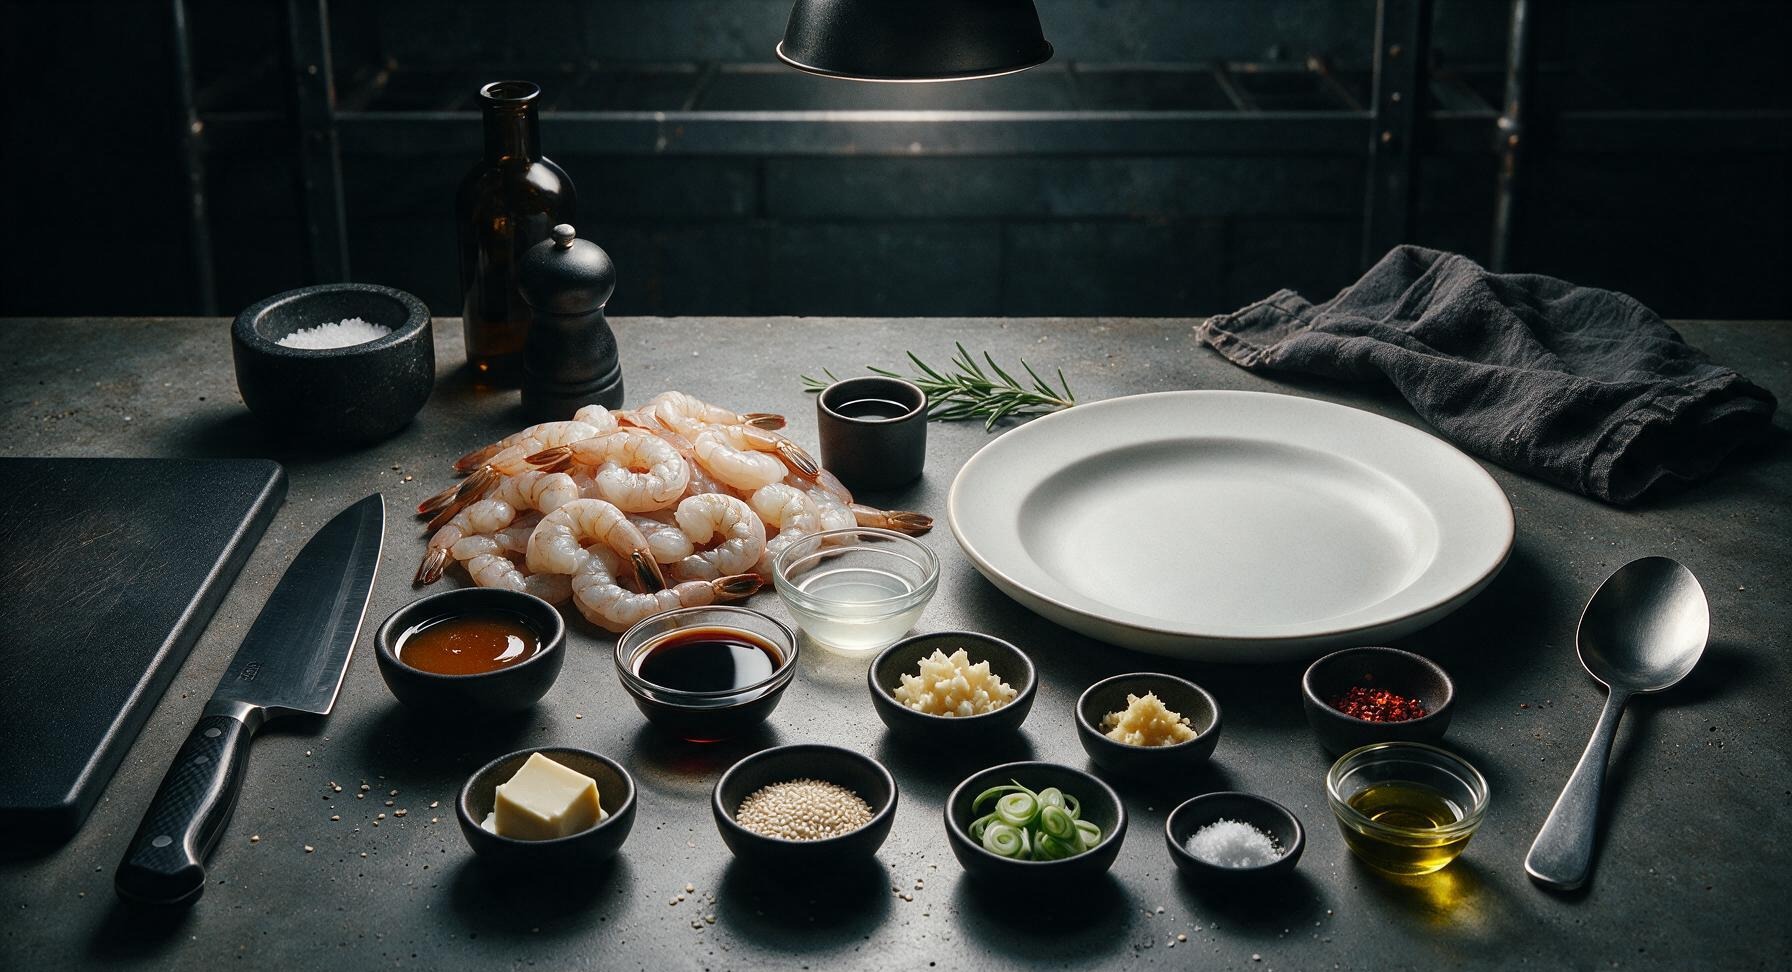
Steps
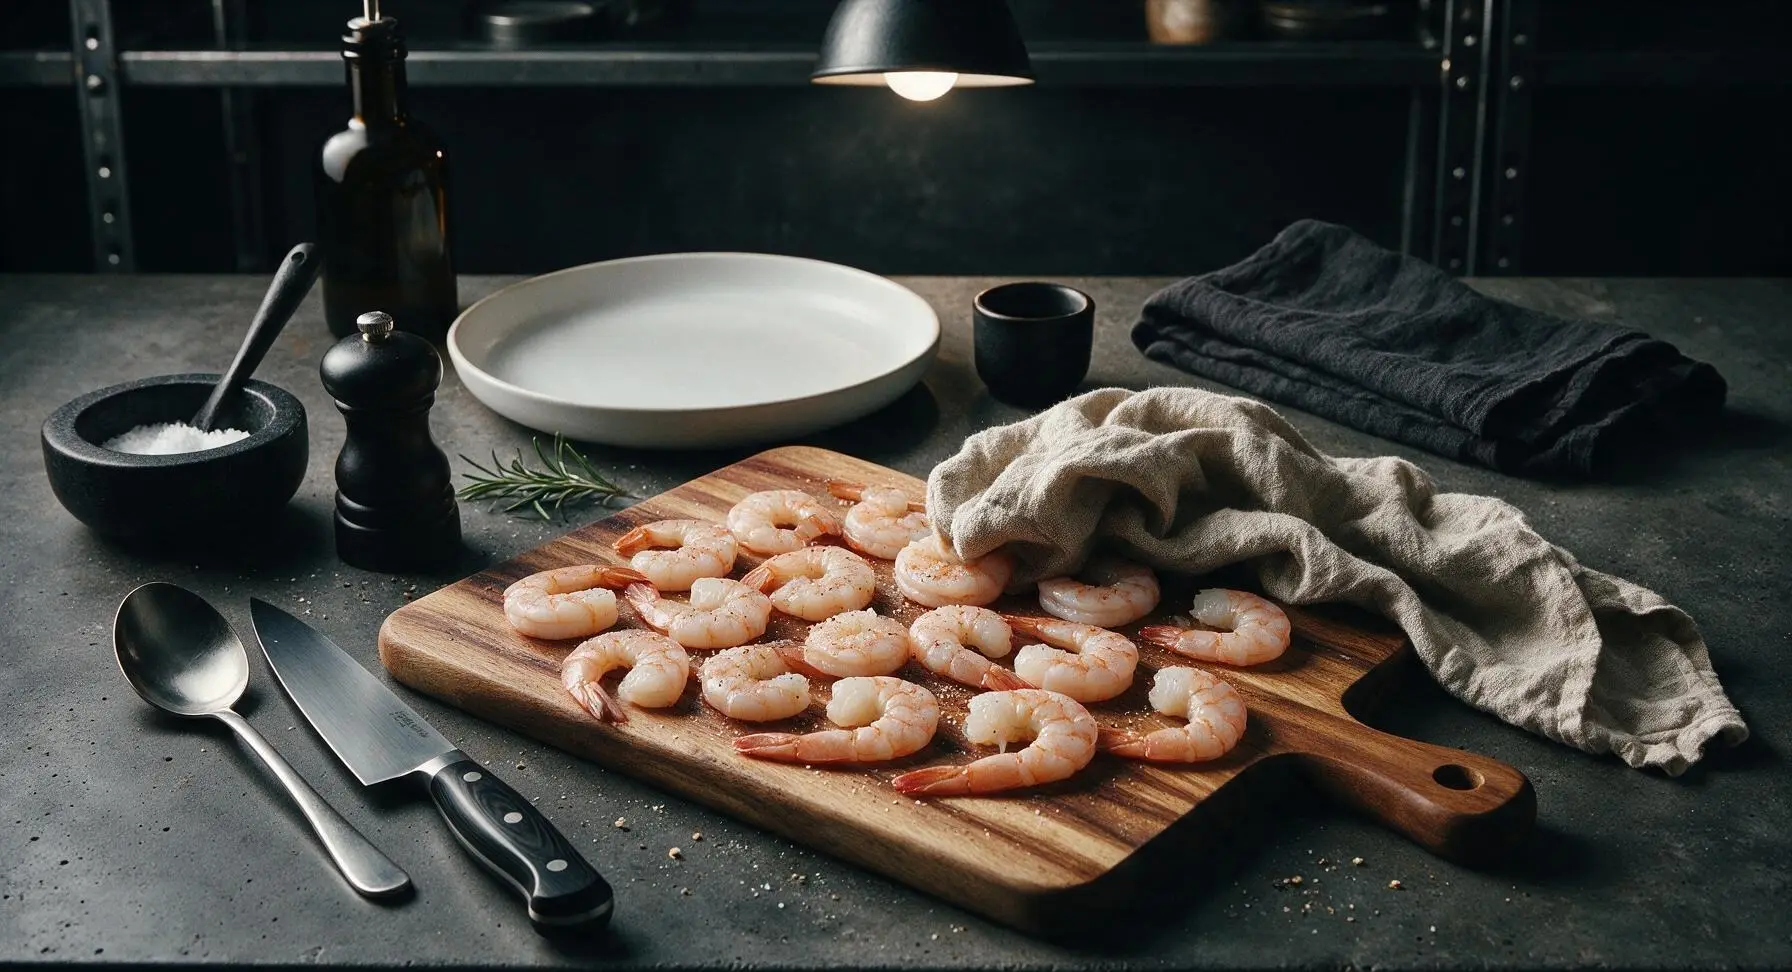
Pat Shrimp Dry
Place the 1lb raw peeled, deveined shrimp on the acacia wood cutting board. Pat every shrimp thoroughly dry on all sides using a corner of the oatmeal linen tea towel, then season evenly with 1/4 tsp kosher salt and 1/8 tsp freshly ground black pepper. Dry shrimp will develop a better sear and allow the glaze to stick instead of sliding off; the surface should feel matte, not damp, to the touch.
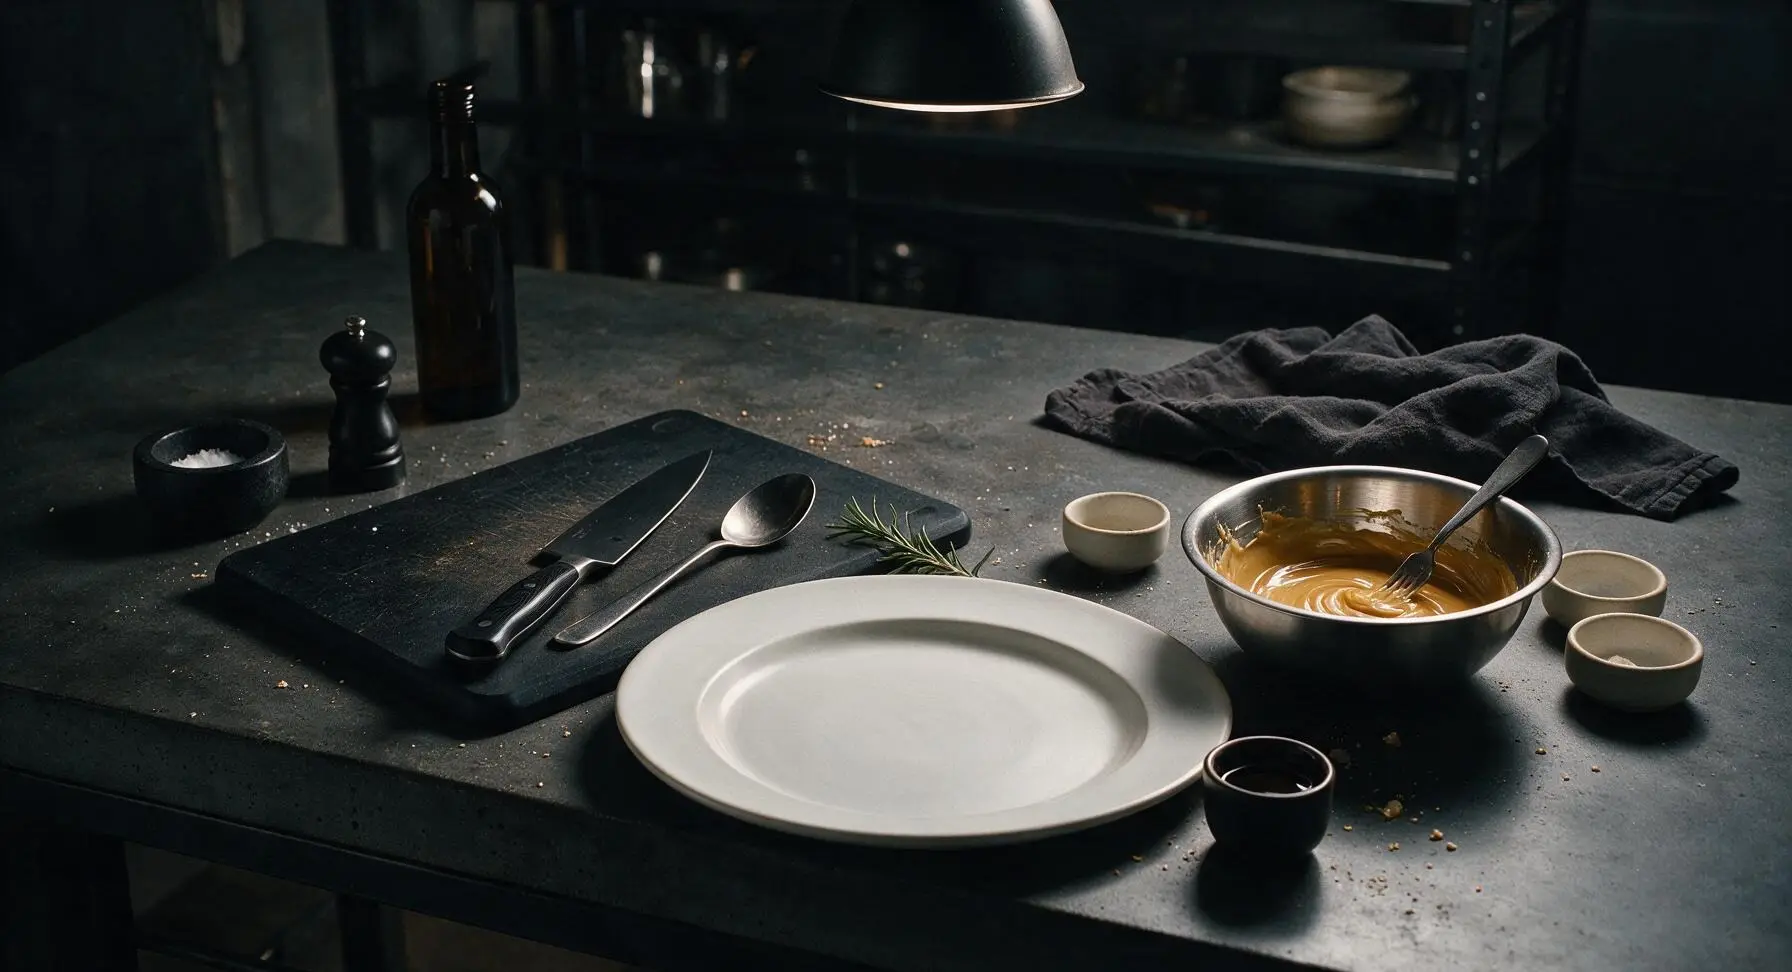
Mix Sticky Glaze
In the brushed stainless steel mixing bowl, combine 3 tbsp honey, 2 tbsp low-sodium soy sauce, 1 tbsp unseasoned rice vinegar, 1 tsp grated fresh ginger, 1/4 tsp red pepper flakes, and 1 tsp toasted sesame seeds. Whisk with a small fork until fully combined, with no separated honey pooling at the bottom of the bowl. Set the bowl within arm’s reach of the stovetop for fast access during cooking.
Heat Wok for Searing
Place the seasoned 10-inch carbon steel wok on the center gas burner, turn heat to medium-high (approximately 375°F/190°C), and add 1 tsp olive oil. Heat the oil for 1 minute until it shimmers and just begins to send up a thin wisp of smoke; do not let it burn. The wok is hot enough when a drop of water flicked onto the surface evaporates in 1-2 seconds.
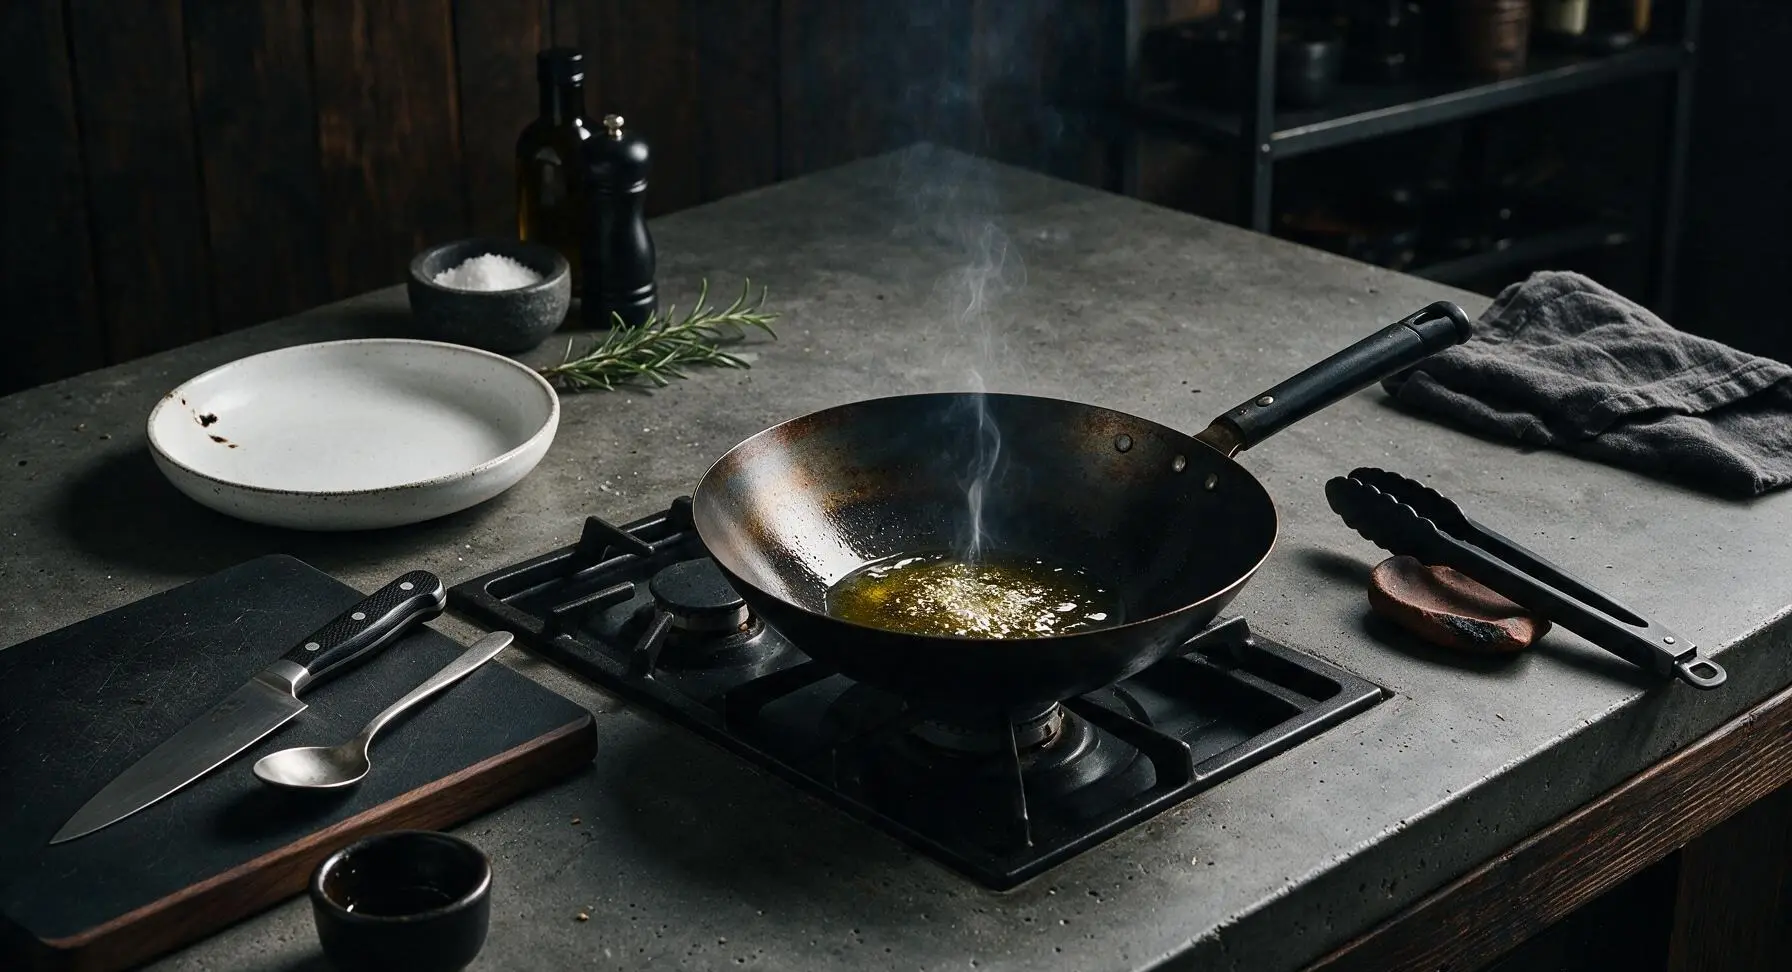
Sear Shrimp Evenly
Using the matte black silicone-tipped tongs, carefully place the dried, seasoned shrimp in a single layer in the hot wok, leaving a 1/2-inch gap between each shrimp to avoid steaming. Cook undisturbed for 2 minutes on the first side, until the bottom edge turns opaque pink and develops a light golden sear. Do not stir or move the shrimp during this time, as constant movement will prevent a crisp seared surface from forming.
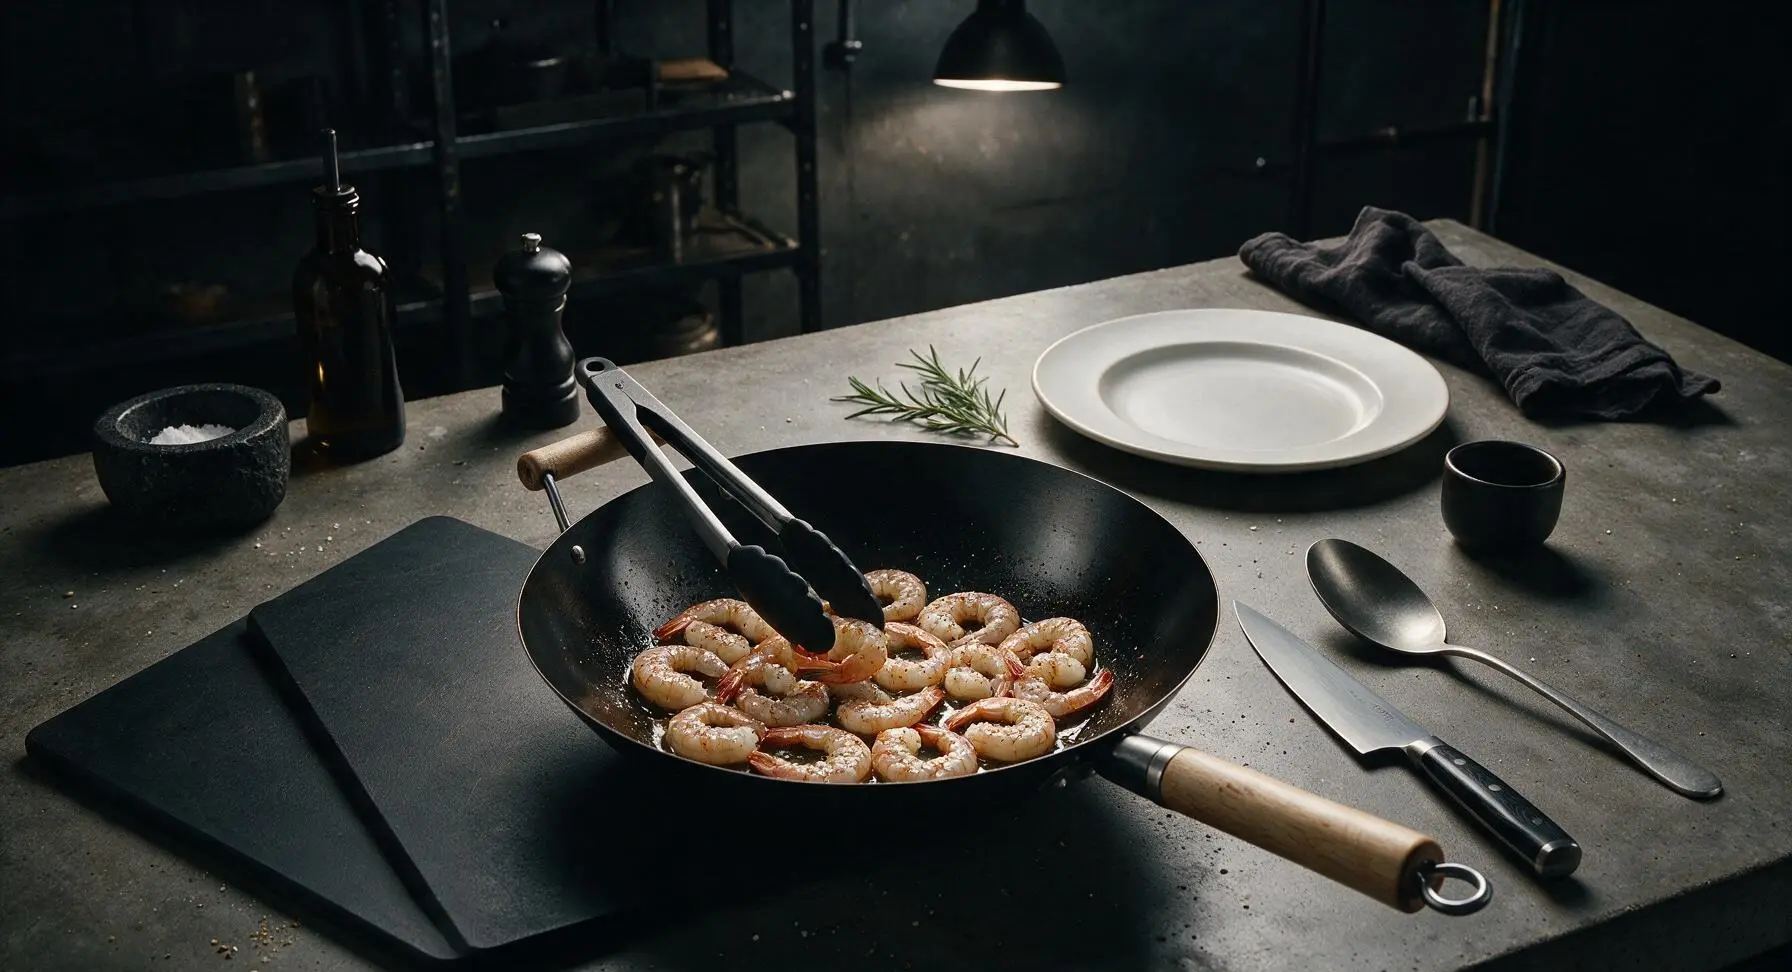
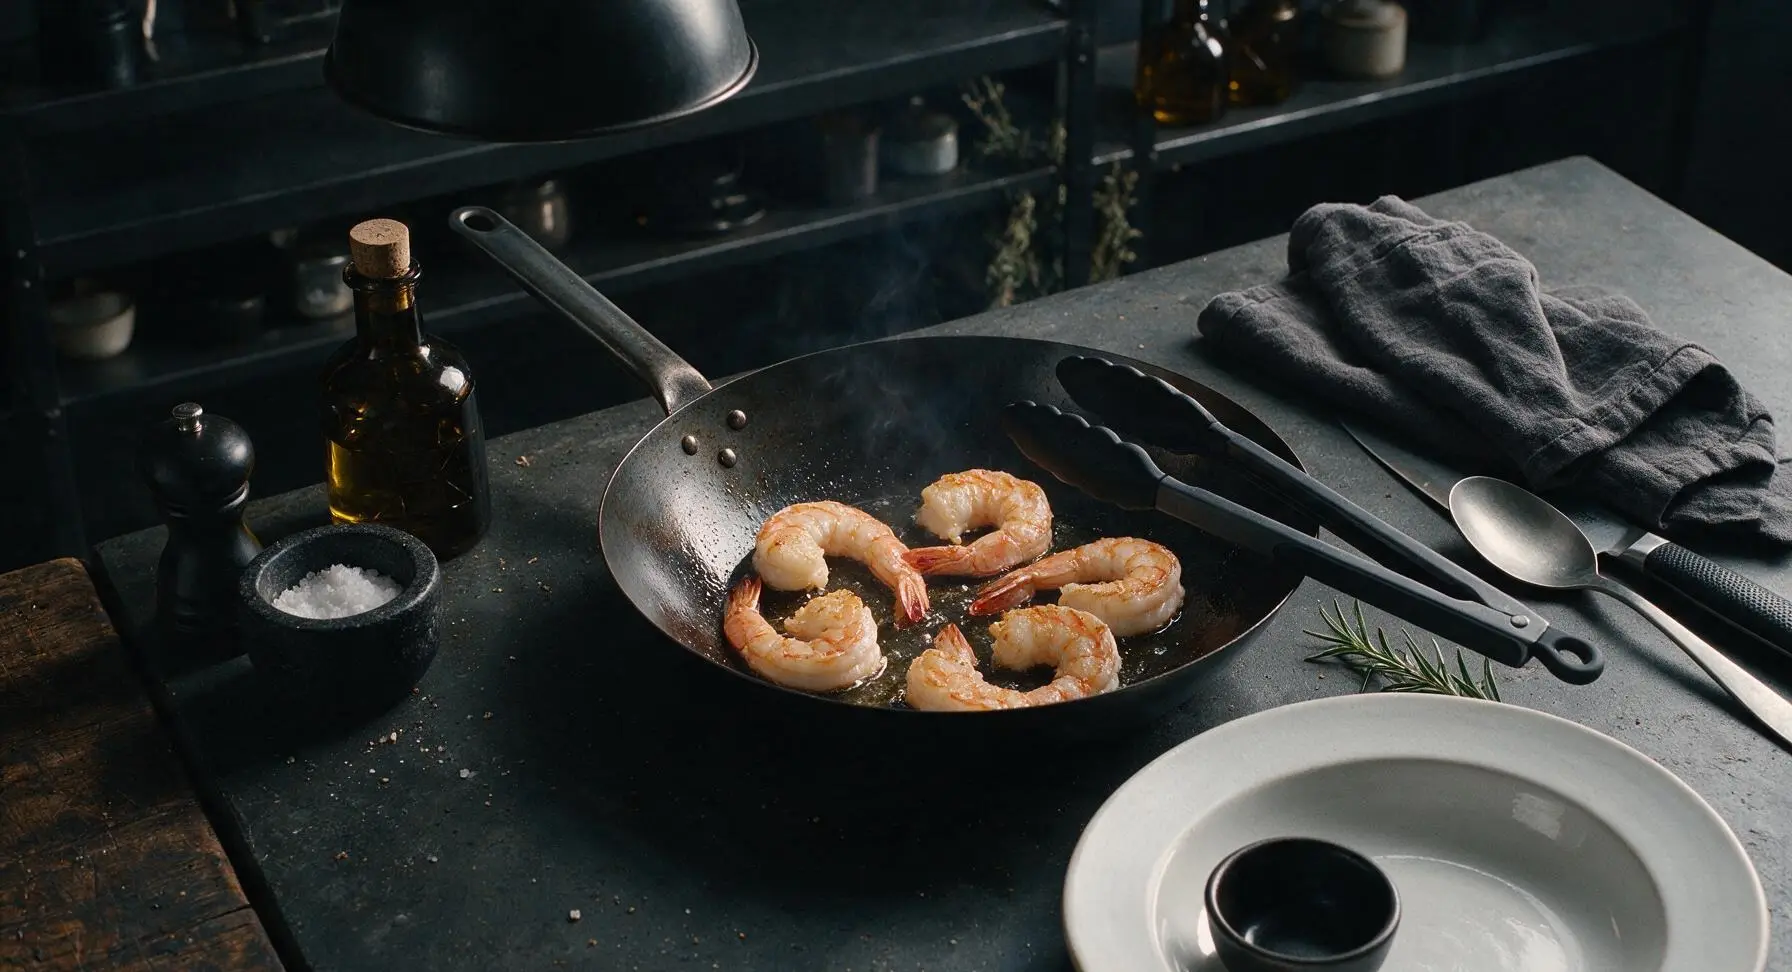
Flip and Add Aromatics
Use the tongs to flip each shrimp to its second side. Push the shrimp slightly to the edges of the wok to create an empty space in the center, then add the minced garlic to the hot center. Stir the garlic for 15 seconds until it becomes fragrant and pale golden, taking extreme care not to let it turn dark brown, as burnt garlic will give the glaze a sharp, bitter flavor. The shrimp will be roughly 70% cooked at this stage, with translucent flesh still visible at the thickest part.
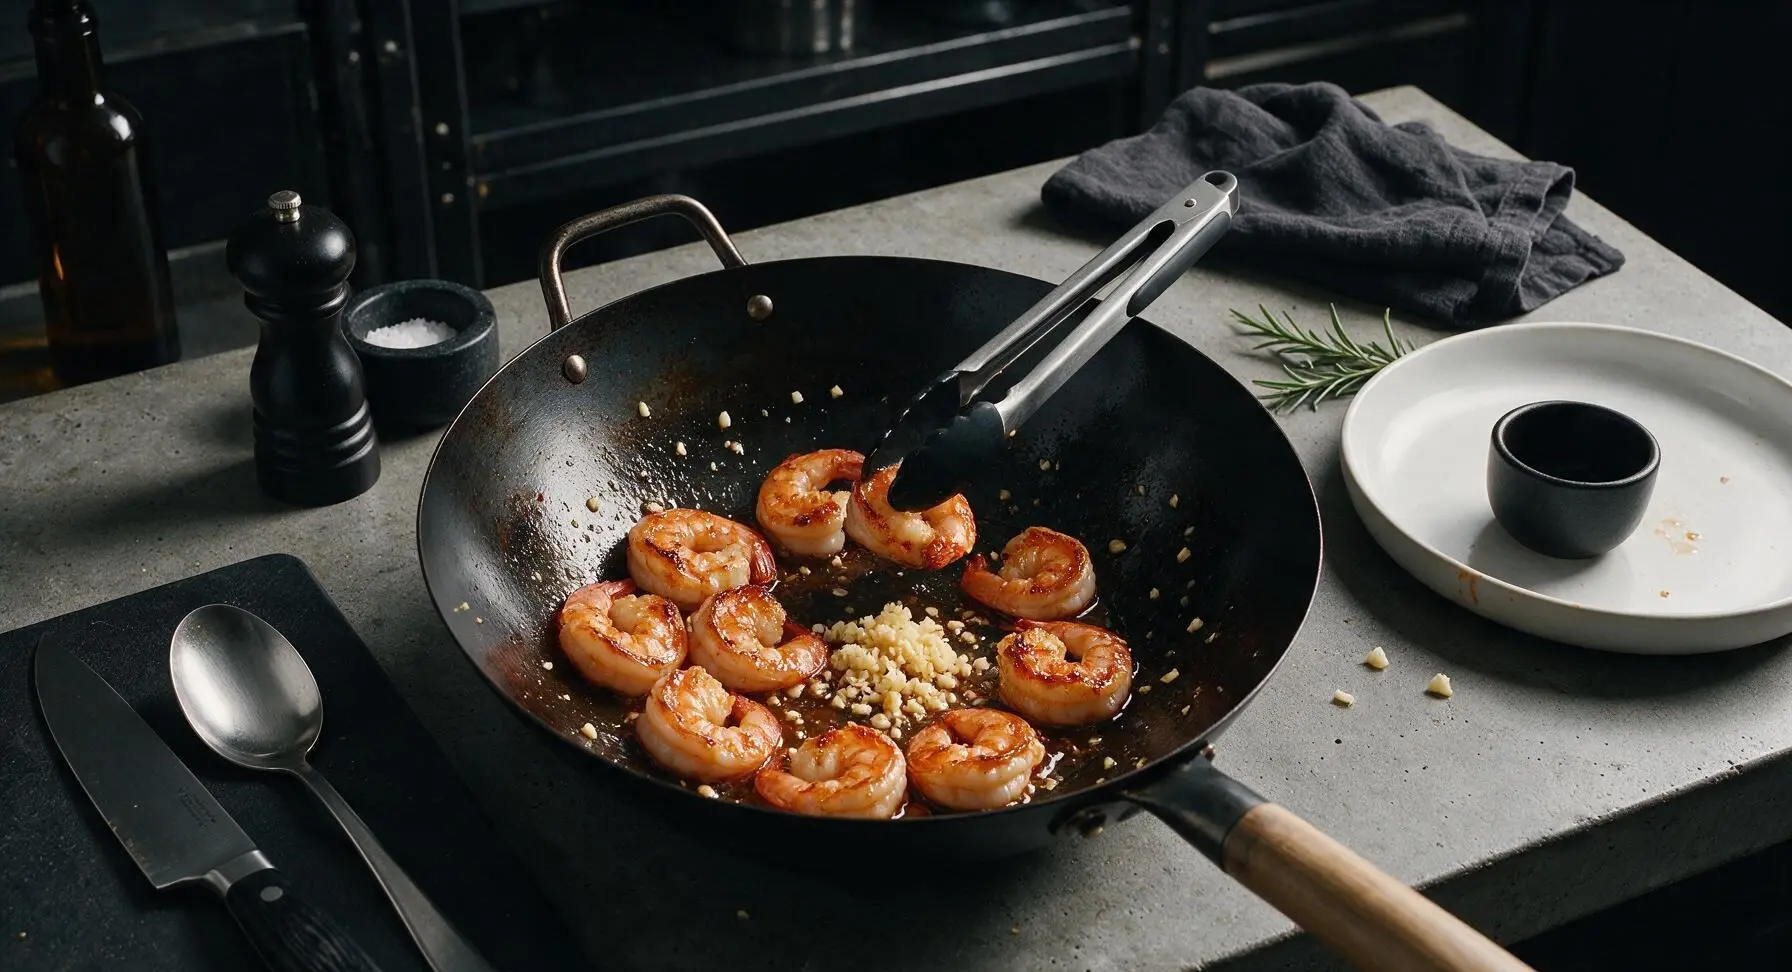
Coat Shrimp in Glaze
Pour the pre-mixed honey-soy glaze from the stainless steel mixing bowl into the wok, stirring constantly with the tongs to toss every shrimp in the liquid. Add the 1 tbsp unsalted butter to the wok, stirring continuously until it melts and emulsifies with the glaze to create a thick, silky coating. Cook for 2 full minutes, tossing frequently, until the glaze reduces by half and clings tightly to every shrimp; the glaze is ready when it coats the back of a tong and leaves a sticky, slow-dripping trail when lifted.
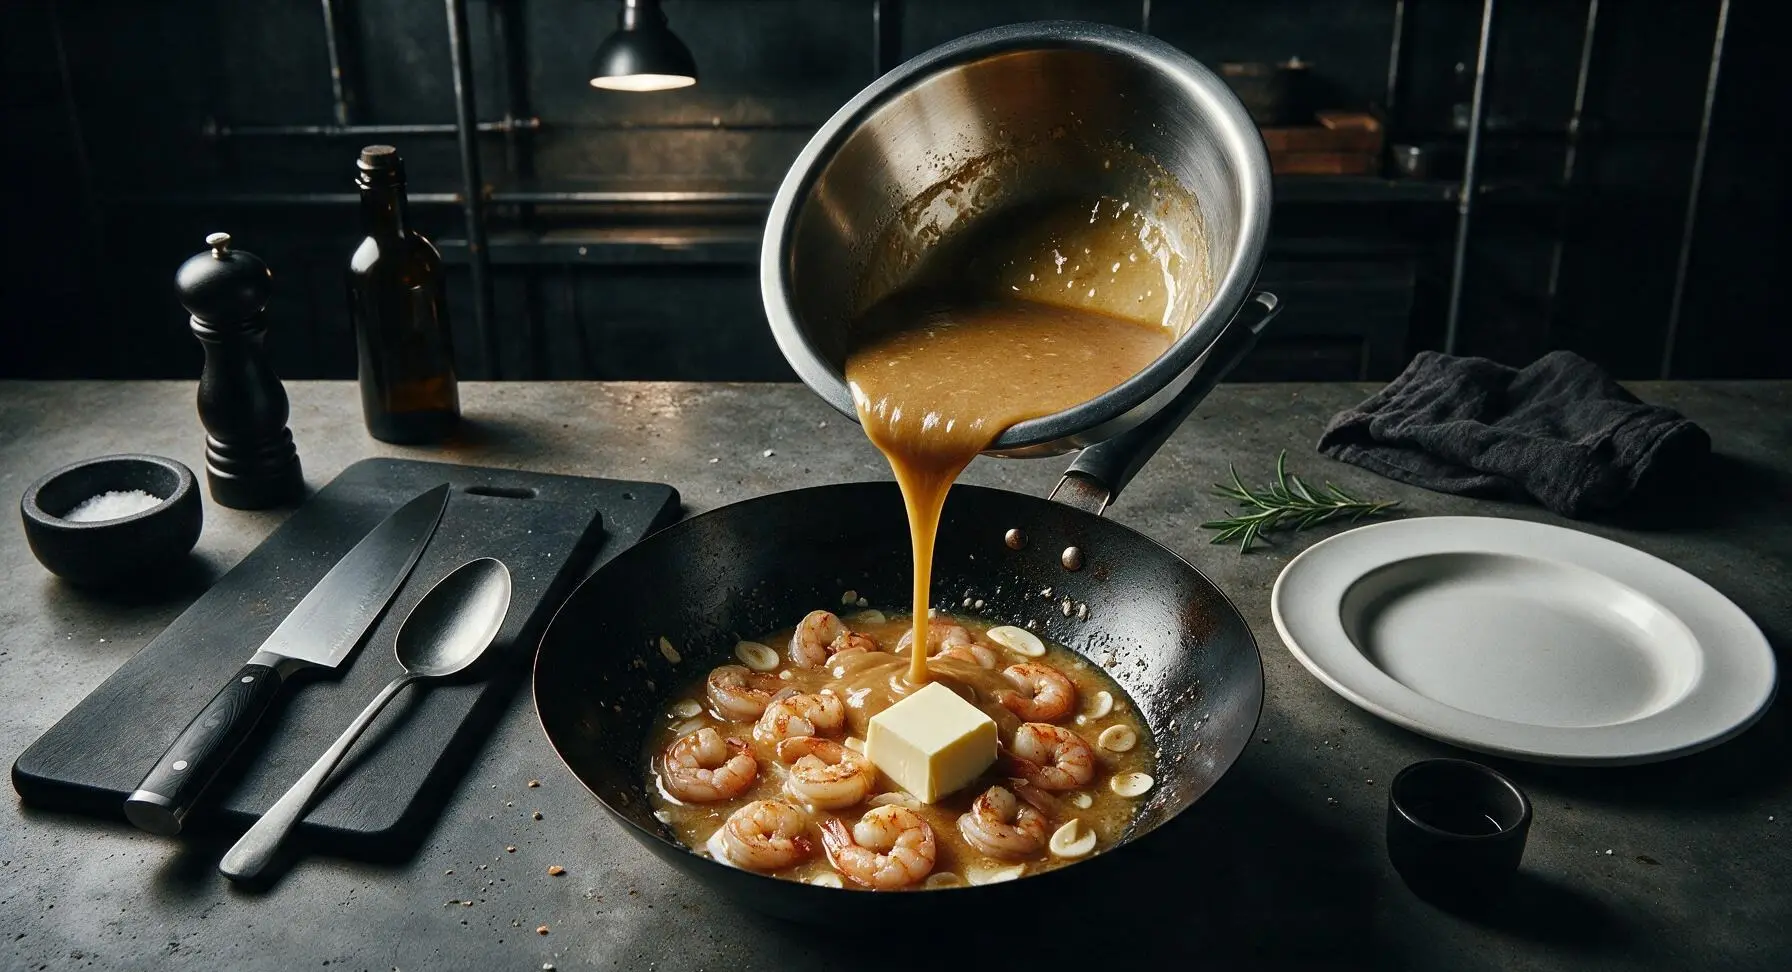
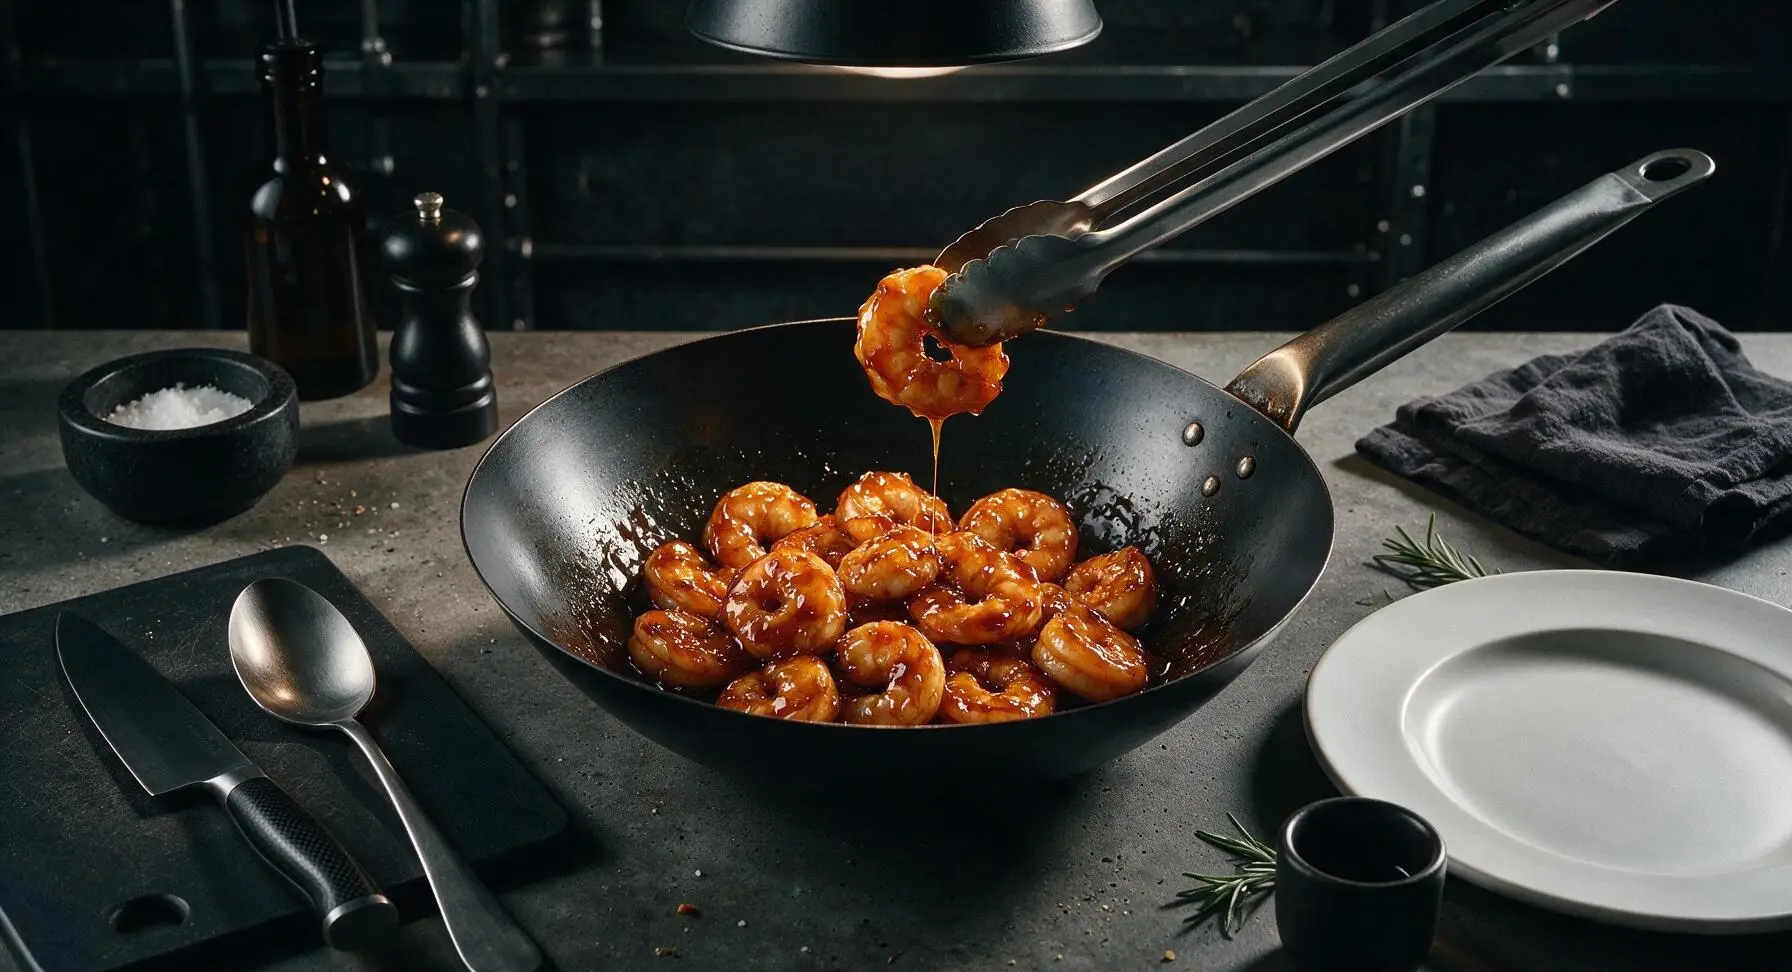
Plate and Garnish
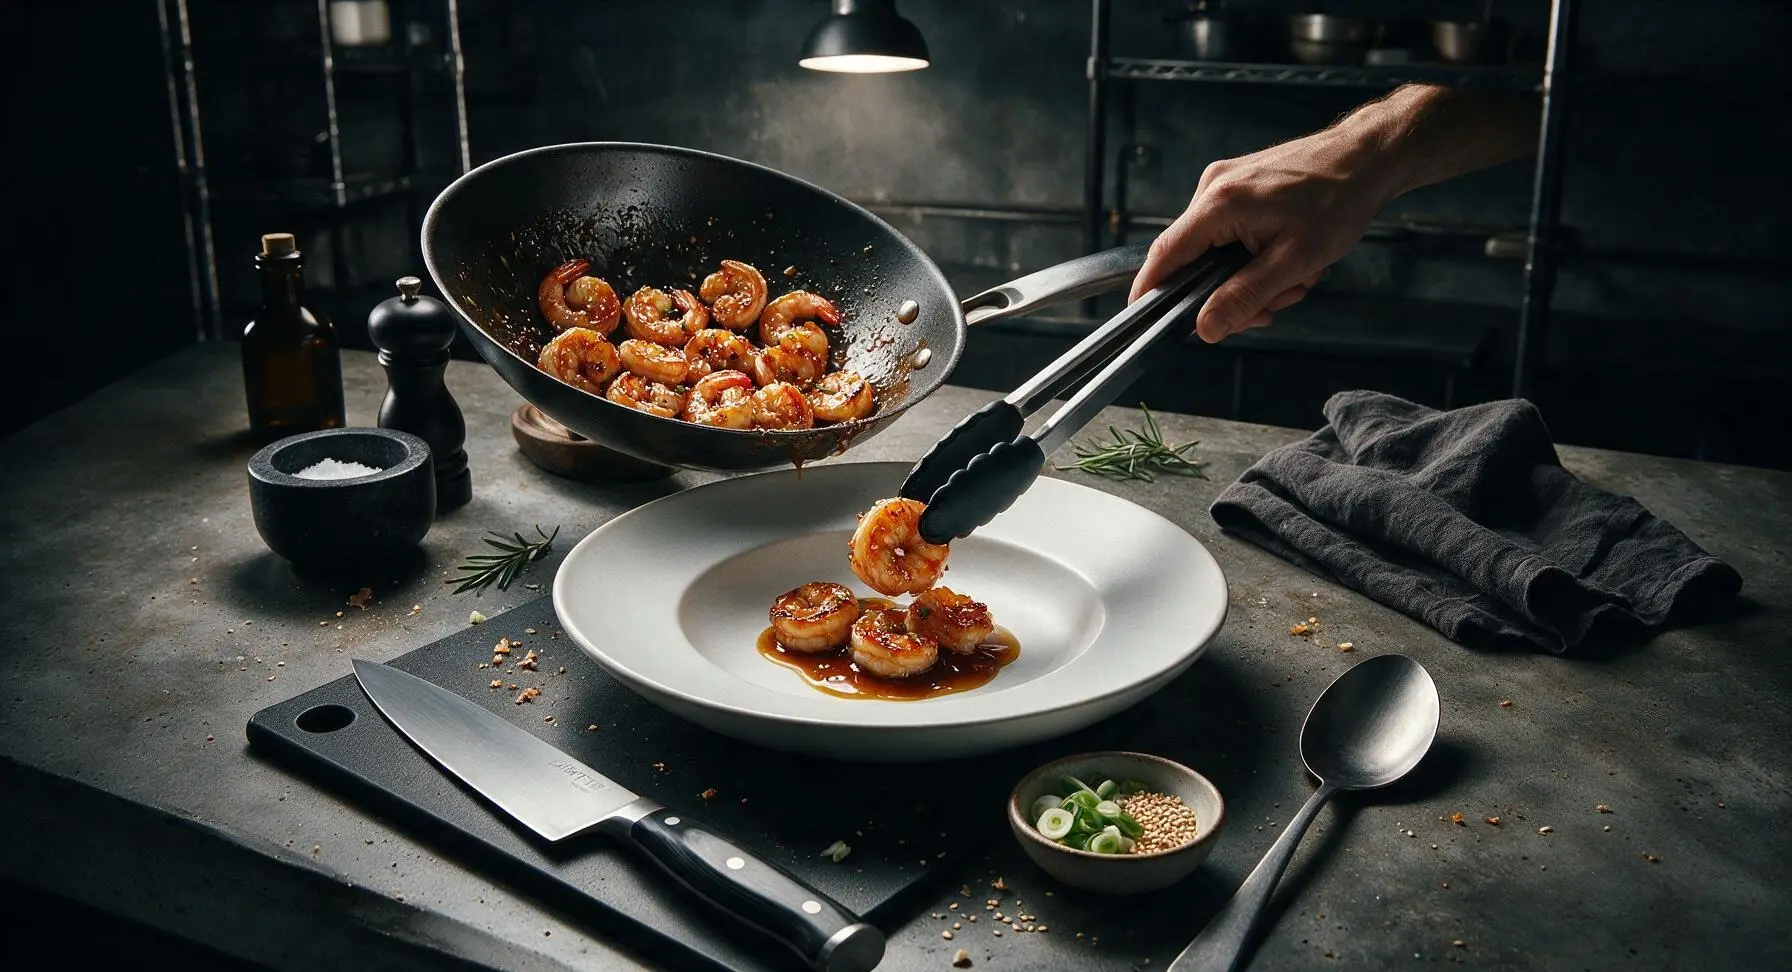
Turn off the heat under the wok. Use the tongs to transfer the sticky shrimp to the center of a cream white matte stoneware dinner plate, piling them gently in a loose mound. Drizzle any remaining thick glaze left in the wok over the top of the shrimp, then sprinkle with extra toasted sesame seeds and the thinly sliced green scallion tops for bright color and fresh, oniony flavor. Serve immediately while the glaze is hot and sticky.
Tips
2.Prep all ingredients and arrange them within arm’s reach of the stove before heating the wok: this dish cooks in just 8 minutes total, and there is no time to grab missing ingredients once cooking starts without risking overcooked shrimp or burnt, bitter garlic.
3.Avoid overcooking shrimp by watching their shape: shrimp are perfectly done when they turn opaque pink and curl into a loose 'C' shape. If they curl into a tight 'O' shape, they are overcooked and will be tough and rubbery; residual heat from the glaze will finish cooking them as you plate.






OMG this was SO good!!! I threw this together for a last minute weeknight family dinner and even my super picky 7 year old ate three servings. The sticky sauce is perfectly balanced, not too sweet, not too garlicky. 10/10 will be making this on repeat from now on!
Super easy recipe, cooked up in literally 8 minutes like it said! Only reason I’m not giving 5 stars is I wish the sauce was a little thicker for my taste – it was a bit runny when I made it. Tasted great over white rice though, my roommate raved about it.
Made these for my neighborhood potluck last weekend and people were hovering over the platter! I served them on little toothpicks as an appetizer and every single one was gone in 10 minutes. Total game changer for easy party food, no one believed it only took me 10 minutes total to make.
Wait, can I use frozen shrimp for this? I only have a bag in my freezer and no way to run to the store tonight, this recipe looks too good to wait!
This is perfect for my weekly meal prep! I paired it with broccoli and jasmine rice, and the shrimp held up great in the fridge for 4 days no problem. High protein, so flavorful, way better than the sad frozen meals I used to bring to work. Game changer!
Made this for my date night last night and my girlfriend thought I ordered takeout from our favorite local Asian fusion spot. The sauce is so restaurant quality, I cannot believe how easy it was. Will definitely be pulling this out for future date nights!
Quick question before I make this tonight! Is there a gluten free swap for the regular soy sauce that will work the same in the sauce? I have celiac and don’t want to mess up the consistency!
Y’all, I added a little drizzle of sriracha to the sauce and it was chef’s kiss! The little heat paired so well with the sweet honey and garlic, I’ll never make it without that kick again. Served it over cheesy grits instead of rice and it was a match made in heaven.
Really tasty recipe! I didn’t feel like pulling out a skillet so I cooked the shrimp in my air fryer first then tossed them in the sauce, worked pretty well. Only thing is I wish the garlic was a little more forward, I’ll add an extra clove next time I make it.
Made this for my kids’ dinner tonight and they kept asking for “more of that sticky candy shrimp” lmao. Didn’t have time to make a side so we ate it straight off the platter with our fingers, 10/10 no notes. Easy, fast, delicious – exactly what a weeknight recipe should be.