
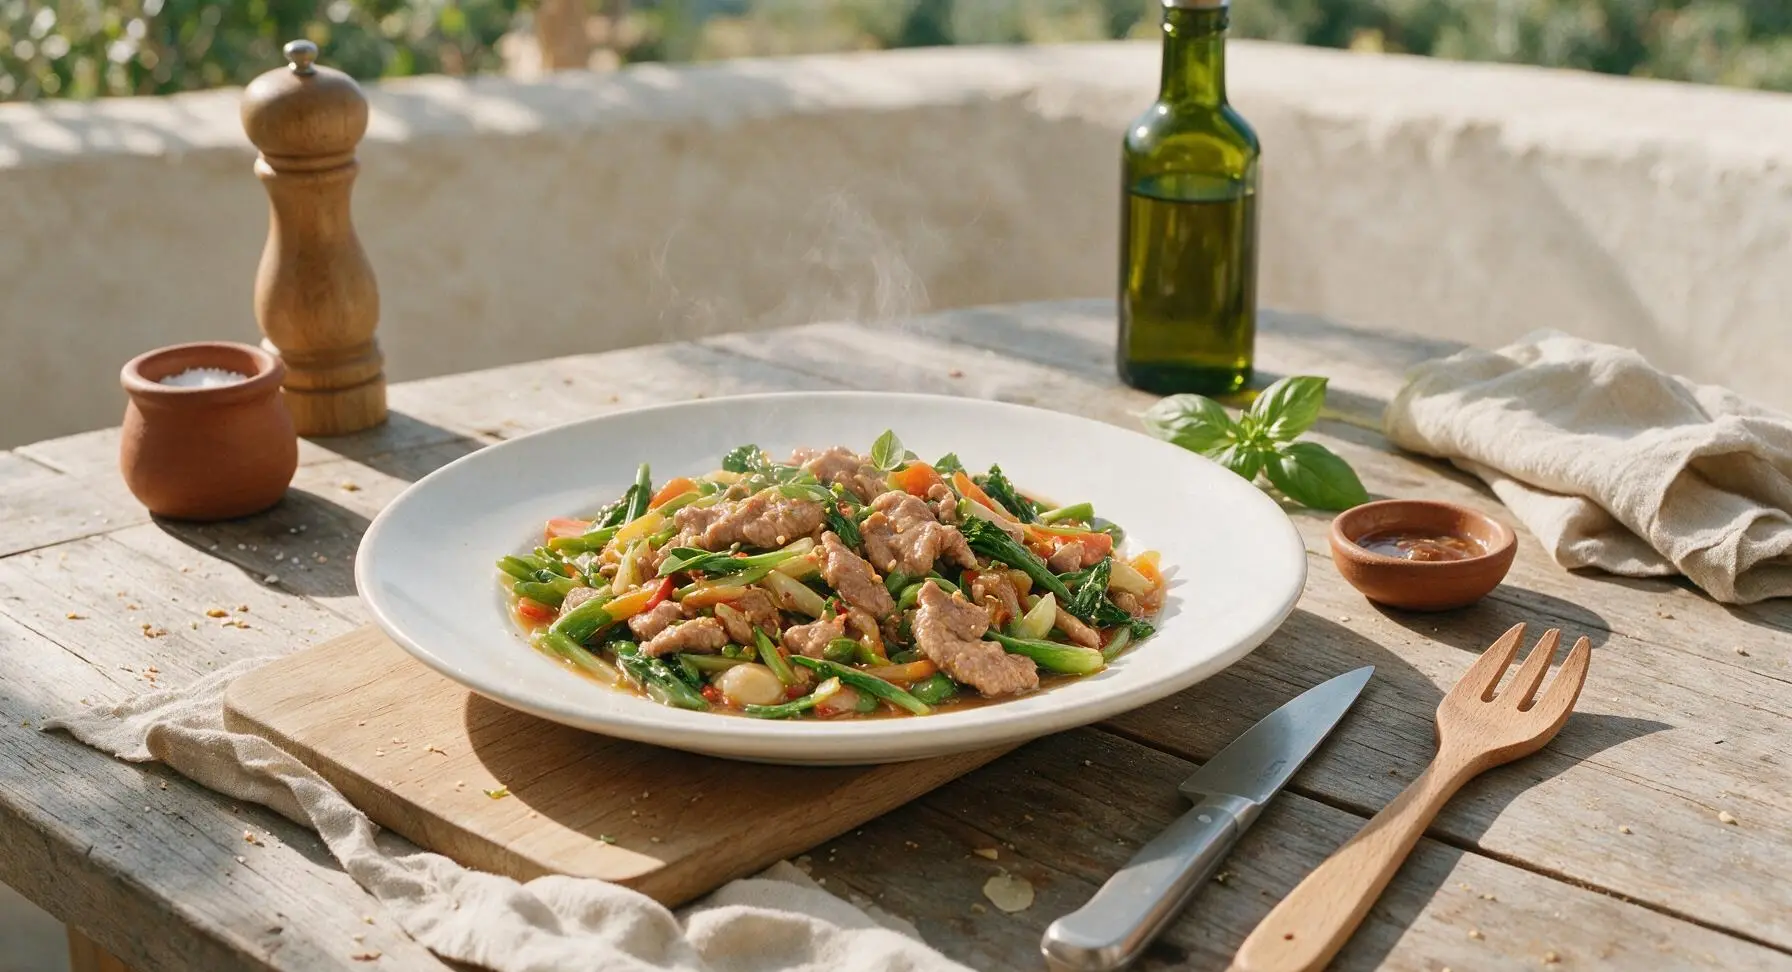
stir fry meat

title 1
stir fry meat
⏱️ cook time 10 minutes
🍽️ servings 4
⚡ Difficulty easy

intro

Juicy, tender velveted pork stir-fried with bright spring vegetables in a light glossy savory sauce, cooked fast over high heat for a satisfying, flavorful meal.

Ingredients
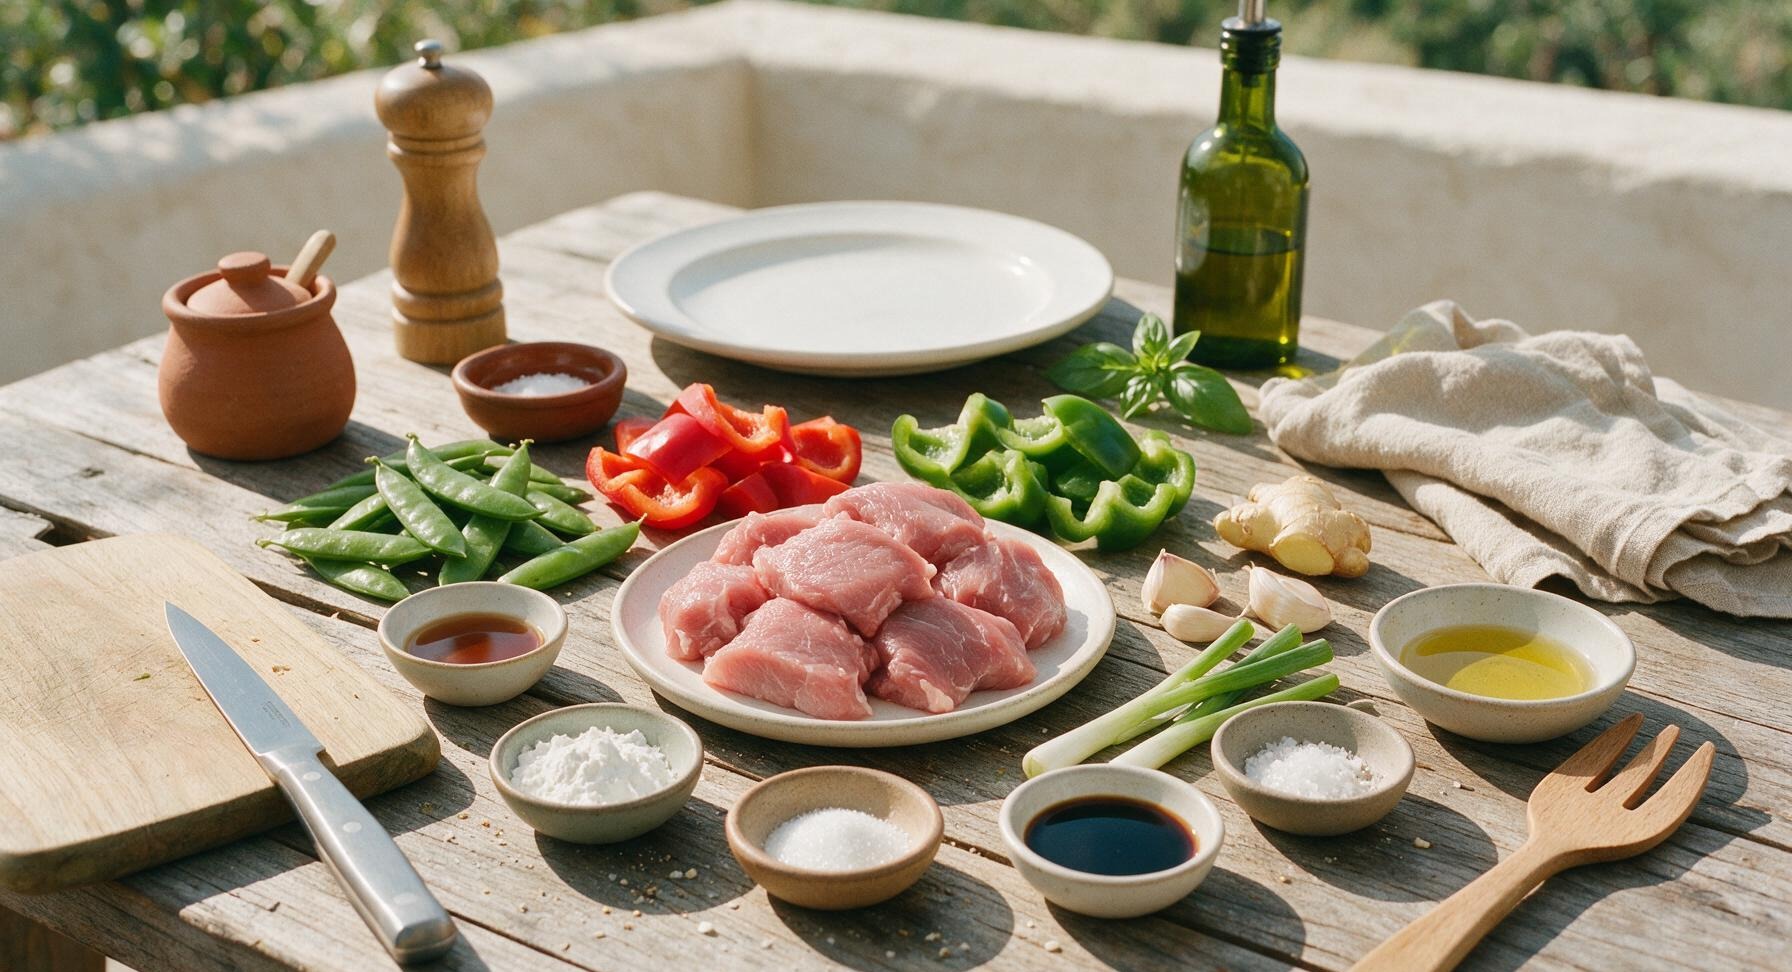
Pork tenderloin 400g
Red bell pepper 1 medium (150g)
Green bell pepper 1 medium (150g)
Snap peas 100g
Garlic cloves 3 (10g)
Fresh ginger 1-inch knob (5g)
Scallions 2 stalks (20g)
Light soy sauce 2 tbsp (30ml)
Shaoxing cooking wine 1 tbsp (15ml)
Cornstarch 1 tbsp (8g)
Granulated sugar 1 tsp (4g)
Ground white pepper 1/4 tsp (1g)
Coarse sea salt 1/2 tsp (3g)
Neutral canola oil 2 tbsp (30ml)

Steps

1

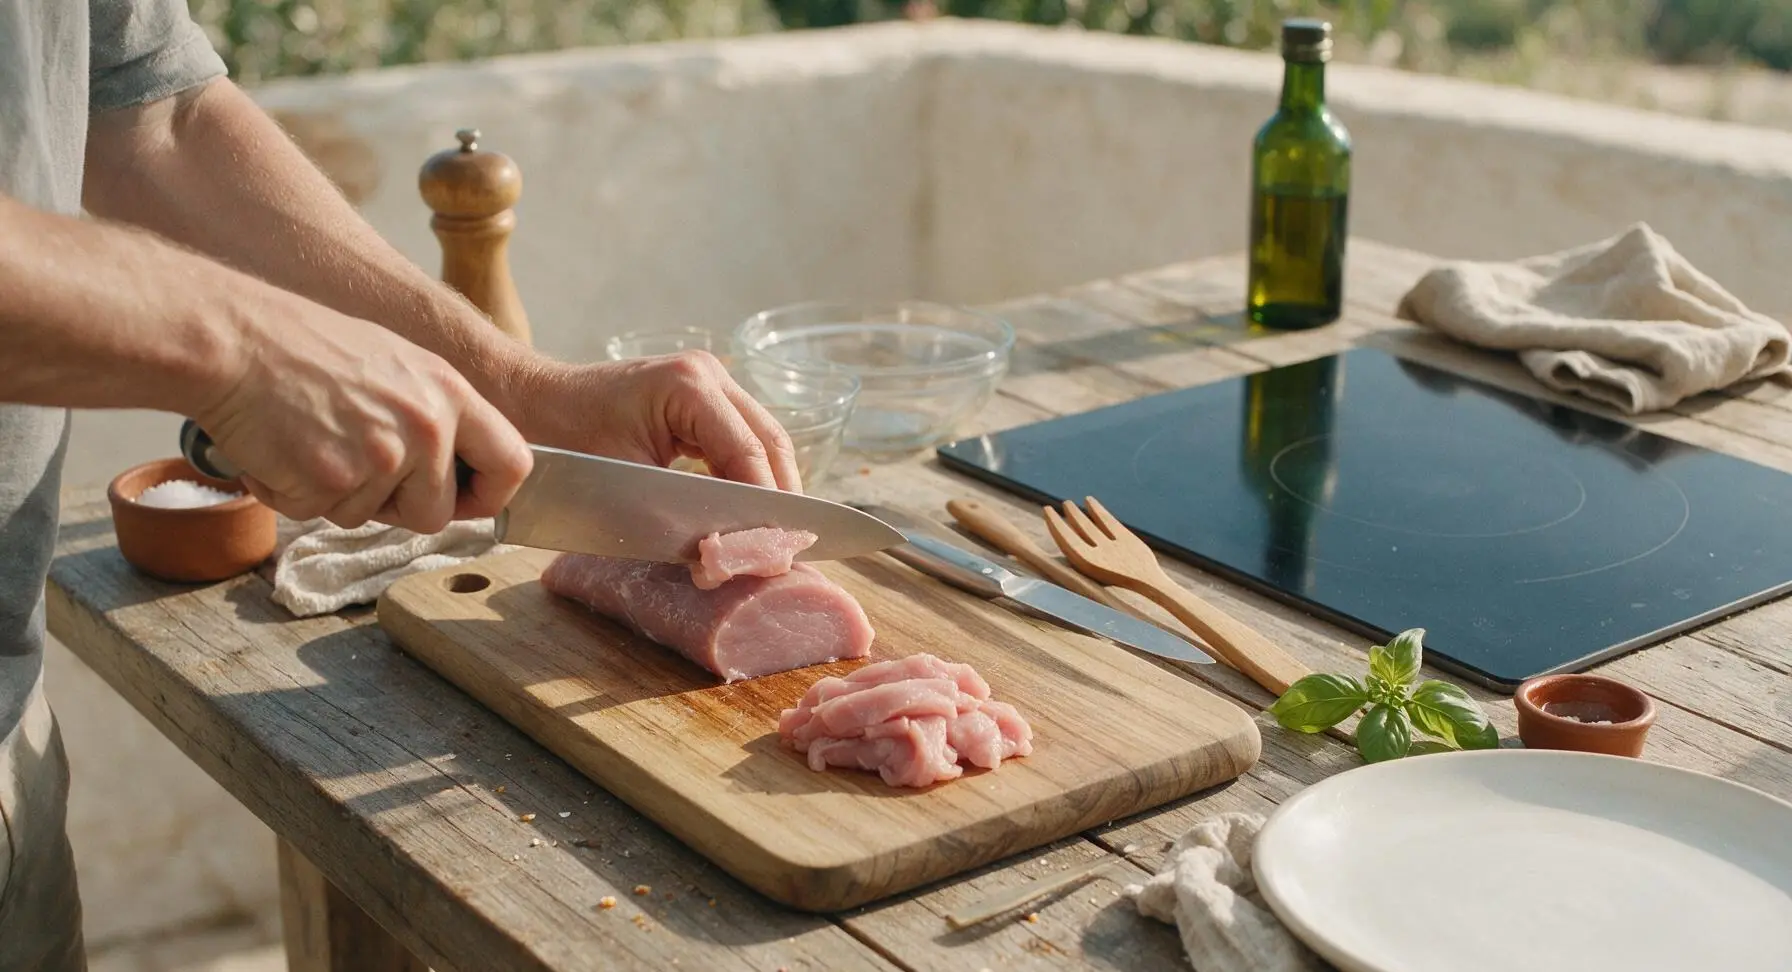
Slice Pork Tenderloin

Place the trimmed pork tenderloin on the acacia wood cutting board. Using the chef knife, slice the pork against the grain into 3mm-thick, bite-sized pieces roughly 5cm long. Slicing against the grain breaks up muscle fibers to ensure tender, non-chewy stir-fry meat. Discard any small pieces of silver skin or excess fat as you work.
Step 1
step1:Slice Pork Tenderloin
2

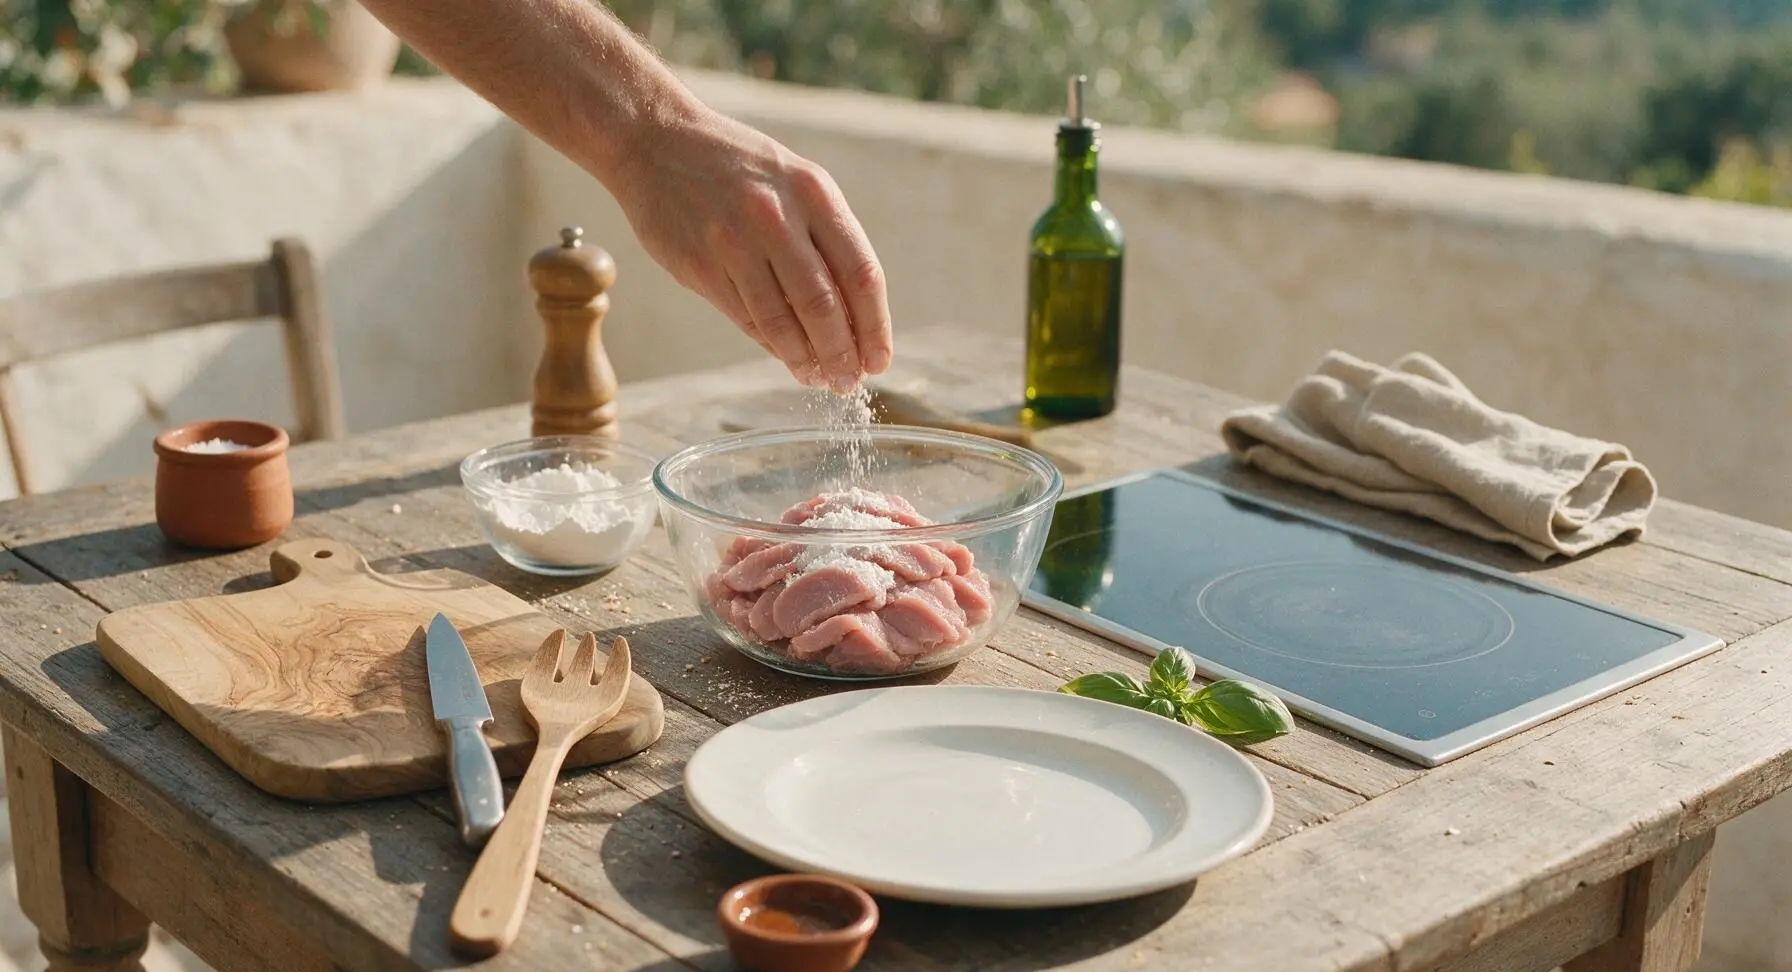
Marinate for Tenderness

Transfer the sliced pork to one of the clear glass prep bowls. Add 1 tbsp Shaoxing wine, 1 tbsp light soy sauce, 1 tbsp cornstarch, and 1/4 tsp white pepper to the bowl. Use clean hands to toss the pork thoroughly until every slice is evenly coated in the thin, starchy marinade. Let rest for 10 minutes at room temperature: the cornstarch creates a protective coating that locks in juice during high-heat cooking, the classic 'velveting' technique for tender stir-fry meat.
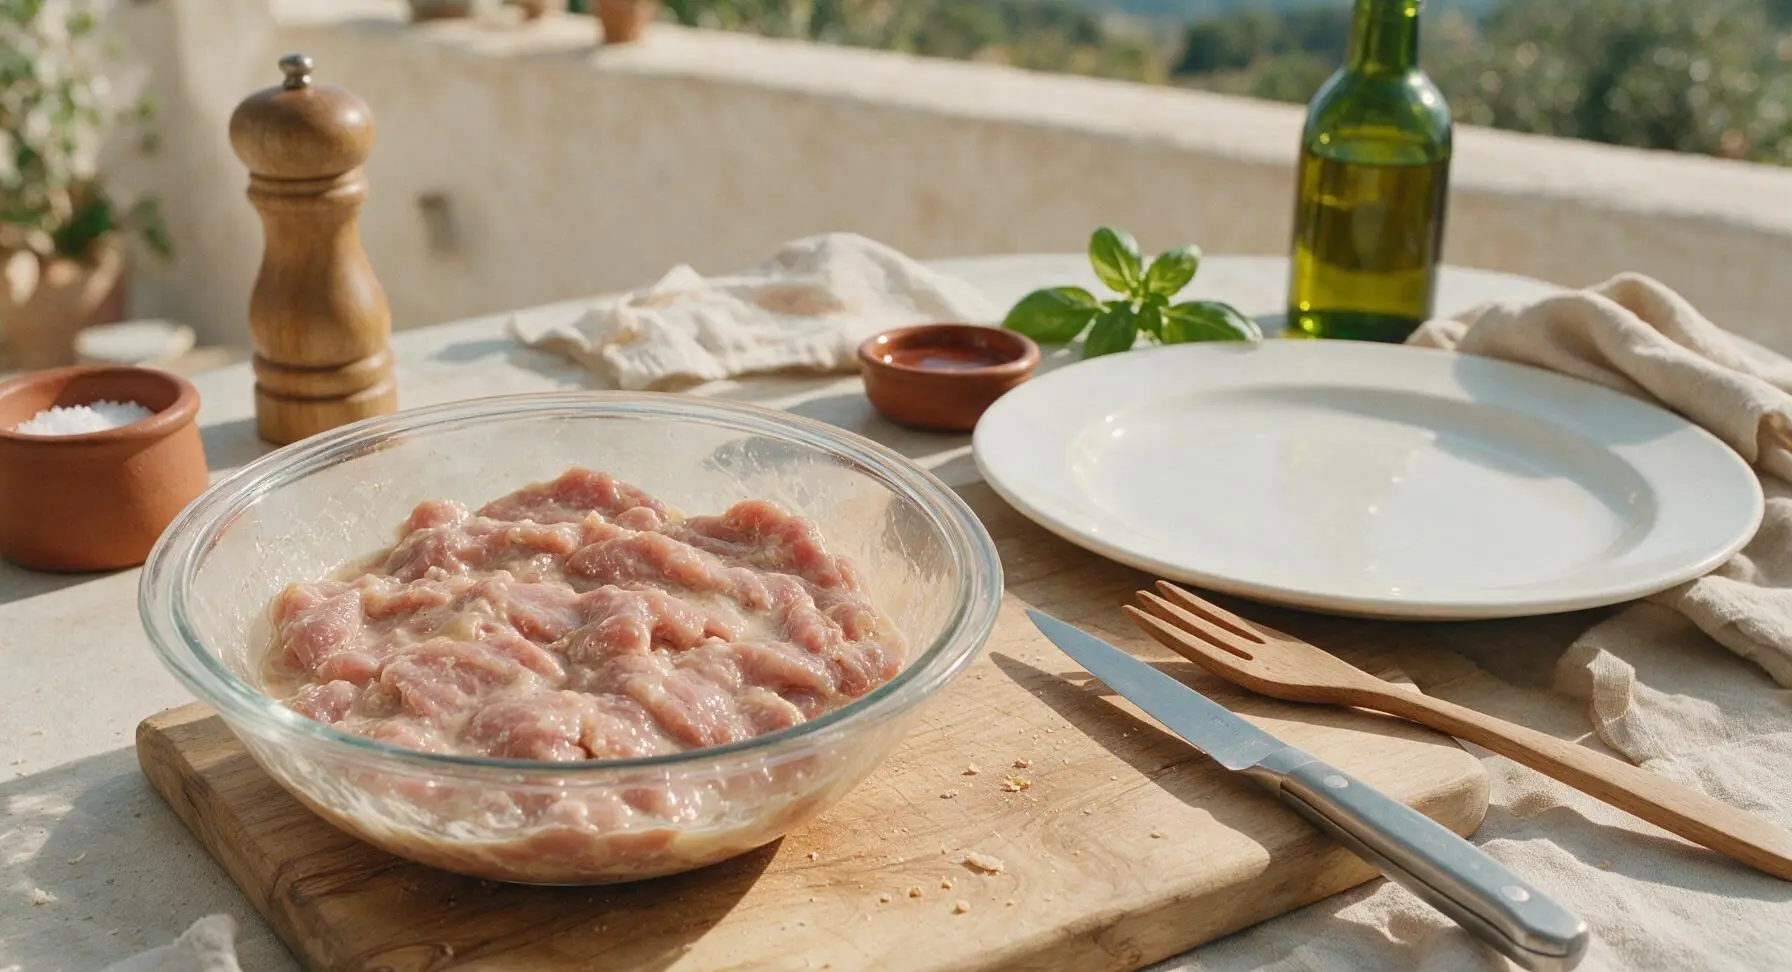
Step 2
step2:Marinate for Tenderness
Step 2
step2:Marinate for Tenderness
3

Chop Aromatics and Veggies

While the pork marinates, use the chef knife on the acacia cutting board to: slice garlic into thin 2mm slices, peel and julienne ginger into thin matchsticks, trim the ends off snap peas and remove any tough strings, seed bell peppers and cut into 2cm-wide strips, and slice scallions into 5cm lengths, separating white and green parts. Keep all prepped vegetables in separate piles on the cutting board for quick addition during stir-frying.
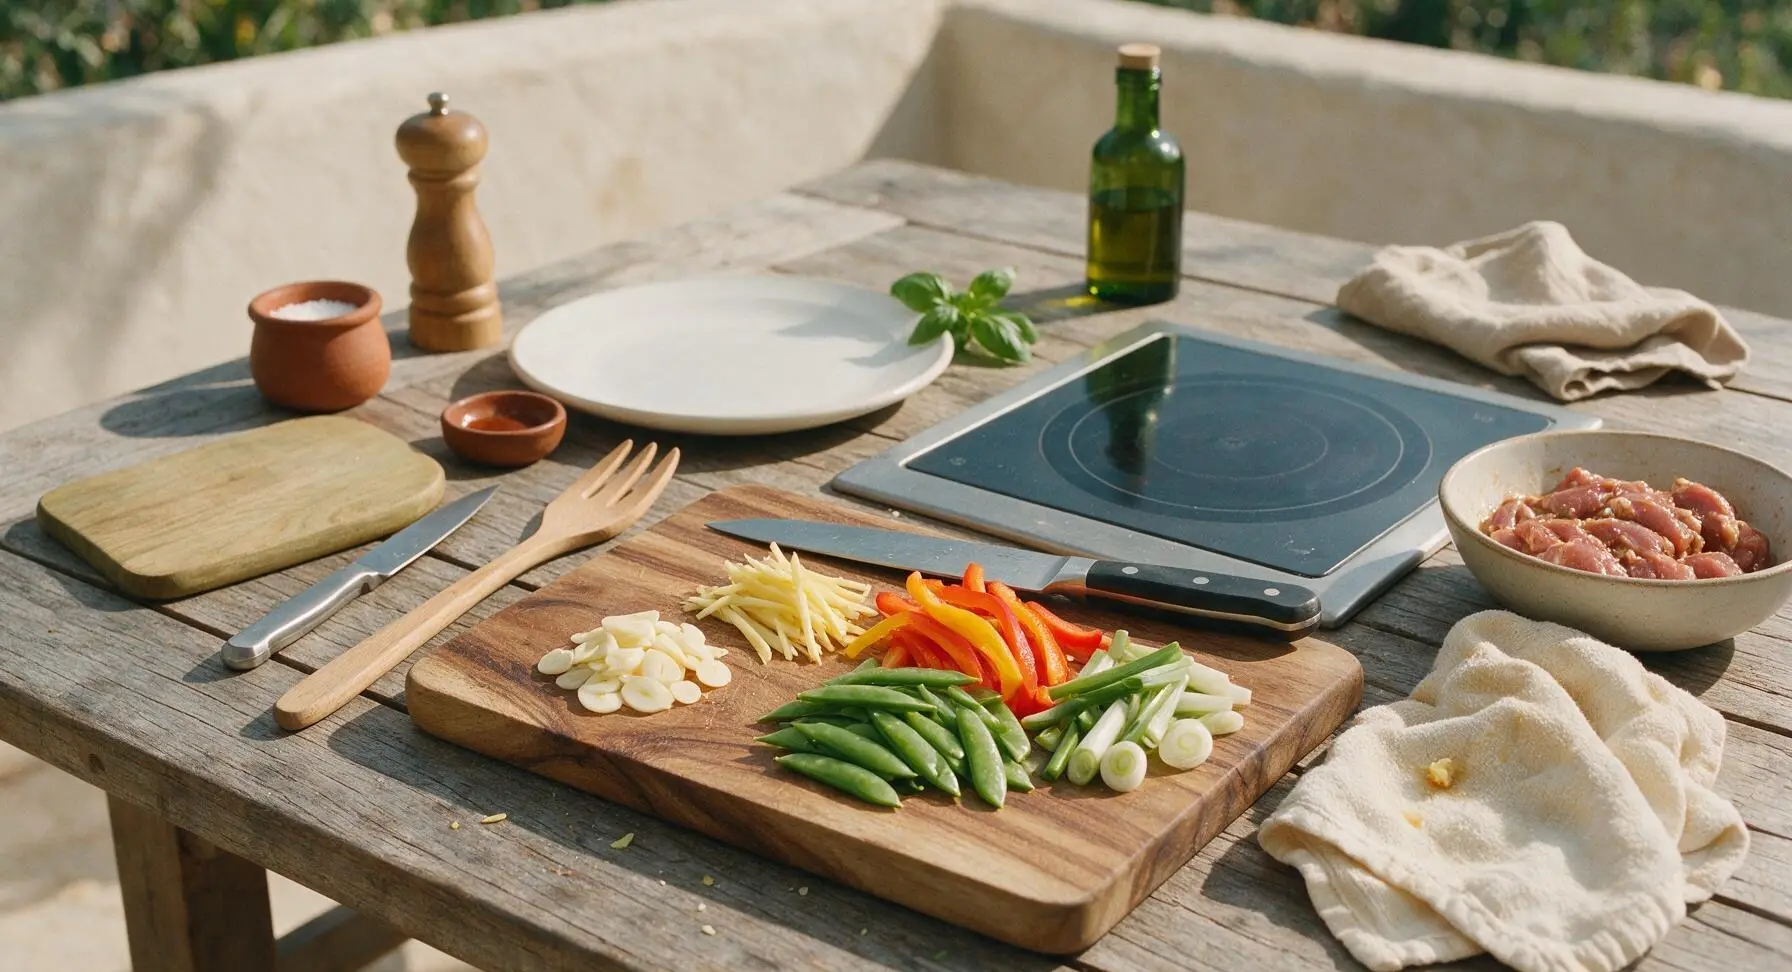
Step 3
step3:Chop Aromatics and Veggies
4

Heat Wok to High Temp

Retrieve the carbon steel wok from storage and place it on the portable induction burner, then turn the heat to high (200C / 390F). Pour 1 tbsp of canola oil into the wok, swirling to coat the bottom and lower sides evenly. Wait until the oil just starts to shimmer and send up faint wispy smoke: this high heat is critical to prevent meat from sticking and create the signature wok hei flavor.
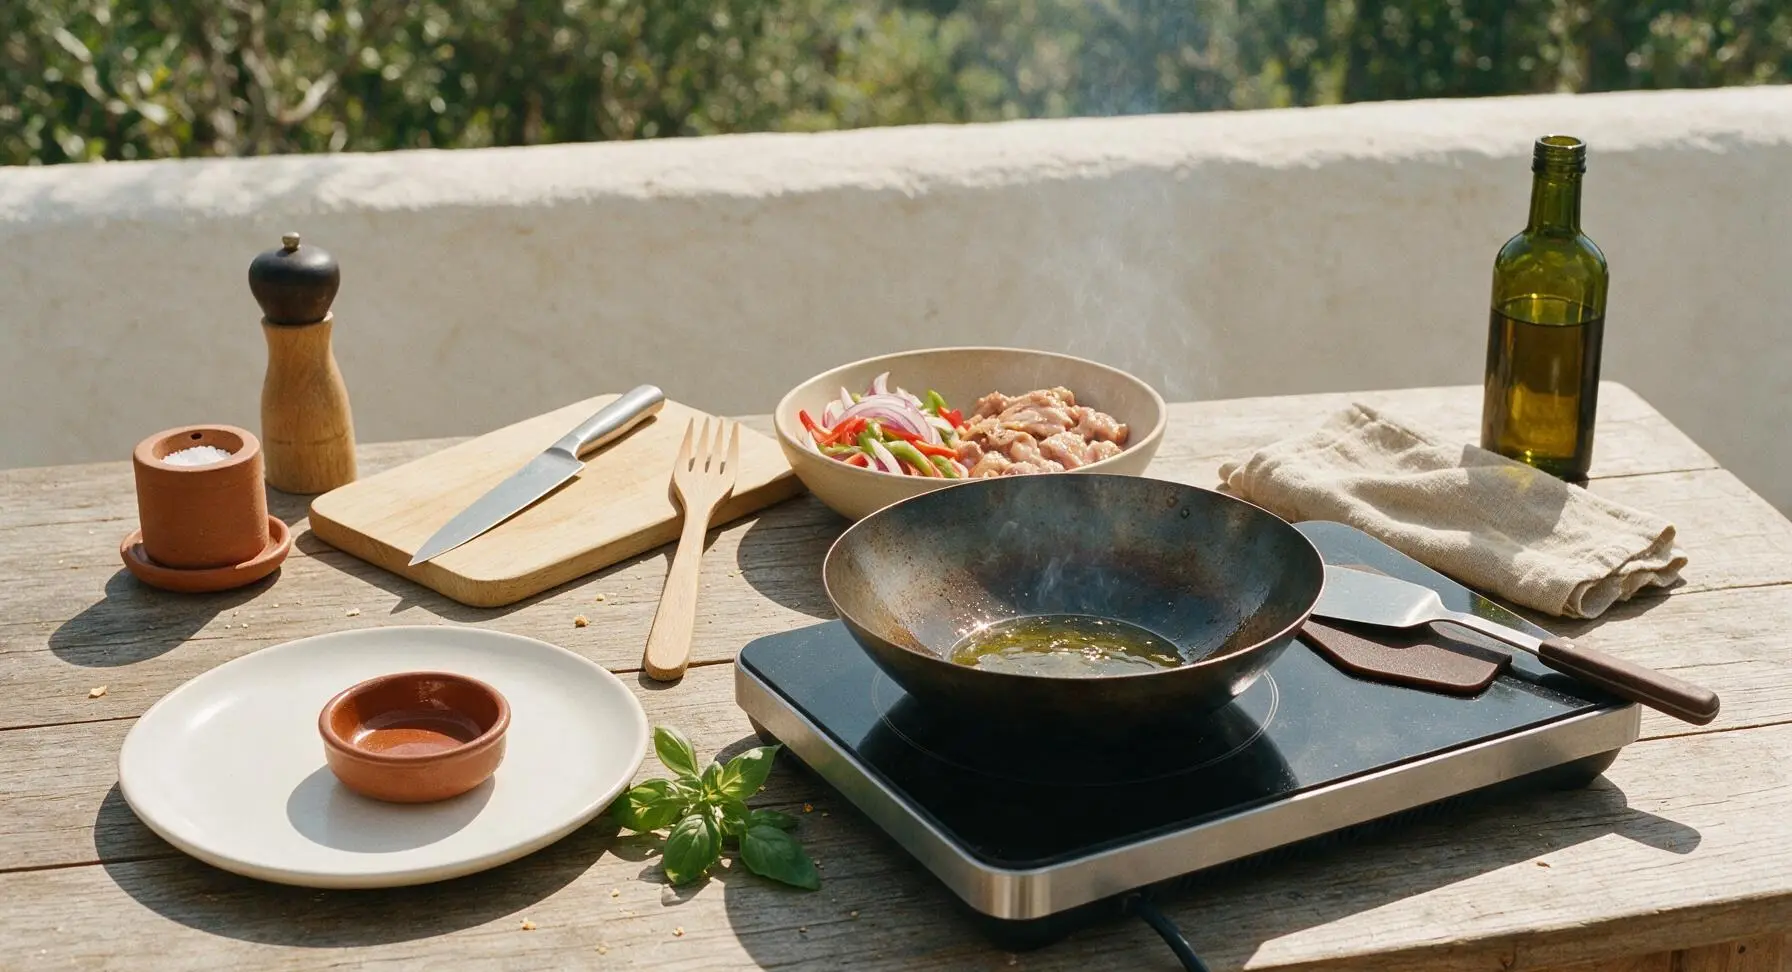
Step 4
step4:Heat Wok to High Temp
5

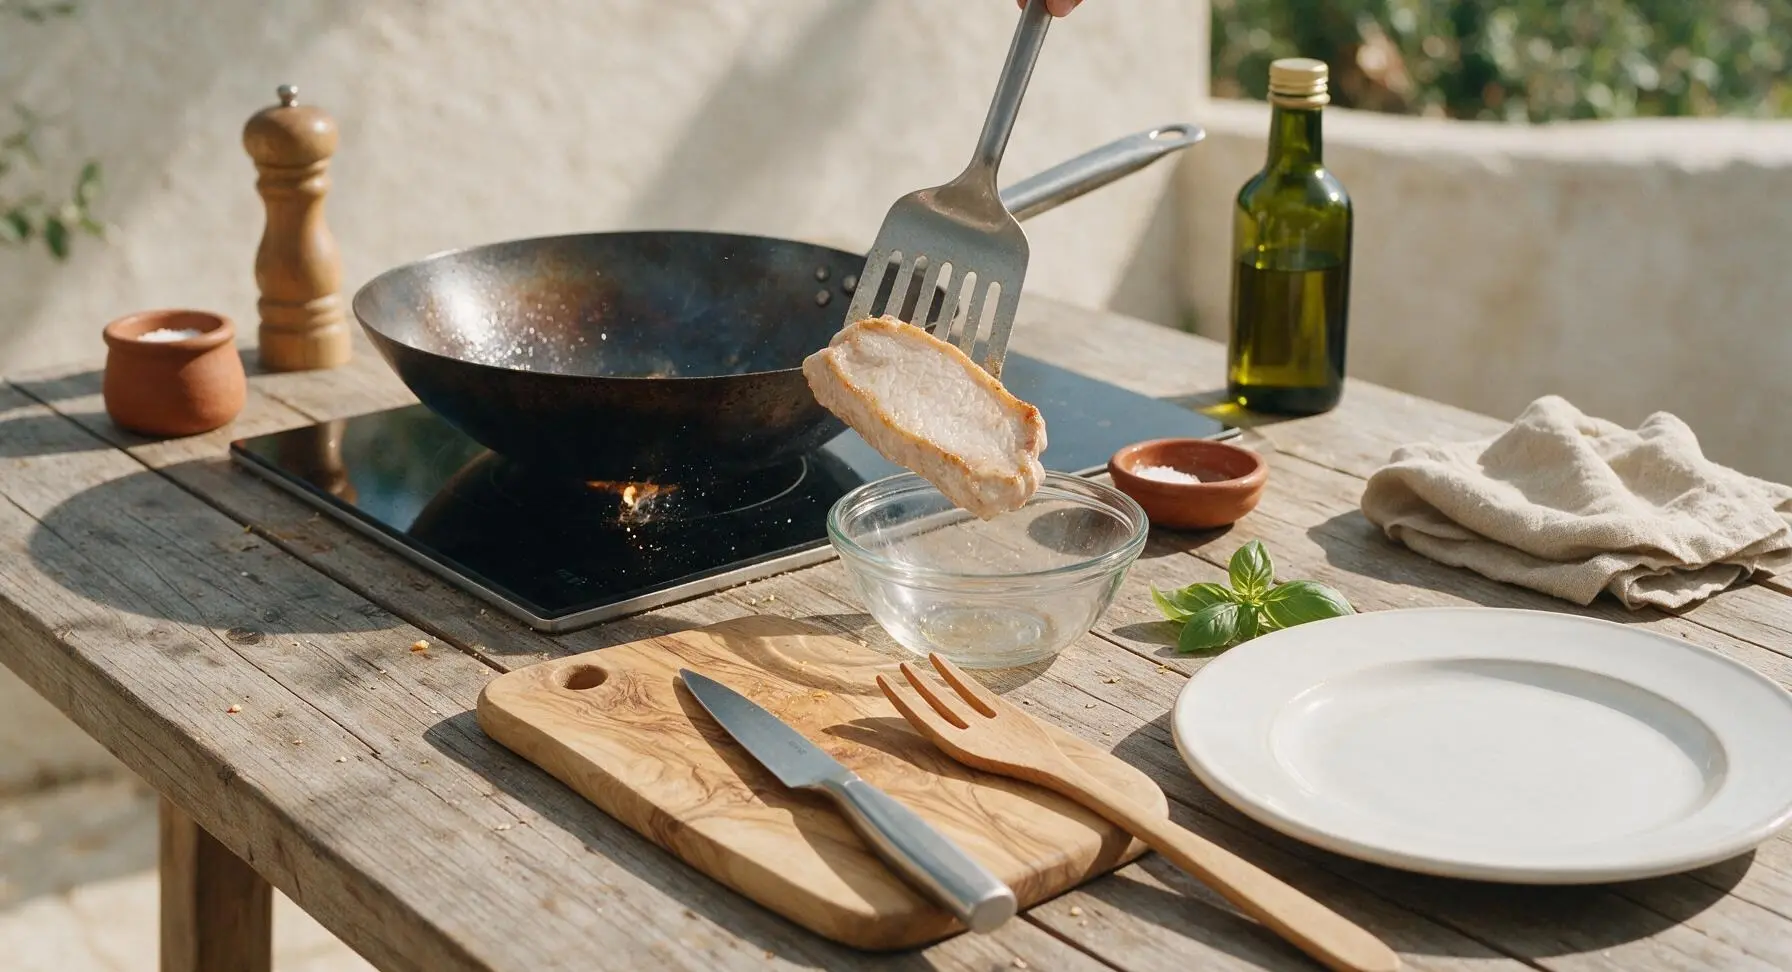
Sear Pork Until Golden

Carefully add the marinated pork slices to the hot wok in a single even layer, avoiding overcrowding. Let sear undisturbed for 45 seconds, then use the wok spatula to toss and stir the pork continuously for another 1 minute, until slices are lightly golden on the edges and 80% cooked through (pale with just a hint of pink in the center). Use the spatula to transfer the seared pork back to the clean glass prep bowl, set aside temporarily.
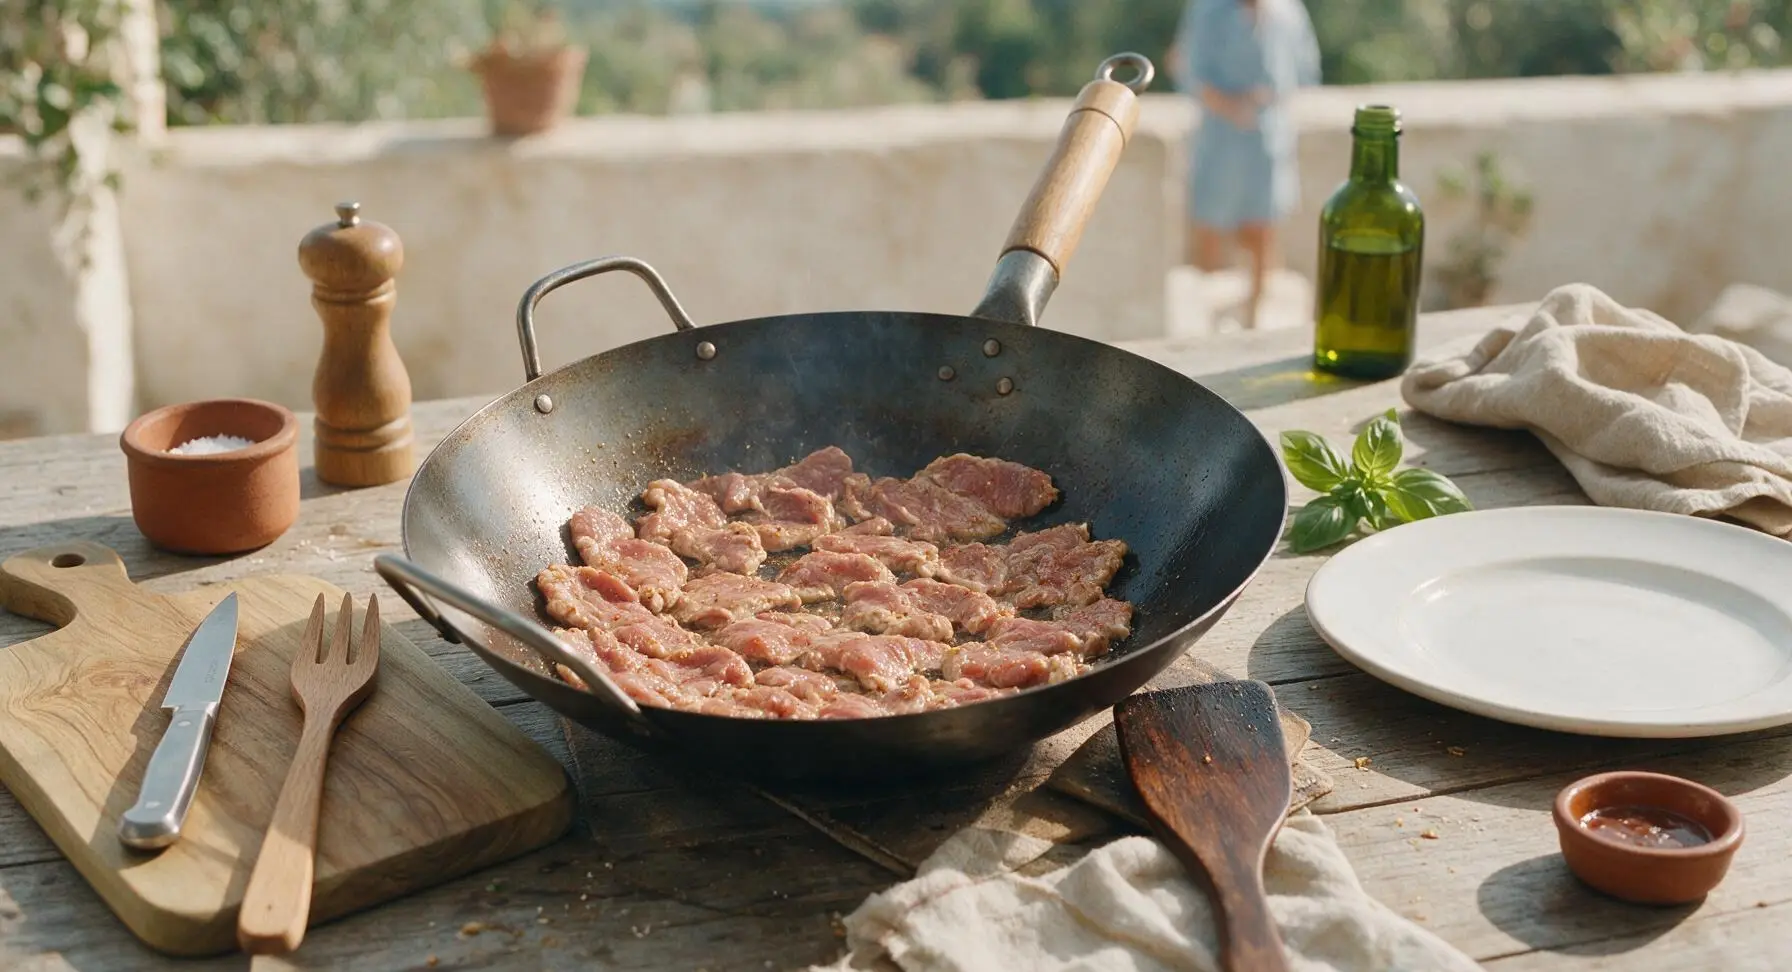
Step 5
step5:Sear Pork Until Golden
Step 5
step5:Sear Pork Until Golden
6

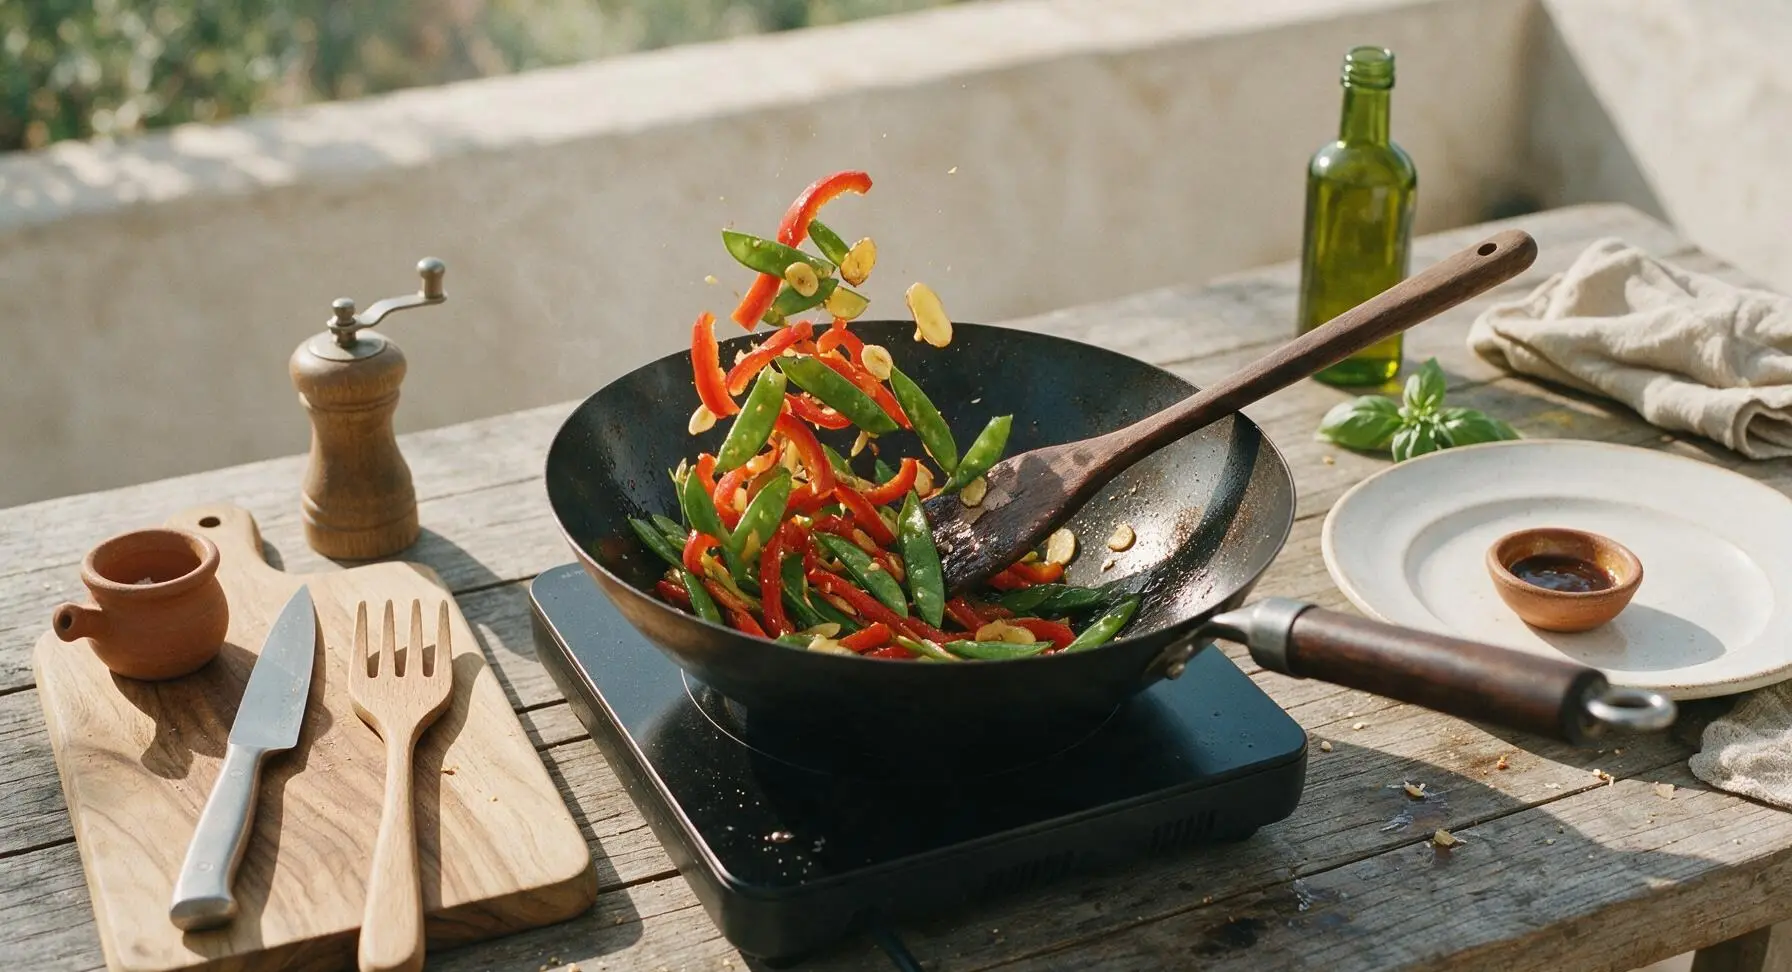
Cook Crisp-Tender Veggies

Add the remaining 1 tbsp canola oil to the hot wok. Toss in the garlic, ginger, and scallion whites, stirring constantly with the wok spatula for 15 seconds until fragrant, taking care not to burn the garlic. Add bell pepper strips and snap peas, stir-frying continuously for 2 minutes until vegetables are bright in color and crisp-tender, with a slight crunch remaining (do not overcook to mushy texture).
Step 6
step6:Cook Crisp-Tender Veggies
7

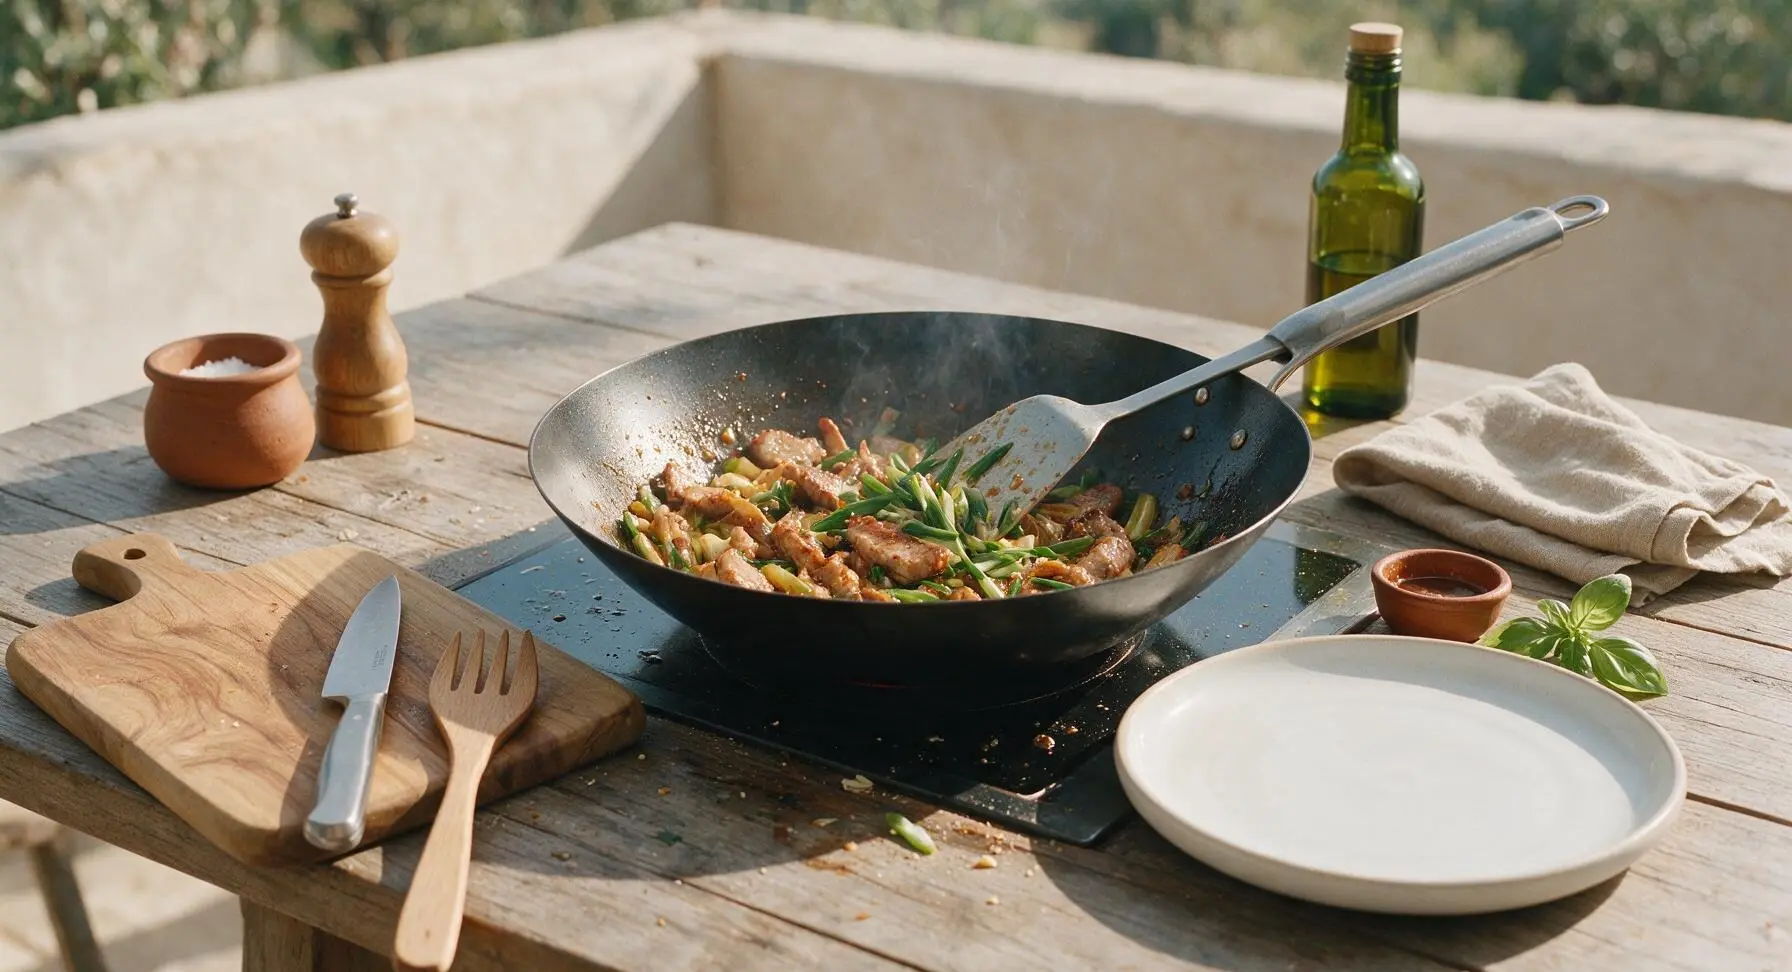
Combine and Finish Sauce

Return the seared pork to the wok with the vegetables. Add the remaining 1 tbsp light soy sauce, 1 tsp sugar, and 1/2 tsp salt, tossing continuously at high heat for 1 minute to combine all ingredients evenly. The thin starchy coating on the pork will meld with the seasonings to create a light, glossy sauce that coats every piece of meat and vegetable, with no excess puddle of sauce at the bottom of the wok. Toss in the scallion greens for the final 10 seconds of cooking.
Step 7
step7:Combine and Finish Sauce
8

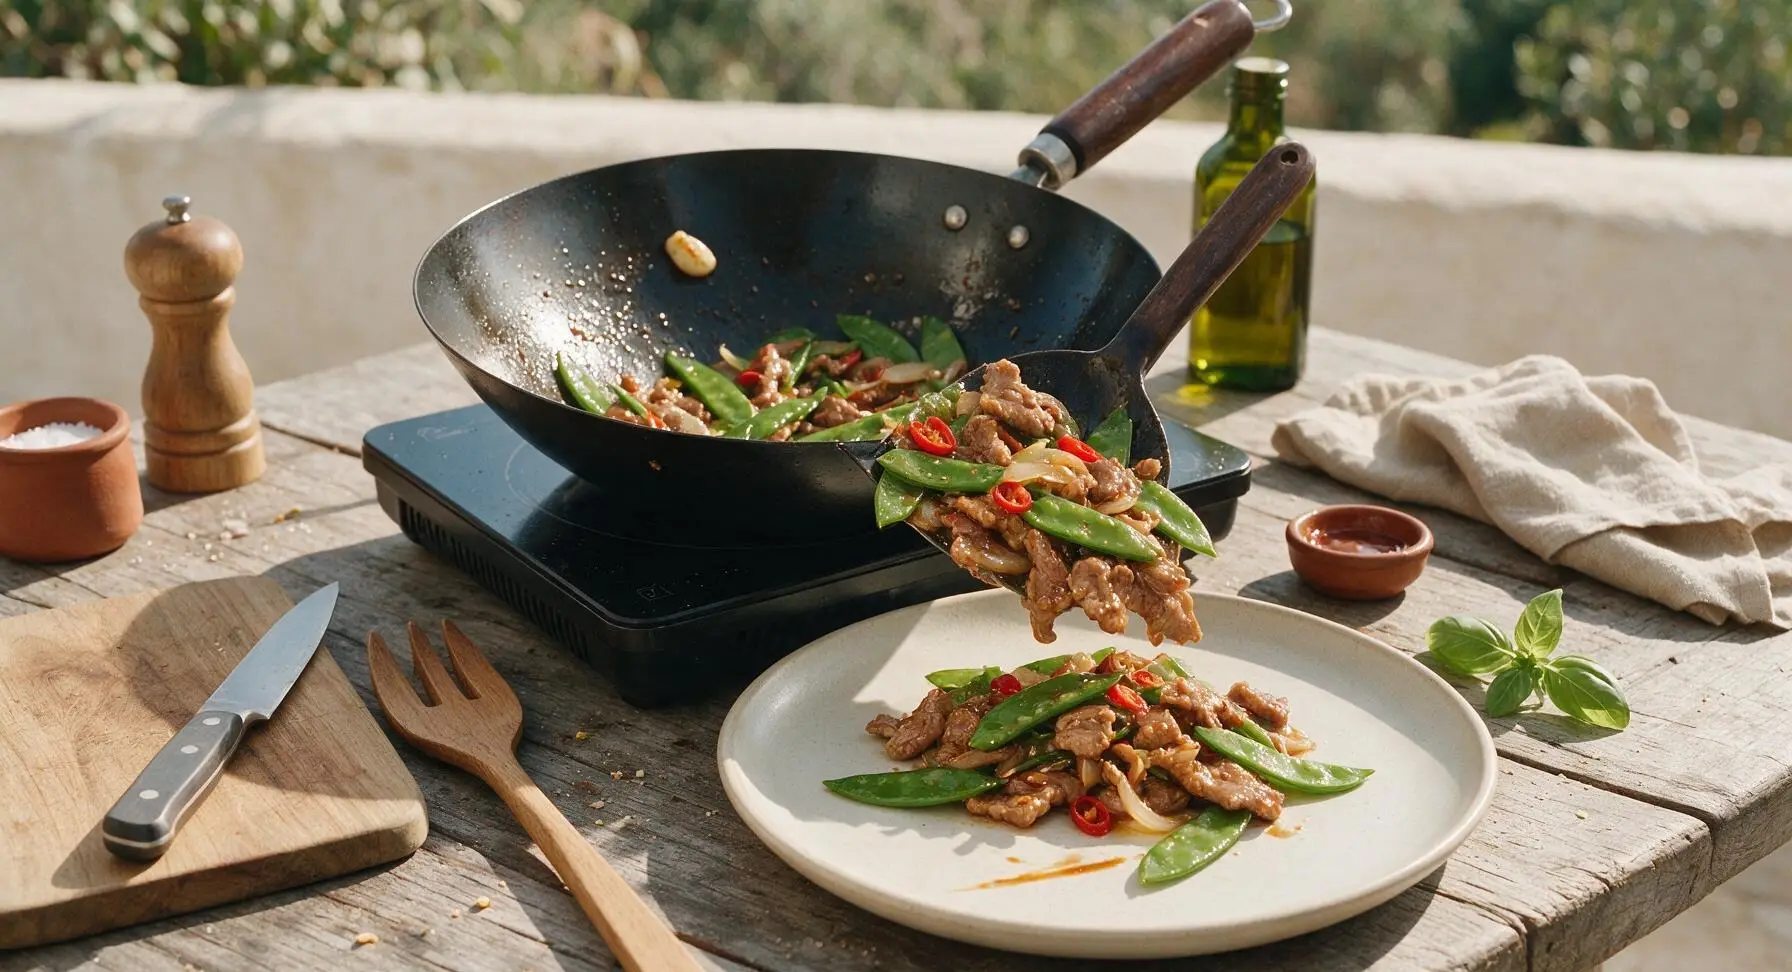
Plate the Finished Stir-Fry

Turn off the induction burner. Use the wok spatula to transfer the entire stir-fry to the waiting matte off-white ceramic coupe plate, piling the meat and vegetables gently in the center. Do not wipe drips of sauce from the plate rim for a natural, home-cooked look. Serve immediately while hot.
Step 8
step8:Plate the Finished Stir-Fry

Tips

1.Always slice stir-fry meat against the grain to 3mm thickness: cutting perpendicular to the long muscle fibers shortens tough connective strands, preventing chewy, stringy meat even when seared quickly at high heat. Cutting too thick leads to undercooked centers, while cutting too thin causes meat to dry out.
2.Do not overcrowd the wok when searing meat: adding too much cold meat at once drops the wok temperature rapidly, causing meat to steam instead of sear, resulting in soggy, flavorless pieces without the signature light golden, caramelized edge. If working with a smaller wok, sear the pork in two separate batches.
3.Prep all ingredients and arrange them within arm's reach before turning on the wok: stir-frying progresses extremely quickly at 200C high heat, and stepping away to grab a missing ingredient will lead to burnt garlic or overcooked, mushy vegetables in as little as 10 seconds.


✨ You May Also Like

Main Course
🍜 United Kingdom

A showstopping classic of tender seared beef, savory mushroom duxelles, and crisp prosciutto wrapped in flaky golden puff pastry, baked to juicy perfection.

⏱️ 2 hours 1Main Course ★ 4.7
Main Course
🍜 India

Tender charred marinated chicken simmered in a rich, spiced creamy tomato sauce, this iconic Anglo-Indian curry pairs perfectly with basmati rice or warm naan.

⏱️ 50 minuteMain Course ★ 4.6
Main Course
🍜 Thailand

Classic tangy, sweet, and savory Thai stir-fried rice noodles with shrimp, tofu, and crunchy garnishes, balancing all five core Thai flavor profiles.

⏱️ 30 minuteMain Course ★ 4.5
Main Course
🍜 United Kingdom

Crispy golden beer-battered cod and fluffy double-fried chips, served with tangy tartar sauce and malt vinegar: the timeless, beloved British pub comfort classic.

⏱️ 45 minuteMain Course ★ 4.7
Main Course
🍜 Mexico

Smoky, chile-marinated pork tacos with caramelized pineapple, fresh cilantro, and lime: a beloved classic Mexican street food perfect for casual summer gatherings.

⏱️ 1 hour 45Main Course ★ 4.8
Main Course
🍜 United States

Crunchy Fritos corn chips layered with savory beef chili and melted cheddar, topped with cool, zesty fixings for a beloved, cozy Tex-Mex comfort food.

⏱️ 35 minuteMain Course ★ 4.8

stir fry meat:Frequently Asked Questions

1.Why do you velvet the pork for this stir-fry, and is that step mandatory? ▾
Velveting is the trick to that juicy, restaurant-style tender pork that doesn’t turn tough or dry over high wok heat. It’s not 100% mandatory, but skipping it means you risk chewy, overcooked pork. A quick 15-minute toss with cornstarch, a splash of soy, and a tiny bit of oil locks in moisture before the fast stir-fry.
2.Can I prep the pork and vegetables ahead of time to make this a quick weeknight meal? ▾
Absolutely! Slice the pork, toss it in its velveting marinade, and store it in an airtight container in the fridge for up to 24 hours. Chop your bell peppers, trim snap peas, and mince garlic up to 2 days ahead, kept sealed and chilled, so you only need 5 minutes of actual cook time when you’re ready to eat.
3.I don’t own a traditional carbon steel wok—can I make this stir-fry in a regular skillet? ▾
You totally can! Use the largest, heaviest stainless steel or cast iron skillet you own, since those hold high heat best. Avoid nonstick pans if possible, as they can’t handle the super high heat needed for good wok hei without damaging their coating, and work in small batches if your pan is crowded to prevent steaming instead of searing.
4.How do I keep my snap peas crisp-tender instead of mushy in this stir-fry? ▾
The key is high heat and short cook time for snap peas. Add them to the wok right after you sauté the garlic, and toss them constantly for only 60 to 90 seconds before adding the bell peppers and pork back in. Don’t cover the wok at any point, as trapped steam will turn the peas soggy and dull their bright green color.
5.What’s in the light glossy savory sauce for this stir-fry? ▾
My go-to balanced, light sauce for this dish is 2 tbsp low-sodium soy sauce, 1 tbsp oyster sauce, 1 tsp rice vinegar, ½ tsp sugar, 1 tsp cornstarch, and 2 tbsp chicken broth or water. Whisk it together before you start cooking, so you can pour it in all at once—it will thicken in 30 seconds to that perfect glossy, not gloopy, coating.
6.How thin should I slice the pork tenderloin for the best texture? ▾
Aim for ¼-inch thick slices, cut cleanly against the visible grain of the meat. If you struggle to slice it that thin, pop the tenderloin in the freezer for 20 minutes first to firm it up—this makes uniform slicing way easier, and ensures every piece cooks fast and evenly without any tough, chewy bits.
7.Why does my stir-fry always turn out watery instead of having a nice glossy coating? ▾
Watery stir-fry almost always comes from overcrowding the wok, which drops the pan temperature too fast and makes vegetables release excess moisture. Cook the pork in a single layer first, remove it, then cook veggies in batches if needed, and make sure your sauce has a small amount of cornstarch to thicken evenly.
8.Can I swap out the listed vegetables for other veggies I have in my fridge? ▾
Of course! This home-style recipe is super flexible, with red and green bell peppers and snap peas as the classic bright base, but you can swap in broccoli florets, sliced carrot, baby corn, water chestnuts, or even chopped bok choy. Just adjust cook times so denser veggies get a quick head start to stay crisp-tender.
9.How high should the heat be when cooking this wok stir-fry? ▾
Crank your burner to medium-high to high heat the entire time you’re cooking—wok stir-fry relies on fast, searing heat to build flavor and keep ingredients crisp. Wait until your wok (or skillet) starts to faintly smoke before adding oil, that’s the sweet spot for that signature toasty, savory wok hei flavor.
10.Do I need to use a specific type of oil for this stir-fry? ▾
Reach for an oil with a high smoke point, like avocado oil, refined peanut oil, or canola oil—these won’t burn or turn bitter at the high heat needed for wok cooking. Skip delicate oils like extra virgin olive oil for the initial sear; save a tiny drizzle of toasted sesame oil to finish if you want a nutty kick.
11.How do I prevent the garlic from burning when I make this stir-fry? ▾
Burnt garlic adds a bitter, unpleasant taste that ruins the whole dish, so don’t add it to the hot oil until right before you add your first batch of vegetables. Stir it constantly for only 10 to 15 seconds, until you smell its warm, aromatic scent, then toss in snap peas immediately.
12.Can I make this recipe gluten-free for friends or family with dietary restrictions? ▾
Definitely! Swap regular soy sauce for tamari or certified gluten-free low-sodium soy sauce, and pick up a gluten-free oyster sauce (many standard versions contain wheat). All core ingredients—pork, bell peppers, snap peas, garlic, and cornstarch—are naturally gluten-free, so those small swaps make the whole dish safe.
13.How long should I cook the pork so it stays juicy instead of tough? ▾
Once your wok is ripping hot, spread the velveted pork slices in a single layer and let them sear undisturbed for 45 seconds, then toss and stir for another 45 to 60 seconds total. That’s all the time it needs! The pork will be just cooked through with light golden edges, and will stay juicy instead of turning tough.
14.What should I serve with this home-style stir-fry pork? ▾
This dish pairs perfectly with fluffy steamed white rice, jasmine rice, or even cauliflower rice for a lower-carb option. If you want a heartier meal, you can toss it with cooked lo mein noodles, or serve it alongside quick pickled cucumbers to cut through savoriness with a bright, tangy contrast.
15.How do I store leftovers, and do they freeze well? ▾
Leftovers will keep in an airtight container in the fridge for up to 3 days, but I don’t recommend freezing this dish. Bell peppers and snap peas turn mushy and watery when thawed, and the tender pork can develop a grainy texture. Reheat fridge leftovers fast in a hot pan instead of the microwave to keep texture crisp.

Comments (4)

2 days ago

OMG this was SO good! Threw this together on a busy weeknight when I had zero meal prep done, and even my super picky 8 year old asked for seconds. Total cook time really was 10 minutes like the recipe says — game changer for our rushed weeknight dinners! I tossed in some leftover bell peppers from the fridge and it worked perfectly.

1 week ago

Super easy recipe, but my pork came out a little tough when I made it last night — did I cut it wrong? I sliced it against the grain like I thought I was supposed to, but maybe my heat was too high? Flavor was spot on though, even with the chewy pork, my roommate ate half the pan!

5 days ago

Great question! If your pork came out tough, it’s usually either from slicing it too thick, or cooking it on too high heat for too long — since this stir fry comes together so fast, you only need to sear the pork slices for 1-2 minutes total before adding your sauce! A quick 15 minute marinade with a tiny bit of cornstarch also helps lock in juiciness if you have the extra time.

3 days ago

I made this for our neighborhood potluck last weekend and people were hovering around the platter asking for the recipe! The savory, slightly garlicky sauce is chef’s kiss — I doubled the batch because I knew it’d be popular, and there were literally zero leftovers. 10/10, will be adding this to my regular rotation.

2 days ago

Wait did you double the sauce too when you doubled the pork? I’m making this for my work meal prep for the week and don’t want it to be dry! I’m planning to pair it with jasmine rice and steamed broccoli.

yesterday

Okay I was skeptical because I don’t have a fancy wok, just a beat up old cast iron skillet, but this turned out AMAZING. Cook time was actually even faster than 10 minutes for me because my cast iron gets screaming hot. I added a little extra soy sauce and a pinch of red pepper flakes for heat, and it tasted exactly like the takeout I get from my local spot down the street. Absolute win for my Sunday meal prep!

2 hours ago

Ooh the red pepper flakes addition sounds genius! I’m making this tonight for my partner who loves extra spicy food, I’m definitely tossing those in. Did you use light or dark soy sauce for the extra splash?

30 minutes ago

So glad it worked out in your cast iron! You don’t need a fancy wok to make great stir fry — the most important thing is getting your pan hot enough before adding ingredients, which cast iron does perfectly. Love the red pepper flake tweak, that’s such a tasty way to add a little kick!



