
Sugar Pie
intro
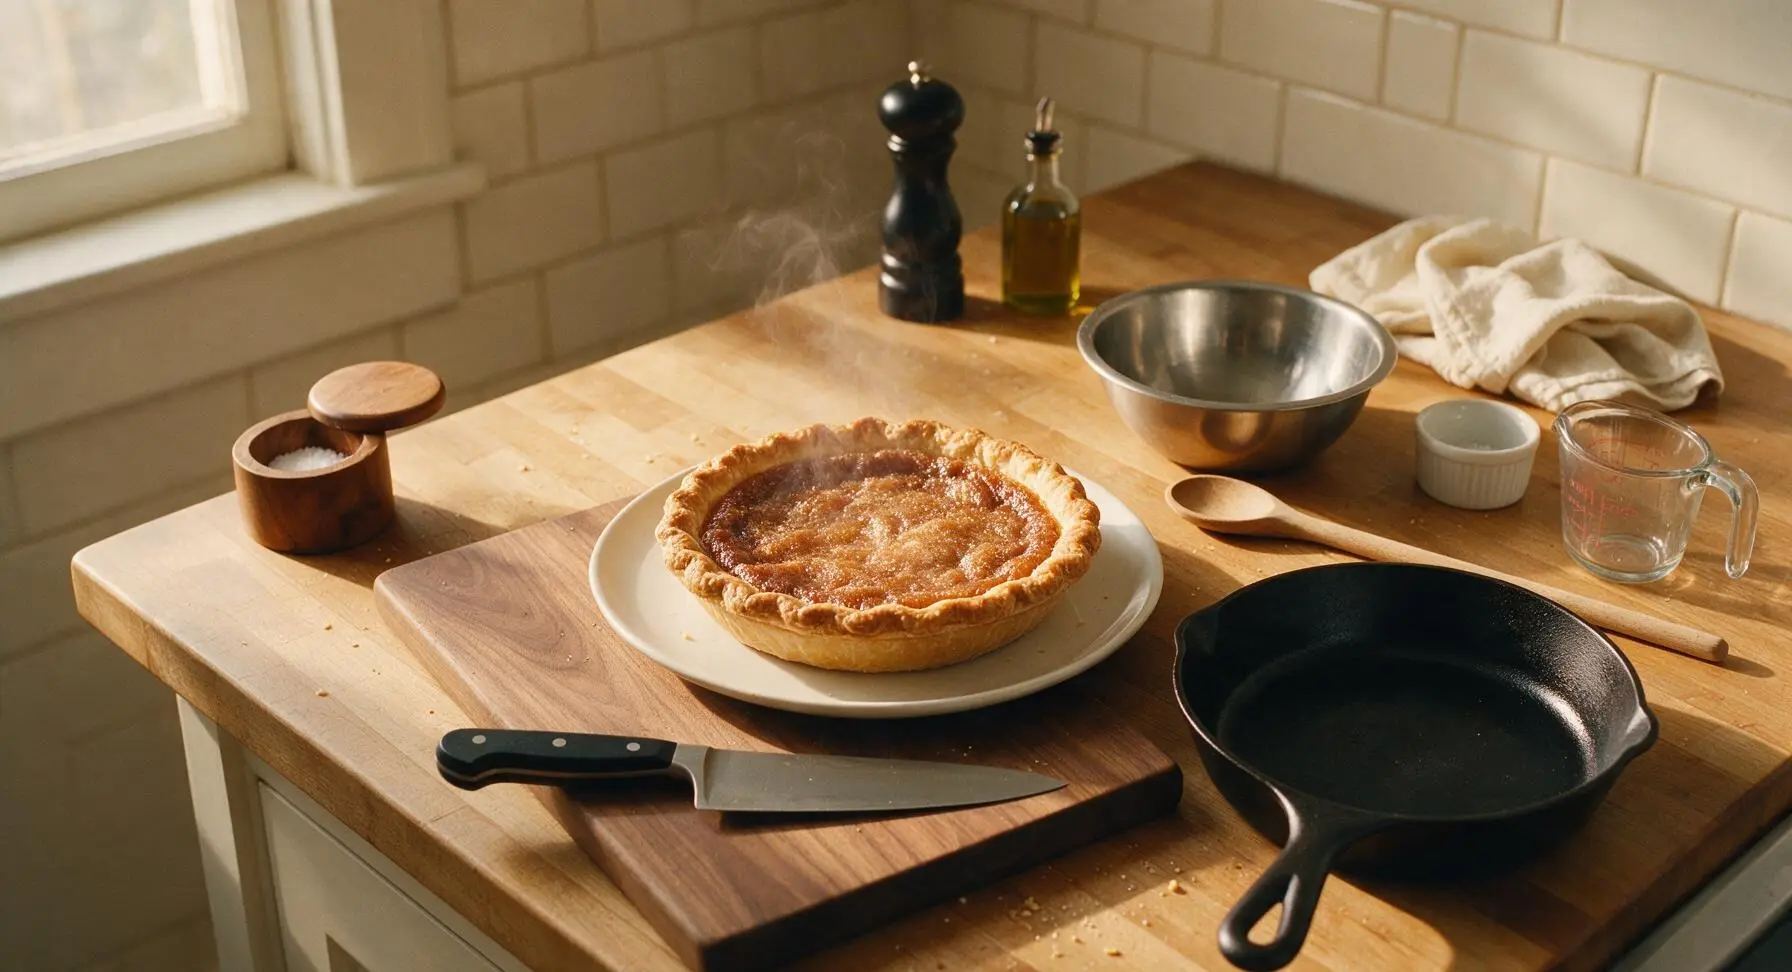
Buttery, caramel-kissed old-fashioned sugar pie with a flaky crust and silky brown sugar filling—pure nostalgic comfort in every bite, perfect for sharing.
Ingredients
Steps
Fit crust to pie dish
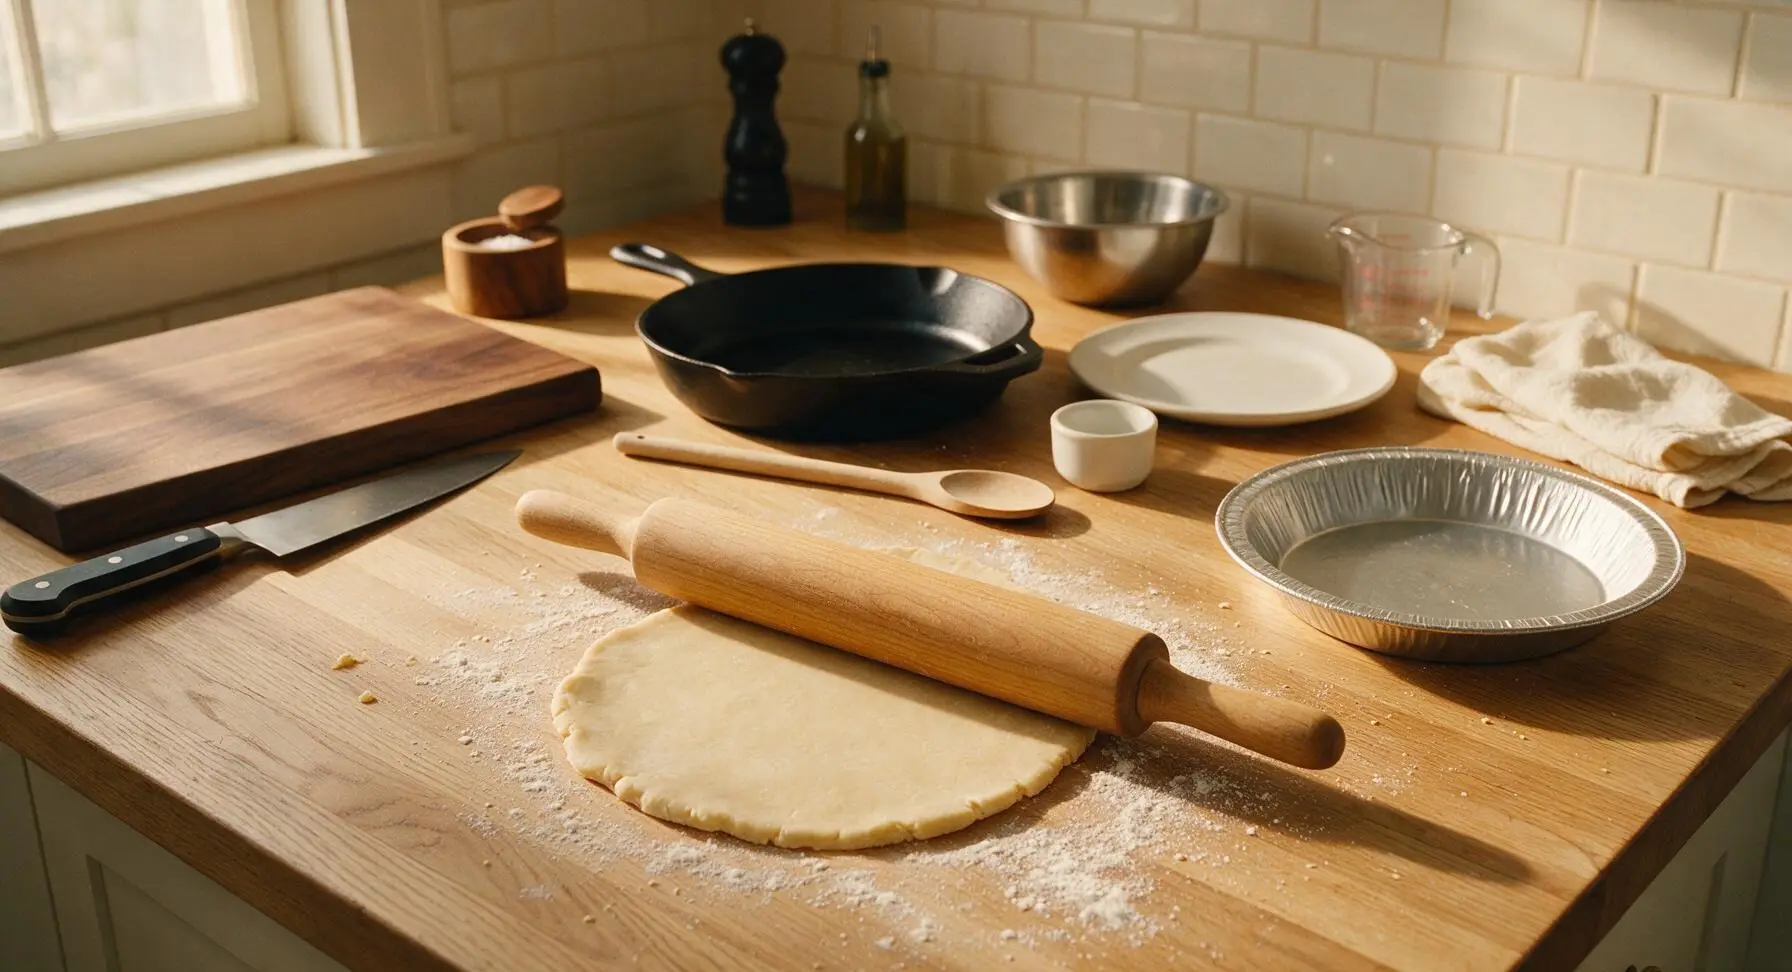
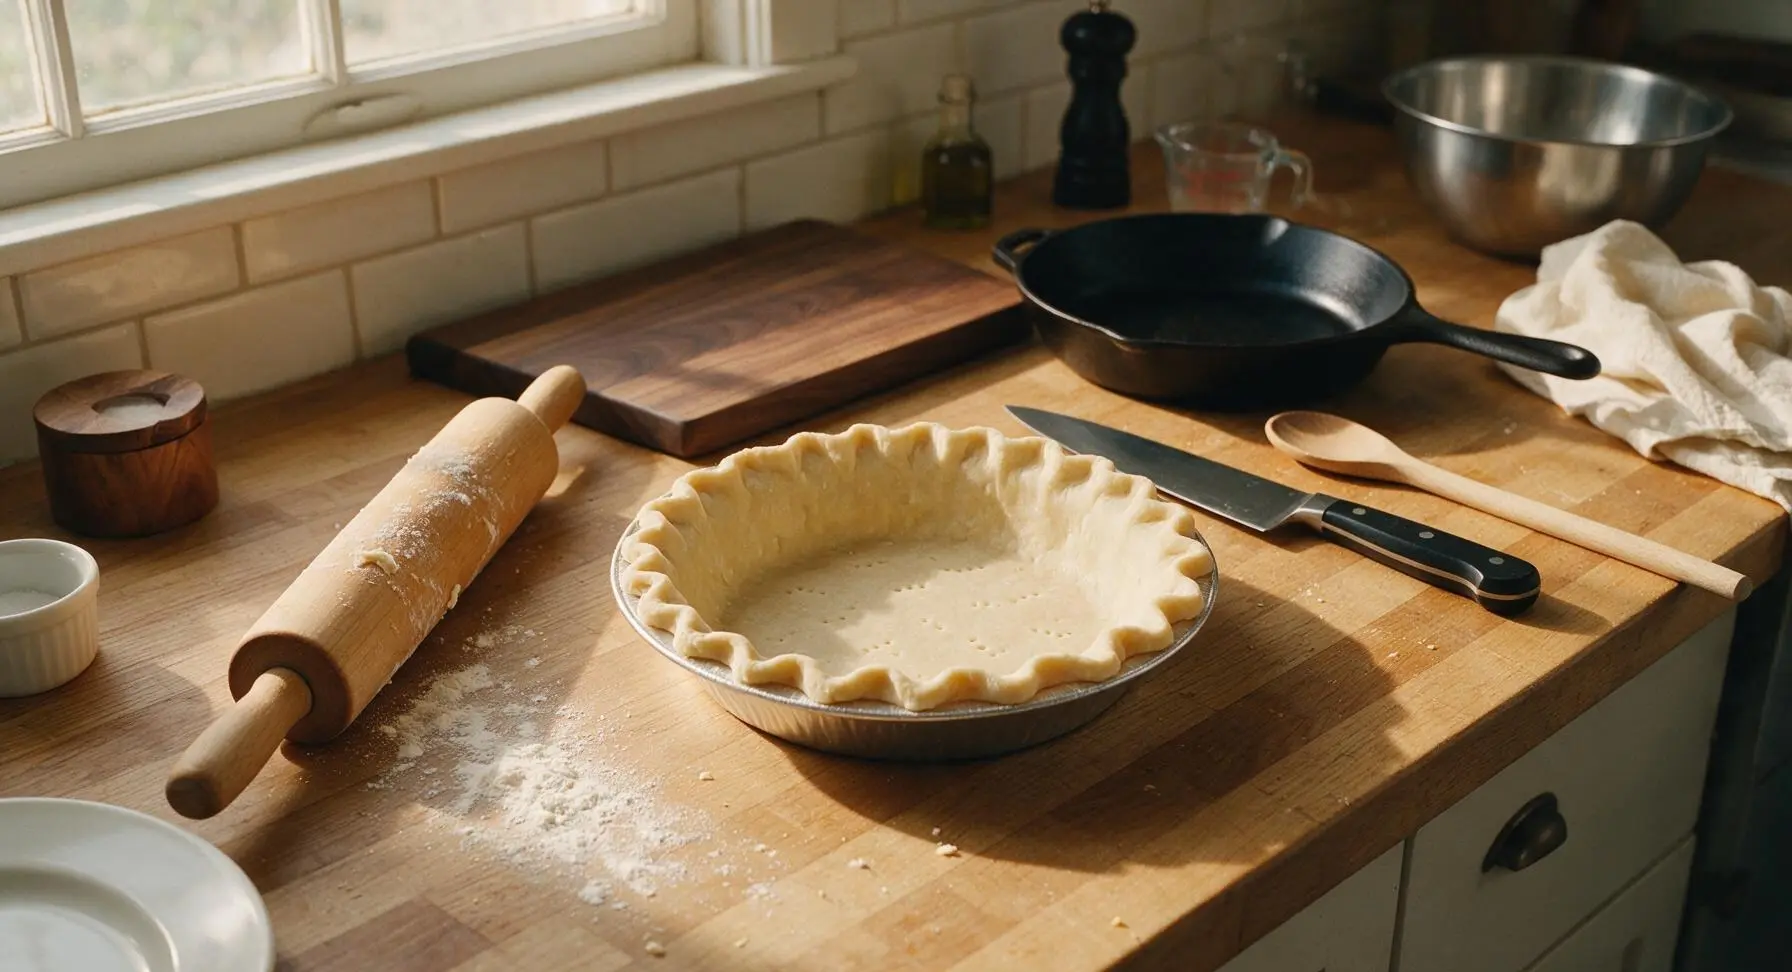
Preheat oven to 400°F (200°C). Lightly dust a small section of the counter with all-purpose flour. Unwrap the chilled pie crust disk, and use the maple rolling pin to roll it into a uniform 12-inch circle, 1/8-inch thick. Gently lift the rolled crust and lay it into the 9-inch aluminum pie dish, pressing it firmly against the dish bottom and fluted sides. Trim excess crust overhang to 1 inch, then crimp the edges into a uniform ruffled pattern with your fingers. Prick the crust bottom all over with a fork (15-20 shallow pokes) to prevent air bubbles from forming during baking. Place the lined dish in the refrigerator to chill for 10 minutes while you prepare the filling.
Whisk dry filling ingredients
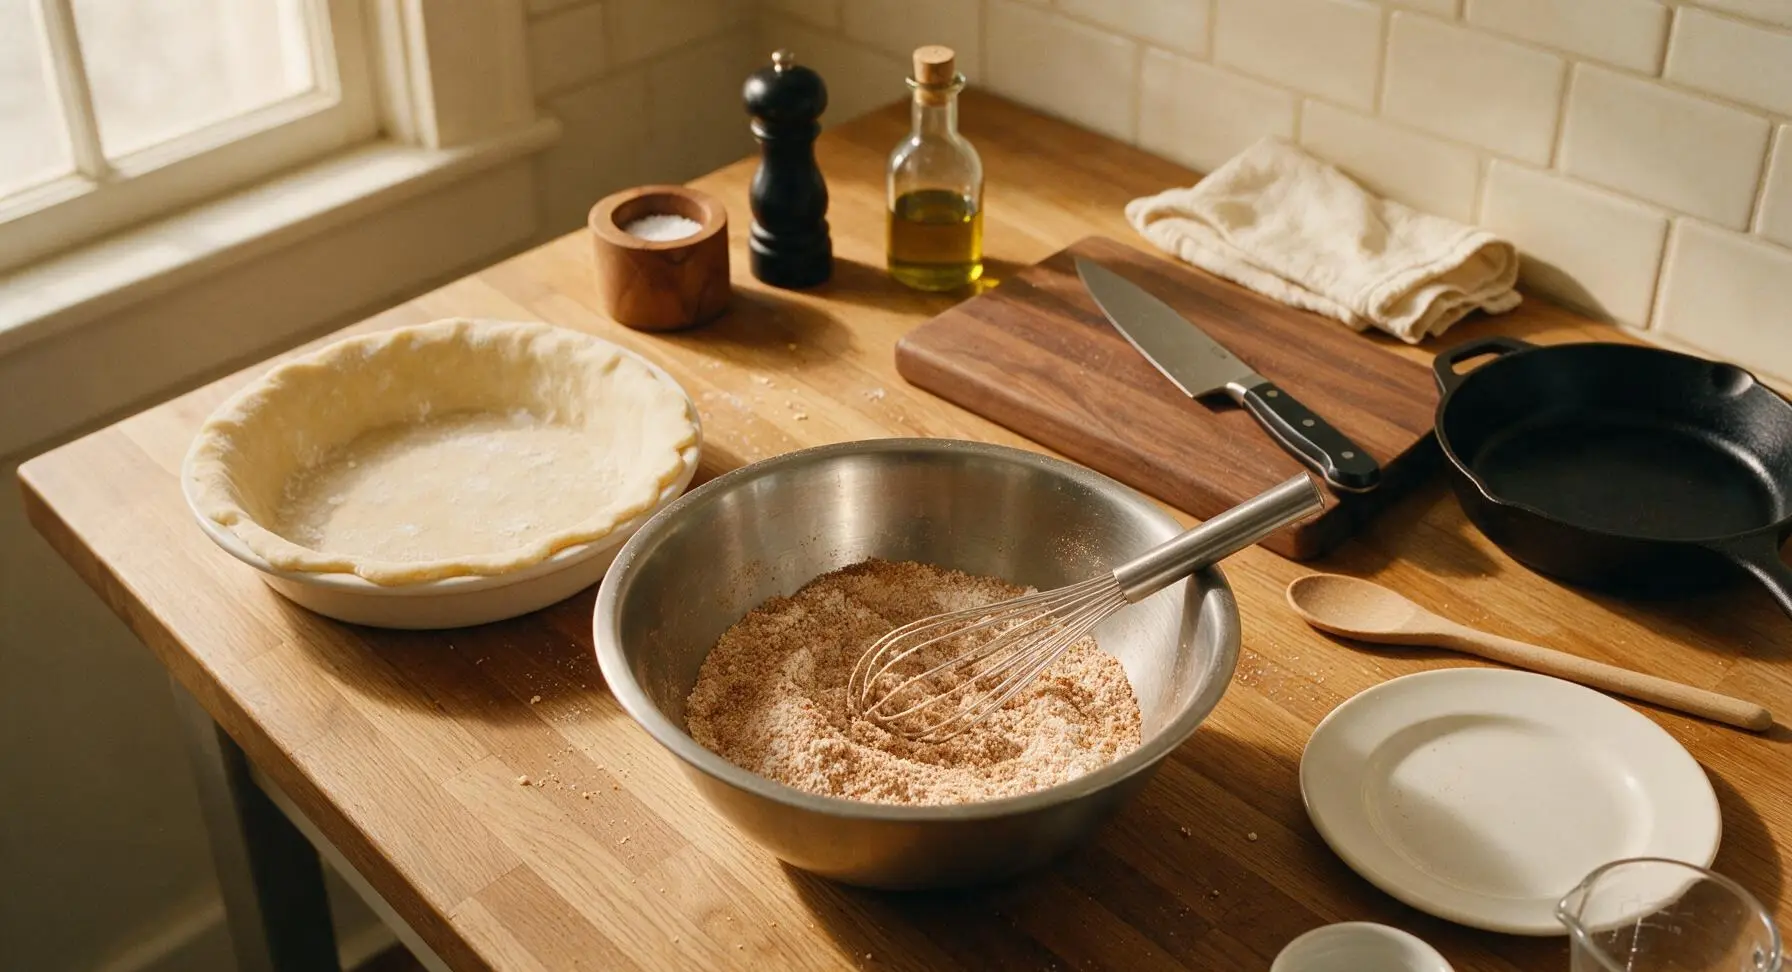
Place the medium brushed stainless steel mixing bowl on the center of the counter. Add 1 1/2 cups packed light brown sugar, 3 tablespoons all-purpose flour, 1/4 teaspoon fine sea salt, and 1/8 teaspoon ground cinnamon to the bowl. Use the stainless steel wire whisk to stir the dry mixture for 30 seconds, until fully combined with no lumps of flour or hard clumps of brown sugar remaining.
Mix in wet ingredients
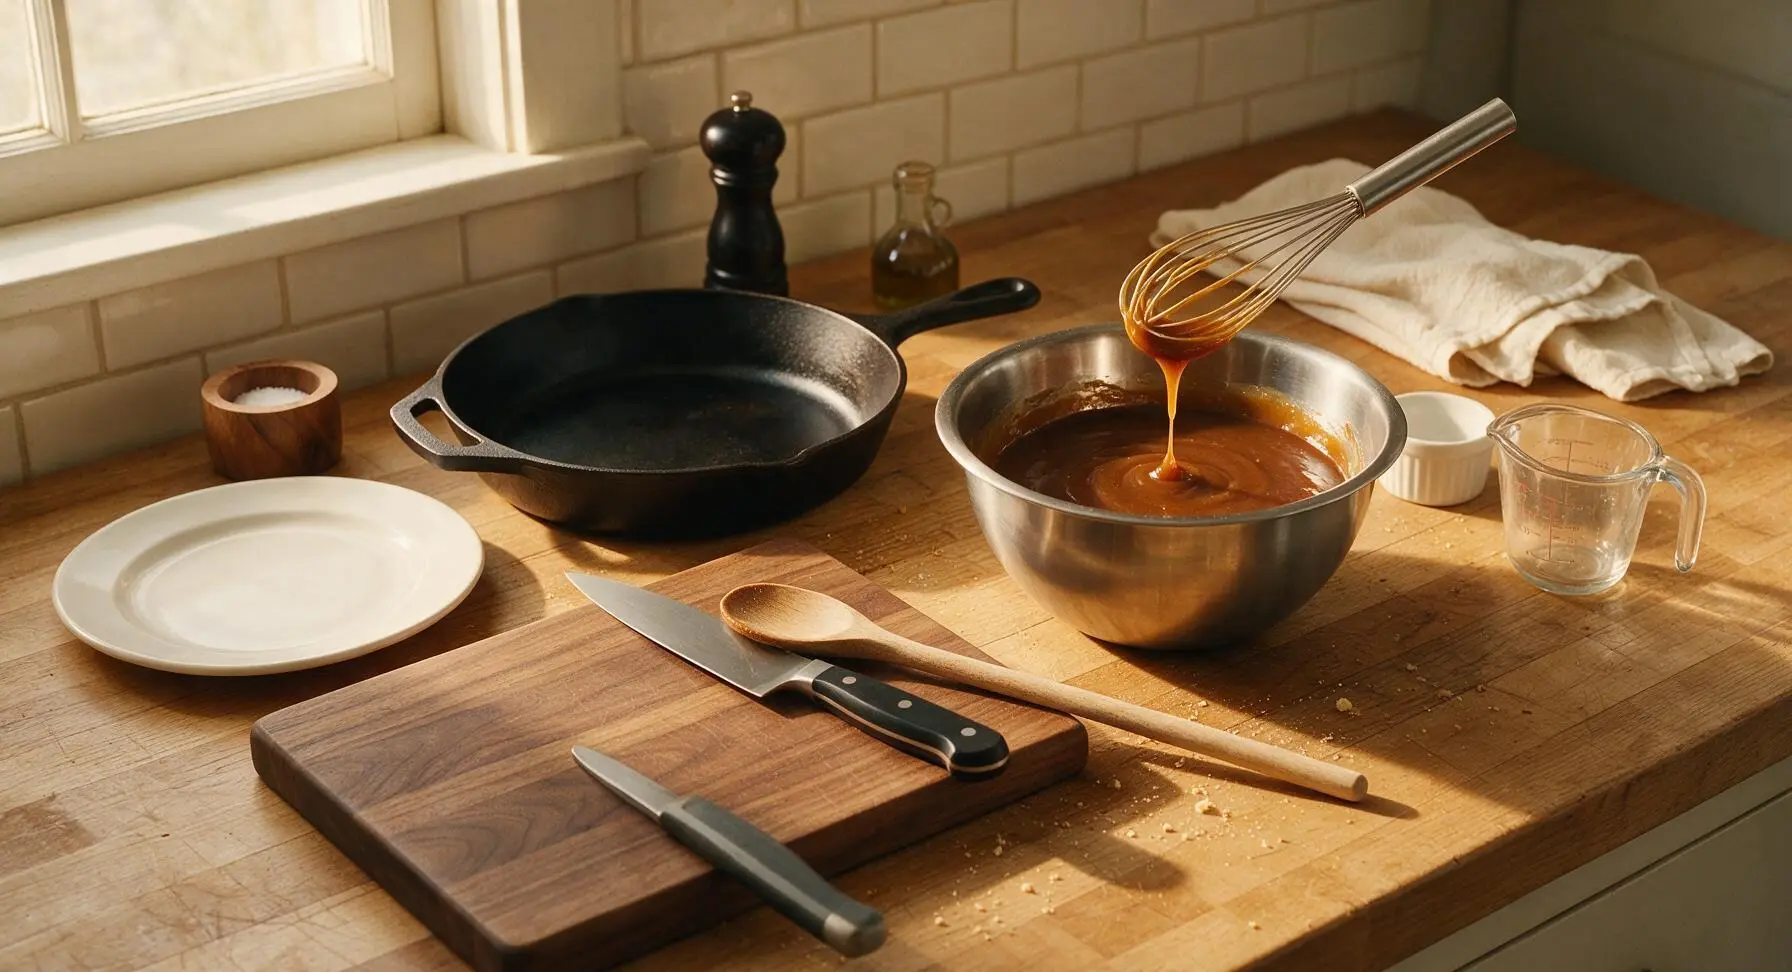
Crack 2 room-temperature large eggs into the dry mixture, whisking continuously until fully incorporated. Add 1/2 cup room-temperature heavy whipping cream, 1/4 cup melted and slightly cooled unsalted butter, and 1 teaspoon pure vanilla extract. Whisk steadily for 1 full minute, until the filling is completely smooth, glossy, and a uniform deep amber color. Avoid over-whisking, as excess air bubbles will cause the filling to crack as it bakes.

Pour filling into crust
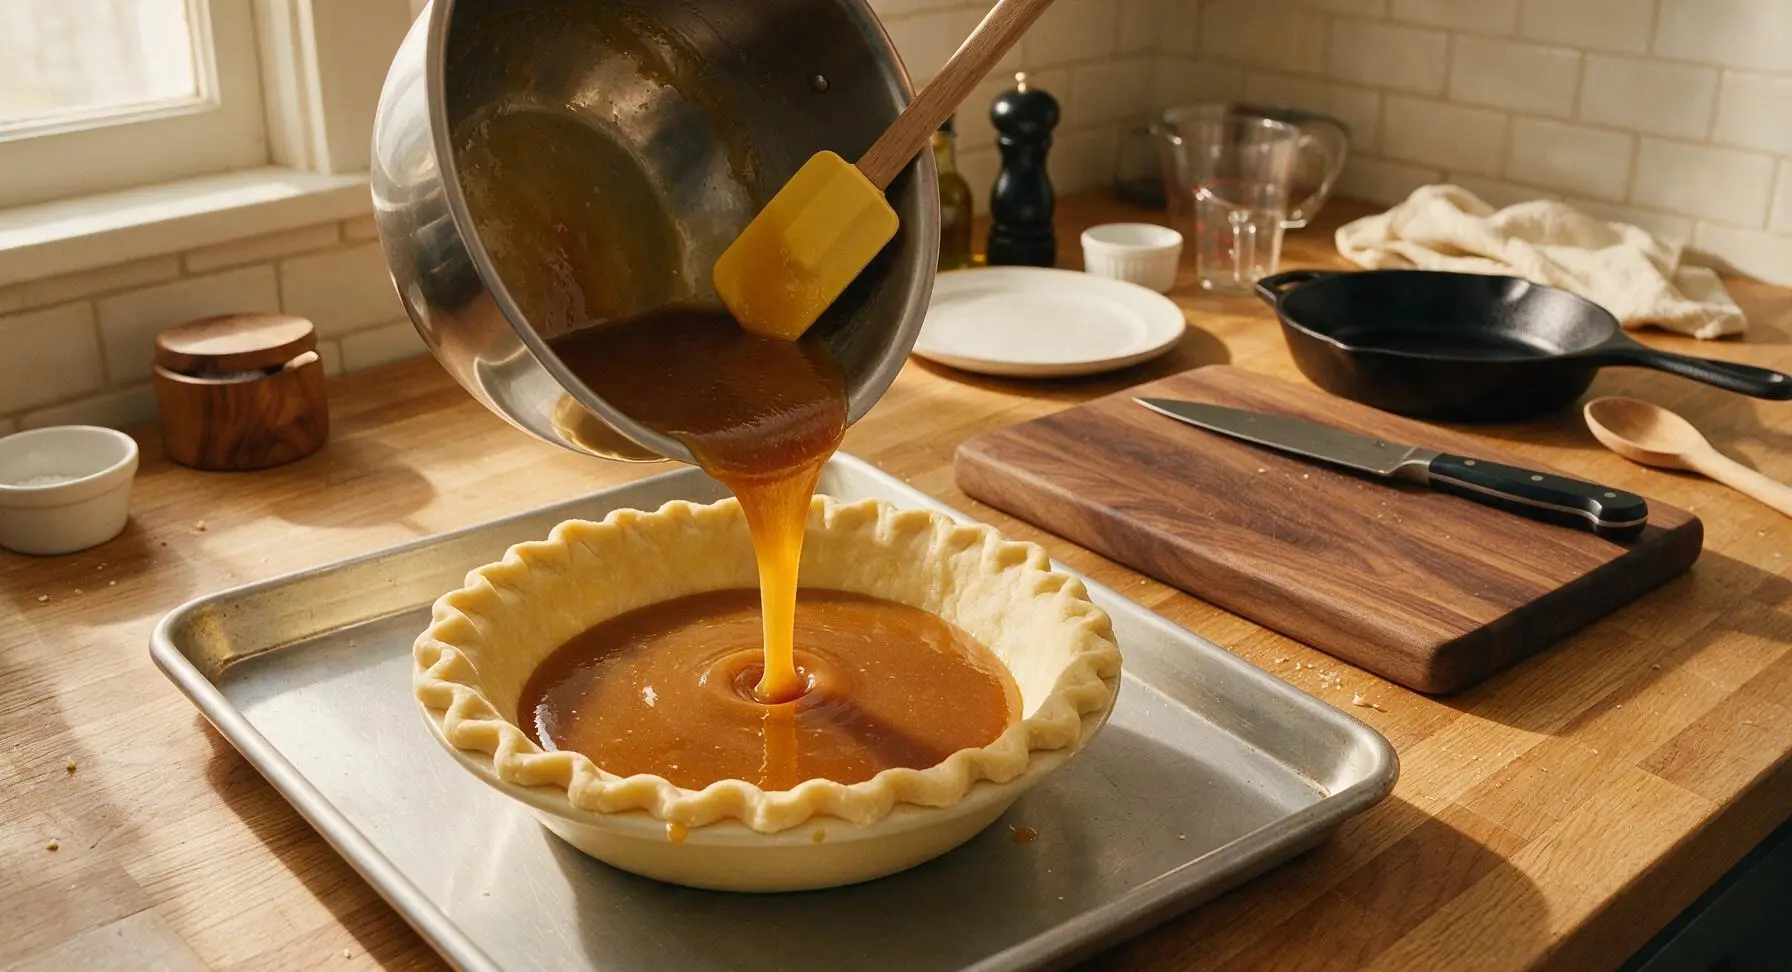
Remove the chilled crust-lined pie dish from the refrigerator and set it on the rimmed aluminum baking sheet to catch any drips during baking. Slowly pour the smooth sugar filling into the crust, using the butter-yellow silicone spatula to scrape every last bit of filling from the bowl. Stop pouring when the filling reaches 1/4 inch below the top of the crimped crust edge, to prevent bubbling over during baking.
Brush crust with egg wash
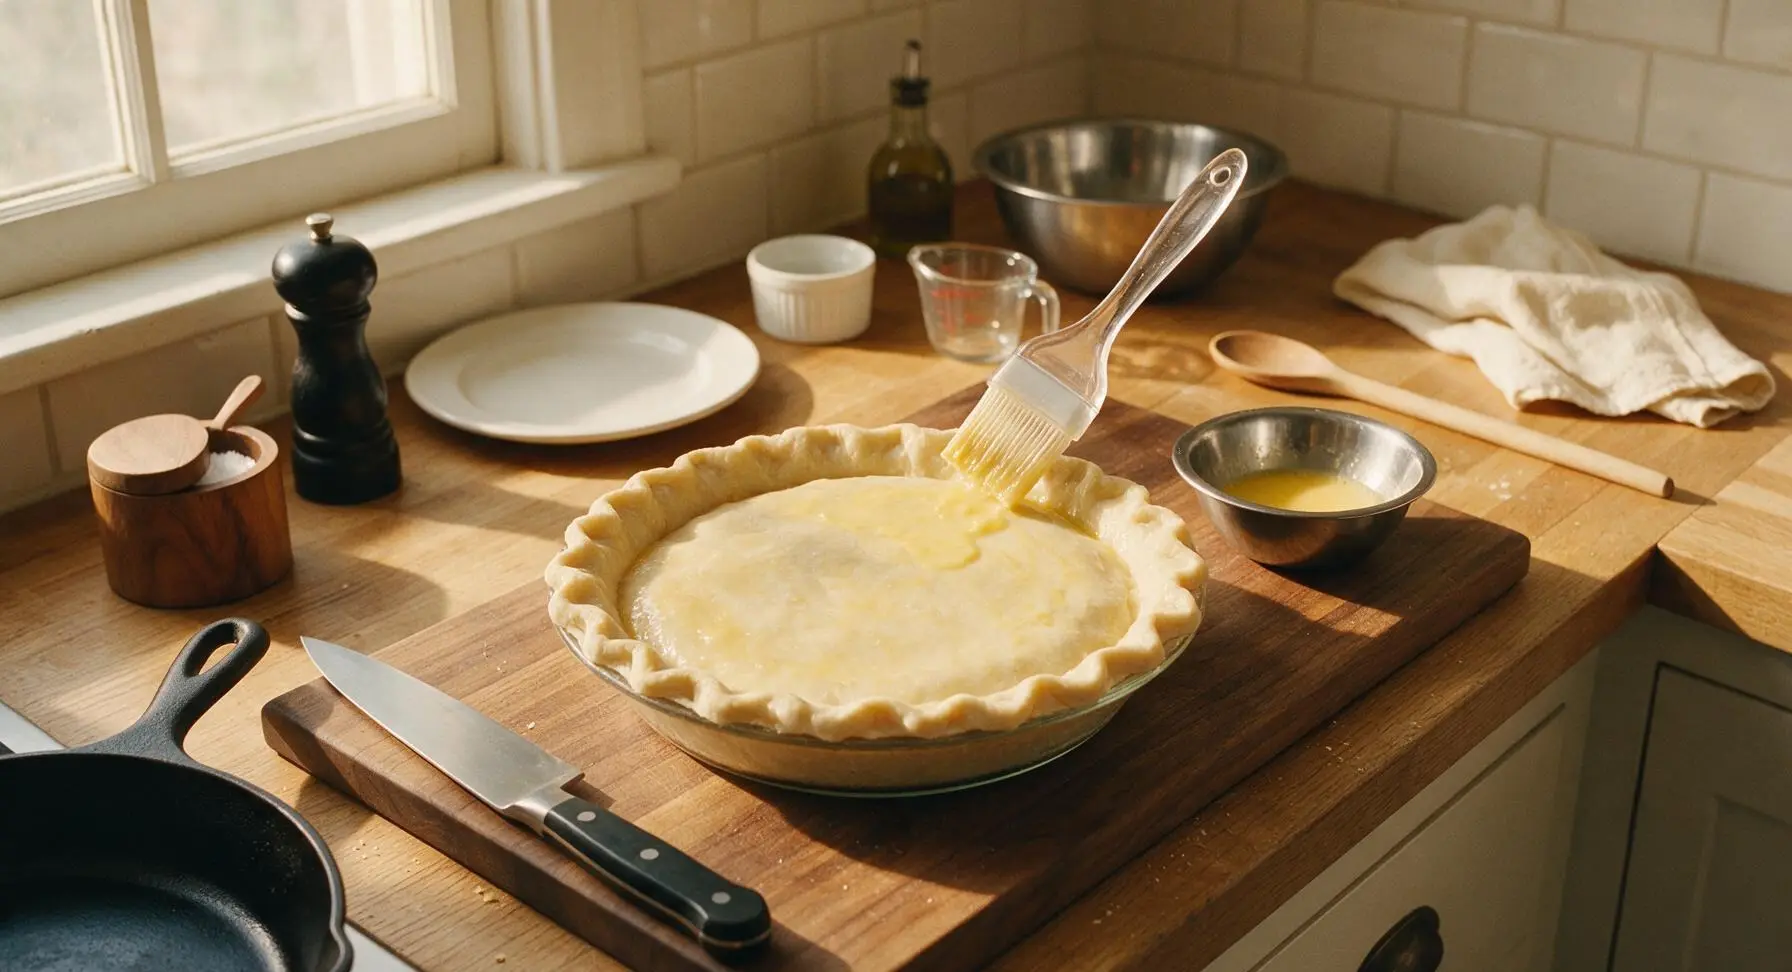
In the small polished stainless steel mixing bowl, whisk the remaining 1 large egg with 1 tablespoon whole milk until fully combined to make egg wash. Use the silicone pastry brush to gently coat the exposed crimped crust edges with a thin, even layer of egg wash, taking care not to drip wash onto the filling surface. The egg wash will create a crisp, deep golden crust as it bakes.
Bake pie until set
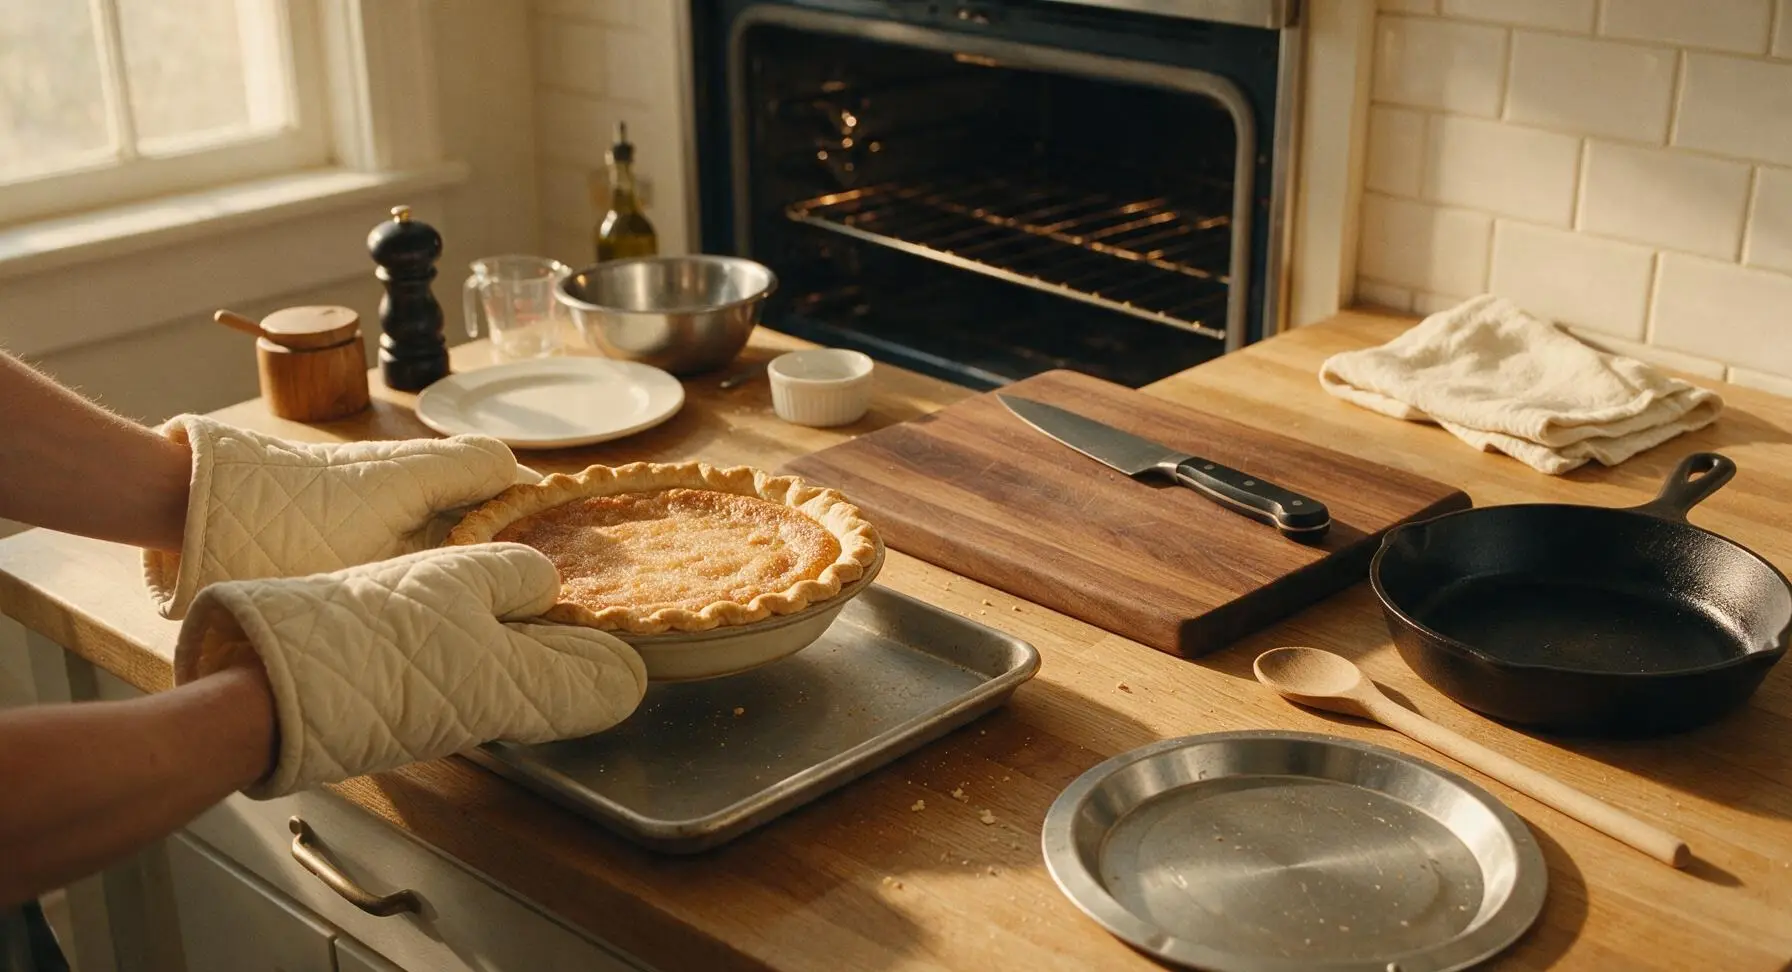
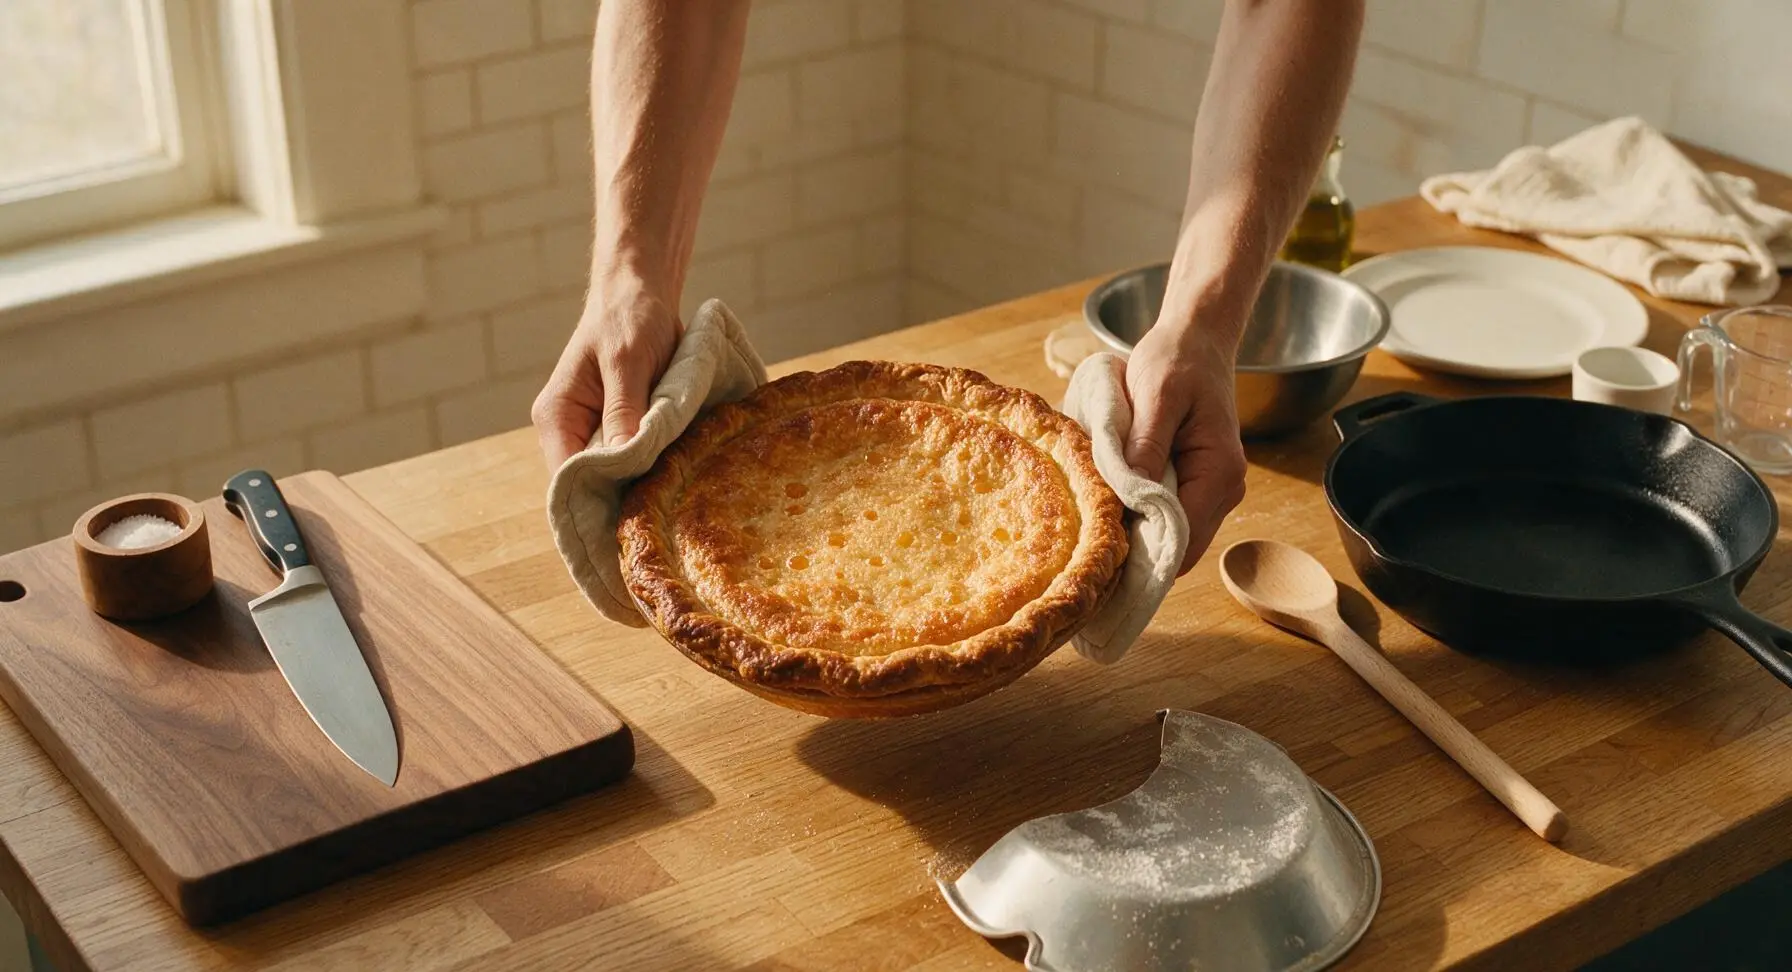
Carefully transfer the pie on its baking sheet to the preheated 400°F (200°C) oven. Bake for 10 minutes, then reduce the oven temperature to 350°F (175°C) and place the aluminum pie crust shield over the crimped edges to prevent them from burning. Continue baking for 35-40 additional minutes, until the filling is fully set around the edges but has a 2-inch wide soft jiggle in the very center (the center will set completely as the pie cools). Total bake time is 45-50 minutes.
Cool fully before serving
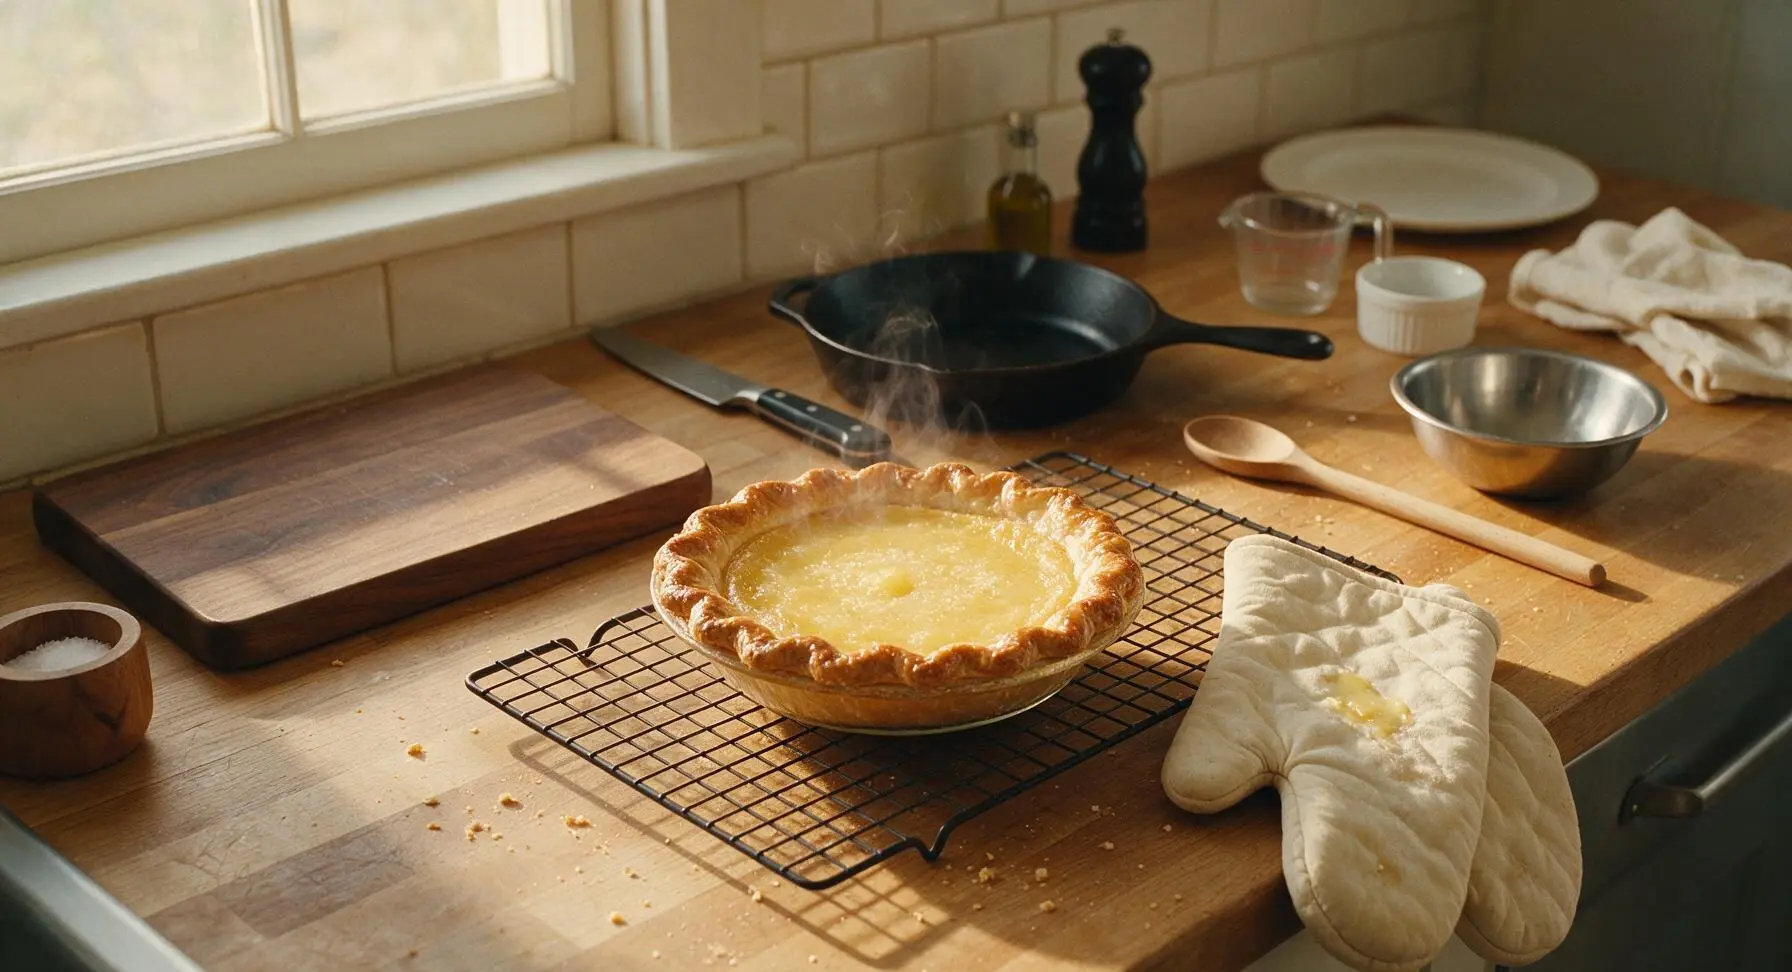
Transfer the hot pie directly from the oven to the matte black wire cooling rack set on the counter. Let it cool completely at room temperature for 2 full hours, until the filling is firm to the touch in the center with no jiggle remaining. Do not cut into the pie early, as the warm filling will be runny and will not set properly if sliced too soon.
Tips
2.Resist the urge to overbake the pie: the center will look soft and jiggly when you remove it from the oven, but it will firm up completely as it cools. Overbaking leads to a tough, cracked filling and a dry, overcooked crust.
3.Chill the fitted crust for 10 minutes before adding filling: this relaxes the gluten in the dough and firms up the butter, preventing the crimped edges from slumping or shrinking down the sides of the dish during baking.






OMG this sugar pie was SO good! I brought it to our church potluck last Sunday and every single slice was gone before I even got a second piece! The texture is perfectly creamy, not too sweet, and the crust came out flaky every bit as good as my grandma’s used to be. Total game changer for easy weeknight desserts too—my kids begged for seconds before they even finished their first slice.
Super easy recipe even for a total baking novice like me! I’ve messed up so many custard pies before (curdled fillings, soggy bottoms, you name it) but this turned out perfect first try. Cook time was right on 50 minutes for me, no adjustments needed. Only thing I did different was use a store-bought refrigerated crust because I was crunched for time before my family dinner, and nobody could tell the difference.
Made this last night for meal prep so I’d have a little sweet treat to grab after work all week, and wow—way better than I expected for how simple the ingredient list is! I was worried it would be cloyingly sweet since it’s a sugar pie, but the balance of vanilla and nutmeg cuts that perfectly. 10/10, will be adding this to my regular dessert rotation for sure.