
swiss chicken
intro
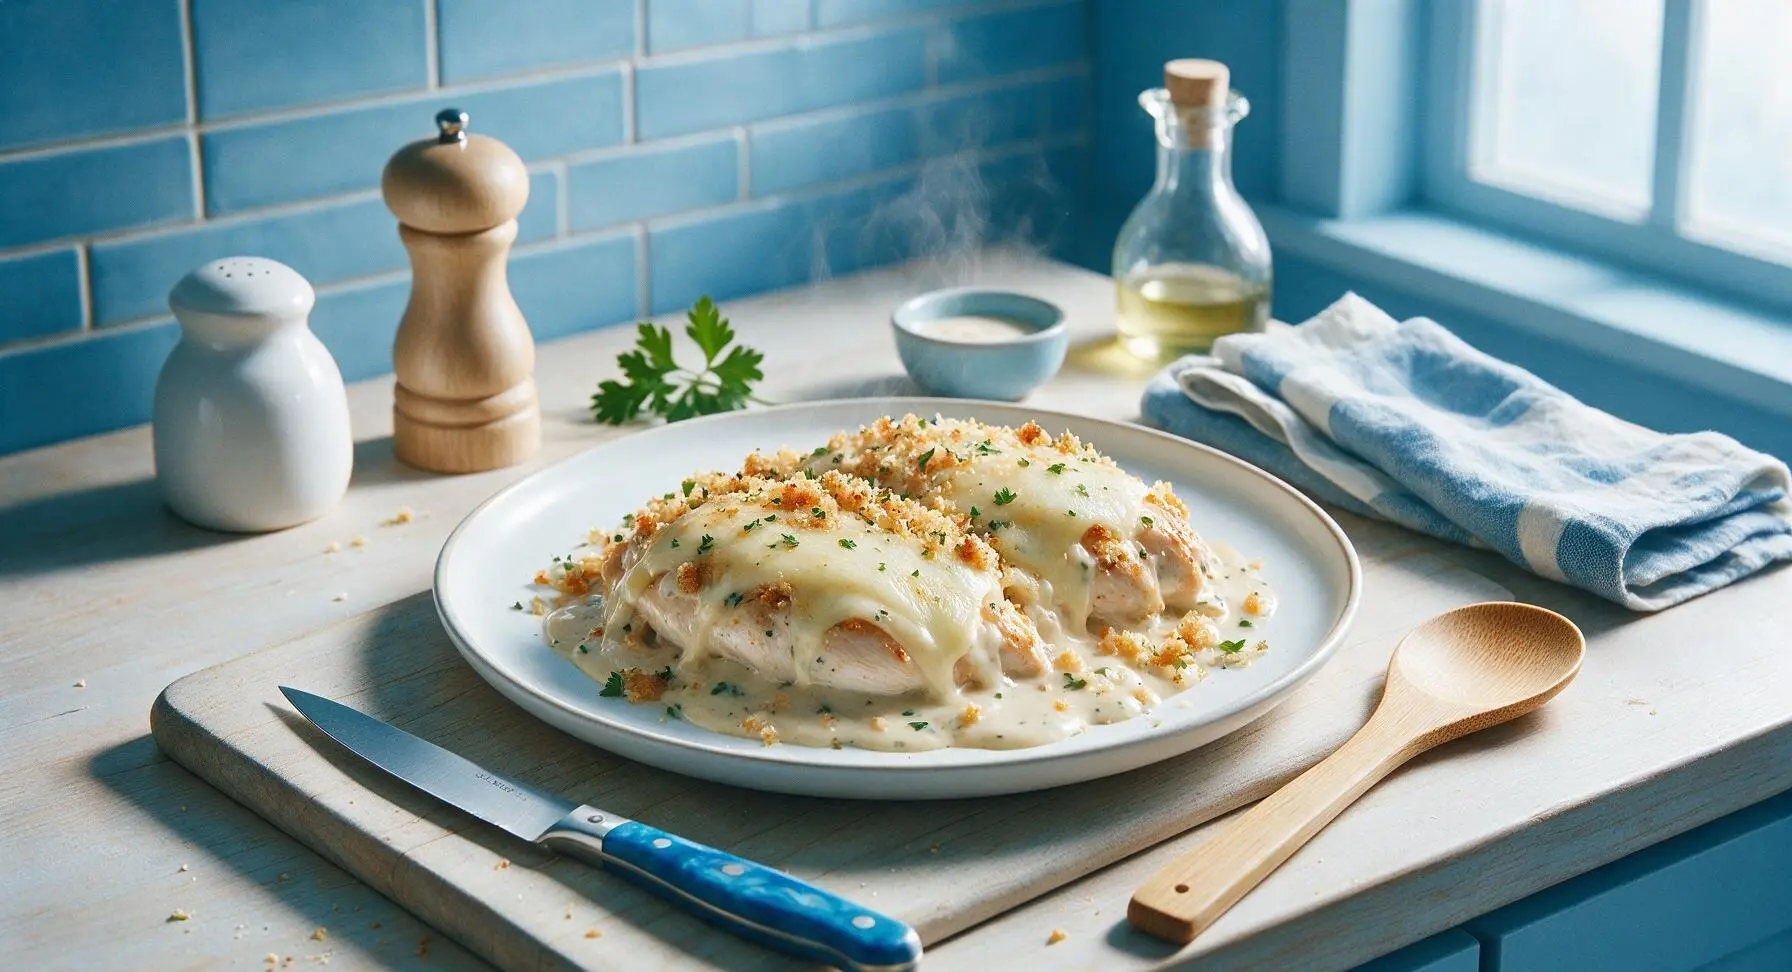
Tender, juicy chicken breasts baked under melty Swiss cheese, silky creamy sauce, and crisp herbed breadcrumbs—cozy, nostalgic comfort food ready in under an hour.
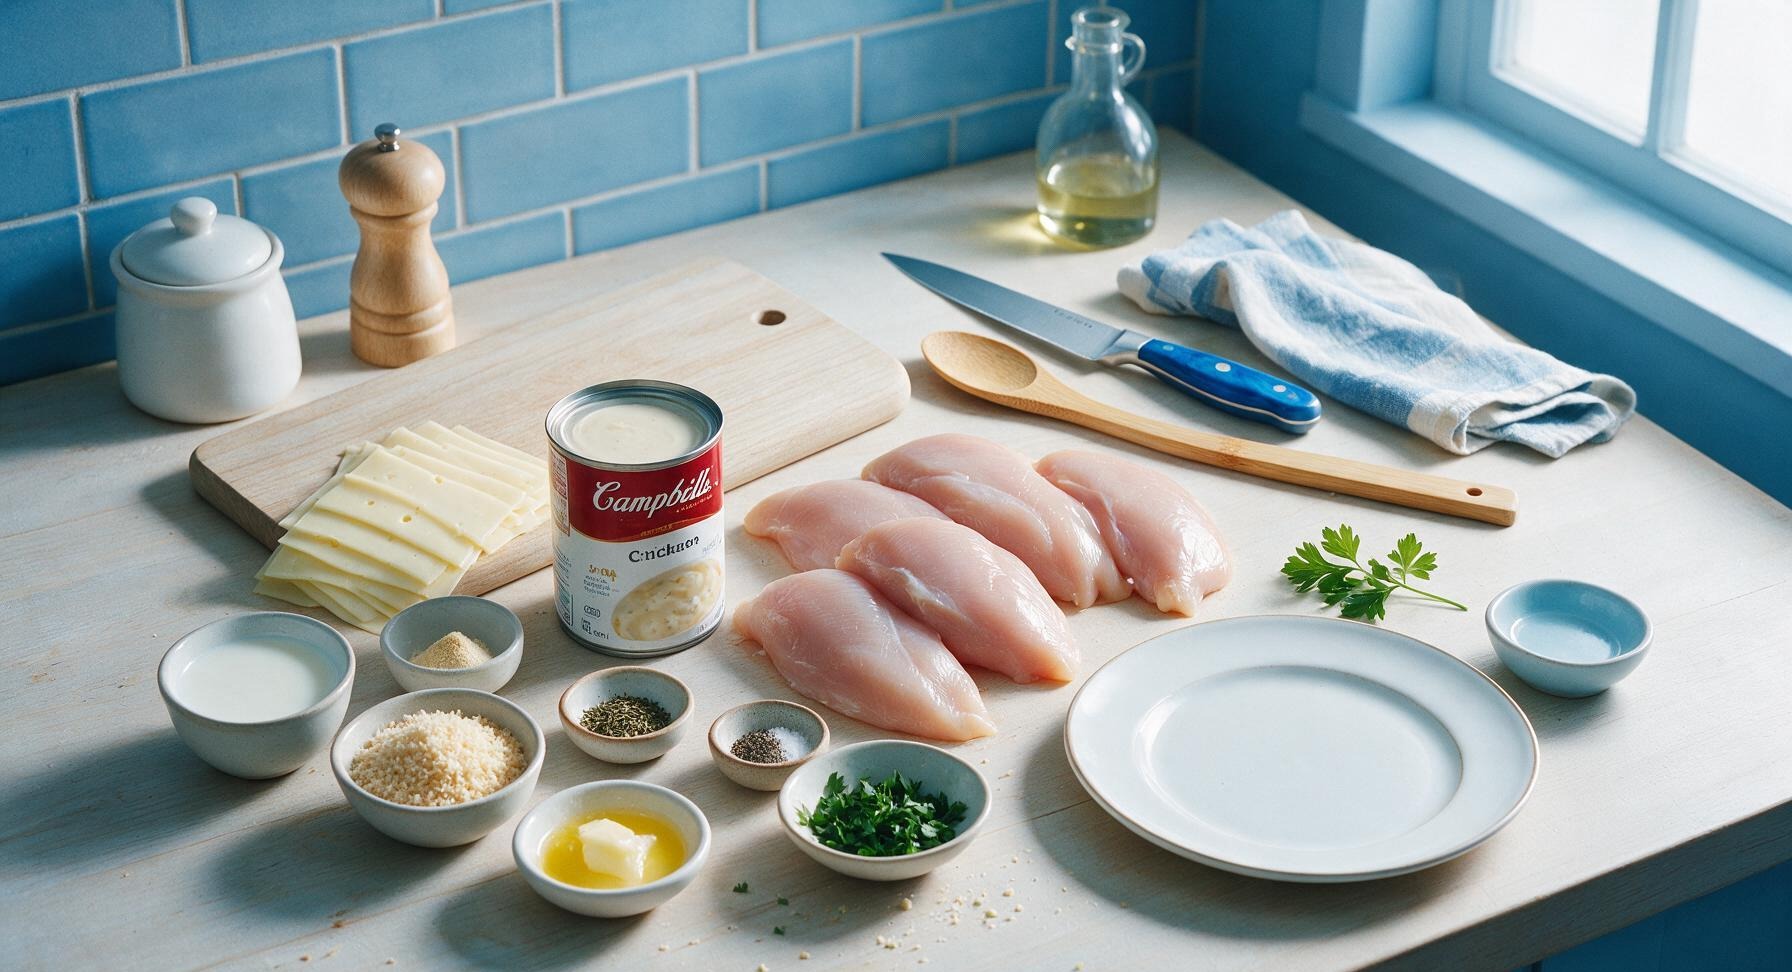
Ingredients
Steps
Prep and Season Chicken
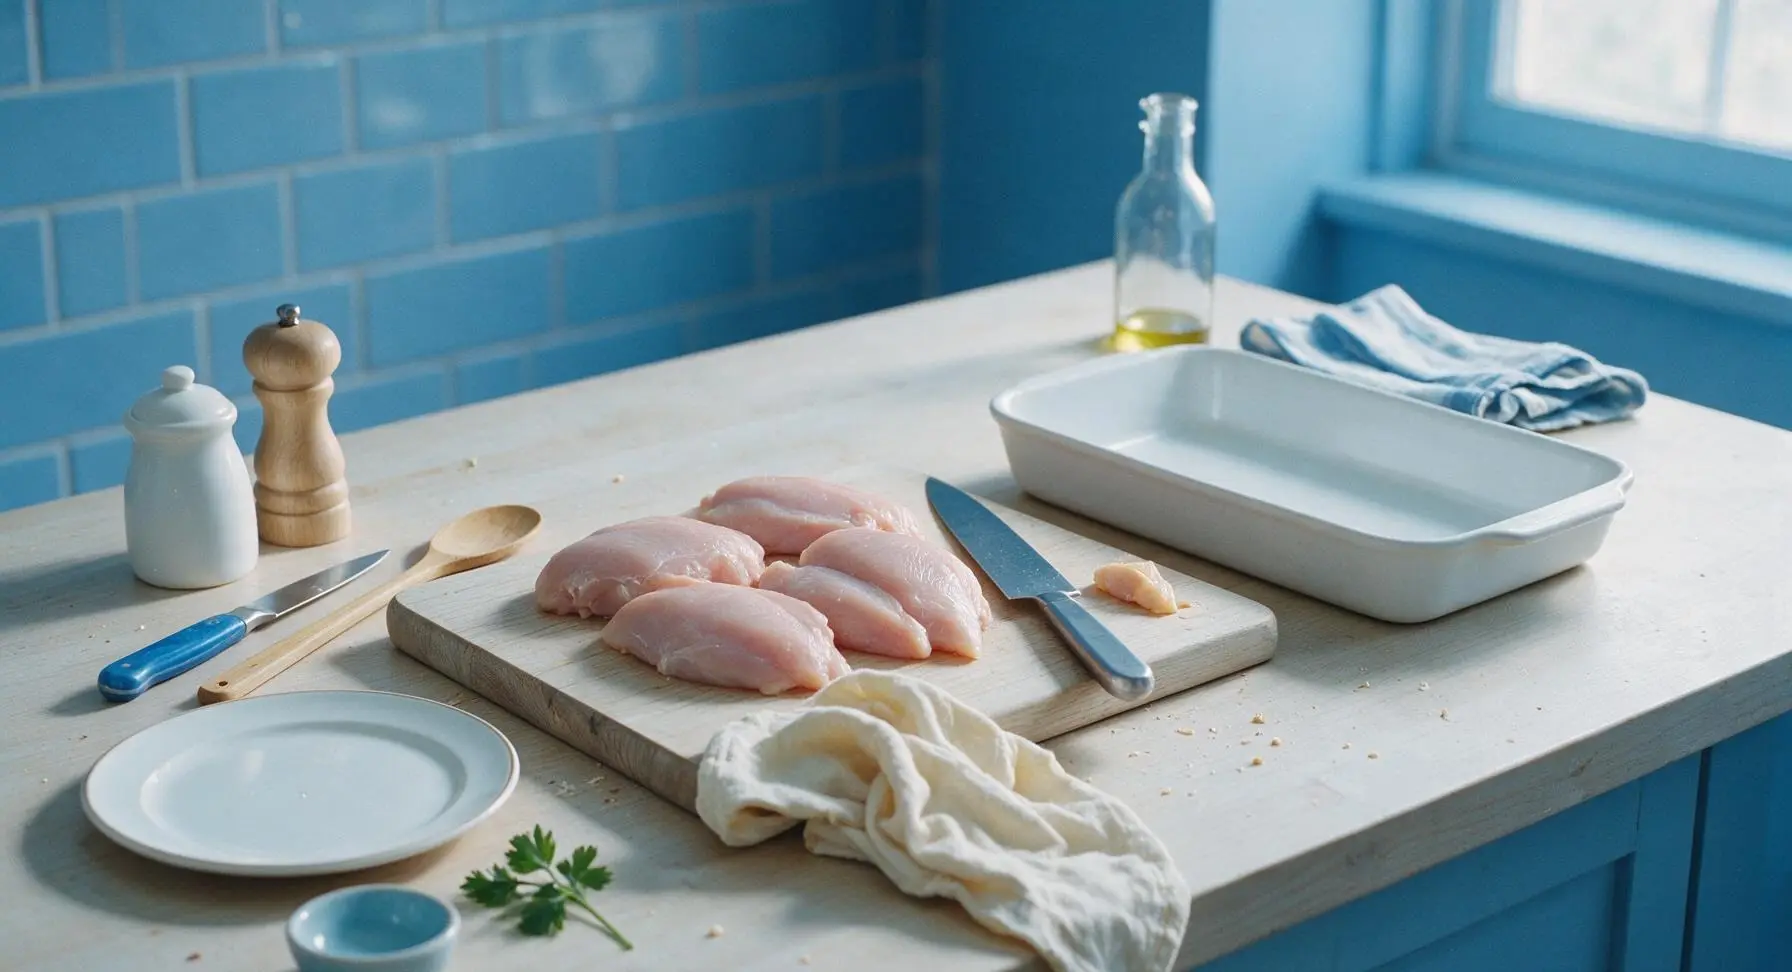
Preheat oven to 375°F (190°C). Place the 4 boneless, skinless chicken breasts on the light honey oak cutting board. Pat completely dry with the faded cream cotton kitchen towel, then season both sides lightly with 1/4 teaspoon black pepper (no extra salt is needed, as the soup and cheese contain sufficient sodium). Trim any visible excess fat or silver skin from the chicken using the 8-inch stainless steel chef knife. Aim for an even 1-inch thickness across all breasts for consistent cooking; pound thick sections gently with the flat of the knife if needed.
Layer Chicken and Cheese
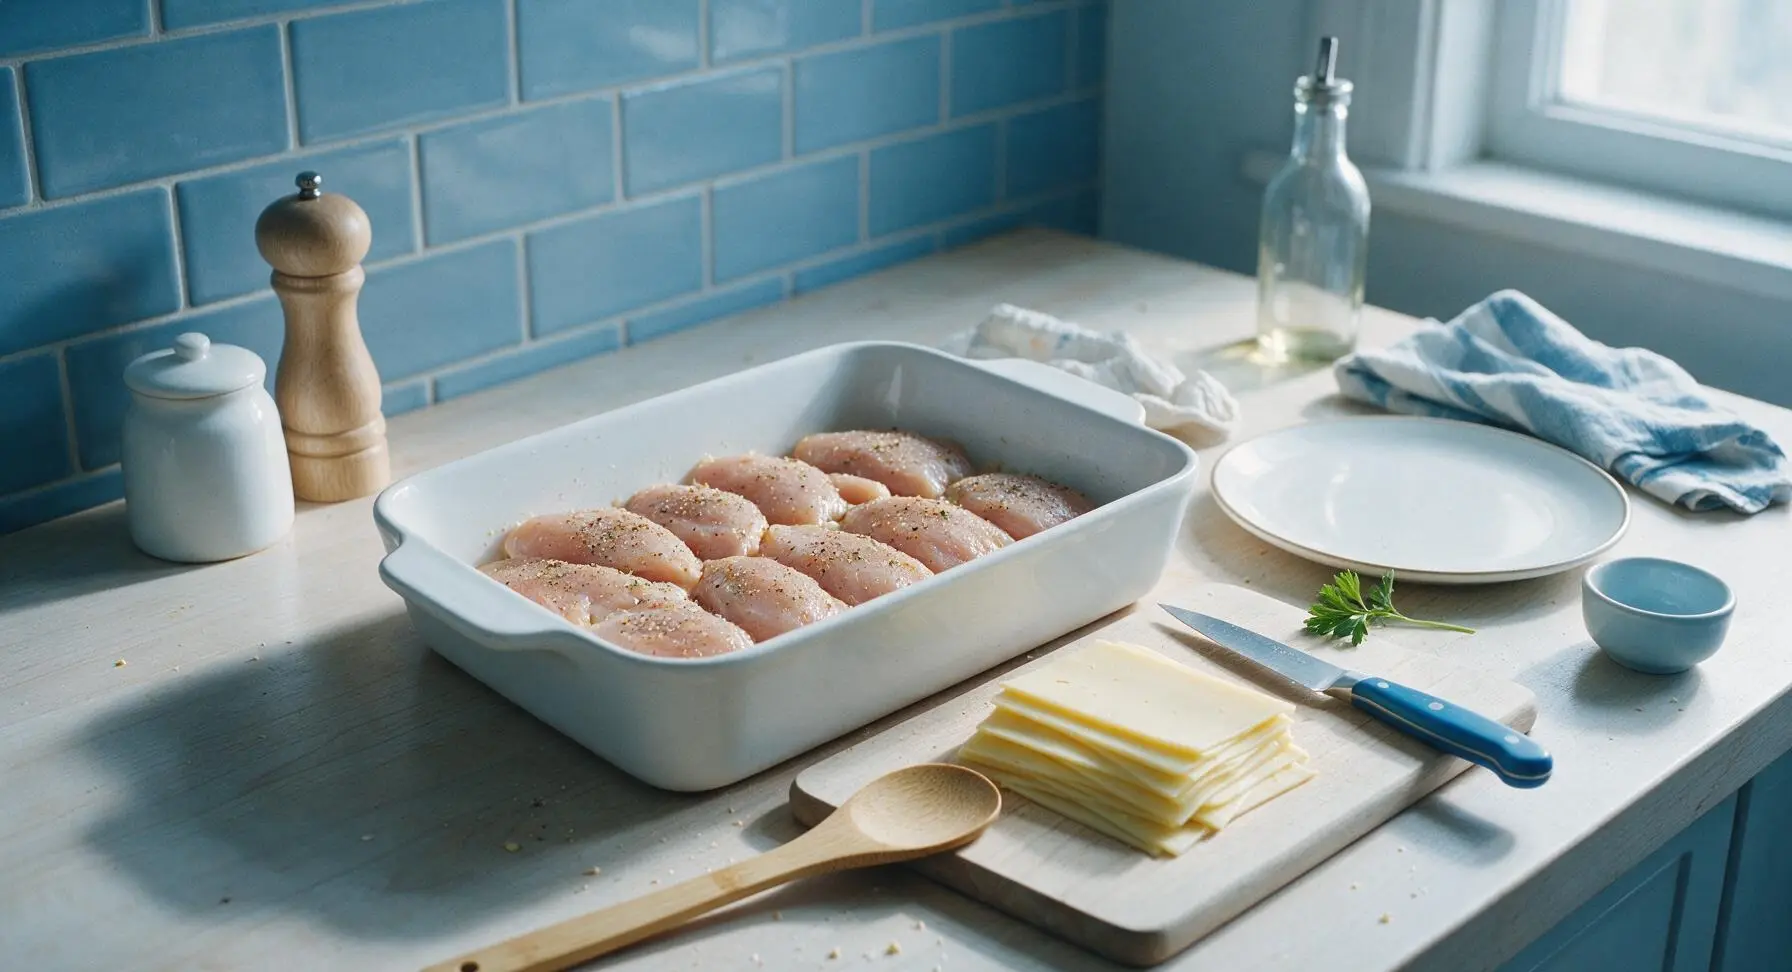
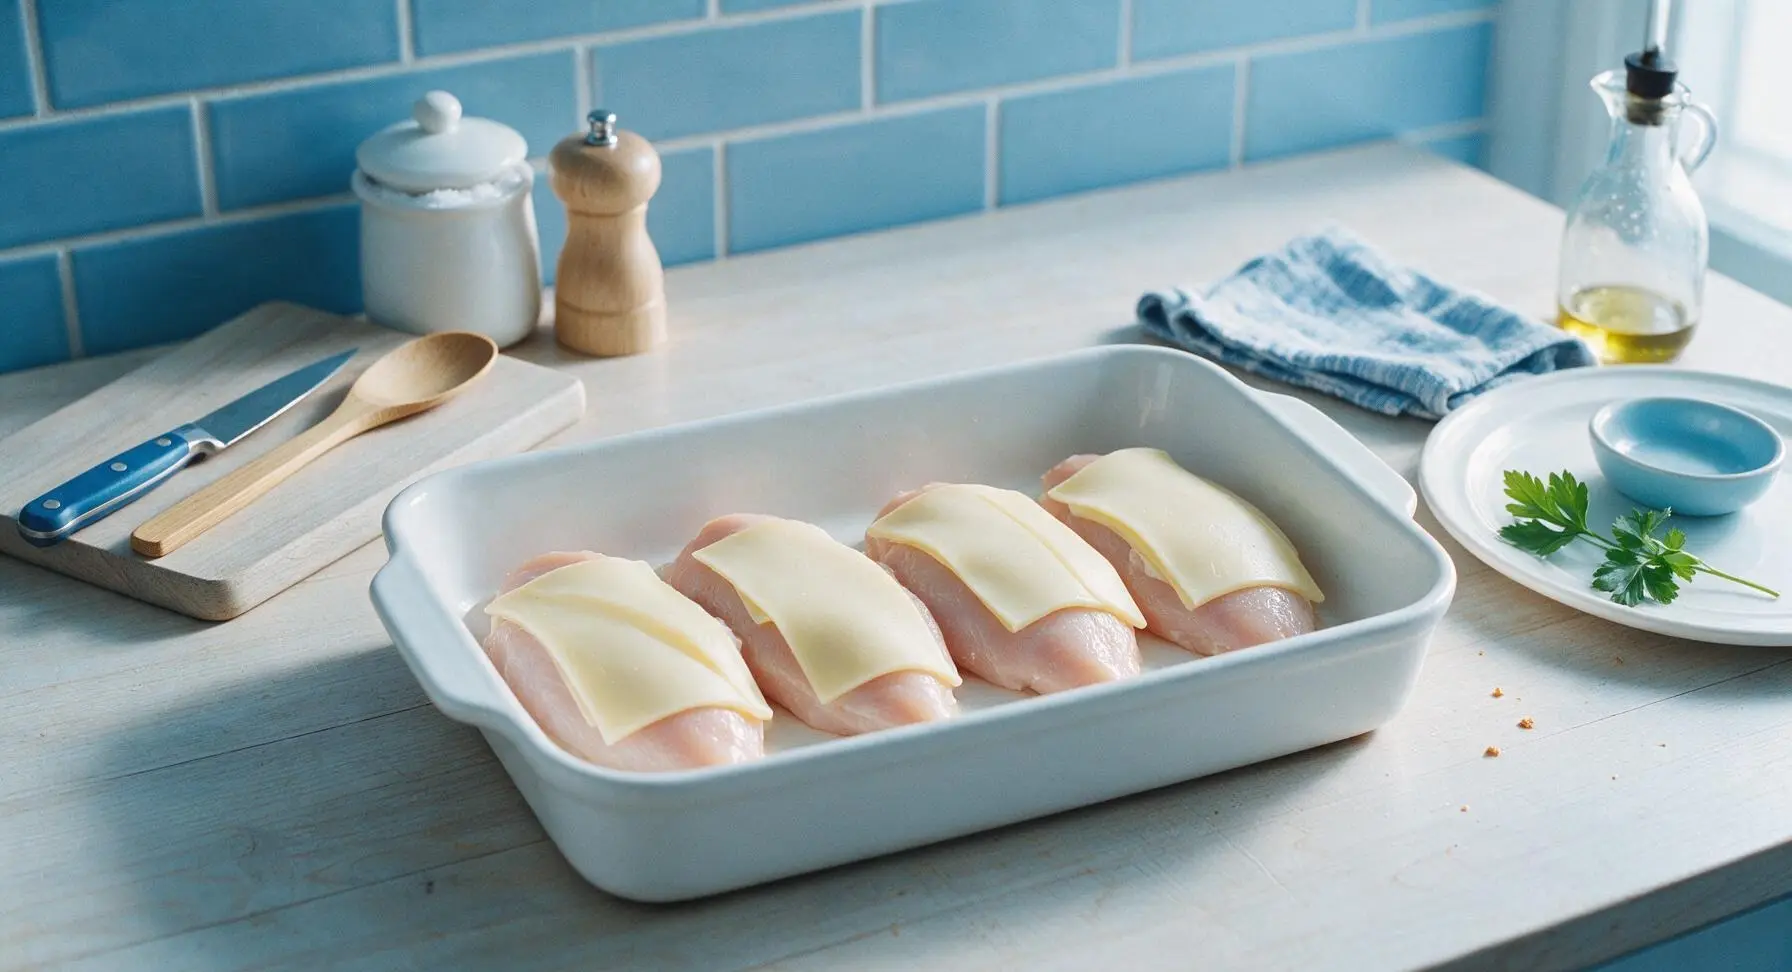
Arrange the seasoned chicken breasts in a single even layer in the 9x13 inch matte white ceramic baking dish, leaving 1/2-inch gaps between each piece for sauce to flow. Top each chicken breast with 2 slices of Swiss cheese, overlapping slightly to cover the entire top surface of the chicken. Let the cheese hang slightly over the edges of the chicken to lock in moisture and prevent the meat from drying out during baking.
Mix Creamy Sauce Base
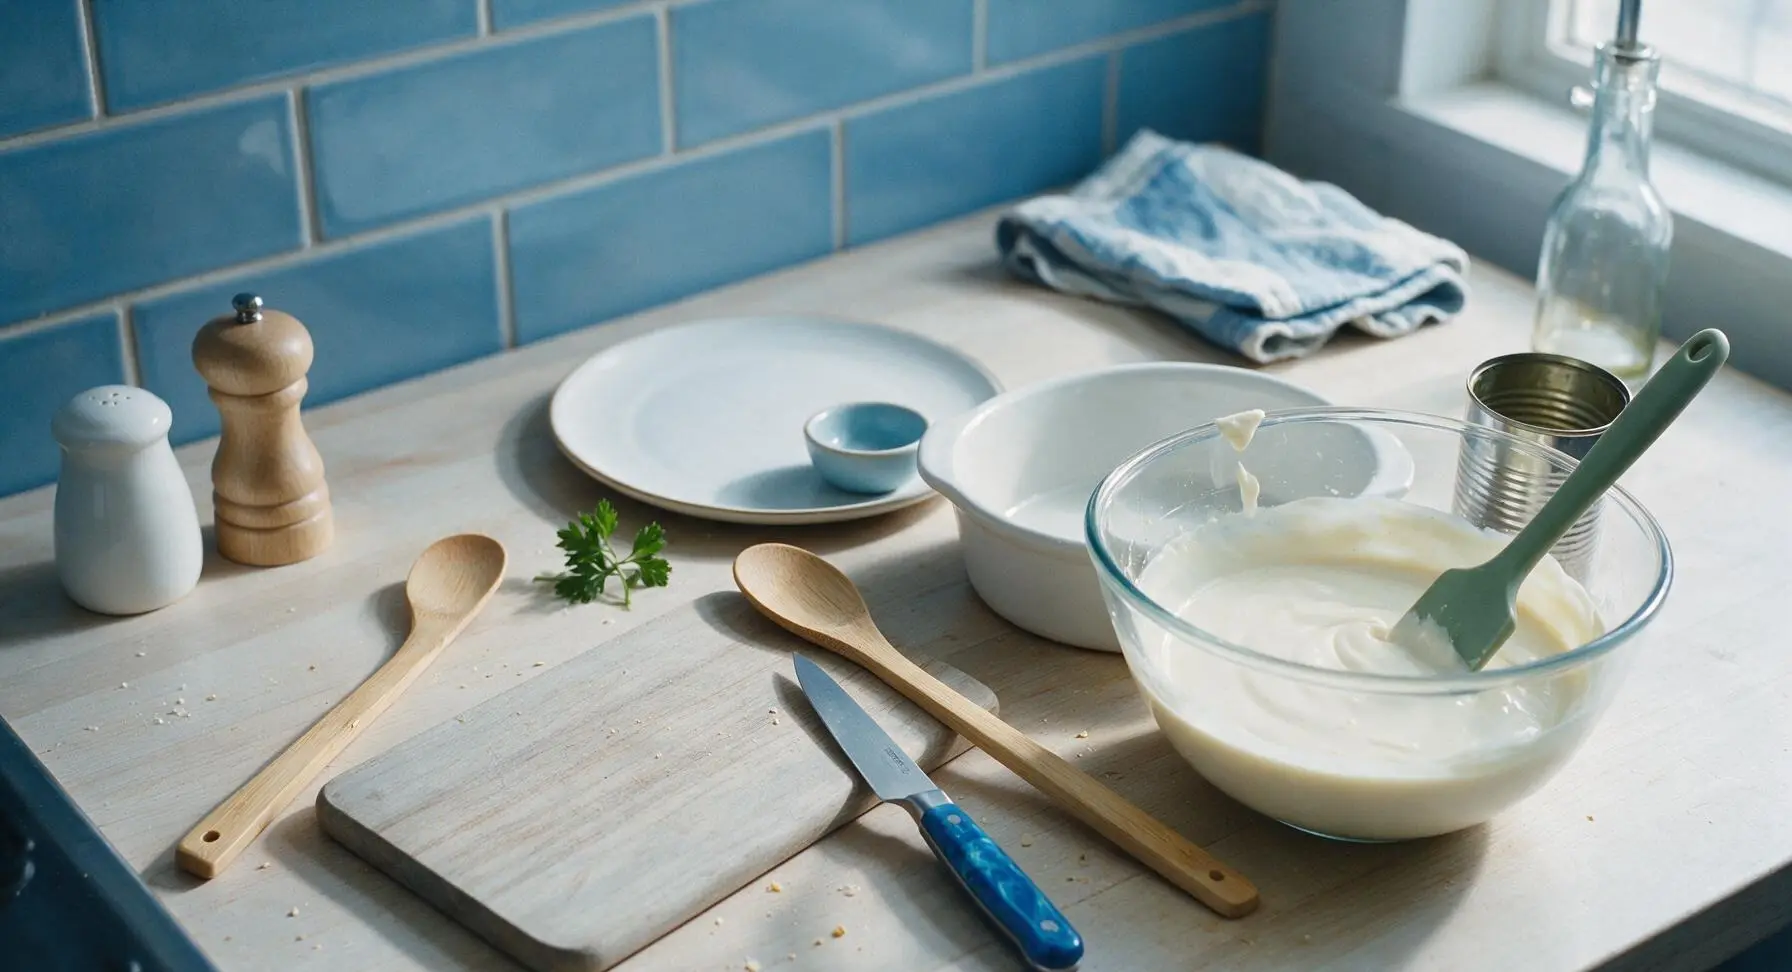
In the medium clear glass mixing bowl, combine the 300g can of condensed cream of chicken soup, 1/4 cup whole milk, 1/2 teaspoon garlic powder, and 1/4 teaspoon dried thyme. Stir thoroughly with the sage green silicone spatula until completely smooth, with no lumps of condensed soup remaining. The finished sauce should have the consistency of thick heavy cream, thin enough to pour easily over the chicken.
Pour Sauce Over Layers
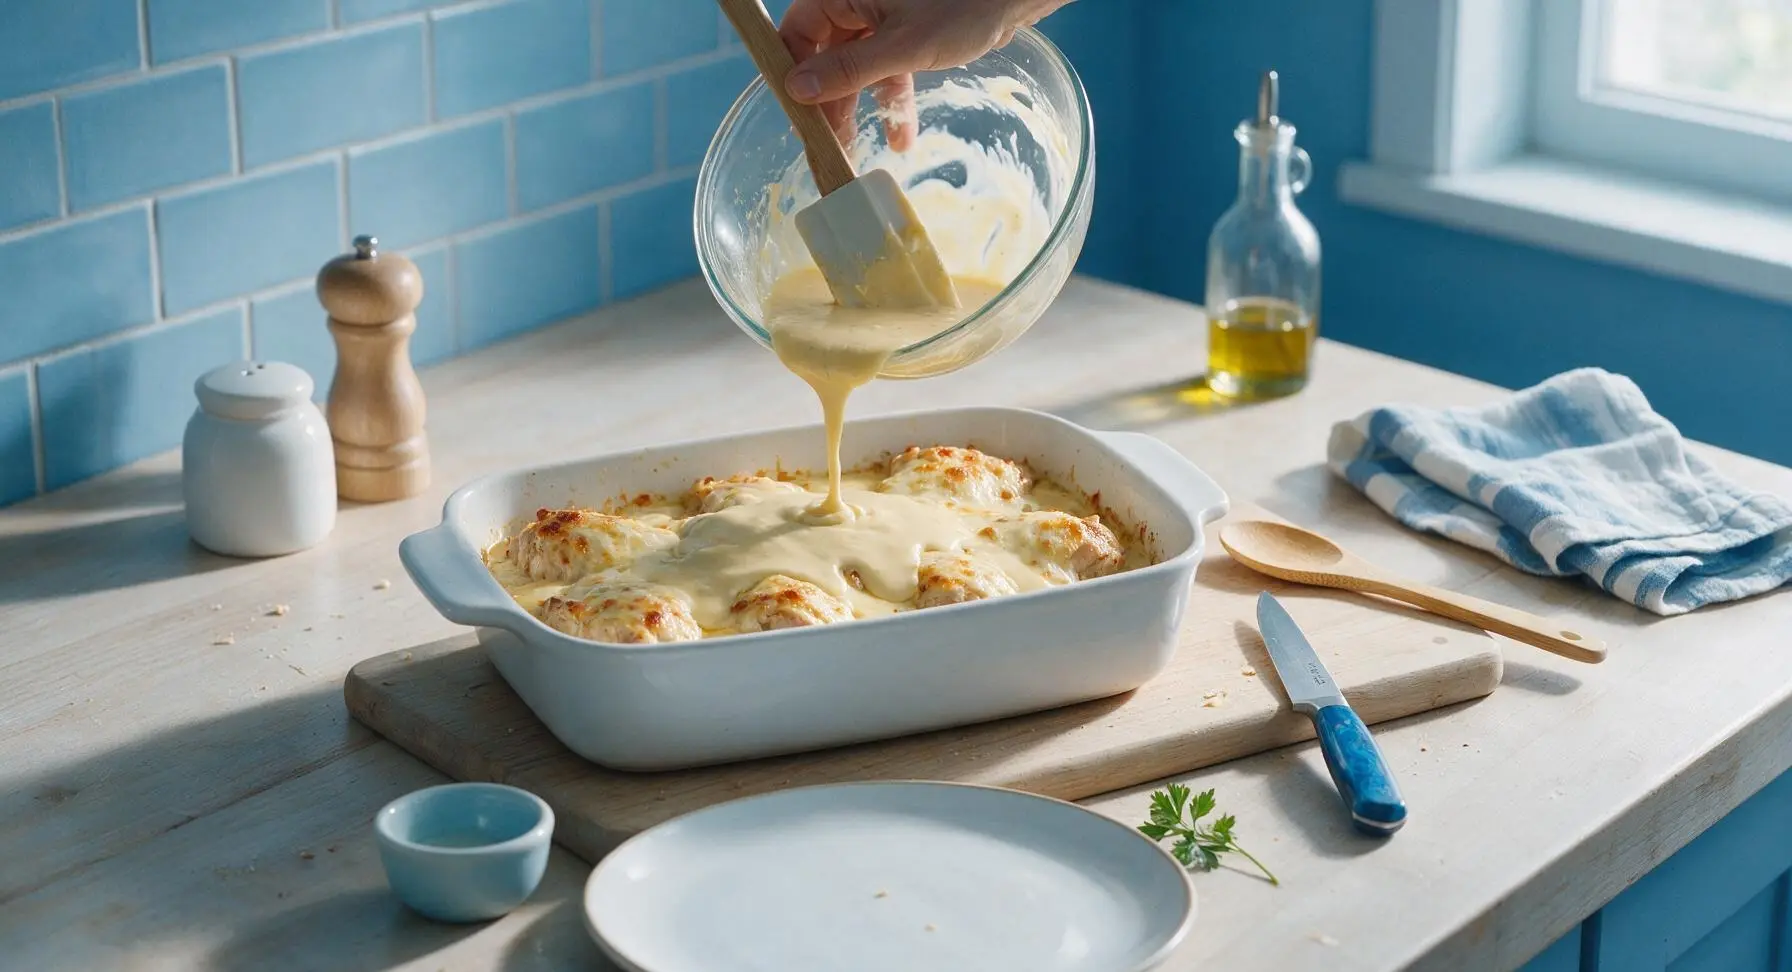
Slowly pour the entire creamy sauce mixture over the cheese-topped chicken in the baking dish, using the silicone spatula to scrape every last bit of sauce from the bowl. Spread the sauce gently with the spatula to ensure it covers all the cheese and fills the gaps between the chicken pieces, leaving no dry cheese or chicken exposed. The sauce will settle around the chicken as it bakes, creating a moist, steamy cooking environment.
Prepare Breadcrumb Topping
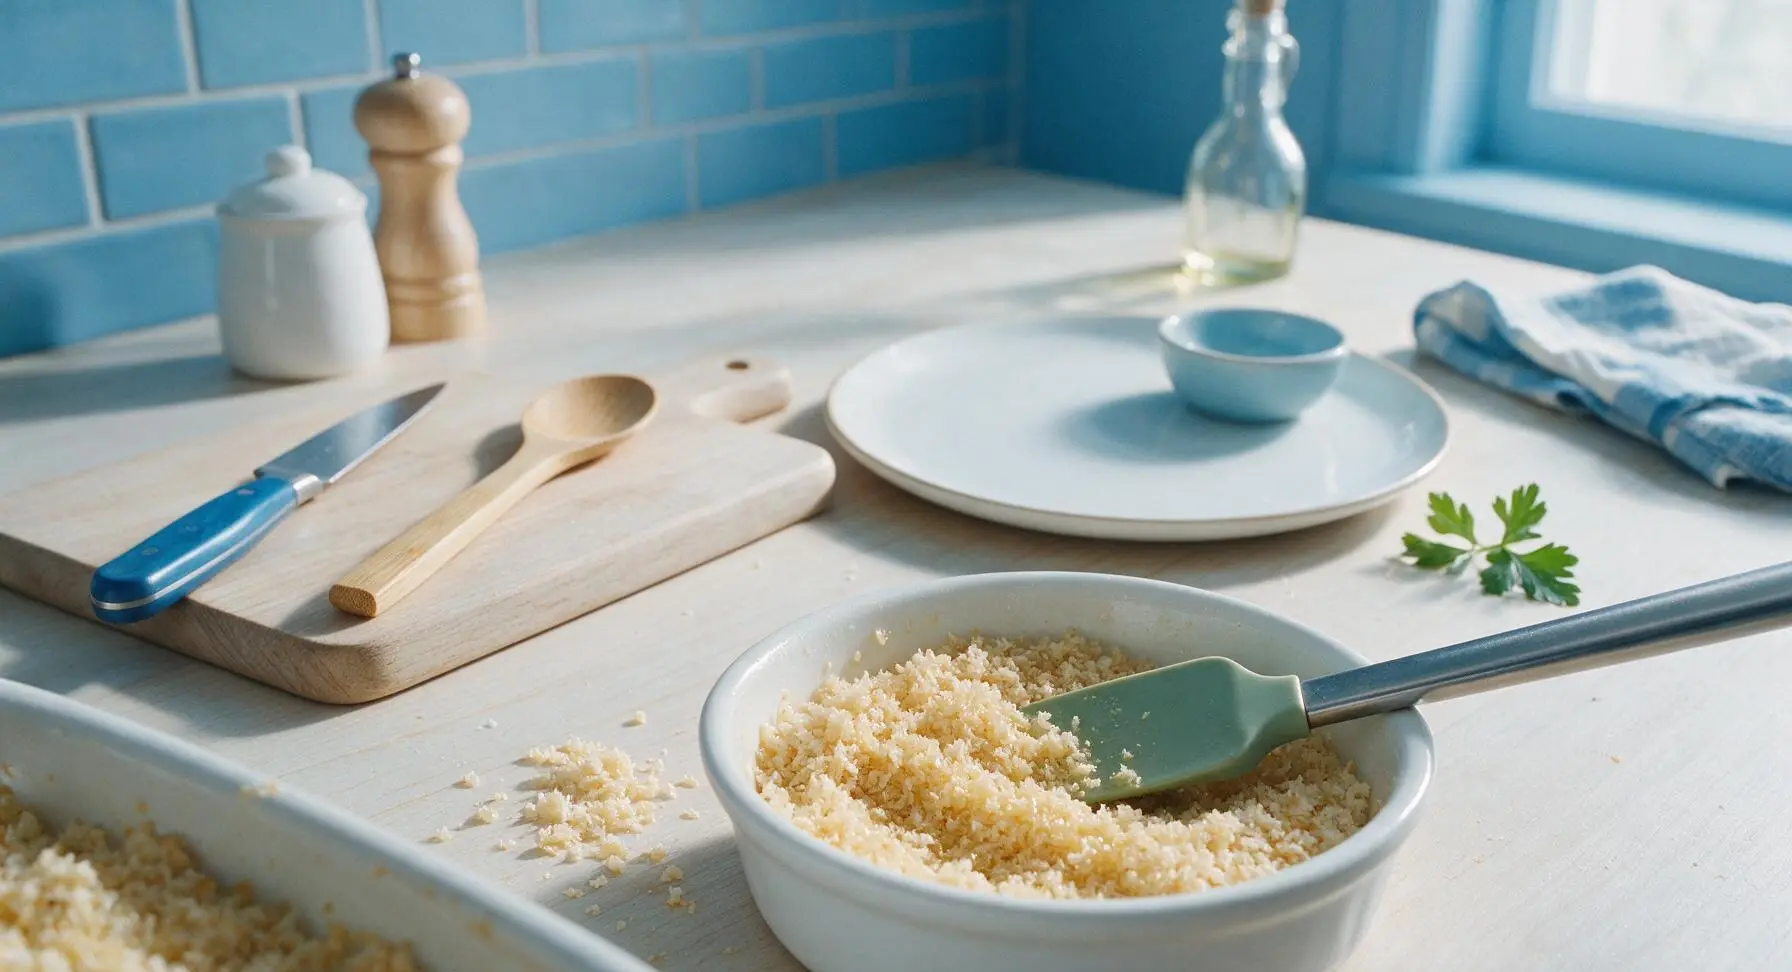
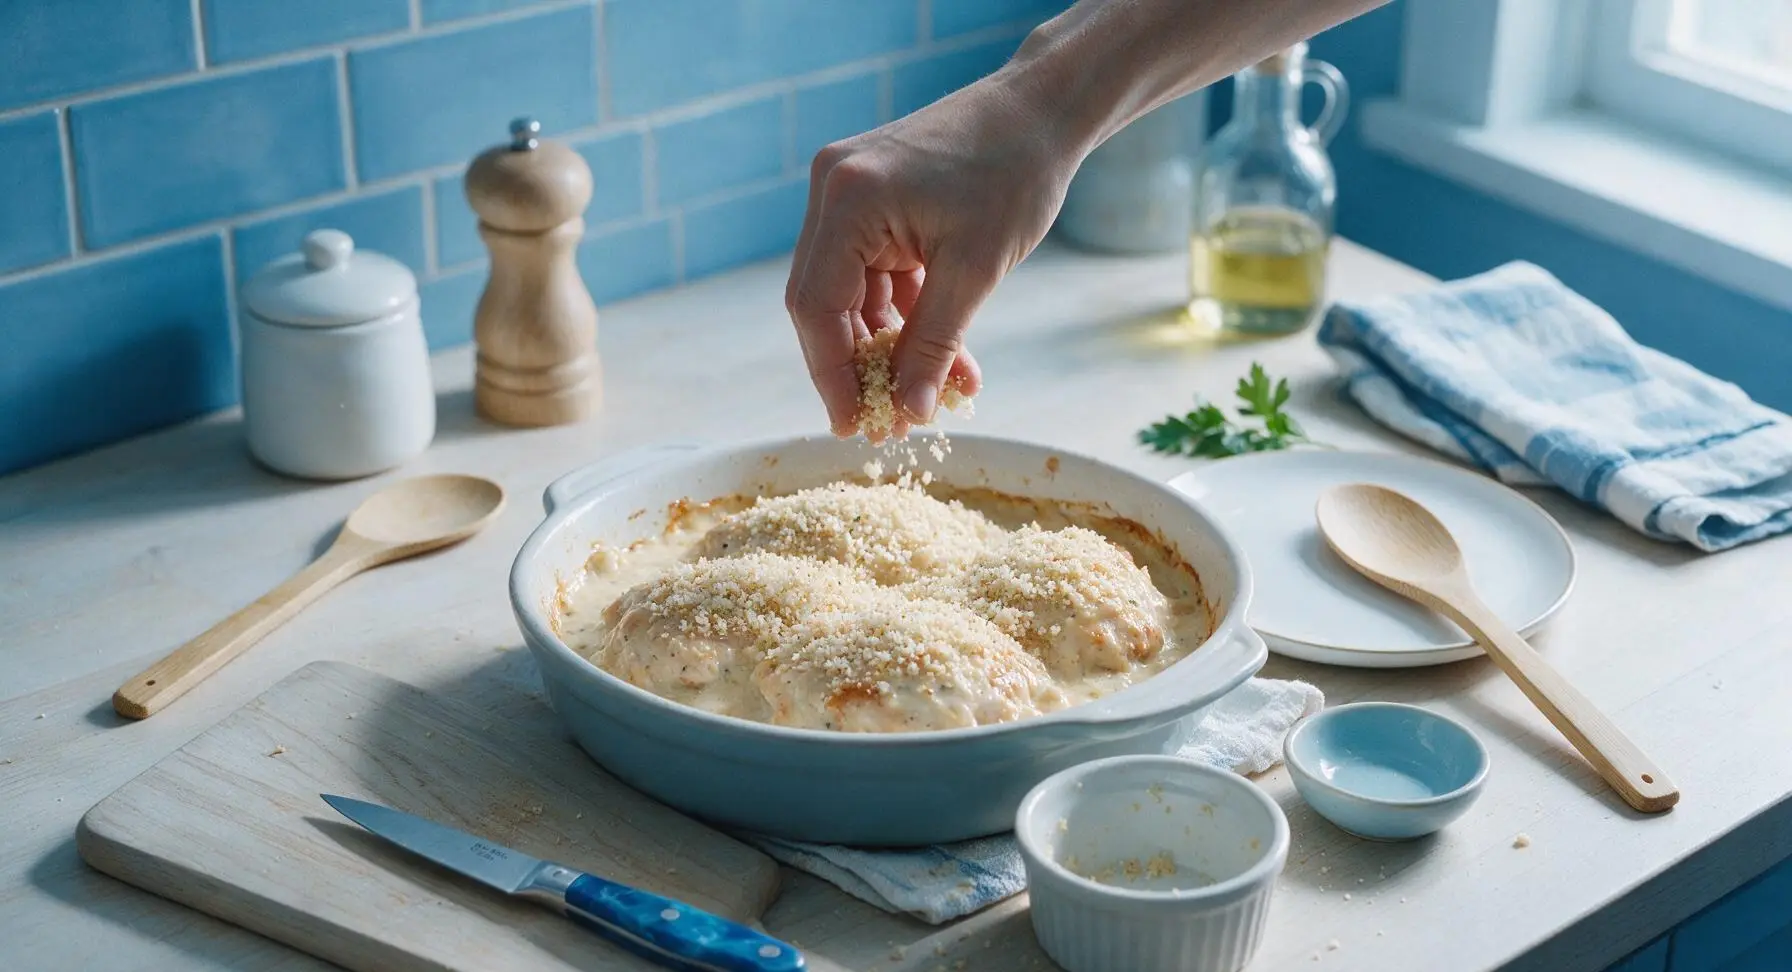
In the small matte white ceramic ramekin, combine the 1/2 cup panko breadcrumbs and 2 tablespoons melted unsalted butter, stirring with the tip of the silicone spatula until all crumbs are evenly coated with butter. The crumbs will clump slightly and turn a pale golden color when fully mixed, creating a crisp, buttery topping for the casserole.
Top and Bake Casserole
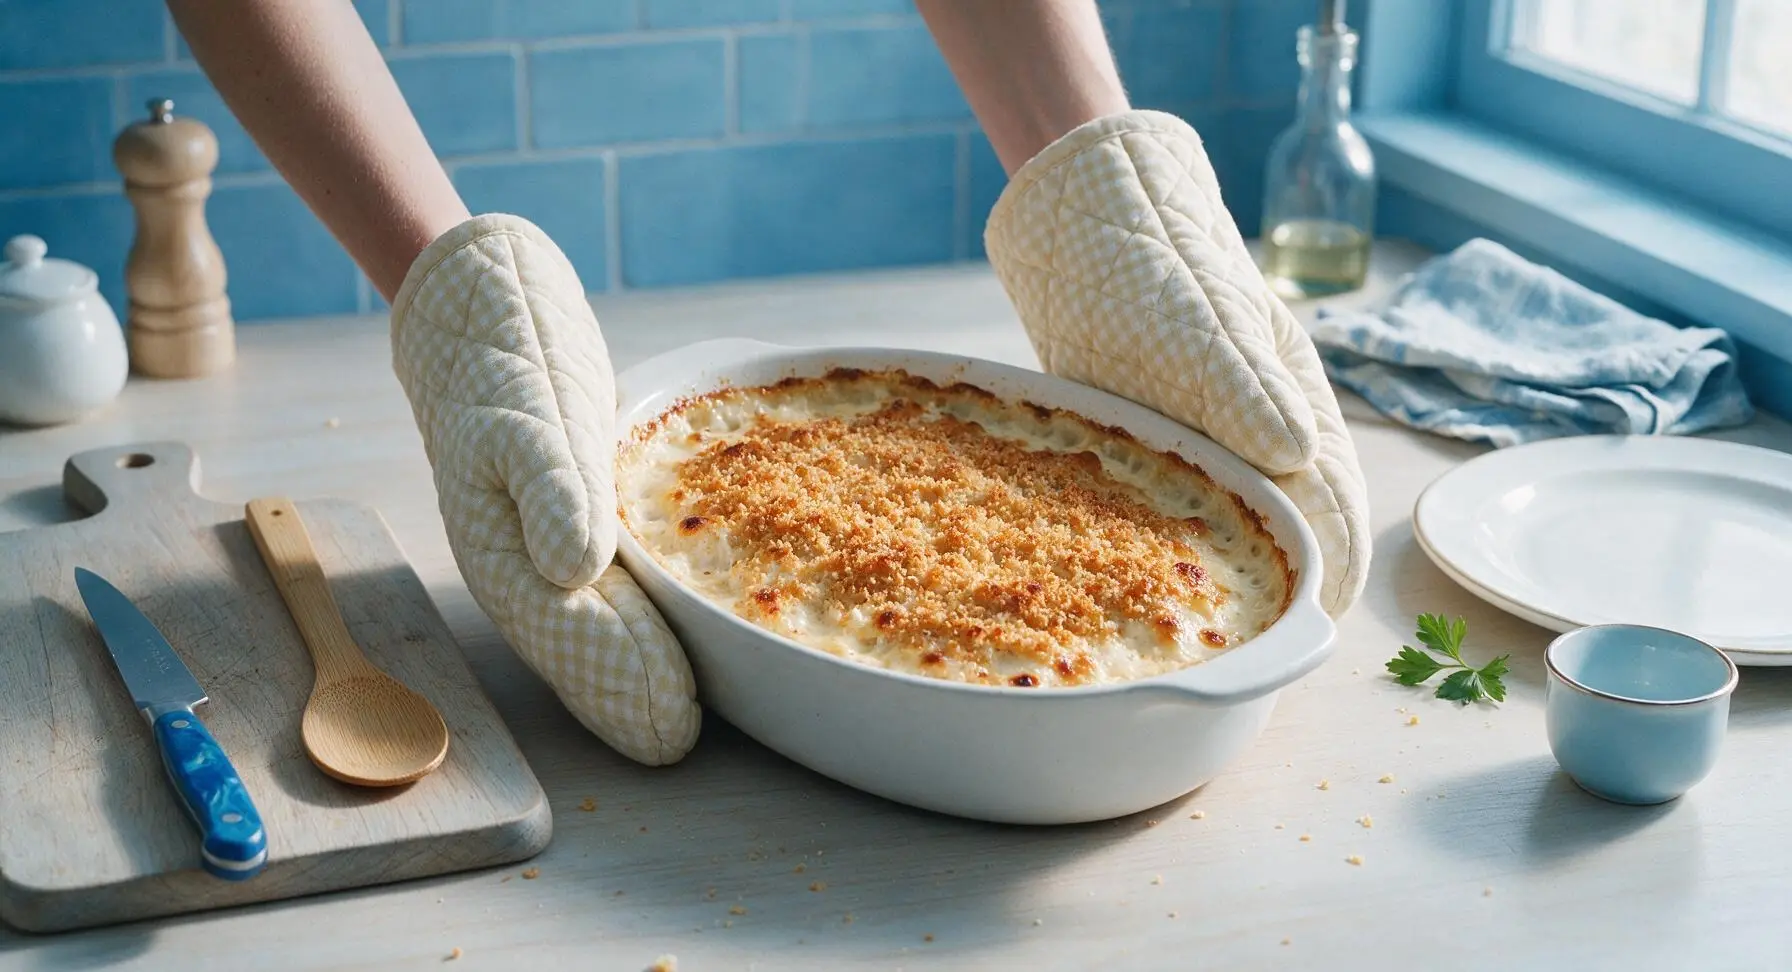
Sprinkle the buttered panko breadcrumbs evenly over the entire top of the sauced chicken, spreading them in a thin, uniform layer. Place the baking dish on the middle rack of the preheated 375°F (190°C) oven, and bake for 30-35 minutes. The dish is fully cooked when the chicken reaches an internal temperature of 165°F (74°C), the sauce is bubbling vigorously around the edges, and the breadcrumb topping is a deep, toasty golden brown.
Rest and Plate Dish
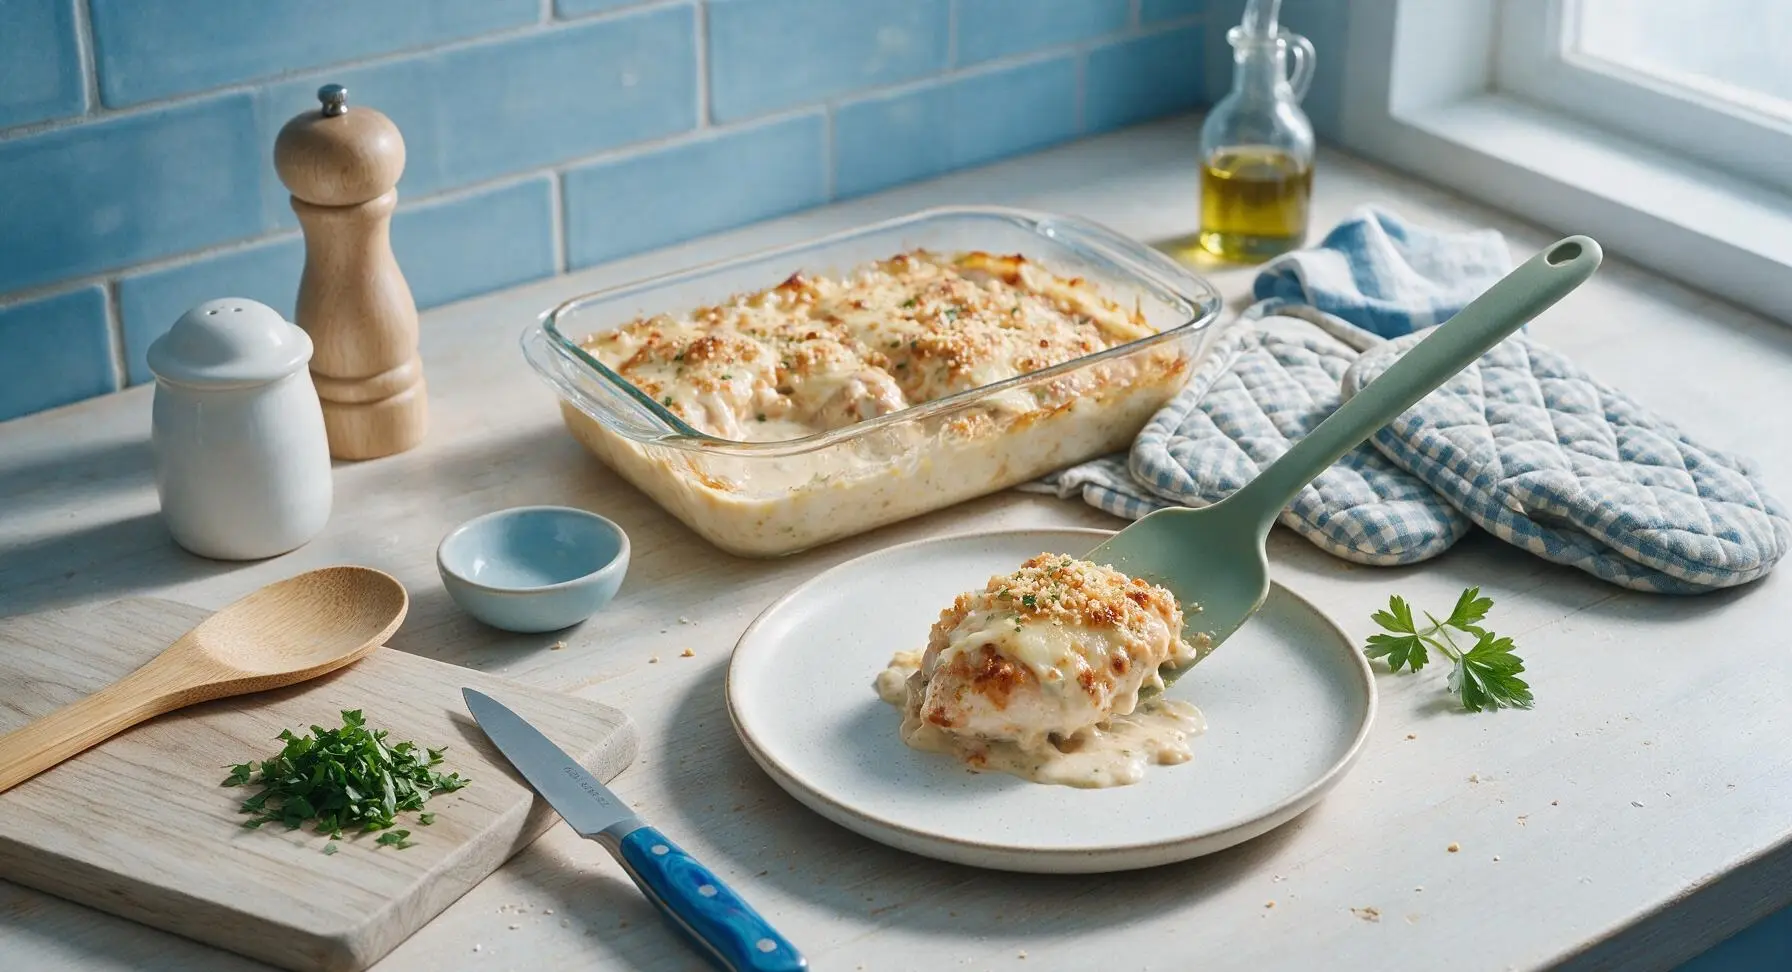
Remove the baked Swiss chicken from the oven using the quilted gingham oven mitts, and let it rest for 5 minutes to allow the sauce to set. Use the silicone spatula to lift one chicken breast (with its intact cheese, sauce, and crumb topping) onto the matte off-white speckled ceramic dinner plate. Garnish with a light sprinkle of chopped fresh flat-leaf parsley before serving.
Tips
2.Use full-fat condensed soup and whole milk for the sauce: low-fat or fat-free versions contain added stabilizers that can break down during high-heat baking, creating a grainy, thin sauce instead of the rich, velvety texture the recipe is known for.
3.Let the casserole rest for the full 5 minutes after removing it from the oven: this allows the bubbling sauce to thicken and set, so it stays clinging to the chicken rather than running across the plate, and gives the panko topping time to crisp up fully instead of turning soggy in pooled sauce.






This was really tasty! My only note is that the top got a little more browned than I wanted after 35 minutes in my oven, so next time I’ll probably tent it with foil for the last 10 minutes. Otherwise the flavor was incredible, my partner ate two whole breasts!
I’ve been making a version of this for 40 years, and let me tell you — this recipe is spot on! I added a little thin layer of stuffing mix on top like I always do, and it gave the best little crunch with the creamy chicken. My grandkids go crazy for it.
Game changer! I added a little sprinkle of paprika on top before baking for a tiny kick and it came out perfect. Served it over roasted broccoli for a low carb dinner and I’m already prepping a batch for meal prep this week.
Brought this to my office potluck yesterday and it was the first dish gone! People kept coming up to me asking how long it took to make, they couldn’t believe it only bakes for 35 minutes. Total crowd pleaser.
Super easy to make in my tiny dorm oven! Only thing I messed up was adding a little too much salt, but that’s on me. Tasted way fancier than the effort I put in, will definitely make again for my roommates next week.
Meal prep win! I made a big pan of this on Sunday, portioned it out with rice and green beans, and it’s held up perfectly all week for lunches. No weird separated sauce, the chicken is still juicy even after reheating. 10/10.
So happy I found this! I swapped the regular cream of chicken soup for the gluten free version and it came out exactly like the photos. No weird aftertaste, totally creamy, perfect for my GF diet.
Made this for our Sunday family dinner and everyone raved! My mother-in-law even asked for the recipe, which is basically the highest compliment you can get around here. So creamy and the chicken stayed so juicy!
OMG this was SO good! I threw it together last minute after work and my whole family devoured it. The creamy Swiss layer is *chef’s kiss* — even my super picky 7 year old asked for seconds! Total weeknight win.
This looks SO good, I’m planning to make it for my weekly ‘non-taco Tuesday’ dinner tomorrow — quick question: can I use regular Swiss cheese slices instead of shredded? I’ve got a pack in the fridge I need to use up before it goes bad. Giving 5 stars in advance because all the reviews look amazing!
Okay, let me preface this by saying I burn 90% of the things I try to cook. I made this tonight for my wife’s birthday dinner and SHE WAS IMPRESSED. Like, actually said it was restaurant good. I almost cried. Thank you for this easy, foolproof recipe.