
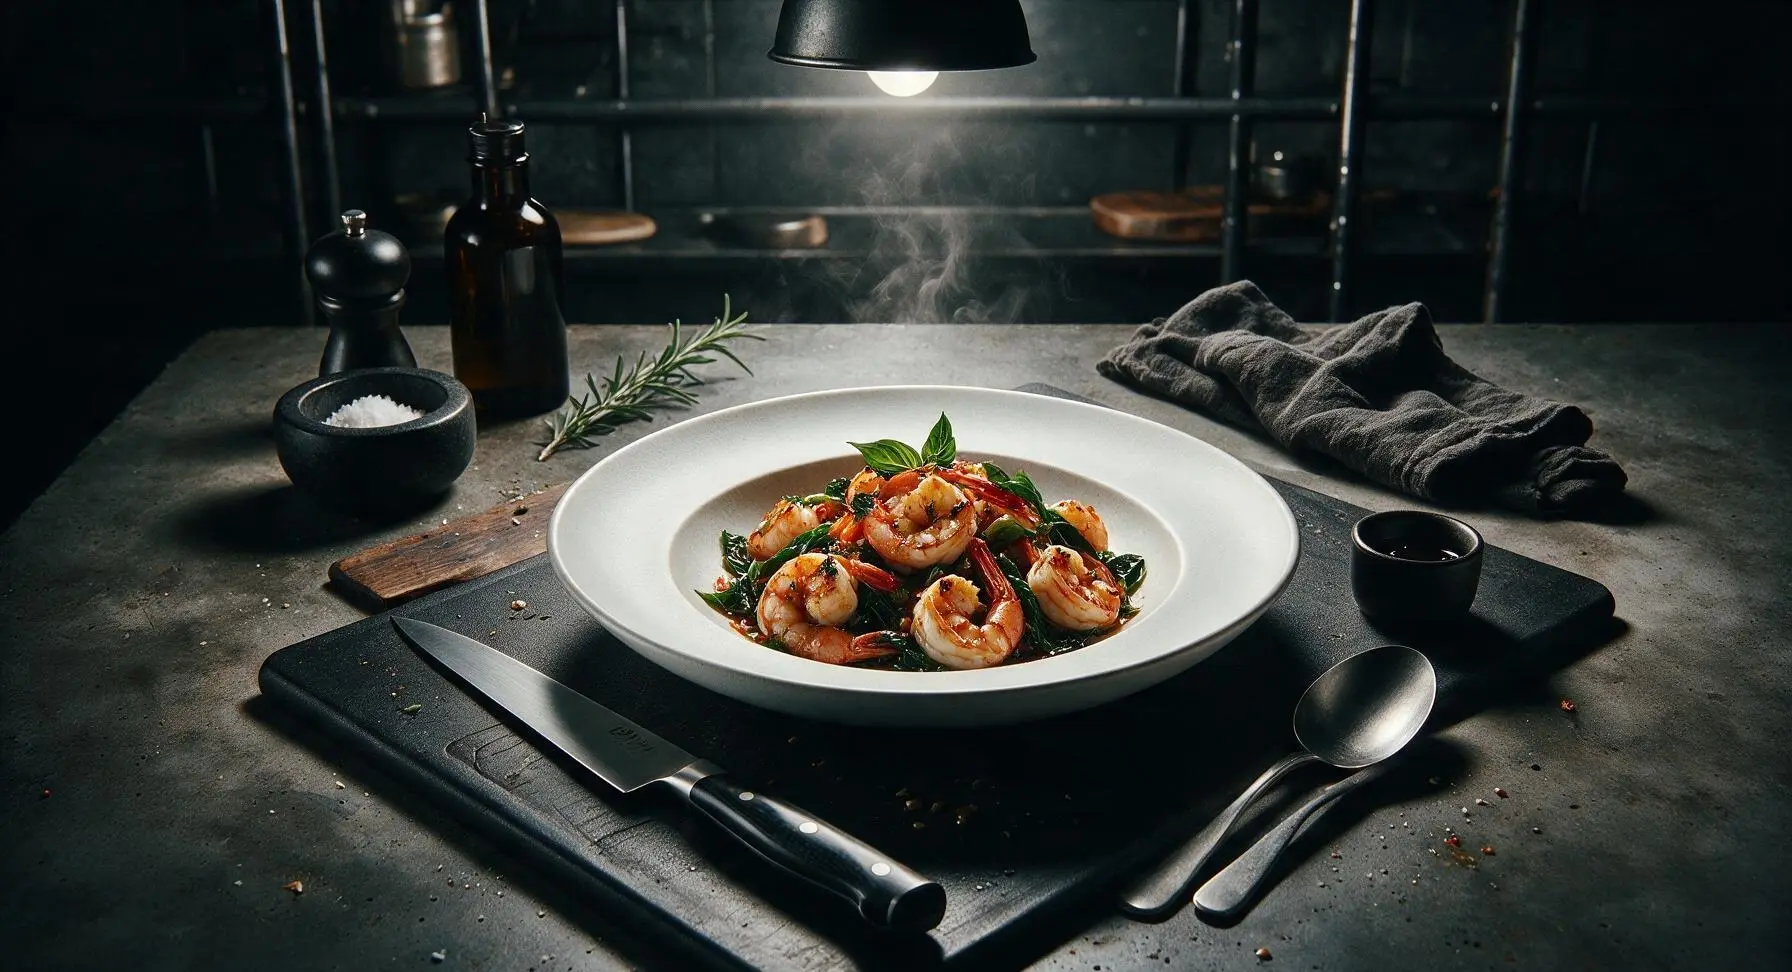
thai shrimp

title 1
thai shrimp
⏱️ cook time 8 minutes
🍽️ servings 4
⚡ Difficulty easy

intro

Zesty, aromatic Thai garlic chili shrimp balances salty, sweet, sour, and spicy flavors, with plump seared shrimp, fragrant basil, and a glossy bright sauce, ready in under 20 minutes for a fast, flavorful weeknight meal.

Ingredients
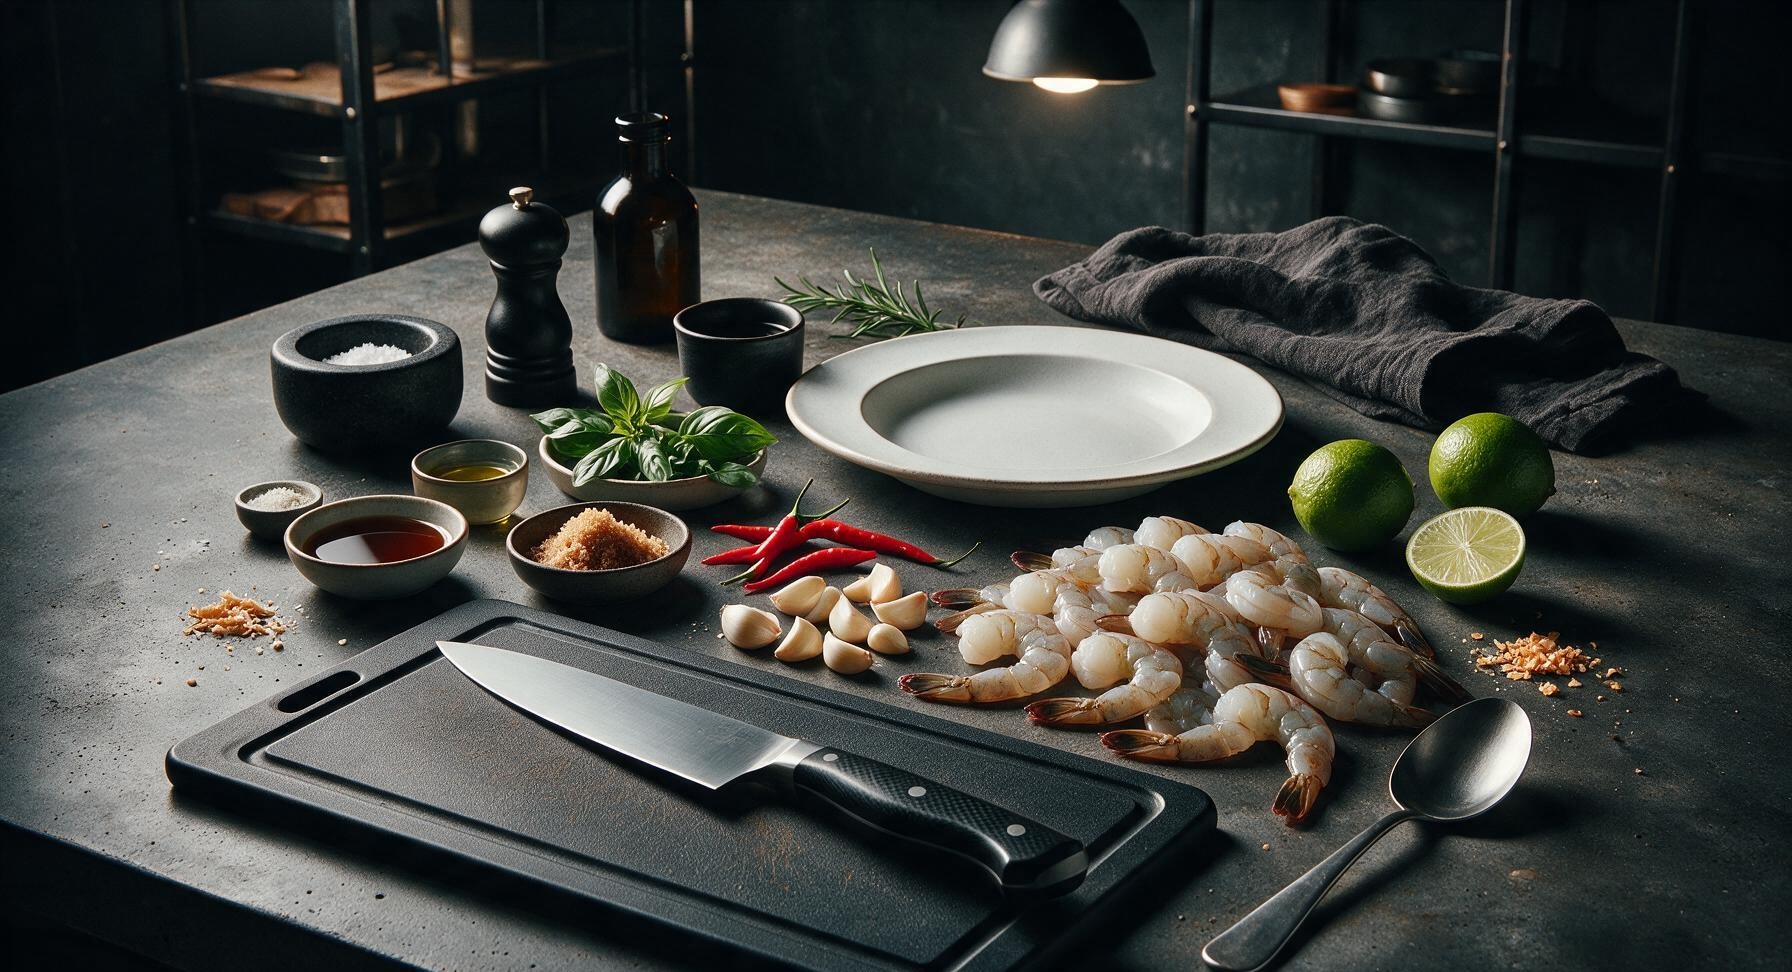
Large raw shrimp (peeled, deveined, tail-on) 450g (1lb)
Thai bird's eye chilies 5 pieces (15g)
Garlic cloves 8 cloves (24g)
Fresh Thai basil 1 cup (20g), divided
Fresh limes 2 whole (80g, yields 3 tbsp juice)
Grated palm sugar 2 tbsp (25g)
Fish sauce 3 tbsp (45ml)
Neutral cooking oil (rice bran or canola) 2 tbsp (30ml)
Ground white pepper 1/4 tsp (1g)
Toasted garlic flakes (optional garnish) 1 tsp (2g)

Steps

1

Prep and pat dry shrimp

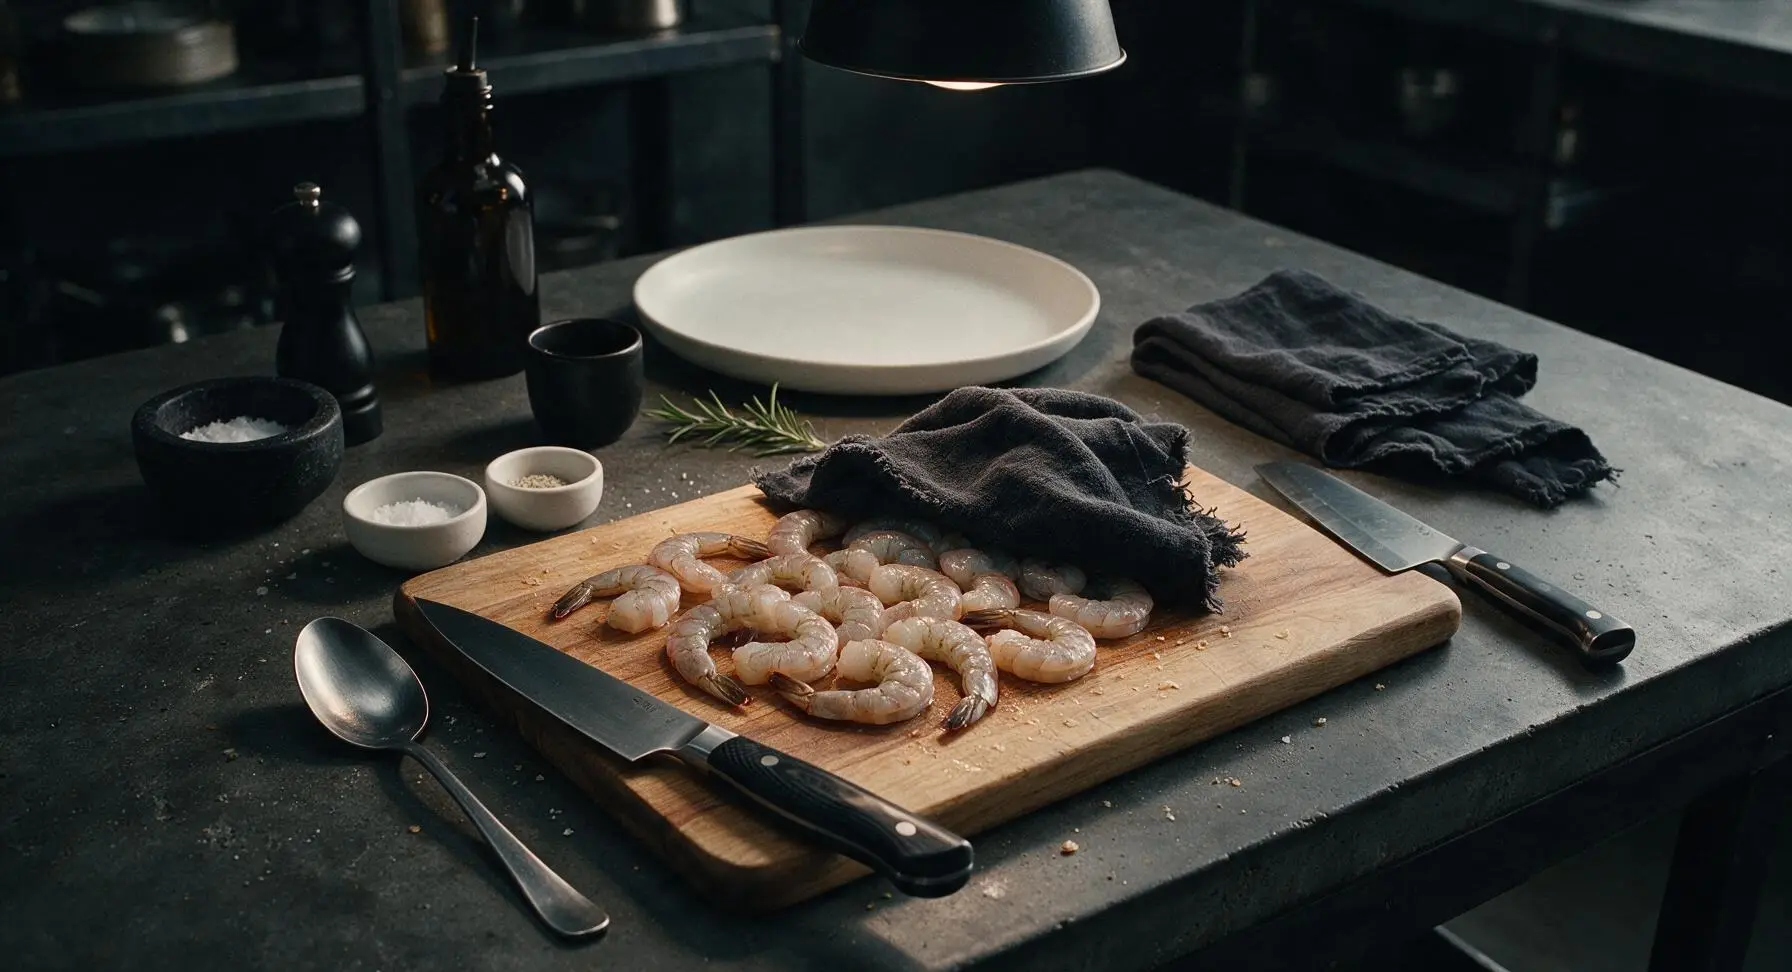
Place the raw peeled, tail-on, deveined shrimp on the honey-toned acacia wood cutting board. Pat both sides thoroughly dry with a corner of the fixed linen kitchen towel, ensuring no excess surface moisture remains (this prevents steaming and creates a crisp, caramelized sear). Season lightly with 1/4 tsp ground white pepper, tossing to coat evenly. Let rest 5 minutes at room temperature to take the chill off for even cooking.
Step 1
step1:Prep and pat dry shrimp
2

Mince garlic and chilies

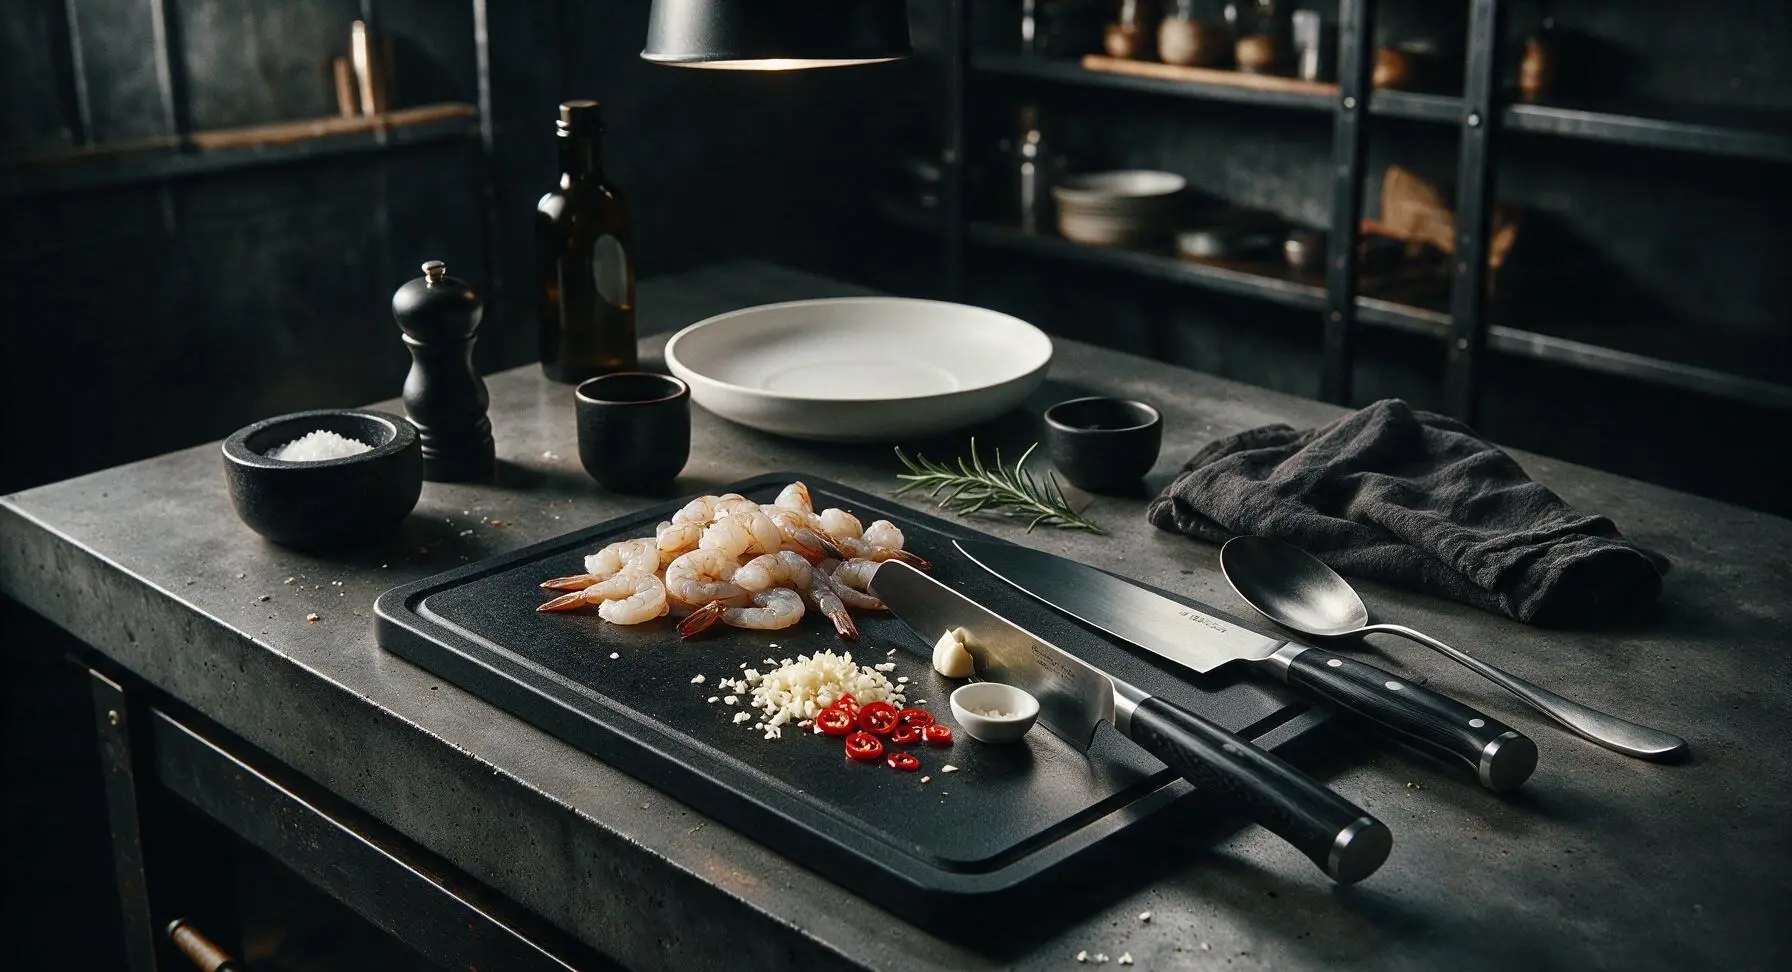
Push the patted-dry shrimp to the top edge of the cutting board to make prep space. Place peeled garlic cloves and stemmed Thai bird's eye chilies in the center of the board. Using the santoku knife, mince garlic into fine, even 1mm pieces (do not puree into a paste) and slice chilies into thin 2mm rings. Transfer minced garlic and sliced chilies to one small white pinch bowl, set aside. Visual cue: garlic pieces should be distinct, not mashed, for even toasting.
Step 2
step2:Mince garlic and chilies
3

Mix stir-fry sauce

Use the second small white pinch bowl to combine 3 tbsp fish sauce, 2 tbsp grated palm sugar, and 3 tbsp fresh-squeezed lime juice (squeezed from the 2 limes, seeds discarded). Stir with the handle of the bamboo turner until palm sugar is fully dissolved, creating a smooth amber sauce. Taste and adjust for balance: add extra lime for tartness, palm sugar for sweetness, or fish sauce for saltiness to hit the classic Thai four-flavor profile.
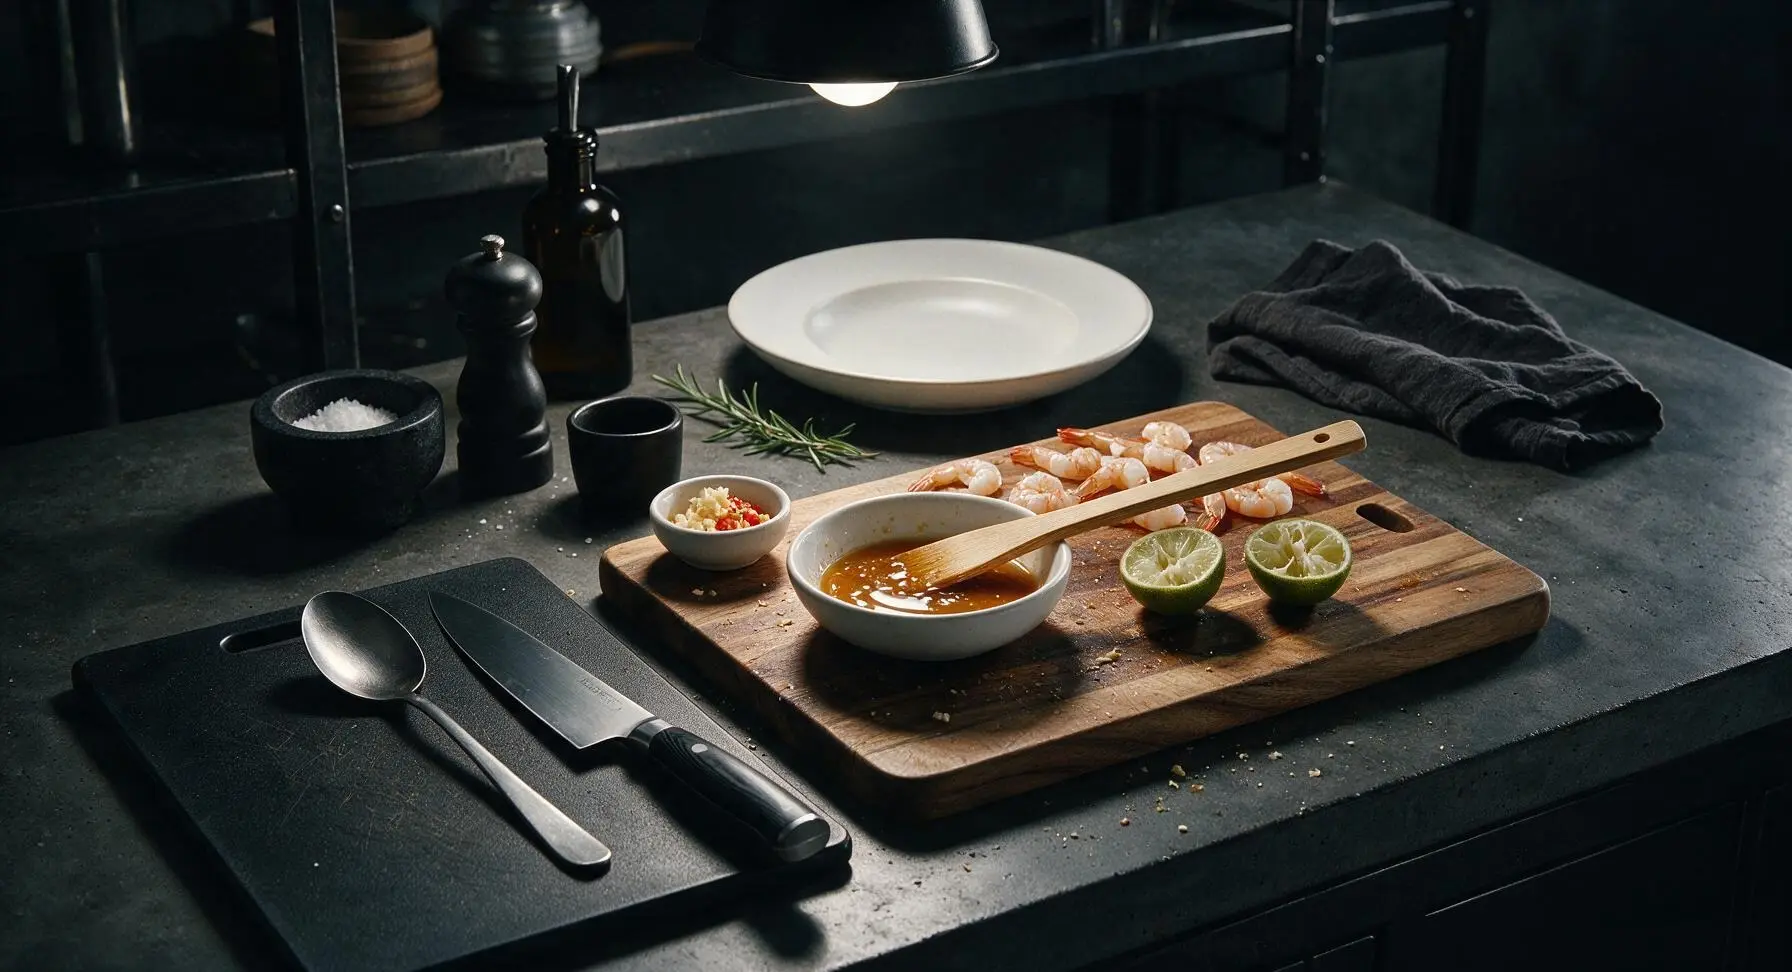
Step 3
step3:Mix stir-fry sauce
4

Heat wok to high heat

Place the seasoned matte black carbon steel wok on the center inset stovetop burner, turn heat to high. Let the wok heat for 2 full minutes until a thin, faint wisp of smoke rises from the seasoned metal surface. Add 2 tbsp neutral cooking oil, swirling the wok to coat the sloped sides evenly. Wait 30 seconds until the oil shimmers across the surface but does not smoke (ideal stir-fry temperature is ~190C/375F).
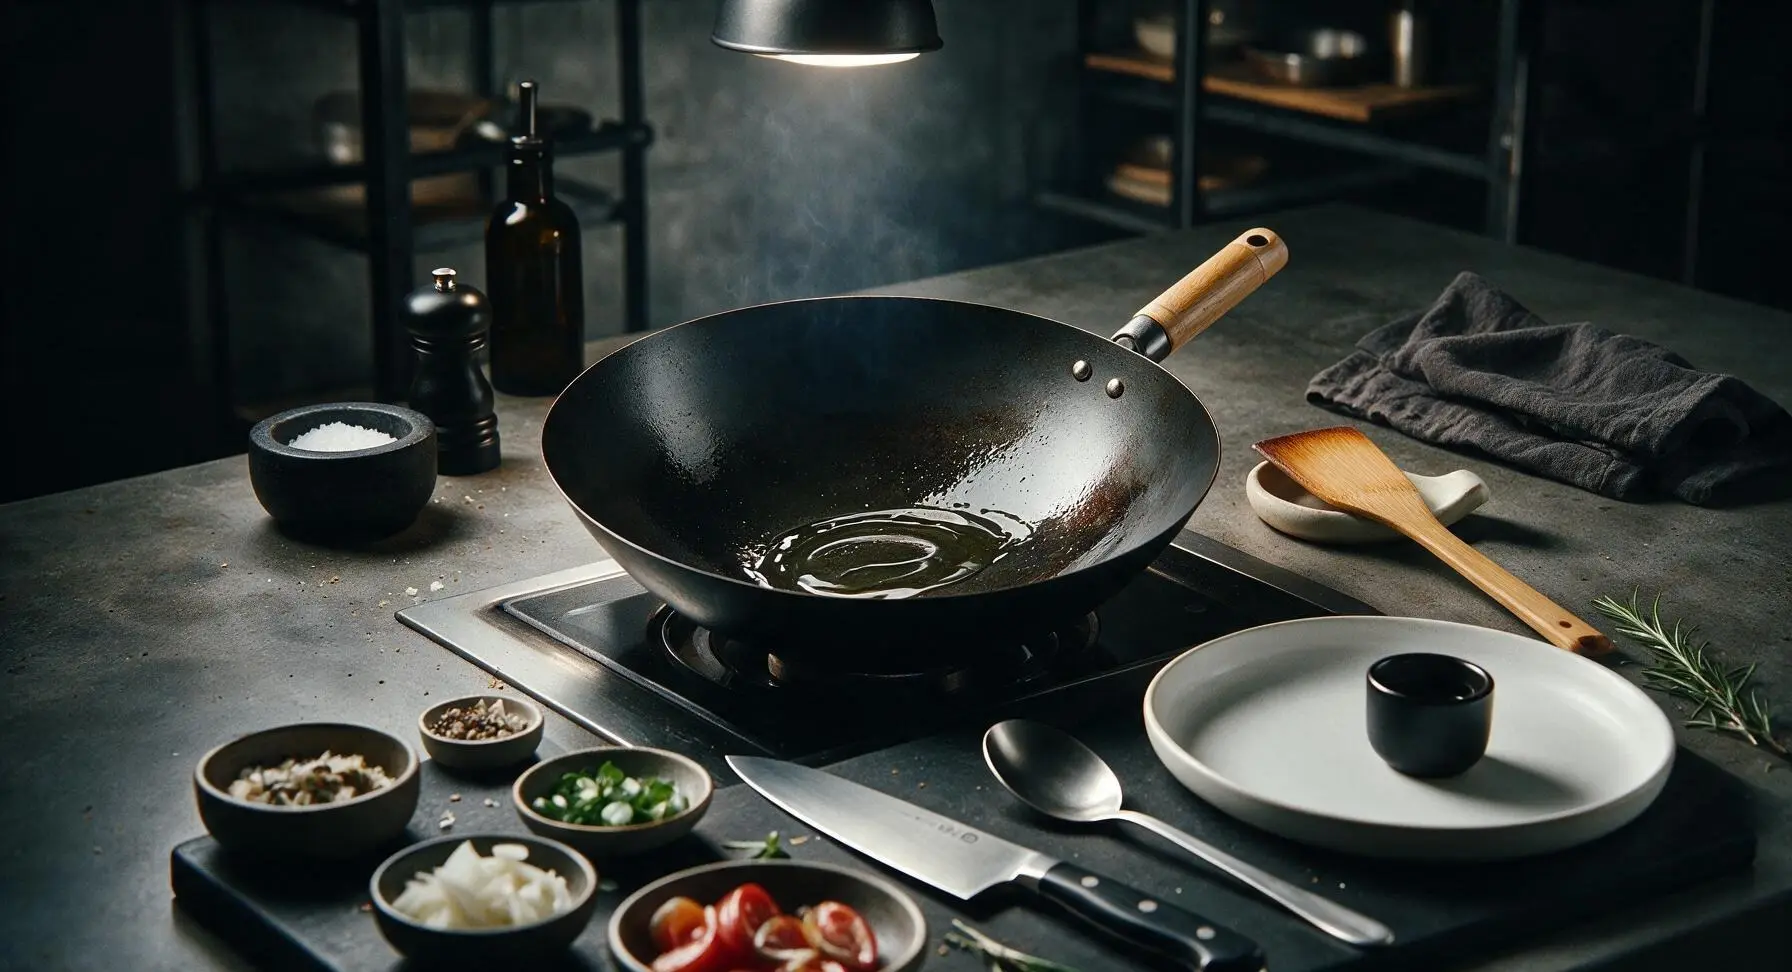
Step 4
step4:Heat wok to high heat
5

Sauté aromatic base

Carefully add the minced garlic and sliced Thai chilies to the hot oil. Stir continuously with the bamboo turner for 15-20 seconds, until the garlic turns pale golden yellow and releases a rich, nutty, spicy aroma. Watch closely: do not let garlic turn dark brown, as it will burn and turn bitter in seconds.
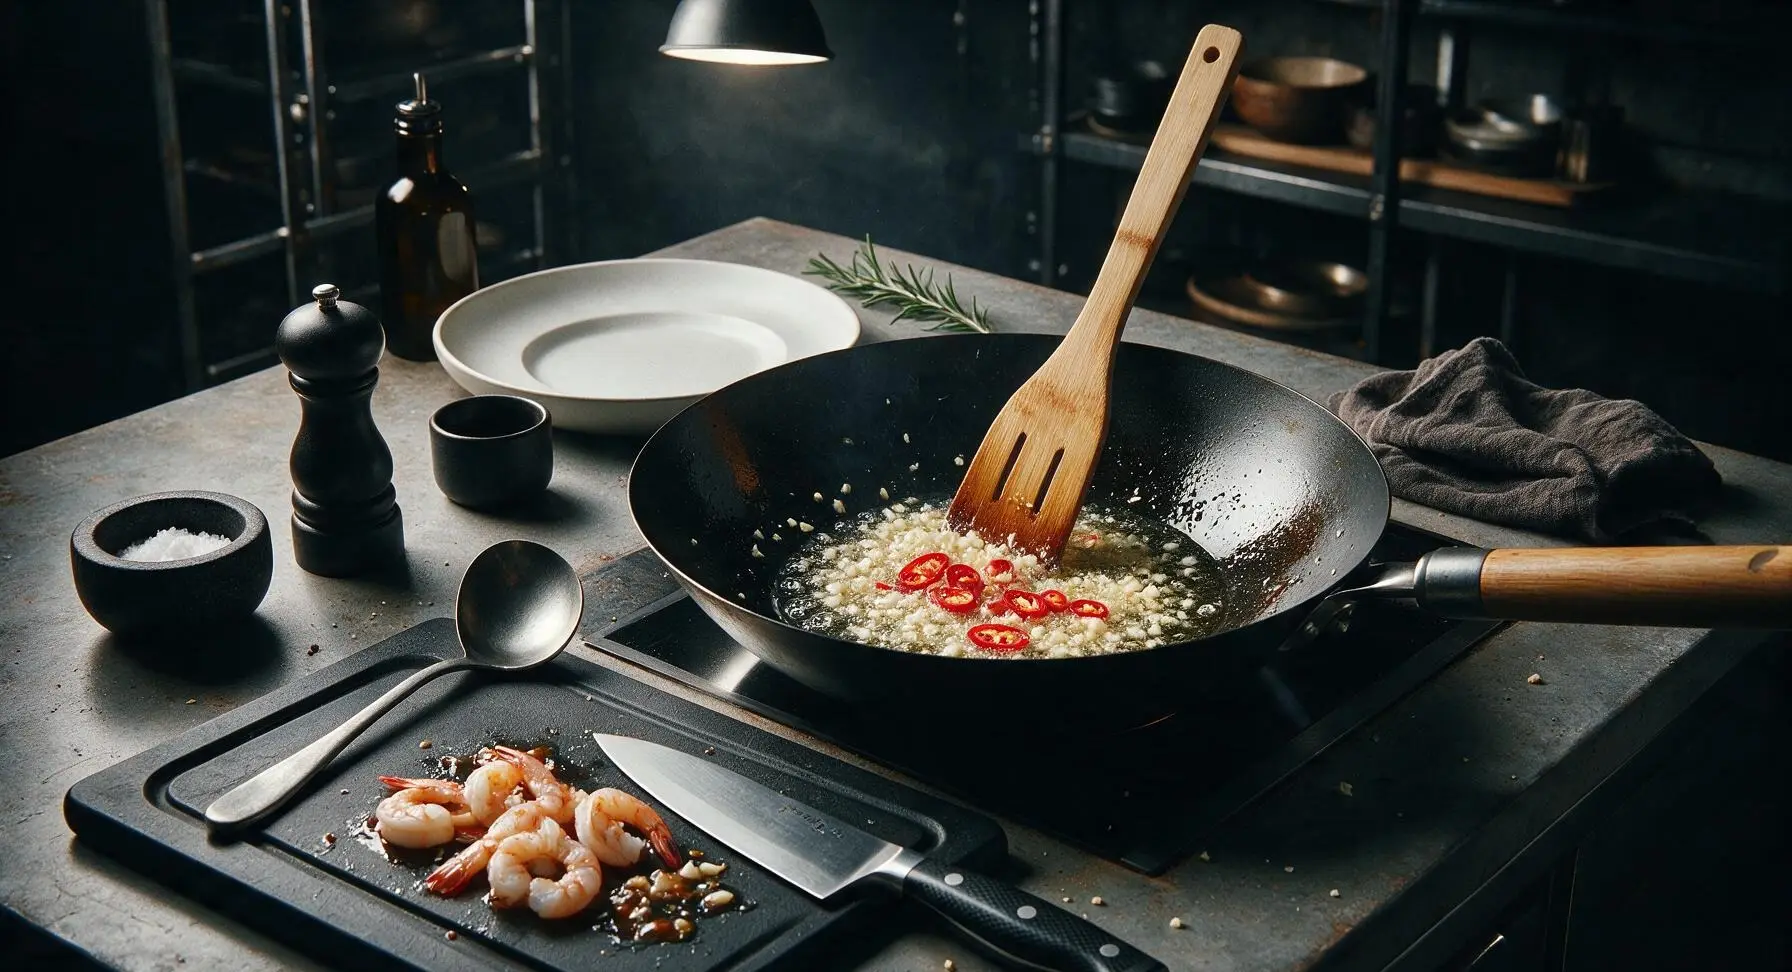
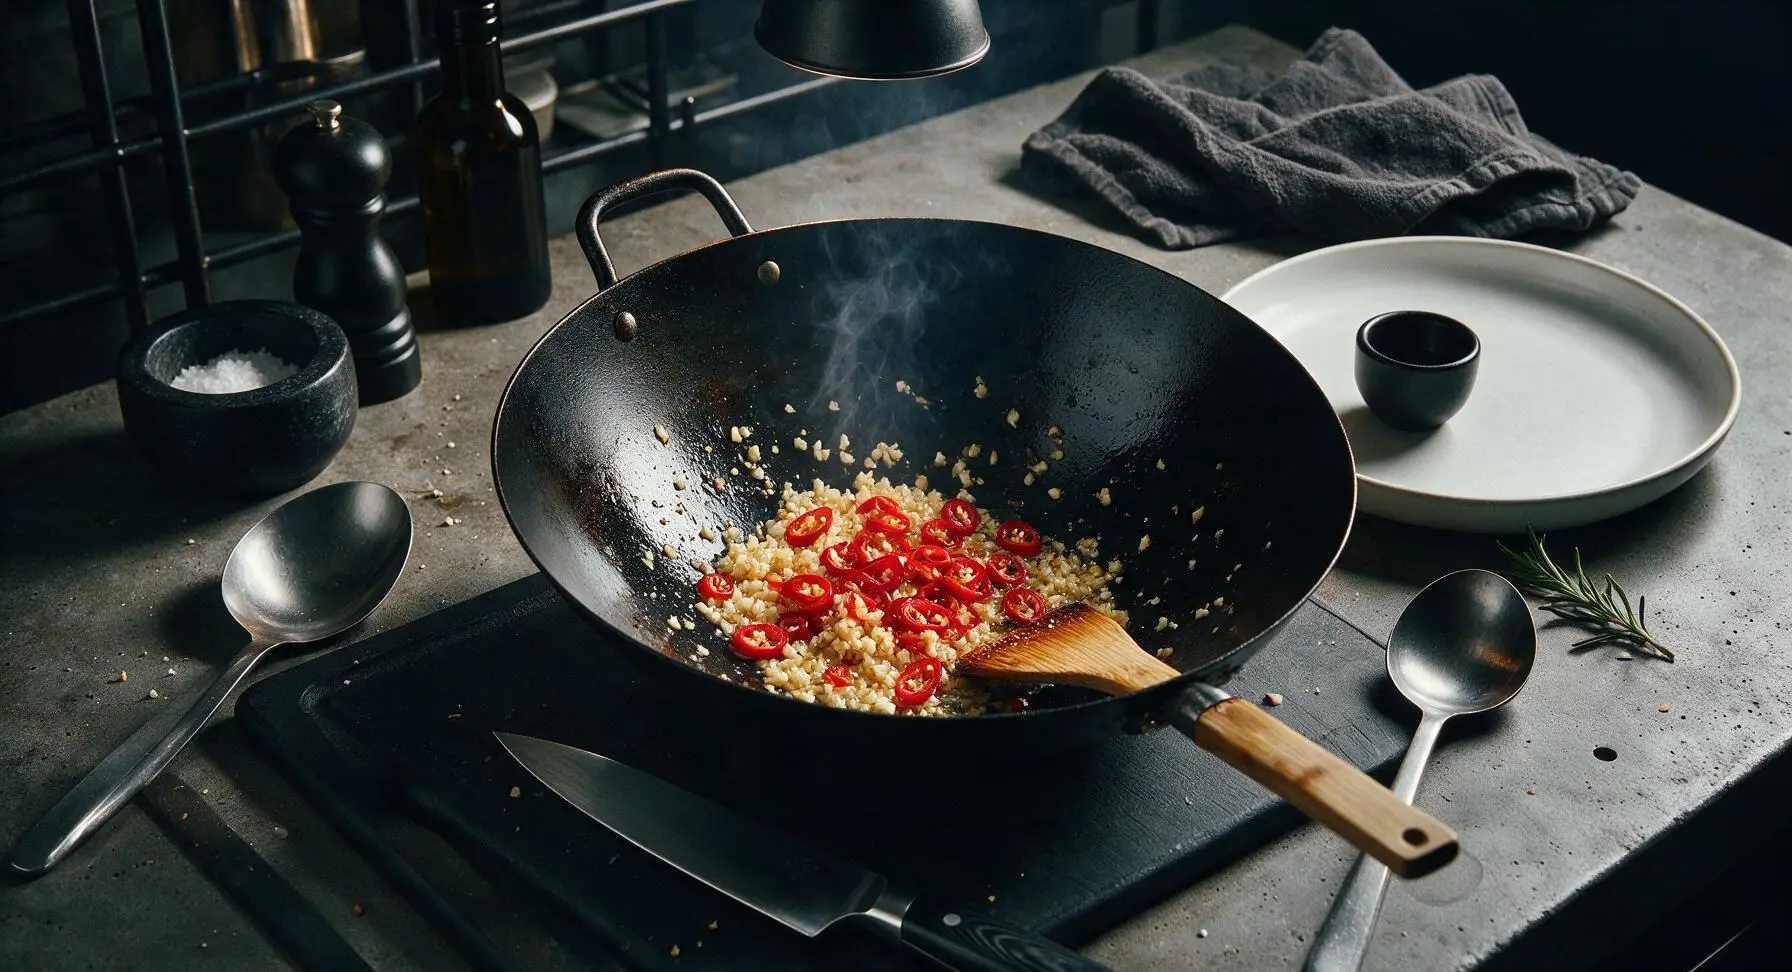
Step 5
step5:Sauté aromatic base
Step 5
step5:Sauté aromatic base
6

Sear shrimp on both sides

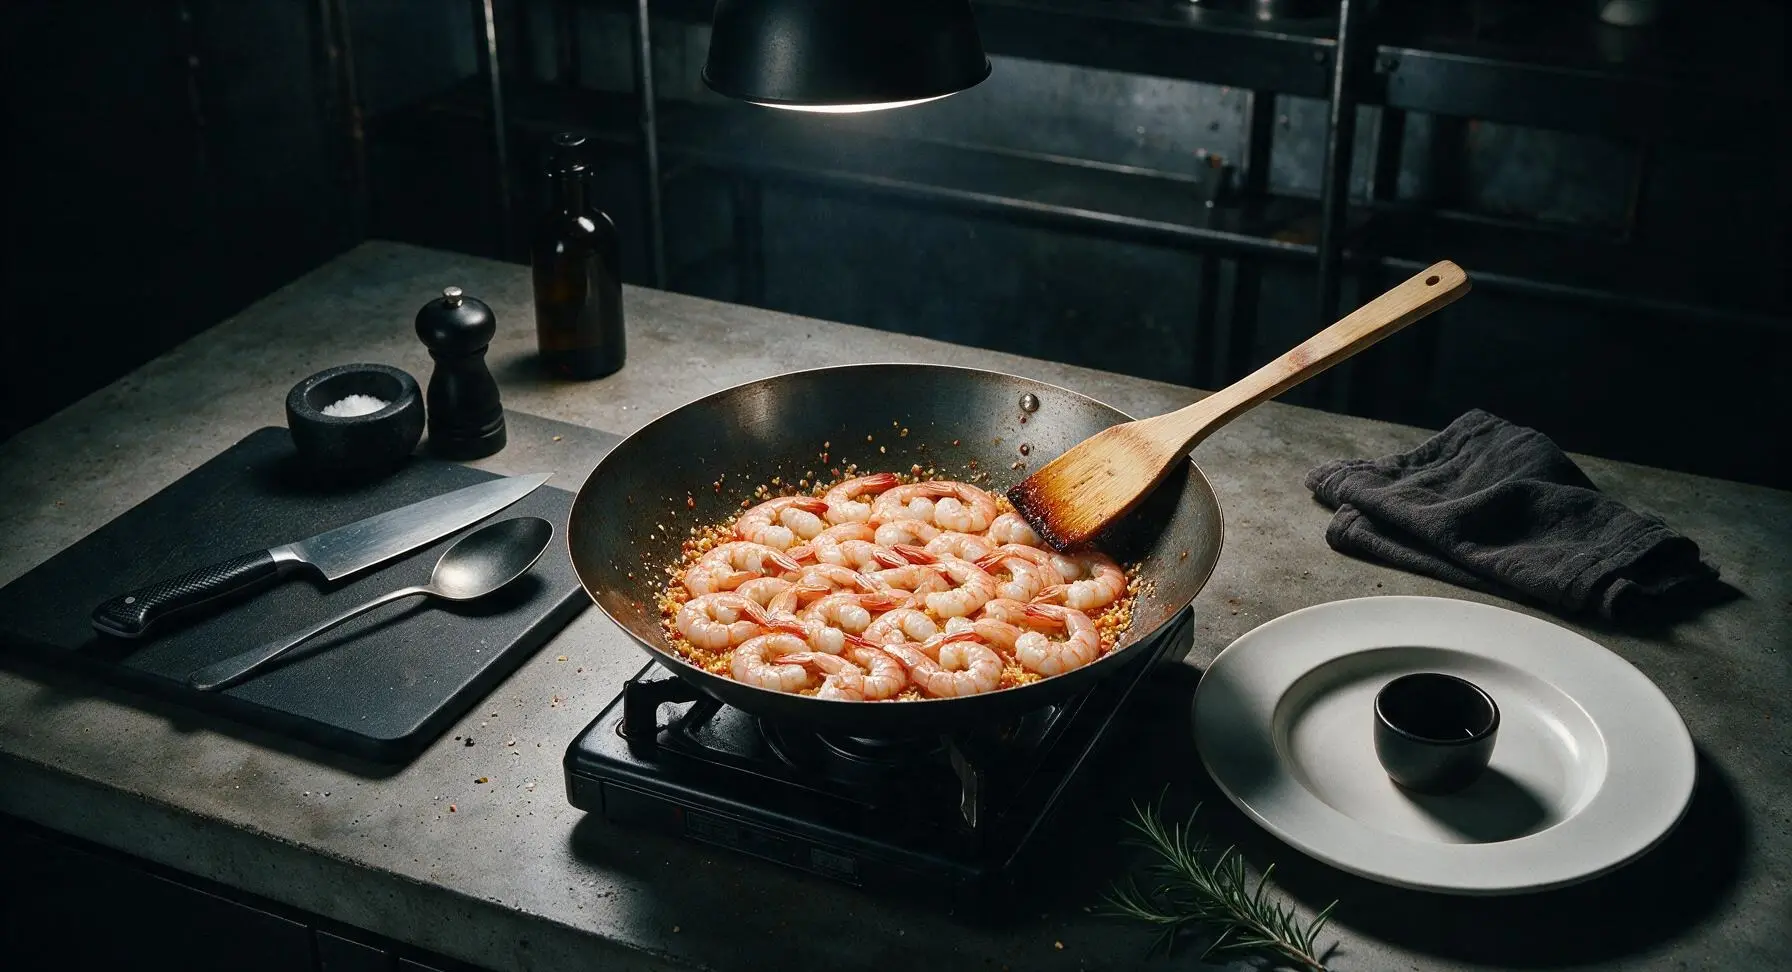
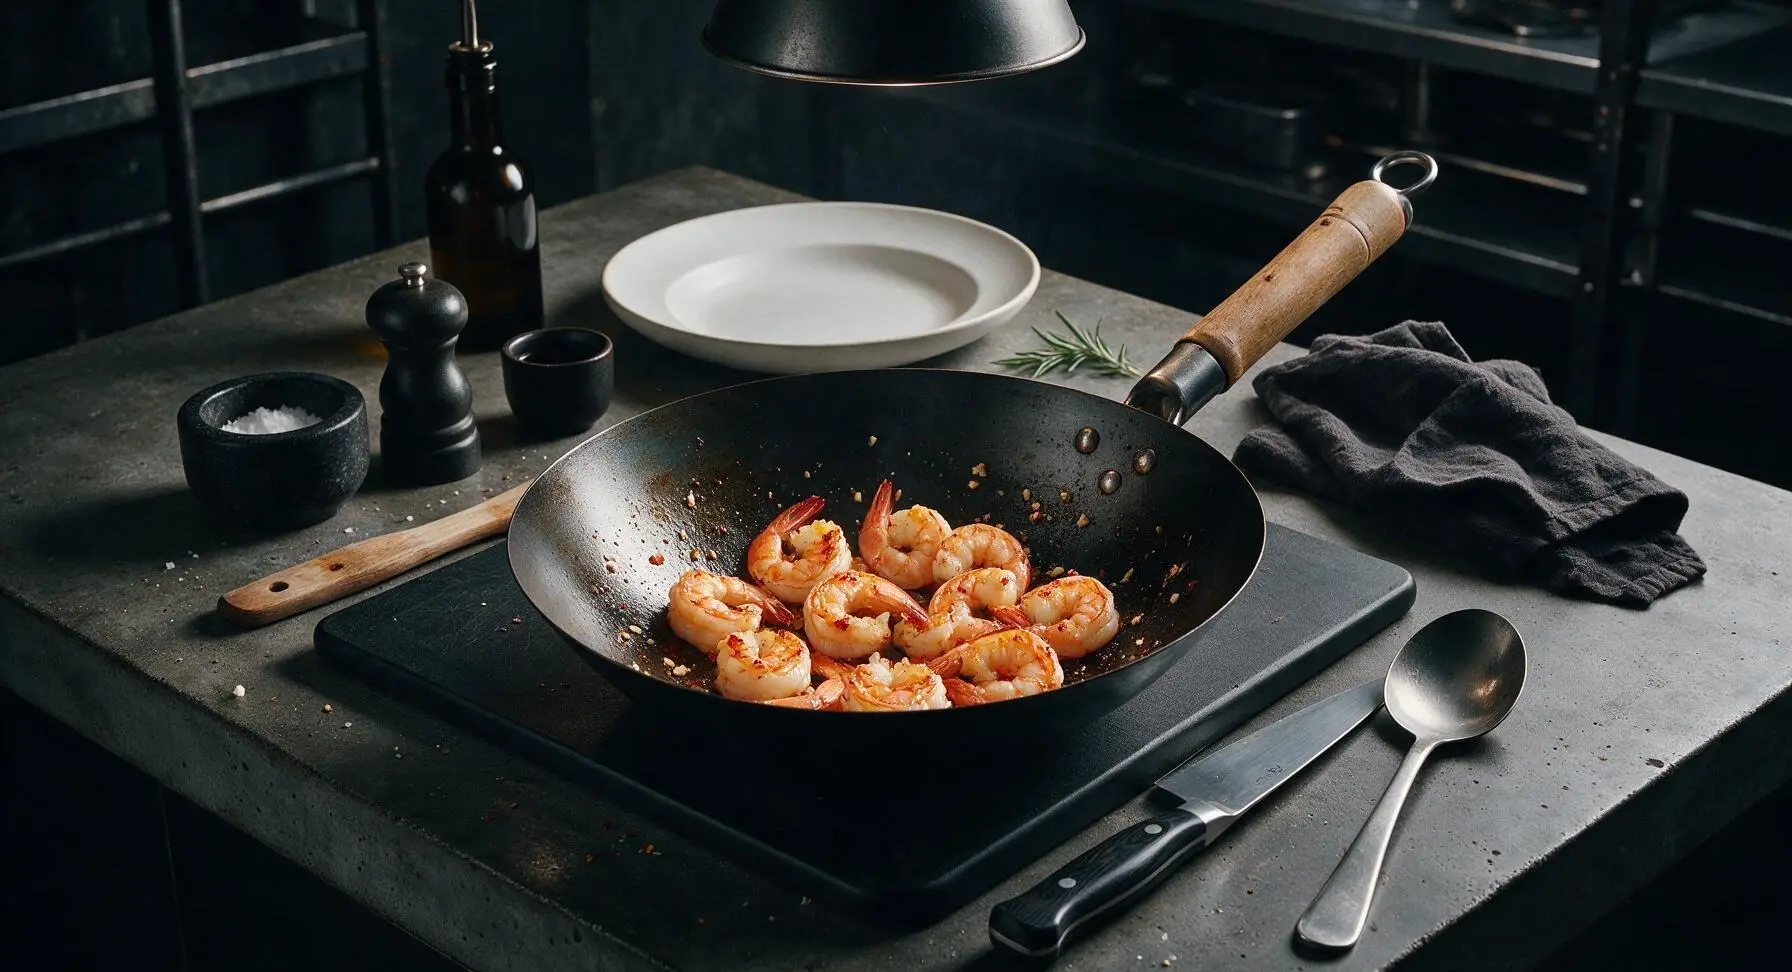
Add the patted-dry shrimp to the wok in a single even layer, arranging pieces so they make direct contact with the hot metal surface. Let sear undisturbed for 1.5 minutes, until the first side turns bright opaque pink with light golden caramelized edges. Flip each shrimp with the bamboo turner, then sear the second side for 1 more minute, until shrimp are 90% cooked (mostly opaque, with a tiny translucent spot at the thickest part).
Step 6
step6:Sear shrimp on both sides
Step 6
step6:Sear shrimp on both sides
7

Toss with sauce and basil

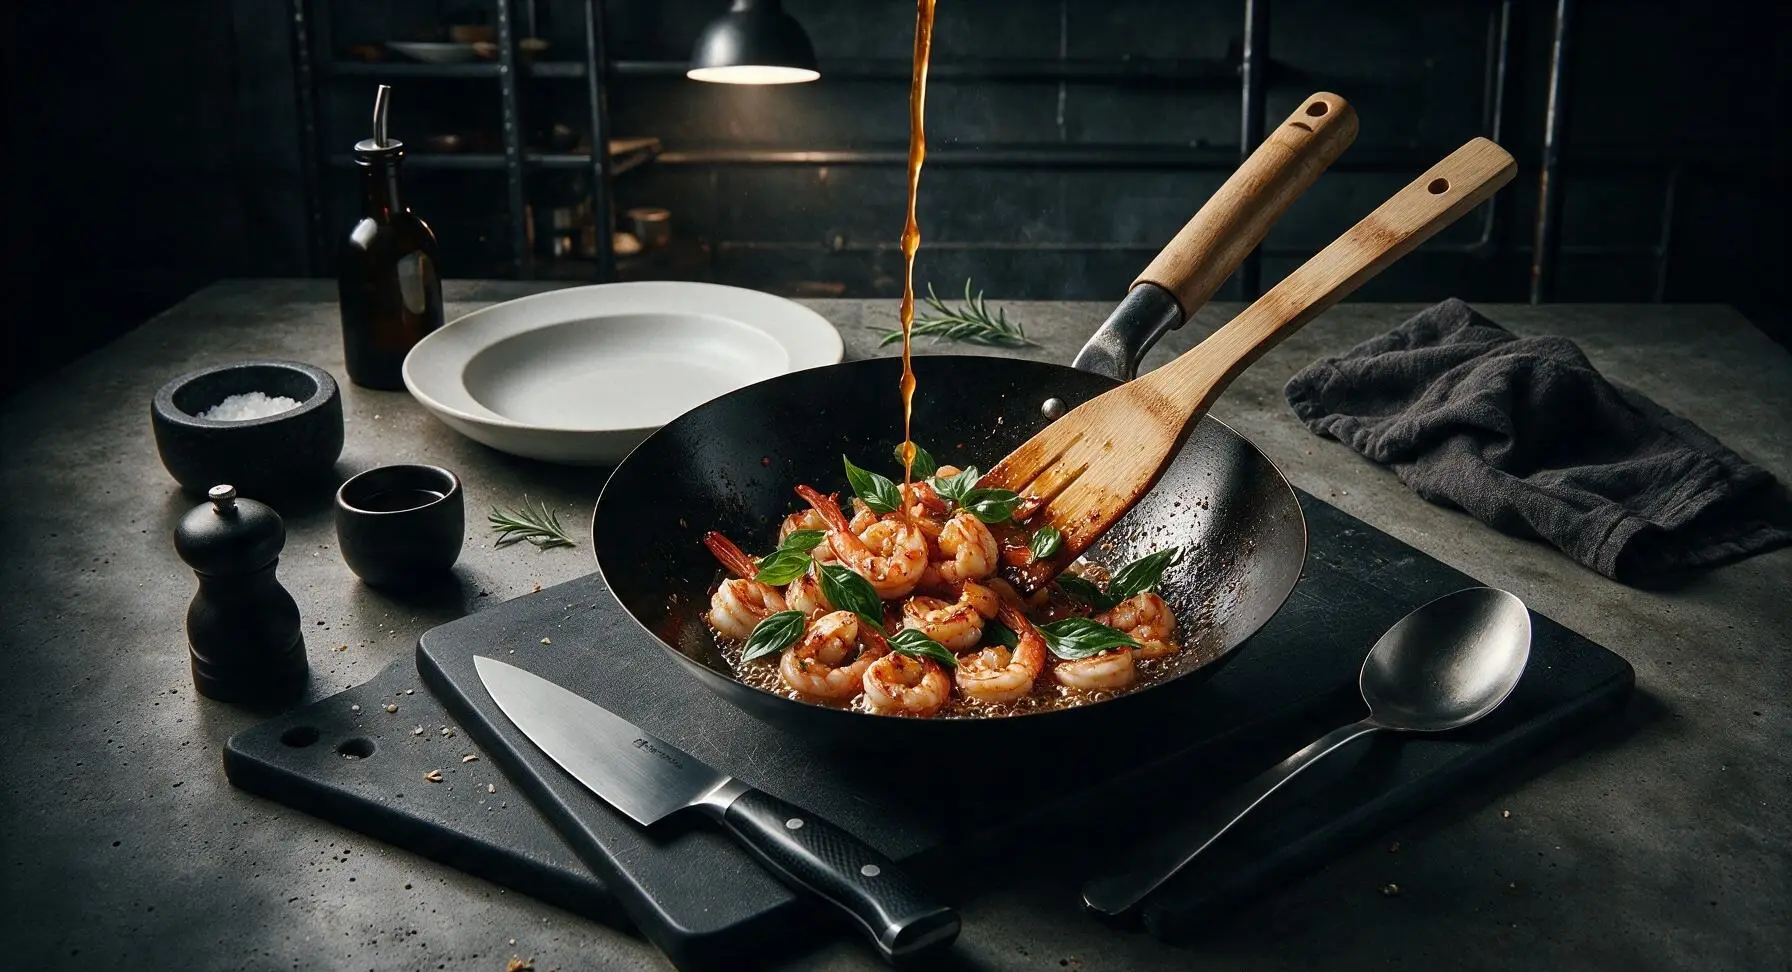
Pour the pre-mixed fish sauce-lime-palm sugar sauce over the seared shrimp in the wok. Toss continuously with the bamboo turner for 30 seconds, coating every shrimp evenly in the glossy, bubbling sauce. Add 3/4 cup of the fresh Thai basil leaves, tossing for another 15 seconds until the basil just begins to wilt. Turn off the heat immediately to avoid overcooking.
Step 7
step7:Toss with sauce and basil
8

Plate and garnish to serve

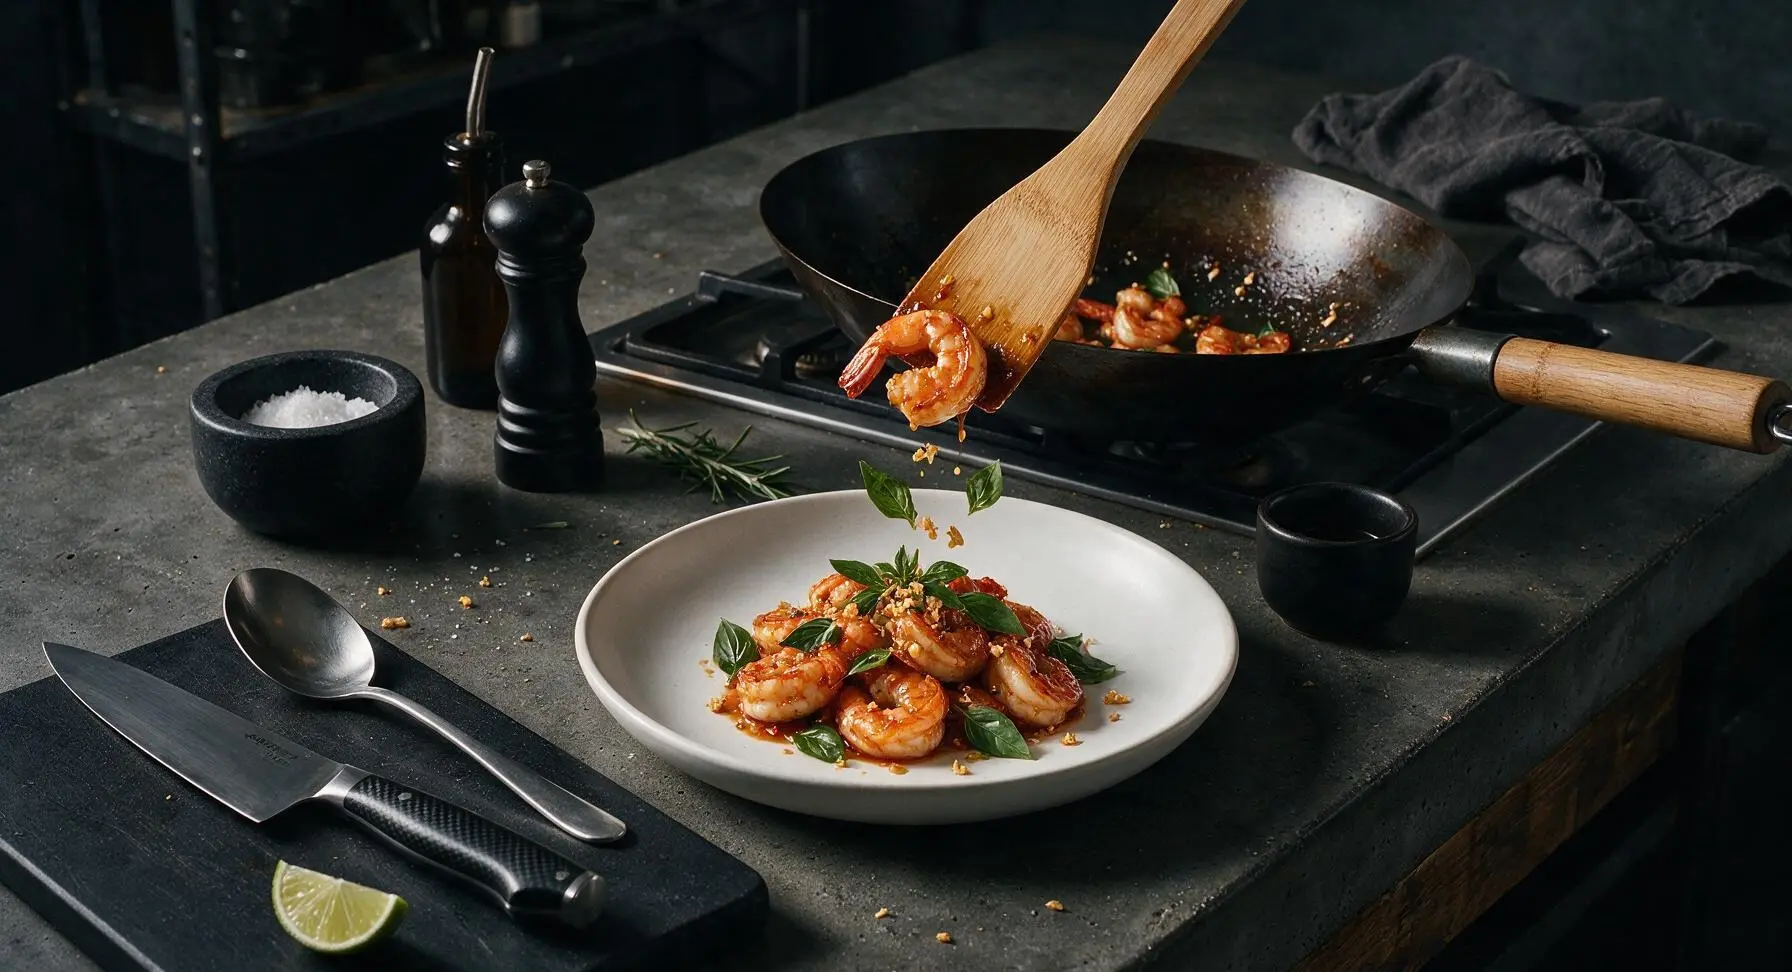
Transfer all cooked shrimp and sauce from the wok to the matte white ceramic shallow dinner plate, piling shrimp loosely in the center of the plate. Top with the remaining 1/4 cup fresh Thai basil leaves, a light sprinkle of optional toasted garlic flakes, and place a 1/4 lime wedge at the 3 o'clock position on the plate for extra squeezing at the table.
Step 8
step8:Plate and garnish to serve

Tips

1.Pat shrimp completely dry before searing: Excess surface moisture will cause shrimp to steam instead of sear in the hot wok, preventing the light caramelized edge that locks in sweet, briny shrimp flavor and keeps texture firm instead of mushy.
2.Watch garlic closely during sautéing: Finely minced garlic goes from perfectly golden and nutty to burnt and bitter in under 10 seconds at high wok heat, so stir continuously and add shrimp immediately once you smell the rich garlic aroma.
3.Turn off heat right after adding basil: Seasoned carbon steel woks retain extremely high residual heat, which will continue to cook shrimp after the burner is off. Leaving heat on will turn shrimp rubbery and make basil turn black and bitter within 30 seconds.


✨ You May Also Like

Main Course
🍜 United Kingdom

A showstopping classic of tender seared beef, savory mushroom duxelles, and crisp prosciutto wrapped in flaky golden puff pastry, baked to juicy perfection.

⏱️ 2 hours 1Main Course ★ 4.7
Main Course
🍜 India

Tender charred marinated chicken simmered in a rich, spiced creamy tomato sauce, this iconic Anglo-Indian curry pairs perfectly with basmati rice or warm naan.

⏱️ 50 minuteMain Course ★ 4.6
Main Course
🍜 Thailand

Classic tangy, sweet, and savory Thai stir-fried rice noodles with shrimp, tofu, and crunchy garnishes, balancing all five core Thai flavor profiles.

⏱️ 30 minuteMain Course ★ 4.5
Main Course
🍜 United Kingdom

Crispy golden beer-battered cod and fluffy double-fried chips, served with tangy tartar sauce and malt vinegar: the timeless, beloved British pub comfort classic.

⏱️ 45 minuteMain Course ★ 4.7
Main Course
🍜 Mexico

Smoky, chile-marinated pork tacos with caramelized pineapple, fresh cilantro, and lime: a beloved classic Mexican street food perfect for casual summer gatherings.

⏱️ 1 hour 45Main Course ★ 4.8
Main Course
🍜 United States

Crunchy Fritos corn chips layered with savory beef chili and melted cheddar, topped with cool, zesty fixings for a beloved, cozy Tex-Mex comfort food.

⏱️ 35 minuteMain Course ★ 4.8

thai shrimp:Frequently Asked Questions

1.Can I use frozen shrimp instead of fresh for this Thai garlic chili shrimp recipe? ▾
Absolutely! Frozen large shrimp work perfectly here—just thaw them completely in the fridge overnight, or in a sealed bag submerged in cold water for 20 minutes if you’re short on time. Be sure to pat every shrimp completely dry with paper towels before searing to get that crisp, golden exterior instead of steamed, rubbery shrimp.
2.How spicy is this dish if I use the full recommended amount of Thai bird’s eye chilies? ▾
Using the full amount of bird’s eye chilies gives a bright, noticeable heat that lingers gently, not overwhelming enough to mask the dish’s other balanced flavors. If you’re sensitive to spice, start with 1 seeded chili, taste the sauce as you go, and add more only if you want extra kick—remember, you can always add heat, but you can’t take it away.
3.What can I substitute for Thai basil if I can’t find it at my local grocery store? ▾
If fresh Thai basil is hard to track down, the best swap is a mix of 2 parts regular sweet basil and 1 part fresh mint, to mimic Thai basil’s subtle anise, peppery edge. Avoid dried Thai basil here—it won’t give that bright, fresh aromatic pop that defines the dish, so save dried herbs for long-simmered recipes instead.
4.Why do my shrimp turn out rubbery every time I make stir-fried shrimp dishes like this? ▾
Rubbery shrimp almost always comes from two common mistakes: not drying the shrimp thoroughly before searing, or overcooking them. For this recipe, sear shrimp over high heat for just 1 to 1.5 minutes per side until they turn opaque and curl into a loose C shape—tight, fully curled shrimp are a sure sign you’ve cooked them too long.
5.Can I make this dish ahead of time for weekly meal prep? ▾
This dish is best eaten right after cooking for the juiciest shrimp and crisp basil, but it works for meal prep if stored properly. Keep cooked shrimp and sauce in an airtight container in the fridge for up to 3 days, and reheat gently in a skillet over low heat for 2 to 3 minutes, tossing in a fresh squeeze of lime to brighten flavors before serving.
6.Do I have to leave the shrimp tails on for this recipe? ▾
Leaving the tails on is totally optional! Tails add a nice visual pop and a tiny bit of extra savory, shellfish flavor as the shrimp sear, but you can peel them completely if you prefer easier, no-fuss eating. Just be sure to save any discarded shells to make homemade seafood stock if you want to cut down on food waste.
7.What are the best side dishes to serve with Thai garlic chili shrimp? ▾
This shrimp pairs beautifully with fluffy jasmine rice to soak up the glossy, flavorful sauce, or crisp lettuce cups for a lighter, low-carb option. For a full spread, add quick stir-fried bok choy, fresh cucumber slices tossed in a pinch of rice vinegar, or a side of cold rice noodles tossed with a splash of lime and fish sauce.
8.I don’t have fresh limes—can I use bottled lime juice instead? ▾
Bottled lime juice works in a pinch, but fresh squeezed lime juice makes a huge difference in that bright, zesty sour balance the dish needs. If you do use bottled, look for 100% lime juice with no added preservatives or sweeteners, and add it off heat right before serving to keep that bright, tangy flavor from turning flat.
9.How do I keep the garlic from burning when I make the sauce? ▾
Burnt garlic adds a harsh, bitter flavor that ruins the bright sauce, so follow two simple rules: don’t heat your oil to smoking before adding garlic, and keep the garlic moving constantly once it hits the pan. Cook minced garlic over medium-high heat for just 15 to 20 seconds until it smells fragrant, then add your chilies and shrimp right away.
10.Can I add extra vegetables to this dish to make it more filling? ▾
Absolutely! Toss in quick-cooking veggies that hold up to high-heat stir-fry to bulk up the meal without extending cook time much. Great options include thinly sliced bell peppers, snap peas, diced baby corn, or sliced shallots—just add them to the pan 1 minute before the shrimp so they stay crisp-tender, not mushy.
11.What’s the best oil to use for searing the shrimp for this recipe? ▾
Use a high-smoke-point neutral oil like canola, avocado, or refined peanut oil to get a good sear on the shrimp without burning the aromatics. Avoid toasted sesame oil or extra-virgin olive oil here—both have low smoke points that can make the dish taste bitter, and their strong flavors will overpower the delicate garlic, chili, and basil notes.
12.I don’t eat shellfish—what protein works as a swap for the shrimp? ▾
If you don’t eat shrimp, you can swap in equal amounts of large sea scallops (patted dry, seared 2 minutes per side), cubed pressed firm tofu (pan-fried until crisp), or thinly sliced boneless, skinless chicken breast. Adjust cook time as needed so your protein stays juicy and tender, rather than tough and overcooked, and toss with the sauce right at the end.
13.How do I get that glossy, restaurant-style sauce coating on the shrimp? ▾
That signature glossy coat comes from cooking the sauce over high heat for the last 30 seconds of cooking, so it reduces slightly and clings to every shrimp. You can stir in a tiny slurry of 1/4 teaspoon cornstarch mixed with 1 teaspoon cold water if you want an extra thick sauce, but go light—you don’t want a gummy, heavy coating.
14.Is this Thai garlic chili shrimp recipe gluten-free? ▾
The core recipe made with just the listed key ingredients is naturally gluten-free, but many home versions add a splash of fish sauce or oyster sauce to amp up savoriness. If you need it fully gluten-free, double check that any added sauces are labeled gluten-free, as standard soy sauce, oyster sauce, and even some fish sauces contain hidden wheat additives.
15.Can I adjust the flavor balance if the sauce tastes off to me? ▾
Absolutely—Thai cooking is all about balancing salty, sweet, sour, and spicy to your taste! If the sauce is too sour, add a pinch of sugar; too sweet, squeeze extra lime; too spicy, stir in a tiny splash of coconut milk to mellow heat; too flat, add a pinch of salt or tiny splash of fish sauce to boost savoriness, adjusting 1/4 teaspoon at a time.
16.How should I prep Thai bird’s eye chilies to better control the heat level? ▾
Most of a chili’s heat lives in the white pith and seeds, so if you want milder flavor, slice the chilies lengthwise, scrape out all the seeds and pith with the tip of a knife, and mince the remaining flesh. For full, fiery heat, just mince the whole chili, and be sure to wash your hands thoroughly with soap after handling—don’t touch your eyes or face!
17.Can I really get this dish on the table in under 20 minutes on a busy weeknight? ▾
Absolutely—this recipe is built for fast weeknight cooking, and you can cut total time down to 15 minutes with a few quick hacks. Buy pre-peeled, deveined shrimp from the seafood counter to skip prep work, mince garlic and chilies ahead of time, and have your basil picked and lime juiced before you even turn on the stove.

Comments (13)

2 hours ago

OMG this was SO good! Threw it together on a random weeknight when I forgot to meal prep and it took literally the 8 minutes the recipe said. Tasted just like takeout from my favorite local Thai spot, no cap. Served it over jasmine rice and my roommate begged for the recipe before she even finished her first bite.

yesterday

Made this for my family dinner last night and my kids loved it! My two picky eaters actually cleaned their plates! I was a little worried the chili would be too spicy for them so I cut the chili flakes in half, and it was the perfect heat level for everyone. Will absolutely be adding this to our regular weeknight rotation.

2 hours ago

So happy to hear the whole family loved it! Cutting the chili level for picky eaters is such a smart hack, you can always add extra sriracha on the side for the adults who want more heat too.

3 days ago

Total game changer for potluck season! I made a double batch for my office potluck last week and it was gone in 10 minutes flat. People kept asking if I ordered it from a restaurant lmao. Only note: make sure you pat the shrimp totally dry before cooking so they get that nice little sear, not soggy.

2 days ago

Thank you for the tip about patting the shrimp dry! I made this last week and mine were soggy, I totally skipped that step. Can’t wait to try it again the right way!

2 days ago

Great call on patting the shrimp dry, Jake! That’s such a key step for perfect seared shrimp that doesn’t steam in the pan. So stoked it was a hit at the potluck!

5 days ago

Super easy recipe, came out great! I added a handful of chopped basil at the end because I had some leftover in the fridge, and it paired so nicely with the garlic and chili. Will be making this again for sure, probably next time with some stir fried veggies on the side.

1 week ago

Perfect quick meal after a long day on the trails! Cook time was actually 8 minutes like promised, no weird fancy ingredients I had to run to the specialty store for. I served mine with cauliflower rice to keep it low carb, and it was so satisfying.

5 days ago

Cauliflower rice swap is genius! I’m doing a low carb cut right now and was looking for something that doesn’t taste like boring diet food, definitely trying this tonight.

2 weeks ago

Wait y’all, I’m literally a terrible cook and I didn’t mess this up?? That’s how easy this is! I was nervous cooking shrimp because I always overcook it into rubber, but the timing instructions were spot on. Mine came out juicy and flavorful, my boyfriend thought I ordered takeout lmao.

1 week ago

Same! I’m also super new to cooking and was scared of overcooking shrimp too, the tip about cooking them until they’re just opaque saved me. It’s so nice to have a fancy-tasting meal that doesn’t take skill!

1 week ago

This makes us so happy to hear! Easy, accessible recipes that work for new cooks are exactly what we love to share. So glad you and your boyfriend enjoyed it!

2 days ago

This was good, but I bumped up the garlic to 6 cloves and added an extra tablespoon of chili paste because I love that fiery kick. If you’re a spice wimp stick to the recipe, but if you’re like me don’t be scared to load up on the heat. Tastes insane.

1 week ago

Obsessed! I made a big batch on Sunday for meal prep and it held up perfectly in the fridge all week for lunches. The shrimp didn’t get rubbery when reheated, which is always my biggest fear with seafood meal prep. 10/10, will be a weekly staple.

5 days ago

So glad this worked for your meal prep! Pro tip: reheat it in a pan over low heat for a minute instead of the microwave if you want to keep that perfect shrimp texture even longer.

5 days ago

Made this for date night last weekend and my partner thought I spent forever cooking, little did they know it took less than 10 minutes total! Paired it with some coconut rice and roasted broccoli, and we had a full restaurant-quality meal for a fraction of the price. Win.

3 days ago

Coconut rice pairing is elite! I did that last time I made this and I swear the combination should be illegal it’s so good.

2 days ago

Right?! I’m so tired of spending $20+ on Thai takeout for one person, this tastes better and costs like a quarter of the price. Total win for date nights on a budget.

2 weeks ago

I’ve been making Thai food for my grandkids for years, and this recipe is a new favorite! I added a little squeeze of extra lime at the end like I always do, and it really brightens up all the flavors. Even my oldest grandson who hates seafood went back for seconds.

1 week ago

The extra lime squeeze is such a good call! I never think to add that extra citrus hit at the end, I’ll definitely be doing that next time I make this. Thanks for the tip!

30 minutes ago

I cooked these on my outdoor griddle instead of a stovetop pan and they came out insane! Got that little char on the shrimp that takes the flavor over the top. Threw some sliced bell peppers and onions on the griddle too for a full one-pan meal, zero cleanup. 10/10.

3 days ago

So happy this recipe is naturally gluten free if you use gluten free soy sauce (or tamari, which is what I used)! I’ve been looking for easy gluten free weeknight meals that don’t feel like a compromise, and this absolutely delivers. The flavor is so bold, I didn’t even miss the usual takeout versions that have hidden gluten.

2 days ago

Thank you for mentioning tamari! I have a soy allergy and always forget what swaps work for Asian recipes, can’t wait to make this this weekend.

2 days ago

Great note, Gabi! We always recommend tamari as an easy gluten free swap for this recipe, it has the same rich umami flavor without the gluten. So glad you loved it!

5 minutes ago

Bro, I’m a broke college student with basically no cooking skills and I made this in my dorm’s tiny kitchen with a cheap frying pan? It slapped so hard. Used frozen shrimp that I thawed in the microwave because that’s all I had, and it still came out way better than the dining hall food. Will be making this every week instead of ordering takeout.

just now

Love this! This recipe is perfect for small kitchens and tight budgets, so stoked it worked out even with frozen shrimp thawed in the microwave. Way better than blowing your meal budget on takeout, right?



