
Tiger Bread (Dutch Crunch Rolls)

title 1
Tiger Bread (Dutch Crunch Rolls)
⏱️ cook time 25 minutes
🍽️ servings 8
⚡ Difficulty medium

intro

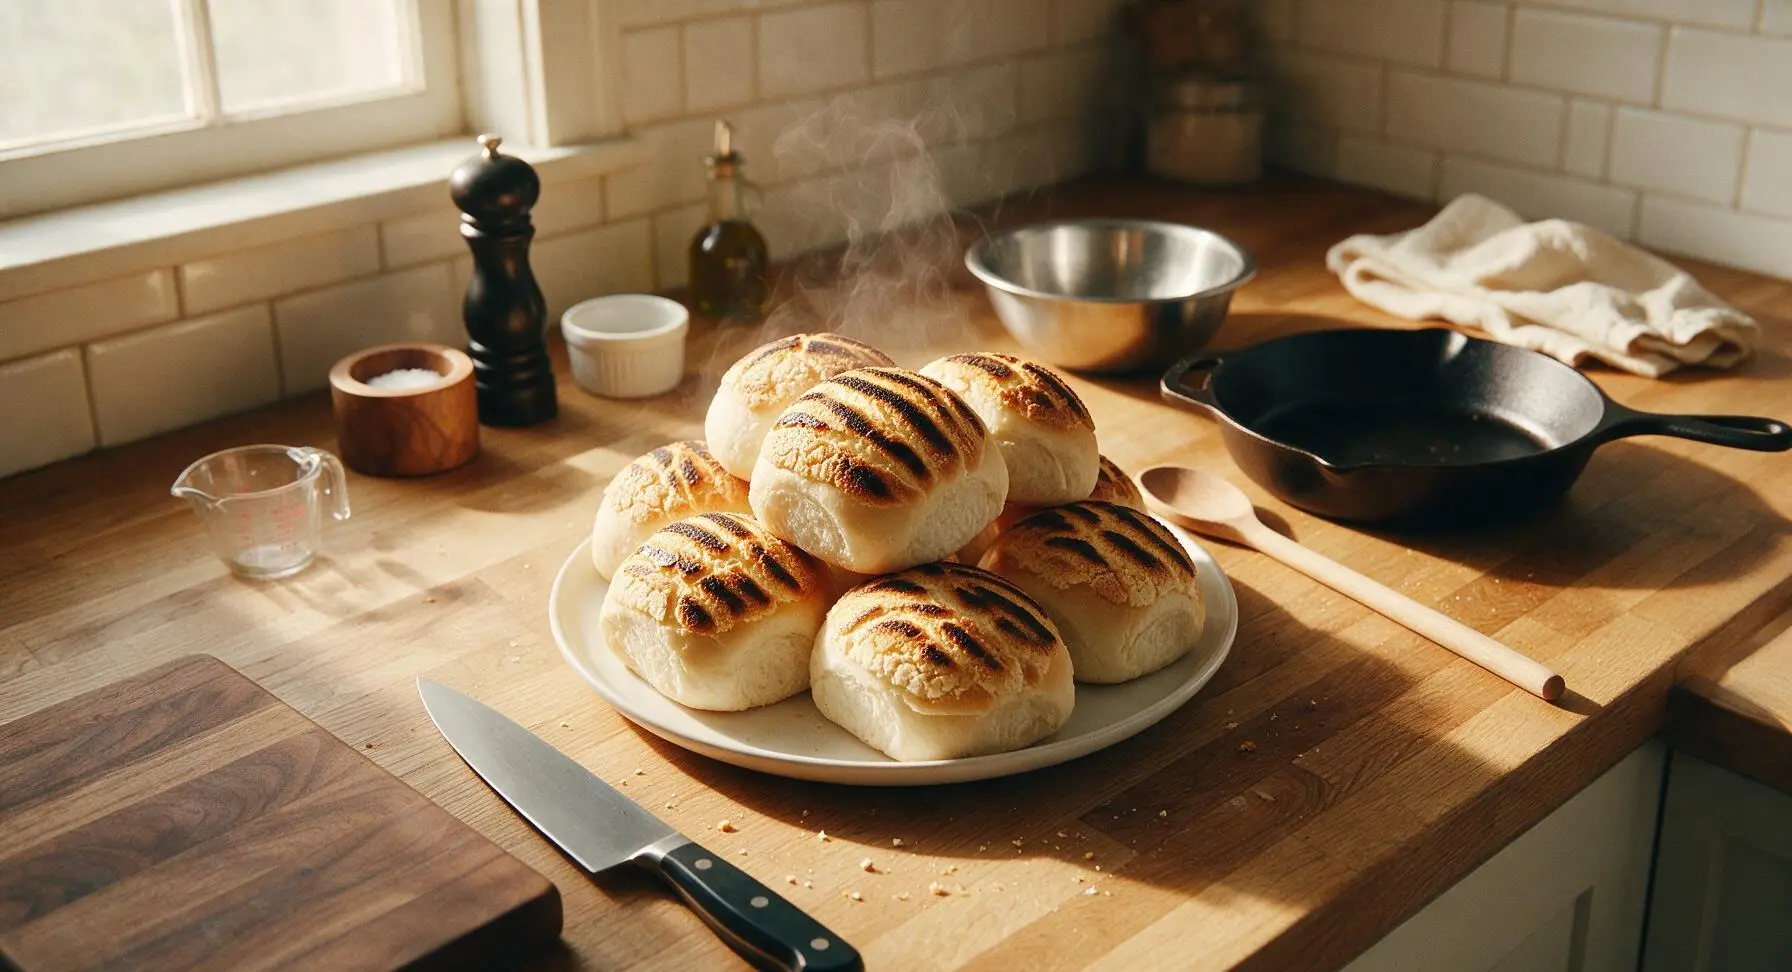
Soft, pillowy white rolls crowned with a signature crackly, mottled rice flour crust marked with tiger-like stripes—perfect for sandwiches, soup dippers, or slathered with warm butter.

Ingredients
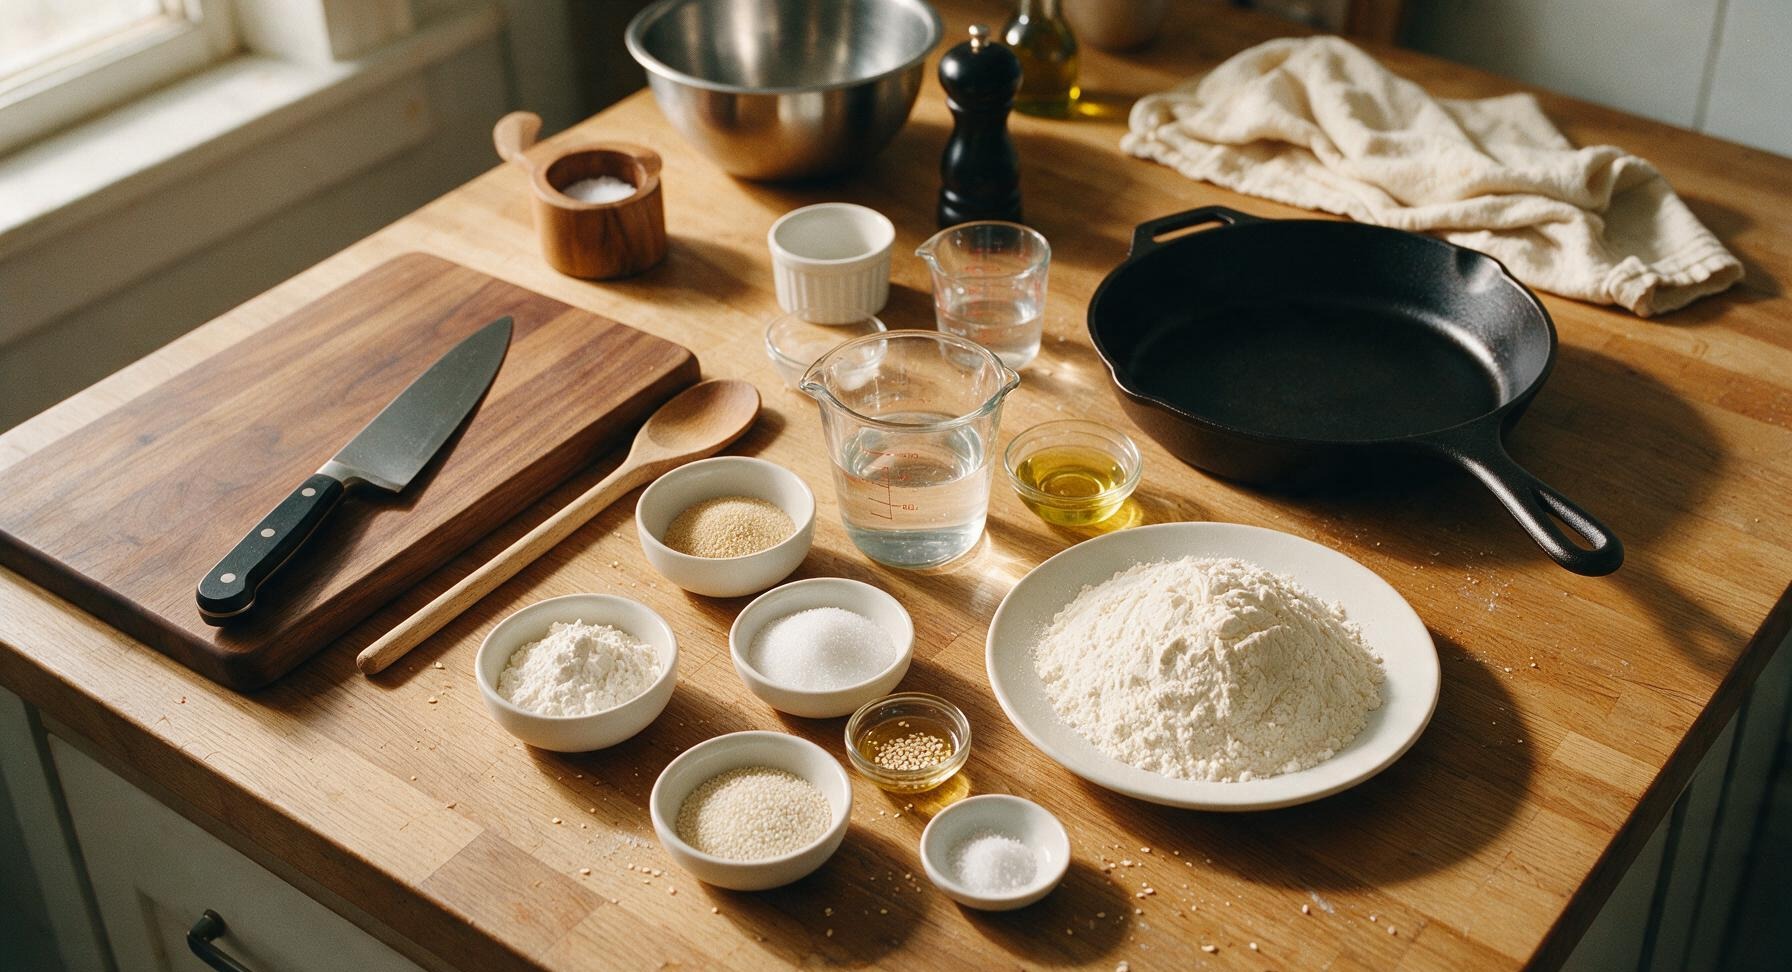
Bread flour 400g
Instant dry yeast (for dough) 7g (1 standard packet)
Granulated sugar (for dough) 15g (1 tbsp)
Fine sea salt (for dough) 7g (1.25 tsp)
Warm water (38C/100F, for dough) 260ml
Neutral vegetable oil (canola or sunflower) 15ml (1 tbsp)
White rice flour (for topping) 90g
Instant dry yeast (for topping) 3g (1 tsp)
Granulated sugar (for topping) 15g (1 tbsp)
Toasted sesame oil 5ml (1 tsp)
Fine sea salt (for topping) 2g (1/4 tsp)
Warm water (38C/100F, for topping) 80ml

Steps

1

Mix the Dough Base

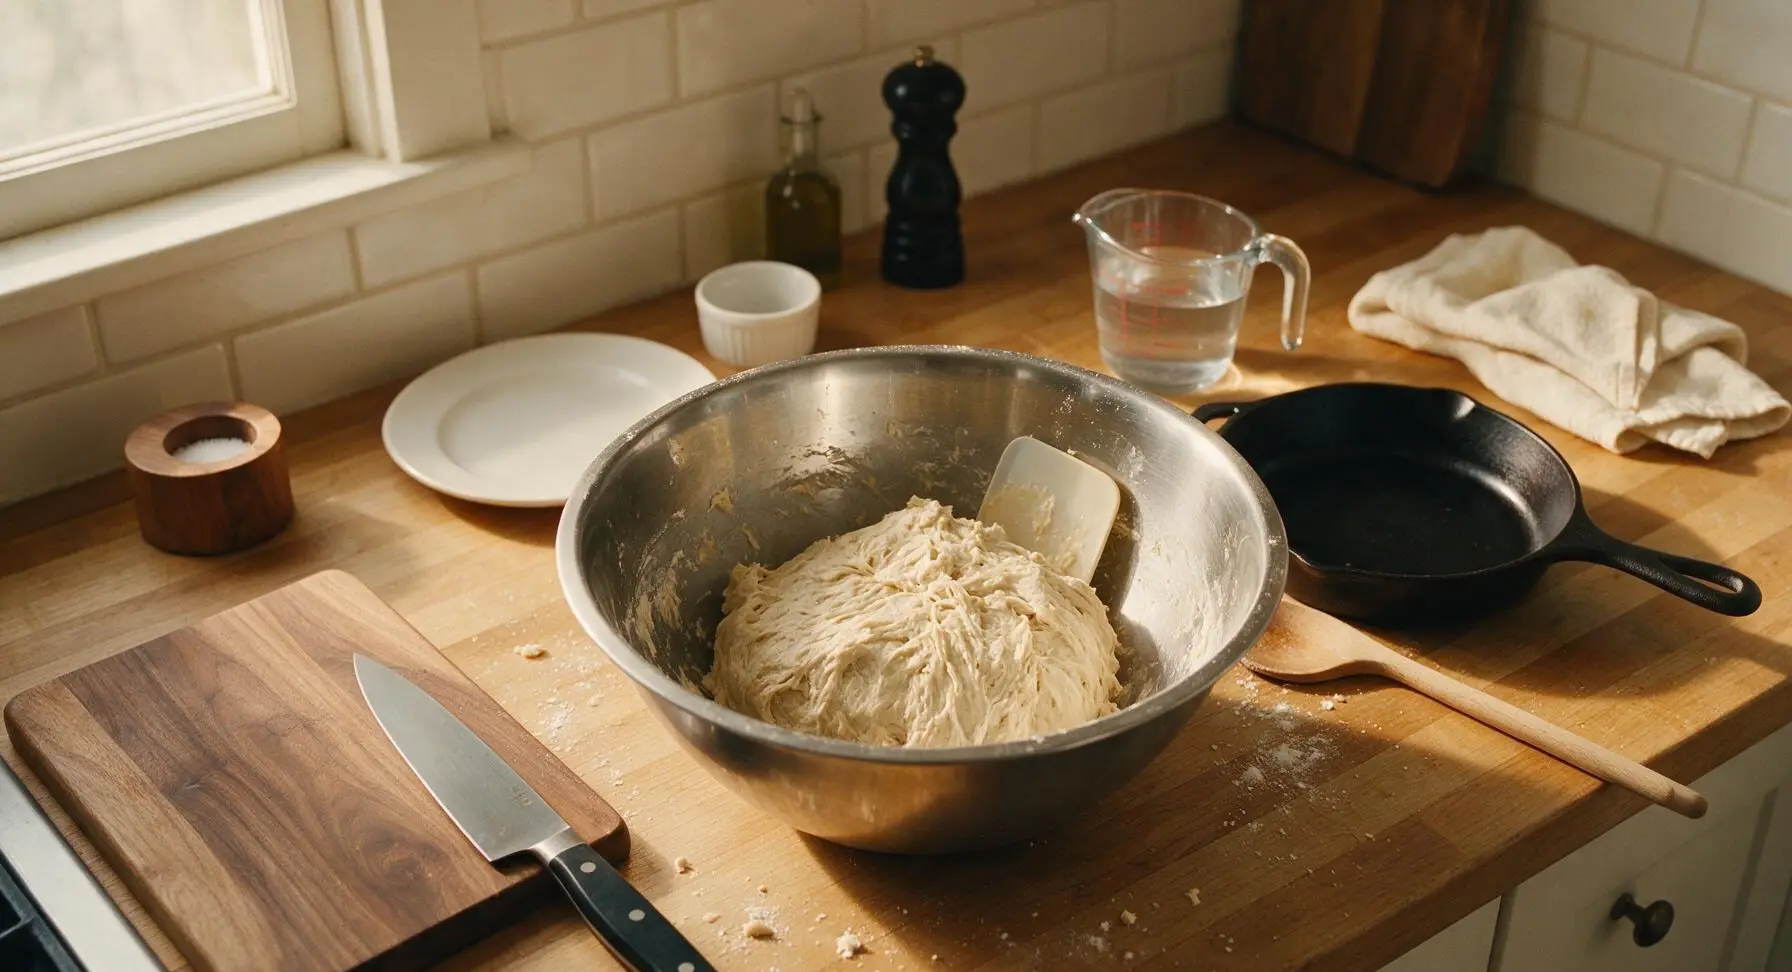
In the large stainless steel mixing bowl, combine 400g bread flour, 7g instant yeast, 15g granulated sugar, and 7g fine sea salt, whisking to evenly distribute. Add 260ml warm (38C/100F) water and 15ml neutral vegetable oil, stirring with the silicone dough scraper until a shaggy, sticky mass forms with no dry flour pockets remaining at the bottom of the bowl.
Step 1
step1:Mix the Dough Base
2

Knead and First Rise

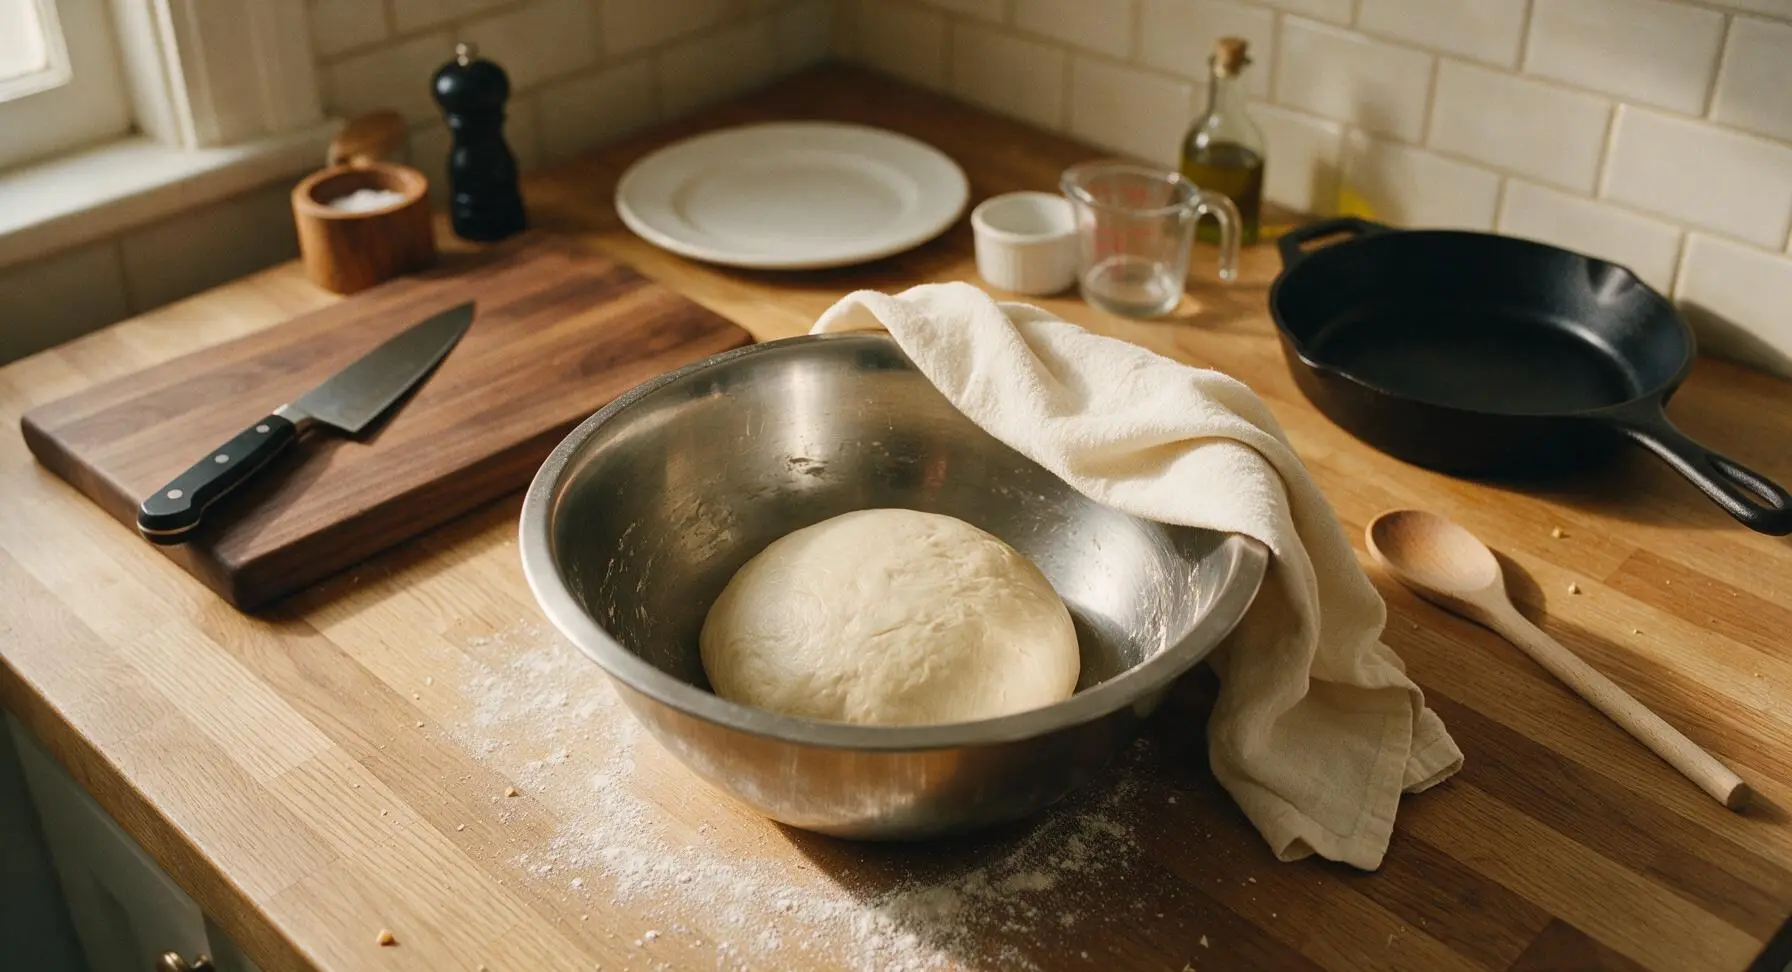
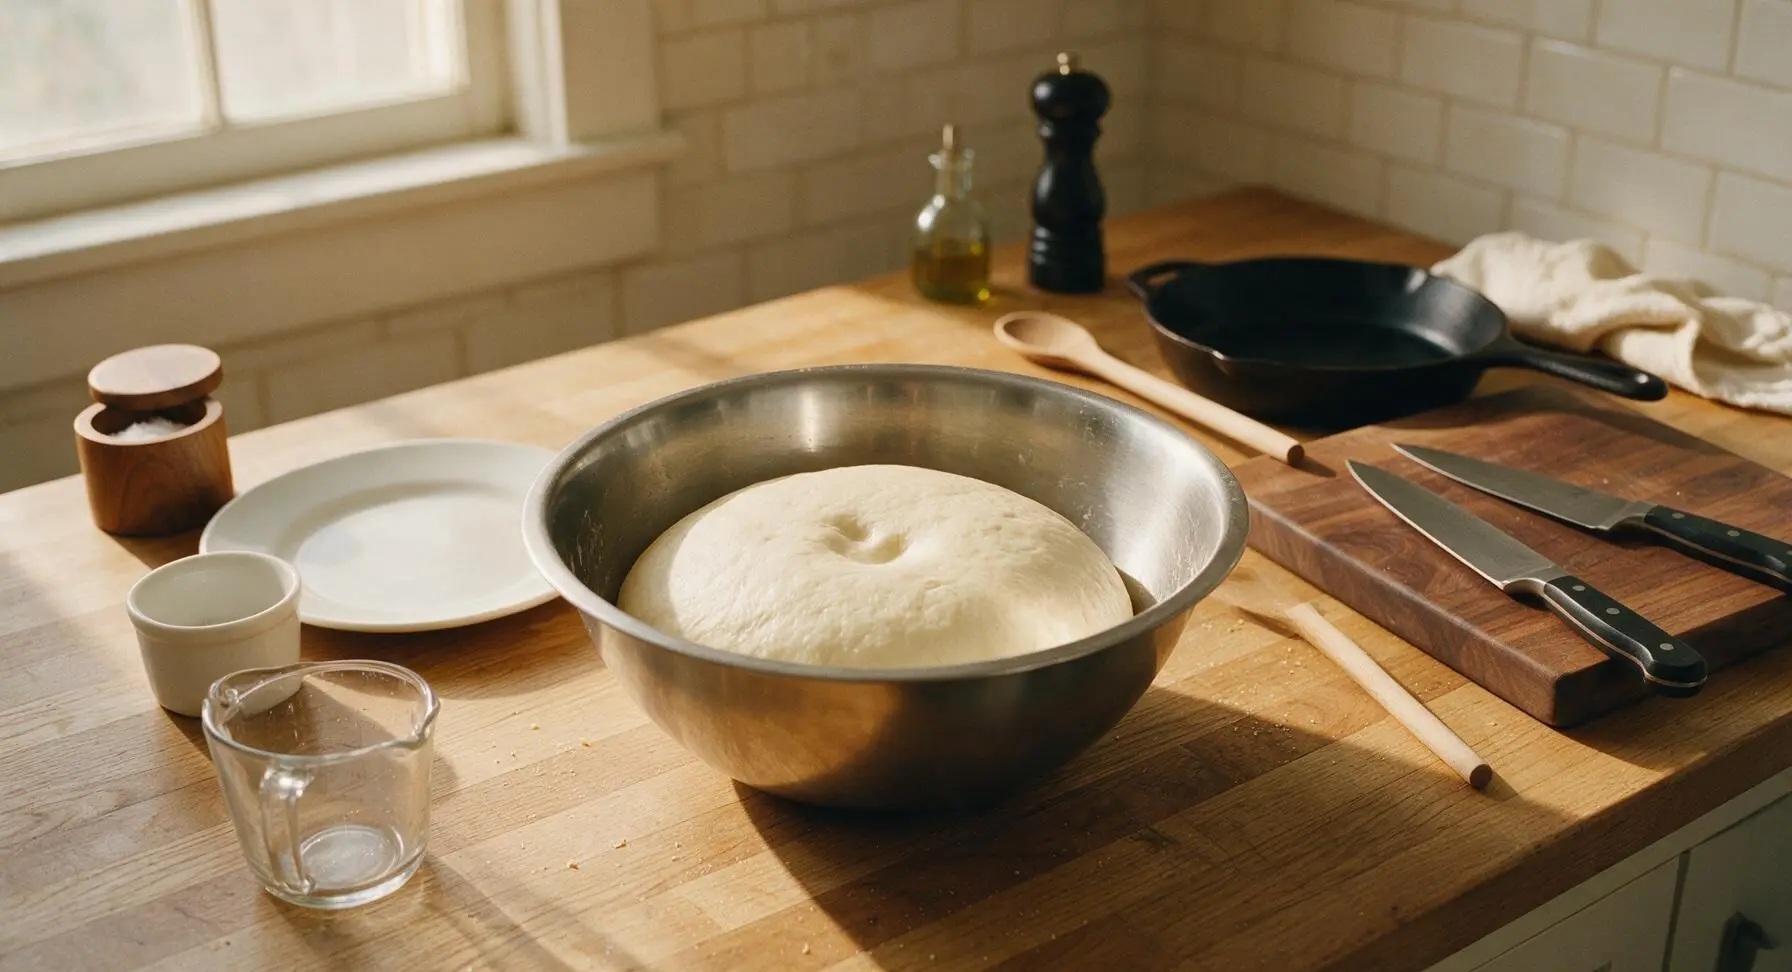
Turn the shaggy dough out onto a lightly floured section of the counter, kneading for 8-10 minutes by hand until the dough is smooth, elastic, and springs back slowly when poked with a finger. Form the dough into a tight ball, return it to the lightly oiled large mixing bowl, cover with the cotton linen towel, and let rise in a warm, draft-free spot for 1 hour, or until doubled in volume.
Step 2
step2:Knead and First Rise
Step 2
step2:Knead and First Rise
3

Shape Individual Rolls

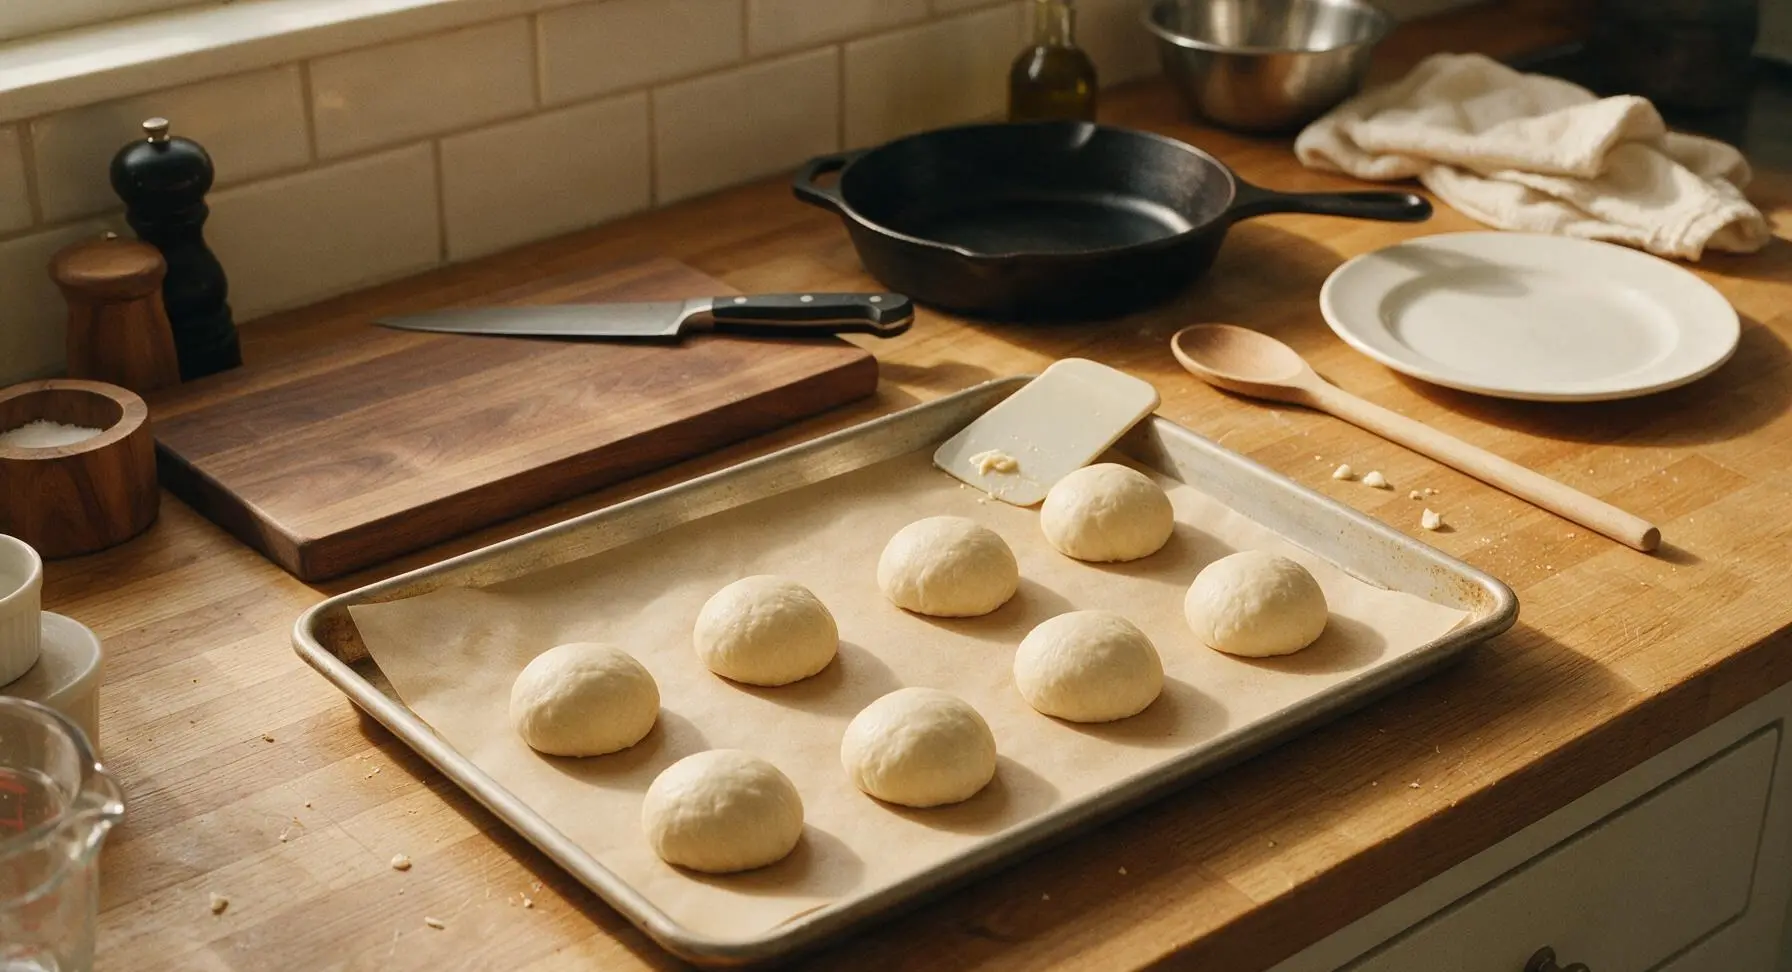
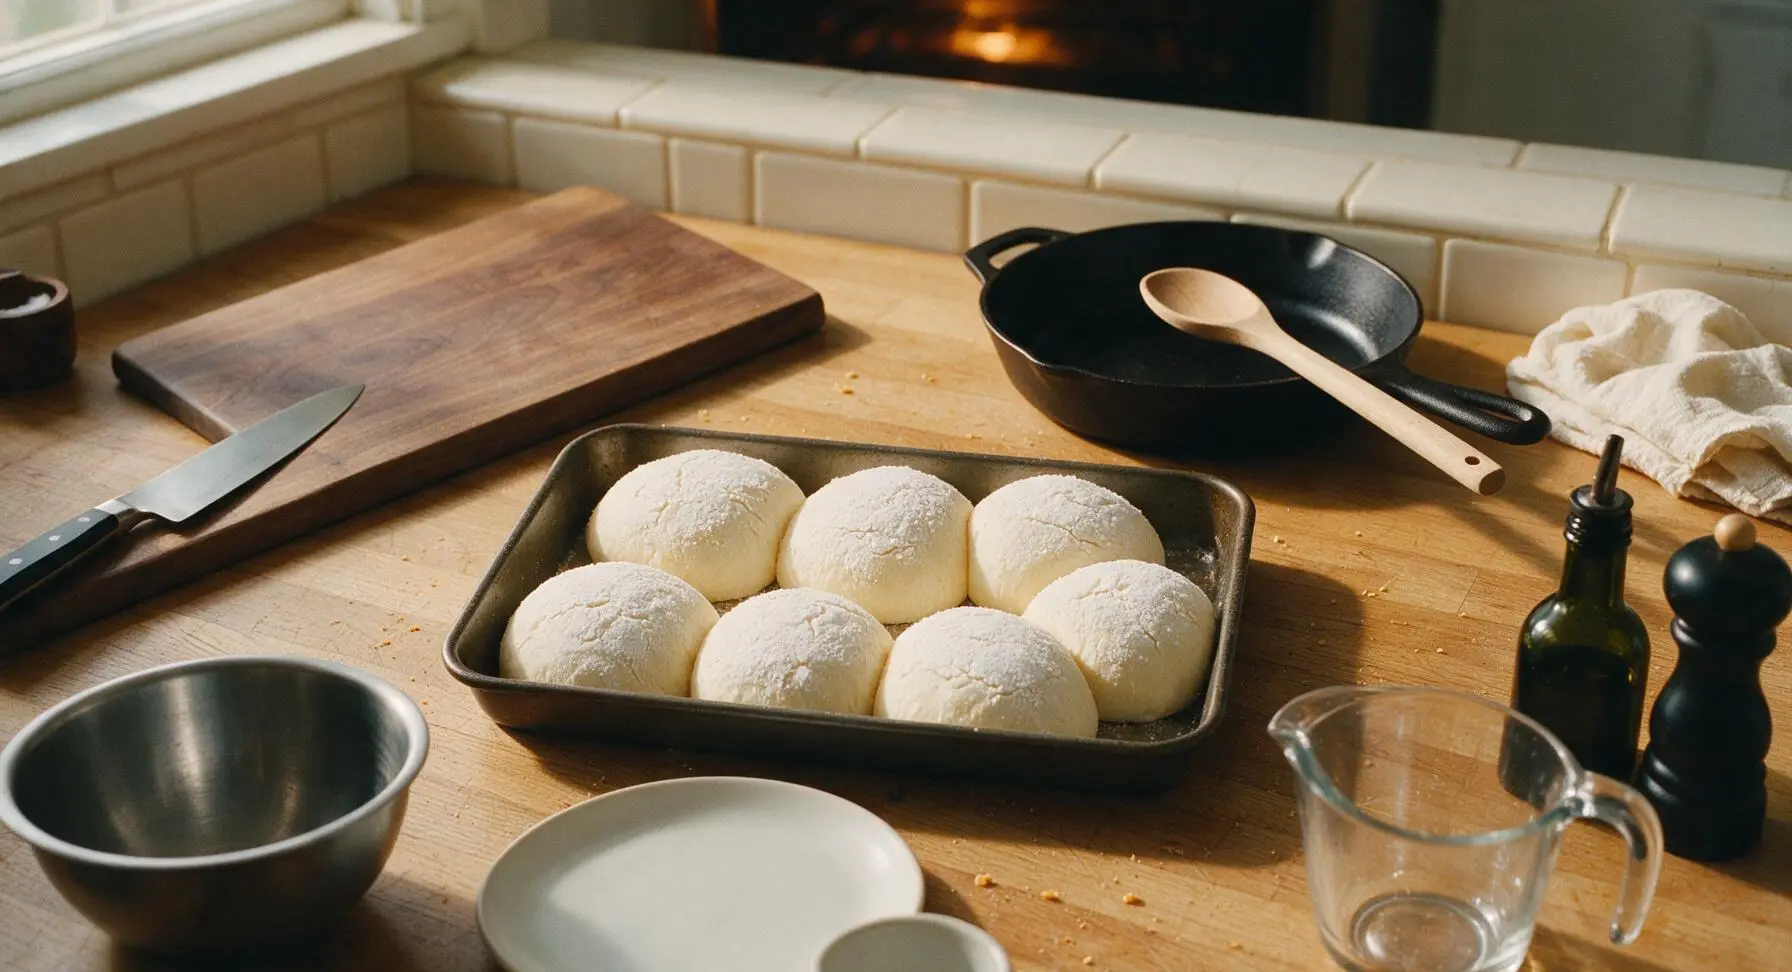
Tip the risen dough out onto the clean counter, pressing gently to deflate all large air bubbles. Use the silicone dough scraper to divide the dough evenly into 8 pieces (each ~85g). Shape each piece into a tight, smooth round ball by tucking the edges under to create surface tension, then space the rolls 5cm apart on the parchment-lined half-sheet baking pan.
Step 3
step3:Shape Individual Rolls
4

Make Dutch Crunch Topping

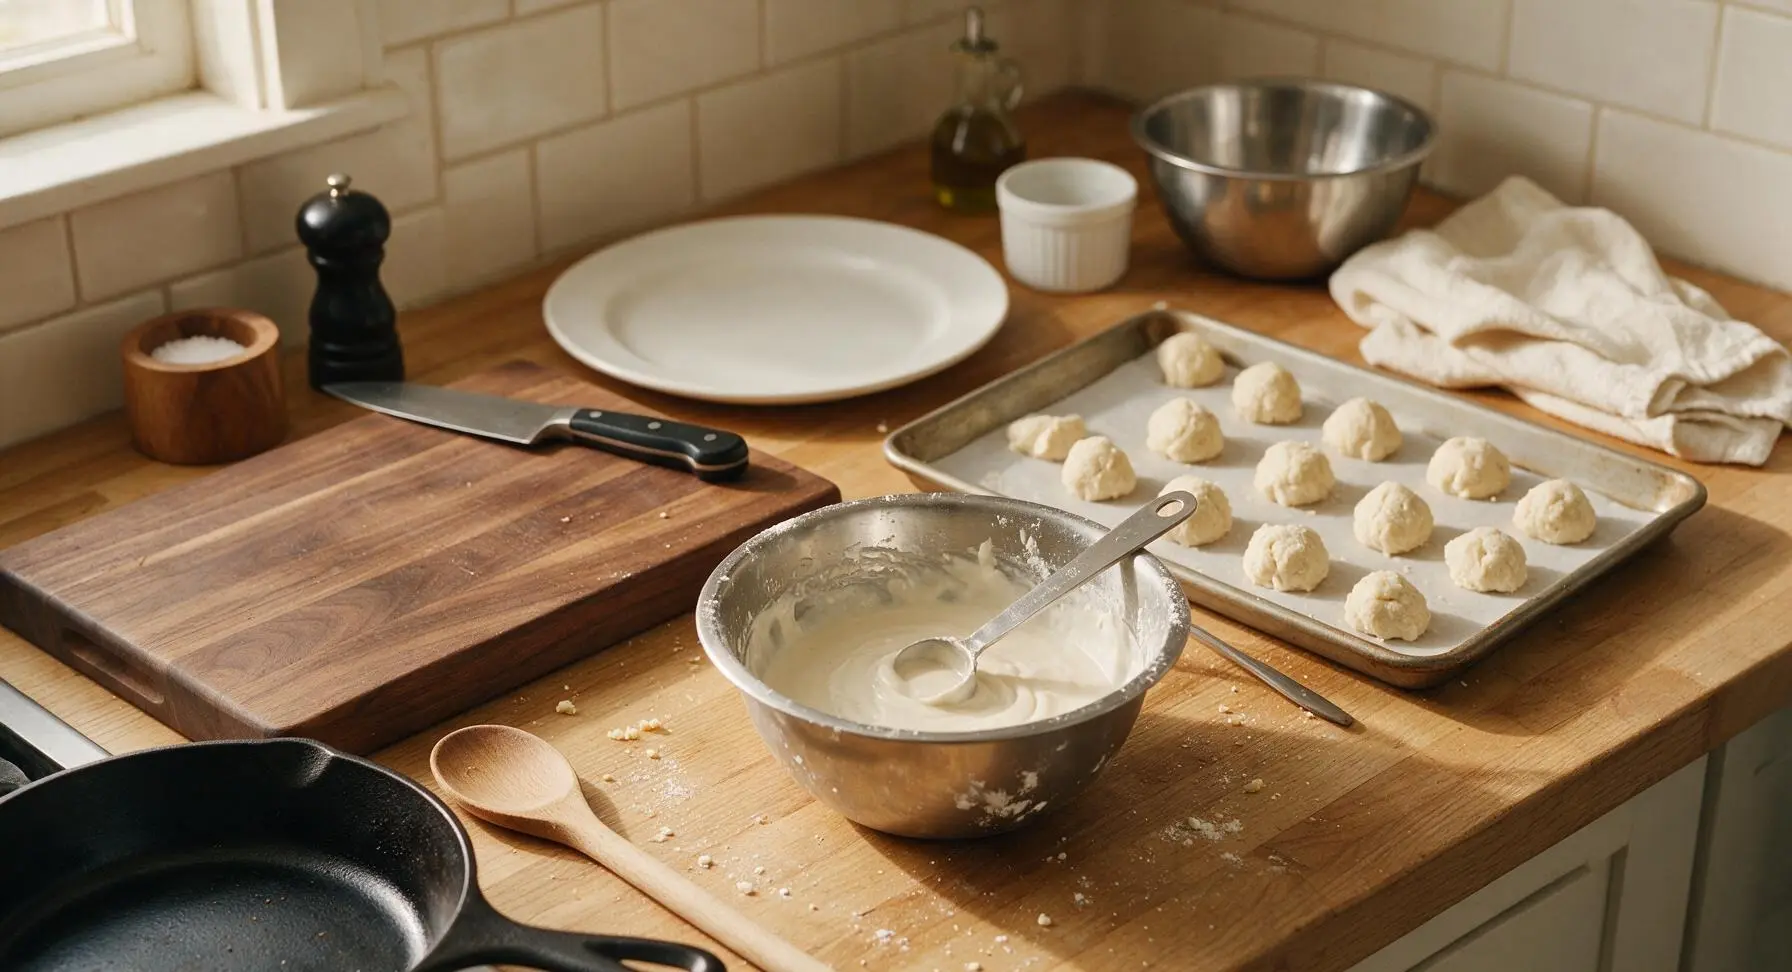
While the rolls rest for 10 minutes after shaping, make the topping in the small stainless steel mixing bowl: whisk together 90g white rice flour, 3g instant yeast, 15g granulated sugar, and 2g fine sea salt. Add 80ml warm (38C/100F) water and 5ml toasted sesame oil, stirring until the mixture is smooth, thick, and the consistency of thick pancake batter, with no lumps of rice flour remaining.
Step 4
step4:Make Dutch Crunch Topping
5

Coat Rolls with Topping

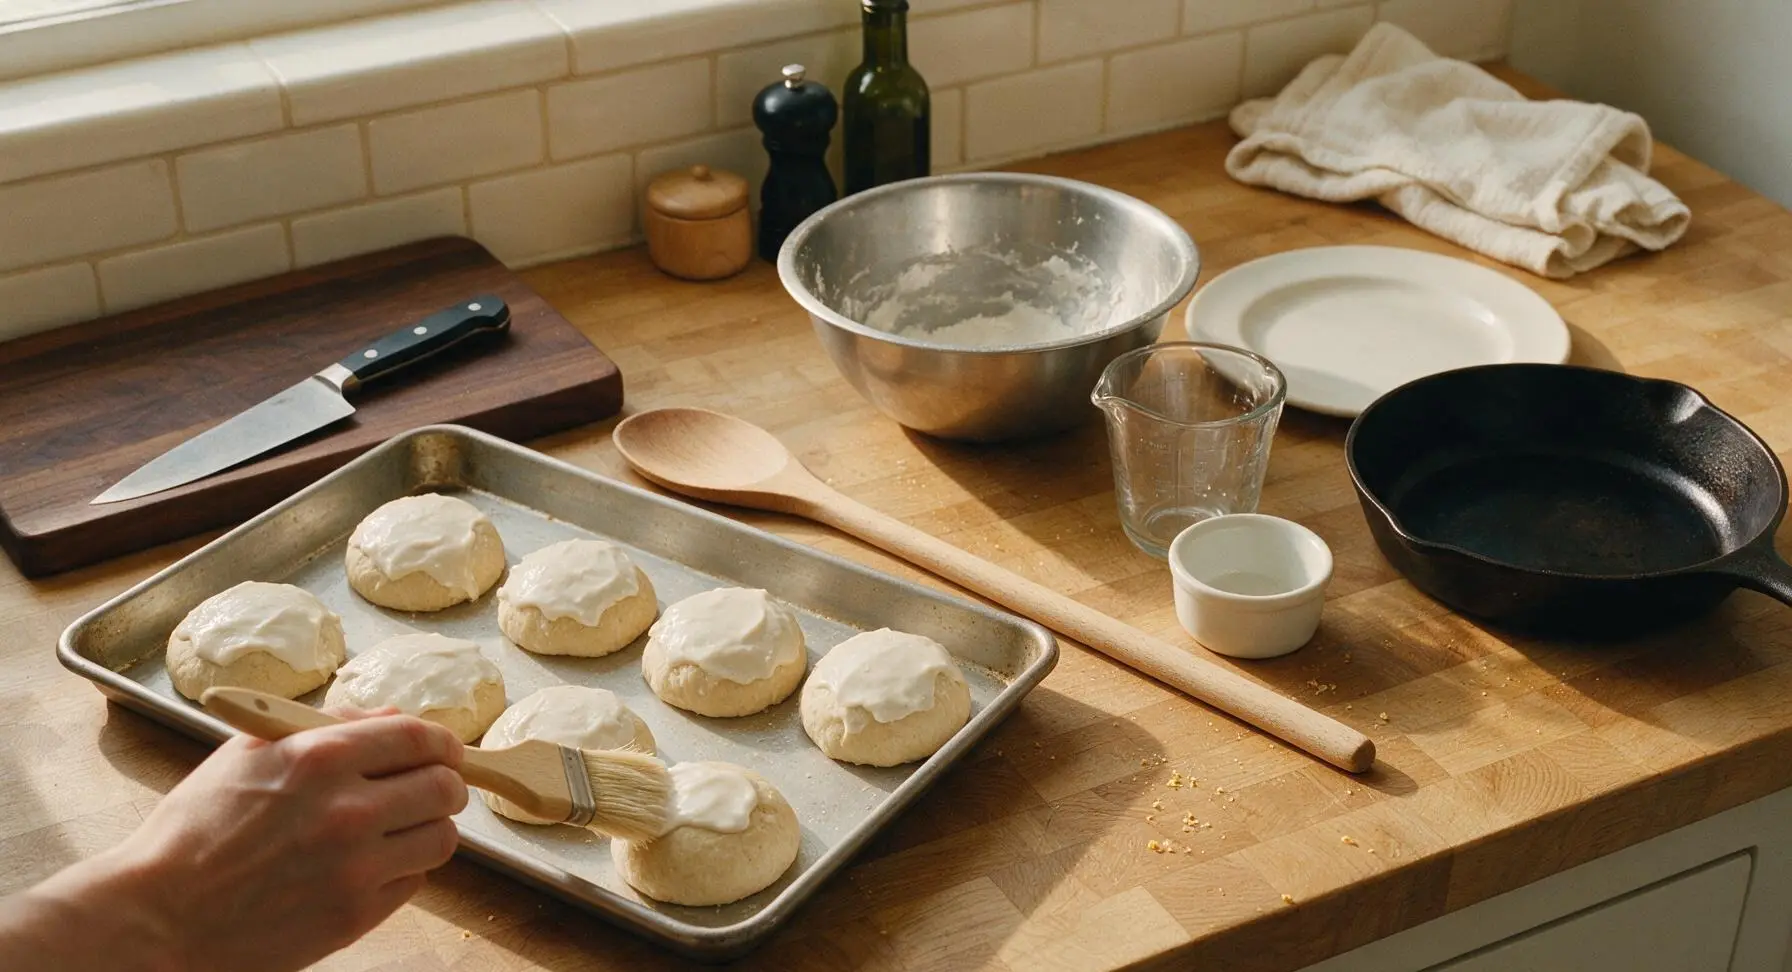
Stir the crunch topping gently to loosen it, then use the boar bristle pastry brush to generously coat the entire top and upper sides of each dough ball with a thick, even layer of the rice flour mixture (use all of the topping for a thick, dramatic crackle). Do not spread the topping too thin, as this will prevent the signature tiger stripe cracks from forming.
Step 5
step5:Coat Rolls with Topping
6

Proof and Bake Rolls

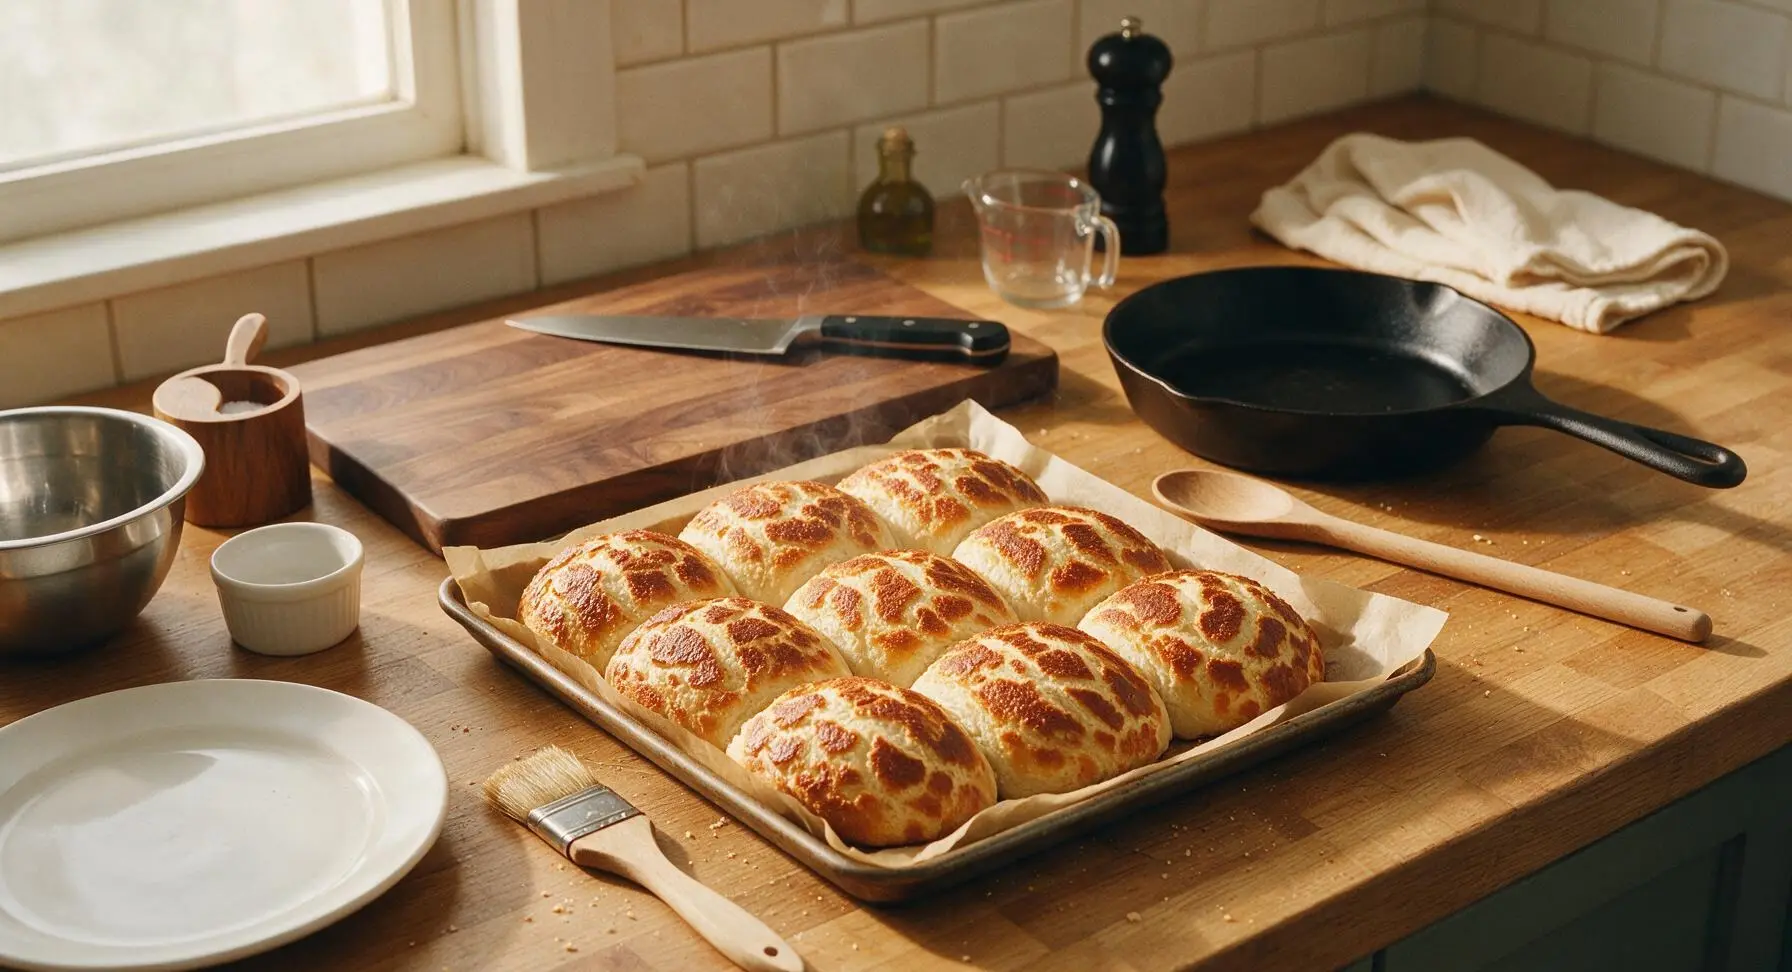
Let the topped rolls rise, uncovered, in a warm draft-free spot for 25-30 minutes, until the topping starts to look slightly cracked and puffy and the dough balls have expanded by 50%. Preheat the oven to 200C/400F while the rolls proof. Bake for 22-25 minutes, rotating the pan halfway through, until the topping is a mottled golden and pale cream (the signature tiger pattern), and the internal temperature of the rolls reaches 90C/195F.
Step 6
step6:Proof and Bake Rolls
Step 6
step6:Proof and Bake Rolls
7

Cool Before Serving

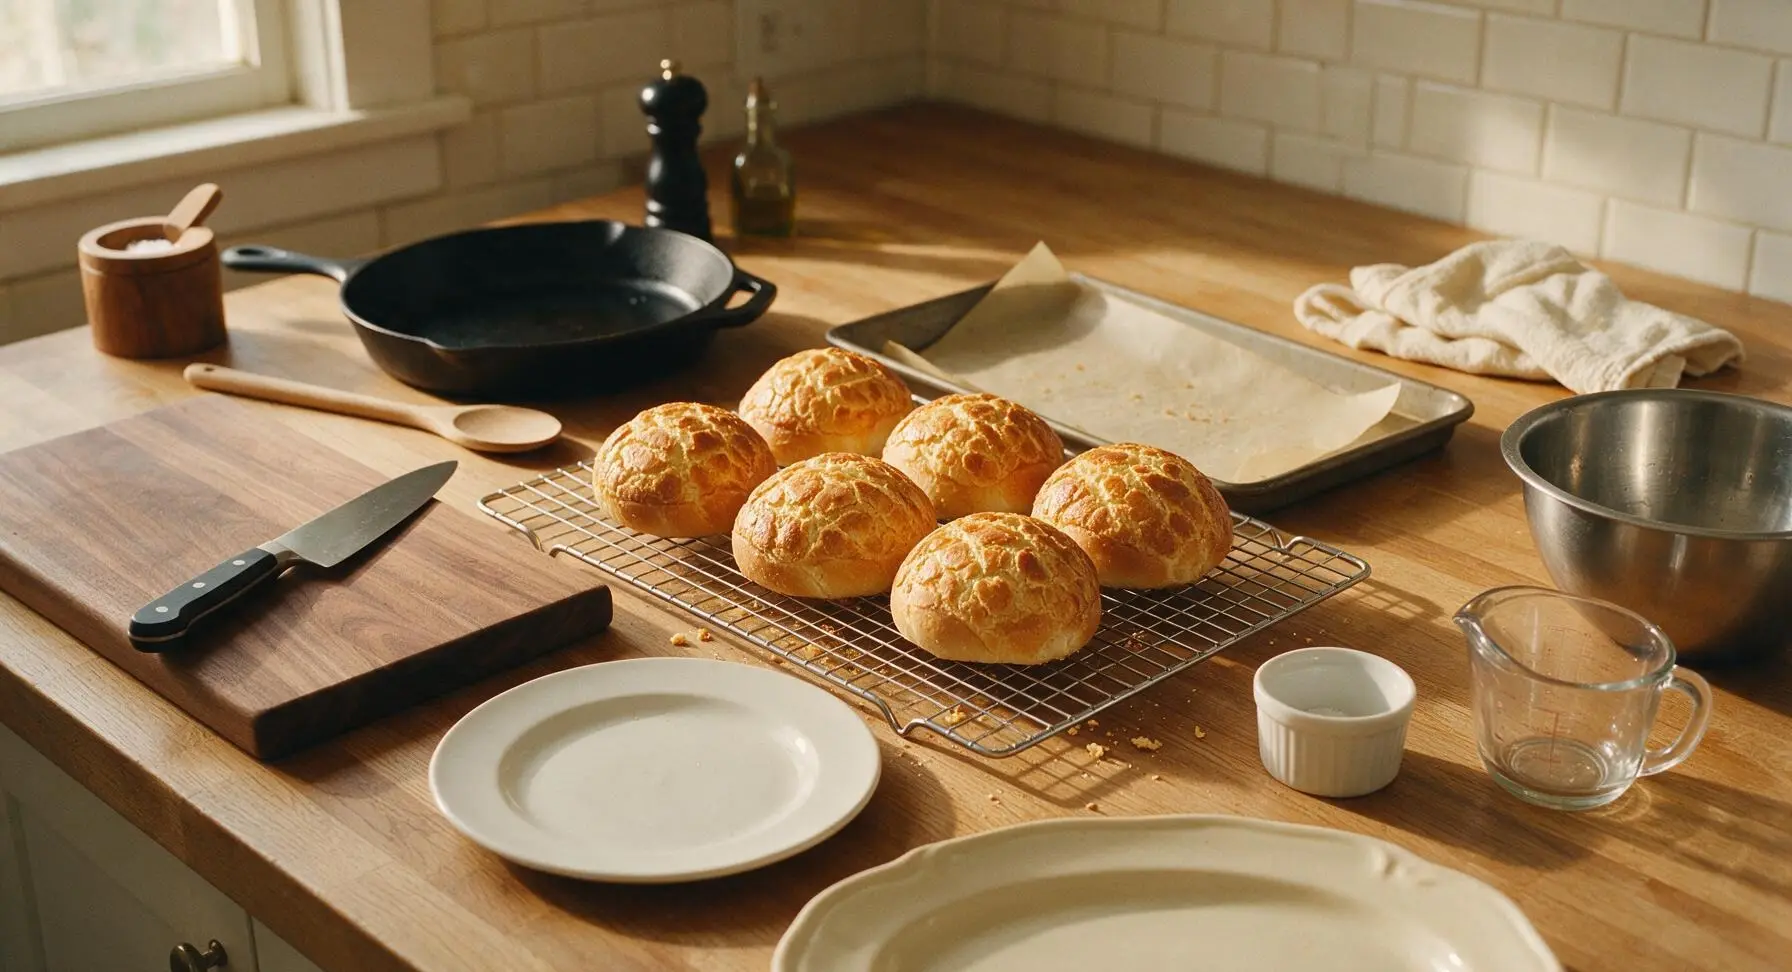
Transfer the baked rolls from the baking pan to the matte chrome wire cooling rack, letting them cool for 10 minutes before serving (the crust will crisp further as it cools). Serve warm with softened salted butter, or split for sandwiches.
Step 7
step7:Cool Before Serving

Tips

1.Do not cover the rolls during the second proof after applying the rice flour topping—trapped condensation will drip onto the coating, making it soggy and preventing it from cracking into the signature deep tiger-stripe pattern, so leave them uncovered in a draft-free spot for the best crackly texture.
2.Use only regular white rice flour for the crunch topping, not glutinous (sweet) rice flour or brown rice flour—white rice flour creates the ideal brittle, crisp crust without chewy or gritty texture, and toasts to the classic mottled pale gold and cream tiger pattern.
3.Resist opening the oven door for the first 15 minutes of baking—sudden cold air rushes can cause the puffed rolls to deflate and the unset rice flour topping to slide off the sides, leading to uneven, patchy crusts instead of a full crackled top.


✨ You May Also Like

Desserts & Baking
🍜 Italy

Creamy, coffee-kissed classic Northern Italian no-bake dessert, with layers of rum-spiked mascarpone cream, soft ladyfingers, and a rich cocoa dusting.

⏱️ 4 hours 3Desserts & Baking ★ 4.7
Desserts & Baking
🍜 France

Flaky, shatteringly crisp, buttery French croissants with golden exteriors and soft, airy layered interiors, perfect for pairing with coffee for a special morning treat.

⏱️ 12 hours Desserts & Baking ★ 4.5
Desserts & Baking
🍜 United States

Warm, spiced baked apples topped with a fluffy golden biscuit crust, this cozy dessert pairs perfectly with vanilla ice cream for cool-weather comfort.

⏱️ 55 minuteDesserts & Baking ★ 4.6
Desserts & Baking
🍜 United States

A star-spangled classic American blueberry pie with buttery flaky crust and bright sweet-tart filling, perfect for summer patriotic gatherings.

⏱️ 1 hour 25Desserts & Baking ★ 4.7
Desserts & Baking
🍜 United States

A beloved no-bake regional Maine candy with a chewy coconut-potato center coated in rich dark chocolate, a New England holiday staple since the 1870s.

⏱️ 2 hours 3Desserts & Baking ★ 4.8
Desserts & Baking
🍜 France

Luxuriously creamy, floral frozen custard made with aromatic Tahitian vanilla beans, boasting a smooth, rich texture that melts slowly on the tongue.

⏱️ 3 hours 3Desserts & Baking ★ 4.5

Tiger Bread (Dutch Crunch Rolls):Frequently Asked Questions

1.What creates the iconic tiger-stripe crackly top on these rolls? ▾
That signature mottled crust comes from a thick rice flour-based topping spread on fully proofed rolls right before baking. As the dough rises rapidly in the hot oven, the gluten-free rice flour paste can’t stretch like wheat dough, so it cracks in random, stripe-like patterns as the roll expands to create that classic crunchy top.
2.Can I use all-purpose flour instead of bread flour for the roll dough? ▾
You can, but bread flour is strongly preferred for that soft, pillowy crumb this recipe is known for. Its higher 12-14% protein content builds stronger gluten that traps yeast gas better, creating a lighter, chewier roll. If you substitute all-purpose flour, expect a slightly denser, less fluffy final crumb that won’t hold its shape as well.
3.What temperature should the water be to properly activate the instant yeast? ▾
Aim for exactly 100°F (38°C), which feels like lukewarm bath water to the touch—never hot enough to sting your skin. Water over 115°F will kill yeast, leading to flat, dense rolls that won’t rise, while water that’s too cold will slow yeast activity drastically, extending proofing time by several hours.
4.How do I know when the dough is finished with its first rise? ▾
You’ll know the first rise is complete when the dough has doubled in bulk, and a gentle 1-inch deep indent pressed with a floured finger stays put instead of springing back immediately. For this recipe, that usually takes 1 to 1.5 hours in a warm, draft-free spot around 75°F, like a turned-off oven with the interior light on.
5.Can I make these tiger bread rolls ahead of time for meal prep? ▾
Absolutely! Once baked and fully cooled, store rolls in an airtight container at room temperature for up to 3 days, or freeze them wrapped tightly in plastic wrap and foil for up to 3 months. Refresh thawed rolls in a 350°F oven for 5 minutes to bring back that soft crumb and crisp top before serving.
6.Why didn’t my crust crack into the classic tiger stripe pattern? ▾
The most common culprit is a too-thin rice flour topping, or applying the topping too early before the final proof. If the paste is runny, it will stretch with the dough instead of cracking; if applied too soon, it will set before the dough hits its maximum oven spring. Aim for a thick, paint-like topping consistency applied right before baking.
7.Do I have to knead this dough by hand, or can I use a stand mixer? ▾
Both methods work perfectly. If using a stand mixer, fit it with the dough hook and knead on medium-low speed for 6 to 8 minutes until the dough is smooth and pulls away from the bowl sides. If kneading by hand, turn the dough onto a lightly floured surface and knead for 10 to 12 minutes until it passes the windowpane test.
8.What are the best ways to serve finished tiger bread rolls? ▾
These versatile rolls shine in so many uses! Their sturdy but soft crumb makes them perfect for loaded sandwiches, sliders, or pulled pork buns, and their crisp crust is ideal for dipping into creamy tomato soup or hearty stew. They’re also delicious sliced warm and slathered with salted butter for a quick, cozy snack.
9.Can I reduce the amount of granulated sugar in the dough? ▾
The small amount of sugar in this recipe isn’t just for subtle sweetness—it feeds the yeast to encourage a good rise, tenderizes the crumb, and helps add a subtle golden color to the baked roll. You can cut it by half without major issues, but eliminating it entirely will lead to slower rises, a paler crust, and a less soft interior.
10.Can I substitute table salt for the fine sea salt called for in the dough? ▾
For a standard batch, 1.5 teaspoons of fine sea salt balances the dough’s subtle sweetness and boosts yeast flavor without making the rolls taste overly salty. If you only have table salt, reduce the amount by 25% (to about 1 1/8 teaspoons) because table salt is denser and has a sharper flavor that can overpower the dough if measured equally.
11.Do I need to proof the instant dry yeast before mixing it into the dough? ▾
Unlike active dry yeast, instant dry yeast (the type called for here) doesn’t require a separate proofing step in warm water first. You can mix it directly in with dry ingredients before adding warm water to cut down on prep time. If you’re unsure your yeast is fresh, proof it for 5 minutes in warm water with a pinch of sugar to confirm it foams.
12.Why did my rolls turn out dense instead of soft and pillowy? ▾
Dense rolls usually trace back to one of three common issues: not kneading the dough enough to build strong gluten networks, under-proofing the dough so it didn’t have time to rise fully before baking, or using old, inactive yeast. Make sure the dough doubles in size during both rises, and test yeast freshness if you haven’t used it in a few months.
13.Can I adapt this recipe to make a full tiger bread loaf instead of individual rolls? ▾
You can easily adapt this recipe for a full sandwich loaf! Shape the kneaded dough into a single loaf, place it in a greased 9x5 inch loaf pan, let it rise until it crests 1 inch above the pan rim, spread the rice flour topping over the top, and bake at 375°F for 35 to 40 minutes until the internal temperature hits 190°F.
14.How thick should I spread the rice flour crunch topping for the best texture? ▾
Aim for an even 1/8-inch thick layer of rice flour paste across the entire top of each fully proofed roll, leaving the sides bare. If you spread it too thin, it won’t crack properly into tiger stripes; if you pile it on too thick, it will form a hard, overly thick crust that falls off the roll instead of sticking in that classic mottled pattern.

Comments (5)

3 days ago

These rolls taste amazing, but I couldn’t get that signature tiger crackle top to turn out right! Mine came out smooth on top, totally missing that textured crunch. Did I let the rice flour topping rest too long? I was so excited for that classic dutch crunch texture.

2 days ago

So glad you loved the flavor! The most common reason for missing that crackle top is if the rice flour topping is spread too thin, or if you don’t let the rolls proof long enough after applying the topping. Aim for a 1/8-inch thick layer of the rice paste, and let them sit 15-20 minutes after slathering it on before popping them in the oven — that should give you that perfect crunchy, split tiger top!

1 day ago

I had the exact same issue my first batch! I found that using regular white rice flour instead of sweet/glutinous rice flour made a huge difference — the crackle was way more pronounced once I swapped. Also, make sure your oven is fully preheated before they go in! Hope that helps!

1 week ago

Game changer! I’ve been missing the tiger bread rolls from my local bodega since they stopped making them in-house, and this recipe is dead on. I used them for pastrami sandwiches last night for my roommate and I, and we both agreed it tasted exactly like what we grew up with. 10/10 will be making these every weekend from now on.

6 days ago

That makes our day to hear! These rolls are perfect for hearty sandwiches like pastrami — the soft, chewy crumb and crunchy top hold up so well to stacked fillings and sauces. So glad you were able to recreate that favorite bodega bite at home!

5 days ago

OMG these turned out SO good! I made them for our Sunday family dinner and everyone was obsessed with that crispy crackly top. My kids loved it so much they begged me to make another batch before the week started for their school lunches. I brought a few extra to my neighborhood potluck a couple days later and they were the first thing gone! I added a tiny bit of sesame oil to the topping for extra nuttiness, highly recommend that little hack if you want to switch things up. Even better than the tiger bread I used to get at the grocery store bakery.

2 weeks ago

These rolls are insane! I made a batch on Sunday for meal prep, and they held up great for turkey avocado lunches all week. Quick question though — has anyone tried freezing these after baking? I want to make a double batch next time so I don’t have to bake every week, but I don’t want to ruin that signature crunchy top.

1 week ago

I froze half my batch last month! Let them cool completely first, then wrap them tight in plastic wrap and a layer of foil to prevent freezer burn. When you want to eat them, thaw at room temp for an hour then pop them in the oven at 350°F for 5 minutes — the top gets crunchy again, just like fresh! Works perfectly, I do this every other week now.

30 minutes ago

I was so intimidated to try this because it says medium difficulty, but WOW, it was way easier than I thought! The dutch crunch topping came together so fast, and the rolls came out of the oven looking just like the ones from the fancy bakery down the street. My partner ate two straight out of the oven slathered with salted butter, he said they’re the best thing I’ve ever baked. Quick question — has anyone tried making these into larger hoagie-sized rolls instead of the smaller dinner roll size? I want to make them for cheesesteaks next weekend!

15 minutes ago

So proud of you for giving this recipe a go even when you were nervous — that’s what baking is all about! You can absolutely shape these into larger hoagie rolls, just adjust the baking time by 5-7 minutes and check that the internal temperature hits 190°F to make sure they’re baked all the way through. They’d be absolutely perfect for cheesesteaks!

5 minutes ago

I did the hoagie size for cheesesteaks last week! Total game changer. Just make sure you don’t skimp on the topping on the larger rolls — I had one end that didn’t get enough rice paste and it was plain and boring, but the rest was chef’s kiss. Best cheesesteak night I’ve ever had at home!



