
toast sandwich in oven

title 1
toast sandwich in oven
⏱️ cook time 8 minutes
🍽️ servings 2
⚡ Difficulty easy

intro

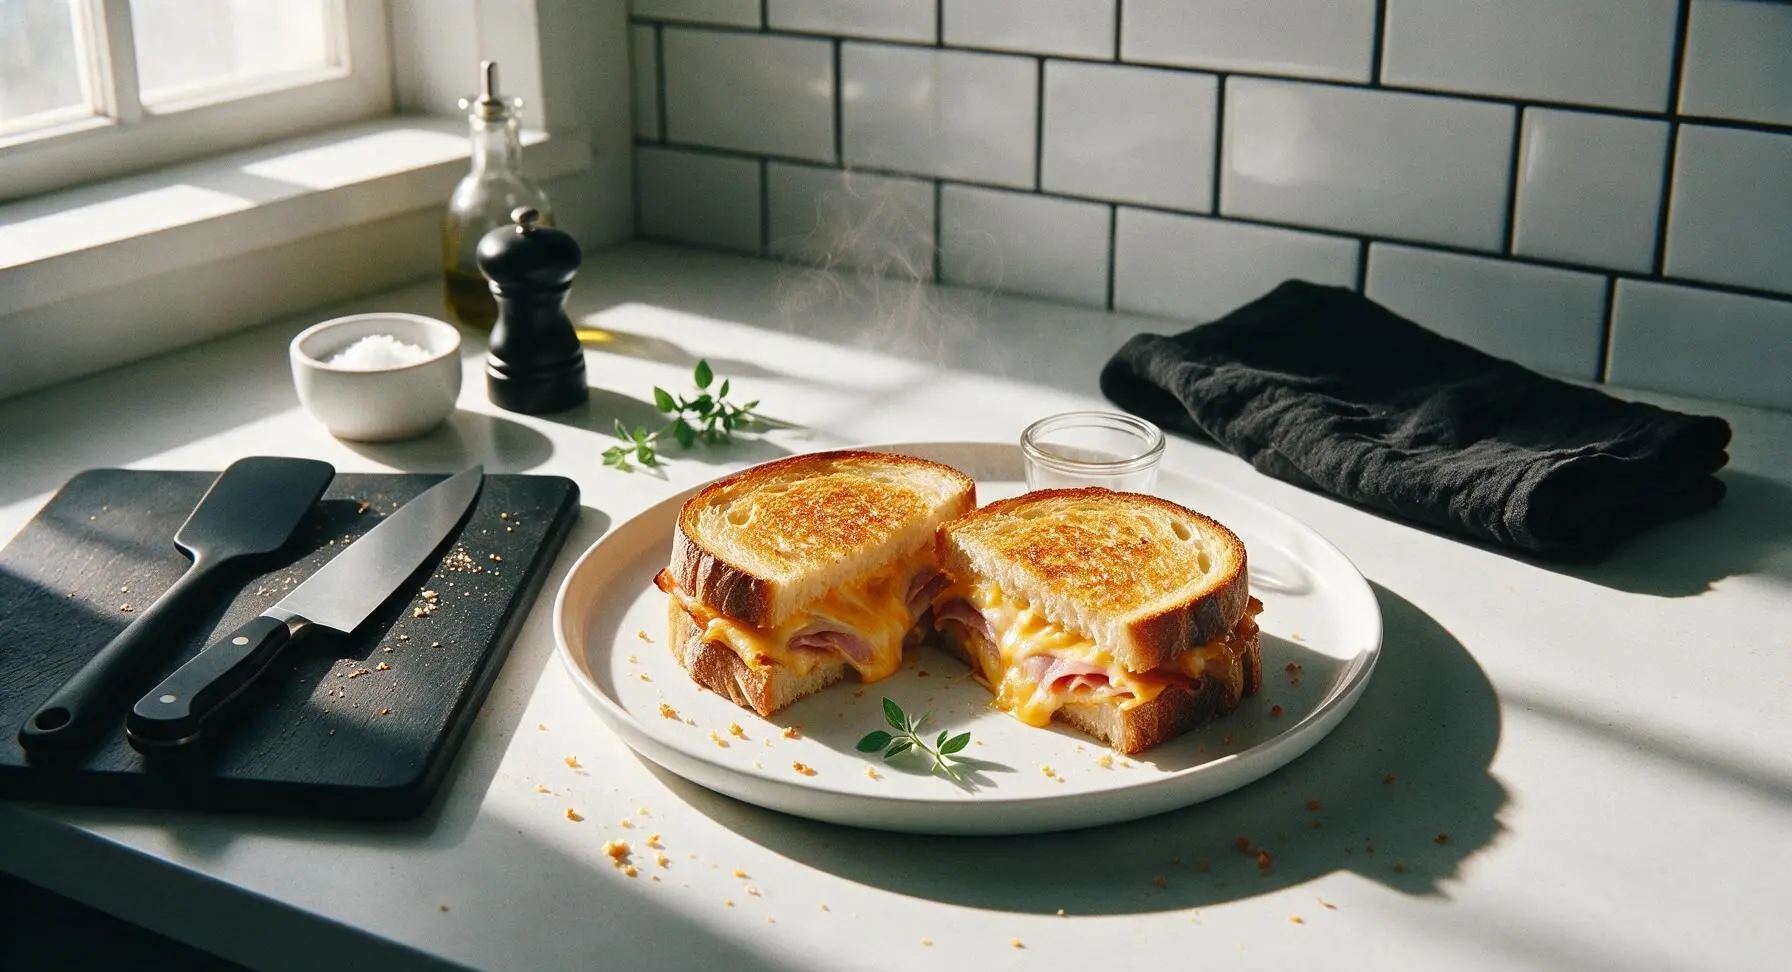
Crisp golden sourdough oozing with melted cheddar and savory ham, baked evenly in the oven for a mess-free, perfectly toasty sandwich ready in under 20 minutes.

Ingredients
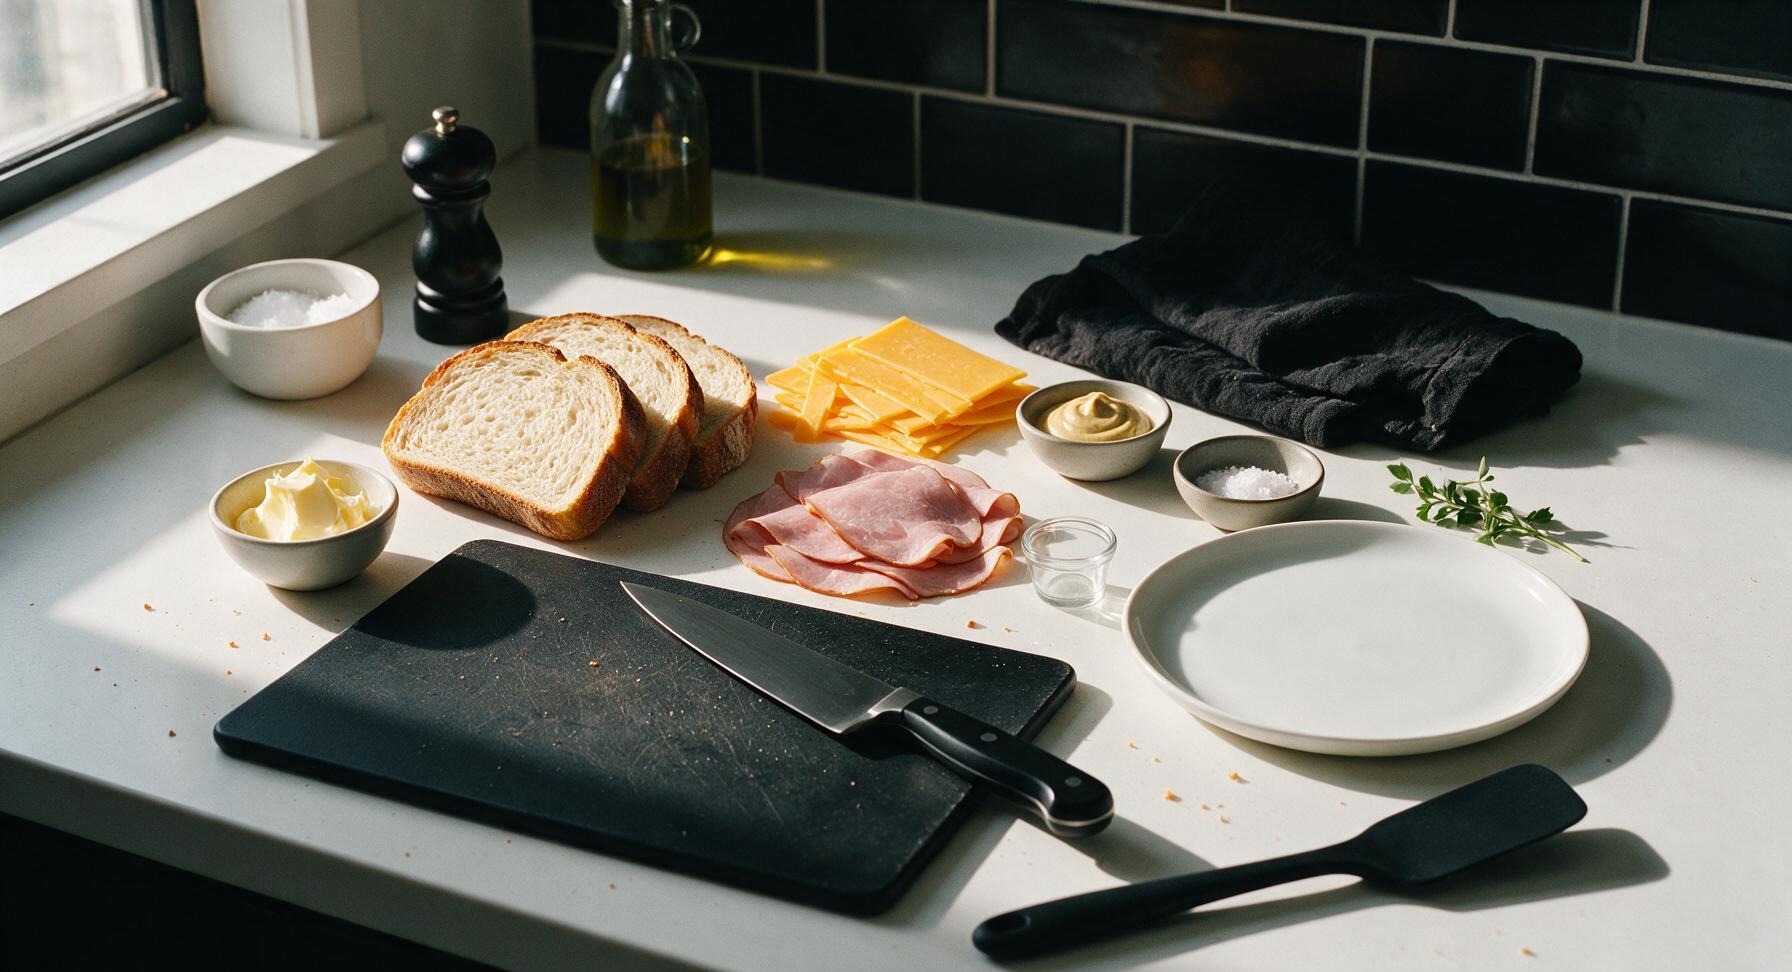
Thick-cut sourdough sandwich bread 4 slices (1.5cm thick)
Unsalted butter, softened 1.5 tbsp
Sharp cheddar cheese, thinly sliced 100g
Thinly sliced deli ham 80g
Dijon mustard 1 tsp
Flaky sea salt 1/4 tsp

Steps

1

Preheat Oven, Prep Sheet

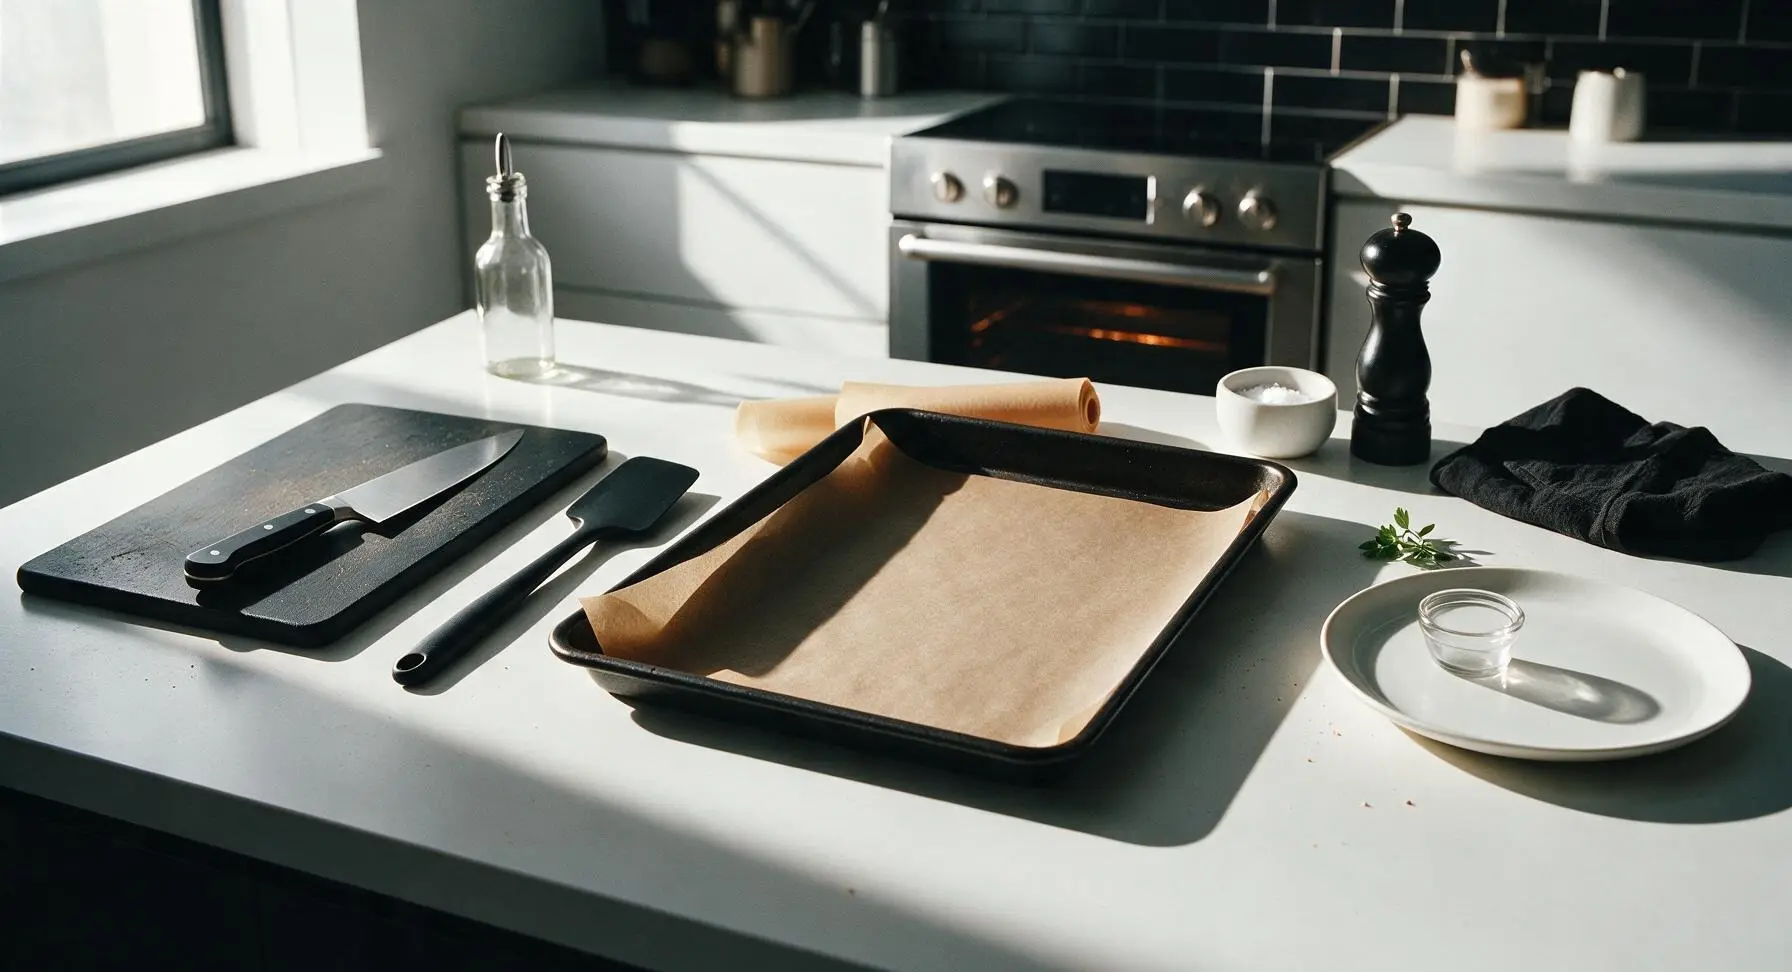
Adjust your oven rack to the middle position, then preheat the oven to 200°C (400°F). Tear a 35cm sheet of unbleached parchment paper from the roll behind the baking sheet, and line the matte black carbon steel baking sheet smoothly, tucking the edges down so no paper overhangs the rim (overhanging paper can burn in the hot oven). Return the lined sheet to its fixed center-right position on the counter.
Step 1
step1:Preheat Oven, Prep Sheet
2

Butter Bread Evenly

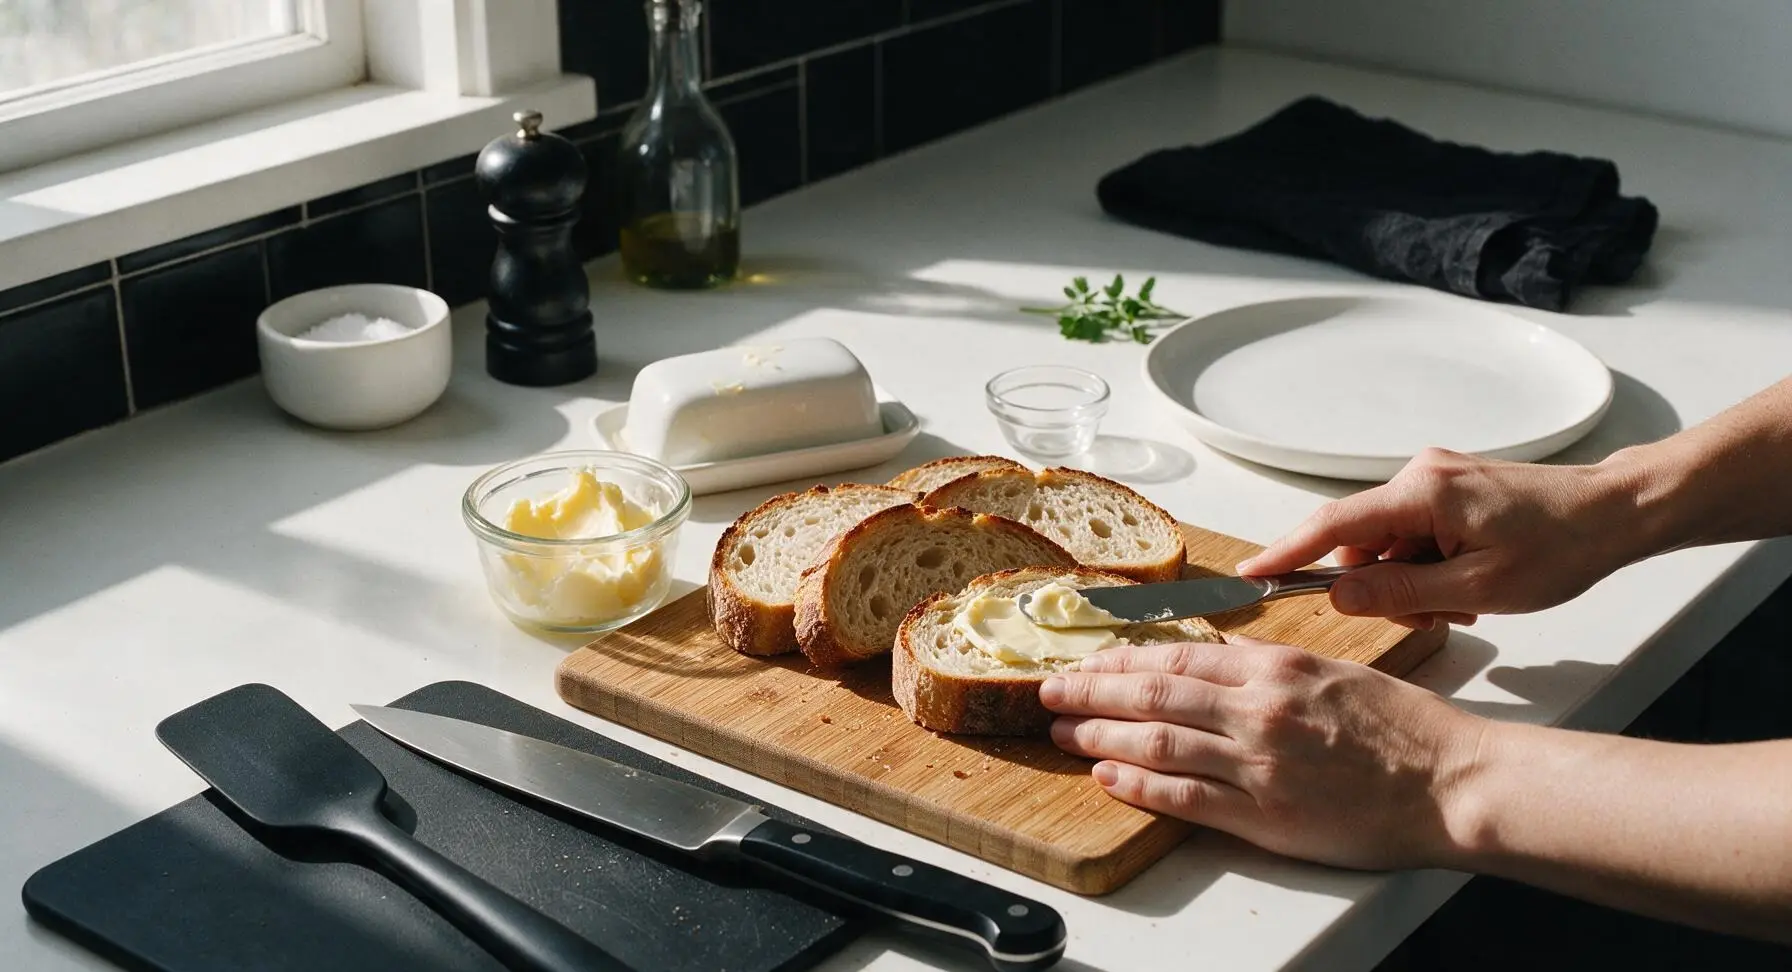
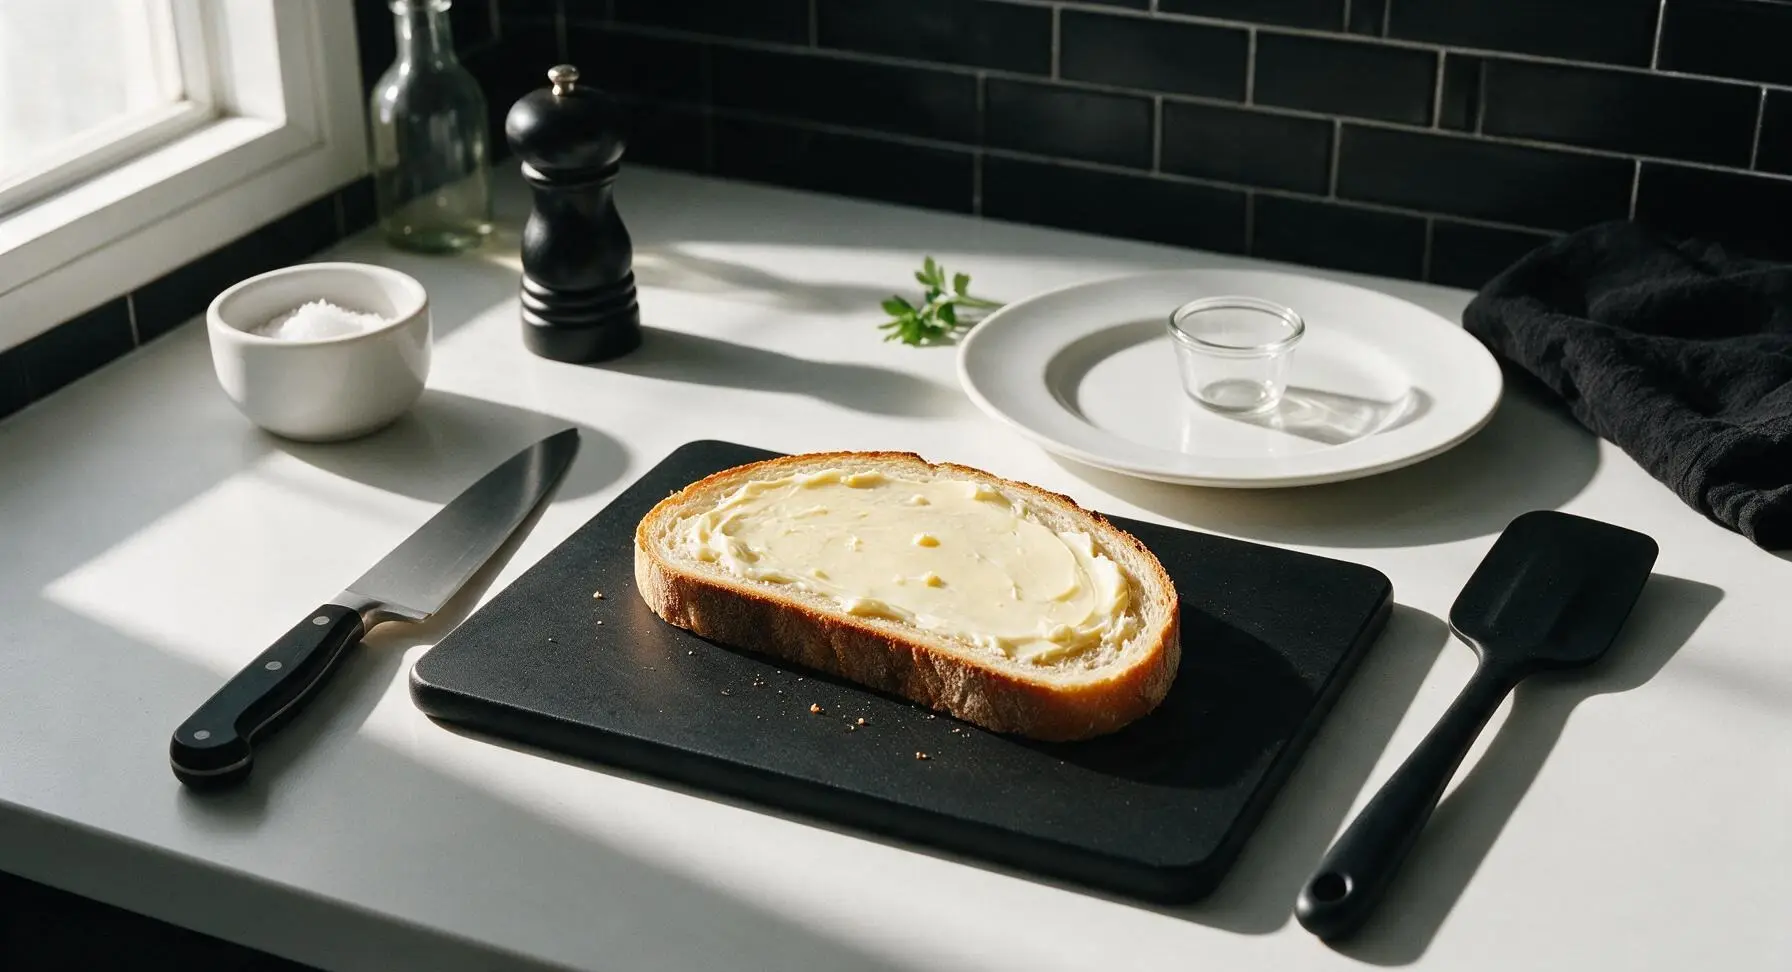
Retrieve the stainless steel butter knife from the butter dish lid. Scoop the measured softened butter from the clear glass ramekin, and spread roughly 1 teaspoon of butter evenly across one entire side of each of the 4 sourdough slices, coating all the way to the crust edges. Unbuttered edge spots will burn or dry out, while fully buttered surfaces turn uniformly golden and crisp. The buttered sides will face outward during baking.
Step 2
step2:Butter Bread Evenly
Step 2
step2:Butter Bread Evenly
3

Add Mustard and Base Cheese

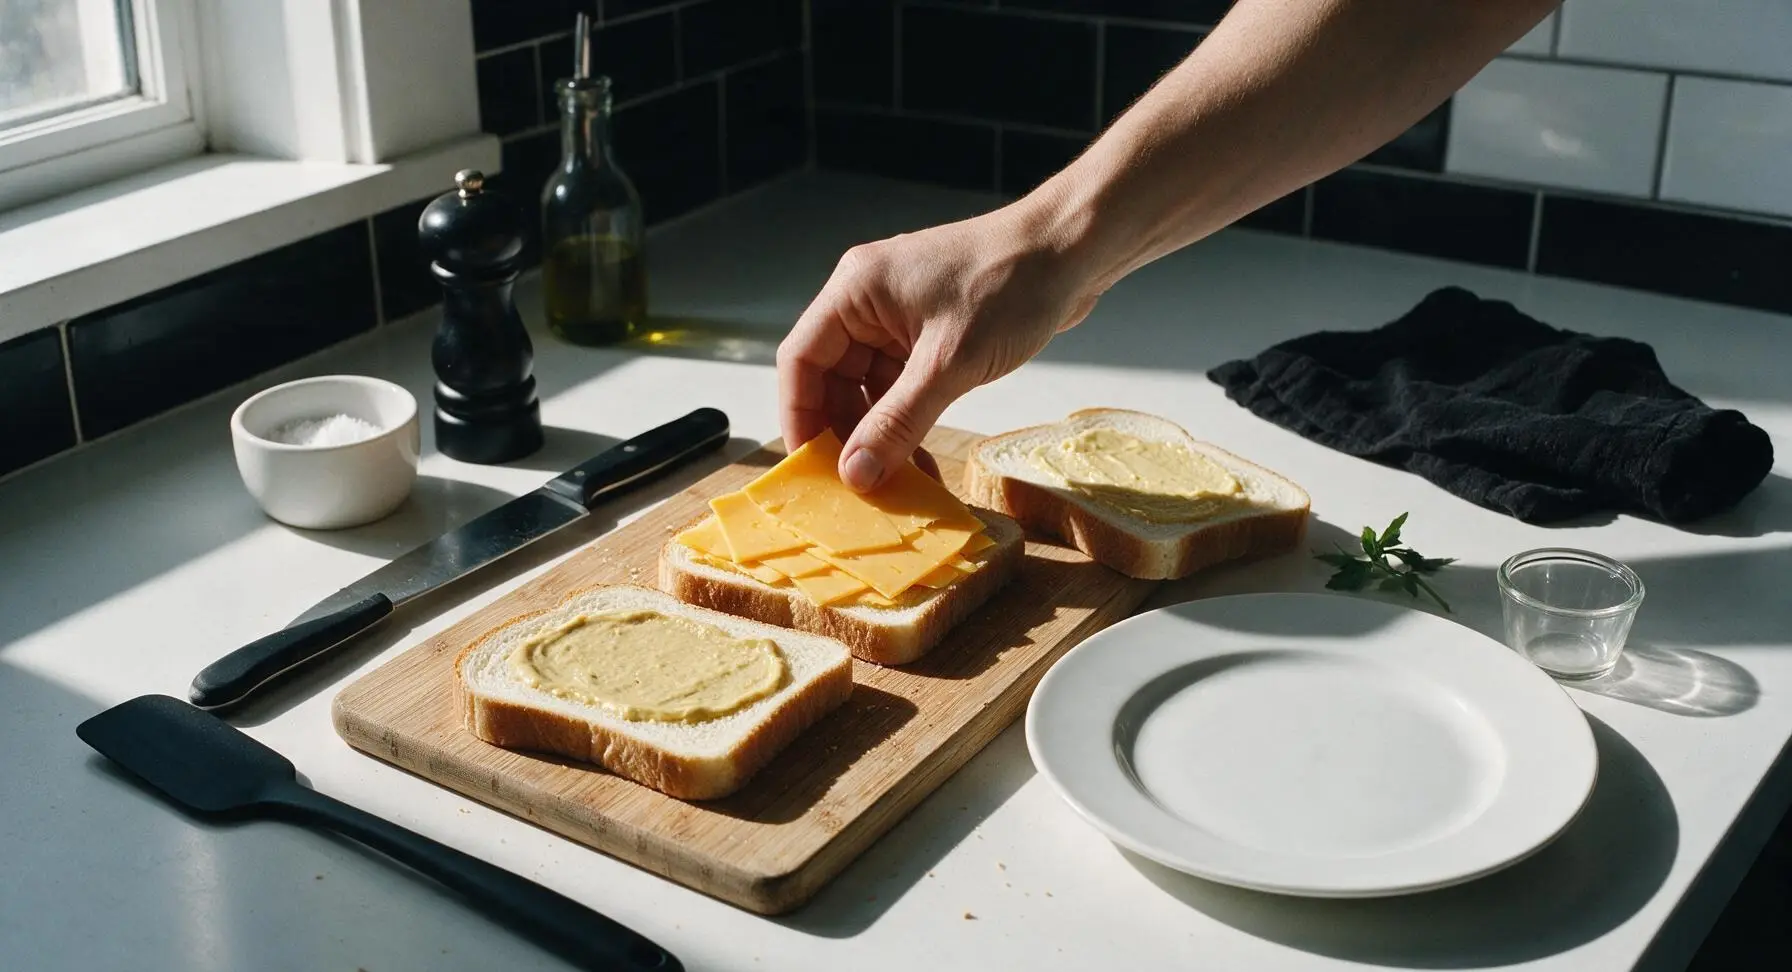
Flip 2 of the bread slices so the buttered side faces down against the cutting board, leaving the unbuttered side facing up. Spread 1/2 teaspoon of Dijon mustard evenly across each unbuttered surface, then layer half of the thinly sliced sharp cheddar over the mustard, covering the bread completely to the edges. This edge-to-edge cheese creates a moisture barrier to prevent soggy bread.
Step 3
step3:Add Mustard and Base Cheese
4

Layer Ham and Top Cheese

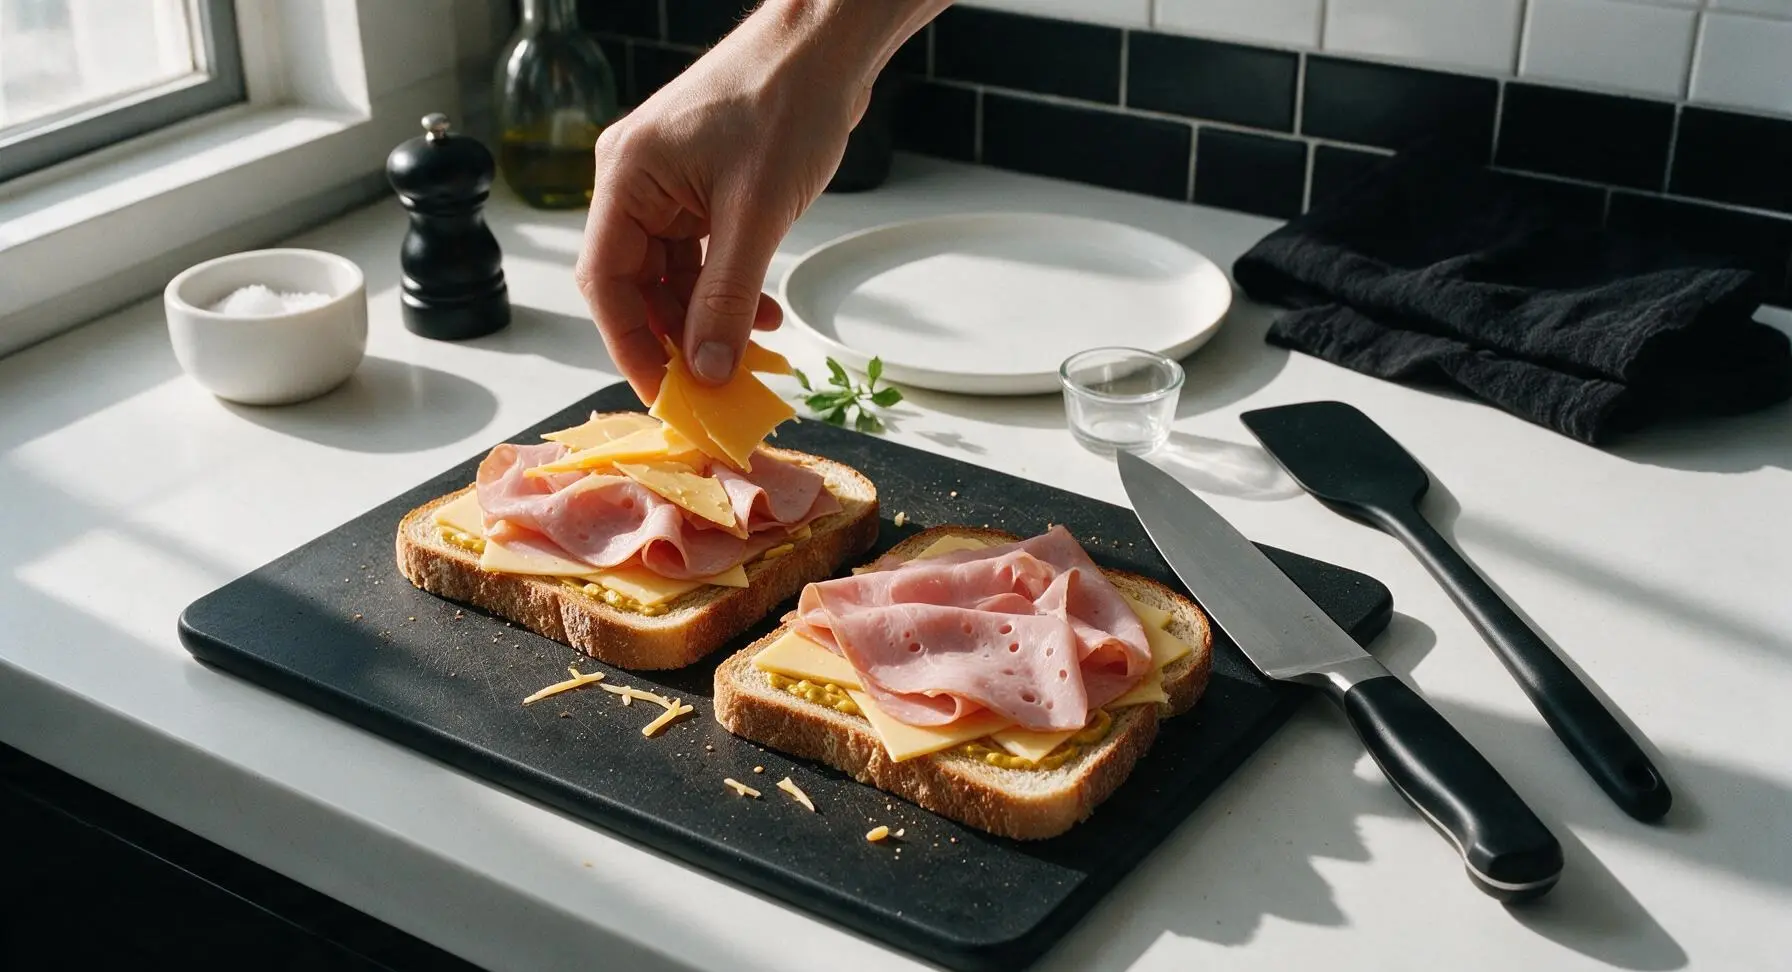
Arrange half of the thinly sliced deli ham evenly over the cheddar base on each slice, folding the ham loosely to create small air pockets (this prevents dense, flat sandwiches). Top the ham with the remaining half of the cheddar slices, again covering all the way to the bread edges to create a melted cheese seal when baked.
Step 4
step4:Layer Ham and Top Cheese
5

Assemble and Transfer

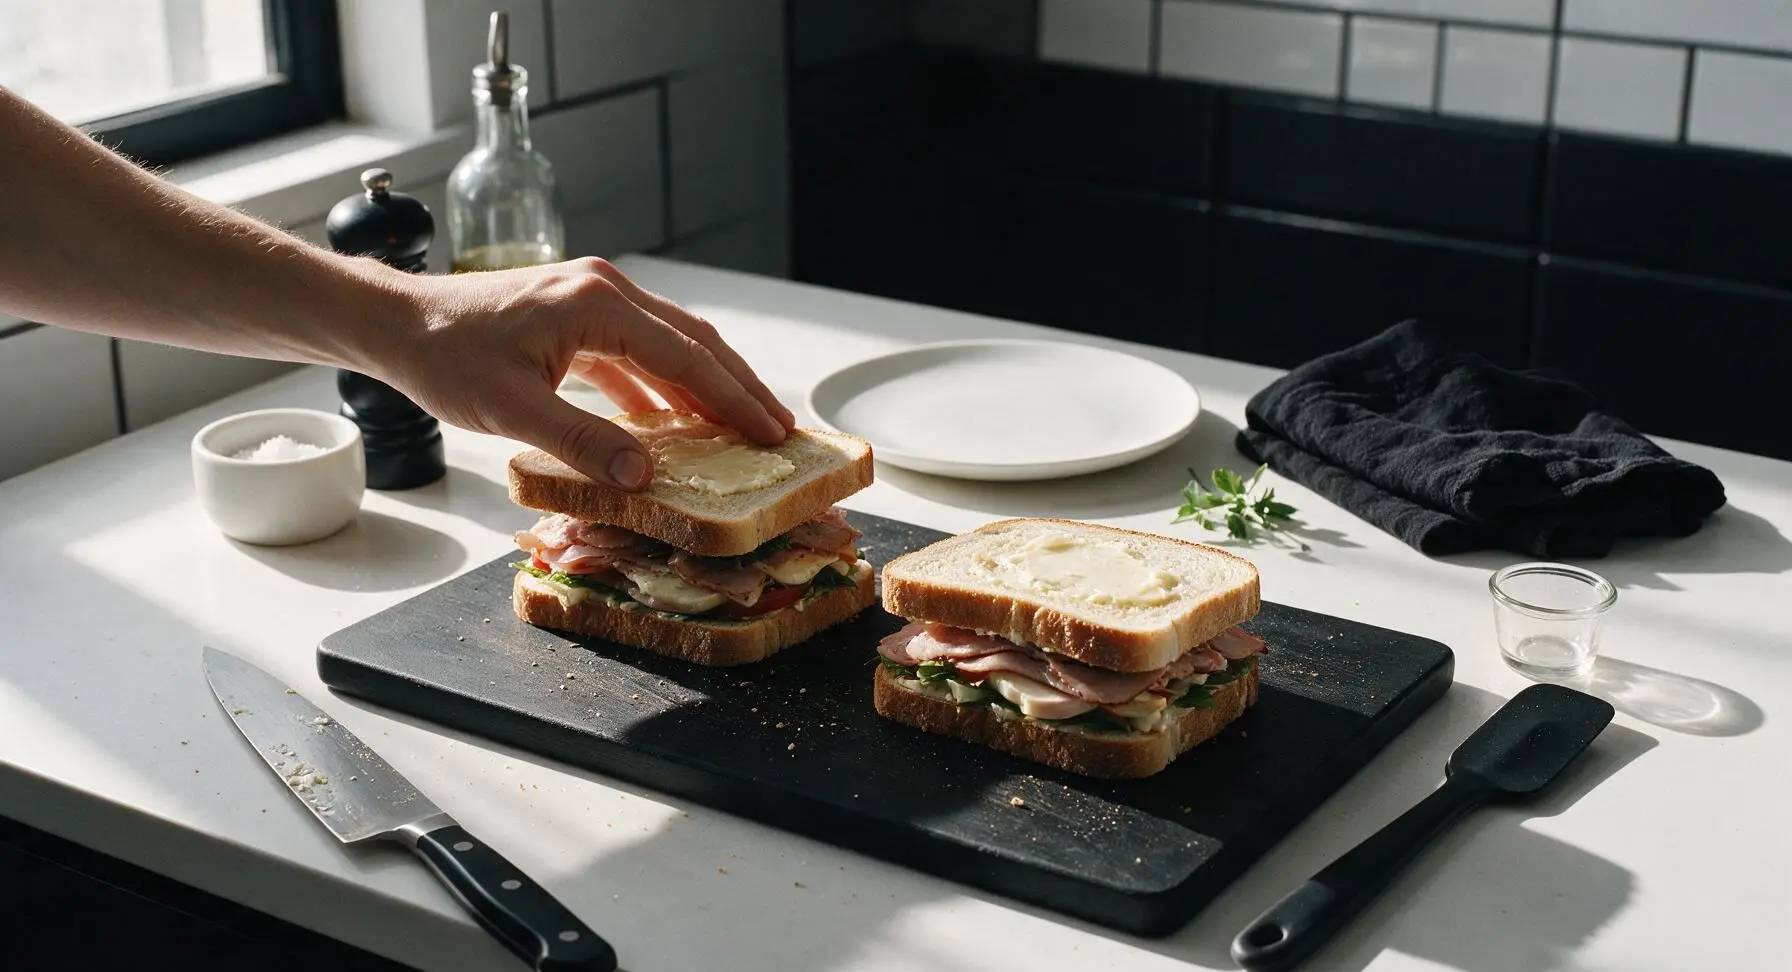
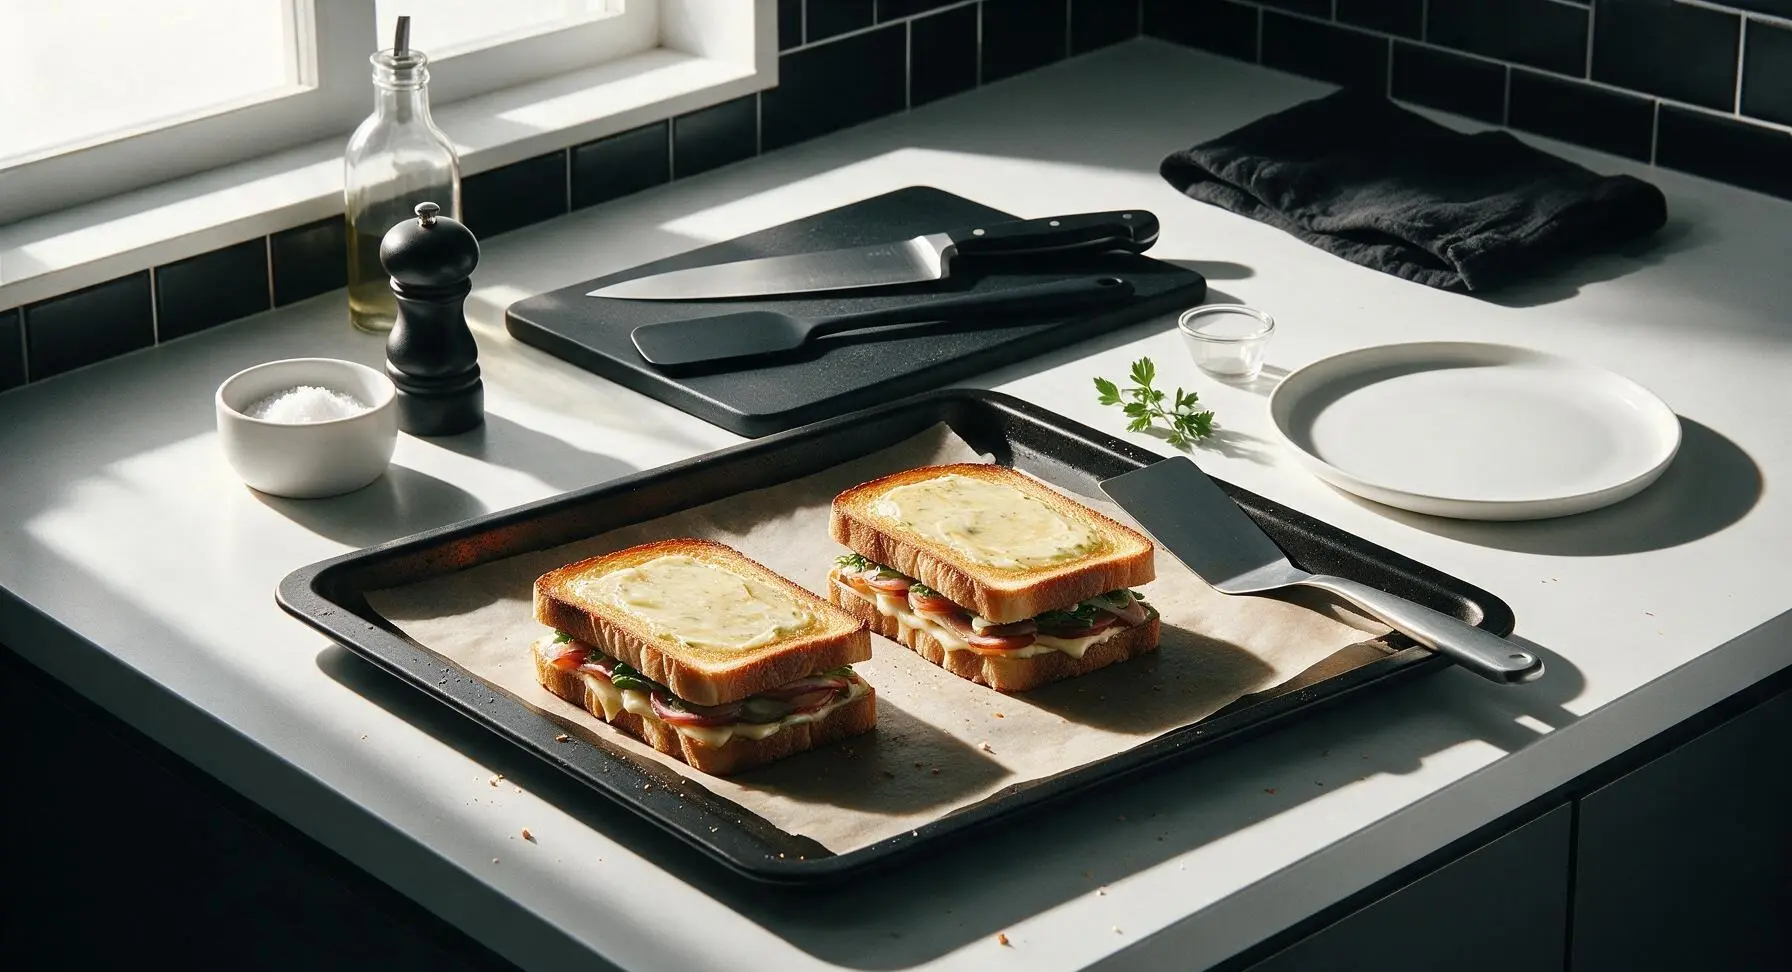
Place the remaining 2 bread slices on top of the filled stacks, buttered side facing outward, to form 2 complete sandwiches. Press down gently on the top of each sandwich with the palm of your hand to help the layers adhere, then use the offset spatula to transfer both sandwiches to the parchment-lined baking sheet, leaving 5cm of space between them to allow hot oven air to circulate evenly.
Step 5
step5:Assemble and Transfer
Step 5
step5:Assemble and Transfer
6

Bake and Flip Midway

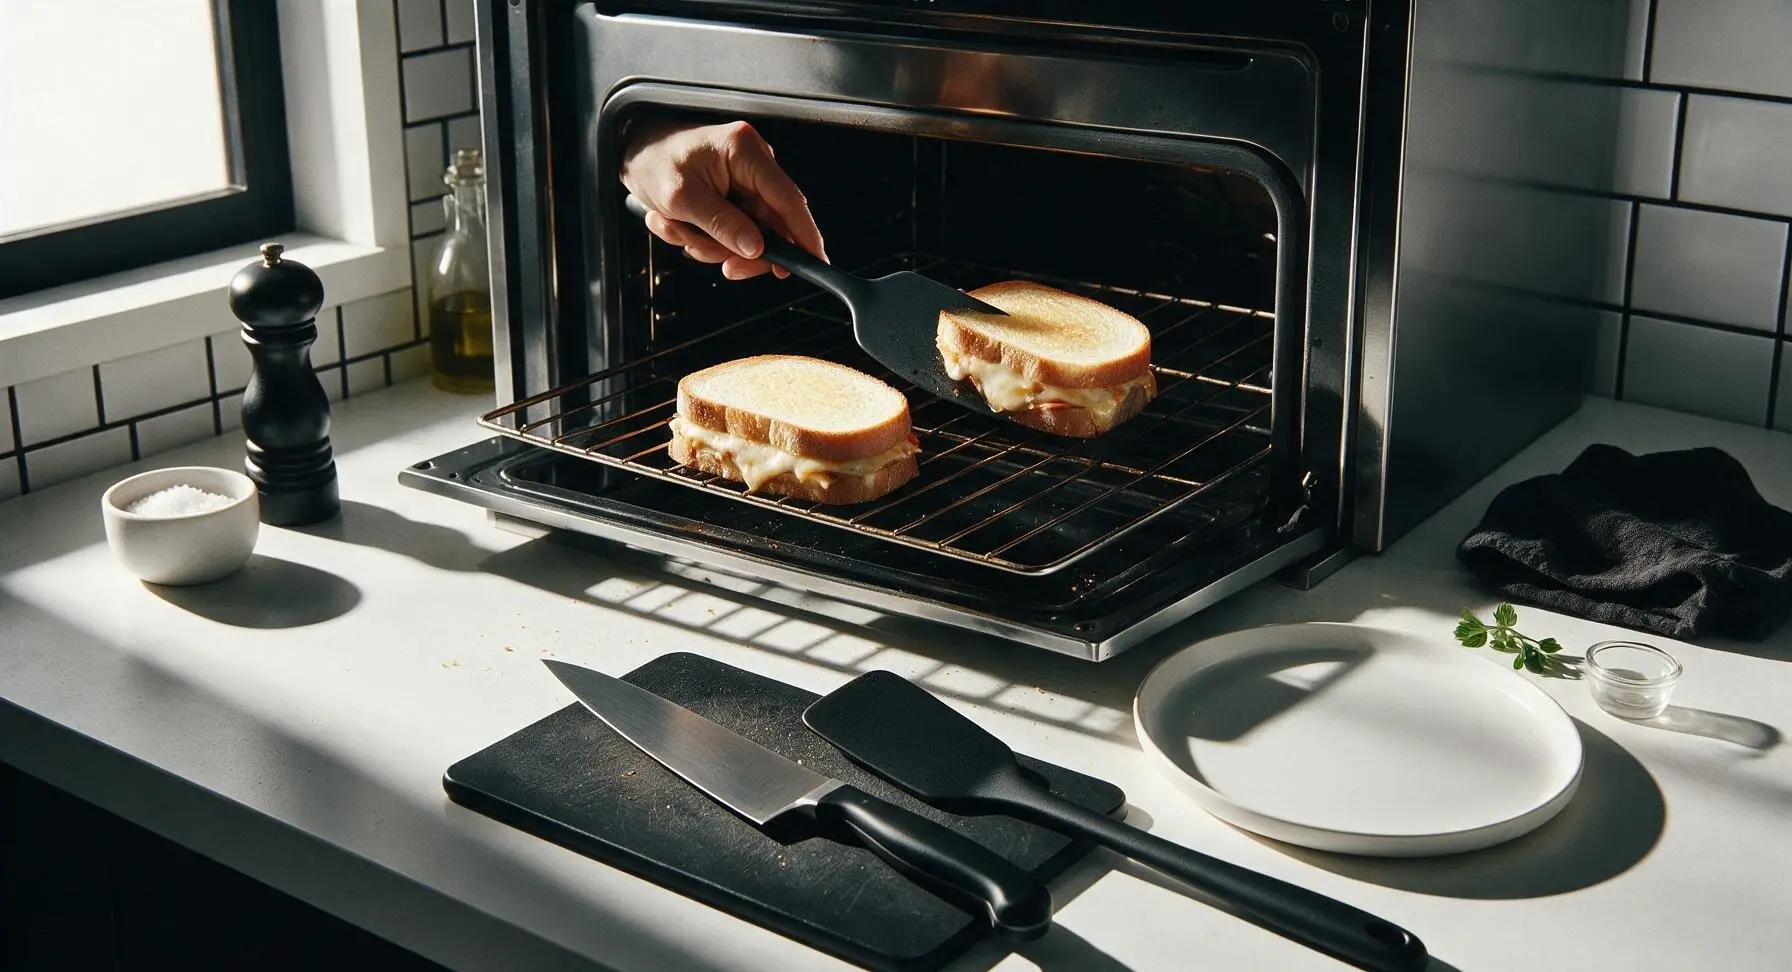
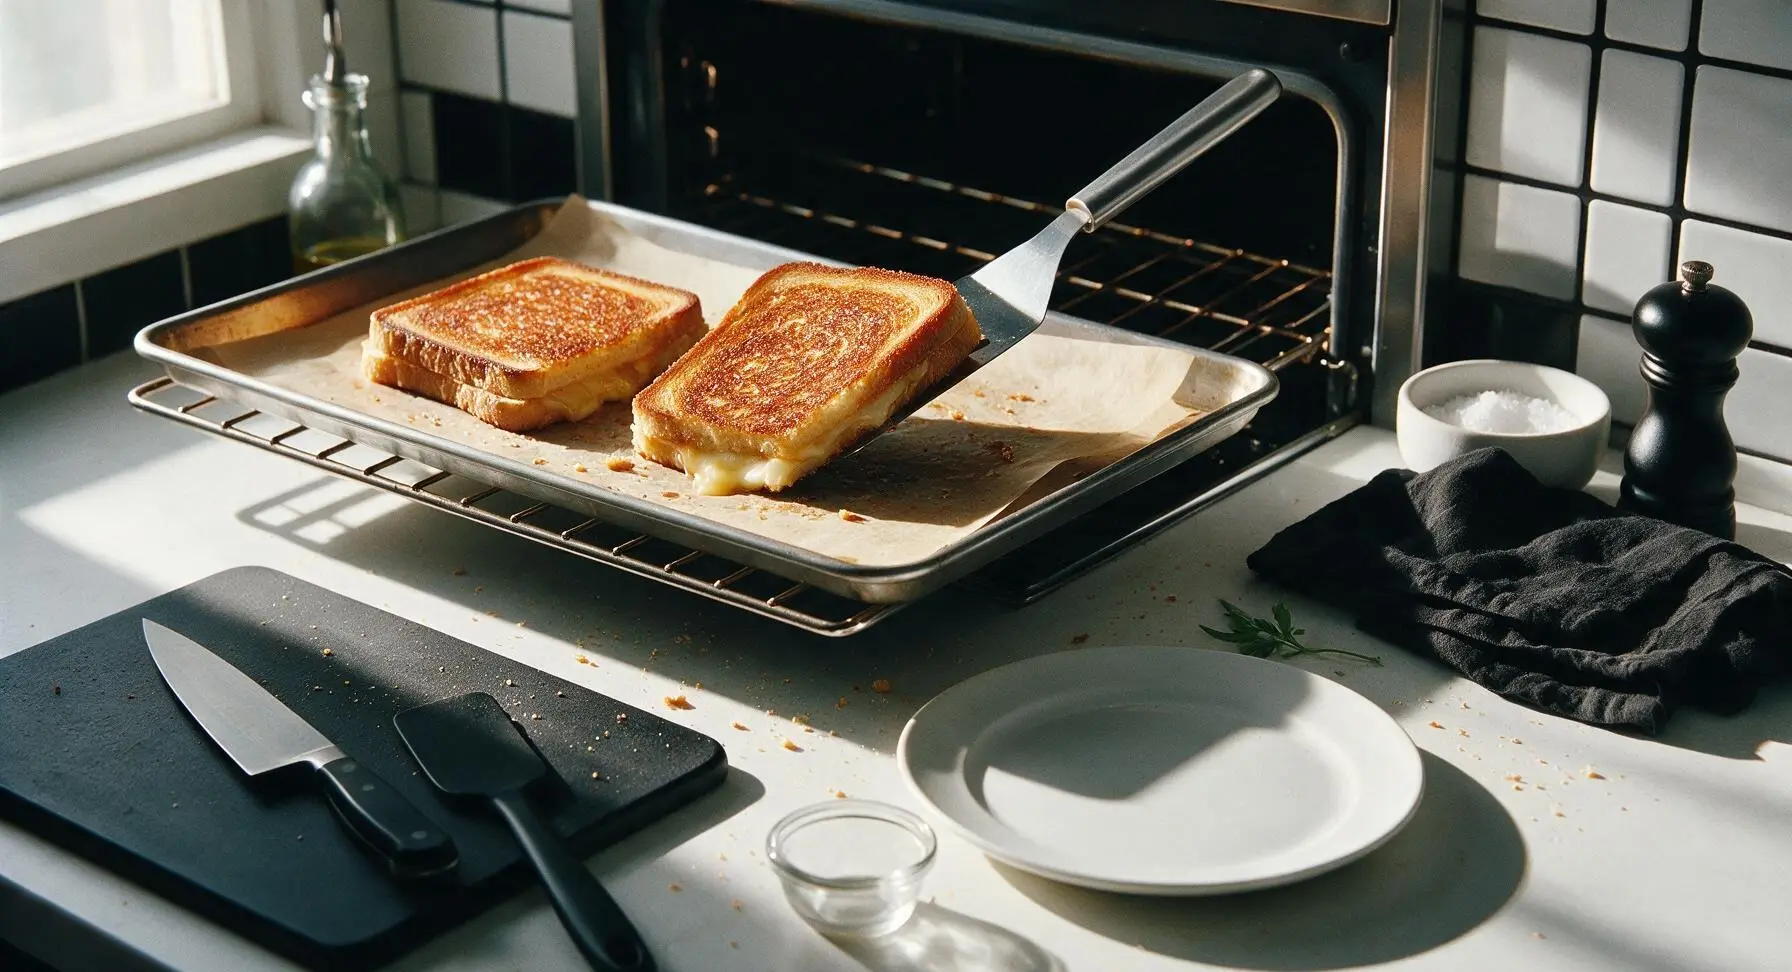
Carefully place the baking sheet on the middle oven rack. Bake for 5 minutes, then pull the rack out slightly and use the offset spatula to flip each sandwich gently. Bake for an additional 3 minutes, until both sides are deep golden brown, the cheese is fully melted and bubbling slightly at the edges, and the bread crust is crisp when tapped lightly. Total bake time is 8 minutes — do not overbake, as the bread will turn hard and dry rather than crisp.
Step 6
step6:Bake and Flip Midway
Step 6
step6:Bake and Flip Midway
7

Rest and Plate Sandwiches

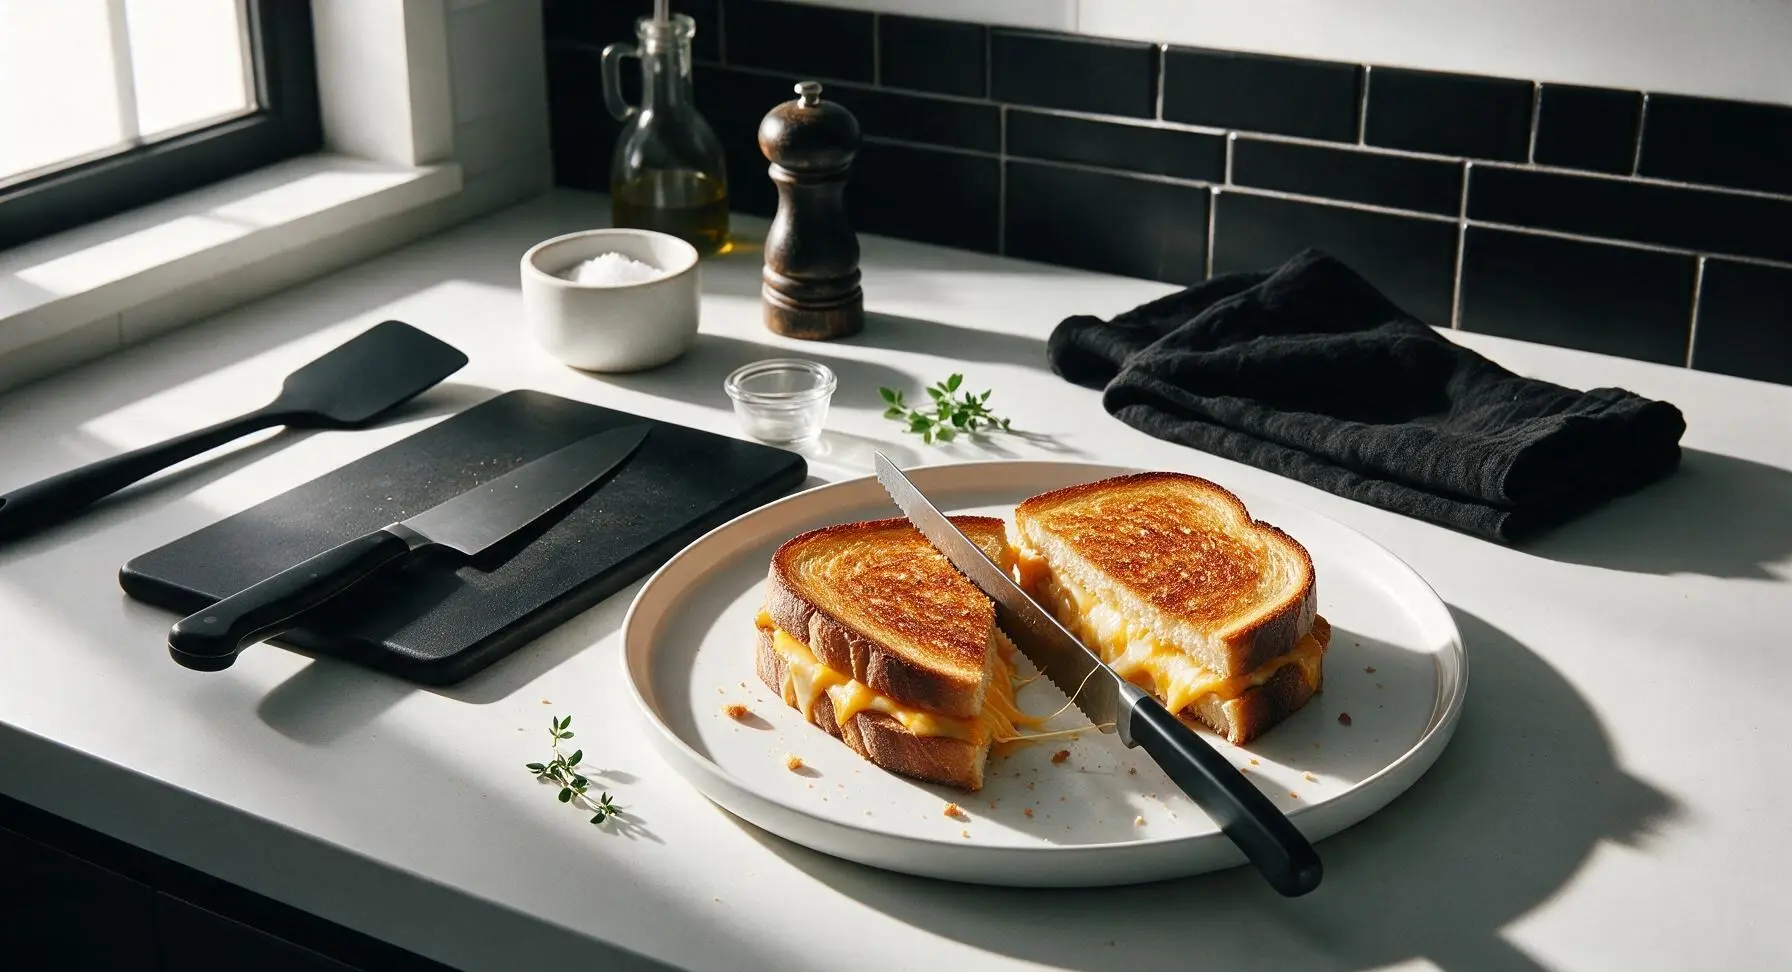
Remove the baking sheet from the oven, and use the offset spatula to transfer both hot sandwiches to the cream white ceramic dinner plate at front center. Let the sandwiches rest for 1 minute to allow the melted cheese to set slightly, then cut each sandwich diagonally into two triangles with the serrated sandwich knife. Sprinkle a tiny pinch of flaky sea salt over the warm crusts, and tuck a small sprig of fresh thyme next to the sandwiches for garnish.
Step 7
step7:Rest and Plate Sandwiches

Tips

1.Spread butter all the way to the bread crust edges: unbuttered spots will dry out and burn quickly in the hot oven, while fully buttered surfaces develop an even, golden crisp across the entire slice.
2.Pat any extra-moist add-ins (like sliced tomato or pickles) completely dry before adding them to the sandwich: excess moisture will seep into the bread and create a soggy, rather than crisp, final texture, even with the cheese moisture barrier.
3.Let the baked sandwiches rest for 1 full minute before cutting: this allows the melted cheese to set slightly so it does not all ooze out when sliced, and gives the crust time to firm up to the perfect shatteringly crisp texture.


✨ You May Also Like

Lunch
🍜 United States

Creamy, salty, tangy nostalgic Midwestern sandwich pairing rich peanut butter with crisp briny dill pickles for a fast, satisfying no-cook meal.

⏱️ 5 minutesLunch ★ 4.6
Lunch
🍜 United States

Crispy, melty pressed sandwich layered with savory roast pork, ham, Swiss cheese, pickles, and tangy mustard: a beloved Cuban-American comfort classic.

⏱️ 25 minuteLunch ★ 4.9
Lunch
🍜 United States

Hearty, briny New Orleans pressed sandwich stacked with cured Italian meats, provolone, and zesty olive salad, served cold for bold, portable flavor.

⏱️ 1 hour 20Lunch ★ 4.7
Lunch
🍜 United States

A tangy, creamy Southern American staple, this no-cook cheesy sandwich is packed with sharp cheddar and sweet pimentos for a satisfying, portable bite.

⏱️ 1 hour 15Lunch ★ 4.8
Lunch
🍜 United States

Crispy Cajun-spiced fried shrimp piled on crusty French bread with tangy remoulade and fresh toppings, the iconic Louisiana street food sandwich.

⏱️ 35 minuteLunch ★ 4.4
Lunch
🍜 United States

Stacked, savory deli-style corned beef sandwich with melted Swiss, tangy mustard, and crisp griddled rye— a fast, hearty, satisfying classic.

⏱️ 15 minuteLunch ★ 4.9

toast sandwich in oven:Frequently Asked Questions

1.Why does my bread turn out soggy instead of crispy when I bake these sandwiches? ▾
Sogginess usually comes from skipping the full butter coating on the outer bread or overloading on moist fillings. Spread a thin, even layer of softened unsalted butter all the way to the edges of each slice’s outer side, and don’t overstuff with ham or cheese. For extra crunch, preheat your baking sheet for 2 minutes before setting sandwiches on it.
2.Can I assemble these sandwiches ahead of time for meal prep or a small party? ▾
You can assemble them up to 4 hours ahead if stored tightly wrapped in the fridge, but wait to bake until right before serving for the best crisp texture. If you need to hold baked sandwiches for a crowd, set them on a wire rack over a baking sheet in a 200°F oven for up to 30 minutes so trapped steam doesn’t make them soggy.
3.Do I have to use thick-cut sourdough, or can I swap in a different type of bread? ▾
Thick-cut sourdough is ideal for its sturdy crumb and tangy flavor that cuts through rich cheese and ham, but other thick-cut breads work perfectly too. Try Texas toast, hearty white sandwich bread, or whole grain—just skip thin, soft pre-sliced sandwich bread, which will turn mushy or burn before the cheese fully melts through.
4.What temperature and cook time gives me even melted cheese without burnt bread edges? ▾
Set your conventional oven to 400°F (375°F for convection) for the most even results, baking for 8 to 10 minutes total. Flip the sandwiches halfway through cook time so both sides crisp evenly, and watch closely during the last 2 minutes. Ovens run hot, and you want golden bread, not charred edges, with fully oozing cheddar in the center.
5.I don’t like Dijon mustard—can I leave it out or swap it for something else? ▾
Absolutely! The Dijon adds a bright, tangy kick that cuts through the richness of butter and melted cheddar, but it’s totally optional. Great swaps include a thin spread of mayo for extra richness, honey mustard for a sweet-tangy note, or a light sprinkle of smoked paprika on the cheese for warm, savory depth if you skip spreads entirely.
6.How do I stop the cheese and ham from oozing all over my baking sheet? ▾
Oozing fillings usually happen when you overstuff the sandwich or don’t tuck ingredients in properly. Keep cheese and ham slices pulled back ¼-inch from the bread edges so melted filling stays contained, and stick to no more than 2 layers of cheese total. Lining your sheet with parchment paper also makes any small drips totally mess-free to clean up.

Comments (13)

2 weeks ago

Made these vegan with dairy-free cheddar, plant-based butter, and roasted veggie slices, and they came out insanely good! The crisp factor is no joke, my roommate thought I ordered takeout sandwiches when she walked in. Will be adding this to my weekly meal prep rotation for sure.

1 week ago

Yesss I did vegan versions too with vegan gouda and it worked perfectly! So glad to see plant-based eaters can get in on this crispy goodness too.

1 week ago

Great easy recipe for when I’m on single parent duty with the twins. 8 minute cook time means I can get these on the table fast before soccer practice, no mess, no fuss. The kids dip theirs in ketchup, I dip mine in hot sauce, everyone’s happy.

1 week ago

I made these for my bridge club potluck last week and everyone asked for the recipe! I used sourdough bread, ham, Swiss, and a little dijon mustard inside, and they came out perfectly crispy even after sitting out for 20 minutes while we chatted. No sad soggy sandwiches here!

5 days ago

How did you keep them from getting soggy when serving? I brought these to a trailhead meetup last month and they got soft halfway to the spot :(

3 days ago

Ruth, that sourdough and dijon combo sounds incredible! Zoe, if you’re taking these on the go, let them cool for 2-3 minutes on a wire rack first before packing — stacking them in a sealed container while hot traps steam that makes bread soggy. They hold up great once properly cooled!

5 days ago

I was skeptical oven-baked toast sandwiches could get as crispy as stovetop, but wow — these are even better! I did a mix of cheddar and pepper jack, added some crispy bacon bits inside, and the edges got that perfect crunch I thought I could only get from a panini press. 10/10, making these every weekend for game day now.

3 days ago

Wait do you bake them on the top rack? I did middle rack last time and the bottoms got crispy but the top was a little pale.

2 days ago

Kyle, that bacon and pepper jack combo sounds like the ultimate game day snack! Great question from Austin — we recommend the middle rack for even crisping on both sides, but if you want extra golden tops, you can broil for the last 30 seconds just watch closely so they don’t burn!

3 days ago

Perfect for my tiny dorm oven! 8 minutes is exactly right, I didn’t even have to flip them. I stuffed mine with turkey, cheddar, and a little hot honey — chef’s kiss. Only tiny issue is the cheese oozed off the pan a little and made a mess, but totally worth it.

2 days ago

Pro tip! Line your sheet pan with parchment paper and the cheese clean up is literally zero effort. I make a batch of these every Sunday for quick work lunches.

yesterday

Love that hot honey addition, Jesse! Parchment paper is 100% the move for easy cleanup, we’ll add that note to the recipe tips soon. So glad this works for dorm cooking!

2 days ago

OMG this is such a game changer for busy school mornings! I used to stand over the stove frying grilled cheese for 20 minutes for my three kids, and now I can pop a whole sheet pan of these in the oven and get backpacks packed while they cook. My kids loved it, even the pickiest one asked for seconds! SO crispy, no soggy bread at all.

yesterday

Wait do you put butter on both sides of the bread? I tried this last week and mine came out a little dry, wondering if I skimped on the spread.

2 hours ago

Great question! We recommend spreading a thin layer of softened butter (or mayo for extra crisp!) on both outer sides of each sandwich to get that perfect golden crunch without dryness. So glad you’re loving the quick cook time for busy mornings, Liz!

2 days ago

Really solid recipe! I used garlic bread spread on the outside instead of plain butter and the flavor was insane. Only reason it’s not 5 stars is I wish the recipe suggested more filling ideas, but that’s just me being lazy and not wanting to brainstorm.

yesterday

That garlic bread spread hack is genius — we love that idea! We’re actually updating the post this week with a whole list of fun filling combos, so check back soon for tons of easy ideas!

yesterday

Took these to my weekend tailgate and they were gone in 10 minutes. I did pulled pork and coleslaw inside (squeezed all the excess liquid out of the slaw first) and people were raving. Way easier than manning the grill the whole pre-game.

2 hours ago

Pulled pork and coleslaw in these? That’s next level tailgate food! Squeezing excess liquid out of fillings is exactly the trick to keep that perfect crisp, great call.

yesterday

My 7 year old who refuses 90% of the food I make ate TWO of these for dinner last night. I added a little tomato inside (patted it dry first so no sogginess!) and he didn’t even complain about the ‘red stuff’. Total weeknight win.

30 minutes ago

That’s such a smart tip patting the tomato dry! Nothing beats a meal that even the pickiest eaters get excited about — so happy this was a hit at your dinner table!

30 minutes ago

Super easy recipe, threw this together for a quick lunch between meetings. Only note is my oven runs hot, so 8 minutes was a little too long — the edges got a touch burnt. Tasted great otherwise, will do 6 minutes next time.

5 minutes ago

Thanks for the heads up about hot ovens! Every appliance runs a little different, so checking at the 6 minute mark for golden brown toast is always a good call. Glad you enjoyed the flavor even with the extra crispy edges!

2 hours ago

Made these for a lazy Sunday brunch with my girlfriends, added a fried egg inside each one, and they were a total hit! The yolk was perfectly runny, the bread was crispy, no sad soggy toast. Will absolutely be making these again for our next brunch get together.

5 minutes ago

Perfect for cheap, quick meals when grocery day is still 3 days away. I used up leftover ham, random cheese slices I had in the drawer, and the end of a loaf of sourdough, and it turned out way better than it had any right to. Will be keeping this in my back pocket for busy weeks.

just now

Just pulled these out of the oven and wow, the crunch is unreal! I did provolone, salami, and a little pesto inside, and it’s better than any toasted sandwich I’ve gotten at a café down the street. So easy, I can’t believe I never thought to bake sandwiches in the oven before.



