
toastie in the air fryer
intro
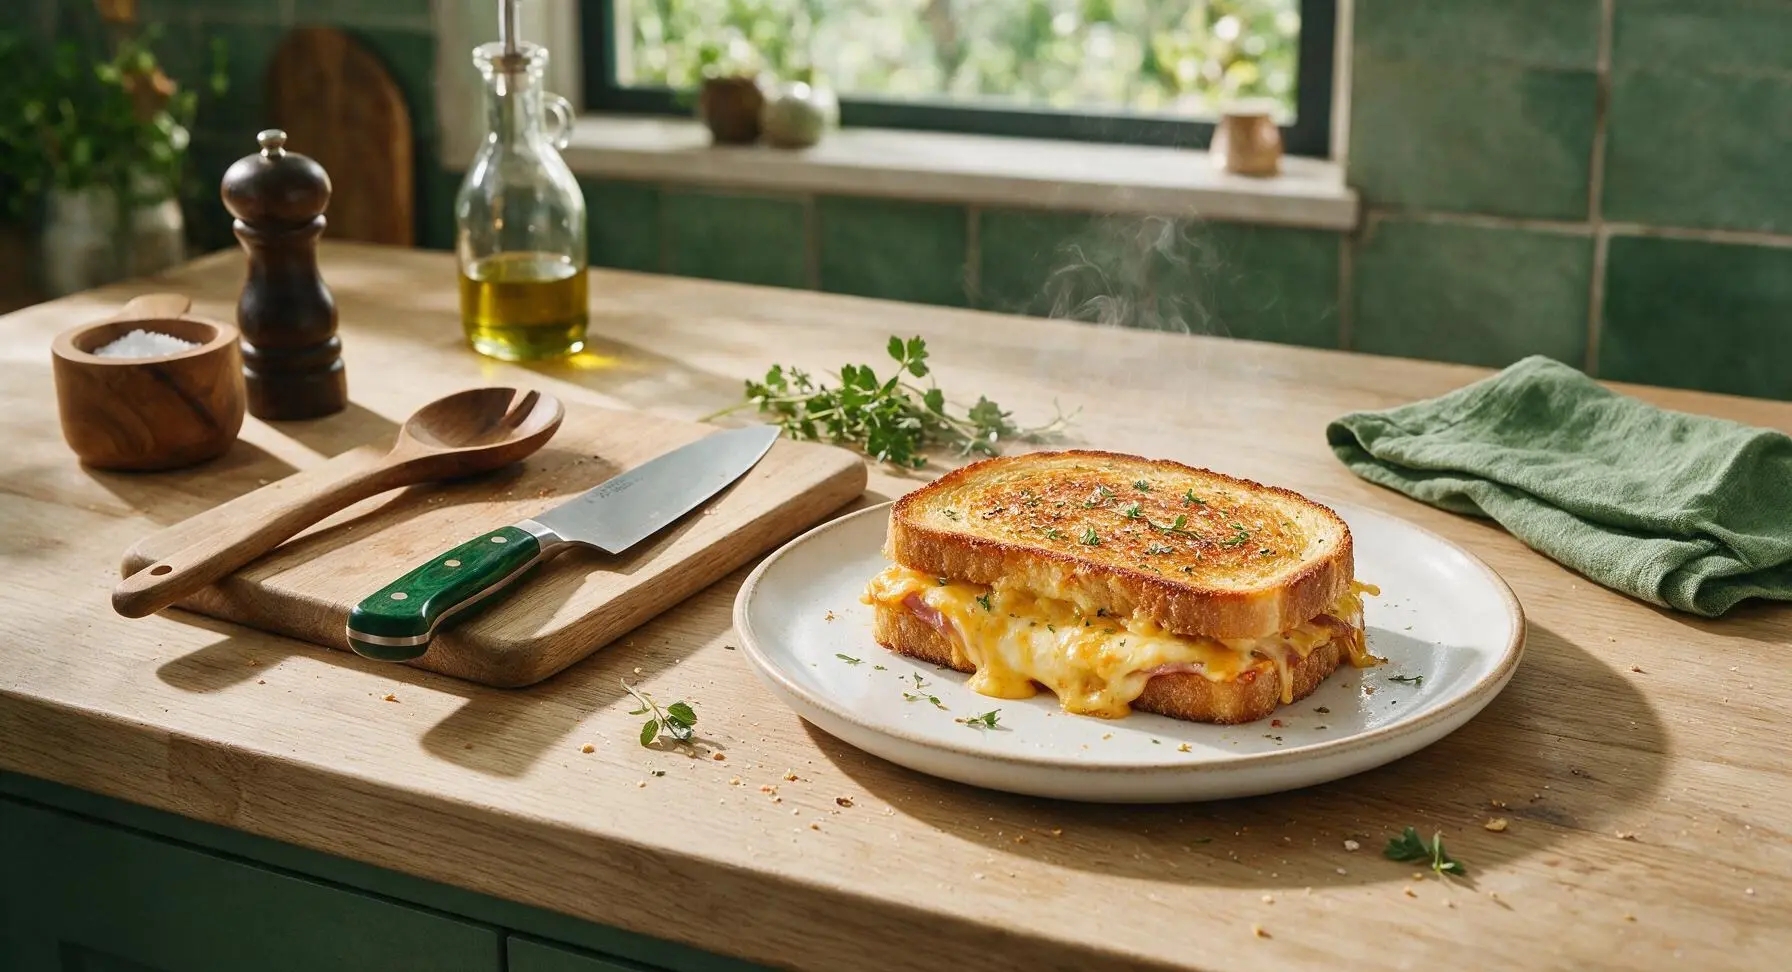
Crispy golden, cheese-oozing air fryer toastie with zero stovetop flipping required. Crunchy buttered bread, classic ham and cheddar filling, ready in under 15 minutes for cozy, fast meals.
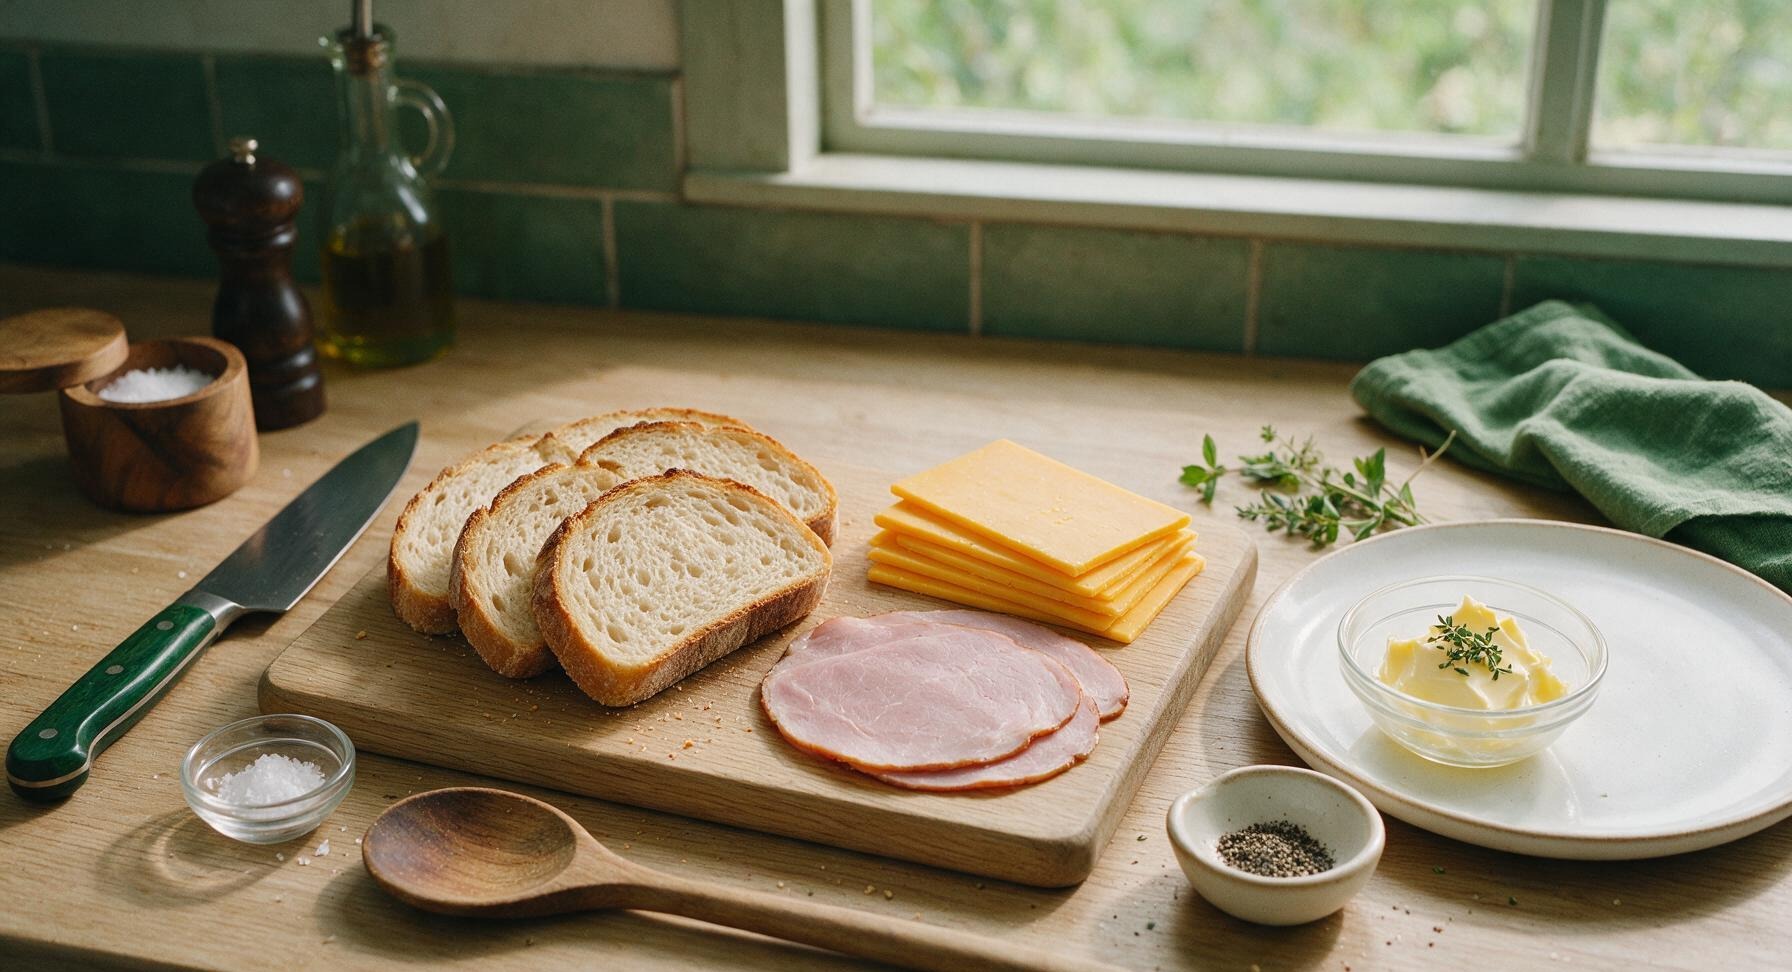
Ingredients
Steps
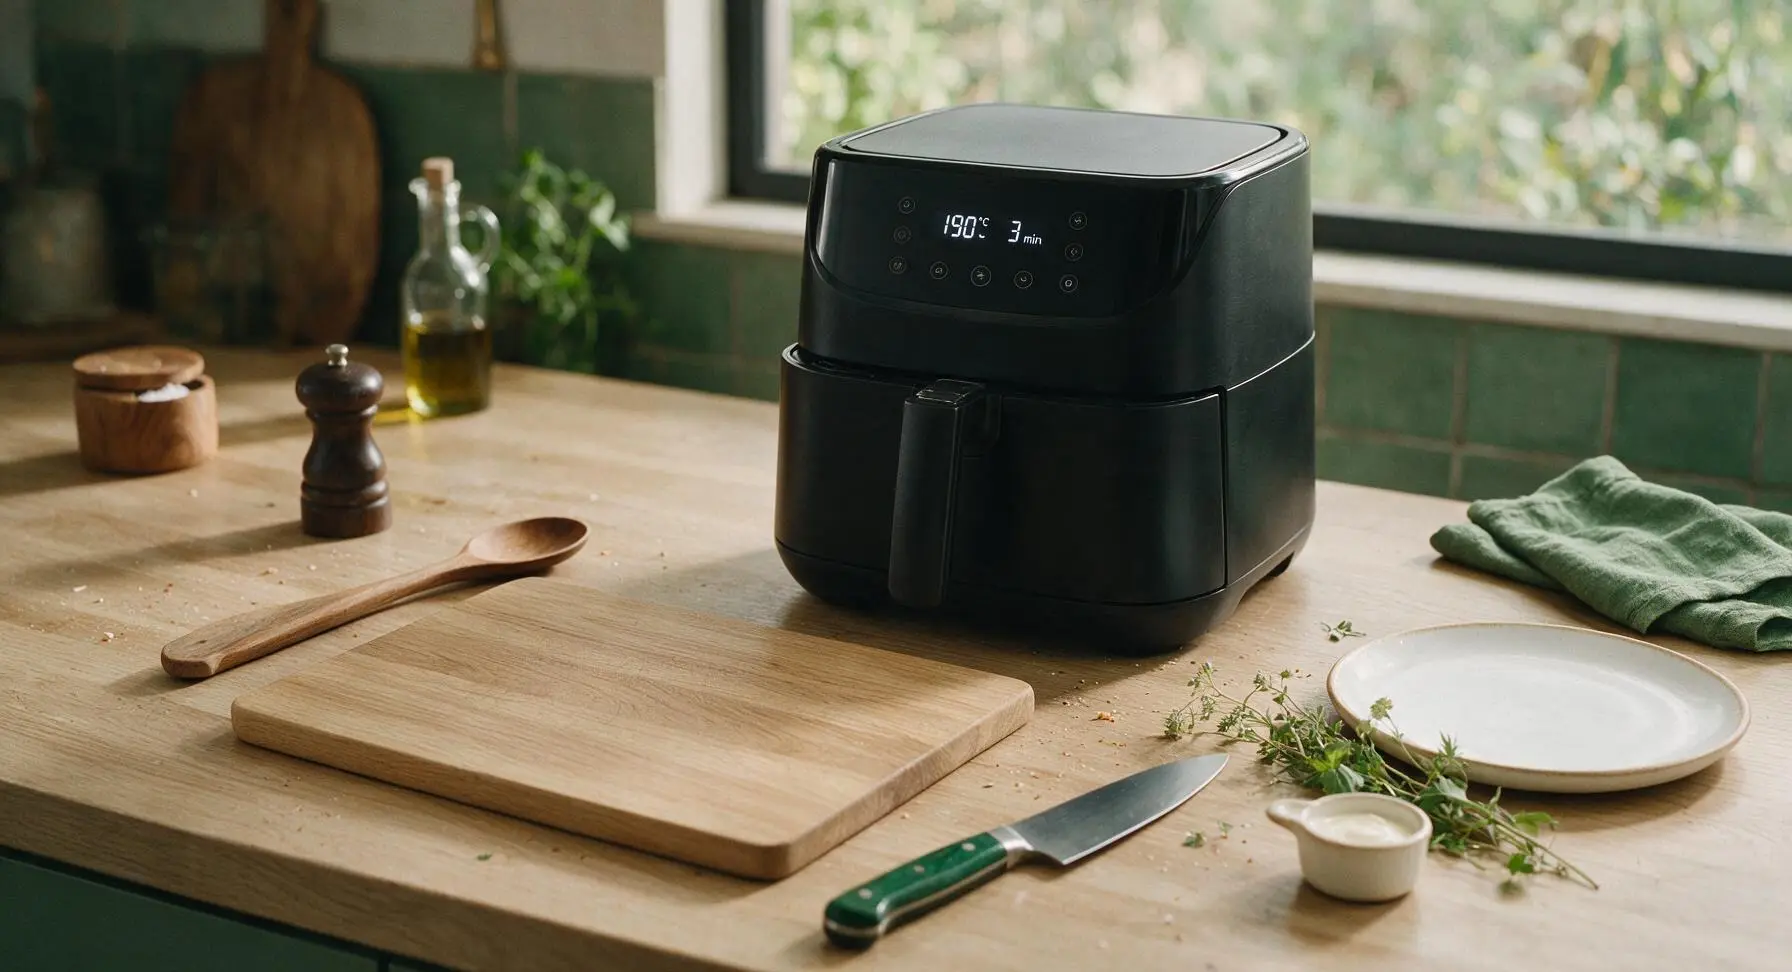
Preheat Air Fryer
Preheat the matte black 5.8-quart air fryer to 190°C (375°F) for 3 minutes. Leave the basket unlined to allow maximum air circulation around the bread; parchment liners trap moisture and lead to soggy toastie bottoms. The unit will beep once preheating is complete.
Butter Bread Slices
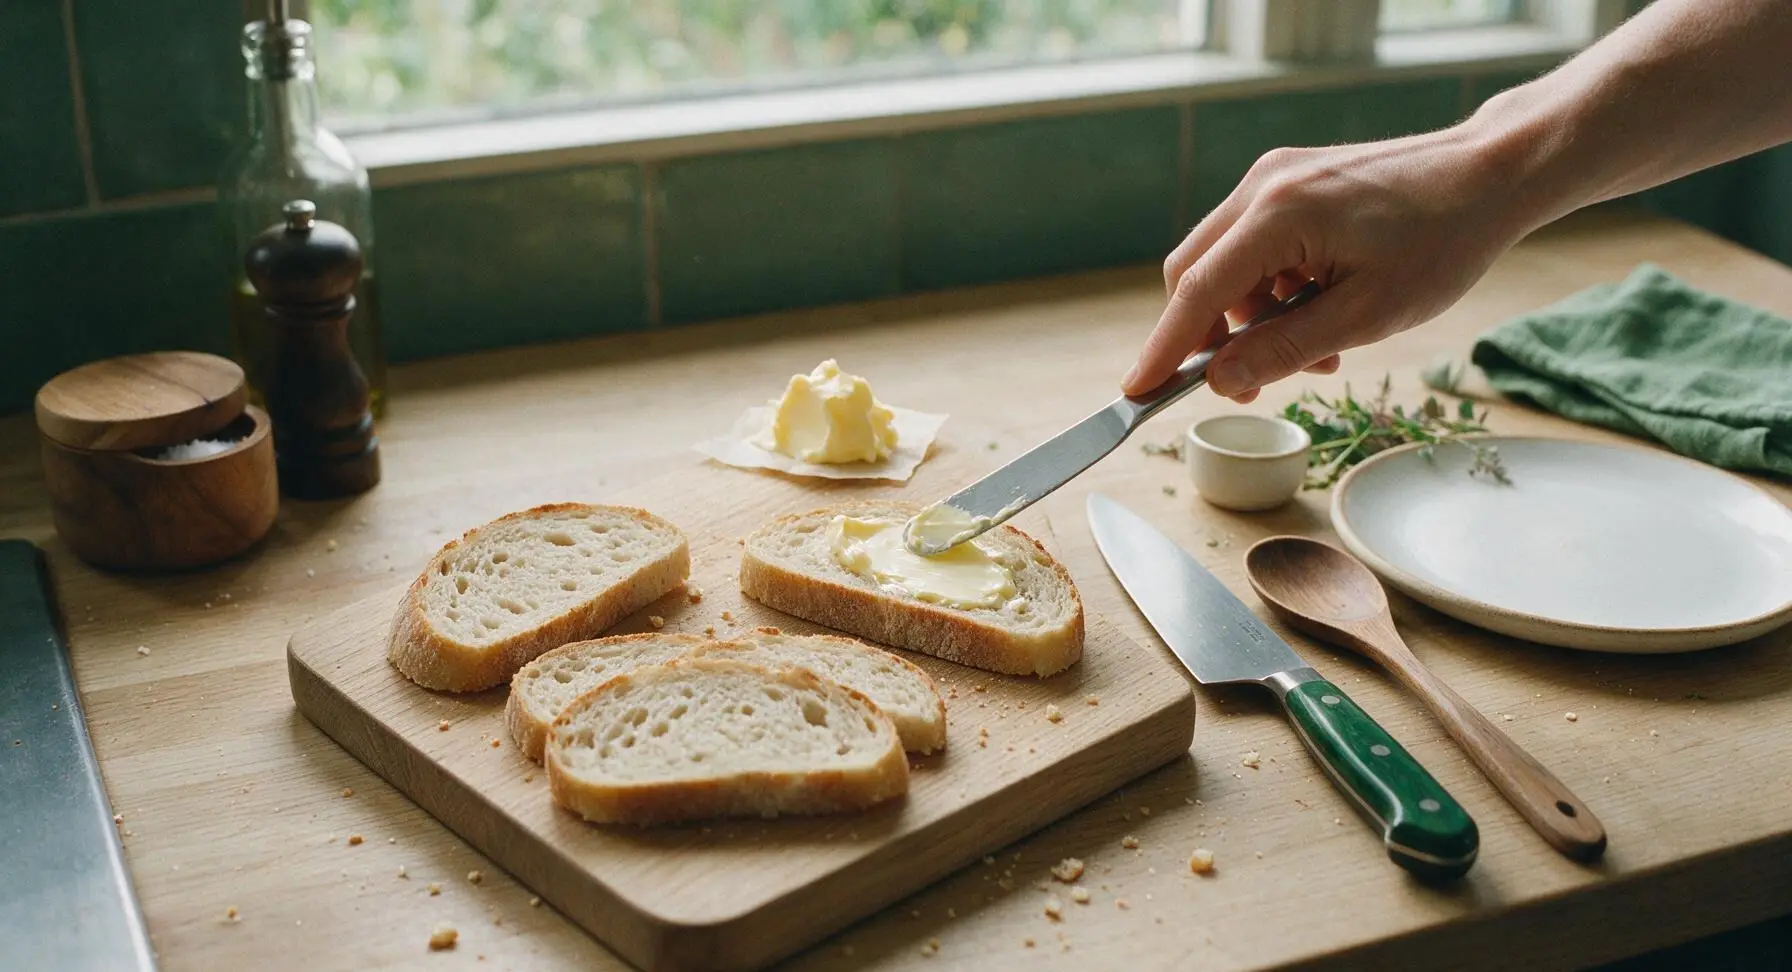
Lay all 4 sourdough slices flat on the bamboo cutting board. Use the stainless steel butter knife to spread ½ tablespoon of softened butter evenly across one entire side of each bread slice, coating all the way to the crust edges. The butter layer should be thin but fully covering, with no bare bread spots, to create a crispy golden crust. If using, sprinkle chopped fresh thyme evenly over the buttered sides of the bread.
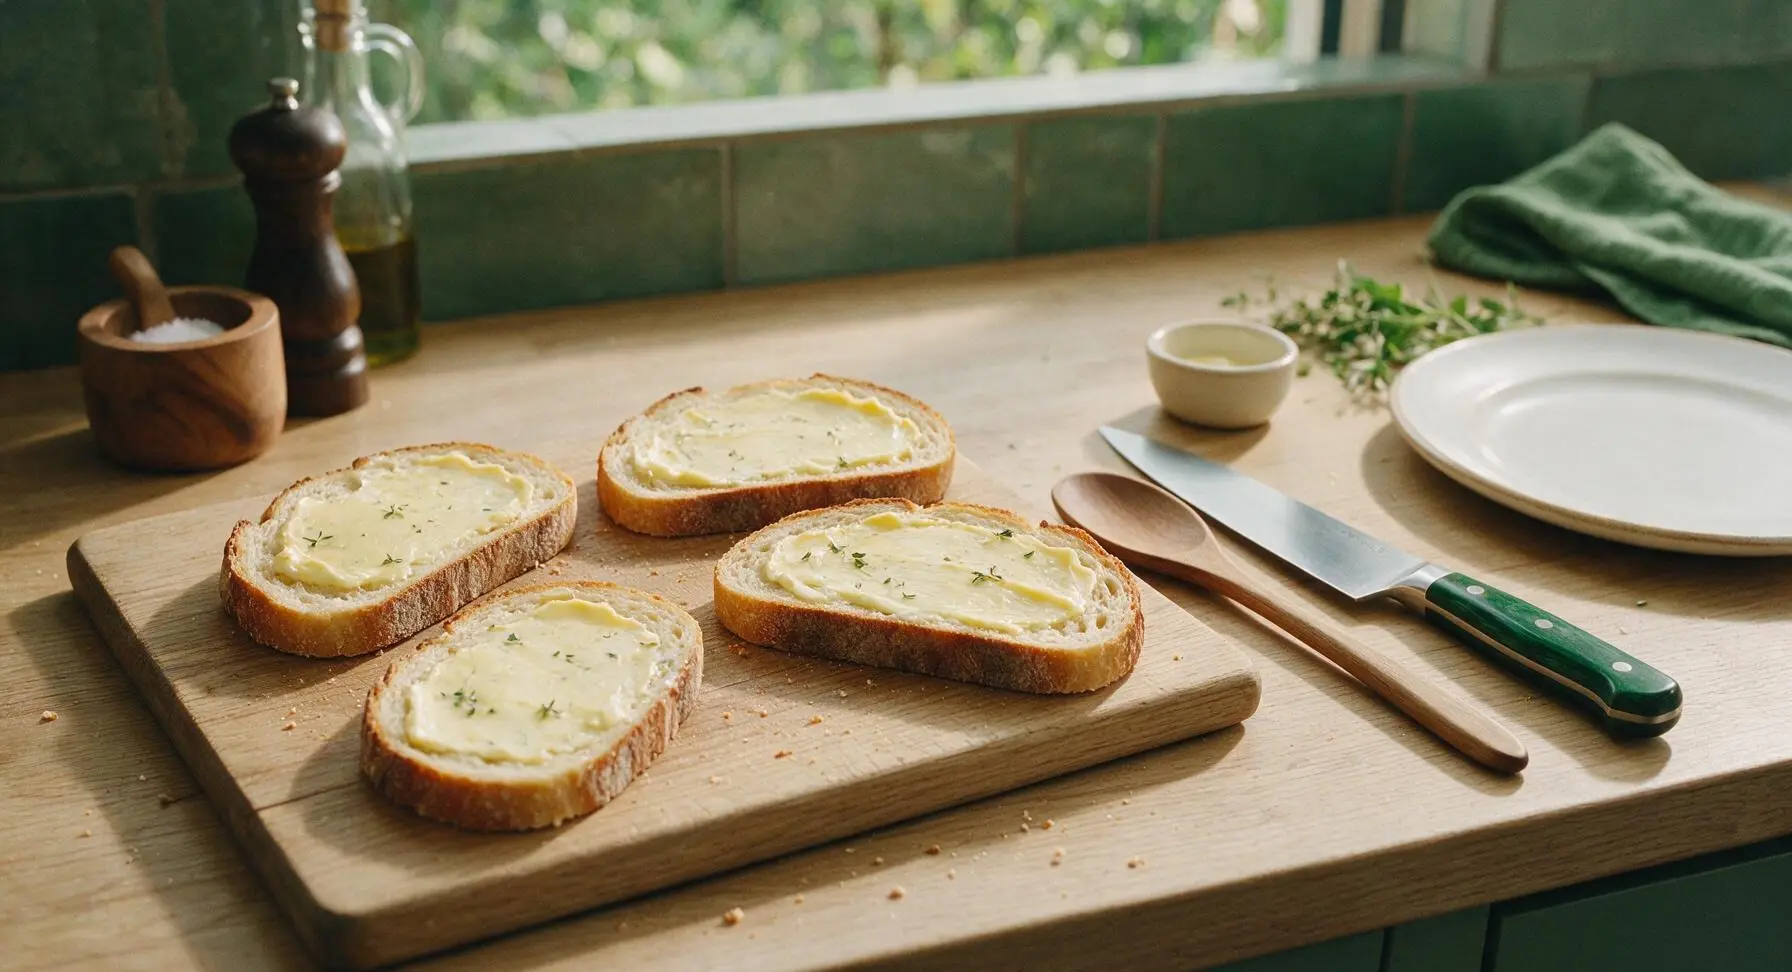
Layer Toastie Fillings
Flip 2 of the bread slices over so the buttered side faces down on the cutting board. Divide the sliced cheddar evenly between these two slices, laying cheese all the way to the edges to prevent bare spots. Top the cheese on each slice with one piece of smoked ham, tearing the ham to fit the bread shape if needed, then add a pinch of black pepper over the ham. Place the remaining 2 bread slices on top, buttered side facing out, to form two closed sandwiches. Press down gently on the top of each sandwich with the palm of your hand to compact the fillings slightly.
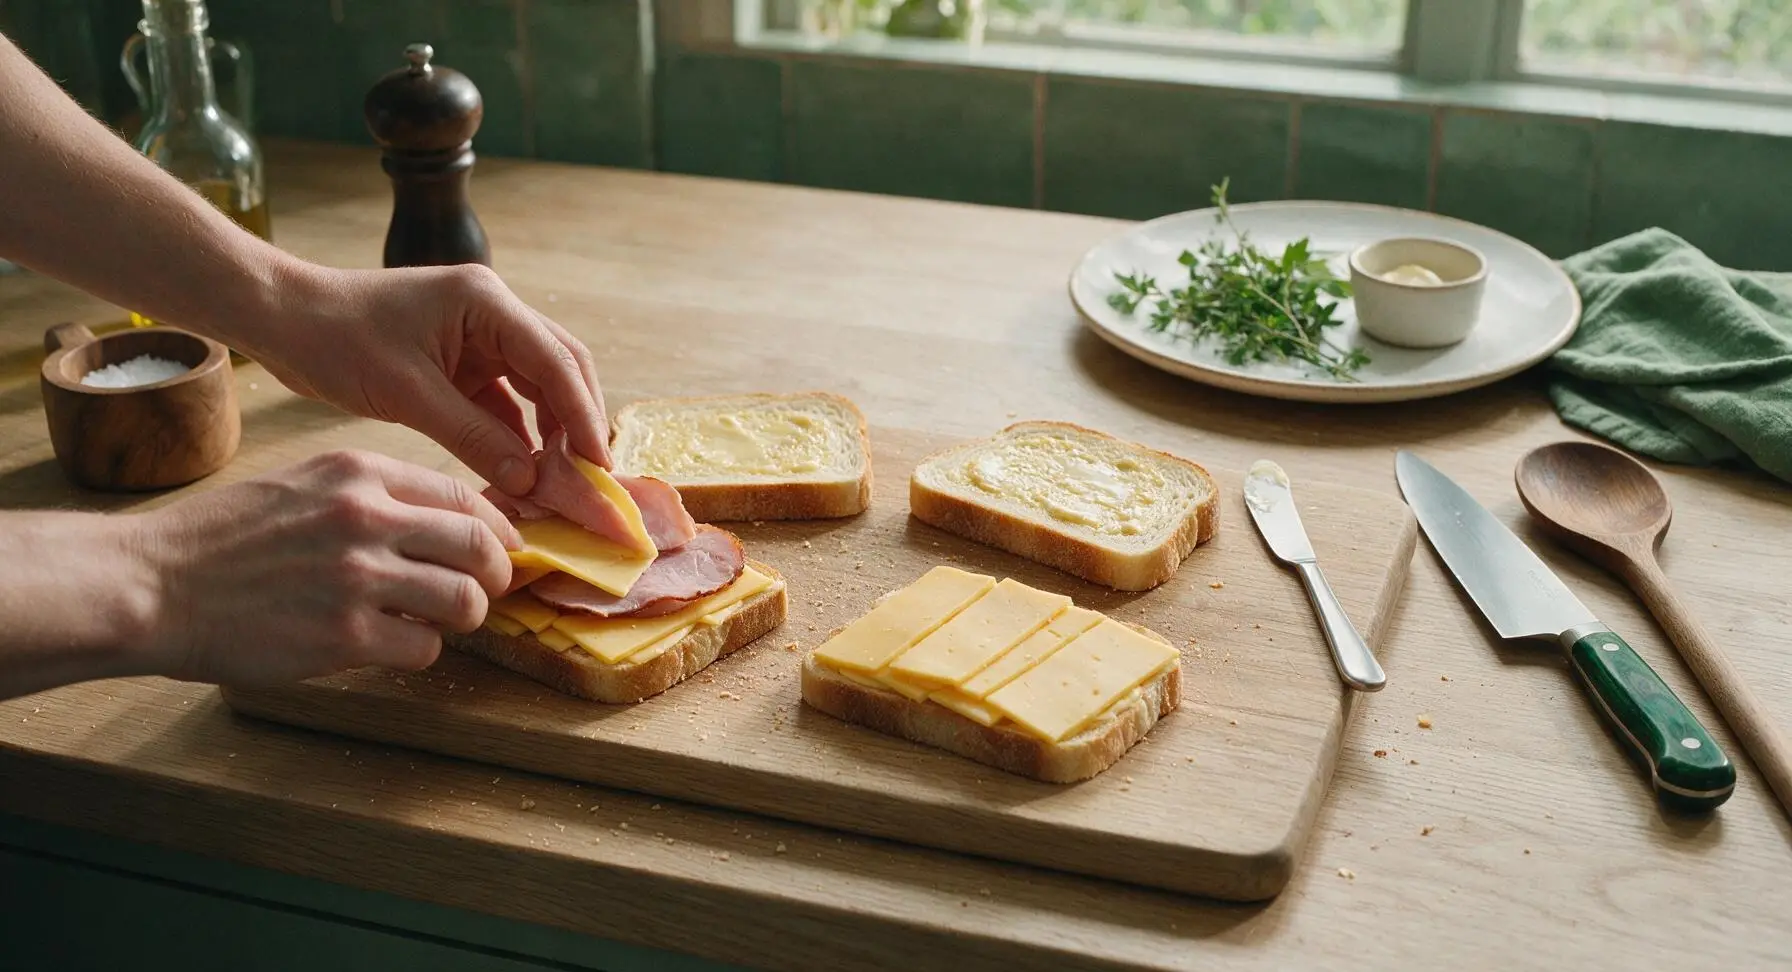
Load Air Fryer Basket
Carefully pull the preheated air fryer basket out. Place both assembled sandwiches directly into the dry, unlined basket, leaving a 1cm gap between them to allow air to circulate. Do not stack the sandwiches or press them flat against the basket; unobstructed air flow is critical for even crisping on both sides.
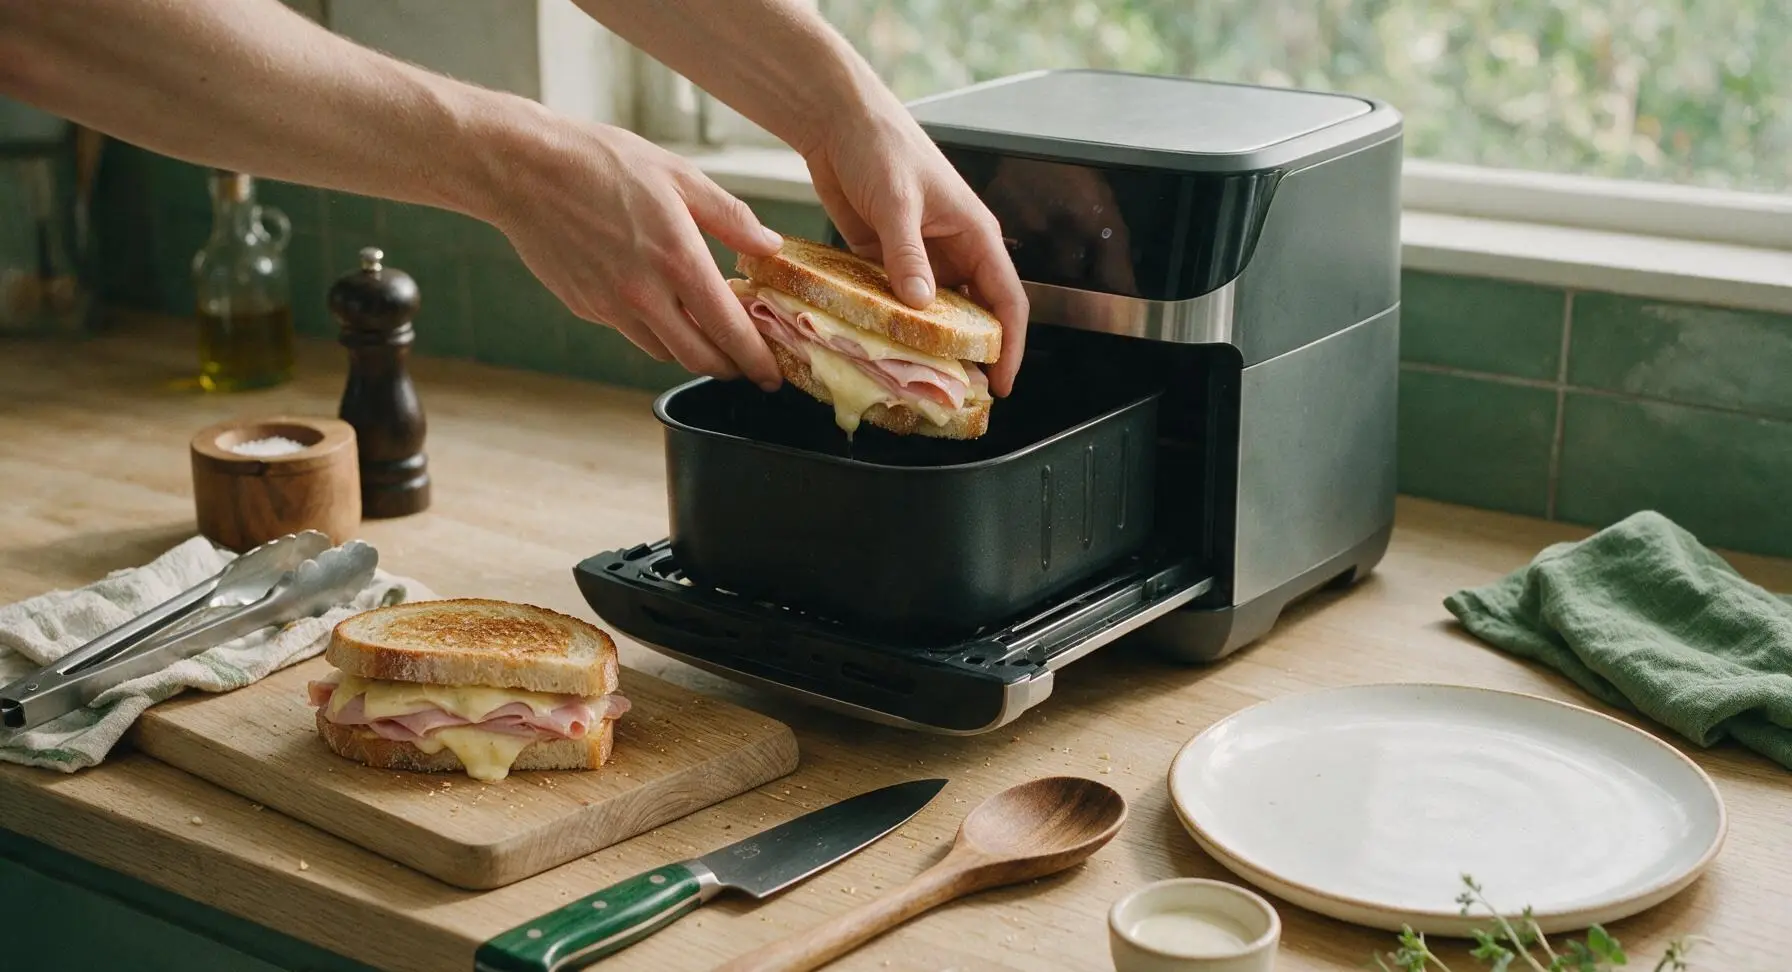
Cook First Side
Push the basket back into the air fryer and cook at 190°C (375°F) for 4 minutes. Do not open the basket during this cook time; consistent heat will crisp the bottom bread layer and start melting the cheese. After 4 minutes, the top side of the bread will be pale golden and starting to crisp.
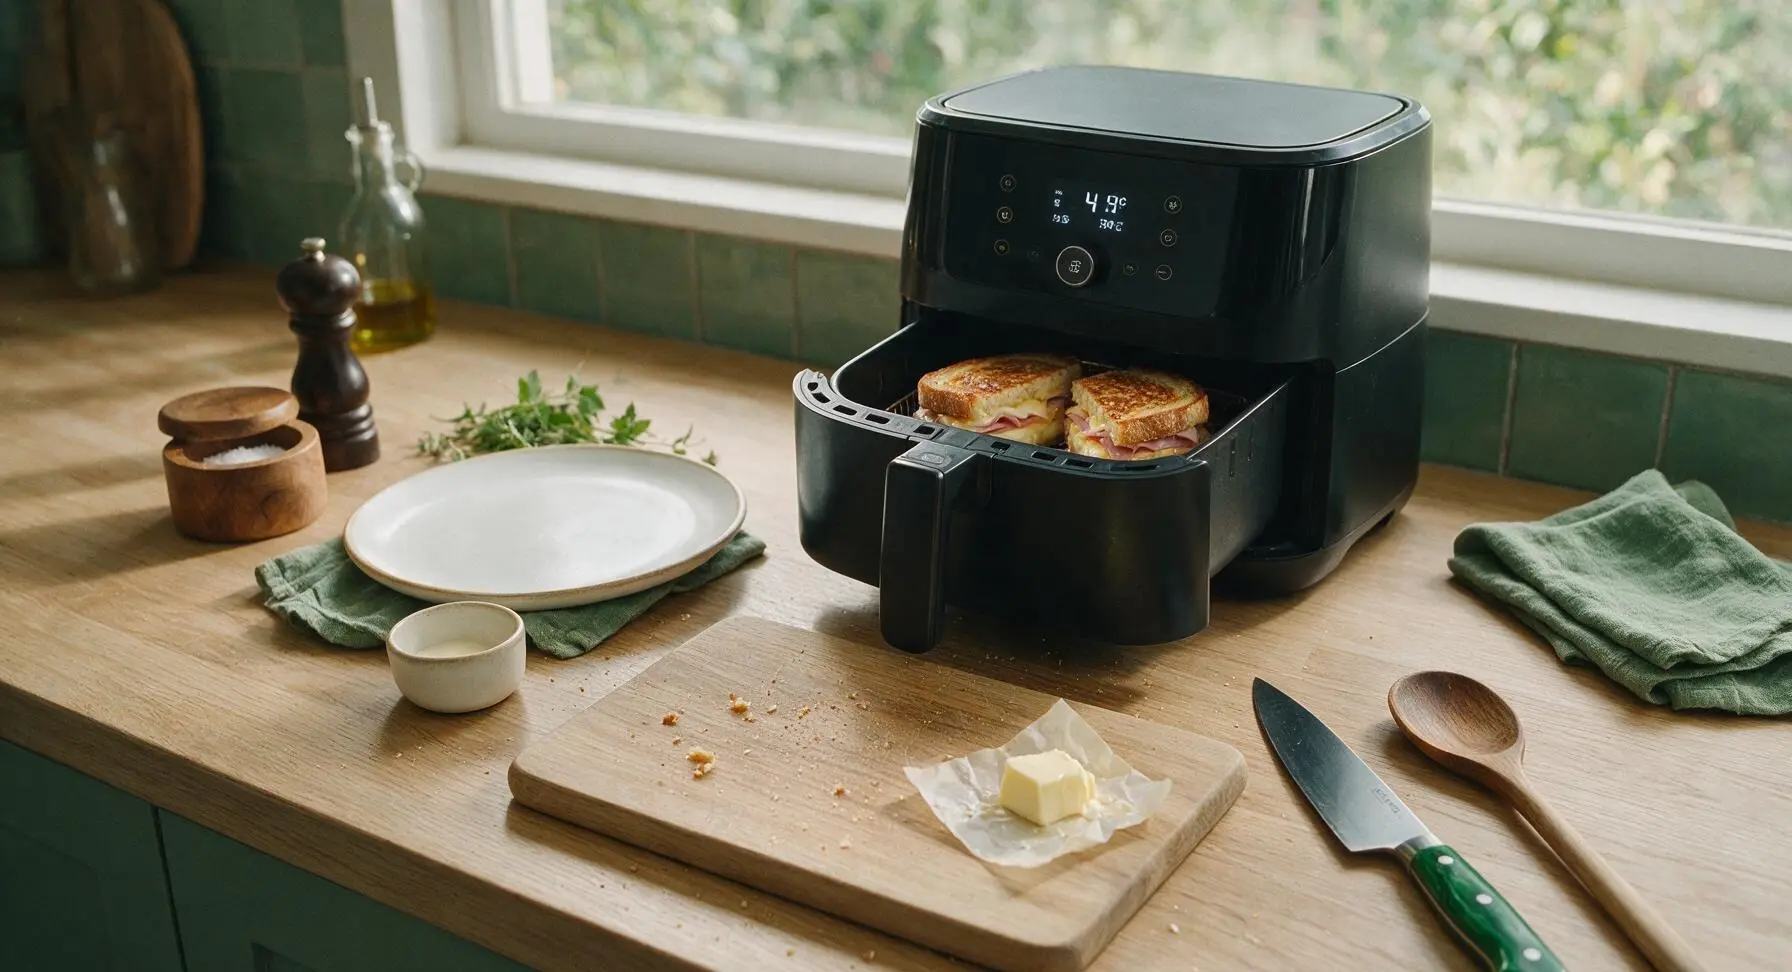
Flip and Finish Cooking
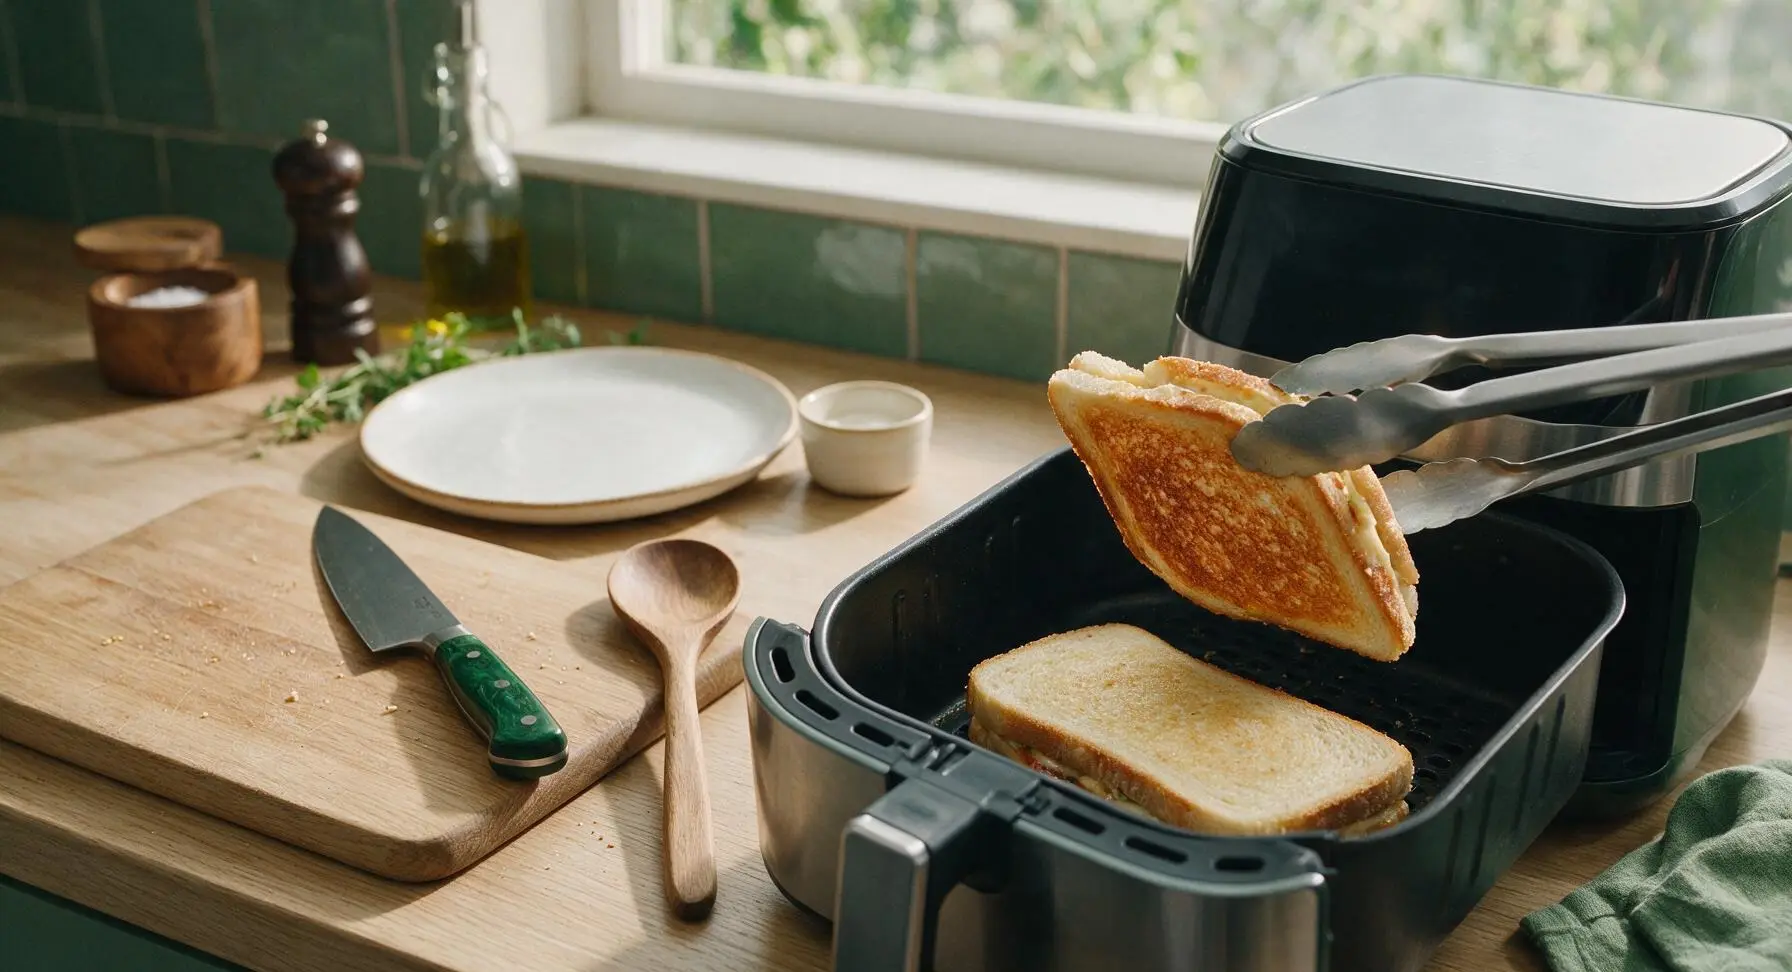
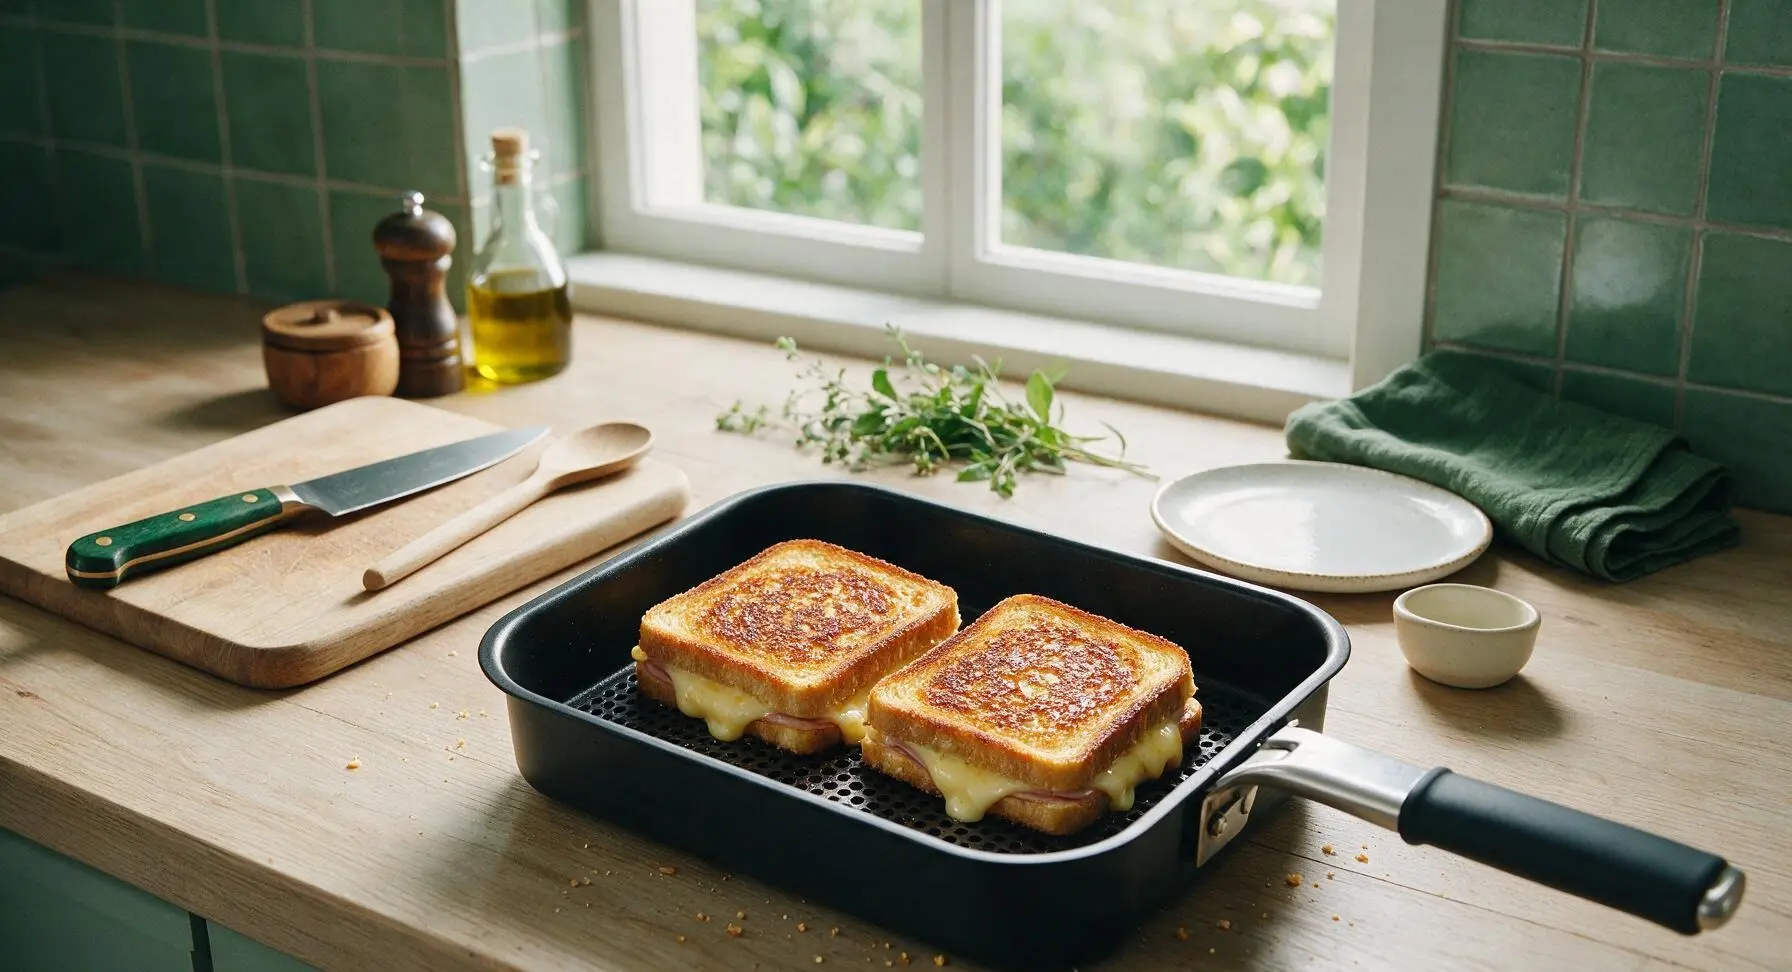
When the 4-minute timer beeps, pull the basket out carefully. Use the stainless steel silicone-tipped tongs to gently flip each sandwich over. The cooked side should be deep golden brown with darker crispy edges. Push the basket back in and cook for an additional 3 minutes at 190°C (375°F), until the second side is equally golden and the cheese is fully melted and oozing slightly from the edges.
Rest and Season
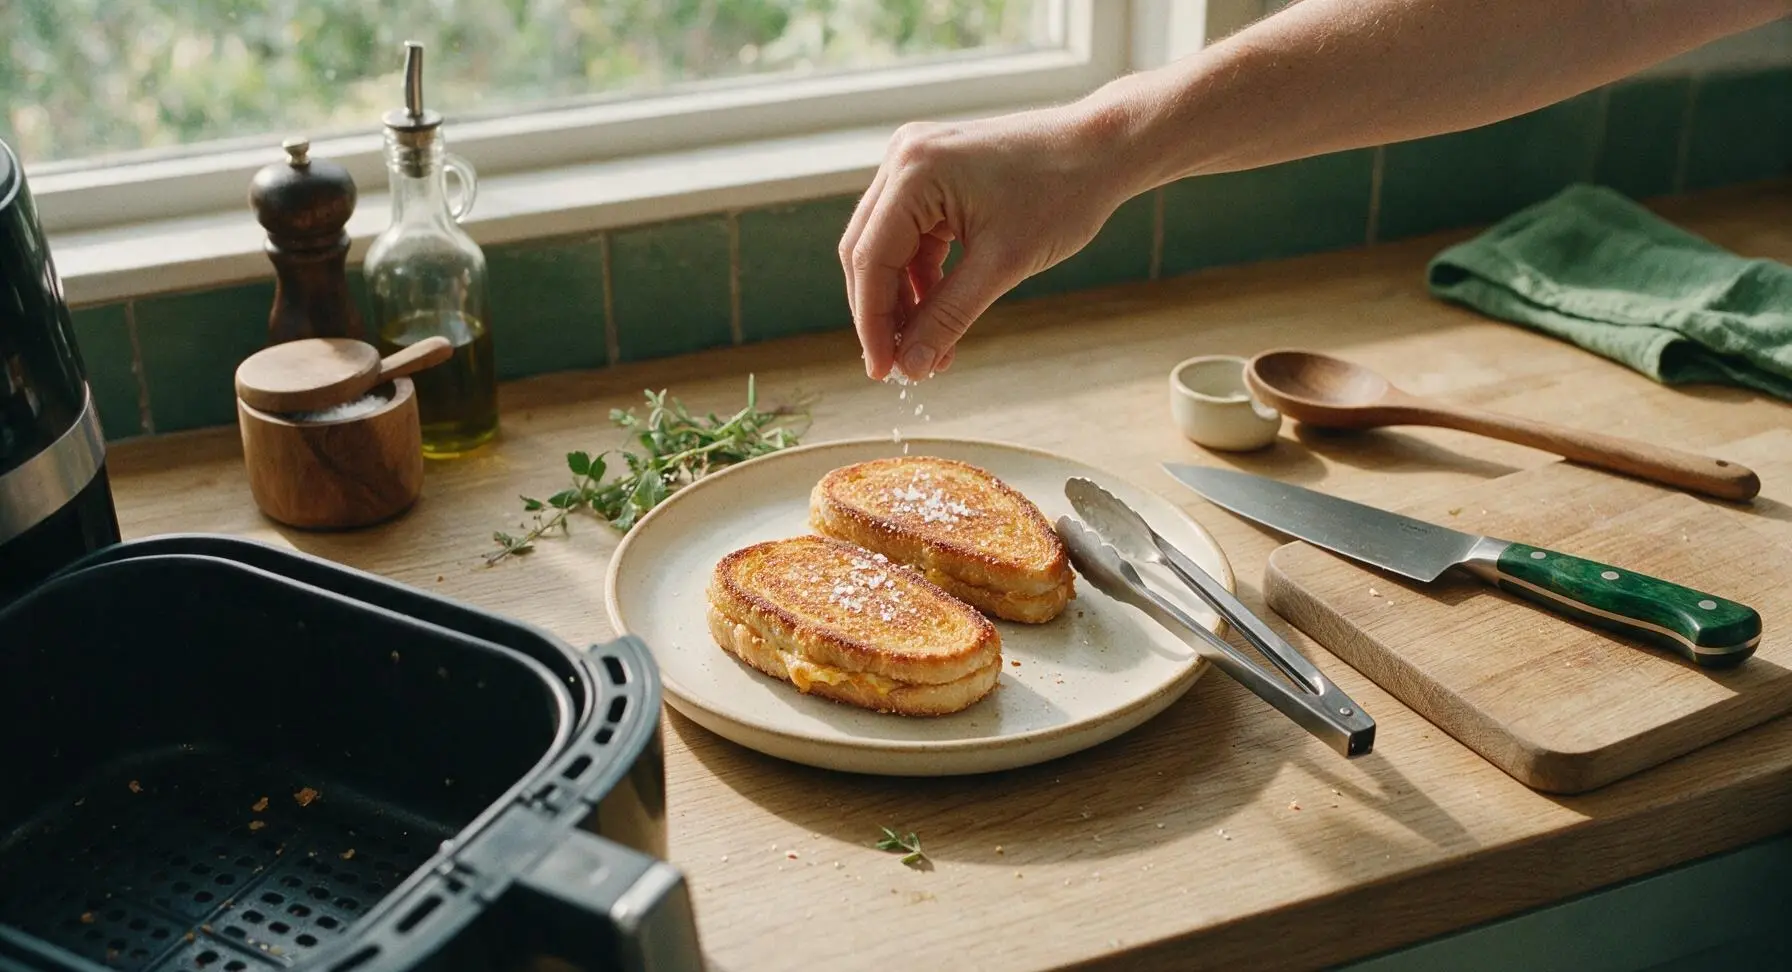
When the final 3-minute timer beeps, pull the basket out. Use the tongs to transfer both hot toasties to the matte cream ceramic dinner plate. Let them rest for 1 minute to allow the cheese to set slightly, which prevents all the filling from pouring out when cut. Sprinkle the top of each toastie with a tiny pinch of flaky sea salt to enhance the butter and cheese flavor.
Cut and Plate
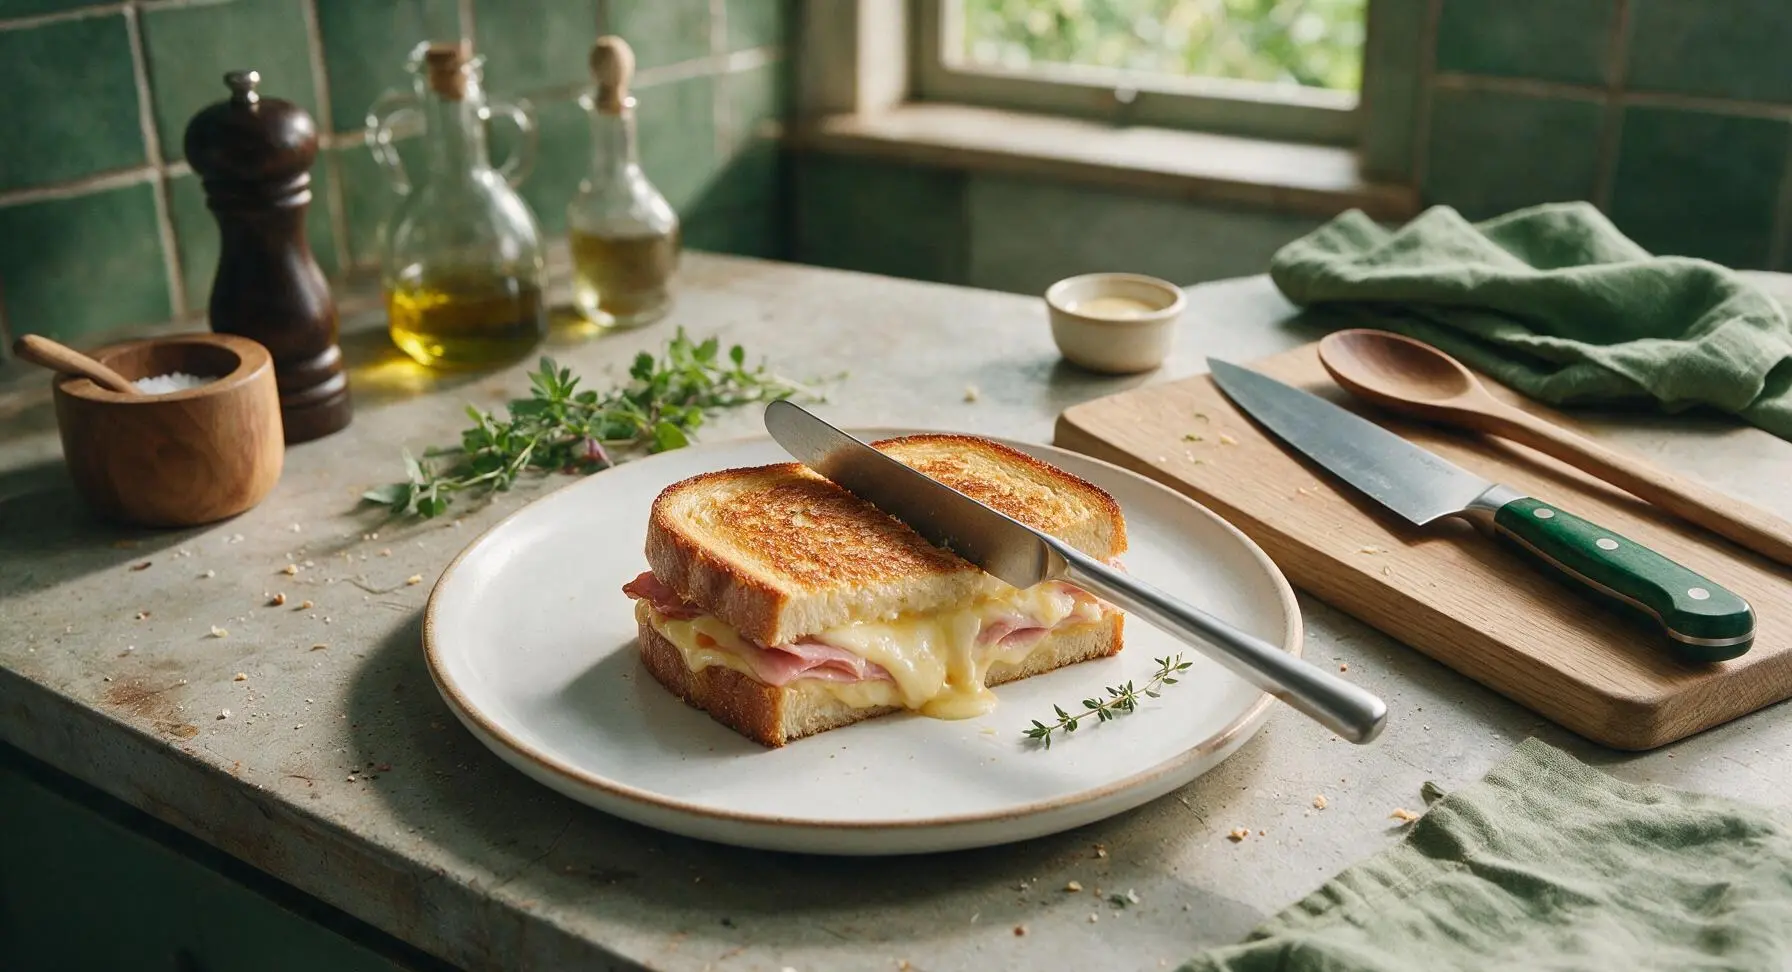
Use the stainless steel butter knife to cut each toastie diagonally into two equal triangles. Arrange the triangles on the plate so the cut sides face outward to show the melted cheese filling. Garnish with a single small sprig of fresh thyme plucked from the potted counter plant before serving.
Tips
2.Use block cheese sliced or grated fresh at home instead of pre-sliced processed deli cheese. Pre-sliced cheese contains anti-caking agents that prevent smooth, stretchy melting, while fresh block cheddar melts evenly into a rich, oozing filling.
3.Avoid overstuffing your toasties. Piling fillings higher than 1cm thick prevents the bread from sealing properly, leading to cheese leaking out into the air fryer basket (where it burns) and a sandwich that falls apart when picked up. Stick to thin, even filling layers for neat, melty results.






OMG this is such a game changer! I’ve been making sad microwave ham and cheese melts for lunch forever and 7 minutes in the air fryer? The bread gets perfectly crispy and the cheese is all gooey, no sogginess at all. My 8 year old asked for seconds before he even finished his first!
Wait, do I need to spray the air fryer basket with oil first? I tried this last night and half the cheese oozed out and stuck so bad I was scrubbing for 10 minutes after. The part that didn’t stick was delicious though!
Perfect quick weeknight dinner for when I get home late from work! I used sourdough bread, smoked deli ham, and a mix of cheddar and swiss, and it turned out chef’s kiss. No fancy ingredients, minimal cleanup, 10/10.
My roommate and I made these for our lazy Sunday potluck with our floor and everyone was begging for the recipe! We did a little build your own toastie bar with different cheeses, sliced tomato, and pickles and people went nuts. Who knew something so easy could be such a hit?
Tried this for meal prep this week? Wait, does it hold up well if I make a batch ahead and reheat, or is it best fresh? I’m trying to cut down on lunch costs by bringing food from home instead of getting takeout by my office.
I don’t usually mess with new kitchen gadgets, but my grandkid got me an air fryer for Christmas and this is the first recipe I tried that didn’t come out burnt! So simple even this old lady could follow it, and my grandson ate three of them when he came to visit. Thank you!
Solid base recipe, I added a thin spread of dijon mustard on the inside of the bread and a pinch of paprika and it elevated it so much. Cooked mine for 8 minutes instead of 7 because I like my bread extra crispy, perfect every time.
Wait a second, I thought you had to use a special sandwich press to get a good toastie? My air fryer is the tiny 2-quart dorm one, will this still work? I only have room for one sandwich at a time but I’m dying to try this for late night study snacks.
SO good. I used leftover holiday ham from the freezer and it tasted like a whole new meal. I don’t know why I never thought to make toasties in the air fryer before, I used to just pan fry them and make a mess with butter splatters everywhere.
Made these for the kids’ after school snack today and they didn’t even complain about the whole grain bread I used! Win for mom. I added a little bit of steamed broccoli florets inside mine to sneak in some veggies and it was actually really tasty.
Quick heads up for anyone who uses thick cut artisanal bread: I tried this with my usual sourdough loaf that has super thick slices and the cheese didn’t melt all the way in the middle by 7 minutes. Just an extra minute fixed it right up though, no big deal.
Game. Changer. I’ve been paying $8 for a sad ham and cheese panini from the cafe down the street for lunch every day, I did the math and making these at home costs like $1.20 per sandwich. That’s insane, I’m saving so much money!
Has anyone tried making this with vegan cheese and plant based ham? My daughter is vegan and she’s been asking for a toastie she can eat with the rest of the family on movie nights, I want to make sure it turns out good for her.
I put a fried egg on mine right after it came out of the air fryer and turned it into a breakfast toastie this weekend. 10/10, runny yolk mixed with the melted cheese? Absolute perfection. Would recommend to anyone.
Wait, do you have to butter the outside of the bread? I forgot to last time and it was still crispy, but I’m wondering if adding butter makes it taste even better? I’m trying to cut back a little on extra butter but I don’t want to sacrifice flavor.
I brought these to my neighborhood potluck last weekend and people were fighting over the last one. A dude who lives two doors down even knocked on my door yesterday to ask for the recipe, that’s how good these are. So easy too, I made 8 of them in 20 minutes in my air fryer.
My teenager is obsessed with these! He makes them himself after school now without even asking, which is a miracle because he never cooks anything for himself. We started keeping extra ham and cheese in the fridge just for these.
Tossed a handful of crispy bacon bits in mine this morning and it was chef’s kiss. The salty crunch with the ham and gooey cheese? 10/10, I’ll be adding bacon every time from now on. Cook time was exactly 7 minutes, no adjustments needed for me.
I was skeptical because most air fryer sandwich recipes leave the bread weirdly dry, but this was perfect! Crispy outside, melty inside, no sogginess, no dry spots. I’ll be adding this to my regular weeknight rotation for sure.