
Toffee

intro
Crisp, shattery butter toffee coated in smooth dark chocolate and toasted almonds, a rich nostalgic sweet treat perfect for holiday gifting and cozy winter snacking.
Ingredients
Steps
Prep baking setup
Line a 23x33cm (9x13 inch) baking sheet with parchment paper, leaving 5cm (2 inch) overhang on the long sides for easy lifting. Evenly scatter 40g (1/3 cup) of toasted slivered almonds across the base of the lined pan, and clip a candy thermometer to the side of a heavy-bottomed 2L (2 quart) saucepan, ensuring the tip does not touch the pan bottom to avoid false temperature readings.
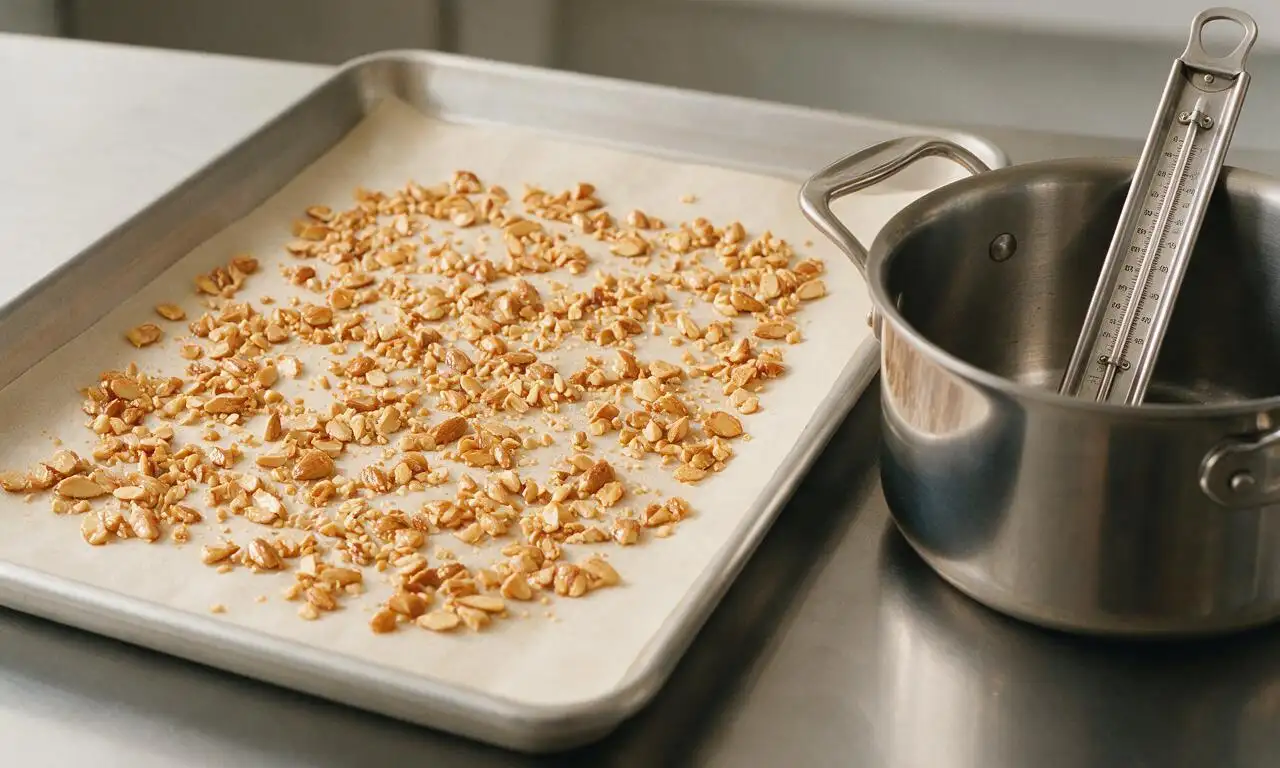
Melt toffee base
Place the prepared saucepan over medium-low heat, add 226g unsalted butter, 200g granulated sugar, 60ml water, 30ml light corn syrup, and 3g fine sea salt. Stir constantly with a heatproof silicone spatula for 4-5 minutes until the butter fully melts and the sugar completely dissolves, with no gritty texture remaining when you rub a drop of the mixture between your fingers.
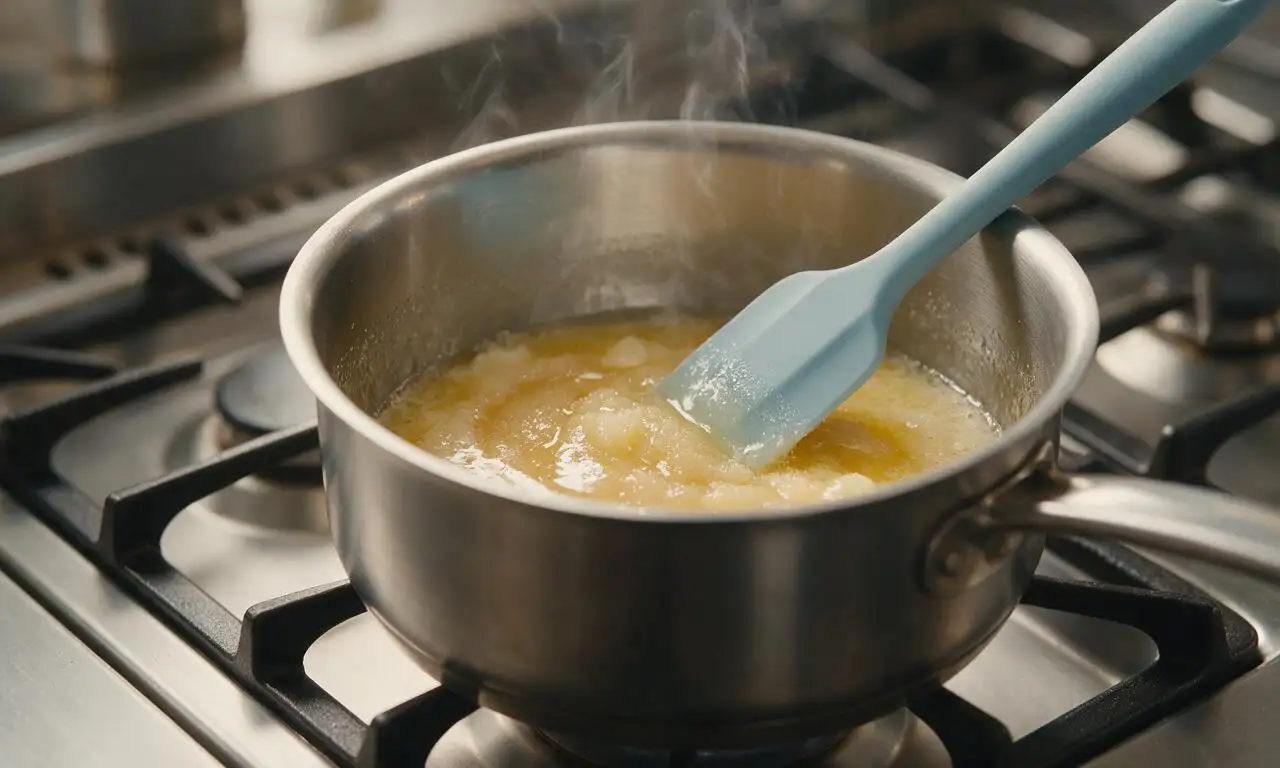
Cook to hard crack
Increase heat to medium, stop stirring once the mixture comes to a steady rolling boil, and let it cook undisturbed for 10-12 minutes until the candy thermometer reads 149°C (300°F, the hard crack stage). The mixture will turn a deep warm amber color like raw honey; if uneven hot spots form, gently swirl the pan by the handle to distribute heat, and do not stir to prevent sugar crystallization.
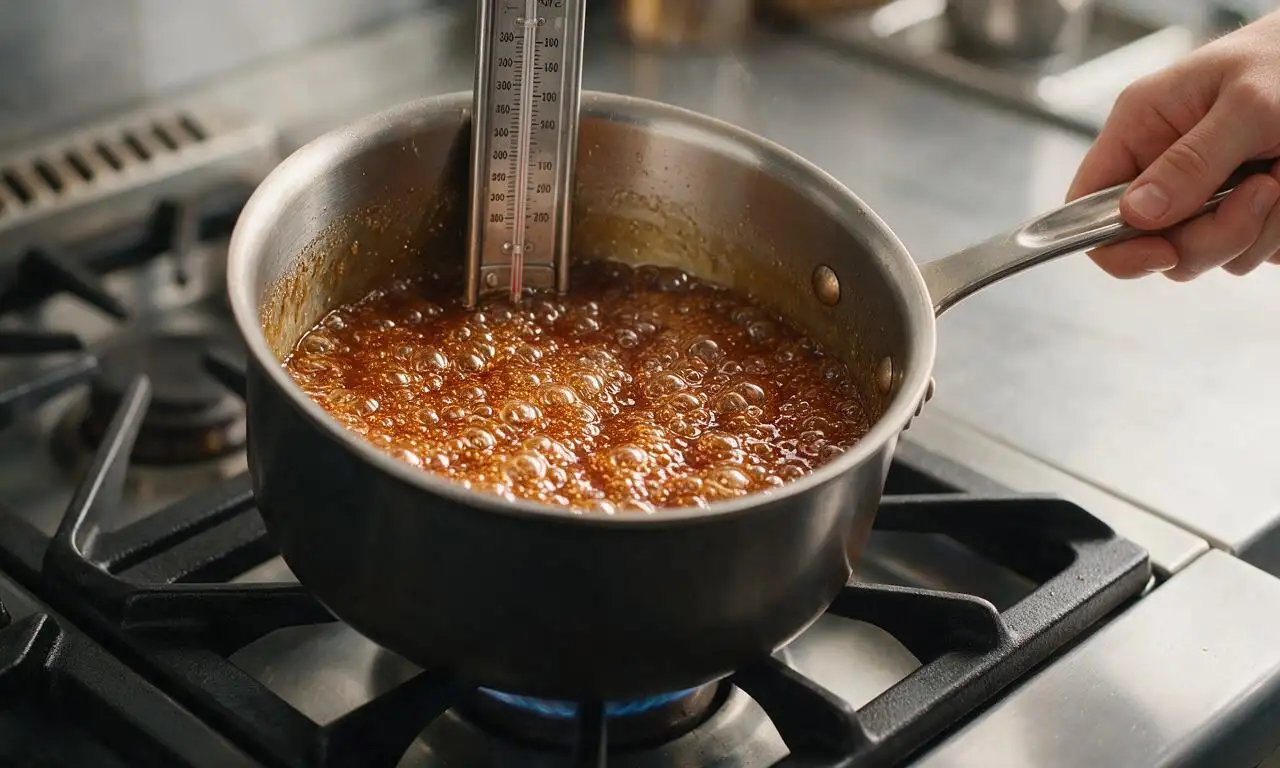
Pour and spread toffee
Immediately remove the saucepan from heat once it reaches target temperature, carefully pour the hot toffee in an even layer over the almond-strewn prepared baking sheet. Do not scrape the sides of the pan, as this can introduce crystallized sugar bits that ruin the smooth texture. Tilt the sheet gently to help the toffee spread into a uniform 6mm (1/4 inch) thick layer, then let it rest for 2 minutes at room temperature.
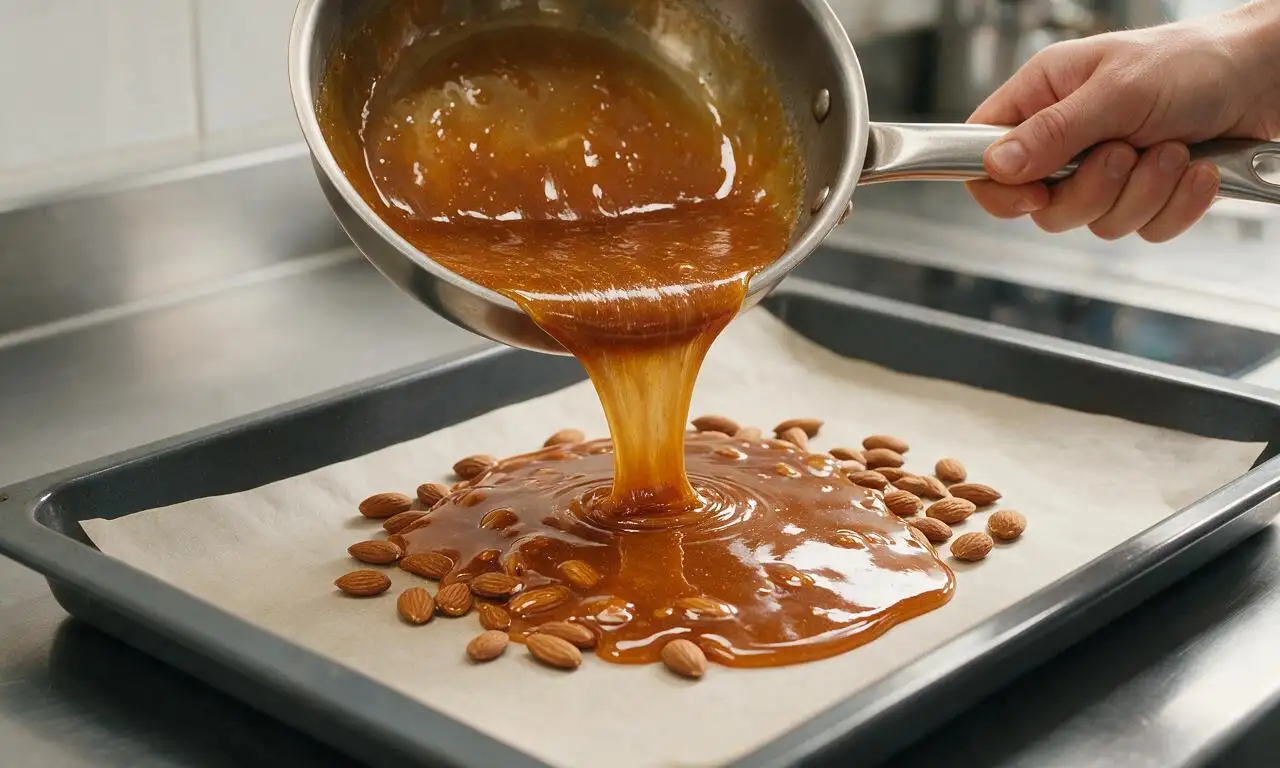
Add chocolate layer
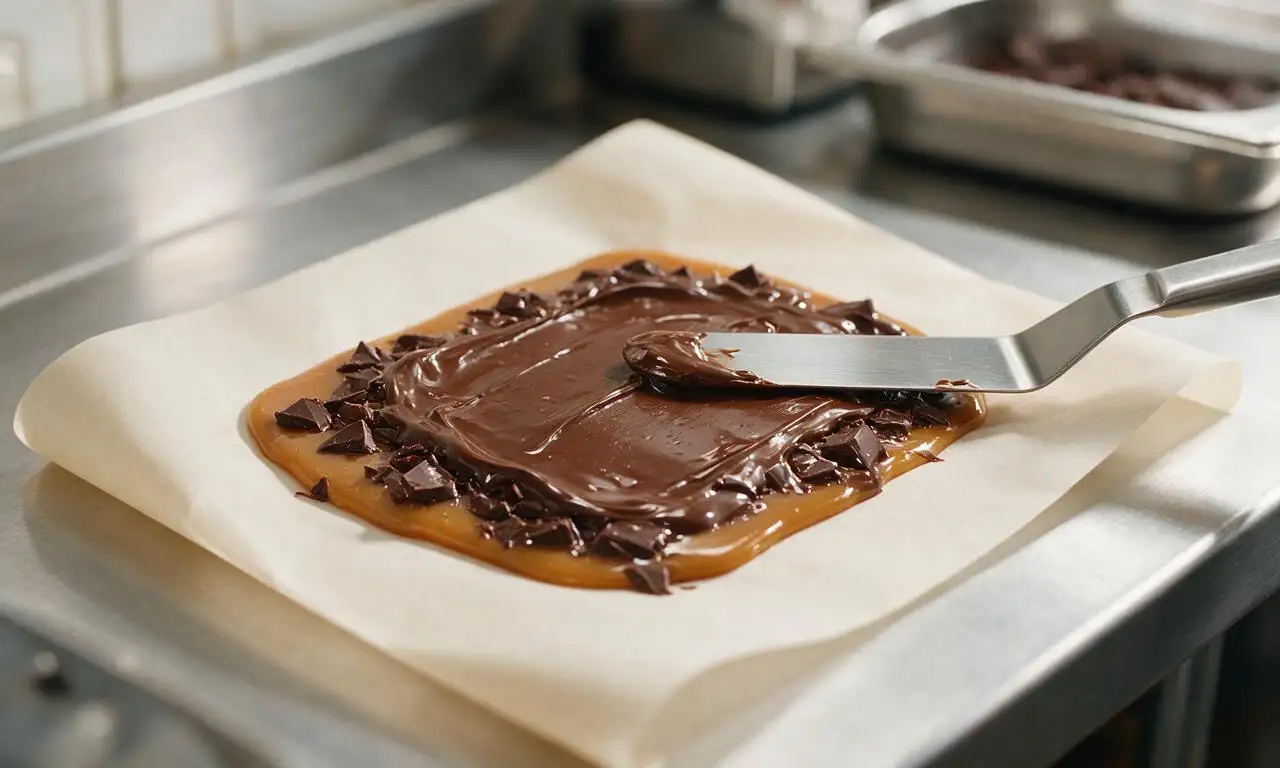
Evenly scatter the 170g chopped 70% dark chocolate across the surface of the warm toffee, then let it sit for 3 minutes to fully melt from the toffee’s residual heat. Use a clean offset spatula to spread the melted chocolate into a smooth, even layer covering the entire toffee surface.
Top and chill toffee
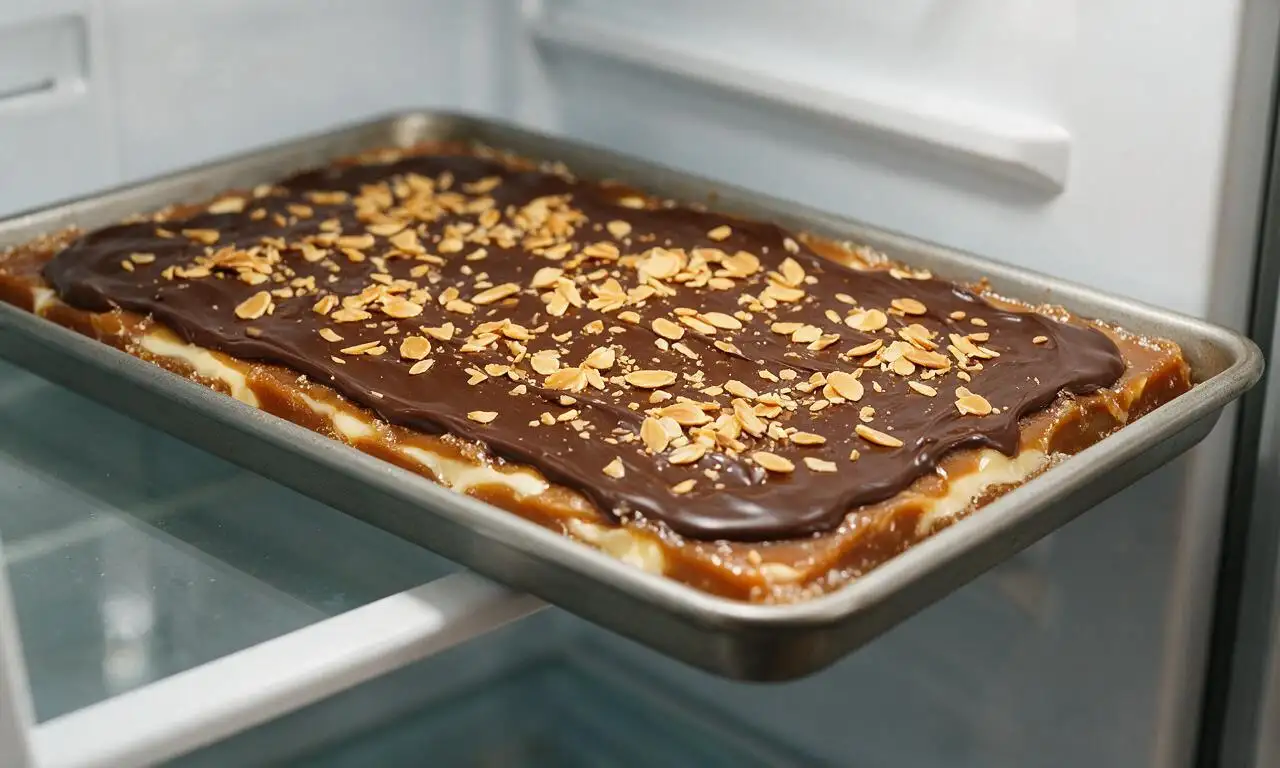
Sprinkle the remaining 40g (1/3 cup) toasted slivered almonds evenly over the melted chocolate layer, then lightly press the nuts into the chocolate with the flat of the spatula to ensure they adhere. Transfer the baking sheet to the refrigerator to chill for 20 minutes until the chocolate is fully set and the toffee is completely firm to the touch.
Break into pieces
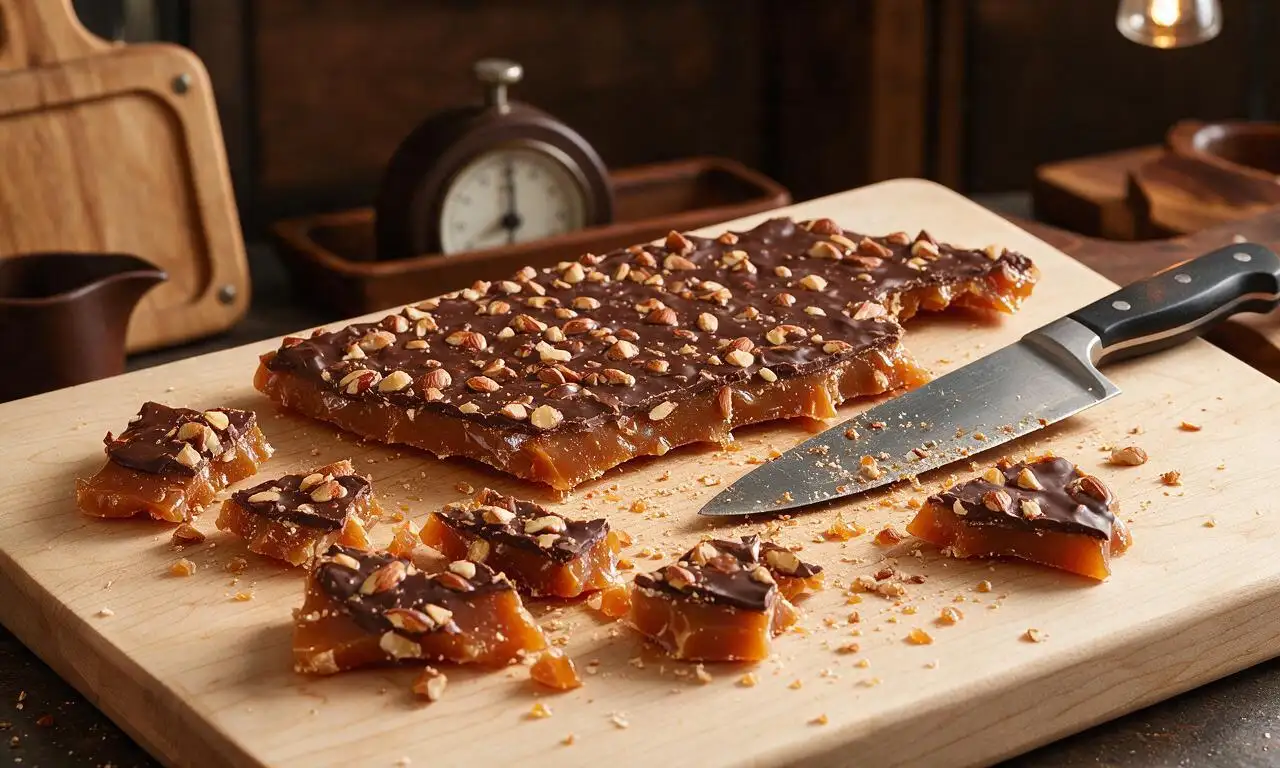
Remove the set toffee from the refrigerator, lift it out of the pan using the parchment paper overhang, and place it on a wooden cutting board. Use the heel of a sharp heavy knife or clean dry hands to break the toffee into irregular 5cm (2 inch) shattery pieces, then store in an airtight container at cool room temperature for up to 2 weeks.
Tips
2.Avoid stirring the boiling toffee, as this can cause sugar crystals to form and result in a grainy, crumbly texture instead of the desired smooth, crisp bite.
3.If you do not have a candy thermometer, test for hard crack stage by dropping a tiny dot of hot toffee into a bowl of cold water; it should form hard, brittle threads that break easily when bent.






OMG this butter toffee is a total game changer! I made it for our neighborhood block party potluck last weekend and every single person asked me for the recipe. It’s perfectly buttery, not too cloyingly sweet, and that crisp, snappy crunch is chef’s kiss. My kids kept sneaking pieces off the cooling rack before I even got to add the chocolate drizzle and toasted almond topping! 10/10 will be making this every Christmas and cookie exchange season from now on.
Tried this last night for a movie night snack with my partner and it was SO good. I was worried it’d be too finicky since I don’t do a ton of candy making, but the step-by-step temp instructions made it super straightforward. We added a sprinkle of flaky sea salt on top of the chocolate and *chef’s kiss* no store-bought toffee is ever gonna compare again.
Help! I made this yesterday and my toffee turned out grainy instead of smooth? I followed the cook time exactly but I think I might have stirred it too much? Tastes great but the texture is off, any tips for next time?
This recipe is a new family favorite! I made it on Sunday for meal prep snacking for the week and half of it was gone before I even packed it into containers. My oldest is already begging me to make another batch for his soccer team snack this weekend. Only tweak I made was swapping the almonds for pecans because that’s what I had in the pantry, and it worked perfectly!
I’ve tried so many homemade butter toffee recipes over the years and this one is hands down the best. The ratio of butter to sugar is perfect, it doesn’t separate while cooking like other recipes I’ve tried. I brought a tin of it to my book club last night and everyone raved. Even my mother-in-law, who is notoriously picky about candy, asked for a second helping!
Made this for my crew at work as a little Friday treat and they went nuts for it. Super easy to follow, didn’t need any fancy equipment besides my candy thermometer. Next time I’m gonna make a double batch because a single batch was gone in 10 minutes flat. Worth every minute of the 45 minute cook time, no cap.
This was my first time making any kind of cooked candy and I was so nervous I’d burn it! The cook time notes were really helpful, but I did end up taking it off the heat about 2 minutes early because it hit that hard crack stage (300°F) faster than I expected. It still turned out amazing, though! Do you think I could add a layer of crushed pretzels under the chocolate for an extra salty crunch next time?
I make toffee every year for my holiday cookie tins and this recipe is my new go-to, no question. It has that rich, deep buttery flavor that’s missing from so many other recipes that skimp on butter or use weird shortening. The medium difficulty rating is totally fair – you do have to pay attention while it cooks, but it’s not rocket science. I’ve already made three batches this month and they’ve all turned out perfectly!