
Top Round Roast
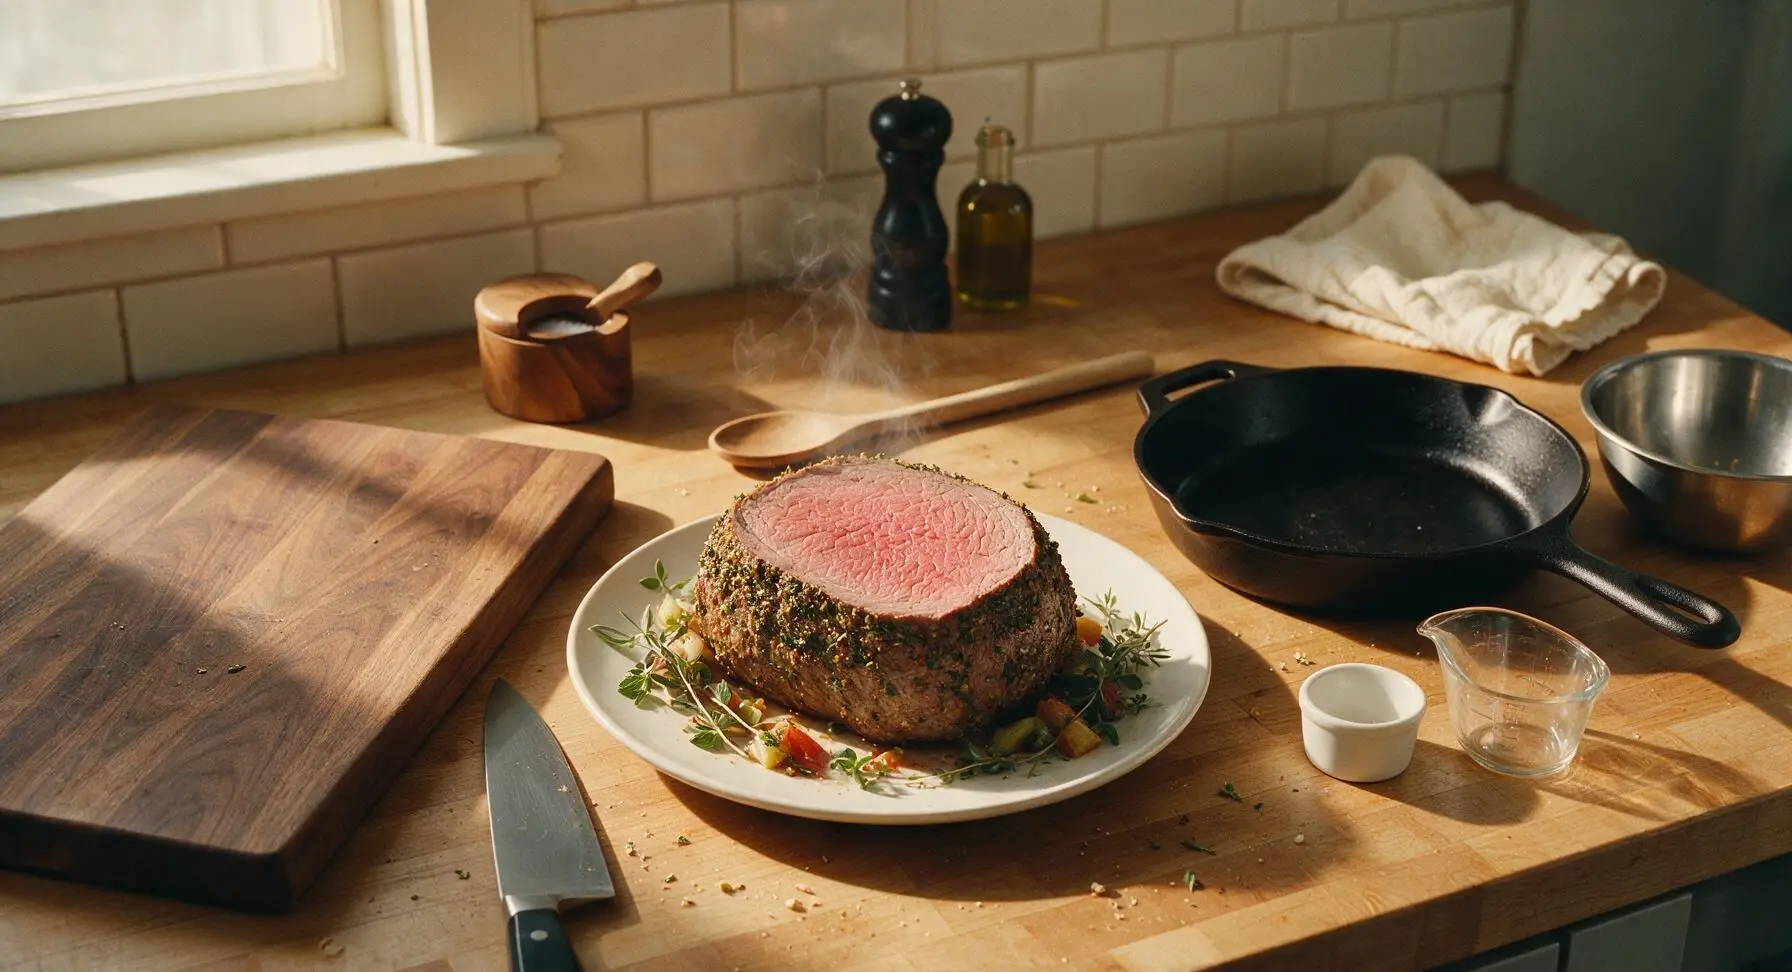
intro
Juicy, herb-kissed top round roast with a crisp savory crust and tender pink center, the timeless centerpiece for cozy autumn Sunday family dinners.
Ingredients
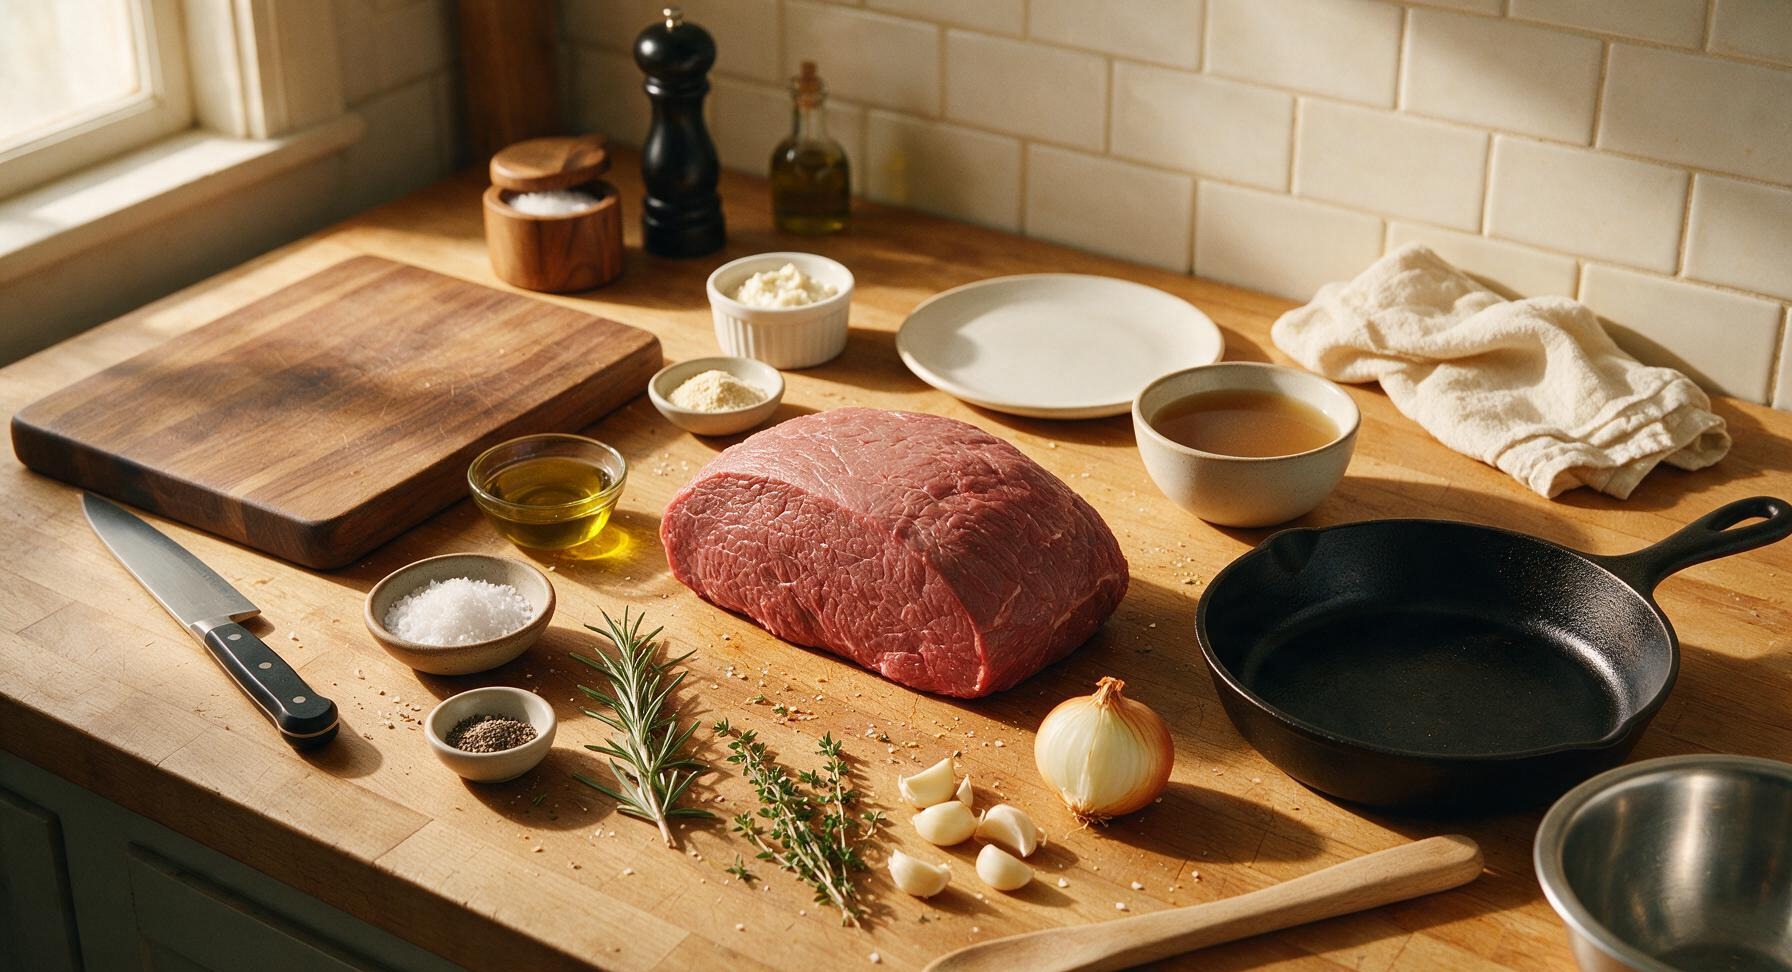
Steps
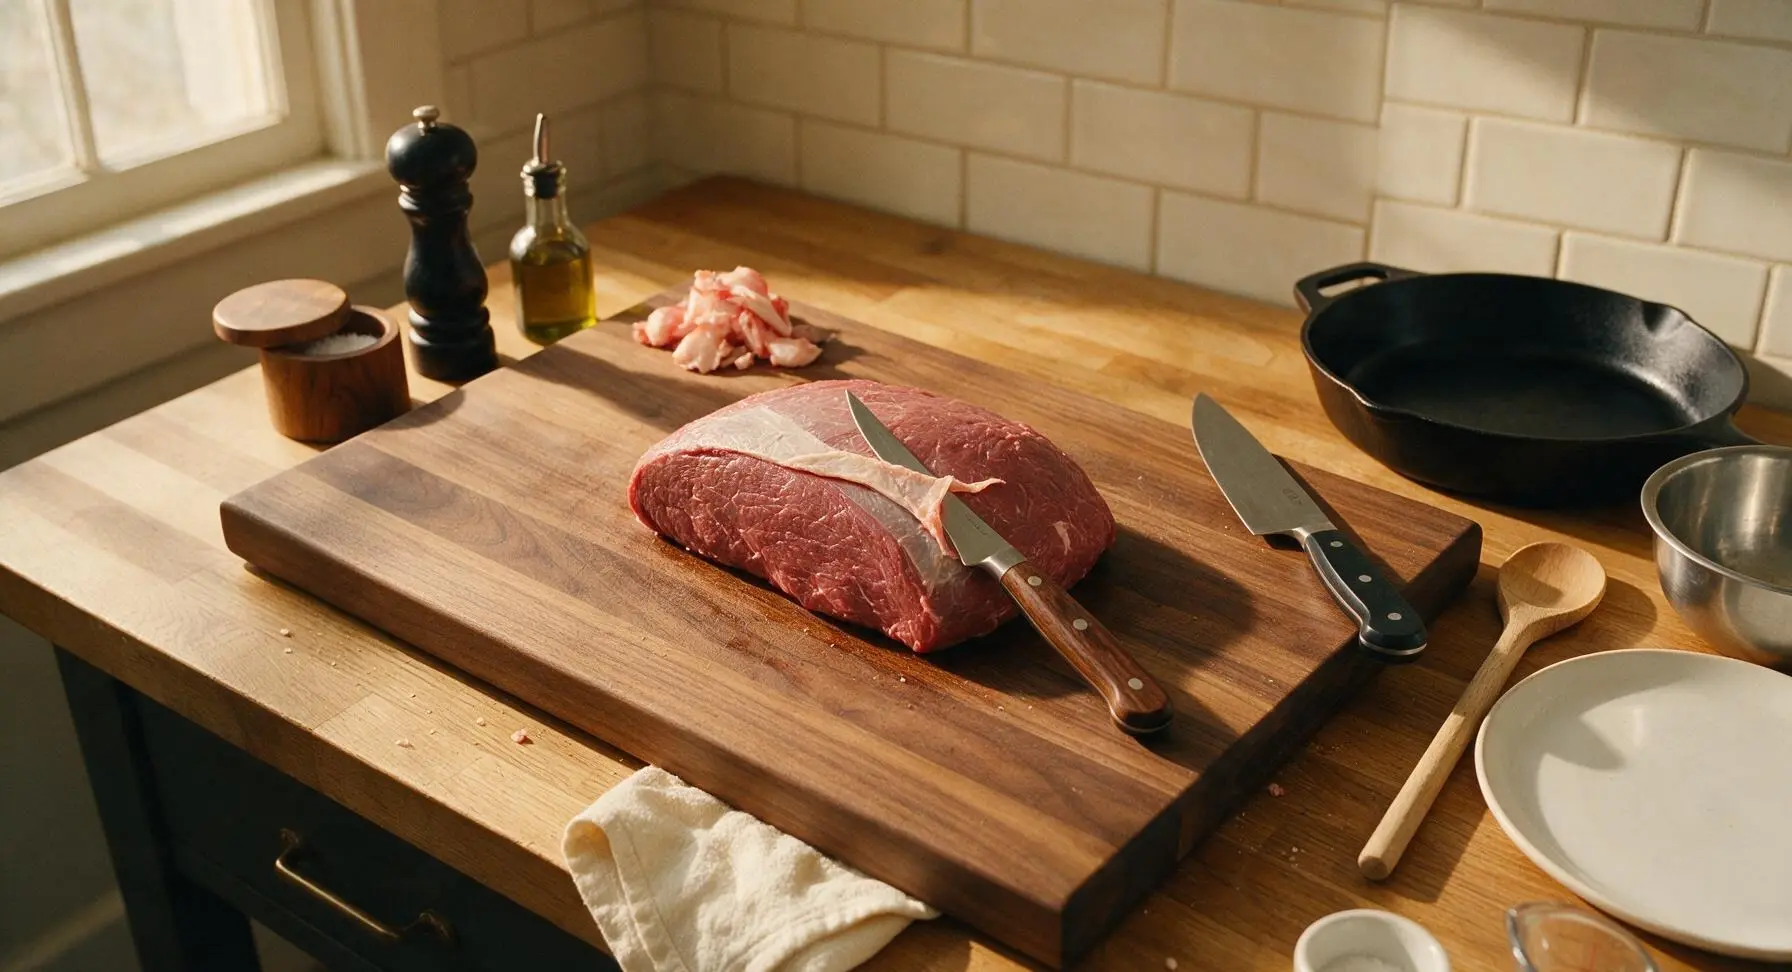
Trim and Prep Roast
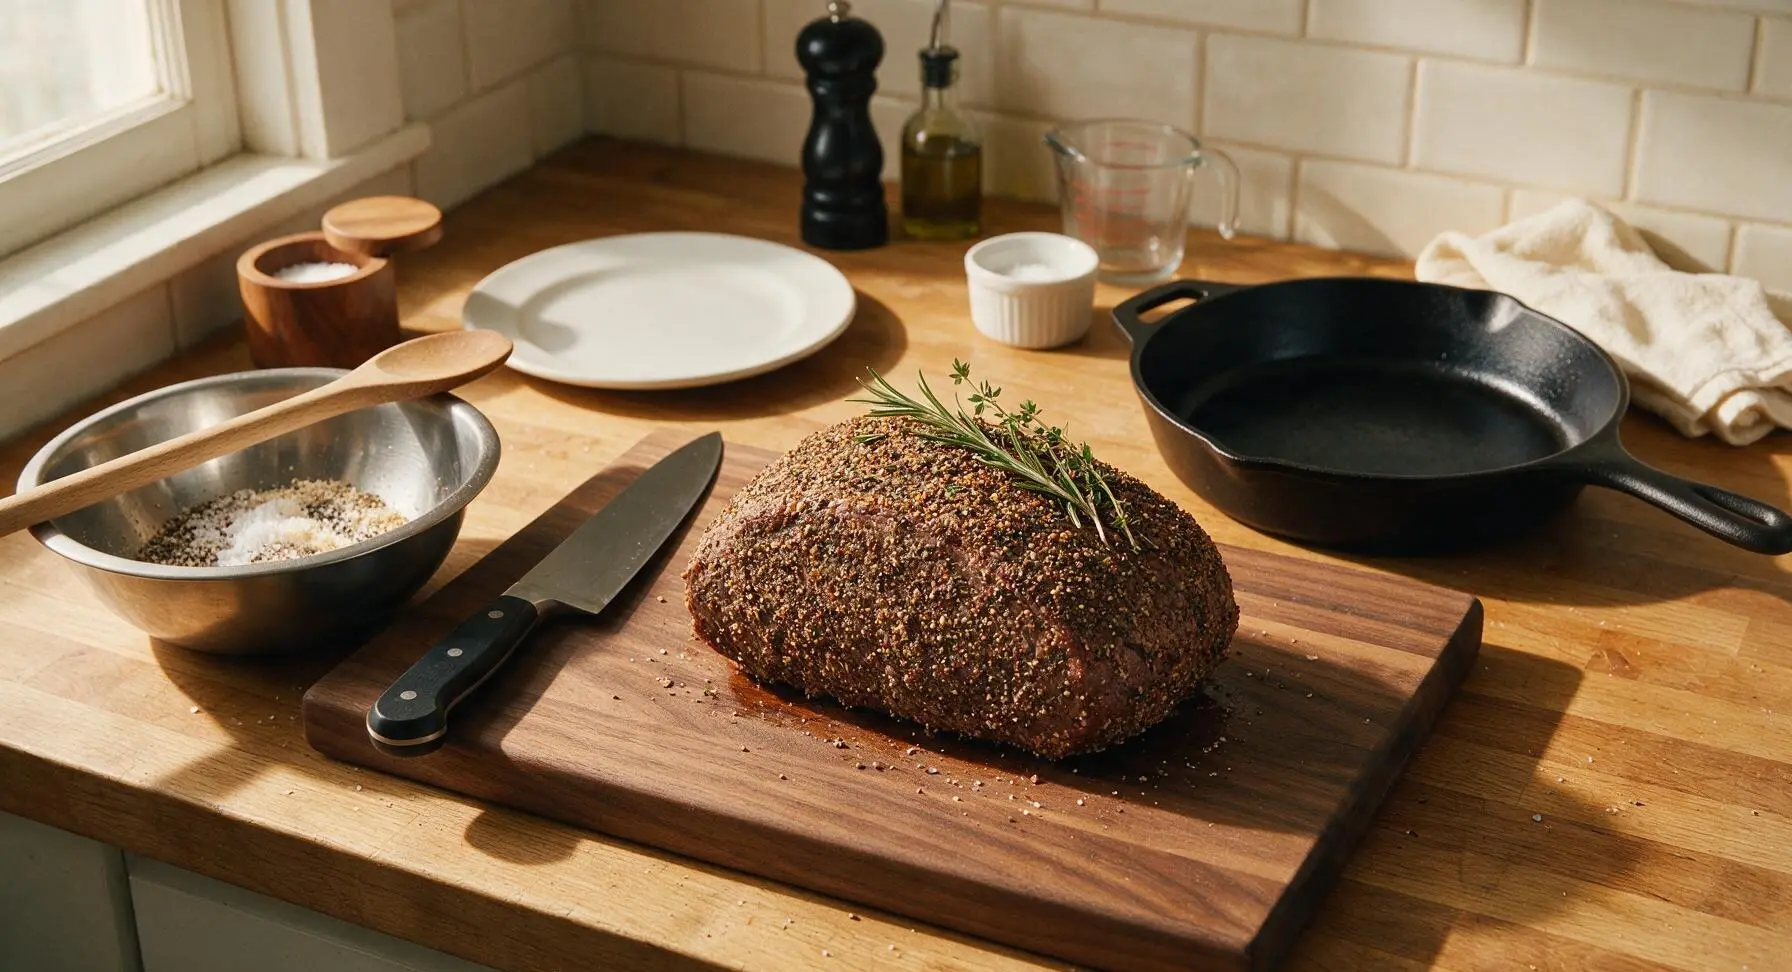
Place the raw 3lb boneless top round roast on the maple cutting board. Use the walnut-handled boning knife to trim any thick, tough silver skin from the roast surface, leaving a thin 1/8 inch layer of fat if present to add flavor during cooking. Pat the entire roast completely dry on all sides using a corner of the fixed linen towel, until the meat surface feels matte and dry to the touch with no visible surface moisture, approximately 5 minutes of active work.
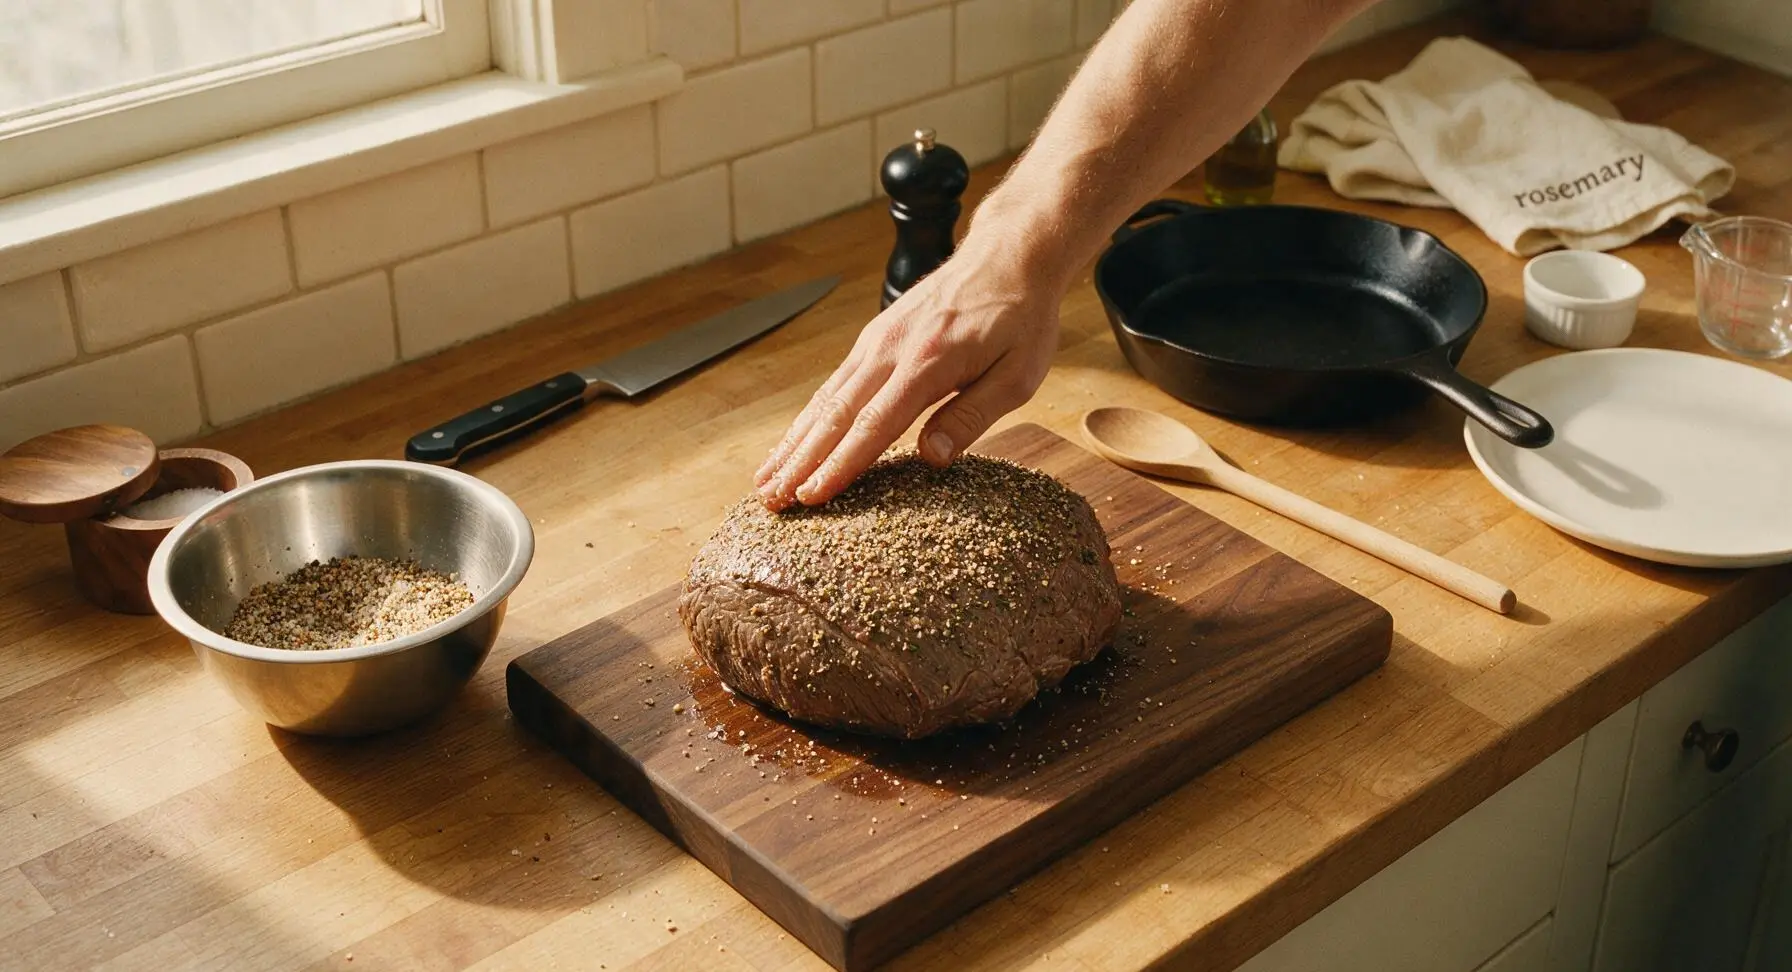
Season Roast Generously
In the medium stainless steel mixing bowl, combine 1.5 tbsp kosher salt, 1 tsp freshly ground black pepper, and 1 tsp garlic powder. Drizzle 1 tbsp olive oil over the entire surface of the dried, trimmed roast, then rub the spice mixture evenly over every side of the roast, pressing gently so the seasoning adheres firmly to the meat surface. Tuck 1 rosemary sprig and 2 thyme sprigs against the top of the roast. Let the seasoned roast rest at room temperature for 45 minutes to take the chill off, which ensures even cooking throughout.
Sear Roast All Sides
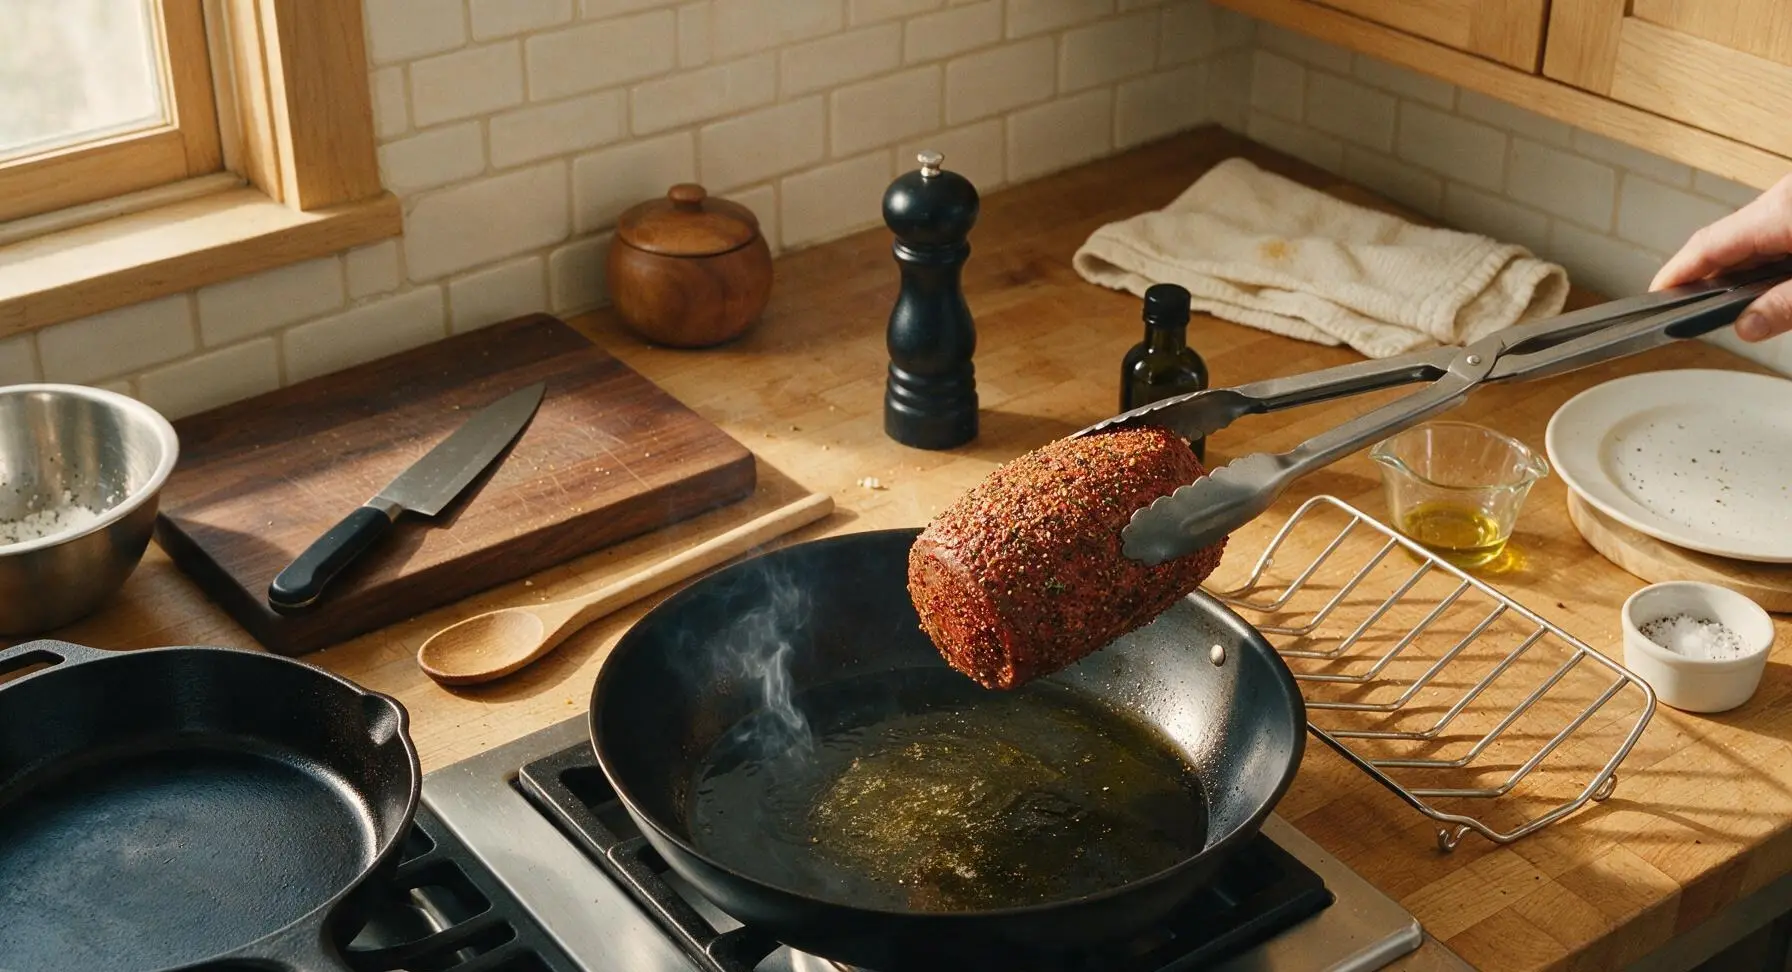
Place the 12-inch carbon steel roasting pan on the stovetop over medium-high heat, add the remaining 1 tbsp olive oil, and heat until the oil shimmers (about 2 minutes). Use the stainless steel tongs to place the seasoned roast in the hot pan, searing for 2-3 minutes per side until a deep golden-brown crust forms on every surface, including the narrow cut ends, for a total searing time of roughly 10 minutes. While searing, preheat the oven to 325°F (165°C).
Roast Low and Slow
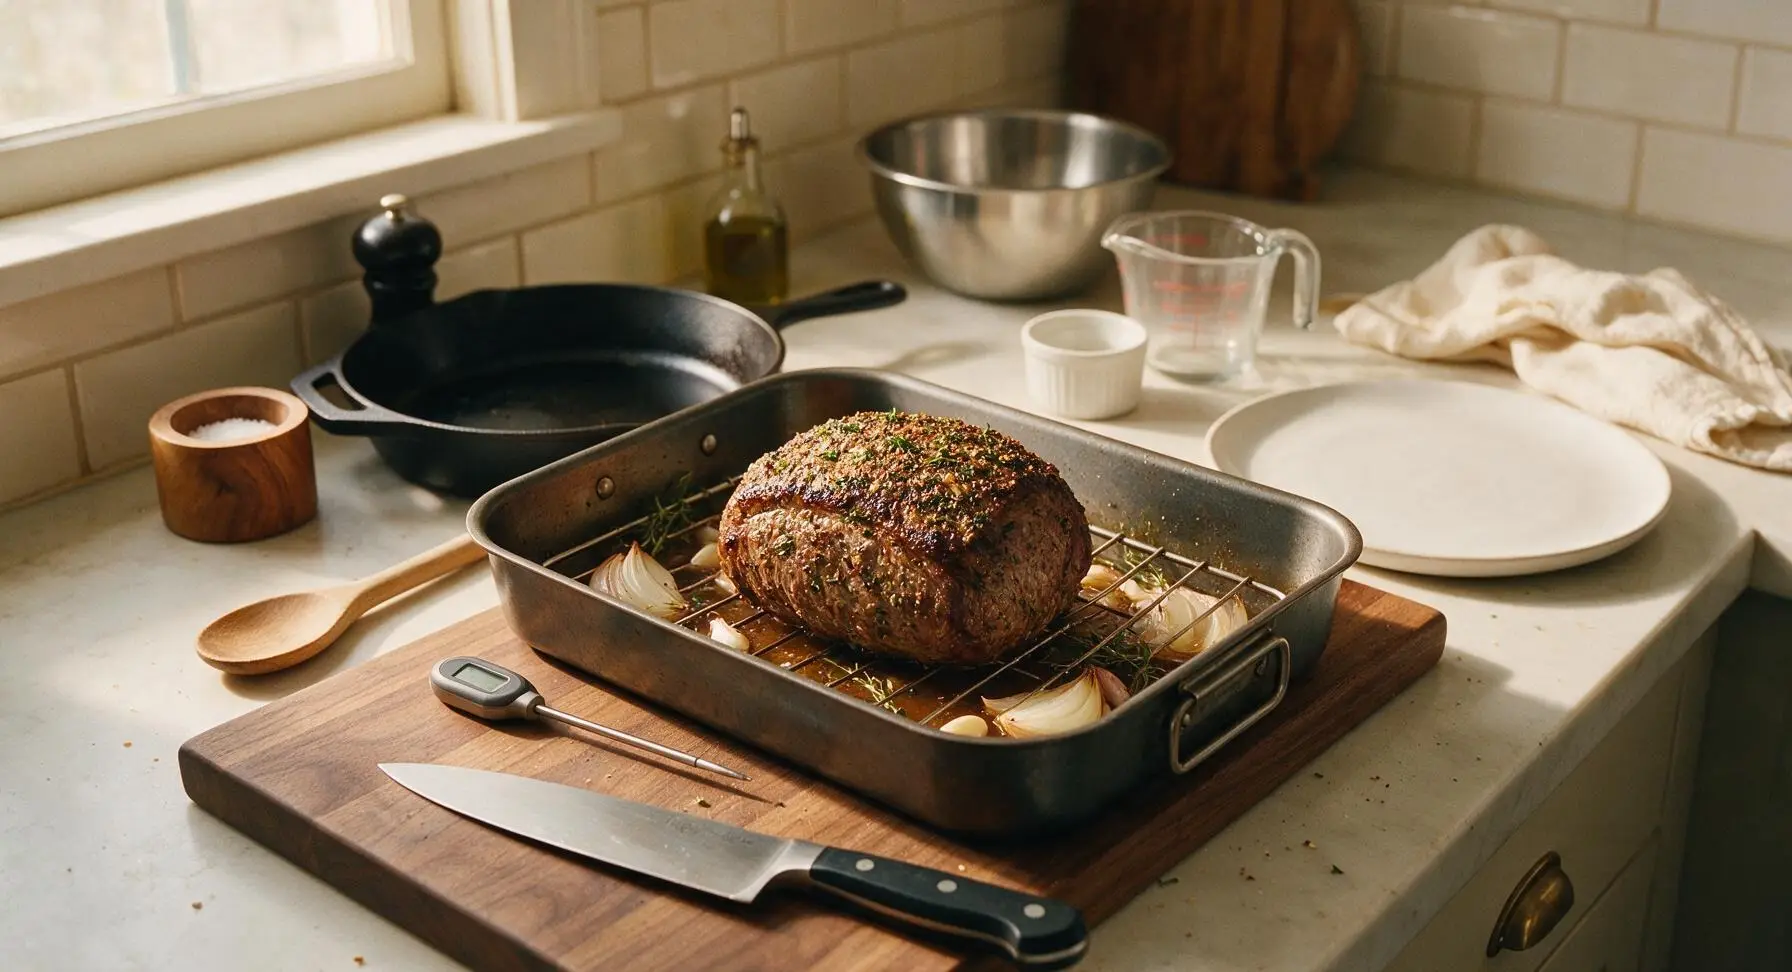
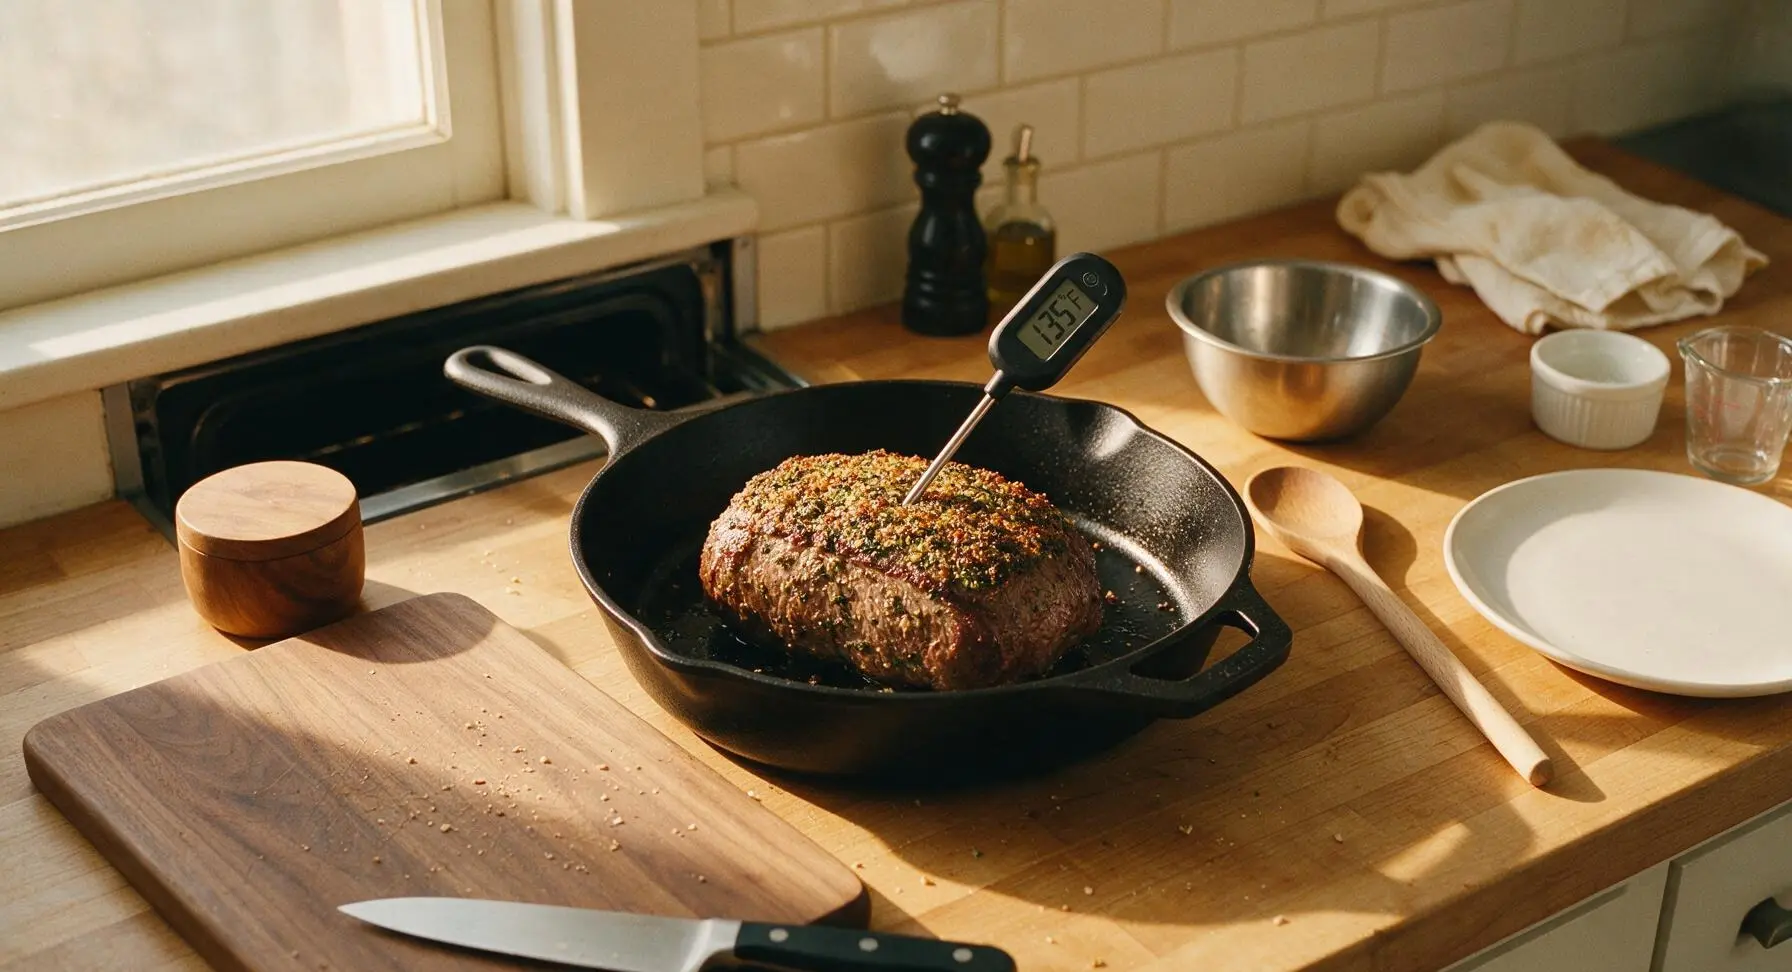
Place the stainless steel wire roasting rack inside the carbon steel roasting pan, set the seared roast on top of the rack, then scatter the quartered onion, crushed garlic cloves, and remaining herb sprigs in the bottom of the pan around the roast. Pour 1/2 cup beef broth into the pan bottom, taking care not to pour liquid directly over the roast crust to preserve its crisp texture. Transfer the pan to the preheated 325°F oven, and roast until the instant-read meat thermometer inserted into the thickest part of the roast (avoiding fat or contact with the metal rack) reads 135°F (57°C) for medium-rare, approximately 50-55 minutes. Begin checking temperature at the 45 minute mark to prevent overcooking, as the roast will continue to rise 5-10°F in temperature while resting (carryover cooking).
Rest Roast Properly
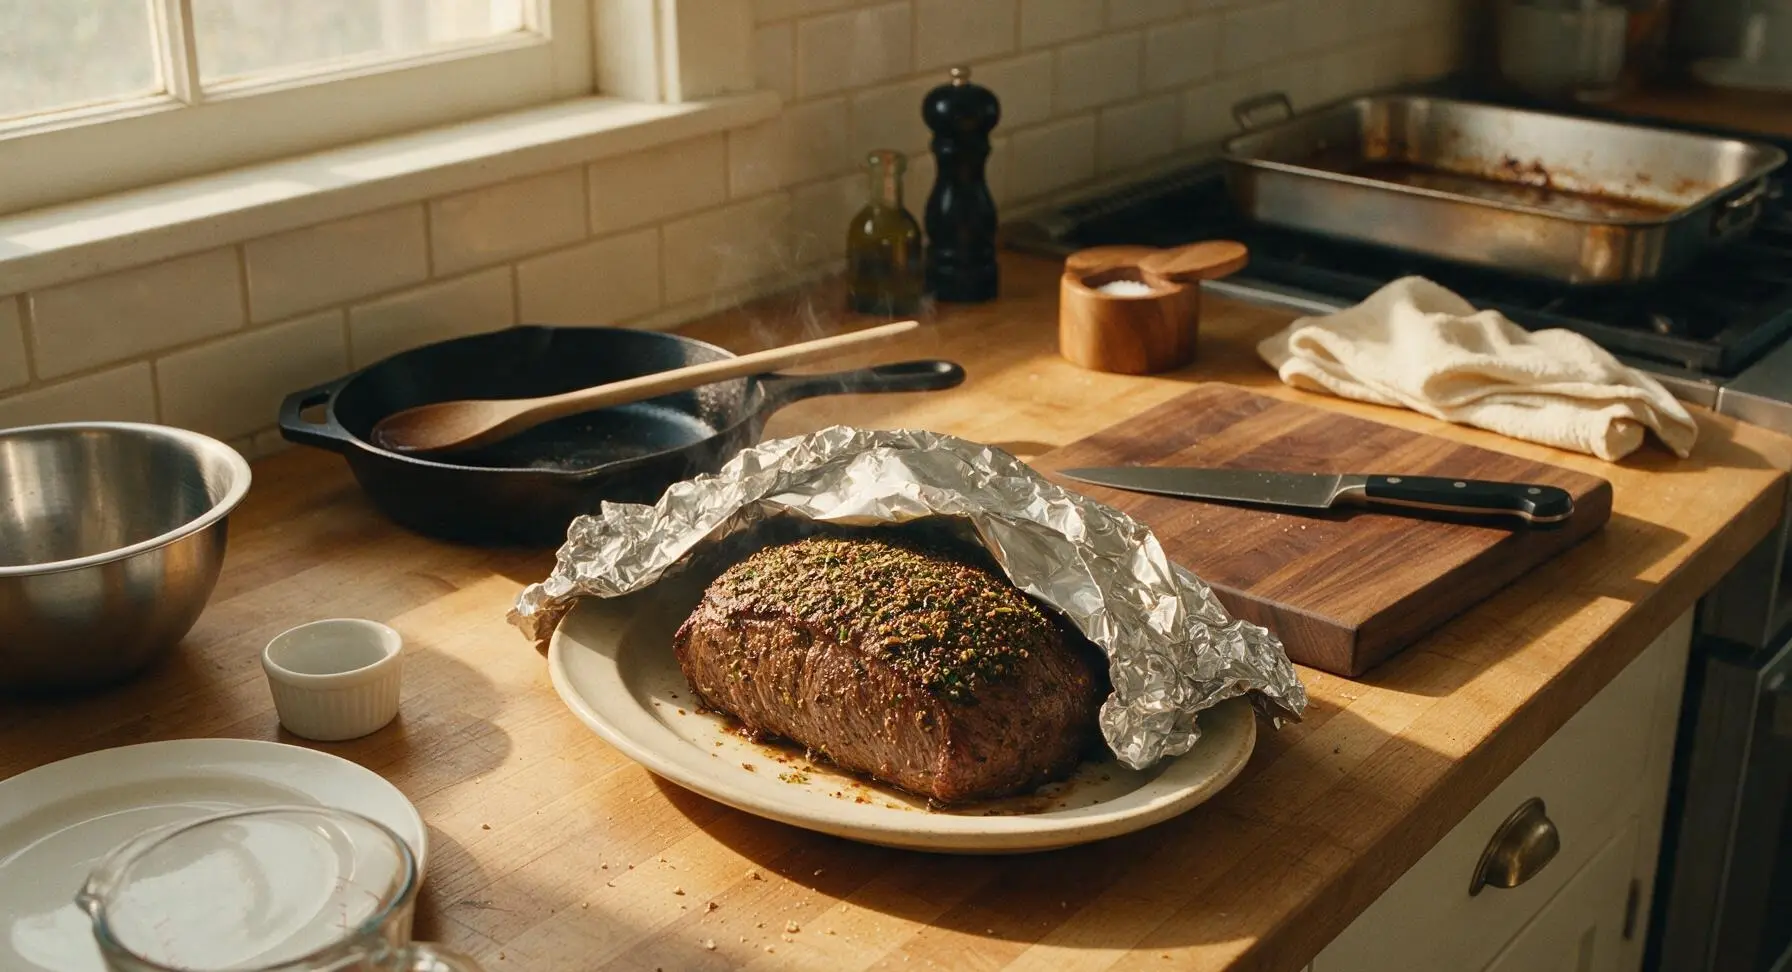
Once the roast reaches 135°F internal temperature, use the stainless steel tongs to lift the roast from the rack and transfer it to the large oval off-white ceramic serving platter. Loosely tent the roast with a small sheet of aluminum foil, and let it rest for 20 full minutes before slicing. Resting allows the muscle fibers to relax and reabsorb juices, so every slice is juicy instead of leaking liquid onto the plate. Do not skip this critical step.
Make Pan Au Jus
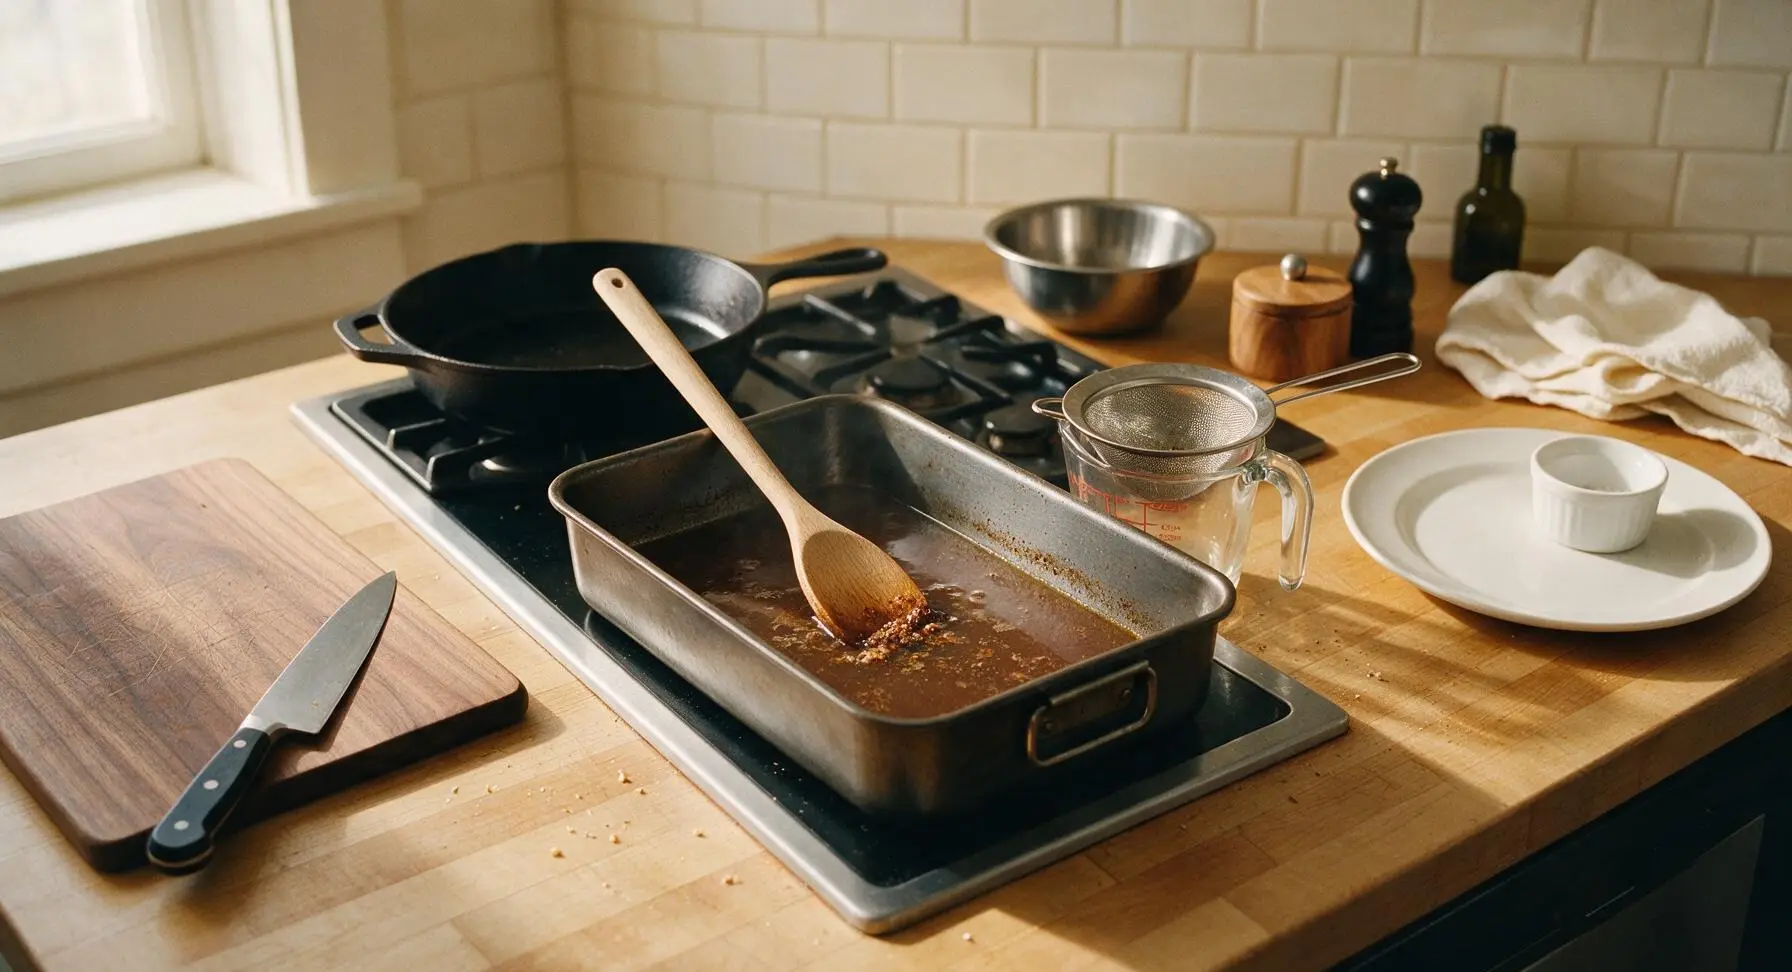
While the roast rests, place the roasting pan back on the stovetop over medium heat. Pour the remaining 1/2 cup beef broth into the pan, using the long beech wood wooden spoon to scrape up all the browned flavorful bits (fond) from the pan bottom. Simmer the liquid for 3 minutes, then pour the liquid and pan contents through the fine-mesh strainer into the clear glass 2-cup measuring cup, discarding the cooked onion, garlic, and herb solids. Season the strained au jus lightly with a pinch of salt and pepper if needed.
Slice and Serve
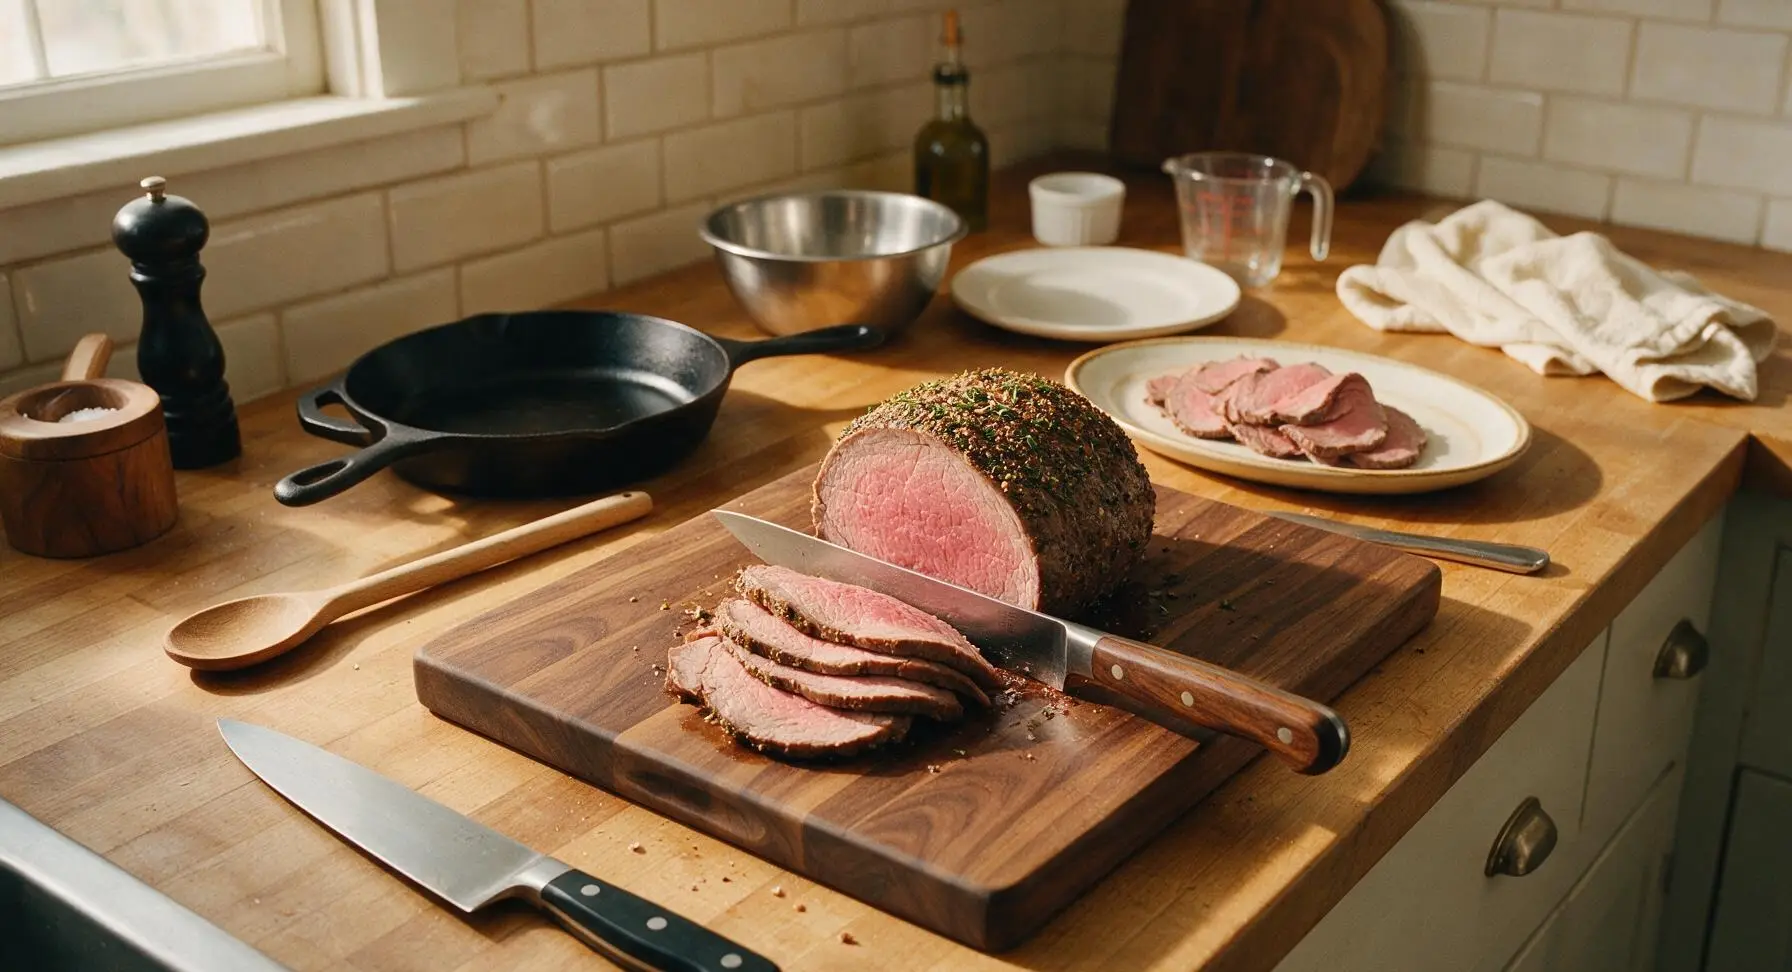
After the full 20 minute rest, remove the foil tent from the roast, transfer the roast back to the maple cutting board. Use the walnut-handled slicing knife to cut the roast against the grain into 1cm thick, even slices. Arrange the sliced roast back on the oval serving platter, fanning slices slightly to show the tender pink center, drizzle 2 tbsp of strained au jus over the top, and serve with remaining au jus and prepared horseradish on the side.
Tips
2.Never cook this lean cut past 135°F internal temperature before pulling it from the oven: top round has very little intramuscular marbling, so final temperatures above 145°F will result in dry, chewy meat instead of tender, juicy slices. Remember carryover cooking will raise the temperature 5-10°F as it rests
3.Always slice the roast strictly against the grain into thin, even slices: top round is made of long, dense muscle fibers that run lengthwise along the roast, so cutting perpendicular to those fibers shortens them, making each bite feel noticeably more tender even with perfect cooking






OMG this herb crust is a total game changer! Made this for my son’s high school football team potluck last weekend and every single person came back for seconds. I was worried top round would be too tough but following the temp guide exactly left it perfectly medium-rare all the way through. SO good, even my super picky father-in-law asked for the recipe. 10/10 will be making this for every Sunday family dinner from now on.
Made this for my weekly meal prep and it held up perfectly all week! Sliced it thin for sandwiches, tossed chunks into salads, even reheated slices with roasted veggies for quick dinners. The herb mix of rosemary, thyme, and garlic is so fragrant, I didn’t even need to add extra sauce. Total weeknight win.
Really solid roast recipe! My kids loved the crispy herb crust, though I will say I added a little extra parmesan to the crust because we’re a cheese-obsessed household. Only reason it’s not 5 stars is I overcooked the end a tiny bit because my oven runs hot—totally my bad, not the recipe’s fault. Will definitely adjust my temp down 25 degrees next time!
As someone who mostly cooks veggie-forward meals, I was nervous to tackle a whole roast for my partner’s birthday dinner. Y’all—this came out restaurant level good. The crust was crispy, the meat was melt-in-your-mouth tender, the whole house smelled like garlic and herbs for hours. My partner said it was better than the steakhouse we went to for our anniversary. Wild.
Taste was great, but I struggled a little with the crust falling off when I sliced the roast. I patted the meat dry like the recipe said, but maybe I didn’t press the herb mix in hard enough? Flavor was 10/10 but I lost half the crust to the cutting board, bummer.
Bro this is way easier than I thought it would be for a medium-difficulty recipe. I’m a broke college senior with a tiny apartment oven, and I pulled this off for my roommates on a random Tuesday. We ate the whole thing in one sitting, no leftovers. Way cheaper than buying takeout for four people, will make again.
I’ve been making top round roast for my family for over 50 years, and this herb crust recipe is the best one I’ve ever tried. I added a pinch of smoked paprika like I always do, but I followed the rest of the recipe to the letter. My granddaughter told me it was the best roast I’ve ever made—high praise coming from a 16 year old who lives on chicken nuggets!
Made this for our weekly Sunday dinner with the neighbors, and everyone was raving. I paired it with the roasted garlic mashed potatoes and roasted green beans I saw linked on the site, total chef’s kiss. The only note I have is that my 3 pound roast took about 10 minutes longer to hit temp than the recipe said, so definitely use a meat thermometer instead of just going by time!
Just pulled this out of the oven for my husband’s first work promotion dinner, and it looks incredible! I messed up a little and forgot to buy fresh rosemary so I used dried, but it still smells amazing. Fingers crossed it tastes as good as it looks!
Game changer for backcountry trip meal prep! I made this, sliced it super thin, vacuum sealed portions, and took it on a 4 day backpacking trip. It held up way better than the jerky I usually bring, and my hiking buddies were jealous of my fancy trail lunches. Next time I’m making a double batch.
My kids loved it! Let me repeat—MY KIDS, who will turn their nose up at anything that isn’t chicken nuggets or mac and cheese, ate two full servings of this roast last night. They even asked if we could have it again next week. I didn’t even have to bribe them with dessert. Absolute miracle recipe, 10/10.
Solid take on a classic herb roast! I’ve been making a version of this for decades, and I appreciated how straightforward the instructions were. I knocked a star off because I wish the recipe included a recommended side or gravy to go with it, but the roast itself was perfectly seasoned and tender. Will add this to my regular rotation.
Just took my first bite after making this for the week, and WOW. The garlicky herb crust is so crispy and flavorful, I could eat the crust bits alone. I paired it with roasted sweet potatoes and steamed broccoli for my weekly meal prep containers, and I already know I’m gonna look forward to lunch every day this week.
Made this for a casual dinner party last night with my coworkers, and everyone asked for the recipe before they left. I served it with a creamy horseradish sauce on the side for dipping, which paired perfectly with the herby crust. 10/10, will be my go-to roast recipe for every gathering from now on. SO good.
I was so intimidated to make a roast for Christmas dinner (yes, I’m a little late testing recipes for this year) but this was so much easier than I expected! The herb crust got so crispy, the meat was juicy, and I didn’t set off any smoke alarms which is a huge win for me. Already bookmarked this for our actual Christmas menu.
I’ve tried three different top round roast recipes in the last month trying to find one that wasn’t dry and bland, and this is THE ONE. The herb mix is packed with flavor, the cook time was spot on for my 2.5 pound roast, and it came out perfectly juicy even without any fancy marinade. No more sad dry roasts for me!