
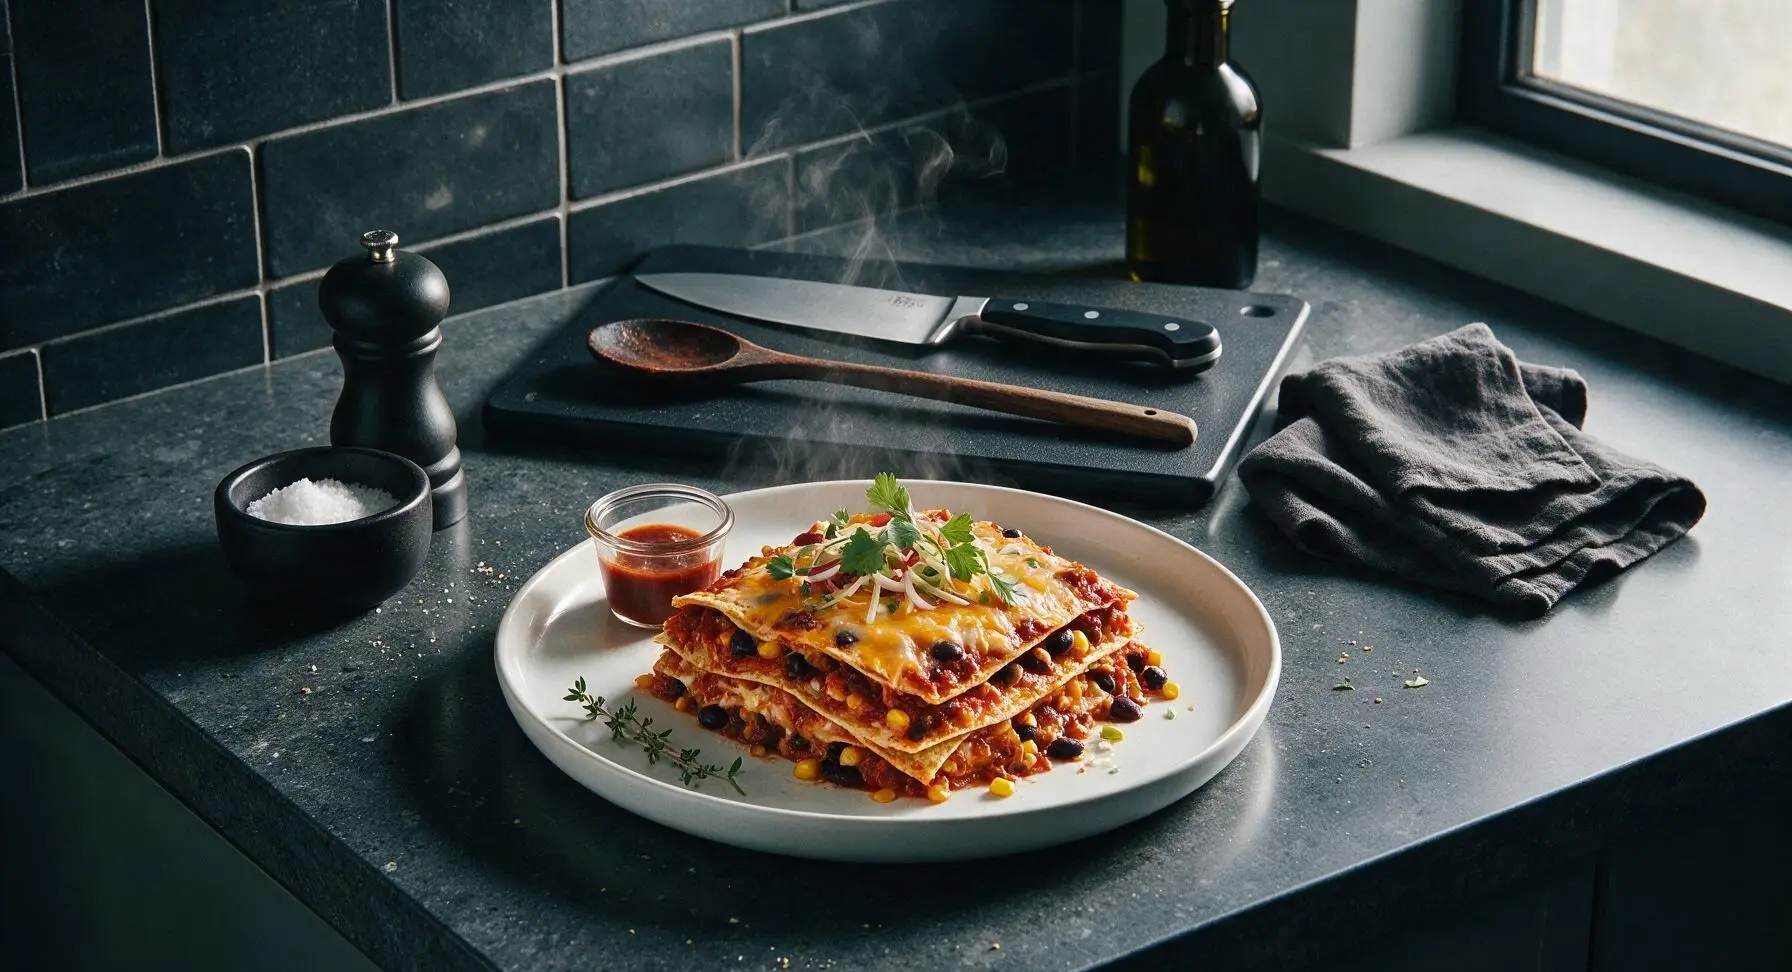
tortilla casserole

title 1
tortilla casserole
⏱️ cook time 35 minutes
🍽️ servings 6
⚡ Difficulty easy

intro

Warm, layered tortilla casserole with soft corn tortillas, zesty red sauce, melted cheddar, black beans, and corn—cozy, quick to assemble, perfect for no-fuss weeknight meals.

Ingredients
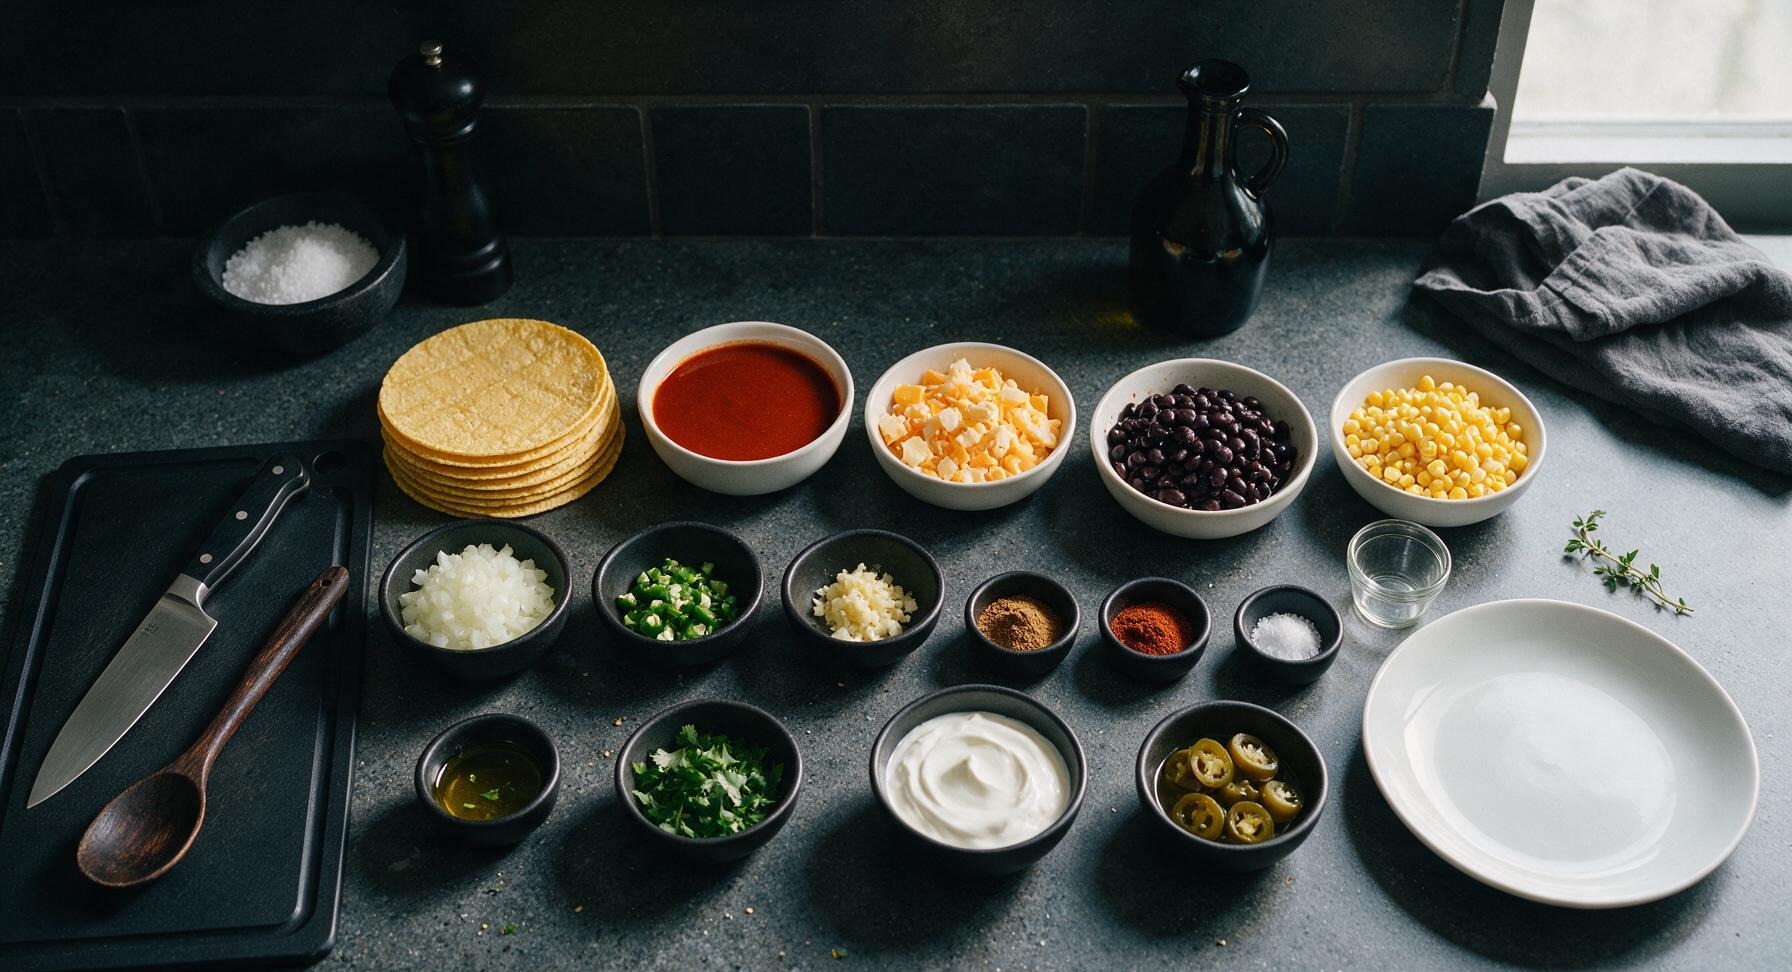
6-inch corn tortillas 8 each
Red enchilada sauce 2 cups (480ml)
Sharp cheddar cheese 225g (8oz)
Black beans, rinsed and drained 1 can (425g / 15oz)
Sweet corn, drained 1 can (300g / 11oz)
Yellow onion 1 medium (150g)
Jalapeño pepper 1 small
Garlic cloves 3 each
Ground cumin 1 tsp
Chili powder 1 tsp
Kosher salt 1/2 tsp
Olive oil 1 tbsp
Fresh cilantro 1/4 cup (10g, chopped)
Sour cream (for serving) 1/2 cup (120g)
Pickled jalapeño slices (for serving) 1/4 cup (40g)

Steps

1

Preheat and Prep Aromatics

Adjust your oven rack to the middle position and preheat to 180°C (350°F). Set the acacia wood cutting board in its fixed center-left position. Use the walnut-handled chef knife to dice 1 medium yellow onion into 1cm pieces, mince 1 seeded jalapeño (leave seeds in for extra heat if preferred), and mince 3 garlic cloves. Heat 1 tablespoon of olive oil in the 3-quart stainless steel saucepan over medium heat until it shimmers, about 1 minute.
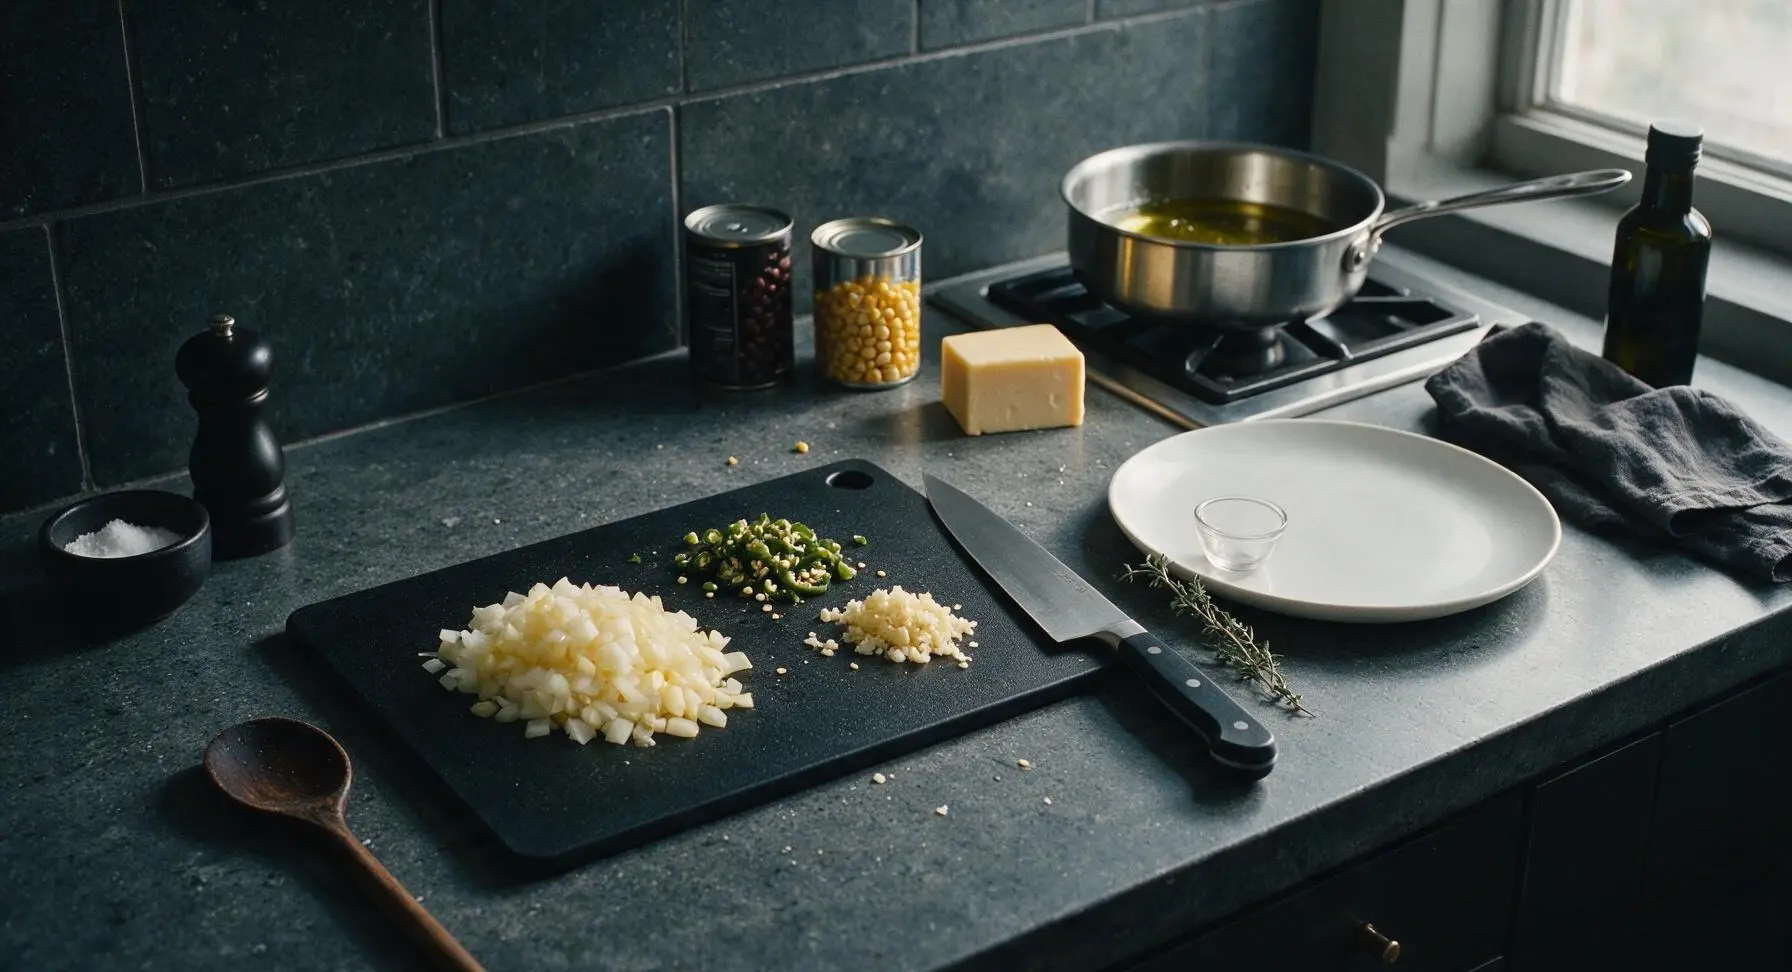
Step 1
step1:Preheat and Prep Aromatics
2

Simmer Enchilada Sauce

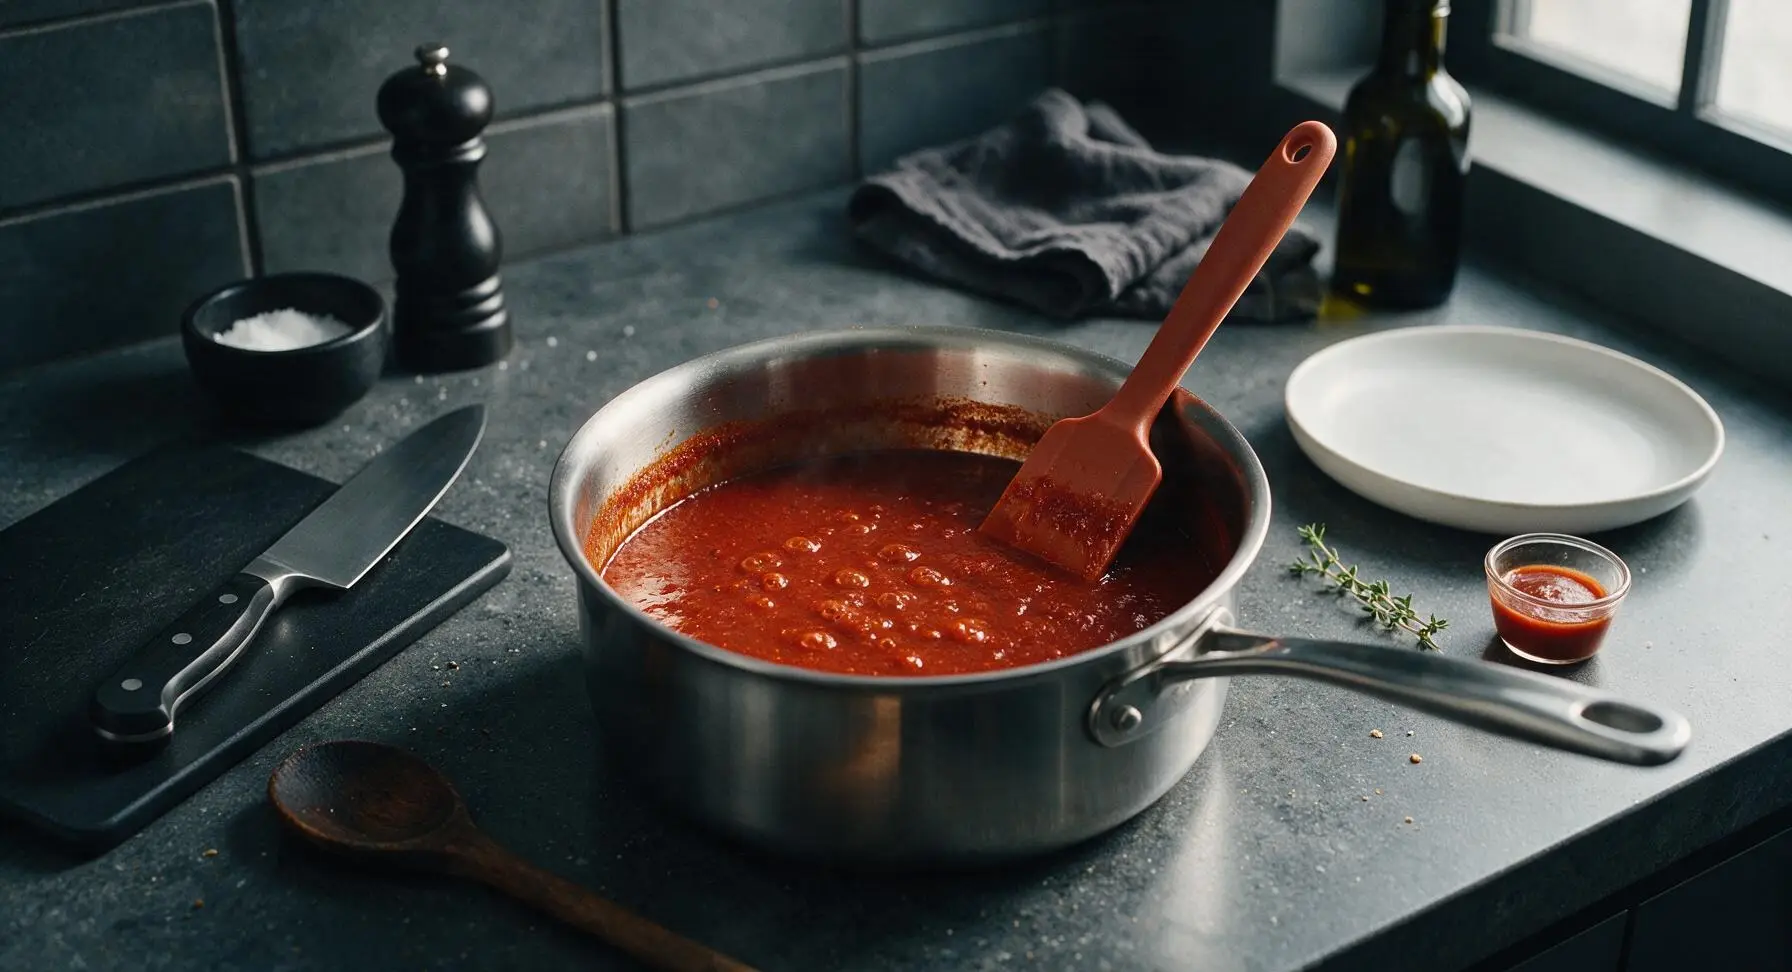
Add the diced onion to the heated saucepan and sauté for 3 minutes, stirring occasionally with the terracotta silicone spatula, until soft and translucent. Add the minced jalapeño and garlic, stirring constantly for 30 seconds until fragrant (do not let the garlic burn, as it will turn bitter). Stir in 1 teaspoon ground cumin, 1 teaspoon chili powder, and 1/2 teaspoon kosher salt, cooking for 10 seconds until the spices release a warm, earthy aroma. Pour in 2 cups of red enchilada sauce, stir to fully combine, and bring to a gentle simmer for 2 minutes, then remove the pan from heat.
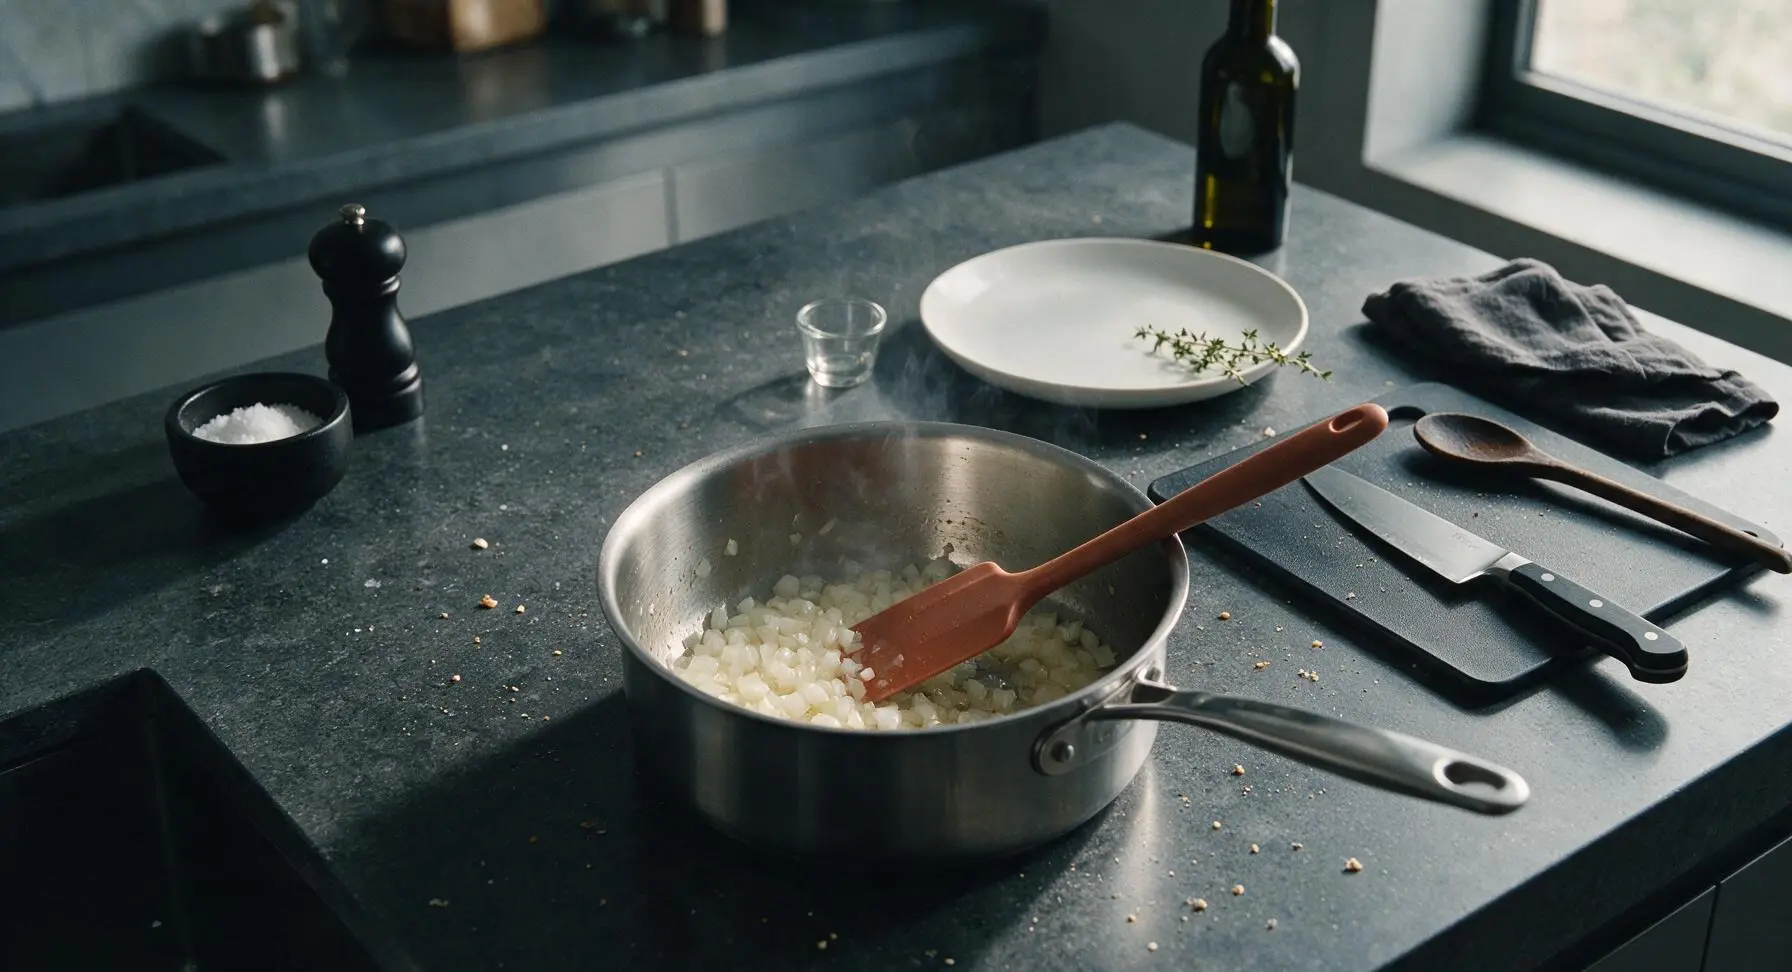
Step 2
step2:Simmer Enchilada Sauce
Step 2
step2:Simmer Enchilada Sauce
3

Shred Sharp Cheddar

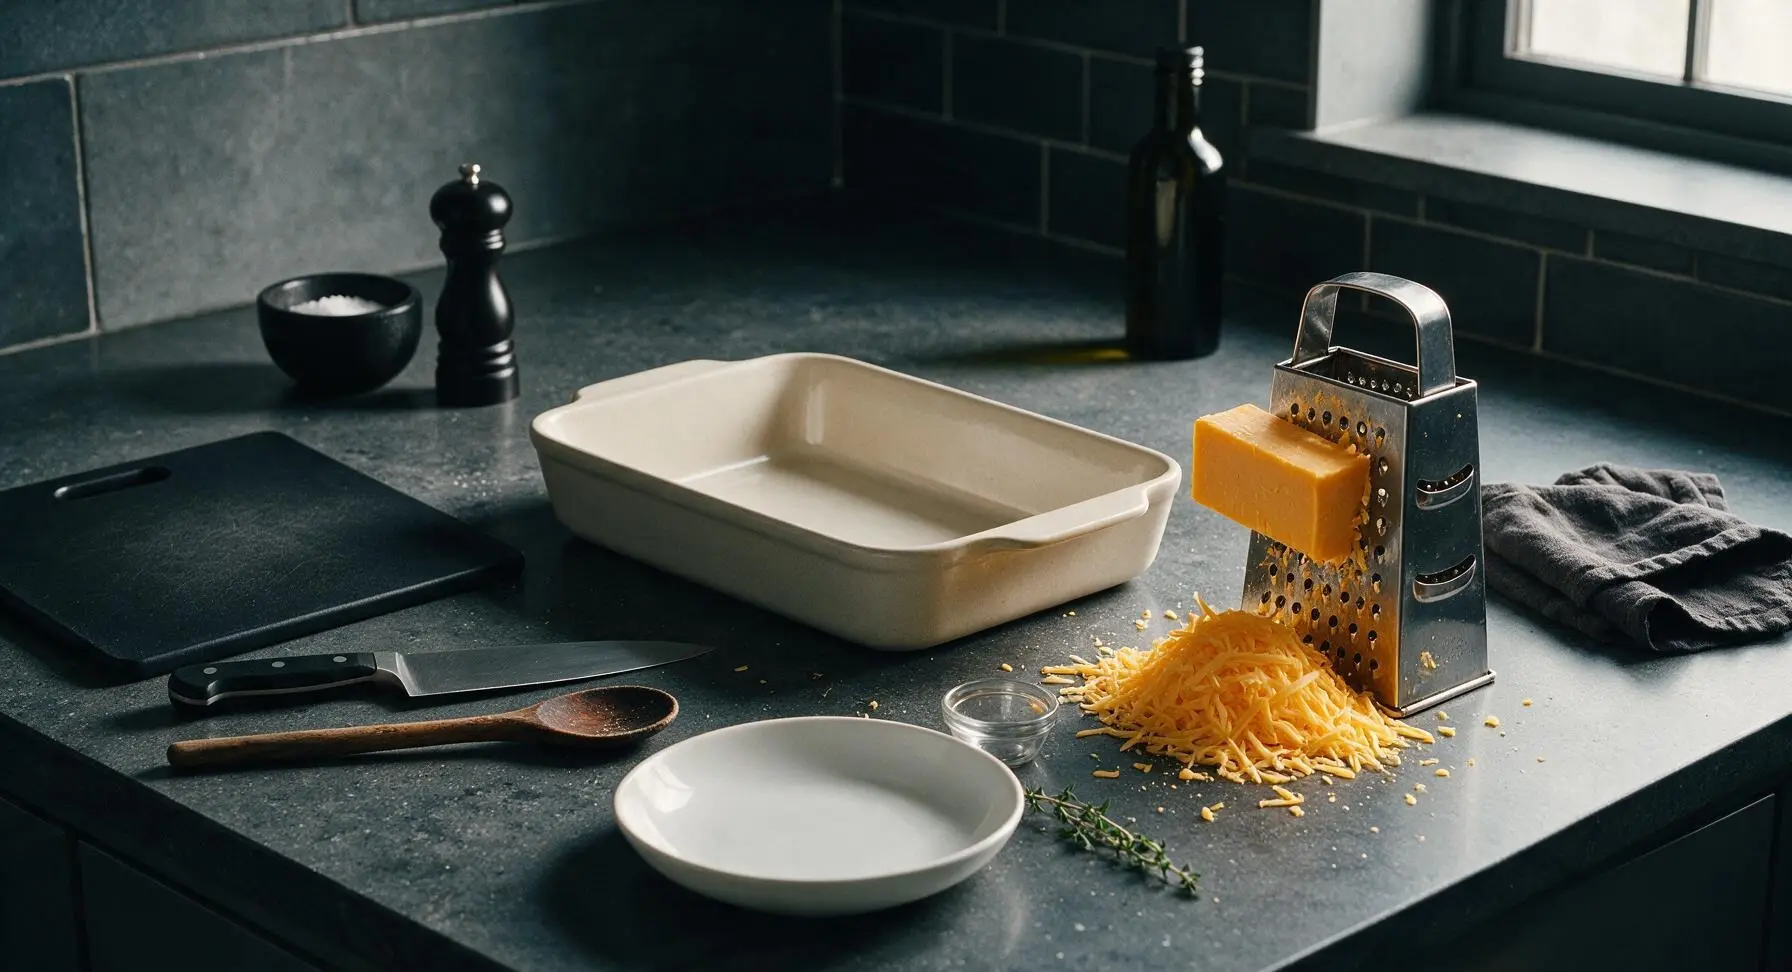
Hold the block of sharp cheddar cheese against the largest holes of the stainless steel box grater, applying even pressure to shred the full block into light, fluffy shreds. Discard any small, hard pieces of cheese rind. Set aside 1/2 cup of shredded cheese in one of the small cream ramekins for the final top layer, and pile the remaining cheese next to the empty 9x13 inch matte off-white ceramic baking dish positioned at center counter.
Step 3
step3:Shred Sharp Cheddar
4

Build First Layer

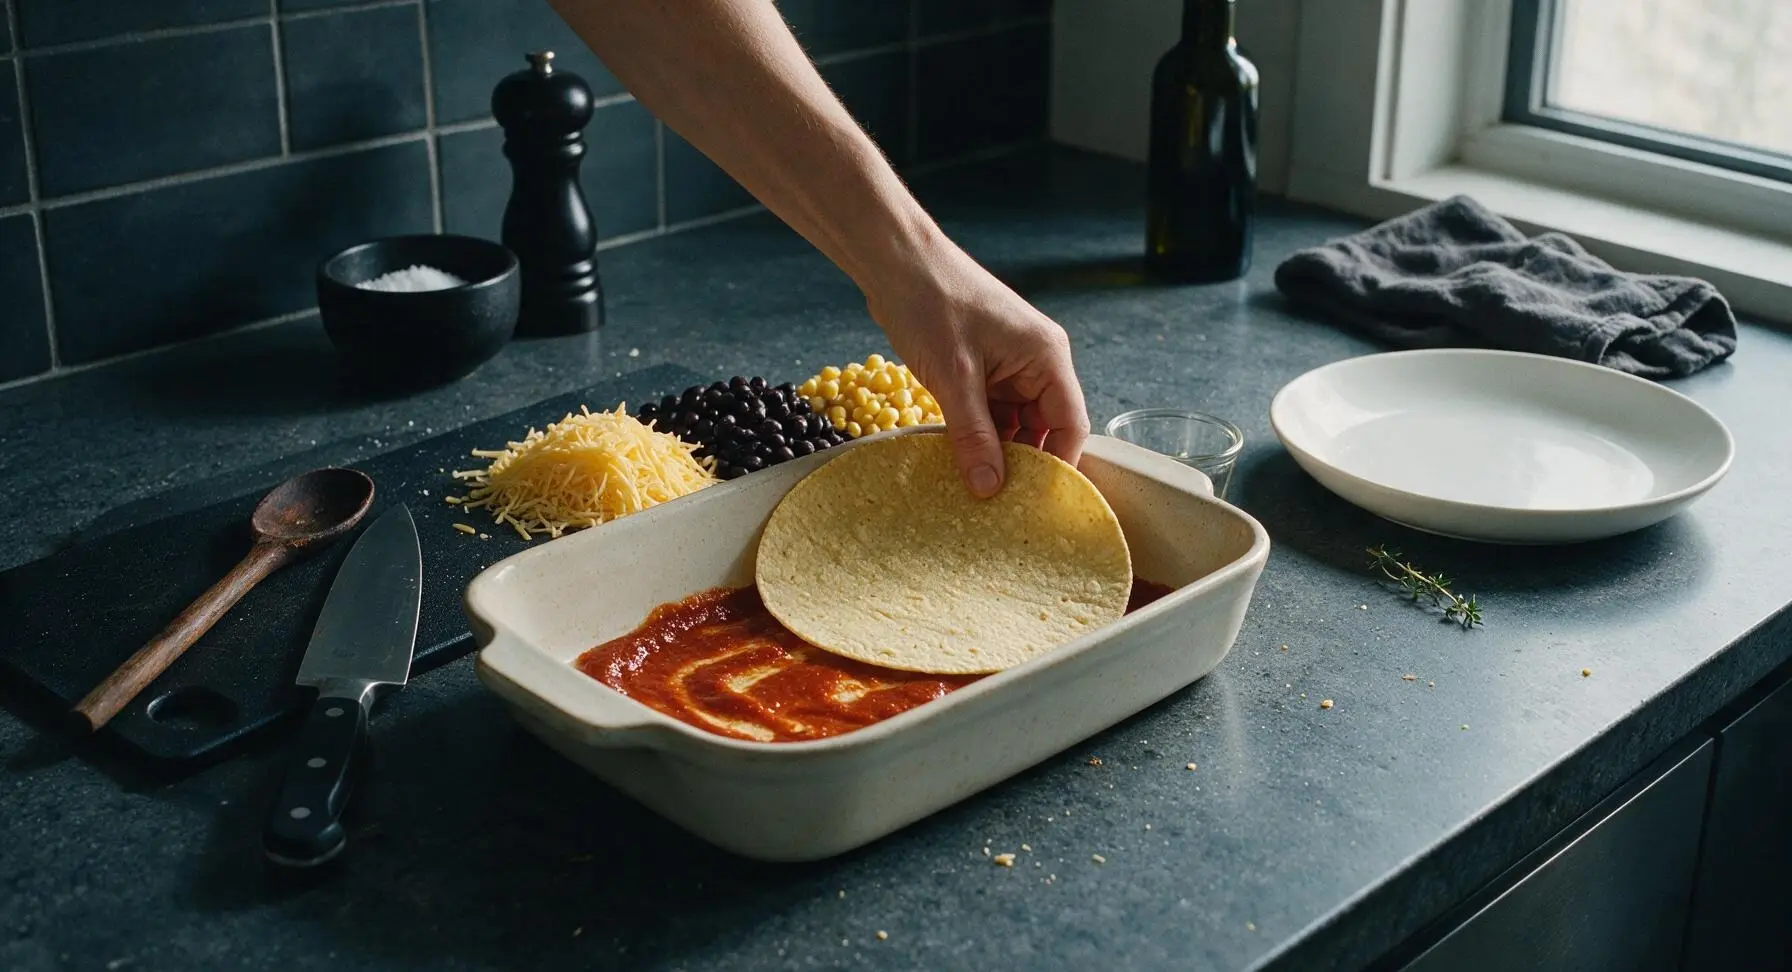
Scoop 1/4 cup of the warm enchilada sauce into the bottom of the baking dish, using the silicone spatula to spread it into an even, thin coat across the entire dish base. Arrange 4 corn tortillas in a single overlapping layer over the sauce, tearing tortillas into smaller pieces as needed to fully cover the sauce with no gaps. Top the tortilla layer with 1/3 of the remaining enchilada sauce, spread evenly, followed by 1/3 of the shredded cheese, half of the rinsed, drained black beans, and half of the drained sweet corn, spreading each component into an even layer.
Step 4
step4:Build First Layer
5

Stack Remaining Layers

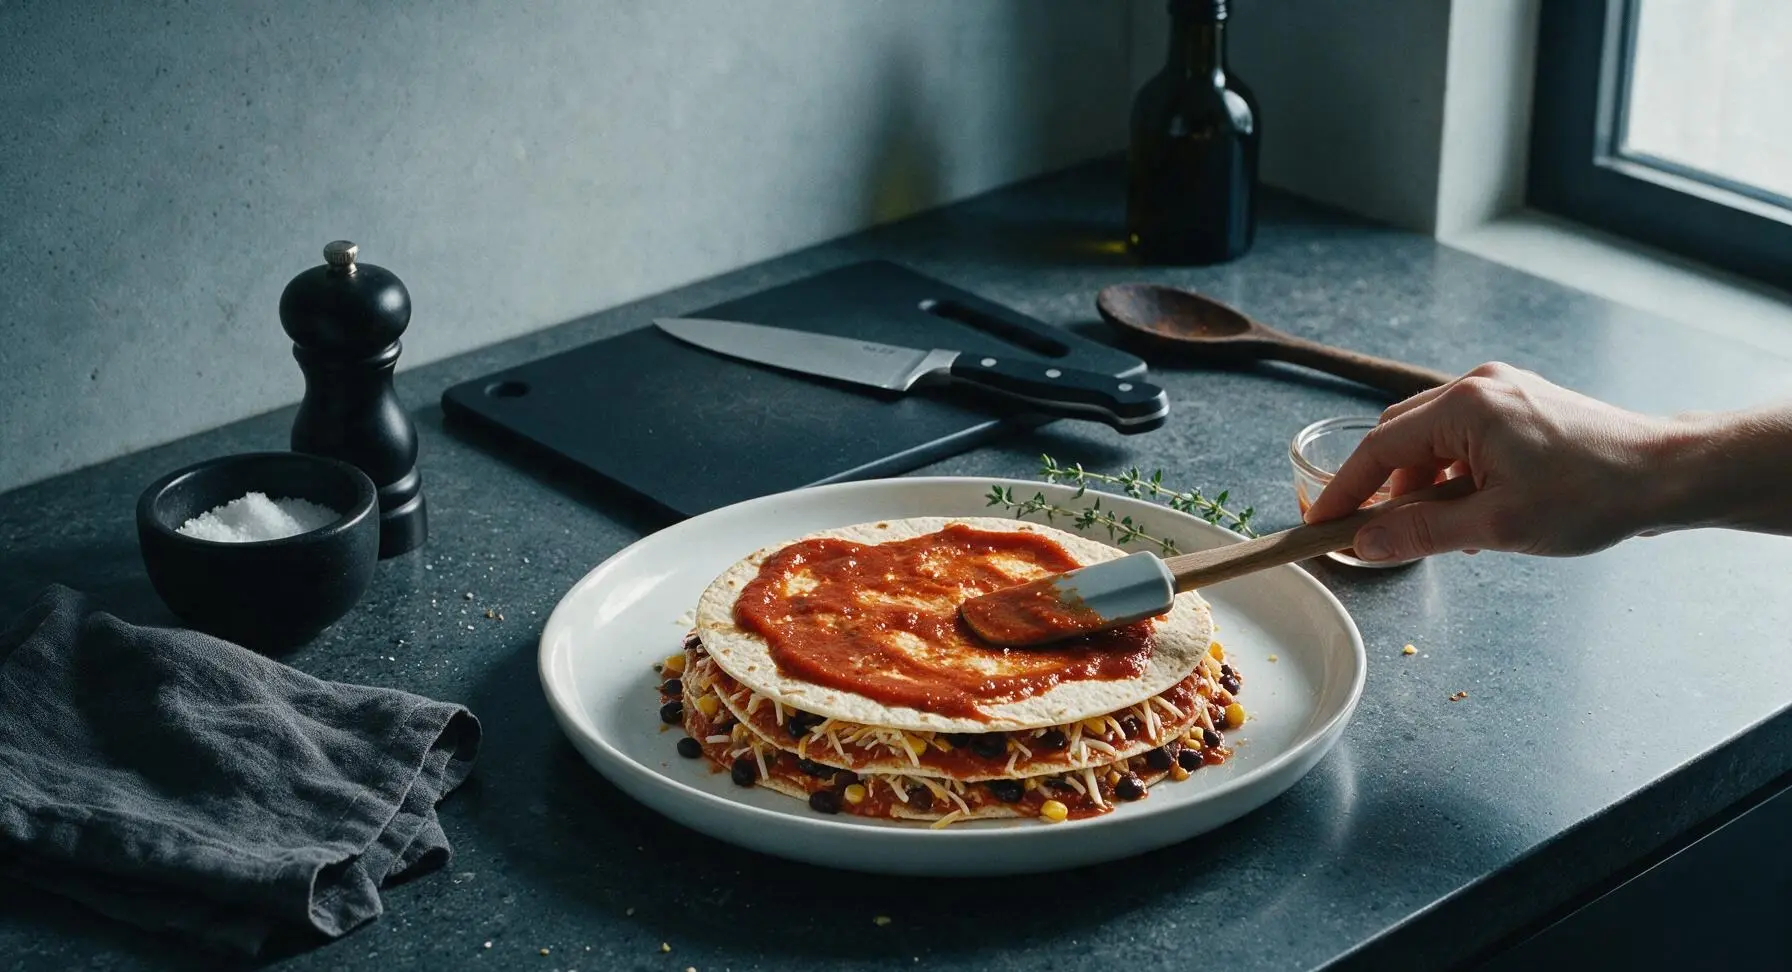
Add a second layer of 4 overlapping corn tortillas over the first set of fillings, pressing gently with the palm of your hand to help the layers adhere. Top this tortilla layer with another 1/3 of the enchilada sauce, 1/3 of the shredded cheese, the remaining black beans, and remaining corn. Finish with a final top layer of corn tortillas, using torn pieces to cover any exposed filling gaps, then pour the last 1/3 of the sauce over the top, spreading carefully to cover every tortilla edge—exposed tortilla edges will turn hard and burnt during baking.
Step 5
step5:Stack Remaining Layers
6

Bake Until Bubbly

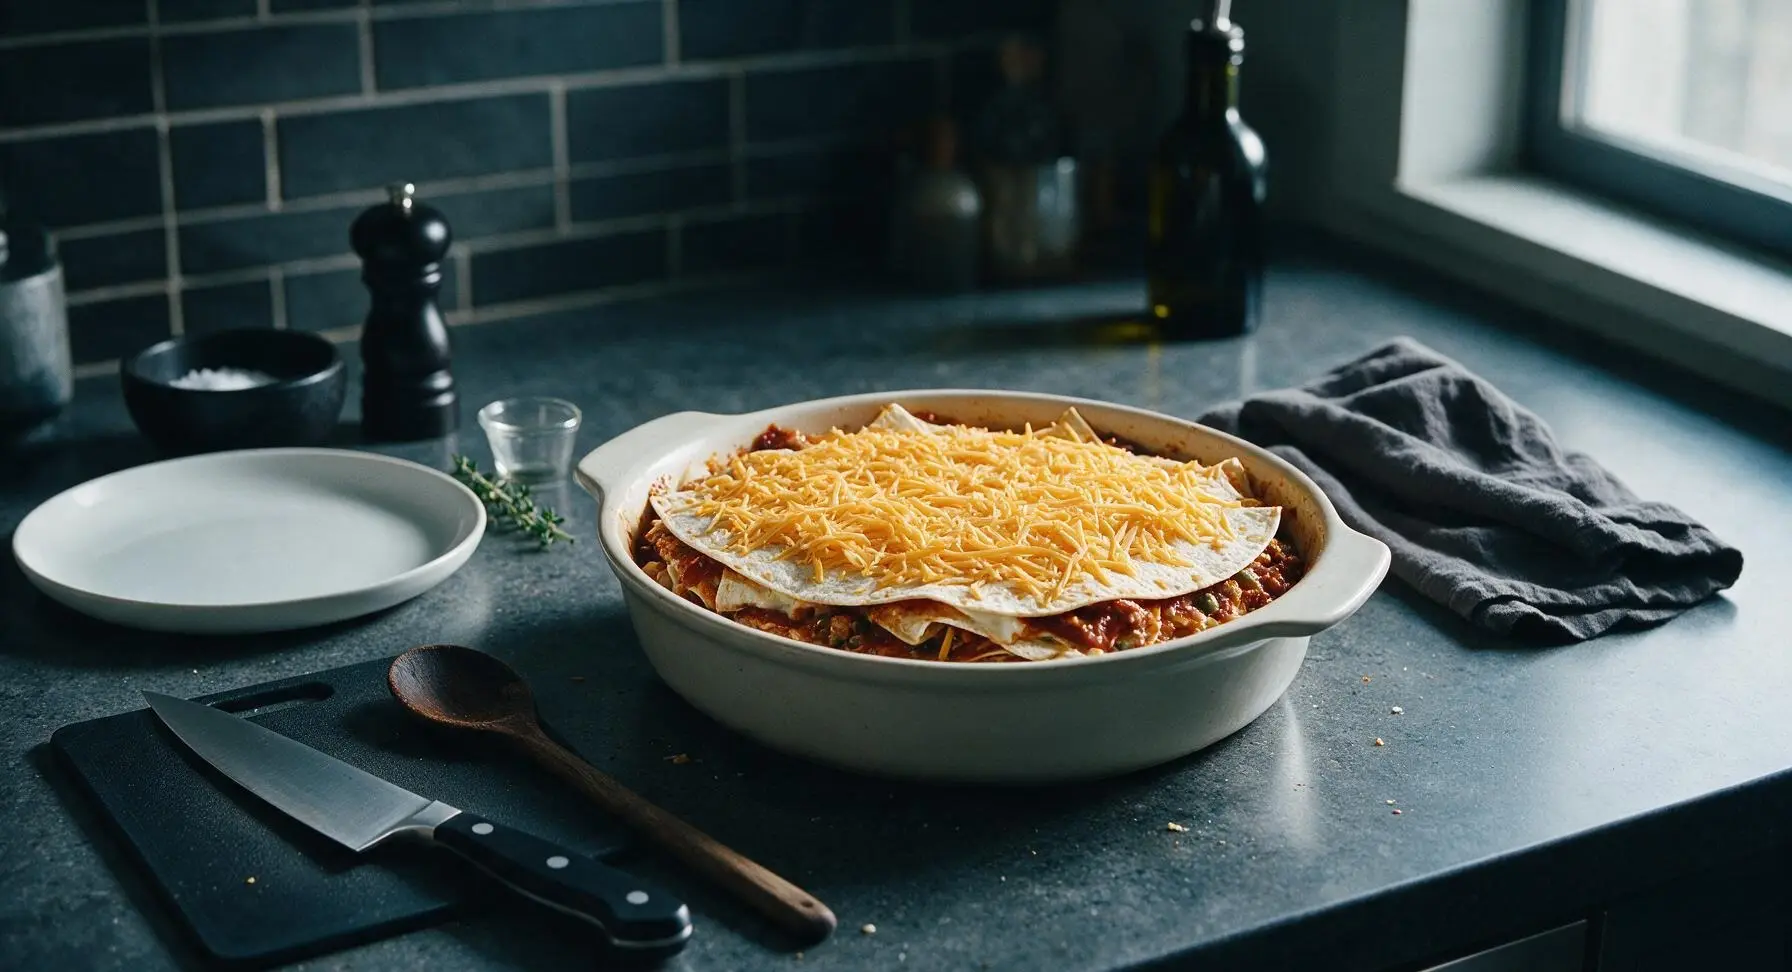
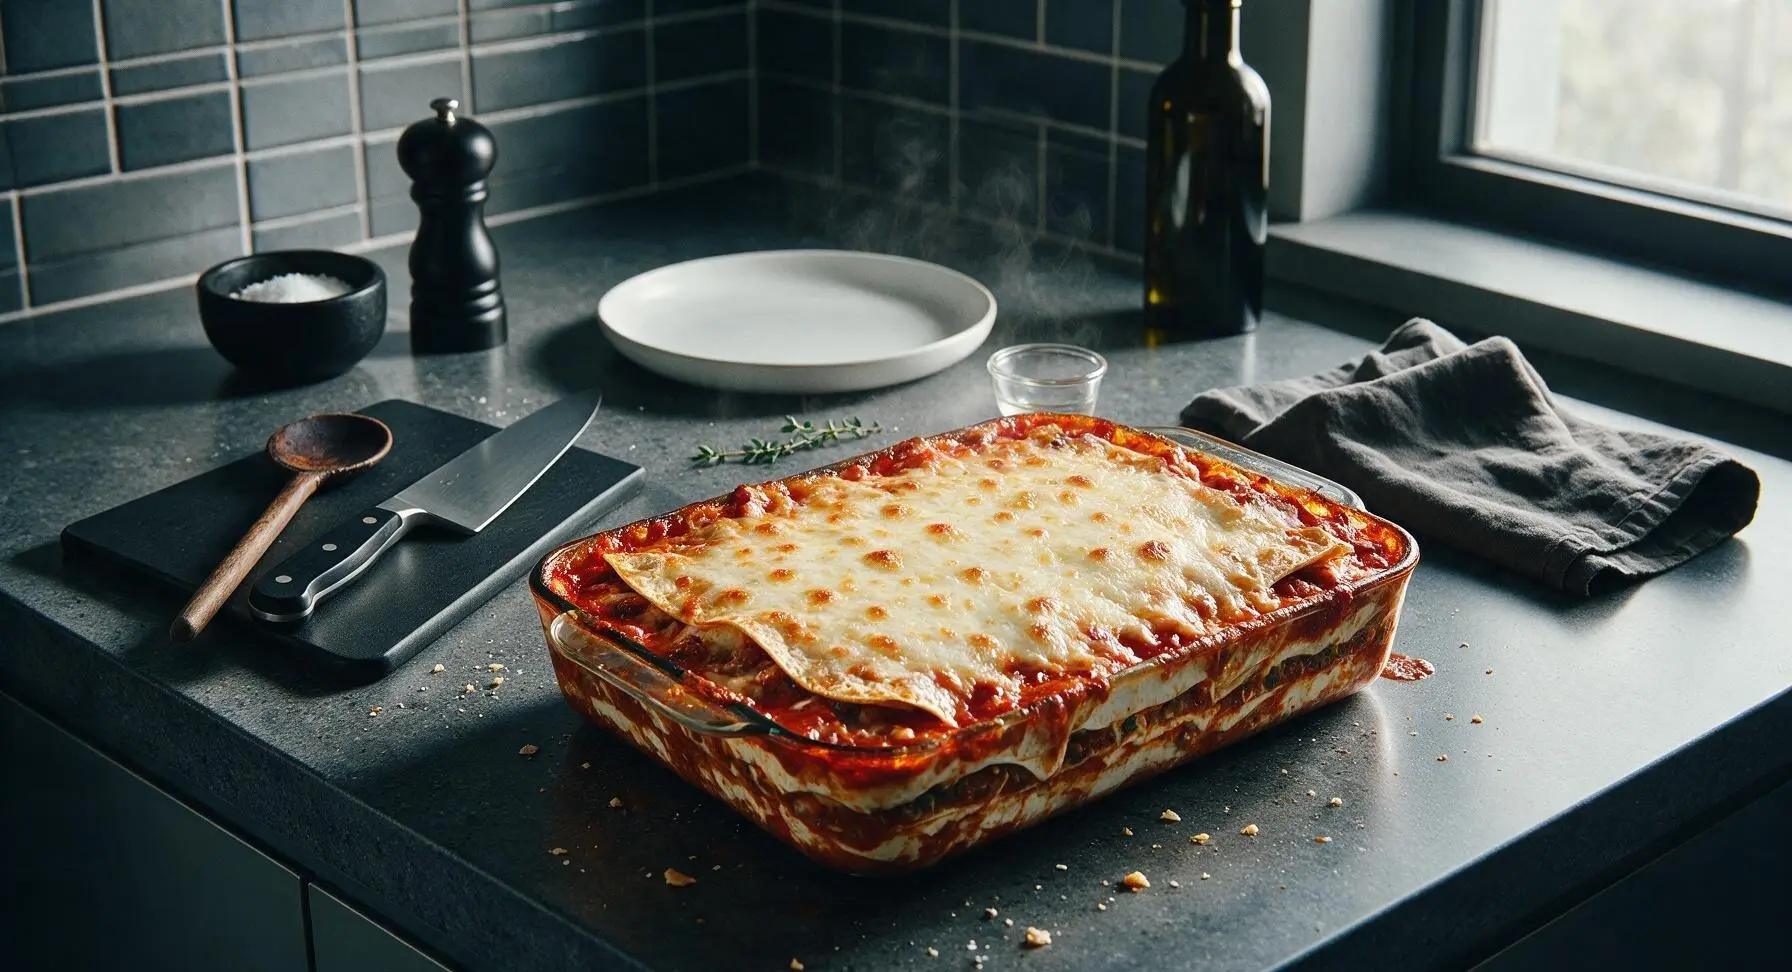
Sprinkle the reserved 1/2 cup of shredded cheddar in an even layer over the top sauced surface, leaving no bare sauce spots. Carefully transfer the baking dish to the preheated middle oven rack, and bake for 30 minutes. The casserole is done when the cheese is fully melted, sauce is bubbling vigorously around the dish edges, and the top cheese is dotted with light golden-brown spots.
Step 6
step6:Bake Until Bubbly
Step 6
step6:Bake Until Bubbly
7

Rest and Garnish

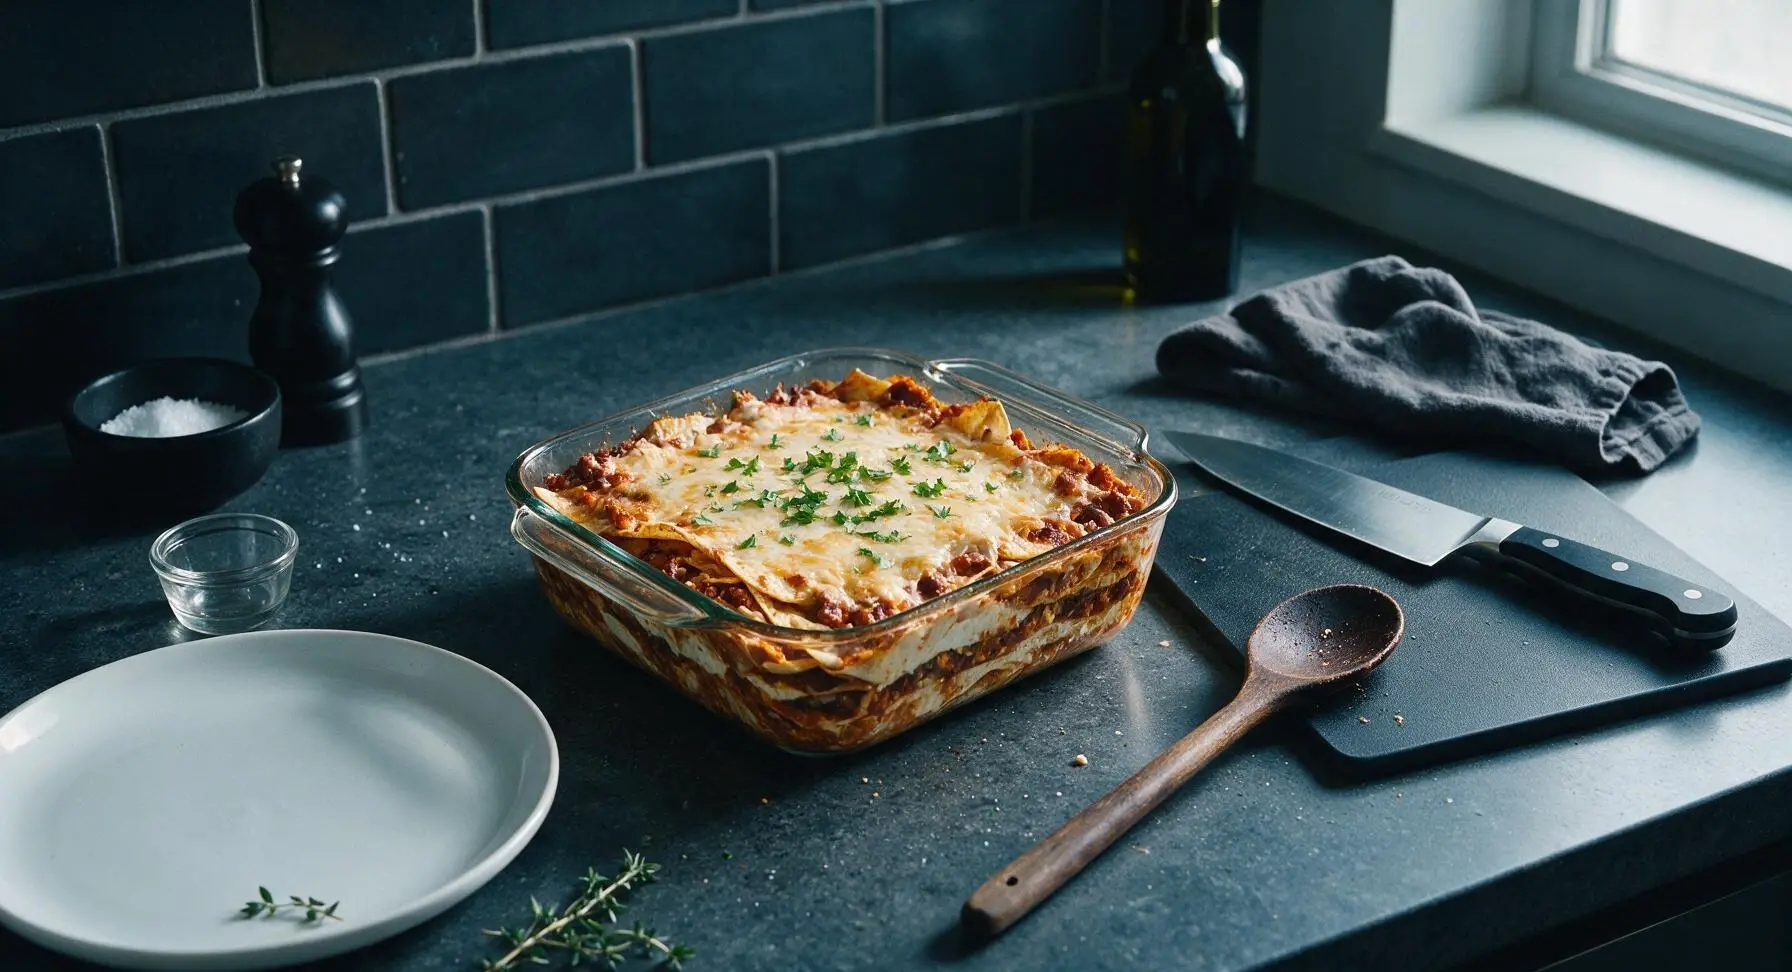
Use oven mitts to transfer the hot baking dish back to the soapstone counter, and let the casserole rest for 10 full minutes at room temperature. This resting time allows the layers to set, so slices will hold their shape instead of falling apart when served. Sprinkle the top with 2 tablespoons of chopped fresh cilantro before slicing.
Step 7
step7:Rest and Garnish

Tips

1.Fully cover all exposed tortilla edges with sauce before baking: uncoated tortilla edges will dry out into tough, cracker-like pieces instead of softening into the tender, integrated layers that define a good tortilla casserole.
2.Resist the urge to cut into the casserole immediately after baking: the full 10-minute rest time allows hot cheese and sauce to set, so you will get clean, neat slices with distinct layers instead of runny, falling-apart portions.
3.Customize fillings to suit your taste: add 225g (8oz) of browned, drained ground beef or turkey, roasted diced bell peppers, or sliced black olives between layers, but avoid high-moisture additions like undrained canned tomatoes or raw salsa, which will make tortilla layers soggy as they bake.


✨ You May Also Like

Main Course
🍜 United Kingdom

A showstopping classic of tender seared beef, savory mushroom duxelles, and crisp prosciutto wrapped in flaky golden puff pastry, baked to juicy perfection.

⏱️ 2 hours 1Main Course ★ 4.7
Main Course
🍜 India

Tender charred marinated chicken simmered in a rich, spiced creamy tomato sauce, this iconic Anglo-Indian curry pairs perfectly with basmati rice or warm naan.

⏱️ 50 minuteMain Course ★ 4.6
Main Course
🍜 Thailand

Classic tangy, sweet, and savory Thai stir-fried rice noodles with shrimp, tofu, and crunchy garnishes, balancing all five core Thai flavor profiles.

⏱️ 30 minuteMain Course ★ 4.5
Main Course
🍜 United Kingdom

Crispy golden beer-battered cod and fluffy double-fried chips, served with tangy tartar sauce and malt vinegar: the timeless, beloved British pub comfort classic.

⏱️ 45 minuteMain Course ★ 4.7
Main Course
🍜 Mexico

Smoky, chile-marinated pork tacos with caramelized pineapple, fresh cilantro, and lime: a beloved classic Mexican street food perfect for casual summer gatherings.

⏱️ 1 hour 45Main Course ★ 4.8
Main Course
🍜 United States

Crunchy Fritos corn chips layered with savory beef chili and melted cheddar, topped with cool, zesty fixings for a beloved, cozy Tex-Mex comfort food.

⏱️ 35 minuteMain Course ★ 4.8

tortilla casserole:Frequently Asked Questions

1.Can I use flour tortillas instead of 6-inch corn tortillas for this casserole? ▾
You absolutely can, though corn tortillas hold up better to saucy layers without turning mushy, and add that classic Tex-Mex corn flavor. If using flour, pick thin 6-inch fajita-style tortillas, and lightly toast them in a dry skillet for 30 seconds per side first to boost structure and prevent sogginess.
2.Do I need to fry the corn tortillas before layering the casserole? ▾
You don’t need to do a full deep fry, but a quick 10-second pan fry in a tiny bit of oil, or light toast, keeps tortillas from getting gummy as they bake. If you’re crunched for weeknight time, you can skip this step—just expect slightly softer, more melded layers overall.
3.Can I make this casserole ahead of time for meal prep? ▾
Definitely! Assemble the full uncooked casserole, cover it tightly with plastic wrap and foil, and store it in the fridge for up to 3 days before baking. Let it sit on the counter for 15 minutes while your oven preheats to take the chill off, then bake as directed, adding 5-10 minutes if it’s still cold.
4.What’s the easiest way to keep this casserole from getting soggy? ▾
A few simple tricks prevent sogginess: first, drain your black beans and corn really well so no excess liquid seeps into layers. Second, avoid over-saucing the first layer of tortillas right against the pan. Third, a quick tortilla toast creates a protective moisture barrier while baking.
5.Can I add extra protein like chicken or ground beef to this recipe? ▾
Of course! This recipe is super flexible for add-ins. For extra protein, stir 1 cup of cooked, seasoned ground beef, shredded rotisserie chicken, or crumbled chorizo into the sauce layers between tortillas. Just make sure any cooked meat is well-drained so it doesn’t add excess grease or moisture to the bake.
6.What temperature and bake time works best for this casserole? ▾
Bake this casserole covered at 375°F for 25 minutes, then uncover and bake for 10 more minutes until the cheese is fully melted, bubbly around the edges, and the center is hot all the way through. Let it rest 5 minutes before slicing to help the layers set cleanly for neat servings.
7.Can I use a different cheese instead of sharp cheddar? ▾
Absolutely! Sharp cheddar brings that classic tangy, melty pull, but you can swap in pepper jack for a spicy kick, a pre-mixed Mexican cheese blend for more authentic flavor, or Monterey Jack for a milder, creamier melt. Skip pre-shredded cheese with anti-caking coatings for the gooiest layers.
8.How should I store leftovers, and how long will they stay good? ▾
Let leftover casserole cool completely to room temperature within 2 hours of baking, then transfer airtight portions to the fridge for up to 4 days. Reheat individual slices in the microwave for 1-2 minutes, or in a 350°F oven for 10 minutes for crispier, better texture than microwaving alone.
9.Can I freeze this casserole for later use? ▾
It freezes beautifully! You can freeze either the fully assembled uncooked casserole or baked, cooled slices for up to 3 months. Wrap it tightly in two layers of plastic wrap and one layer of foil to prevent freezer burn, then thaw overnight in the fridge before baking or reheating.
10.Can I adapt this recipe to be vegan or dairy-free? ▾
You can easily adapt this for dairy-free or vegan diets! Swap the sharp cheddar for your favorite melty vegan cheddar shreds, double check that your enchilada sauce is certified vegan (many store-bought versions are), and confirm your beans and corn have no added animal products for a perfect plant-based bake.
11.How many layers should I build when assembling the casserole? ▾
For a standard 9x9 inch baking dish, aim for 3 to 4 even layers, starting with a thin spread of sauce on the pan bottom to prevent sticking, then alternating tortillas, sauce, beans, corn, and cheese. End with a generous top layer of cheese for that golden, bubbly baked crust everyone loves.
12.What toppings pair best with this finished casserole? ▾
Serve slices with bright, fresh Tex-Mex toppings to cut through the rich, cheesy layers: a dollop of sour cream, fresh chopped cilantro, diced avocado or guacamole, pickled jalapeños for a tangy kick, a squeeze of fresh lime, or a spoonful of fresh pico de gallo for extra crunch.

Comments (15)

2 days ago

OMG this casserole was a total game changer for our weeknight taco night! My 3 kids devoured it, even my picky 7 year old who hates anything with beans asked for seconds. I added a little extra shredded cheese on top because duh, who doesn’t love extra cheese? Threw it together in 10 minutes flat, baked it while I helped with homework, and dinner was done before we knew it. 10/10 will be making this for our next neighborhood potluck too!

yesterday

Wait did you use black beans or pinto? I’m making this for my son’s team dinner this weekend and don’t want to pick the wrong bean lmao

yesterday

So glad your family loved it! Both black and pinto beans work perfectly here, but for a kid-friendly crowd, pinto tends to be a little milder if you’re worried about picky eaters. Enjoy the team dinner!

1 week ago

This was so easy to adapt for my vegetarian household! I swapped the ground beef for plant-based crumbles, added a can of corn and some diced bell peppers, and it turned out SO good. My meat-loving boyfriend didn’t even notice the difference until I told him after he finished his second plate. Only note: I wish I’d lined my baking dish with parchment because the cheese baked on a little crispy on the edges, oops.

5 days ago

I did the plant-based crumble swap too! Added a pickled jalapeño layer for extra kick and it was chef’s kiss. Parchment tip is genius, I scrubbed my dish for 10 minutes after making this last week lol

3 days ago

Love that veggie swap! Plant-based crumbles work so seamlessly here, and that extra corn and bell pepper addition sounds delicious. The parchment trick is a great call for easy cleanup, too — I’ll have to add that note to the recipe tips!

3 days ago

Quick question — has anyone made this with corn tortillas instead of flour to make it gluten free? I’ve had bad luck with corn tortillas getting mushy in casseroles before, so I’m nervous to waste ingredients. The recipe looks perfect otherwise, would love to make it for my sister’s birthday dinner next week!

2 days ago

I used corn tortillas last month! Just lightly toast them in a dry pan for 30 seconds per side before layering and they won’t get mushy at all. Held up perfectly even after freezing half the batch for later!

2 days ago

Great question! Corn tortillas work wonderfully as a gluten-free swap here. The toasting tip @FreezerMealQueen shared is exactly what I recommend too — it keeps them sturdy through baking so you don’t end up with a mushy mess. Hope your sister loves the birthday dinner!

5 days ago

Bro this recipe saved my tail this week. I’m a broke college student with literally zero cooking skills, and I threw this together with stuff I grabbed from the campus grocery store for like $12 total. Fed me and my 3 roommates for two nights, no fancy skills required. 10/10 no notes, except maybe add a dollop of sour cream on top if you have it.

3 days ago

Dude same! I just started cooking for my wife and I was so nervous I’d mess up dinner, this was foolproof. We ate it while watching football last Sunday and she asked me to put it on the monthly rotation

2 days ago

Love to hear it! This recipe is designed to be totally approachable for new cooks, so it makes me so happy it worked out for you and your roommates. The sour cream dollop is a perfect call — a little hot sauce on top hits different too, if you’re into that!

1 week ago

Made a big pan of this on Sunday for my weekly meal prep, and it held up all week in the fridge! I portioned it out into 5 containers, added a side of tortilla chips and a little guac, and had lunch ready for every workday. Way better than spending $15 on takeout tacos every day. Will absolutely be adding this to my regular prep rotation!

5 days ago

How did you reheat it? I’m trying to get better about weekly prep and I always worry casseroles will get soggy when I microwave them at the office

5 days ago

That’s such a smart meal prep move! So glad it held up for you all week. For reheating, 1-2 minutes in the microwave with a loose paper towel cover works great, but if you have access to a toaster oven at work, a quick 5 minute reheat at 350 keeps the edges nice and crispy!

yesterday

Brought this to our office potluck yesterday and it was the first dish gone! People were asking me for the recipe before I even finished my first plate. I added a layer of crushed tortilla chips between the tortilla and cheese for a little extra crunch, and it was chef’s kiss. So easy to transport too, no sloshing or messy spills on the drive in.

2 hours ago

That crunchy tortilla chip layer is such a brilliant hack! I’m so glad it was a hit at the potluck — that’s always the best sign of a good recipe, right? Thanks for sharing your tweak!

2 hours ago

Wait, 35 minute cook time? No way, I thought it would take way longer. I made this last night after getting home late from the gym, and I was sitting down to eat by 6:45. Used a jar of my favorite roasted tomato salsa instead of making the sauce from scratch to save even more time, and it tasted totally homemade. My roommate thought I ordered takeout lmao.

30 minutes ago

The jarred salsa hack is a game changer! I use the medium heat salsa from the grocery store and it cuts prep time down by like 10 minutes, no one can tell the difference

2 weeks ago

I’ve been making a version of this casserole for my grandkids for 30 years, and I have to say, this recipe is even better than mine! The ratio of cheese to filling to tortilla is perfect, not too soggy, not too dry. I added a can of diced green chiles like I always do, and it paired perfectly. My oldest grandson is coming home from college next month and already requested I make this for his first dinner home.

1 week ago

This means the world coming from someone who’s been making this dish for decades! That little can of green chiles is such a tasty addition, I love that. I hope your grandson loves it when he’s home — there’s nothing better than a welcome home casserole!

3 days ago

Made this for our department’s Cinco de Mayo lunch and it was a huge hit! Only tiny complaint: I wish the recipe noted what size baking dish to use. I grabbed my 9x13 on a whim and it worked out, but I almost used my smaller square dish which would have been a disaster with all the layers. Otherwise 10/10, will make again.

2 days ago

Thank you so much for that feedback! I’ve updated the recipe card to explicitly call for a 9x13 inch baking dish — that’s a total oversight on my part, I appreciate you pointing it out so other cooks don’t run into the same issue. So glad it was a hit for your Cinco de Mayo lunch!

5 days ago

Froze half of this casserole after assembling it (before baking) and pulled it out last night for a last minute dinner when my kid’s soccer practice ran late. Let it thaw in the fridge during the day, baked it for 45 minutes instead of 35, and it tasted exactly as fresh as the first time I made it! Perfect for busy sports nights when we don’t have time to cook from scratch.

3 days ago

Oh this is perfect! We have 3 nights of soccer a week this fall so freezer meals are my love language. Definitely adding this to my list to make and stash

5 minutes ago

Why have I been making regular hard shell tacos every Tuesday when this casserole exists? No more broken shells, no more filling falling out all over the plate, no more assembling 12 tacos one by one while everyone else eats. This is my new go-to taco Tuesday recipe, hands down. Topped it with cilantro, lime, and a little pickled red onion, and it was perfection.

just now

Right?! The no-fuss assembly is one of my favorite parts of this casserole — no taco assembly line required. Those pickled red onion and lime toppings sound absolutely incredible, I’m definitely trying that next time I make it!

2 weeks ago

This recipe is so customizable! I’ve made it three times now: once with ground turkey, once with shredded chicken, once with leftover pulled pork I had in the fridge, and every single version slapped. Easy, versatile, totally forgiving if you swap ingredients around. 10/10 for busy people who don’t want to eat the same boring meal every week.

1 week ago

Added a whole can of diced jalapeños and a drizzle of hot sauce between the layers and this thing had the perfect kick! Not so spicy that my mild-tolerant partner couldn’t eat it, but enough zing to keep it interesting. I’ll probably add some chili lime seasoning next time for an extra punch. So good.

2 days ago

Made this for my husband’s poker night with the guys, and they all went back for thirds. One of them said it was better than the Mexican restaurant downtown, which is the highest compliment possible coming from a group of guys who eat out 4 nights a week. Served it with chips and queso on the side and it was the perfect casual spread.

30 minutes ago

LOVED how simple this was! I work 12 hour shifts as a nurse, so quick dinners that don’t require a million ingredients are a must for me. I kept all the ingredients simple, didn’t add any fancy extras, and it still tasted like I spent hours in the kitchen. Even had enough leftover to bring for my night shift lunch tomorrow, win win.



