
Tortilla Toast

title 1
Tortilla Toast
⏱️ cook time 5 minutes
🍽️ servings 2
⚡ Difficulty easy

intro

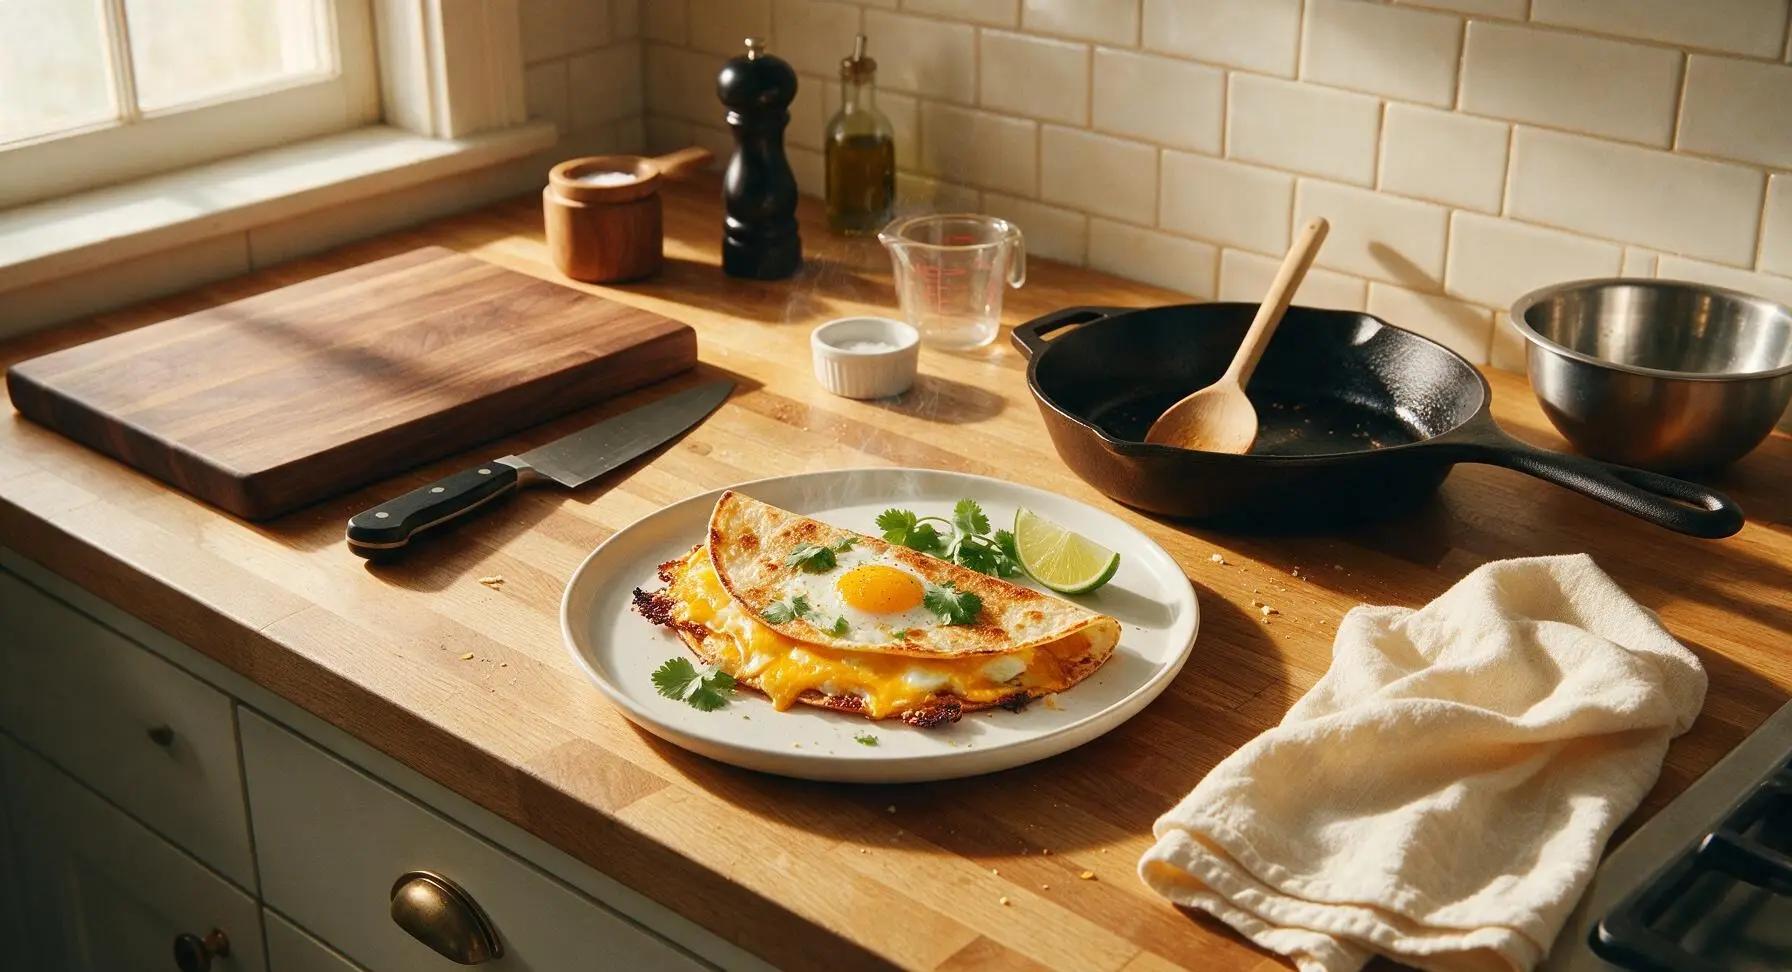
Crispy golden pan-toasted flour tortillas oozing with melted cheddar and set egg, ready in 10 minutes for a satisfying, no-fuss meal with endless custom filling options.

Ingredients
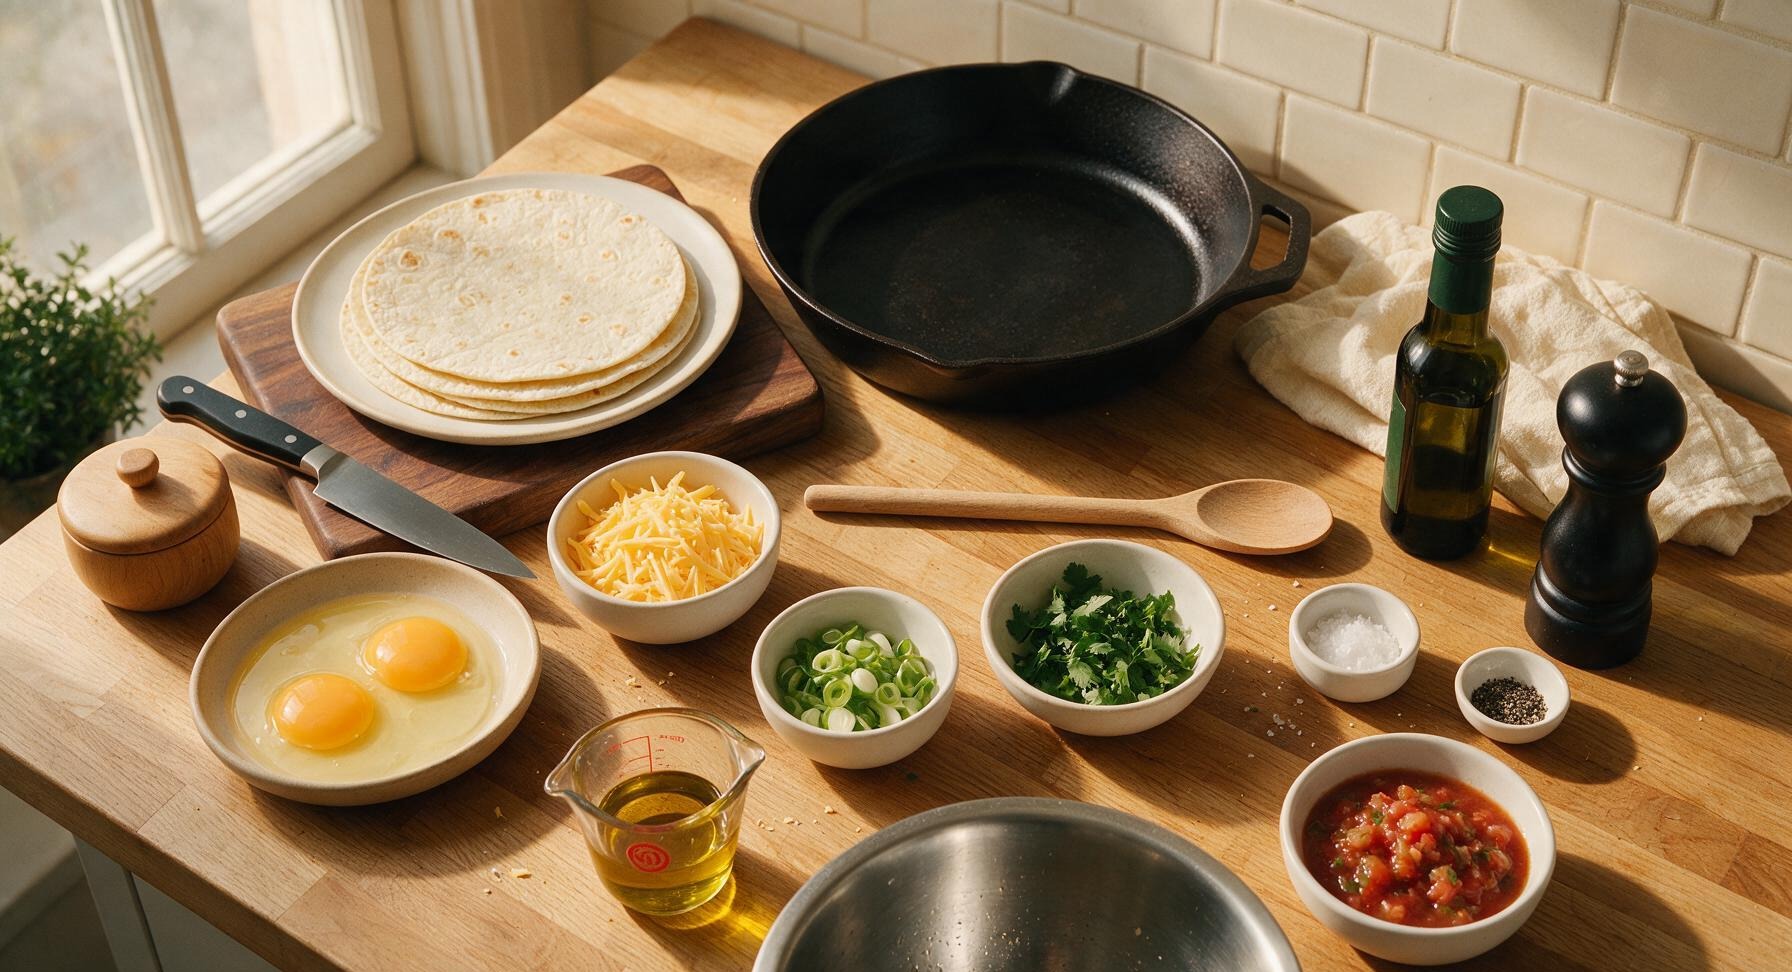
8-inch flour tortillas 4 pieces
Sharp cheddar cheese 80g
Large eggs 2
Extra virgin olive oil 1 tablespoon
Green onion 2 stalks (thinly sliced, ~2 tbsp)
Fresh cilantro 2 tbsp (chopped)
Flaky sea salt 1/4 teaspoon
Freshly ground black pepper 1/8 teaspoon
Mild tomato salsa 60g (for serving)

Steps

1

Prep Cheese and Aromatics

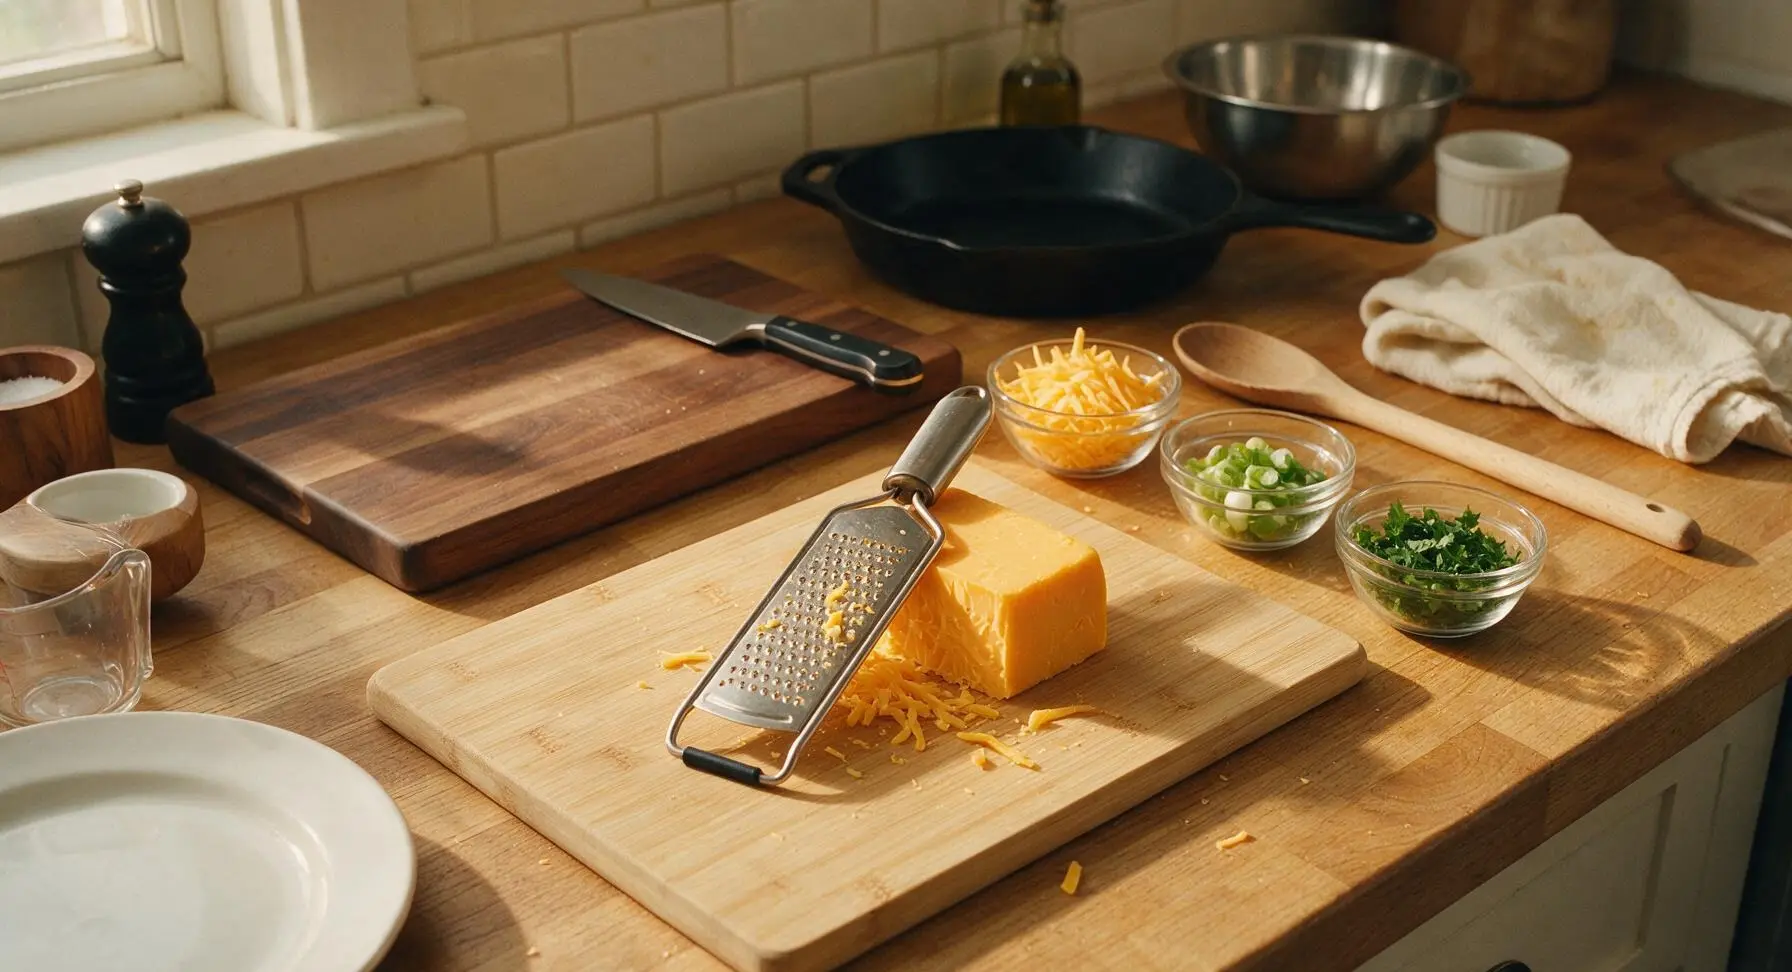
Place the pale honey bamboo cutting board on the center of the counter. Use the handheld stainless steel cheese grater to shred the 80g block of sharp cheddar cheese into one of the small clear glass prep bowls. Use the 7-inch santoku knife to thinly slice the green onion stalks and chop 2 tablespoons of fresh cilantro, placing each in separate prep bowls. Set all prepped fillings within arm’s reach of the stovetop.
Step 1
step1:Prep Cheese and Aromatics
2

Preheat Non-Stick Skillet

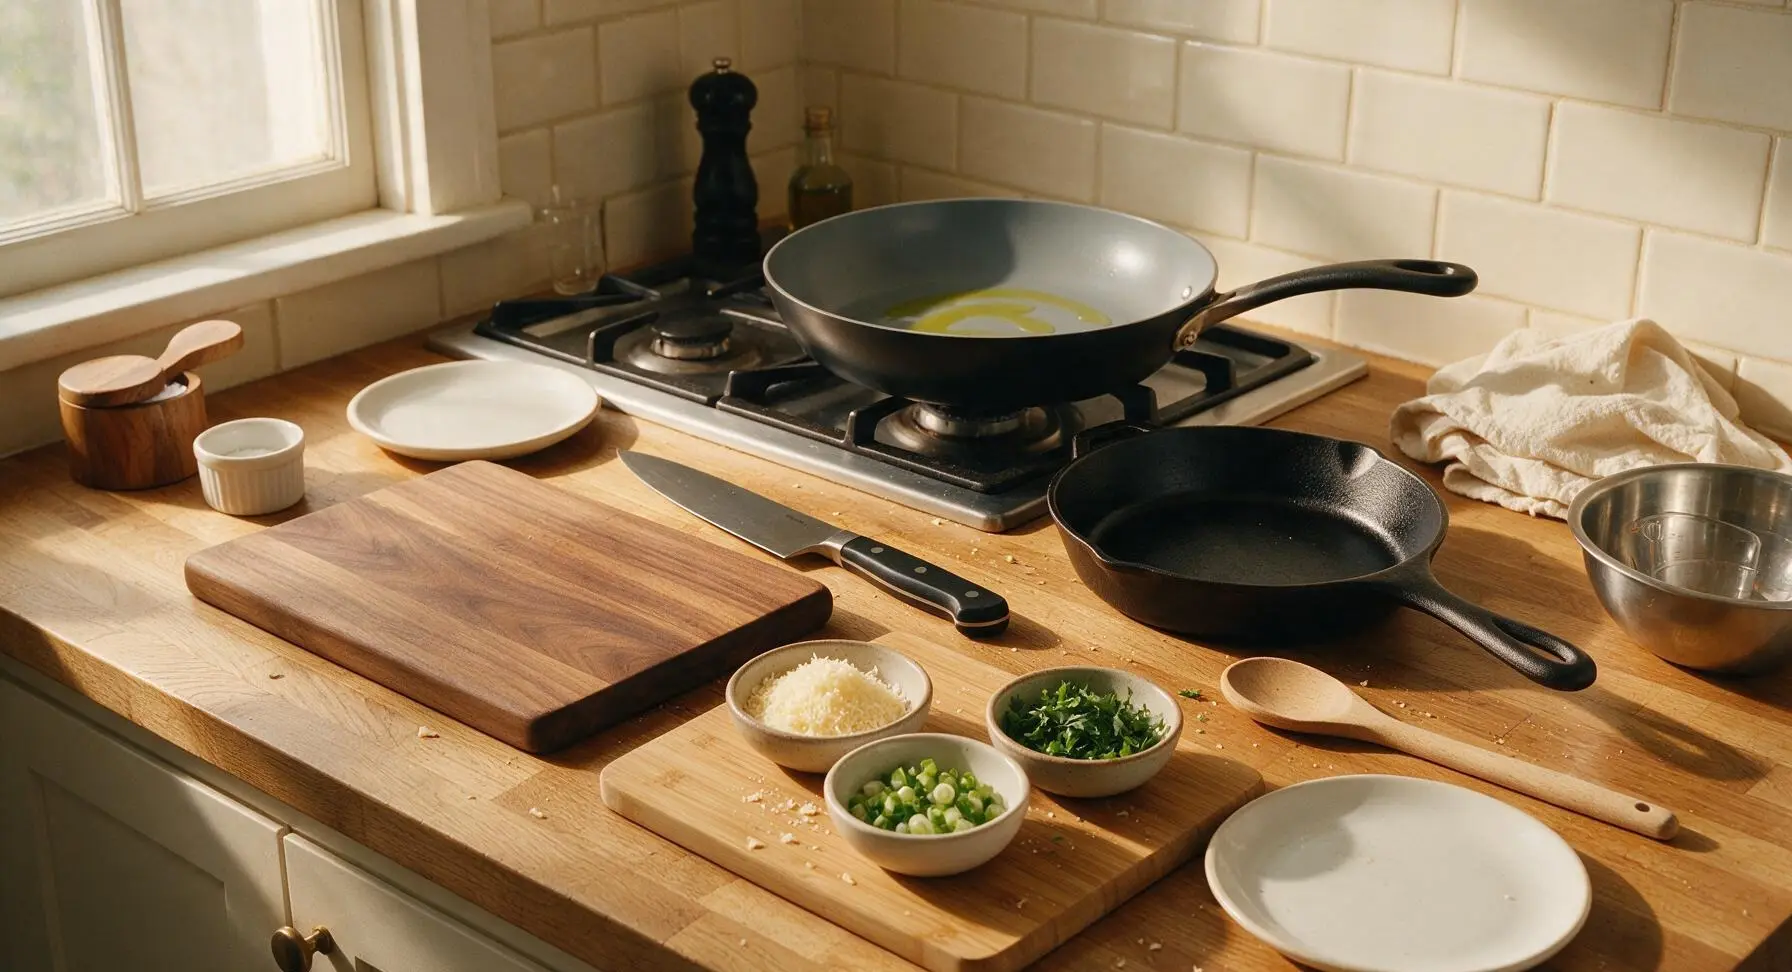
Place the 10-inch matte black non-stick carbon steel skillet on the integrated back-center stovetop burner over medium-low heat (325°F / 160°C). Add 1/2 tablespoon of olive oil, swirling the pan to coat the interior surface evenly. Allow the pan to heat for 1 full minute, until the oil shimmers slightly but does not smoke (smoking oil means the pan is too hot and will burn the tortillas).
Step 2
step2:Preheat Non-Stick Skillet
3

Layer Base Tortilla

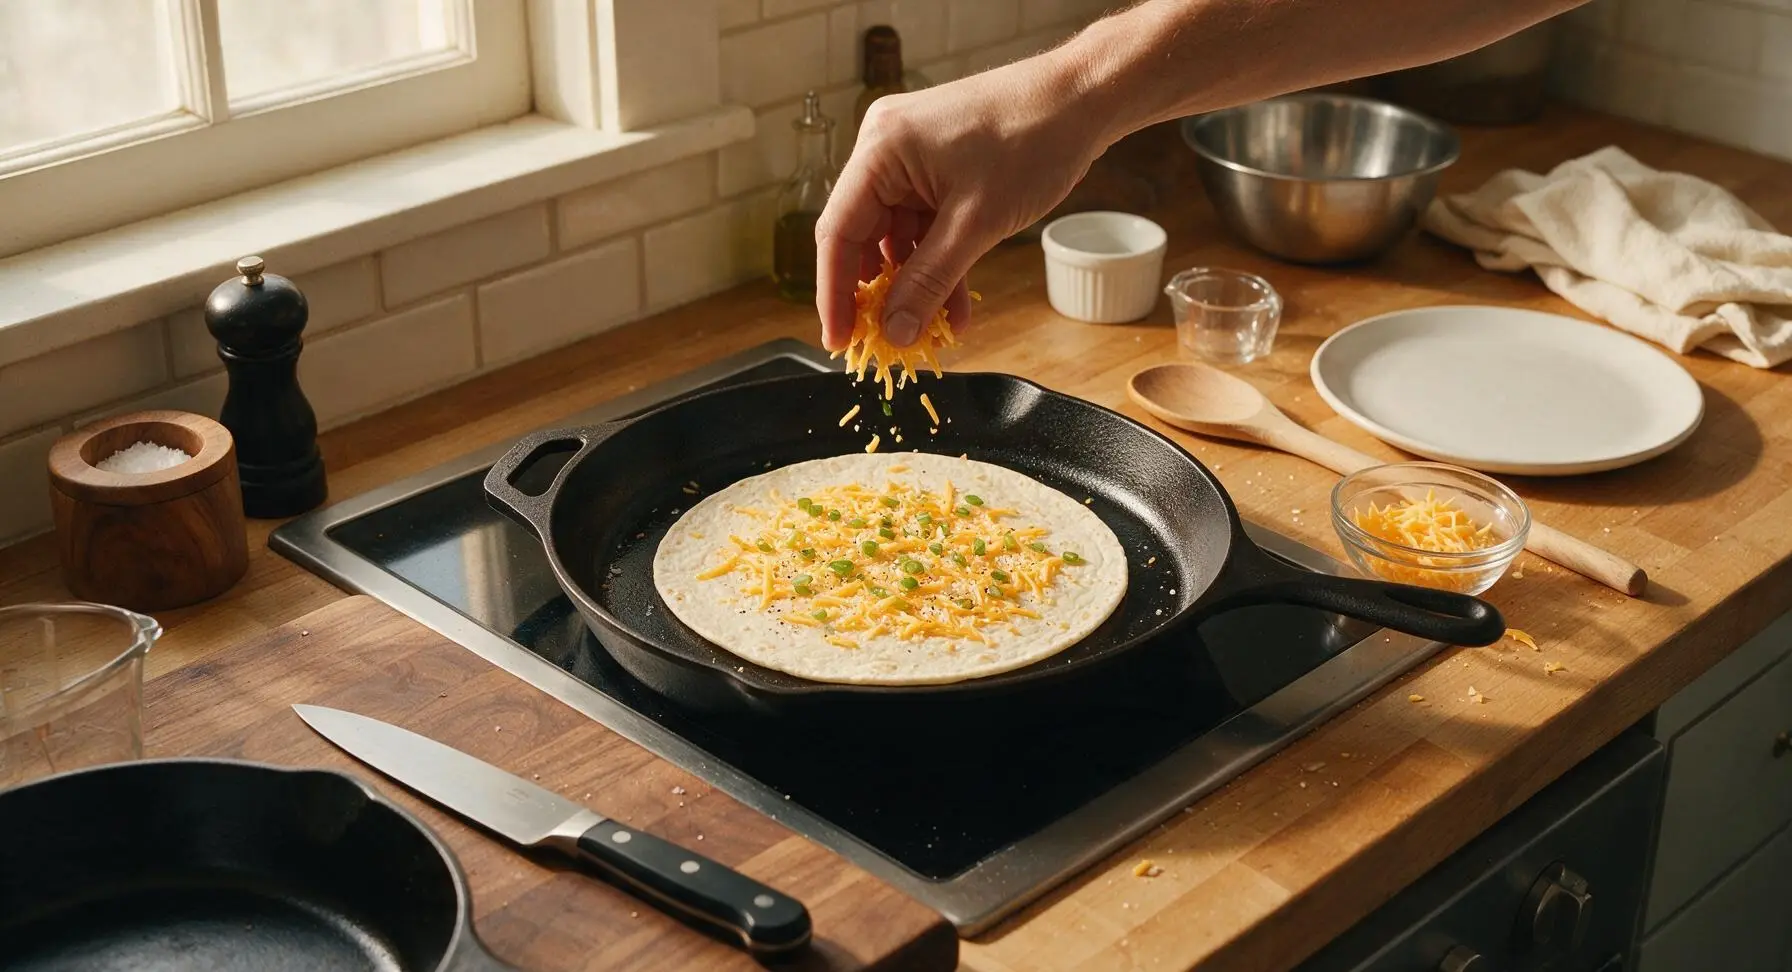
Lay one 8-inch flour tortilla flat directly in the center of the preheated skillet. Sprinkle 40g (half) of the grated cheddar evenly across the tortilla surface, leaving a 1/2-inch plain border around the edge. Sprinkle half the sliced green onion over the cheese, then season lightly with a pinch of flaky sea salt and black pepper.
Step 3
step3:Layer Base Tortilla
4

Add Egg to Center

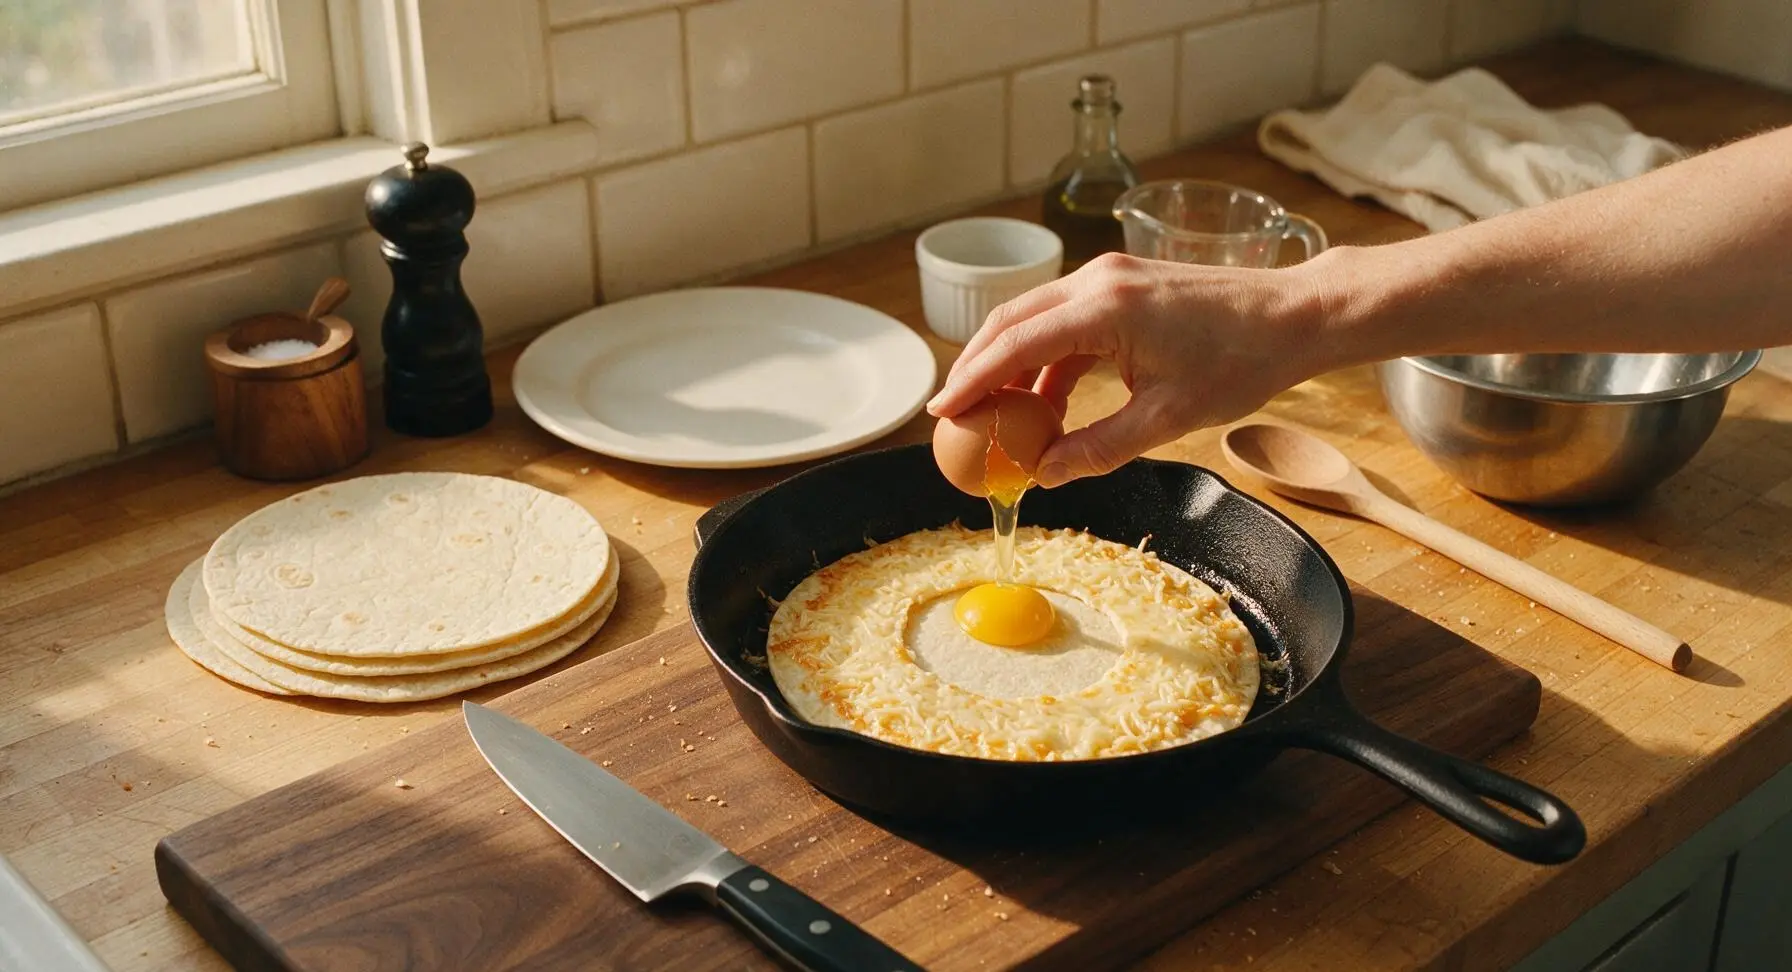
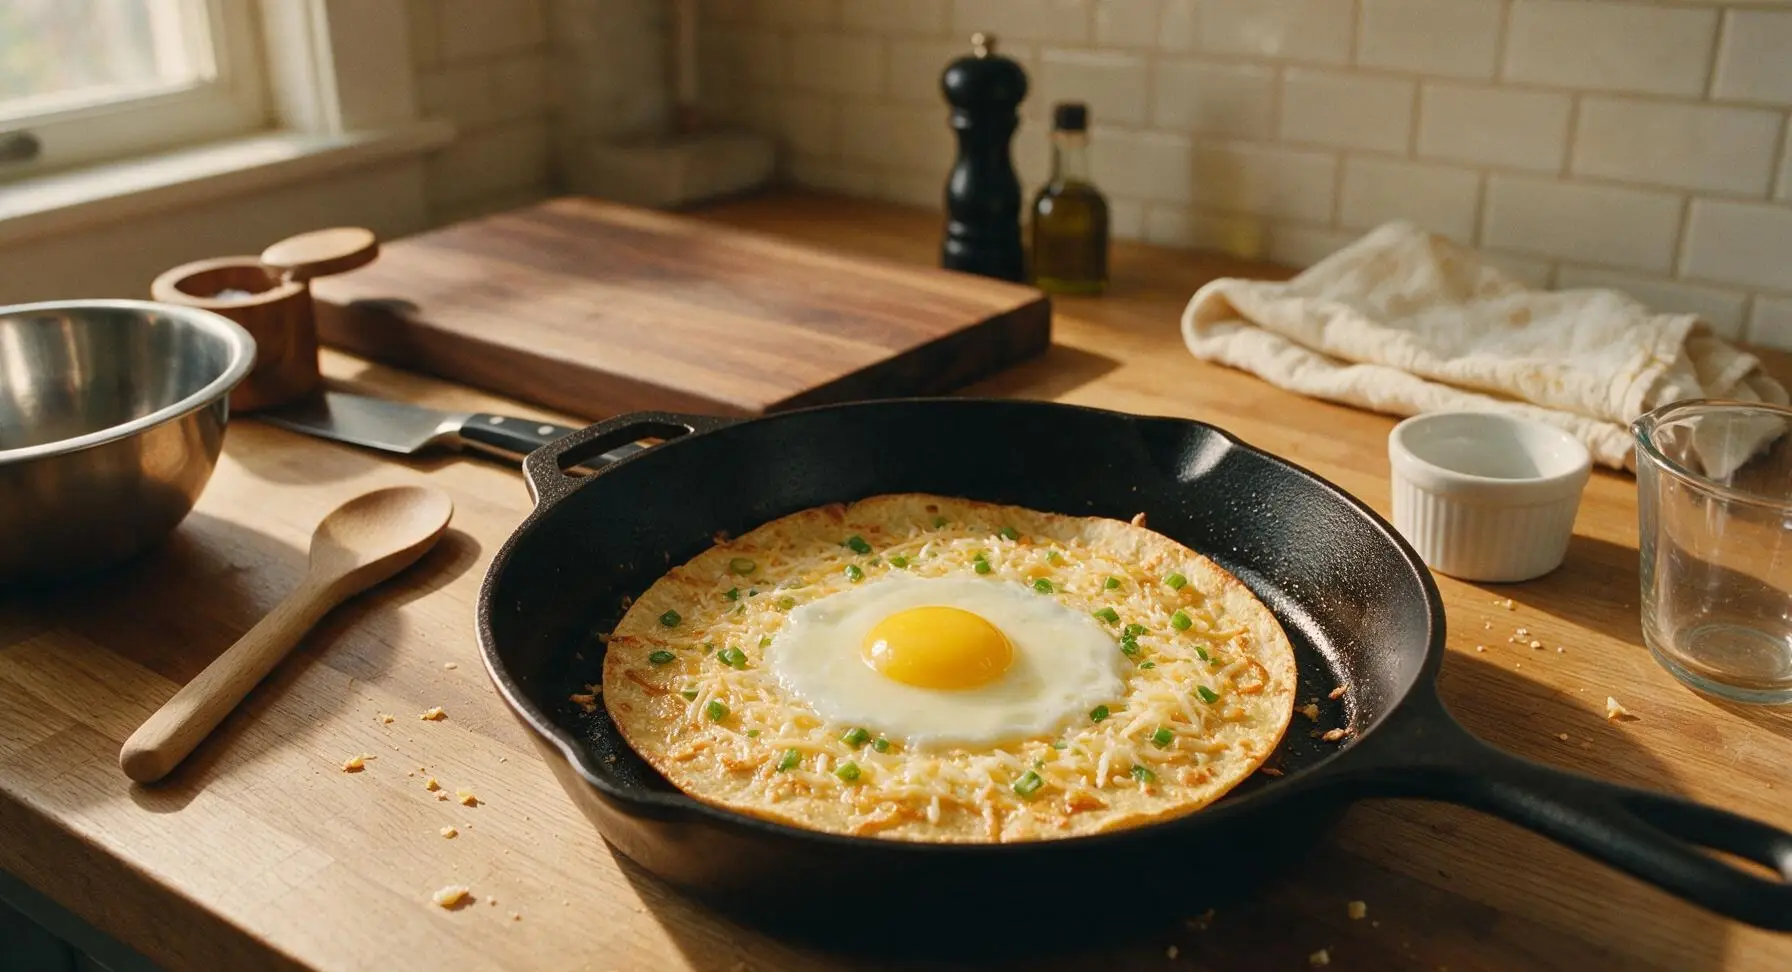
Crack one large egg directly in the center of the cheese-covered tortilla. Use the tip of the santoku knife to gently break the egg yolk slightly so it spreads into an even 3-inch circle across the center of the tortilla, taking care not to tear the tortilla surface. Keep the egg contained within the cheese border to prevent leaking during cooking.
Step 4
step4:Add Egg to Center
Step 4
step4:Add Egg to Center
5

Top and Seal Toast

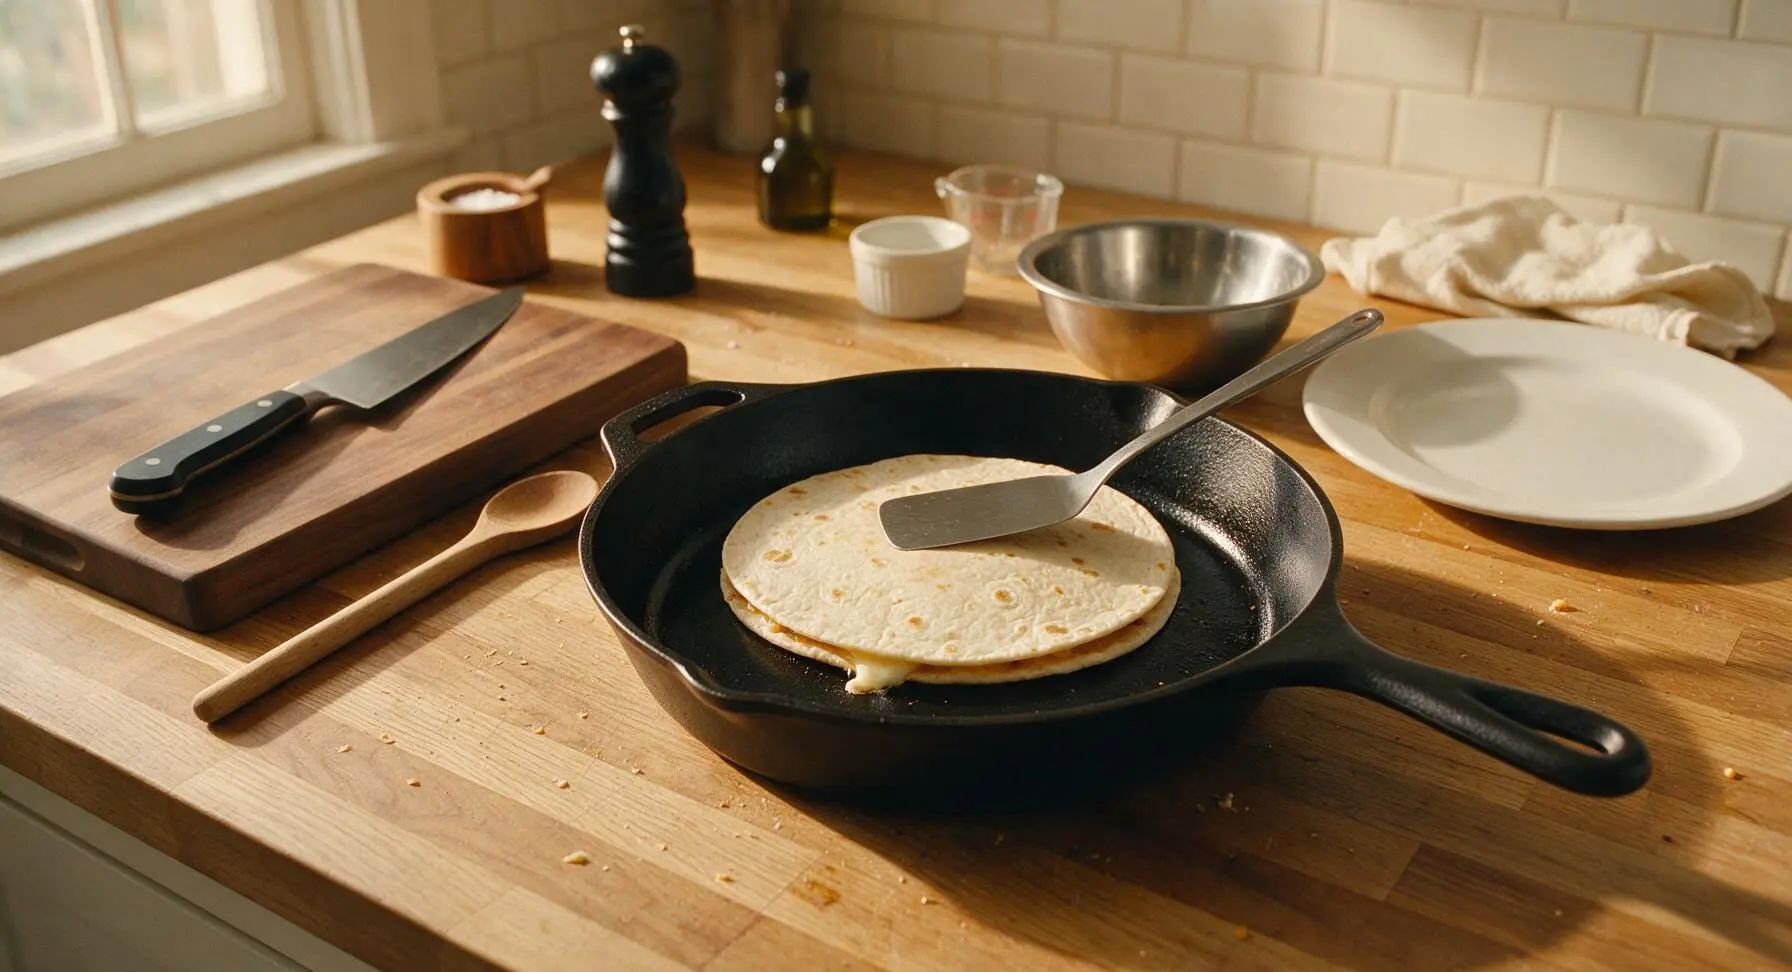
Place a second 8-inch flour tortilla directly over the fillings, pressing down gently across the top surface with the thin flexible stainless steel turner to seal the edges. The melting cheese will act as a natural glue to hold the two tortillas together, preventing egg from leaking out as it cooks.
Step 5
step5:Top and Seal Toast
6

Toast Both Sides

Cook the first side for 2 full minutes, until the bottom tortilla is deep golden brown and crispy, and the cheese along the edge is fully melted. Slide the stainless steel turner fully under the tortilla toast to support it, then flip it quickly and carefully. Cook the second side for another 1.5 to 2 minutes, until golden crispy and the egg is fully set (no runny clear egg white visible when you lift the edge of the tortilla).
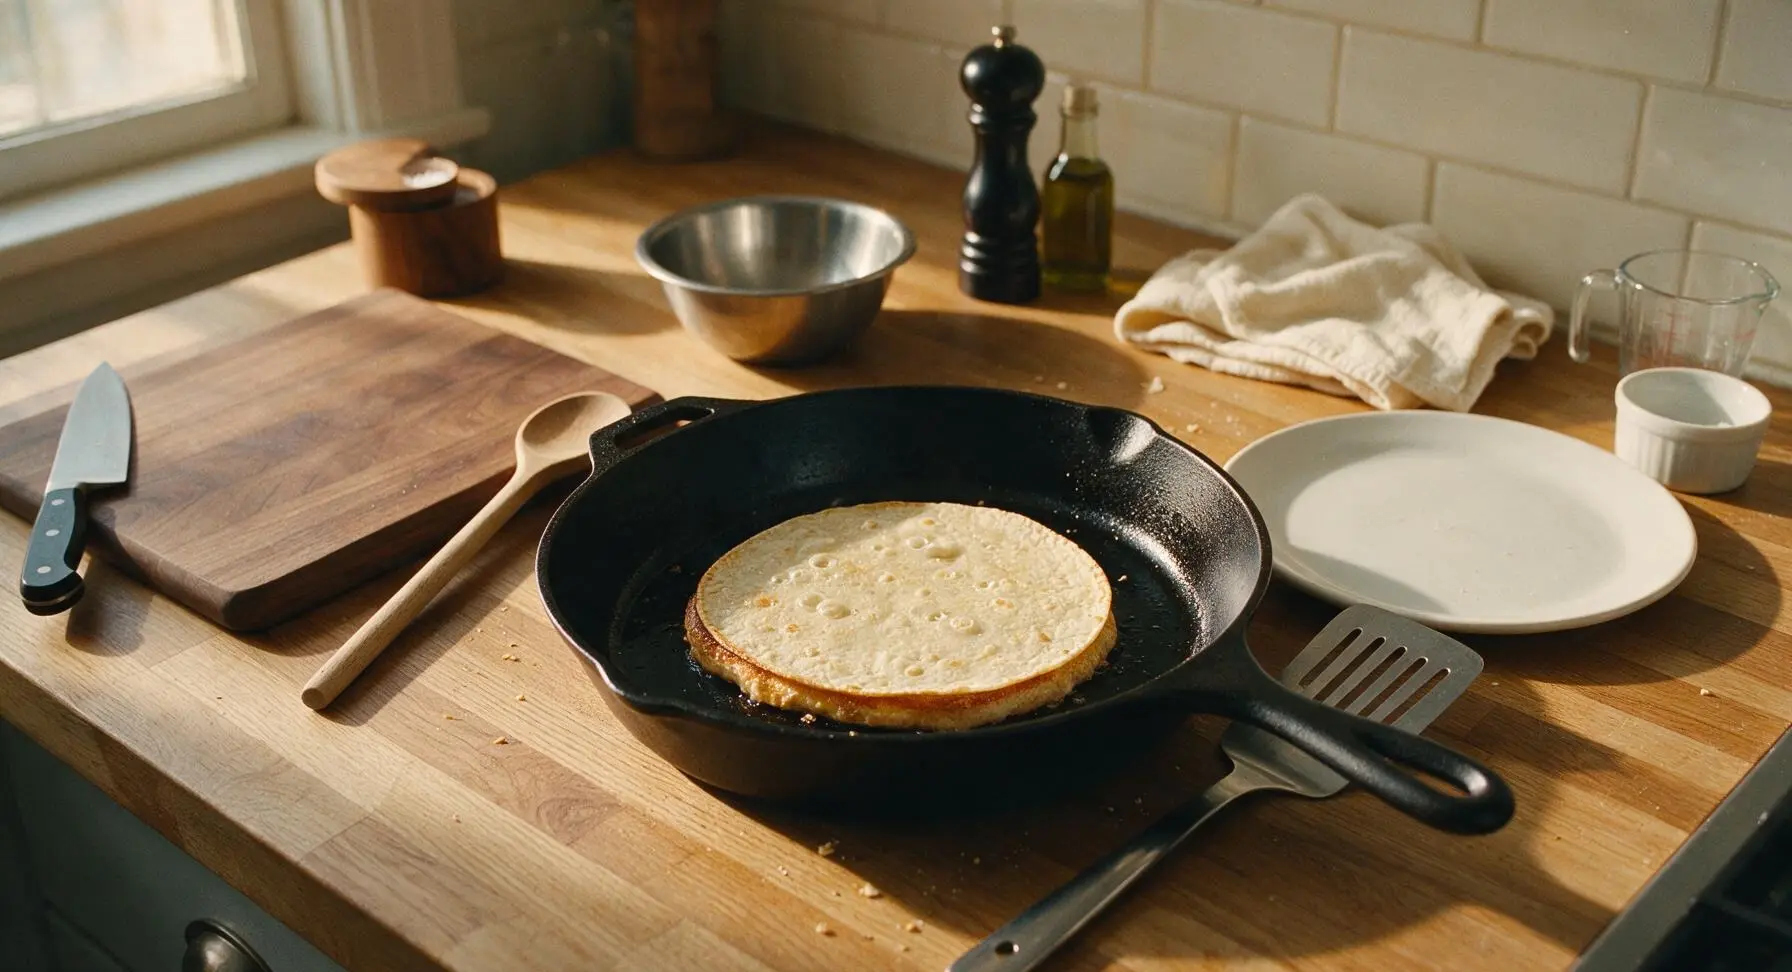
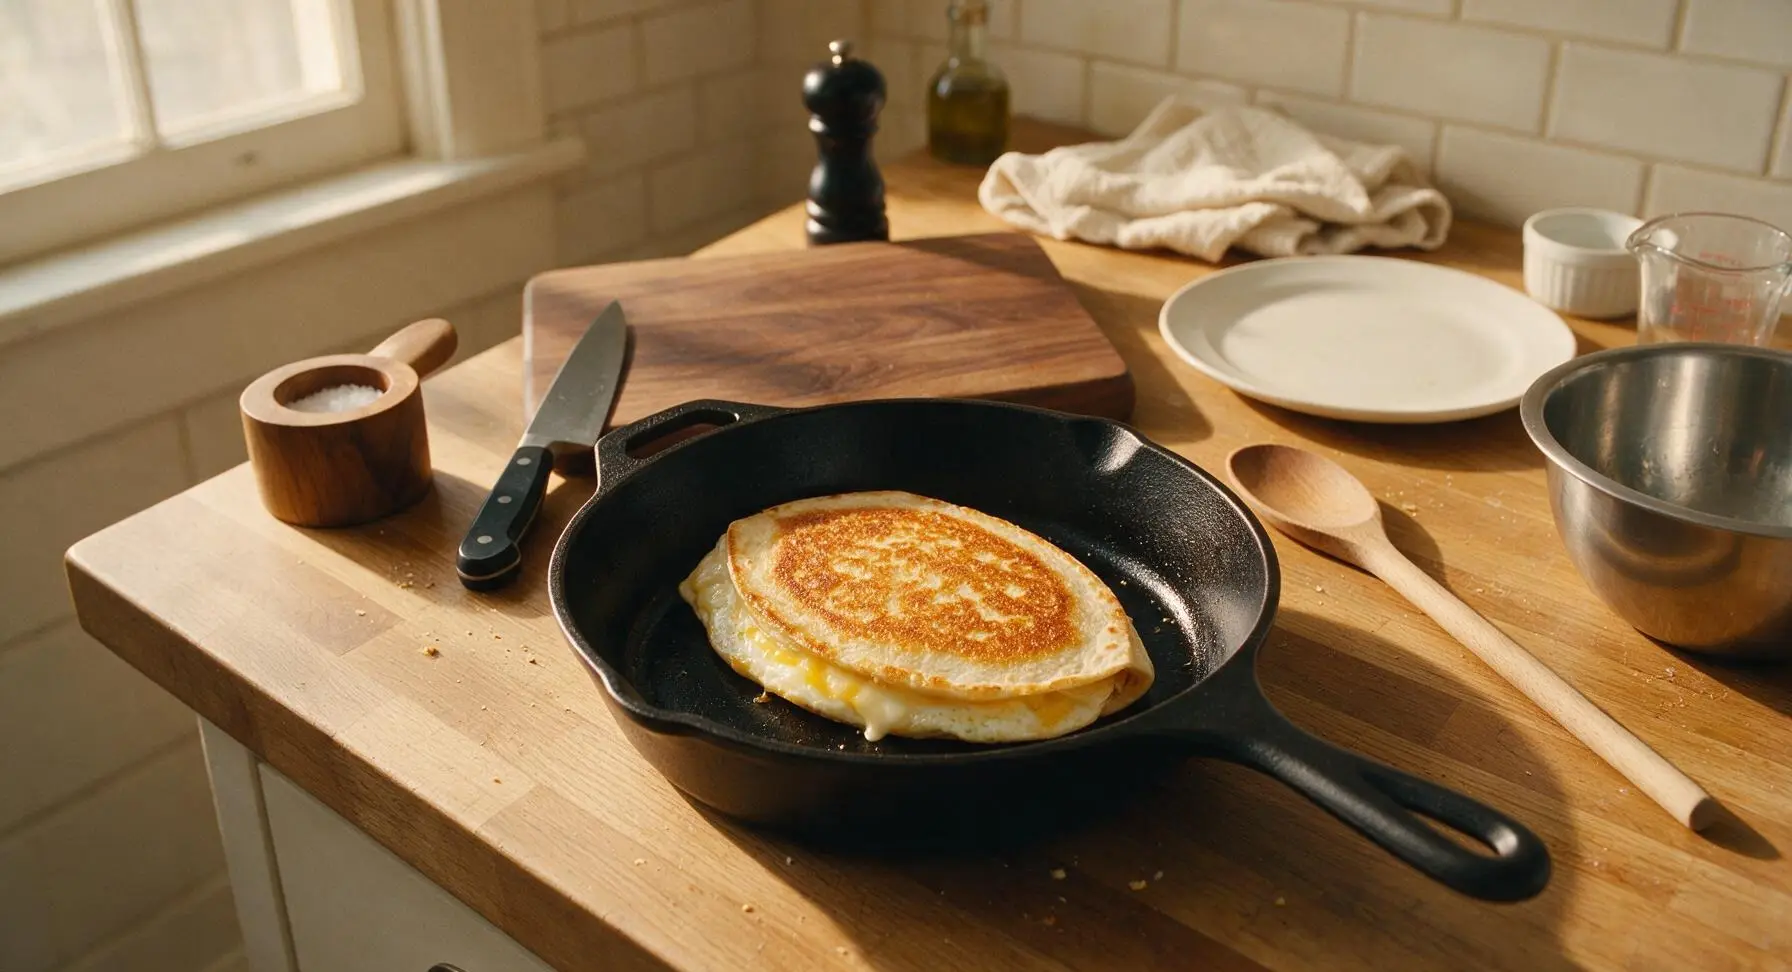
Step 6
step6:Toast Both Sides
Step 6
step6:Toast Both Sides
7

Plate and Serve

Use the stainless steel turner to transfer the finished tortilla toast to one of the matte cream ceramic lunch plates. Add the remaining 1/2 tablespoon of olive oil to the skillet, swirling to coat, then repeat the layering, egg addition, sealing, and toasting process with the remaining tortillas, cheese, egg, and green onion to make the second tortilla toast, transferring it to the second plate when done. Cut each tortilla toast in half diagonally, garnish with chopped cilantro and a light sprinkle of flaky salt, and serve with the terracotta ramekin of mild salsa on the side.
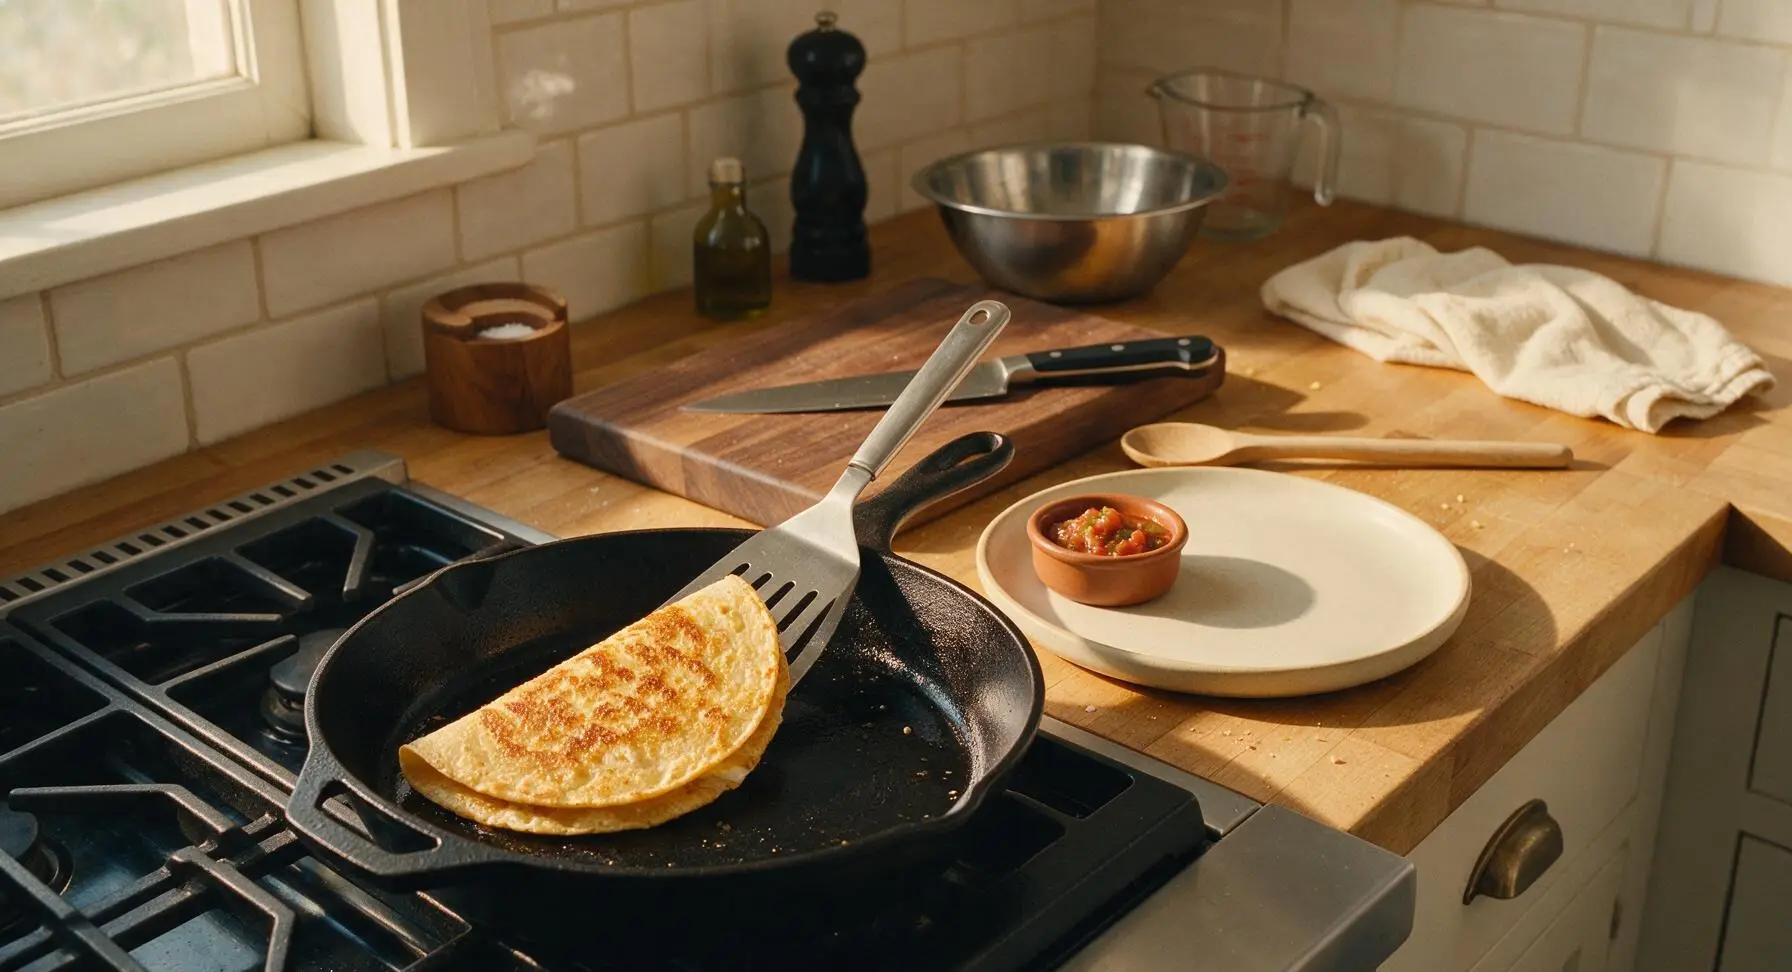
Step 7
step7:Plate and Serve

Tips

1.Keep stovetop heat at medium-low for the entire cook time: high heat will char the tortilla exterior before the cheese fully melts and the egg sets, leading to burnt edges and a runny, undercooked center.
2.Press the tortilla edges firmly immediately after adding the top layer: the quickly melting cheese creates a tight seal that prevents runny egg from leaking into the pan, which causes messy splatters and uneven cooking.
3.Grate cheese from a block instead of using pre-shredded store-bought cheese: pre-shredded cheese is coated in potato starch to prevent caking, which stops it from melting smoothly and creates a grainy filling instead of the ideal stretchy, oozing texture.


✨ You May Also Like

Breakfast
🍜 United States

Crisp-edged, fluffy lard griddle cakes are a nostalgic homestyle staple, with rich savoriness from rendered lard, perfect topped with maple syrup or savory gravy.

⏱️ 25 minuteBreakfast ★ 4.8
Breakfast
🍜 United States

Flaky, buttery homemade buttermilk biscuits smothered in creamy, peppery pork sausage gravy: a beloved, hearty Southern American comfort food classic.

⏱️ 35 minuteBreakfast ★ 4.8
Breakfast
🍜 United States

Golden, custardy brioche stuffed with sweet cream cheese and fresh berries, pan-fried to crisp perfection. An indulgent, cozy breakfast perfect for slow weekend mornings.

⏱️ 30 minuteBreakfast ★ 4.7
Breakfast
🍜 United States

Flaky, buttery Southern-style biscuits stuffed with savory salty country ham, a portable, satisfying classic perfect for casual on-the-go meals.

⏱️ 25 minuteBreakfast ★ 4.8
Breakfast
🍜 United States

Iconic puffy baked pancake popularized in Seattle, with crisp golden edges and soft custardy center, served warm with classic sweet toppings.

⏱️ 35 minuteBreakfast ★ 4.6
Breakfast
🍜 United States

Fluffy, golden pancakes studded with juicy peak-summer mixed berries, drizzled with maple syrup for a bright, comforting, crowd-pleasing family breakfast.

⏱️ 25 minuteBreakfast ★ 4.7

Tortilla Toast:Frequently Asked Questions

1.What size tortilla works best for this recipe, and can I use corn tortillas instead? ▾
This recipe is calibrated for 8-inch flour tortillas, which fit perfectly in a standard 8- to 10-inch skillet and hold the egg and cheese filling without spilling as they toast. You can swap in corn tortillas for a nuttier, gluten-free option, but note they are more crumbly and prone to cracking if you fold them during toasting.
2.How do I keep the tortilla from getting soggy instead of crispy? ▾
Start with a fully preheated skillet over medium heat, and don’t douse the pan with too much olive oil—just 1 teaspoon per tortilla is enough. Pat excess moisture off any added fillings before layering them, and avoid covering the pan for too long, as trapped steam will turn crispy tortillas soft and chewy in seconds.
3.How do I make sure the egg cooks fully without burning the tortilla? ▾
Once you add the egg to the center of the tortilla, use a fork to gently break the yolk and spread the egg in a thin, even layer across the tortilla surface. Lower the heat to medium-low after adding the egg, so the tortilla toasts slowly while the egg sets, instead of charring on the bottom before the egg cooks through.
4.Can I use a different cheese instead of sharp cheddar? ▾
Absolutely! Sharp cheddar is chosen for its bold, tangy flavor and ideal melt, but you can swap in any good melting cheese you have on hand. Pepper jack adds a spicy kick, mozzarella gives a stretchy, mild pull, and crumbled feta works for a brinier twist—just stick to ¼ cup per tortilla to avoid messy oozing.
5.How long does this actually take to make on a busy weekday morning? ▾
This recipe is built for speed, with a total active and cook time of right around 10 minutes from fridge to plate. It takes 2 minutes to preheat your skillet, 3 minutes to prep tortillas, cheese, and egg, and 4 to 5 minutes total to toast each tortilla to crispy, golden perfection, no fancy equipment required.
6.Why is my cheese not melting all the way when I toast the tortilla? ▾
This usually happens if your cheese is ice-cold straight from the fridge, or if you’re using thick block cheese you didn’t shred finely enough. Shred cheddar fresh right before cooking (pre-shredded cheese has anti-caking agents that hinder melt) and add it right after the egg, so it has time to fully melt as the tortilla toasts.
7.Can I add extra fillings without ruining the crispy texture? ▾
You absolutely can, as long as you keep extra fillings thin, low-moisture, and portioned lightly. Think thin-sliced deli ham, fully squeezed sautéed spinach, diced roasted peppers, or cooked crumbled bacon. Piling on too many wet, bulky fillings will weigh the tortilla down, trap steam, and lead to soggy toast instead of crisp results.
8.Do I need a nonstick skillet to make this, or can I use cast iron? ▾
You don’t need a specialty nonstick skillet to get perfect results. A well-seasoned cast iron skillet works fantastically here, as it holds even heat to create an evenly golden, crispy tortilla surface. If using stainless steel, just add an extra ½ teaspoon of olive oil and let the pan preheat fully to prevent the egg from sticking.
9.What’s the best way to serve these so they stay crispy until everyone eats? ▾
Serve them immediately right out of the skillet for the best crunch, topped with sliced green onion as the recipe suggests. If you’re making a batch for multiple people, set finished toasts on a wire rack over a baking sheet in a 200°F oven instead of piling them on a plate, which traps steam and softens tortillas fast.
10.Can I make these ahead for meal prep, or do they only taste good fresh? ▾
These are best eaten fresh for peak crispiness, but you can prep components ahead to cut down on cook time on busy days. Shred your cheddar, slice your green onion, and portion out tortillas 2 to 3 days ahead. I don’t recommend assembling and cooking them ahead, as refrigerated cooked tortillas turn soggy and chewy when reheated.
11.How do I prevent the egg from running off the tortilla while it cooks? ▾
The 8-inch tortilla size helps create a natural border, but you can make a tiny raised lip around the tortilla edge by pressing the outer ½ inch gently up the sides of the preheated pan as it softens. Pour the egg slowly right in the center, and spread it gently so it doesn’t flow over that raised edge as it sets.
12.Is there a way to make this dairy-free without losing that rich, cheesy flavor? ▾
You can easily make this dairy-free by swapping sharp cheddar for a high-melting dairy-free cheddar-style shred, and using a light brush of dairy-free butter alongside the olive oil for extra richness. Just avoid watery, fresh dairy-free cheeses that won’t melt properly, as those will leave you with a soggy, uneven tortilla toast.
13.What are some quick, no-cook topping ideas to jazz up the basic recipe? ▾
The basic version with sharp cheddar, set egg, and sliced green onion is delicious on its own, but you can add quick toppings right after it comes off the pan. Try a dash of hot sauce, a sprinkle of everything bagel seasoning, a dollop of mild salsa, a pinch of red pepper flakes, or a squeeze of fresh lime for bright, fast flavor.

Comments (16)

2 days ago

OMG this is such a game changer! I’ve been throwing out stale tortillas for months and now I turn them into these crispy toasts for my kids’ after school snacks? They beg for them every single day. Took literally 5 minutes like the recipe said, no mess, perfect crunch. I sprinkled a little cinnamon sugar on mine for a sweet version and *chef’s kiss*

yesterday

Wait the cinnamon sugar hack is genius! I’ve only done savory with garlic powder so far, gotta try that this weekend

yesterday

Love that sweet twist! The cinnamon sugar version works so well with a little dollop of whipped cream on top, too. So glad your kids are enjoying them!

3 days ago

Perfect for my tiny dorm kitchen! I don’t have an oven or toaster, just a cheap little pan, and these came out so crispy I thought I used a deep fryer. Put avocado and a fried egg on top for a 2 minute breakfast? Absolute win for 8am classes

2 days ago

So stoked this works for dorm cooking! That avocado and fried egg topping combo is one of our go-to quick breakfasts too, great call.

1 week ago

Brought a big platter of these to our neighborhood block party last weekend, served with a side of queso and salsa, and people were hounding me for the recipe all night! They stay crispy way longer than regular tortilla chips, no sogginess even after sitting out for a couple hours. 10/10 will make again for every potluck from now on

5 days ago

Wait, does this work with the grain free almond flour tortillas? I tried it last night and they got a little too crispy almost burnt after 2 minutes on medium heat, not sure if I had the pan too hot? Flavor was still great though, just not perfect

3 days ago

I use almond flour tortillas for this all the time! Turn your heat down to medium-low, they cook way faster than regular flour ones, I only do 1 minute per side and they’re perfect

3 days ago

Great catch from Molly! Grain-free tortillas have a different moisture content so they do crisp much quicker — medium-low heat and shorter cook time is exactly the trick to avoid burning. Hope that helps for next time!

2 weeks ago

Added these to my weekly meal prep rotation! I make a big batch on Sunday, store them in an airtight container, and use them as toast replacements for breakfast, dippers for hummus at lunch, even a quick little pizza base for busy weeknights. So versatile, way cheaper than buying those fancy pre-made crispbreads from the grocery store

1 week ago

The quick mini pizza base hack is one of our favorite uses too! They hold up great to sauce and cheese even after being stored, so smart for meal prep.

yesterday

Brushed mine with melted garlic butter and a sprinkle of parmesan while they were still hot and it tasted exactly like the crispy garlic bread you get at Italian restaurants, but 1/10th the effort. My wife thought I picked it up from our local takeout spot until I told her I made it in 5 minutes with a leftover tortilla. SO good

30 minutes ago

My 7 year old who refuses 90% of the food I make ate THREE of these after school today! I let her pick her own toppings (she went for peanut butter and jelly, don’t judge) and she said it’s better than the toast I make in the toaster? Wild. Will be making this every single week now

5 minutes ago

Oh my kid does peanut butter and banana on these too! It’s the crunch, kids go crazy for the extra crispy texture for some reason

just now

There’s zero judgment here — peanut butter (and jelly, or banana) on these crispy toasts is an unbeatable combo. We’re so thrilled your kiddo approved, that’s the best review we could get!

2 hours ago

Okay full transparency I burned the first two because I cranked the heat too high thinking faster = crispier, but once I turned it down to medium like the recipe said? Perfect golden crunch, no burnt spots, so easy even someone who burns boiling water like me can pull it off

30 minutes ago

We’ve all been there with cranking the heat too high! So glad you adjusted and got that perfect crisp on the next batch — that’s the win we love to see.

5 minutes ago

Used corn tortillas instead of flour because that’s all I had in the fridge and it came out even better than I expected! Super crispy, perfect for dipping in guac, way better than store bought chips that are always half crushed in the bag. Will never buy tortilla chips again honestly

yesterday

Made these for a little impromptu brunch with my roommates yesterday, topped them with lox, cream cheese, and a little caper, and everyone thought I spent forever making fancy appetizers? Little did they know it took me 10 minutes total to make a whole stack. Pro tip: a tiny squeeze of lemon on top takes it to the next level

2 hours ago

Wait the lox and cream cheese combo is elite! I did that last weekend too, added a little everything bagel seasoning and it was better than any bagel I’ve had in months

2 hours ago

The everything bagel seasoning addition is chef’s kiss! These are the perfect impromptu brunch base because they’re so quick and pair with basically any topping you have on hand. So glad your roommates loved them!

3 days ago

This is such a perfect replacement for regular toast when I’m trying to cut back on carbs! I use low carb whole wheat tortillas, top with a little cottage cheese and everything seasoning, and it’s so satisfying I don’t even miss my usual sourdough. 5 minutes to make, zero fancy ingredients, exactly what I need for busy work mornings

2 days ago

Wait I do the exact same thing! I add a little sliced avocado on top too, it’s the most filling quick breakfast I’ve found that doesn’t make me crash by 10am

1 week ago

Made these on my little camp stove last weekend on a car camping trip and they were perfect! No fancy equipment needed, just a cast iron pan, and they held up great when we topped them with canned beans and cheese for a quick camp lunch. Way less hassle than bringing bread that gets squished in the cooler

2 days ago

Has anyone tried making these without oil? I’m trying to cut back on added oil in my cooking and I’m worried they’ll stick to the pan or not get crispy if I don’t use a little spray or butter

yesterday

I make them without oil all the time! Just use a good non-stick pan, keep it on medium heat, and flip them every 30 seconds until they’re crispy, they don’t stick at all. Just don’t walk away because they cook fast

yesterday

Great tip from Pete! A well-seasoned cast iron or non-stick pan works perfectly for oil-free cooking here, you just want to keep a close eye on them since they crisp up so quickly. Thanks for asking!

2 weeks ago

I always end up with half a pack of tortillas left after taco night that go bad before I can use them, and this recipe has saved me so much food waste! Last night I turned leftover flour tortillas into these toasts, topped them with leftover taco meat and cheese, and made little mini taco melts for dinner. My husband said it’s his new favorite quick meal

1 week ago

Reducing food waste is such a great bonus of this recipe! Those mini taco melts sound absolutely delicious, what a perfect way to repurpose taco night leftovers.

just now

I was honestly expecting these to be kinda mid, like just a warm tortilla, but no? The pan toasting brings out this nutty, toasty flavor from the tortilla that you don’t get just microwaving it, and the crunch is unreal. I ate a whole stack plain while I was waiting for my soup to heat up for lunch. 10/10, way better than I thought it would be

3 days ago

Made a huge pile of these for our college football watch party last weekend, served with queso, salsa, and guac, and they were gone in 15 minutes. People kept asking if I fried them because they were so crispy, they couldn’t believe I just toasted them in a dry pan with a tiny bit of butter. So easy, way less cleanup than frying chips

2 days ago

These are made for game day spreads! No deep frying means way less mess and no greasy fingers, which is always a win when you’re juggling food and watching the game. So glad they were a hit!



