
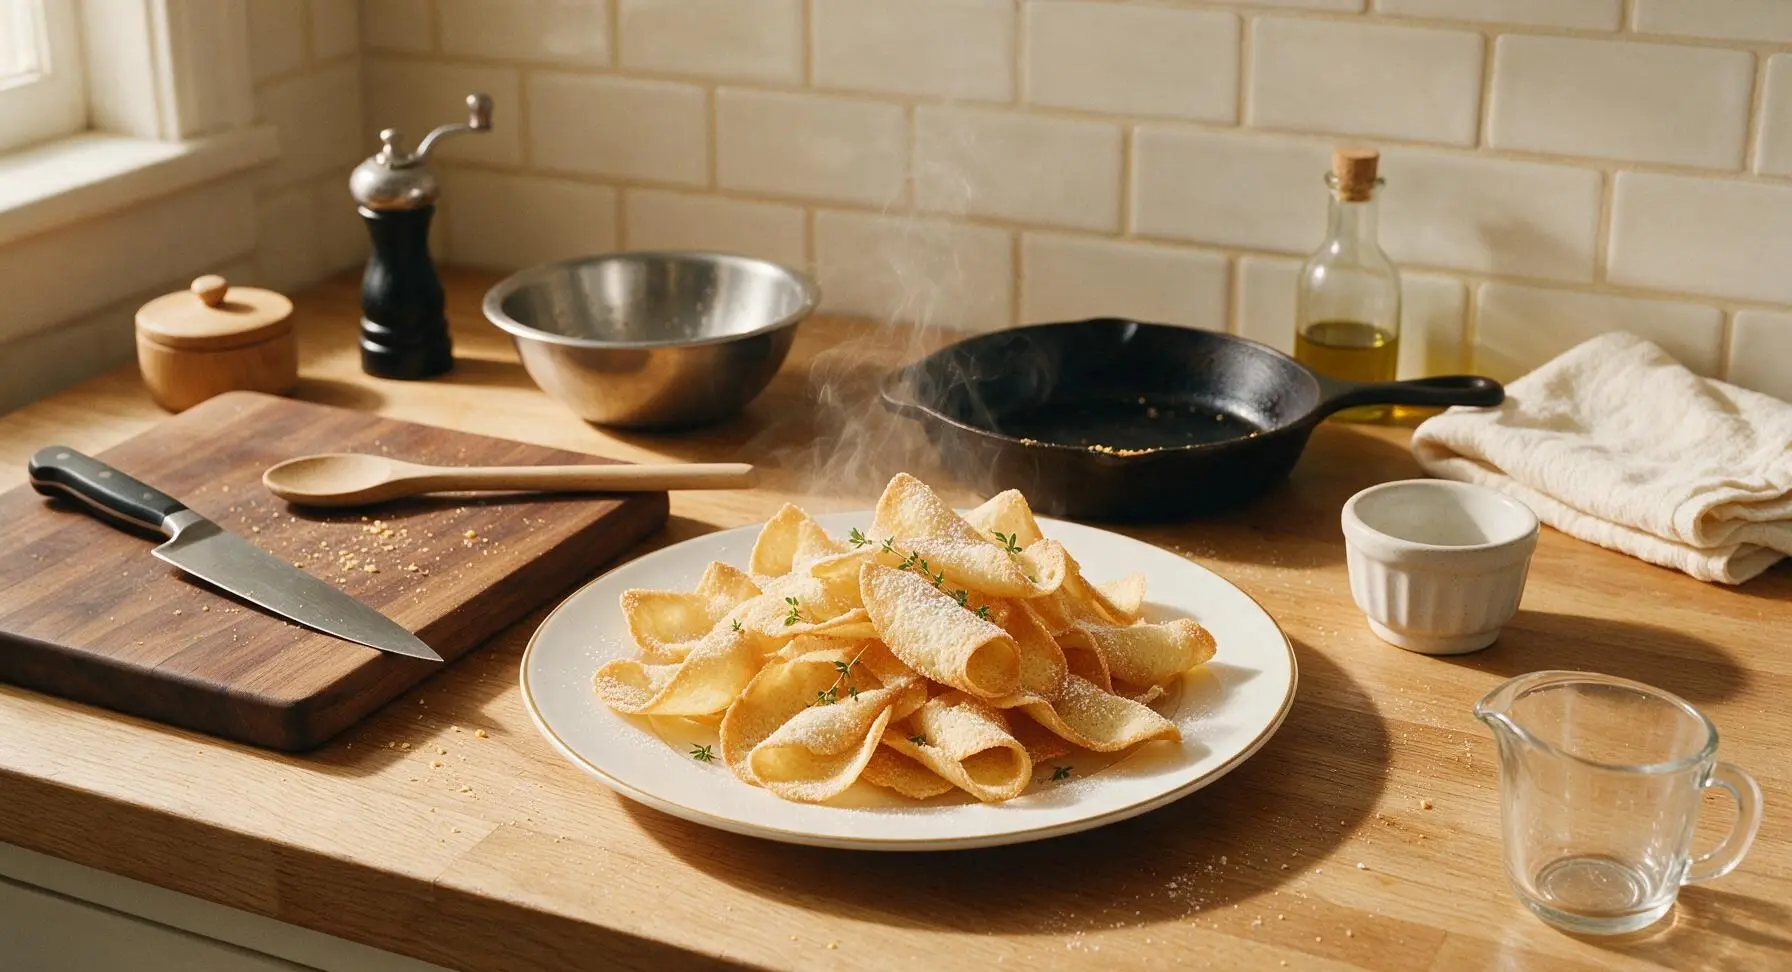
Tuiles

title 1
Tuiles
⏱️ cook time 30 minutes
🍽️ servings 12
⚡ Difficulty medium

intro

Delicate, paper-thin, buttery crisp French wafers with a signature curved shape, perfect for garnishing desserts or serving alongside coffee for elegant gatherings.

Ingredients
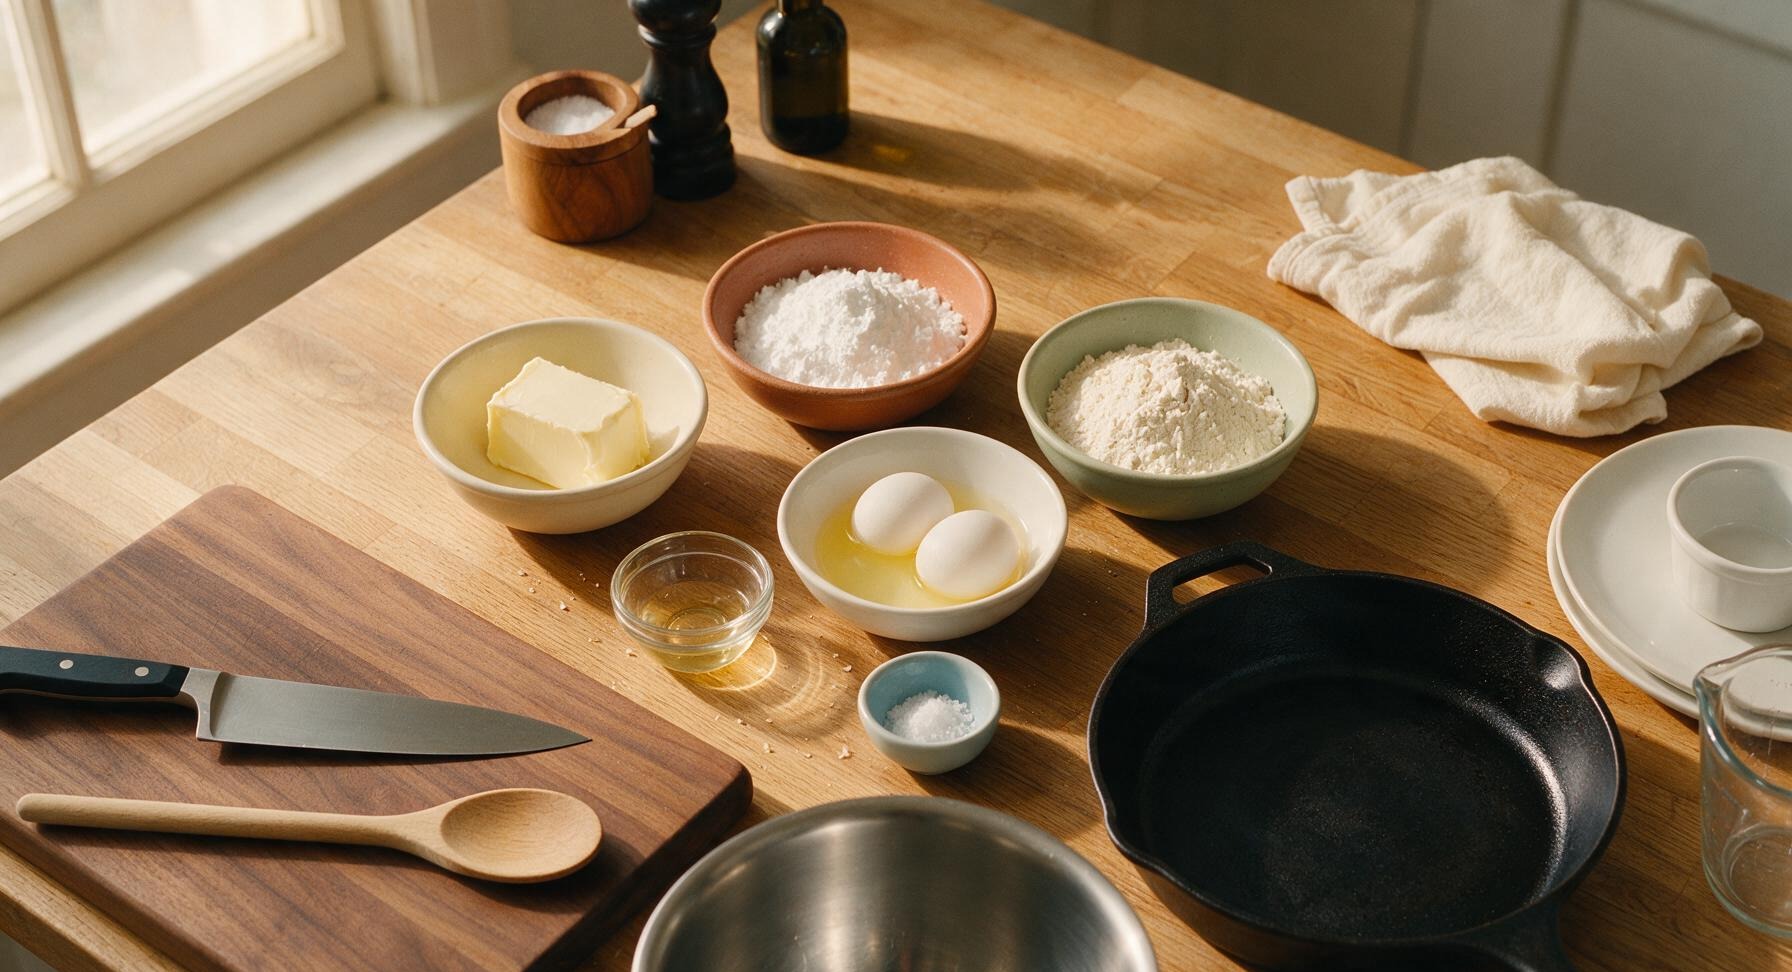
Unsalted butter 55g (softened to room temperature)
Powdered sugar 70g
All-purpose flour 50g
Large egg whites 2 (60g total, room temperature)
Pure vanilla extract 1 tsp
Fine sea salt 1/8 tsp

Steps

1

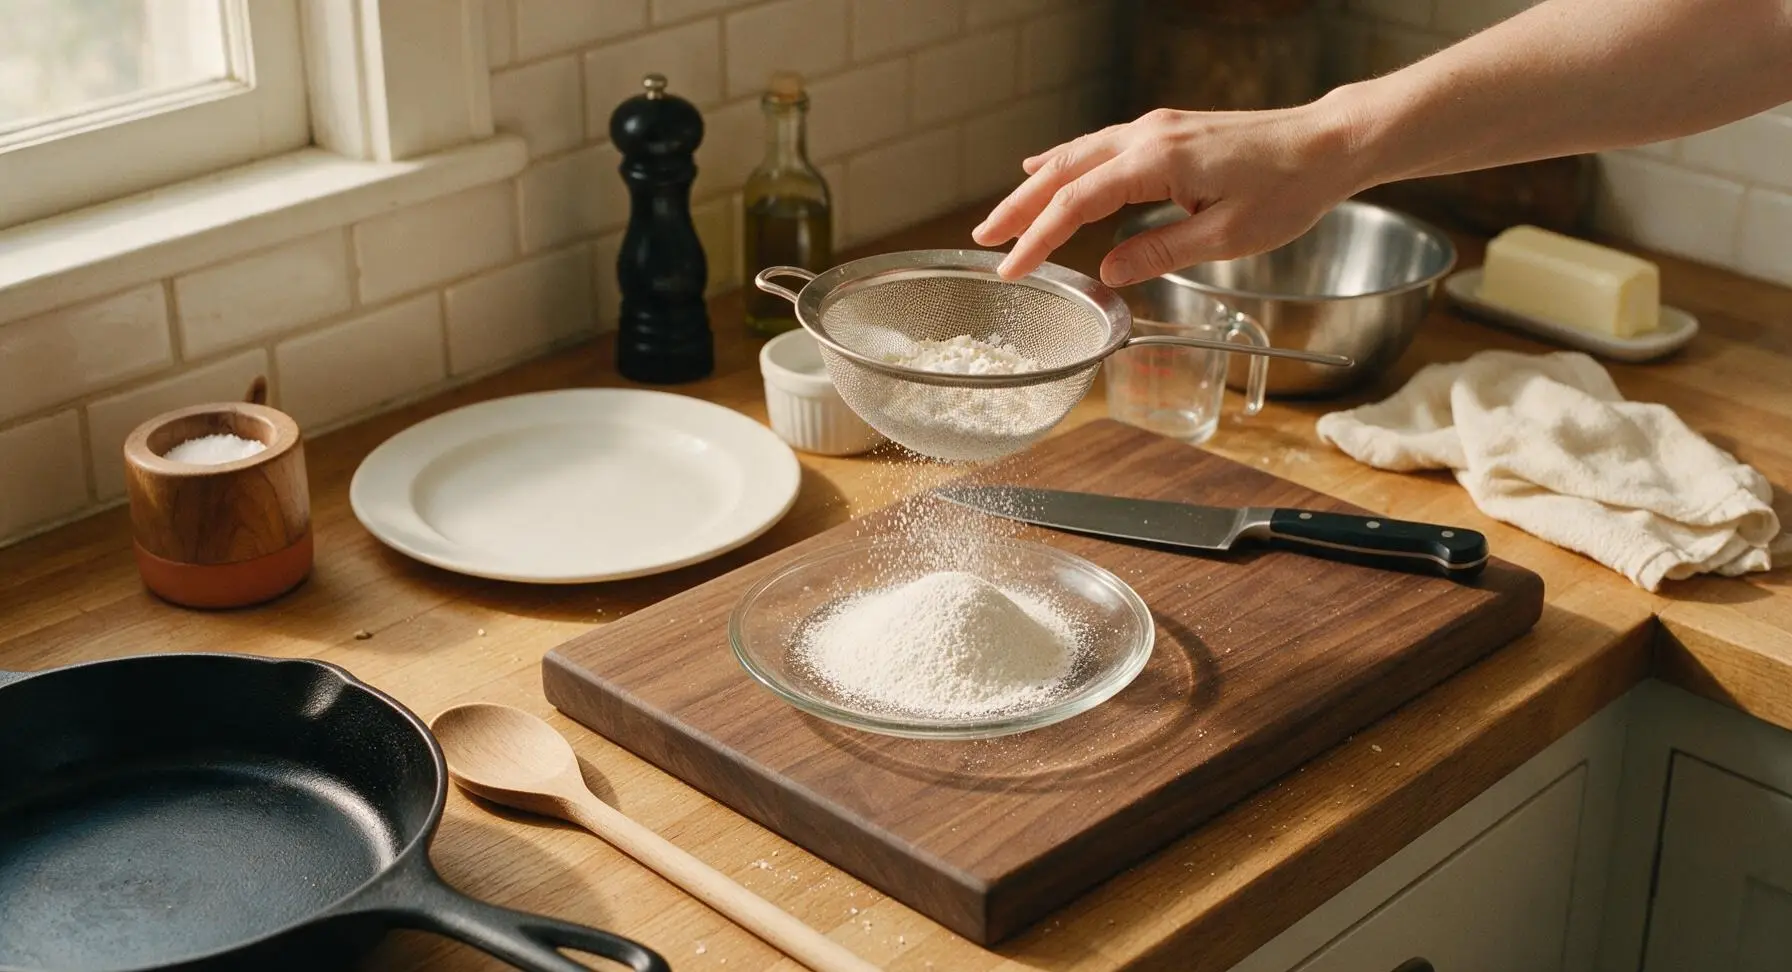
Sift Dry Ingredients

Set the fine-mesh stainless steel sieve over the small clear glass plate. Add 70g powdered sugar, 50g all-purpose flour, and 1/8 tsp fine sea salt to the sieve. Tap the sieve edge gently until all dry ingredients pass through, discarding any hard sugar or flour lumps trapped in the mesh. Set the sifted mixture aside.
Step 1
step1:Sift Dry Ingredients
2

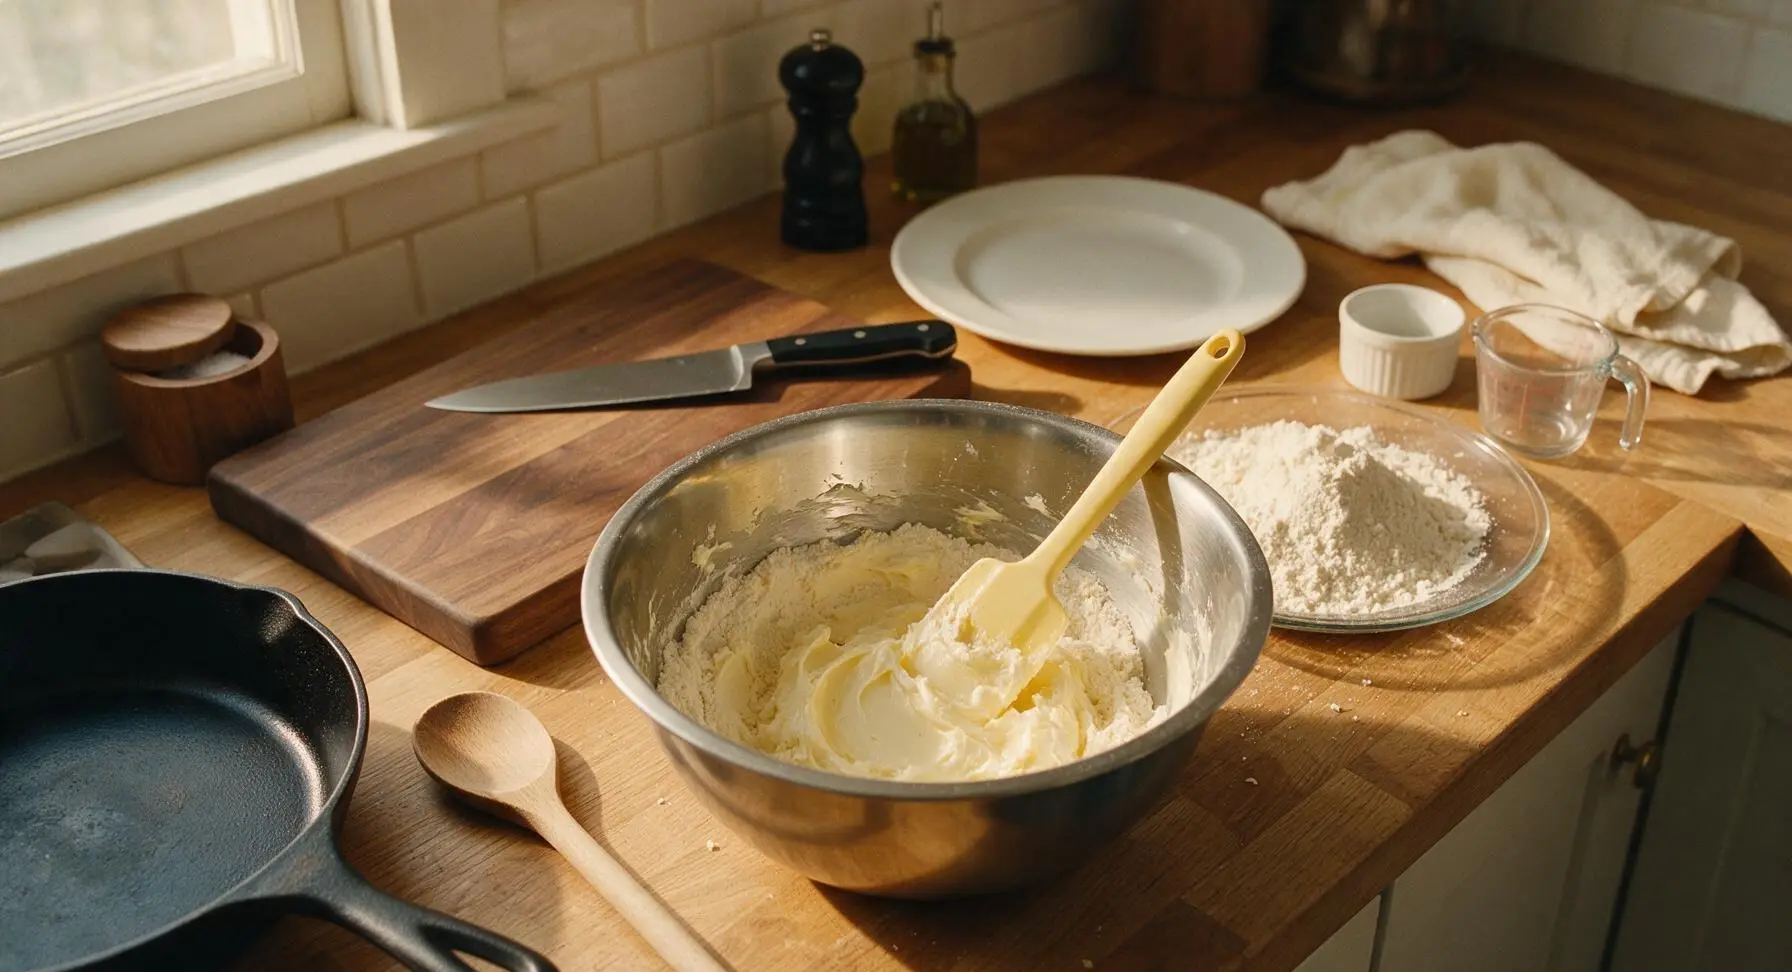
Cream Butter Base

Add the softened 55g unsalted butter to the empty stainless steel mixing bowl. Use the pale yellow silicone spatula to press and stir the butter until it is completely smooth and spreadable. Add 1/3 of the sifted dry ingredient mixture, stirring constantly until fully incorporated into a thick, smooth paste with no lumps.
Step 2
step2:Cream Butter Base
3

Incorporate Egg Whites

Add the room-temperature egg whites 1 tablespoon at a time, stirring vigorously with the silicone spatula after each addition to fully combine before adding more. Take care not to add egg whites too quickly, as this can cause the batter to curdle. Once all egg whites are added, stir in 1 tsp pure vanilla extract until the mixture is completely smooth, with a consistency similar to heavy cream.
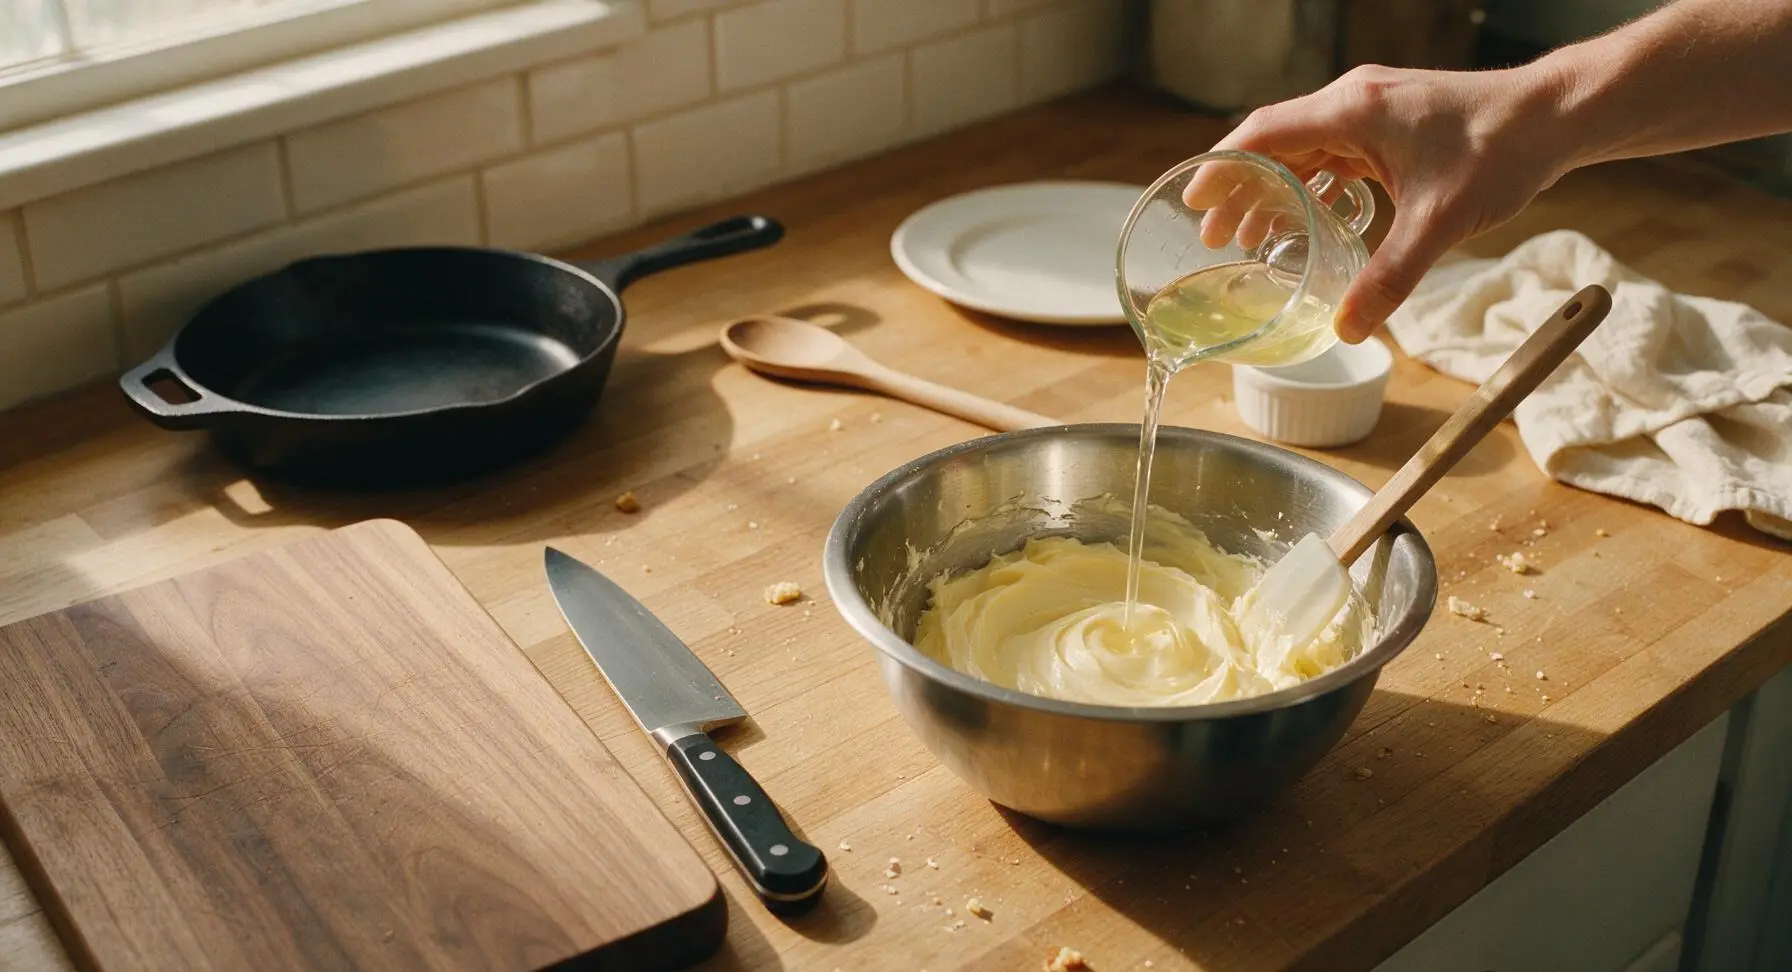
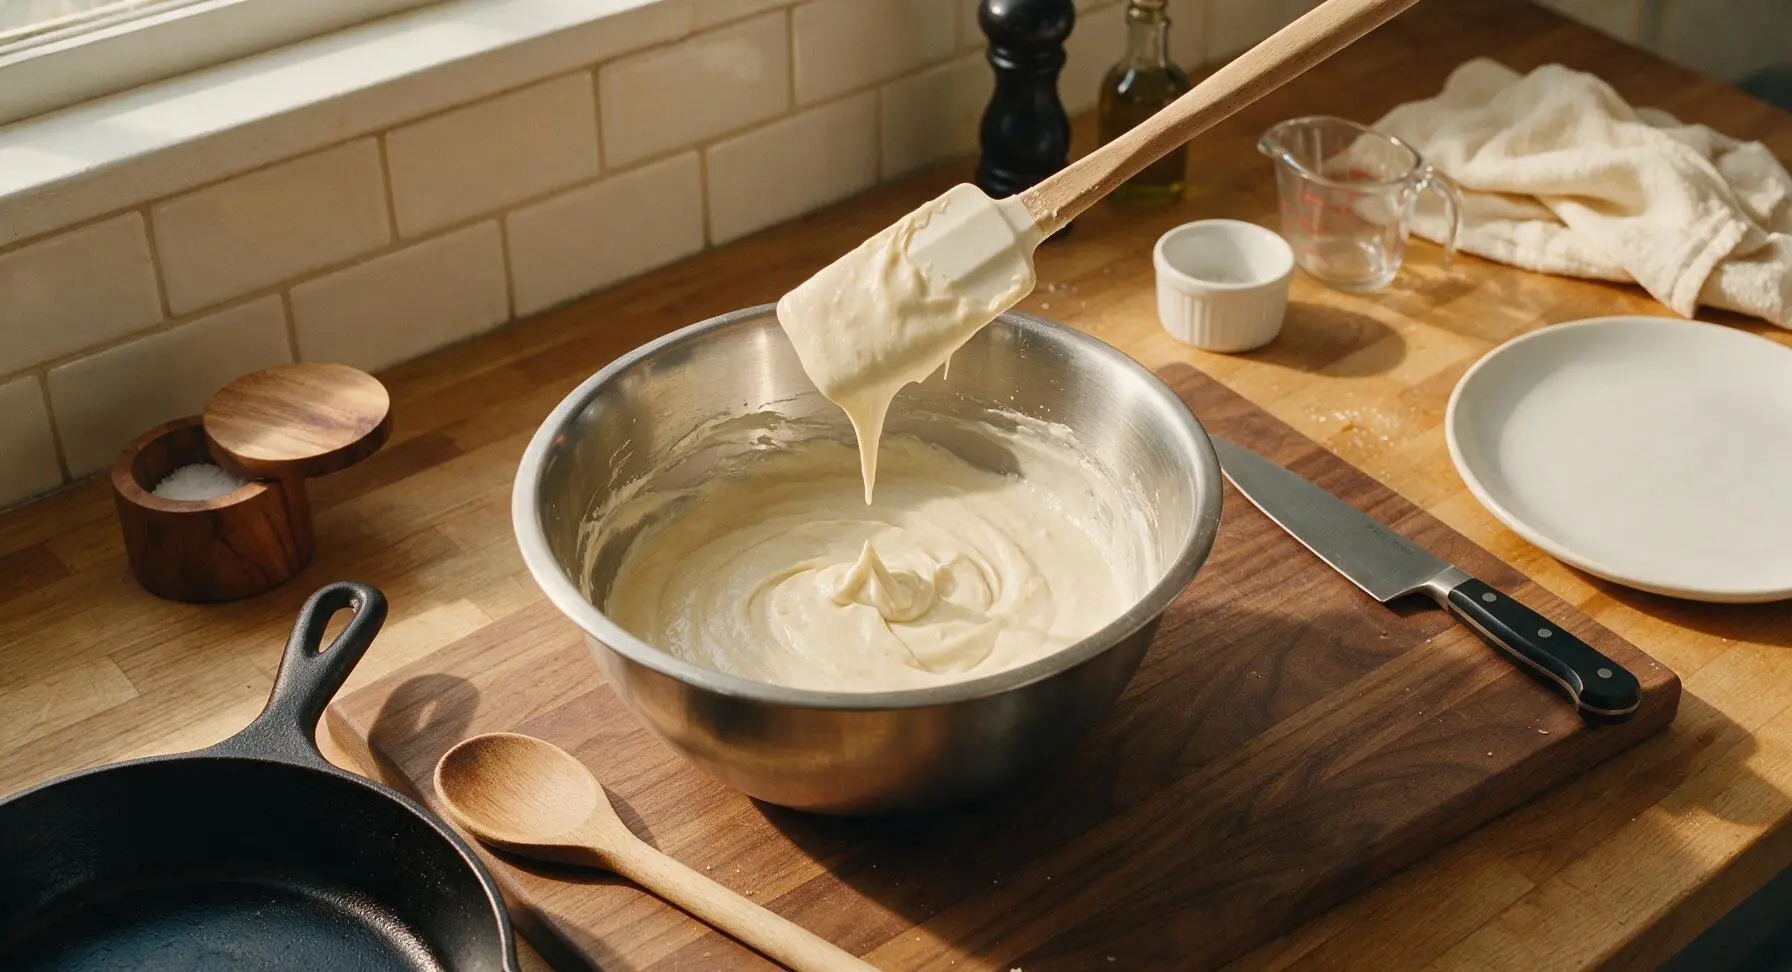
Step 3
step3:Incorporate Egg Whites
Step 3
step3:Incorporate Egg Whites
4

Fold in Remaining Flour

Add the remaining sifted dry ingredient mixture to the bowl in two equal additions, folding gently with the silicone spatula after each addition until no dry flour streaks remain. Do not overmix, as this can develop gluten and make tuiles tough instead of delicate. Cover the bowl with a sheet of plastic wrap and chill in the refrigerator for 15 minutes to firm the batter slightly for easier spreading.
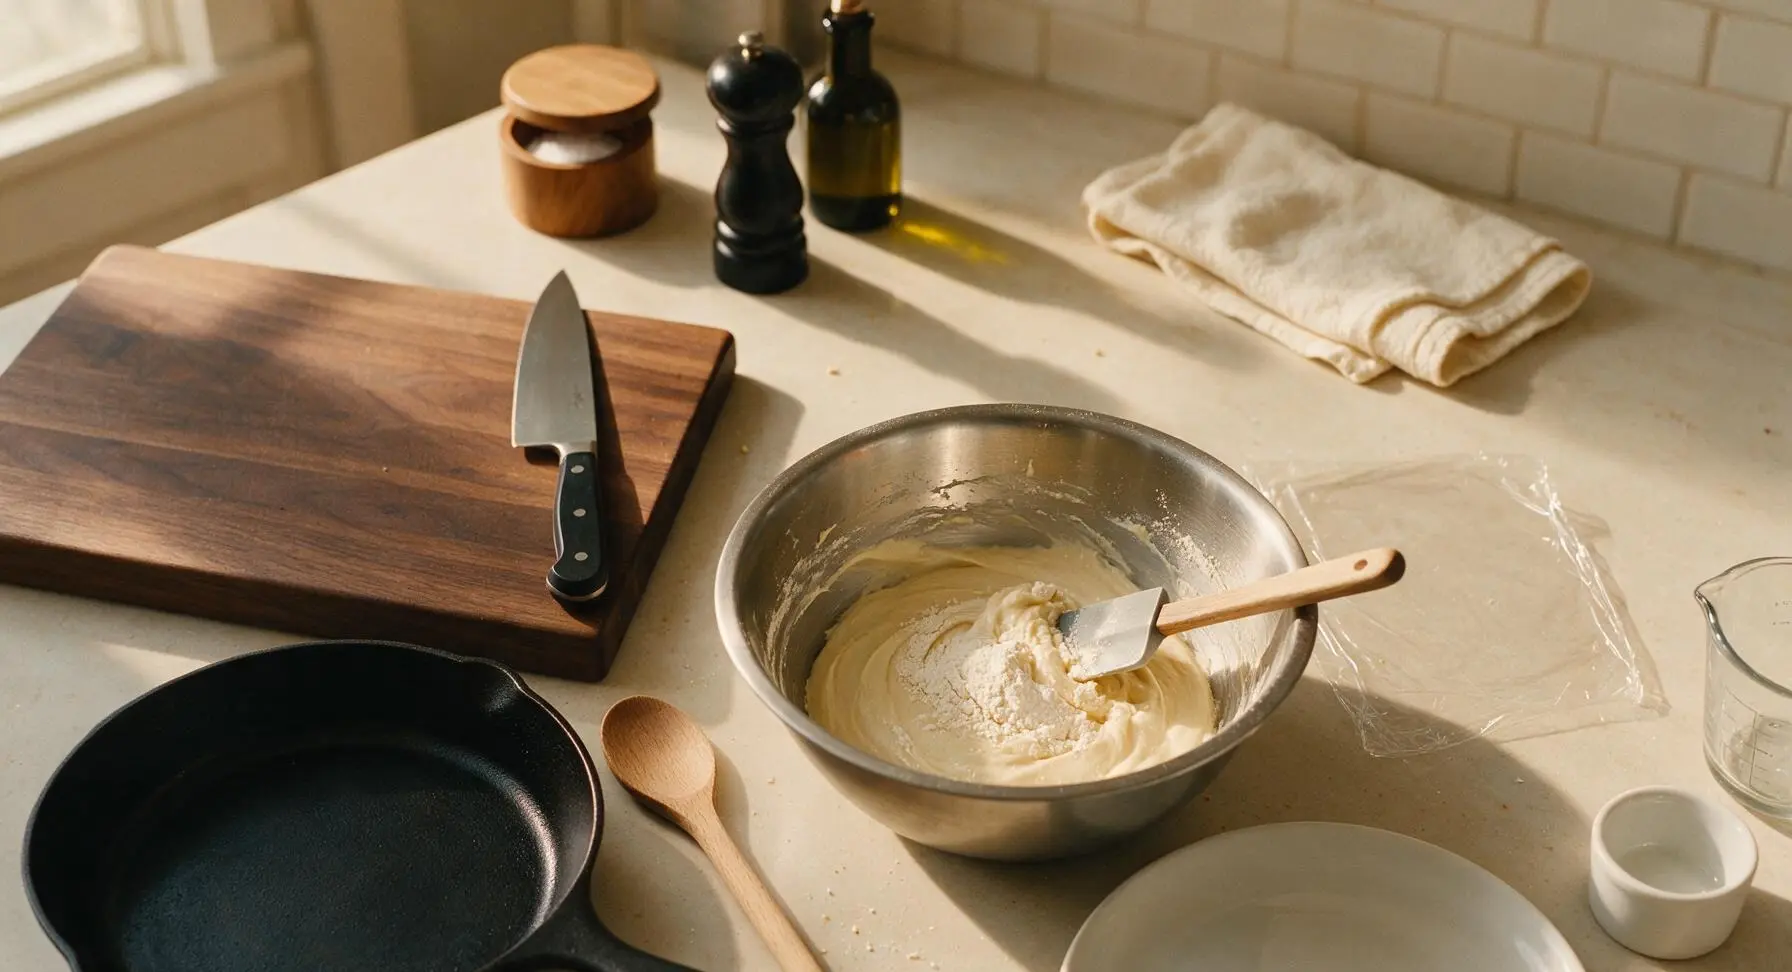
Step 4
step4:Fold in Remaining Flour
5

Prep Baking Station

While the batter chills, preheat oven to 180°C (350°F) with a rack positioned in the exact center. Line the heavy-gauge half-sheet baking pan with a sheet of unbleached tan parchment paper, smoothing out any wrinkles to create a perfectly flat baking surface. Gather the small offset spatula, beech wood rolling pin, and chrome wire cooling rack and set them next to the oven for quick access during the time-sensitive shaping step.
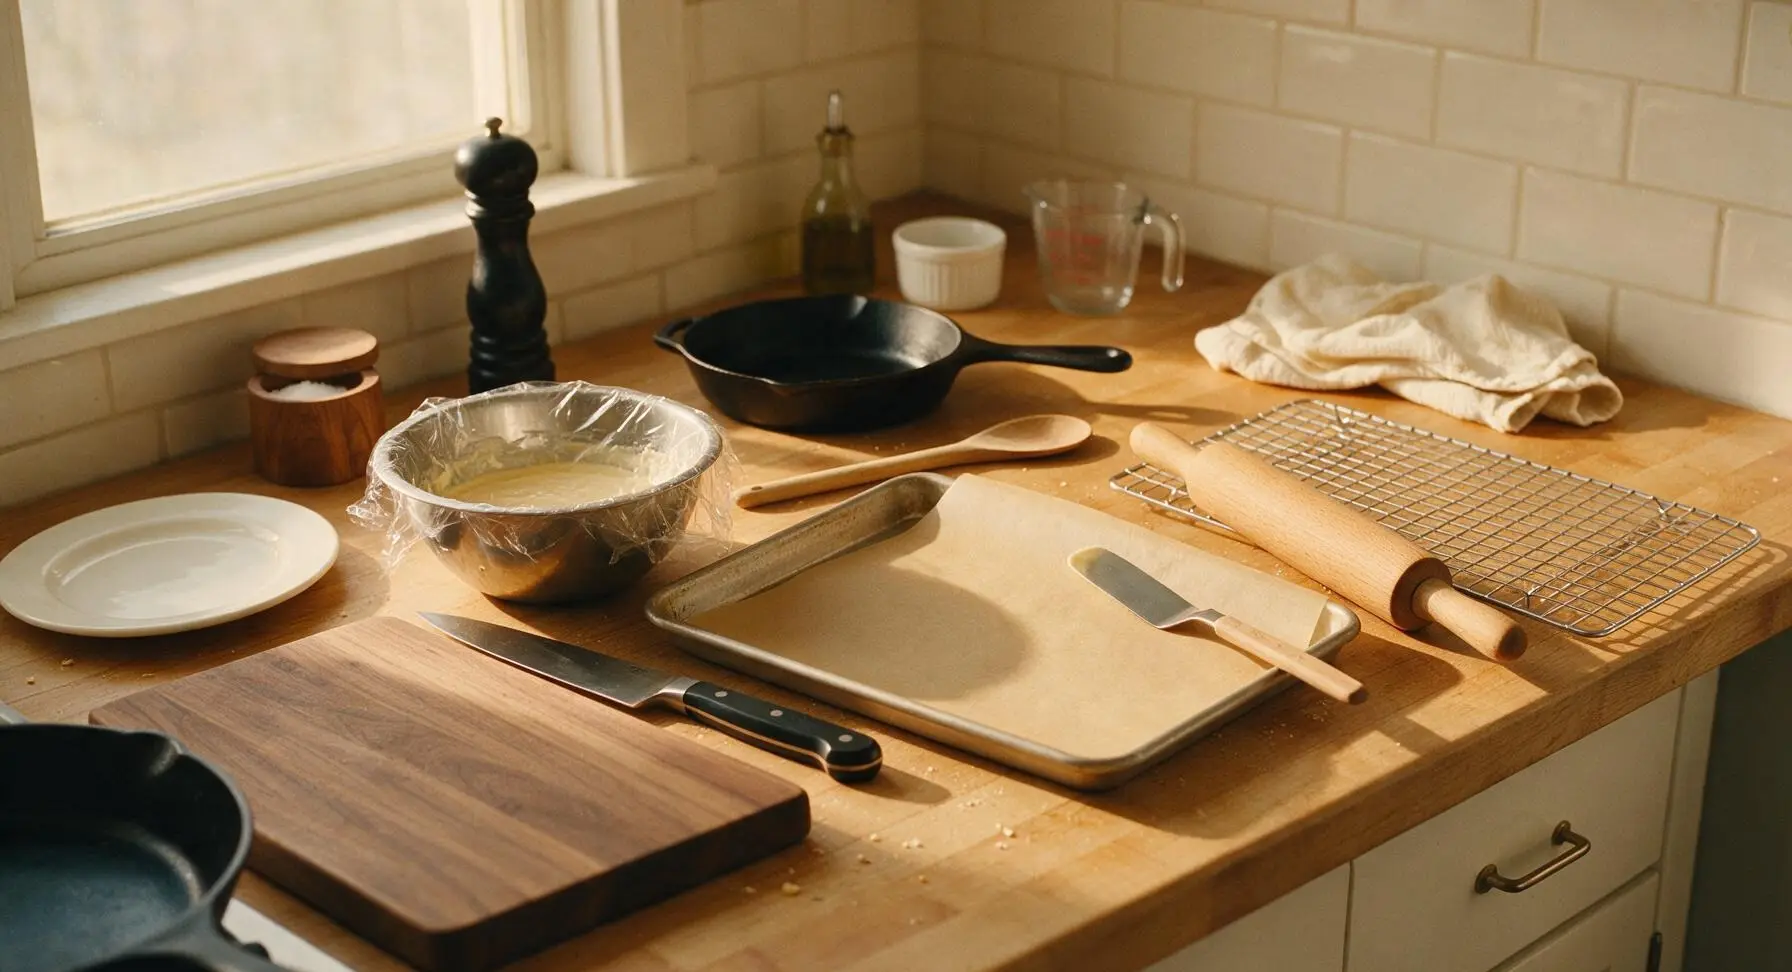
Step 5
step5:Prep Baking Station
6

Spread Thin Batter Circles

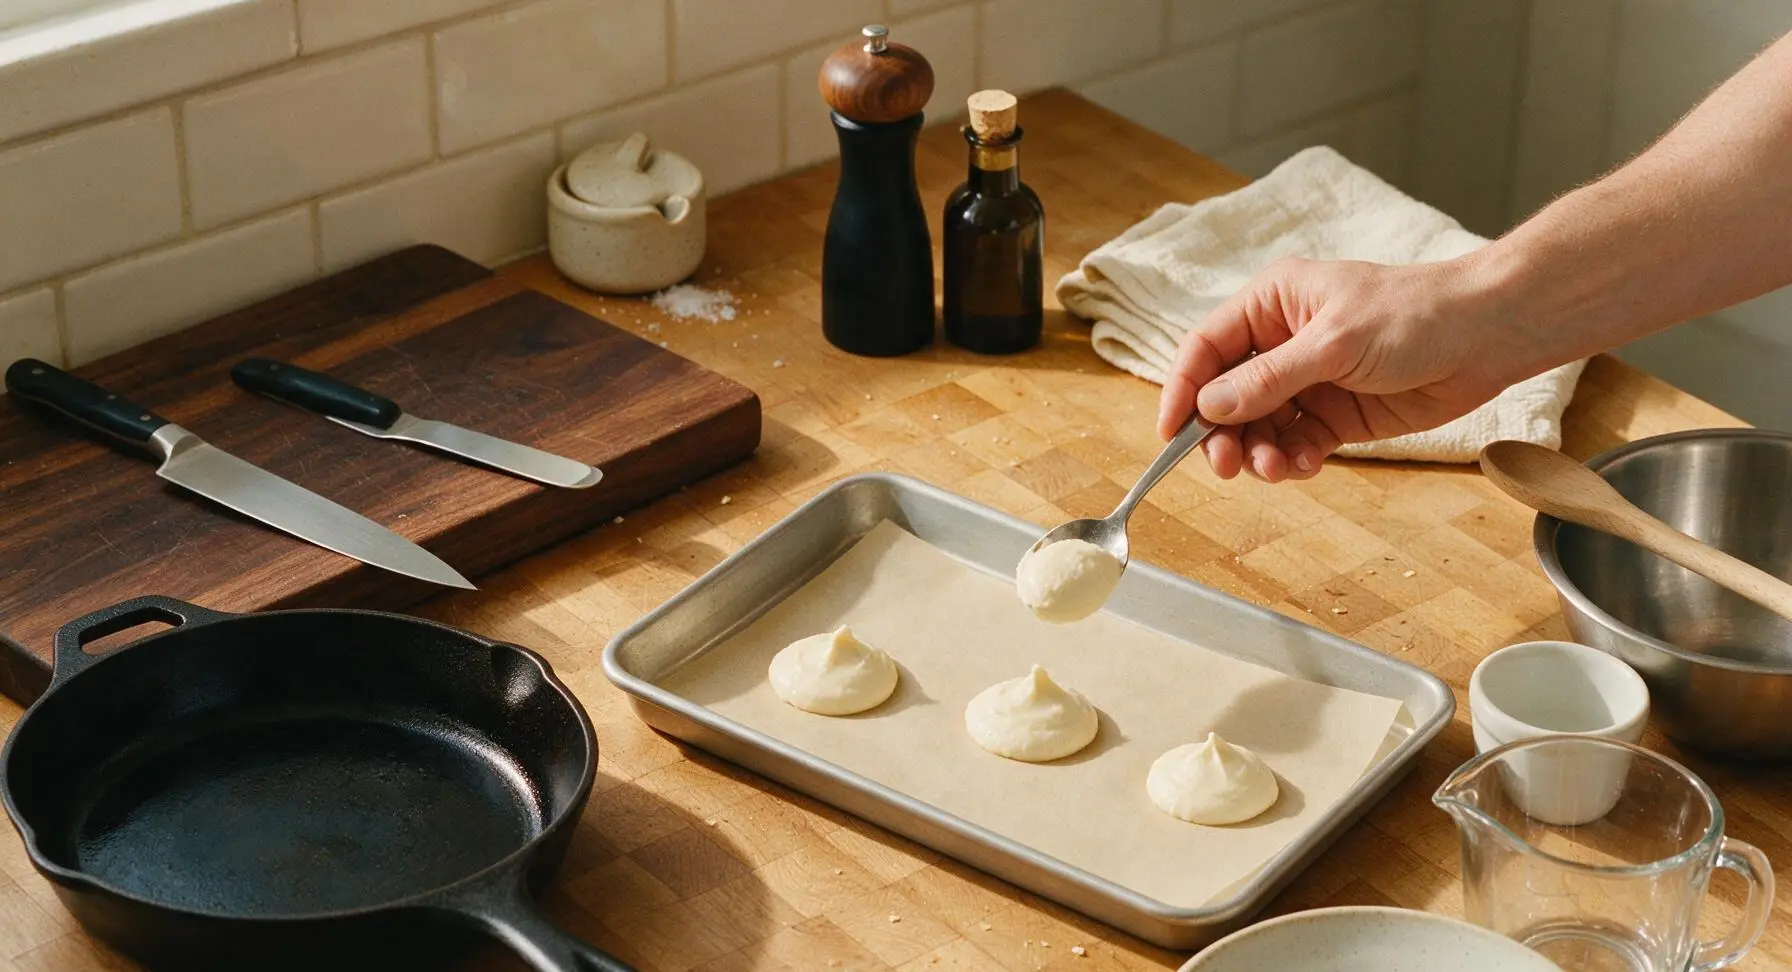
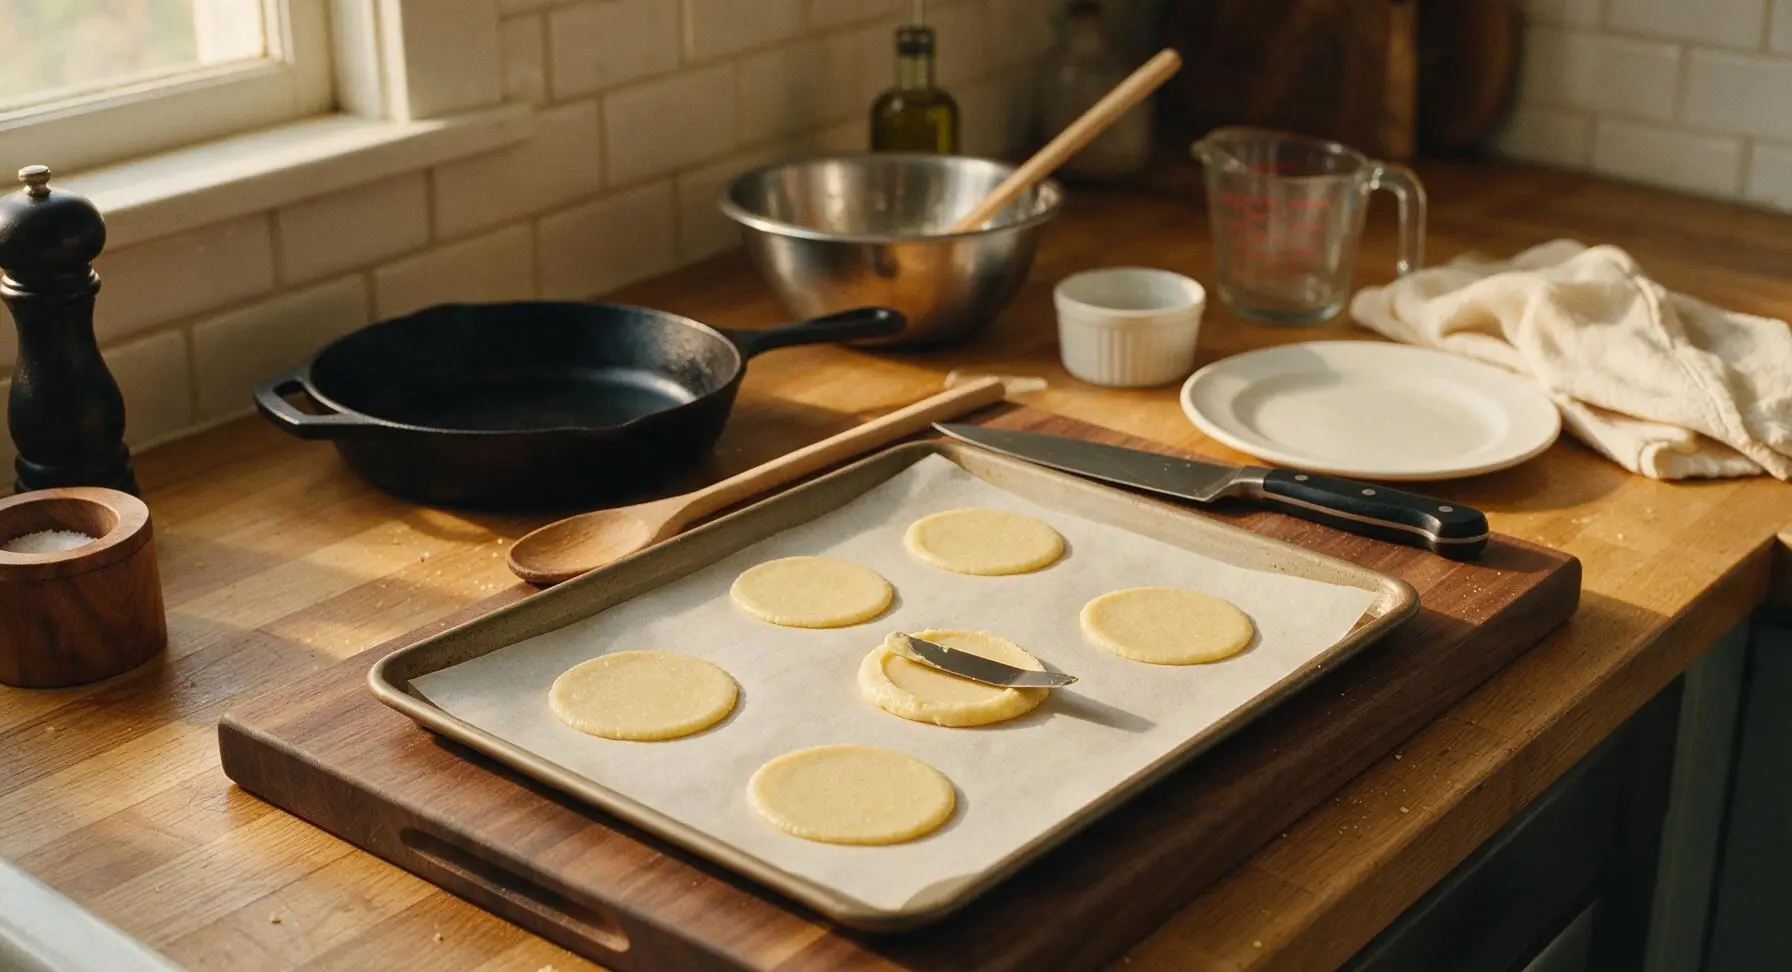
Remove chilled batter from the refrigerator. Scoop 1 level teaspoon of batter per tuile onto the parchment-lined pan, leaving 8cm (3 inches) of clear space between each scoop to allow for spreading during baking. Use the small offset spatula to spread each scoop into an even, paper-thin 8cm (3 inch) circle, keeping the edges as smooth as possible. Bake only 6 tuiles per batch to leave enough time to shape them before they harden.
Step 6
step6:Spread Thin Batter Circles
Step 6
step6:Spread Thin Batter Circles
7

Bake to Golden Edges

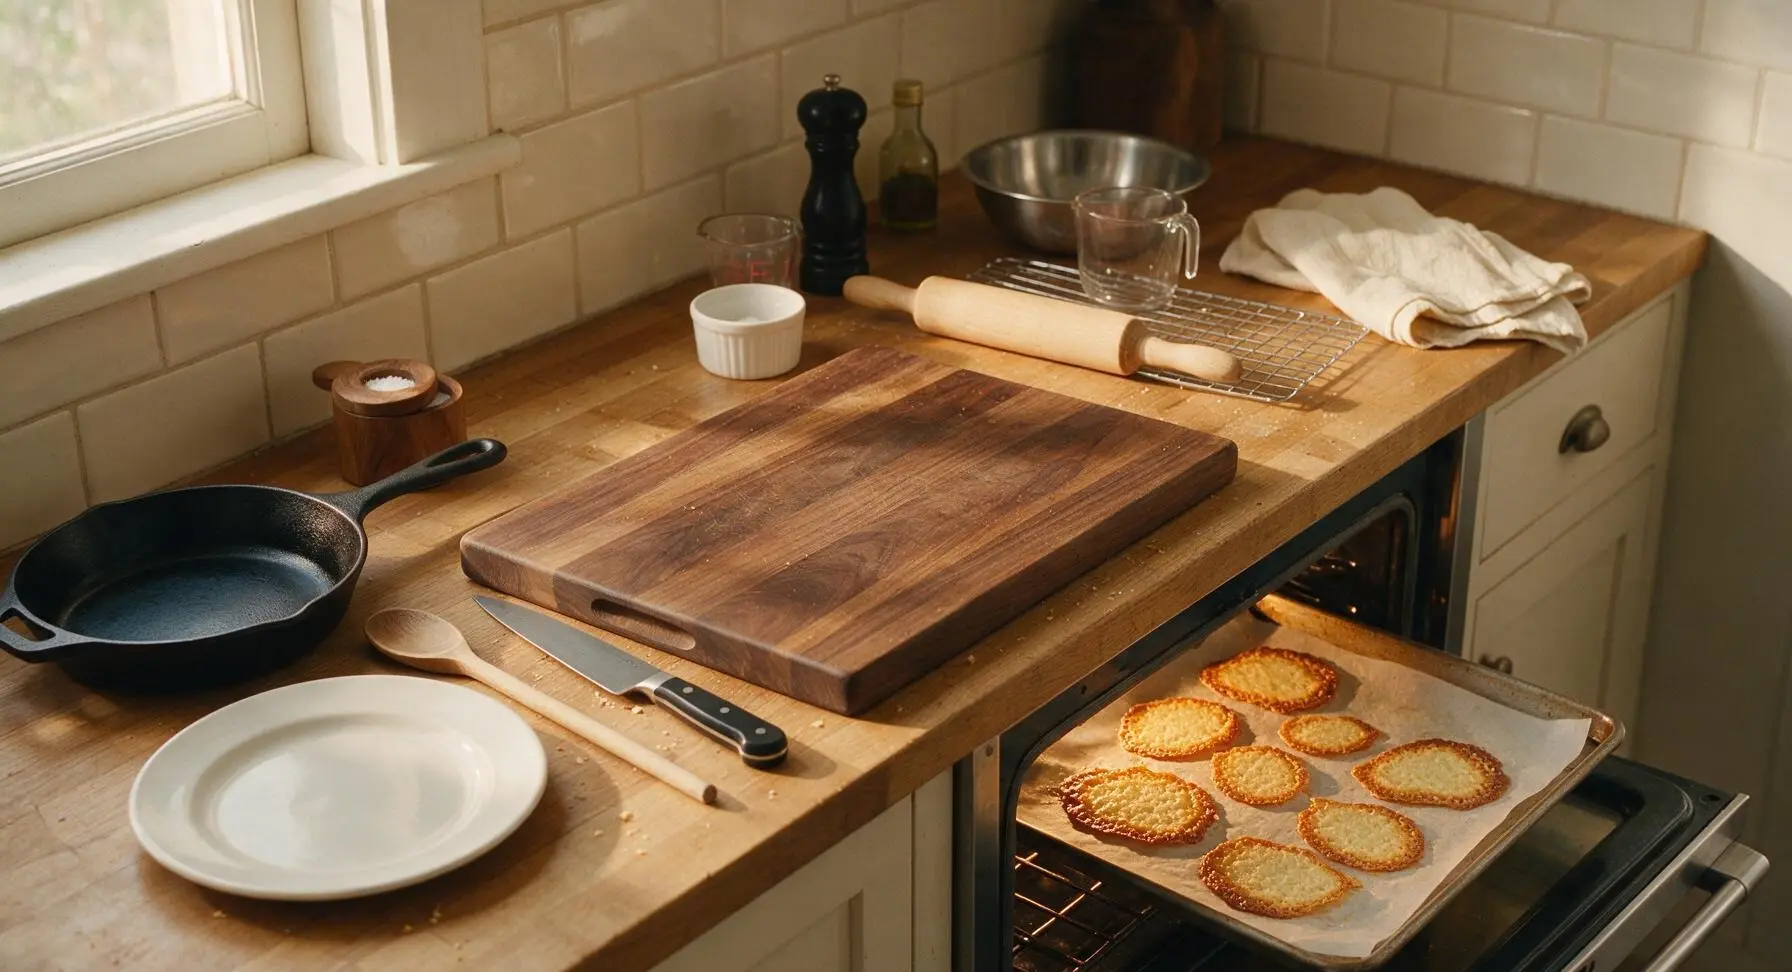
Place the pan in the preheated oven and bake for 6-7 minutes, watching closely after the 5 minute mark to avoid burning. Tuiles are fully baked when the outer 1cm edge is a deep golden brown and the center is a pale, even gold, with no opaque raw batter spots remaining. Remove the pan from the oven immediately once done, as tuiles can burn in as little as 30 seconds past the ideal doneness.
Step 7
step7:Bake to Golden Edges
8

Shape and Cool Tuiles

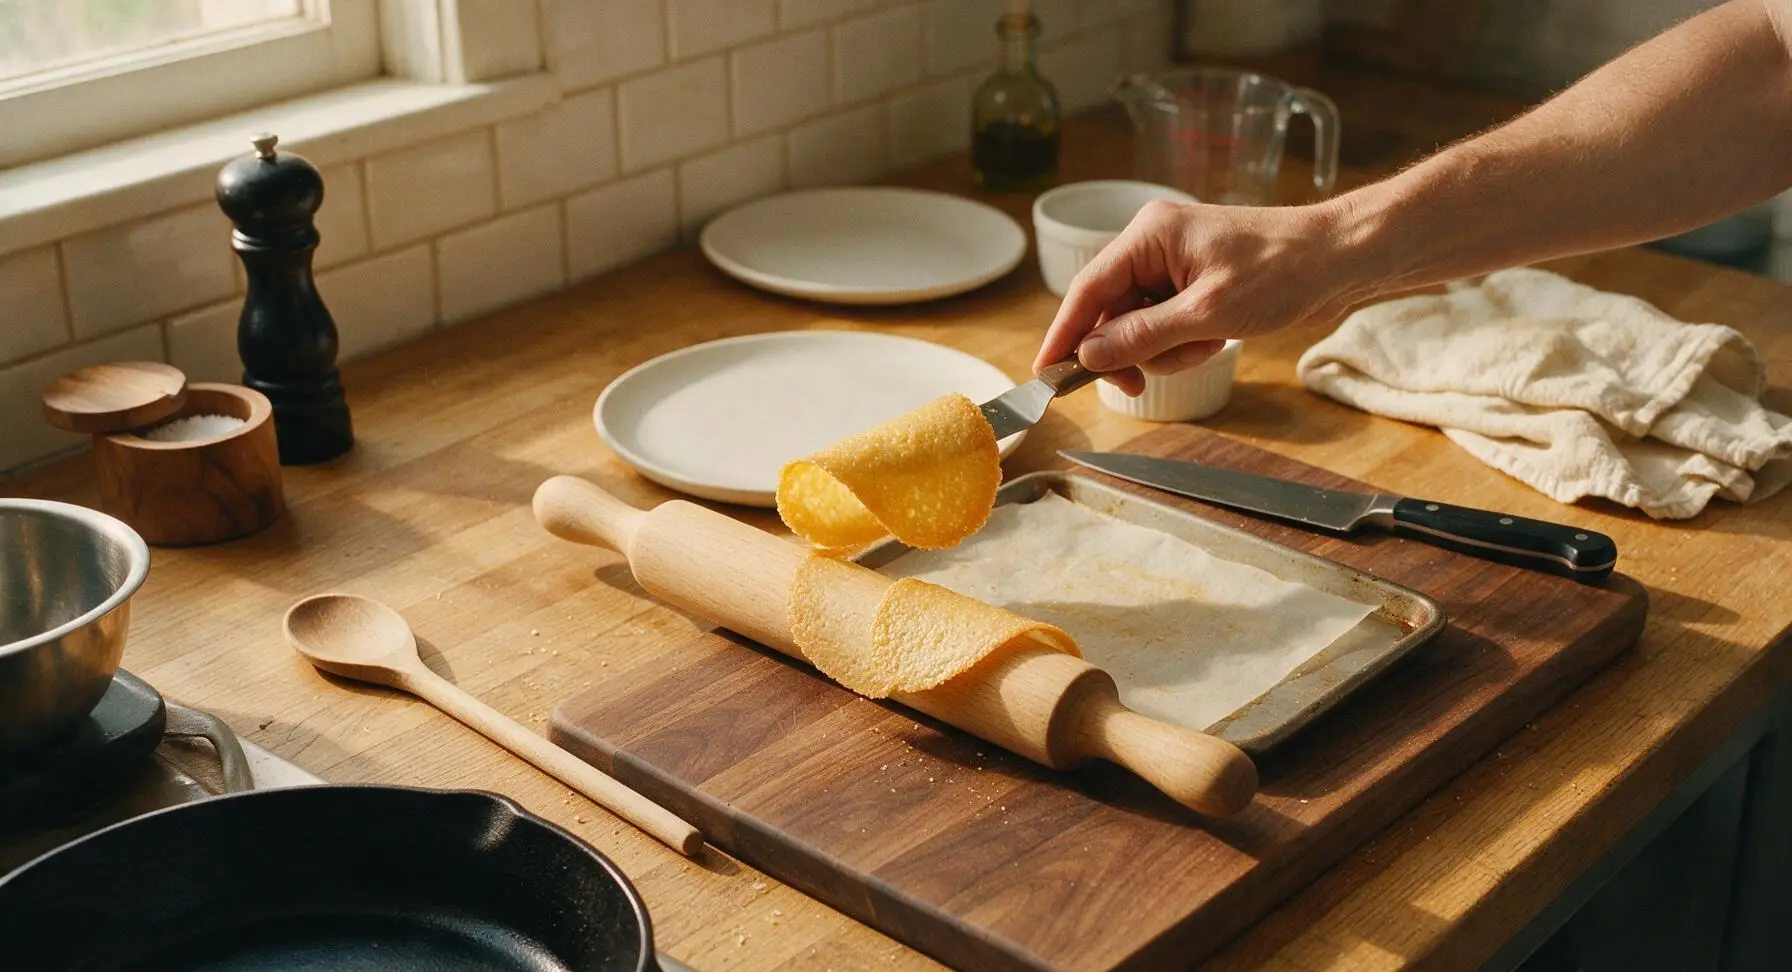
Working quickly (within 30 seconds of removing the pan from the oven), use the small offset spatula to lift one hot tuile at a time and drape it over the beech wood rolling pin, pressing gently to form a gentle curved half-moon shape. Let tuiles rest on the rolling pin for 1 minute until fully set, then transfer to the wire cooling rack to cool completely to a snappy crisp. Repeat the spreading, baking, and shaping process with remaining batter, baking one small batch at a time.
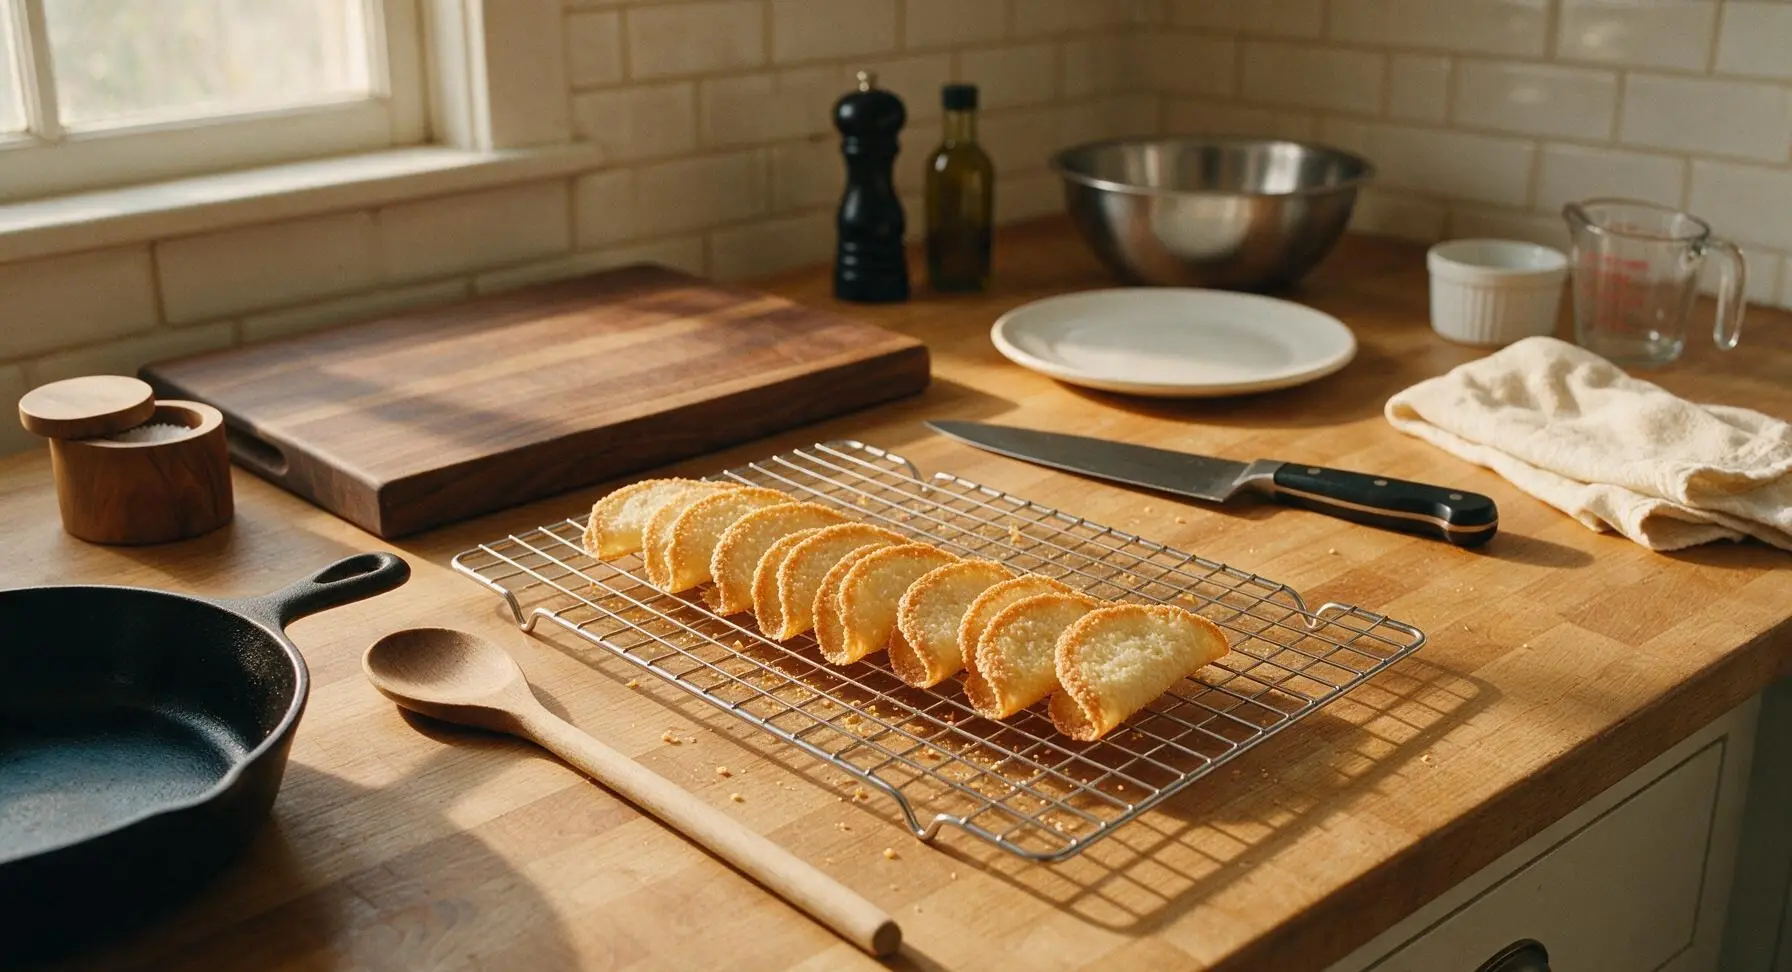
Step 8
step8:Shape and Cool Tuiles
Step 8
step8:Shape and Cool Tuiles

Tips

1.Bake only 6 tuiles per batch: Hot tuiles harden and become brittle in under 60 seconds after leaving the oven, so small batches ensure you have time to shape every wafer before it cracks or sets flat.
2.Use room temperature ingredients only: Cold egg whites or butter will cause the batter to curdle, spread unevenly on the pan, and produce mottled, unevenly browned tuiles instead of uniformly golden wafers.
3.Resoften stiff tuiles if needed: If you move too slowly and tuiles harden on the pan before shaping, slide the pan back into the hot oven for 20-30 seconds to soften the wafers until they are flexible again.


✨ You May Also Like

Desserts & Baking
🍜 Italy

Creamy, coffee-kissed classic Northern Italian no-bake dessert, with layers of rum-spiked mascarpone cream, soft ladyfingers, and a rich cocoa dusting.

⏱️ 4 hours 3Desserts & Baking ★ 4.7
Desserts & Baking
🍜 France

Flaky, shatteringly crisp, buttery French croissants with golden exteriors and soft, airy layered interiors, perfect for pairing with coffee for a special morning treat.

⏱️ 12 hours Desserts & Baking ★ 4.5
Desserts & Baking
🍜 United States

Warm, spiced baked apples topped with a fluffy golden biscuit crust, this cozy dessert pairs perfectly with vanilla ice cream for cool-weather comfort.

⏱️ 55 minuteDesserts & Baking ★ 4.6
Desserts & Baking
🍜 United States

A star-spangled classic American blueberry pie with buttery flaky crust and bright sweet-tart filling, perfect for summer patriotic gatherings.

⏱️ 1 hour 25Desserts & Baking ★ 4.7
Desserts & Baking
🍜 United States

A beloved no-bake regional Maine candy with a chewy coconut-potato center coated in rich dark chocolate, a New England holiday staple since the 1870s.

⏱️ 2 hours 3Desserts & Baking ★ 4.8
Desserts & Baking
🍜 France

Luxuriously creamy, floral frozen custard made with aromatic Tahitian vanilla beans, boasting a smooth, rich texture that melts slowly on the tongue.

⏱️ 3 hours 3Desserts & Baking ★ 4.5

Tuiles:Frequently Asked Questions

1.Why aren’t my tuiles crisp once they cool? ▾
Most often this comes from three common missteps: spreading the batter too thick, underbaking so residual moisture stays in the wafer, or exposing cooled tuiles to humid air. Bake until edges are a rich deep golden, spread batter almost paper-thin, and store fully cooled tuiles in an airtight container with a small silica gel packet to lock in crispness on muggy days.
2.Do I really need to shape tuiles right after taking them out of the oven? ▾
Yes, absolutely. Tuiles set firm in 60 to 90 seconds once removed from heat, as the melted butter and sugar solidify. If you wait even 2 minutes, they’ll crack when you try to curve them. Work in small batches of 3 to 4 cookies at a time so you can drape them over a rolling pin or cup before they harden flat.
3.Can I use granulated sugar instead of powdered sugar for this recipe? ▾
I don’t recommend it. Powdered sugar has a tiny amount of cornstarch that creates that signature melt-in-your-mouth, delicate crisp without graininess. Granulated sugar will leave a gritty texture, spread more unevenly, and won’t produce that paper-thin, smooth surface classic tuiles are known for. Stick to sifted powdered sugar for best results.
4.Why do my tuiles stick to the baking sheet? ▾
This usually happens if you don’t line your pan properly, or if you try to remove them too early before they set enough. Use a silicone baking mat or properly greased and floured parchment paper for easy release. Let them sit on the hot pan for 10 to 15 seconds right out of the oven before lifting with a thin offset spatula to avoid tearing.
5.How thin should I spread the tuile batter before baking? ▾
Aim for almost paper-thin, roughly 1/16 of an inch thick, spread into 3-inch wide circles. If the batter is any thicker, your tuiles will be soft, cookie-like instead of delicate and crisp. It might feel too thin when you first spread it, but it will spread slightly more in the oven as the butter melts, so err on the side of thinner.
6.Can I make tuile batter ahead of time? ▾
Absolutely! The batter actually benefits from a rest in the fridge. Mix it up, transfer to an airtight container, and store for up to 3 days. The flour will hydrate more evenly for a smoother, more consistent spread, and the chilled batter won’t spread too wildly in the oven. Let it sit at room temp for 10 minutes before spreading to make it easier to work with.
7.What’s the easiest way to get that classic curved tuile shape? ▾
You don’t need fancy specialty molds! Grab a standard rolling pin, and drape the hot, flexible tuiles over the curved side right after lifting them from the pan. For cup-shaped tuiles to hold mousse or berries, press hot tuiles into the wells of a muffin tin. Hold each in place for 10 seconds until it sets into shape.
8.Why are my tuiles spreading too much and running together on the pan? ▾
This is almost always from batter that’s too warm, or an oven that’s not fully preheated. If your butter was too soft when you mixed the batter, or you left the batter sitting out in a warm kitchen, it will melt too fast in the oven. Chill the batter for 20 minutes, and make sure your oven holds a steady 350°F to set structure quickly.
9.Can I add flavor mix-ins like almond slices or citrus zest to the base recipe? ▾
Definitely! The classic base is super versatile. Add 1 teaspoon of finely grated lemon or orange zest, a pinch of flaky sea salt, or a handful of thinly sliced slivered almonds sprinkled on top right before baking. Once cooled, you can even dip half of each tuile in melted chocolate for a richer treat. Just avoid heavy, wet mix-ins that add too much moisture and soften your crisp wafers.
10.How long do baked tuiles stay fresh? ▾
When stored fully cooled in a completely airtight container at room temperature, tuiles will stay perfectly crisp for up to 1 week. Don’t refrigerate or freeze them, as the moisture from cold storage will make them go soggy fast. If they do soften a little after a few days, crisp them back up on a baking sheet in a 300°F oven for 2 minutes before serving.
11.Do I need to use a special stencil to spread tuile batter evenly? ▾
You don’t need a store-bought stencil, though they do make uniform shapes easy. For a budget DIY option, cut a 3-inch circle out of a thin plastic lid or heavy cardstock. Lay the stencil on your baking mat, spread a thin layer of batter across the opening, then lift the stencil straight up for perfectly even, round tuiles every time.
12.My egg whites won’t mix smoothly into the batter—am I doing something wrong? ▾
Don’t worry, this is common if your ingredients are different temperatures! Make sure your egg whites are at room temperature, and your melted butter is slightly cooled (not piping hot) before mixing. Whisk gently instead of beating hard to avoid incorporating too much air, which can cause uneven bubbling in the oven as the tuiles bake.
13.Can I make tuiles gluten-free for guests with dietary restrictions? ▾
Yes, you can swap the all-purpose flour for a 1:1 gluten-free all-purpose baking blend that contains xanthan gum. Sift it with the powdered sugar first to avoid any clumps, and make sure your blend doesn’t have added leavening, which will make tuiles puff up instead of staying thin and crisp. The final texture will be nearly identical to the classic version.
14.Why do my tuiles have uneven, bubbly surfaces after baking? ▾
Those random bubbles come from two things: over-whisking the batter to incorporate too much air, or not sifting your powdered sugar and flour to remove lumps. Whisk the batter just until smooth, no more, and always sift your dry ingredients to break up clumps before mixing. If you see small bubbles form after spreading, pop them with a toothpick before baking.
15.How many tuiles should I bake on one sheet pan at a time? ▾
Stick to 4 to 6 tuiles per standard half-sheet pan, spaced at least 2 inches apart. Remember, you need to work extremely fast to shape them once they come out of the oven, and baking more than 6 at a time means the last few will harden flat before you get to them. It feels slow, but small batches give much more consistent results.
16.Can I use salted butter instead of unsalted butter for this recipe? ▾
You can, but you’ll want to adjust to avoid overly salty tuiles. If using salted butter, skip any added pinch of salt you might otherwise add for depth, and make sure your butter is high-quality with no added vegetable oils, which can leave a greasy aftertaste. Unsalted butter lets you control the salt level exactly for that perfect balanced buttery flavor.
17.What’s the best way to serve classic tuiles? ▾
These delicate wafers are endlessly versatile! Serve them alongside espresso or after-dinner coffee for a simple elegant treat, use them as a crisp garnish for crème brûlée, panna cotta, or ice cream sundaes, or shape them into small cups to hold a dollop of whipped cream and fresh berries for a tiny, impressive party bite.
18.My tuiles are browning too fast around the edges but are still pale in the center—what’s wrong? ▾
This is a sign your oven is running too hot, or your oven racks are positioned too close to the top heating element. Use an oven thermometer to confirm your temperature is accurate, and bake tuiles on the middle rack. If edges brown too fast, tent the pan with a small piece of foil for the last minute of baking to let centers set without burning.
19.Can I use imitation vanilla extract instead of pure vanilla extract for this recipe? ▾
You can in a pinch, but you’ll notice a flat, slightly artificial aftertaste compared to batches made with pure vanilla. Tuiles have a very simple, delicate flavor profile, so every ingredient comes through clearly. Pure vanilla adds warm, rich depth that complements the buttery, sweet wafer perfectly, so it’s worth using for the most authentic result.
20.Why do my curved tuiles lose their shape after I set them down to cool? ▾
That means you didn’t hold them in place long enough for the sugar and butter to fully set as they cool. When you drape a hot tuile over a rolling pin or mold, hold it gently for 10 to 15 seconds until it feels firm to the touch before moving it to a wire rack. If your kitchen is very warm, pop molded tuiles in the fridge for 1 minute to lock shape faster.

Comments (5)

2 days ago

OMG these tuiles turned out so perfectly for my neighborhood book club potluck! I added a light dusting of powdered sugar right after pulling them out of the oven and everyone was hounding me for the recipe. They’re so delicately crisp and buttery, honestly better than the ones I’ve paid $5 a pop for at the fancy French café downtown. Total game changer for when you need an impressive quick dessert!

30 minutes ago

Tried making these last night for my kid’s soccer team snack and half the batch cracked when I tried to shape them over my rolling pin 😅 Did I let them cool too long before shaping? They tasted amazing even as broken bits — my kids were straight up fighting over the crumbs — but I want them to look nice and polished for the dinner party I’m hosting next weekend.

5 minutes ago

Hi Jake! The most common reason tuiles crack when shaping is waiting too long after they come out of the oven — they only stay soft and pliable for 30-45 seconds once you pull the tray! Try working with just 2-3 cookies at a time instead of the whole batch, and keep the remaining ones on the warm baking sheet while you shape to keep them flexible. You’ve got this for your dinner party, they’re going to be a hit!

1 week ago

SO good! I’ve been intimidated to make tuiles forever because I thought they’d be super fussy, but this recipe was so straightforward even for a medium-difficulty bake. I dipped half of mine in dark chocolate and sprinkled them with flaky sea salt, and my partner said they taste like they came from a Michelin-starred restaurant. Will absolutely be adding these to my weekly meal prep rotation for quick little sweet treats!

3 days ago

Wait the dark chocolate + flaky salt addition sounds insane! Did you dip them after they fully cooled so the chocolate sets up right? I’m making these for my sister’s bridal shower next month and that sounds like the perfect elevated touch.

2 days ago

Yes! Let them cool completely on the wire rack for 10 minutes first, then dip and lay them on parchment paper for 15 minutes to set. The salt cuts the sweetness so perfectly, everyone at the shower is gonna lose their minds over them!

yesterday

Flavor was 10/10 but I ran into a weird issue where my tuiles spread way too thin in the oven and merged into one giant lacy sheet on the baking tray. Did I measure the butter wrong? I swear I followed the ingredient list exactly as written! I ended up breaking the giant sheet into shards and served them over vanilla ice cream for dessert, which was actually a huge hit with my roommates, but I really want to nail the cute curved shapes next time.

2 hours ago

I had the exact same issue my first time making these! Turns out I didn’t chill the batter long enough before dolloping it on the tray. Pop the batter in the fridge for 30 minutes minimum, and only spread super thin circles spaced at least 3 inches apart on the tray — that totally fixed the spreading problem for me! The ice cream shard hack is genius, I’m 100% stealing that next time I mess up a batch.

2 weeks ago

Made these for my French-themed family dinner last Sunday and they were the total star of the show! My 7 year old helped me spread the batter on the silicone mat and had a blast shaping them over the rolling pin (we had a few very lumpy, very loved misshapen ones, obviously). We served them alongside vanilla bean crème brûlée and it was such a perfect combo. 10/10 recipe, will make again and again!

1 week ago

This makes me so happy to hear, Jenna! Getting kids involved in baking is the absolute best, and those lumpy misshapen tuiles always taste the best anyway. Serving them with crème brûlée is such a classic, delicious call — I’m definitely going to steal that idea for my next dinner party!

3 days ago

Wait how did you get your 7 year old to help without making a total mess? My 6 year old dumps half the flour on the floor every time we bake together, I’m low key jealous 😂 The crème brûlée pairing sounds chef’s kiss, I’m doing that for my anniversary dinner next month!



